
TV-IP300 - Surveillance Camera TRENDNET - Free user manual and instructions
Find the device manual for free TV-IP300 TRENDNET in PDF.


| Product Type | Internet Camera |
| Brand | TRENDnet |
| Model | TV-IP300 |
| Connectivity | Ethernet (RJ-45) |
| Lens Type | CS-Mount, replaceable |
| Focus | Manual adjust by rotating lens |
| Image Sensor | 1/4" CMOS |
| Video Resolution | Up to 640x480 pixels |
| Network Protocols | TCP/IP, HTTP, DHCP |
| Power Adapter | 5V DC, 1A (included) |
| Operating System Support | Windows 98/ME/2000/XP |
| Browser Support | Internet Explorer with ActiveX |
| Web-based Configuration | Yes |
| User Management | Password protected |
| Remote Viewing | Via IP address in web browser |
| Mounting | Desktop stand or tripod mount |
| Included Accessories | CD-ROM, power adapter, stand, manual |
| Warranty | 3 years |
| Technical Support Phone | +1-310-626-6252 |
| Certification | FCC, CE |
Frequently Asked Questions - TV-IP300 TRENDNET
User questions about TV-IP300 TRENDNET
0 question about this device. Answer the ones you know or ask your own.
Ask a new question about this device
Download the instructions for your Surveillance Camera in PDF format for free! Find your manual TV-IP300 - TRENDNET and take your electronic device back in hand. On this page are published all the documents necessary for the use of your device. TV-IP300 by TRENDNET.
USER MANUAL TV-IP300 TRENDNET
TRENDnet
TRENDware, USA What's Next in Networking
Table of Contents
Deutsch 1
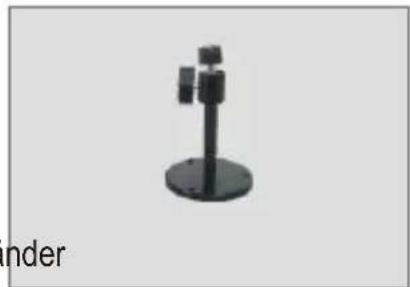
Systemanforderungen
Q1. The image is blurry, how do I fix this?
A1. You can adjust the Internet Camera's focus by rotating the lens.
Q2. Can I replace the camera lens?
A2. The Internet Camera's Lens is replaceable with a standard CS-Mount type lens.
Q3. How do I view the Internet Camera's live images within my Local Network?
A3. Open a web browser (Internet Explorer or Netscape), type your Wireless Internet Camera's IP address (i.e.: 192.168.0.30) in the Address bar, and then hit the Enter key. The Welcome page of the Internet Camera will appear.
Q4. When I enter the IP address of the camera, the image does not load, why?
A4. Please make sure all the Active X features are enabled for your Internet Explorer.
- Go to Tool (on the Tool bar) > Internet options > Security
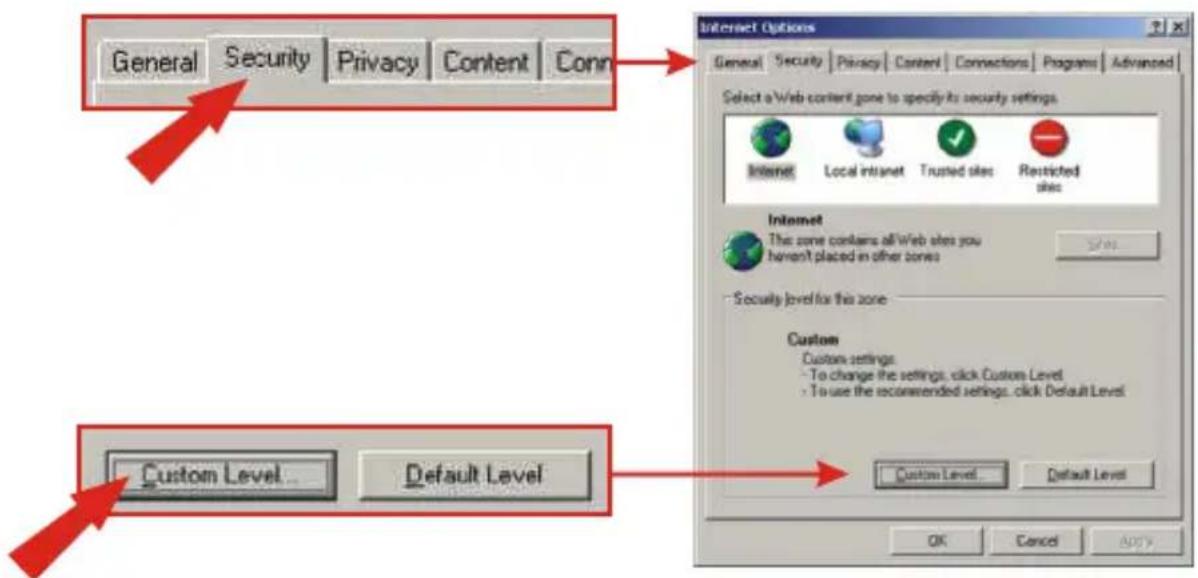
- Click on Custom Level and make sure all ActiveX controls are set to "Enable" and click OK.
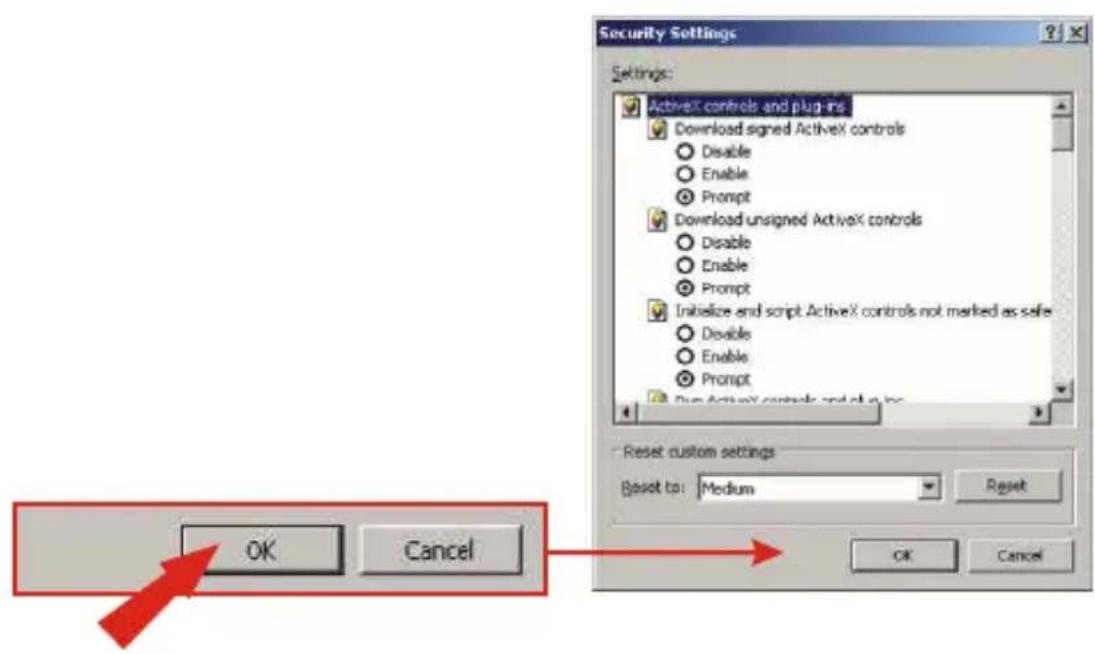
- Once you save the settings, the browser will load again and the image should appear.
Q5. How do I configure my computer's IP address?
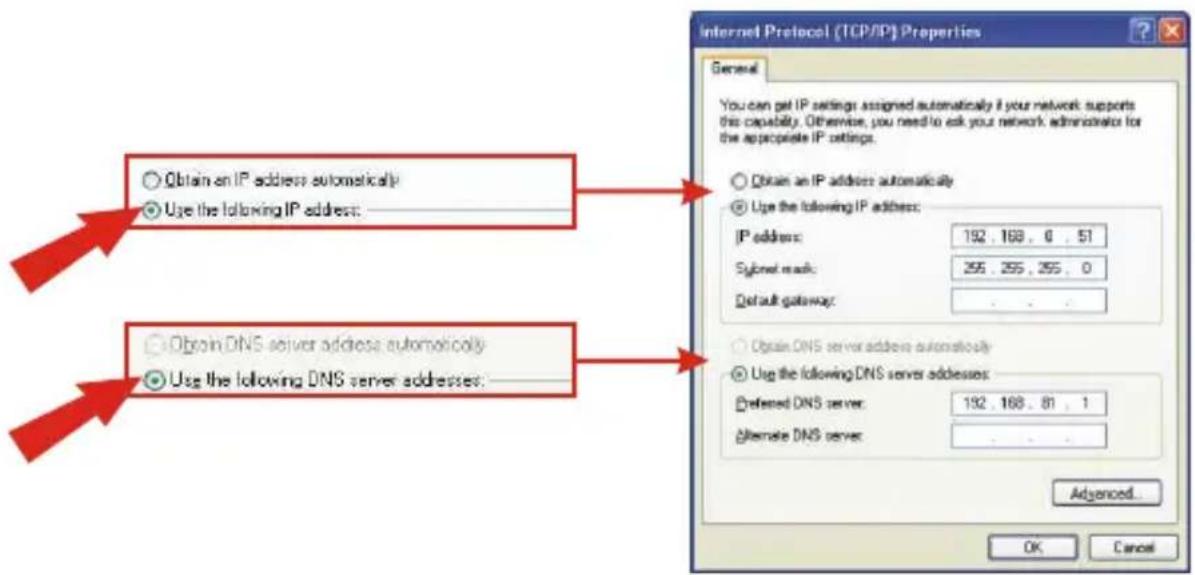
A5. For Windows 2000/XP users:
- On the Desktop, right click on My Network Places > select Properties > right click on the Local Area Connection > select Properties, the Local Area Connection Properties Window will appear
-
Under General tab, select Internet Protocol (TCP/IP) > click on Properties button, Internet Protocol (TCP/IP) Properties Window will appear
-
Select Use the following IP address option and enter the IP, Subnet Mask and Default gateway addresses.
-
Click OK to complete
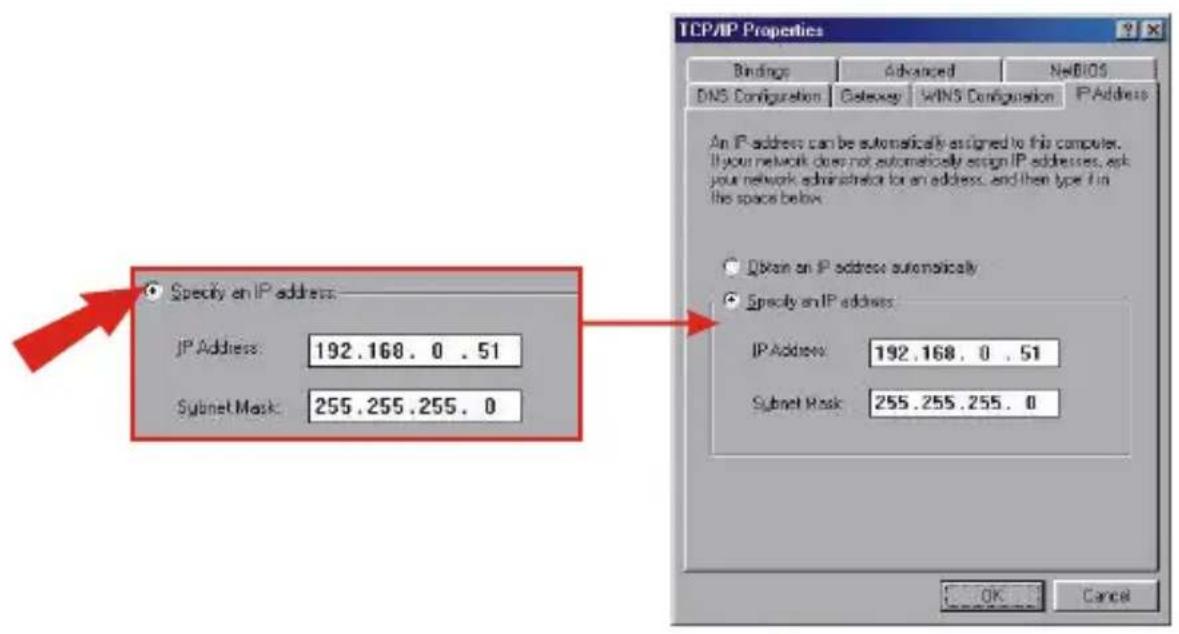
For Windows 98/ME users:
- On the Desktop, right click on Network Neighborhood > select Properties > right click on the Local Area Connection > select Properties, the Local Area Connection Properties Window will appear
-
Under Configuration tab, select your Network Adapter (TCP/IP protocol) > click on Properties button, TCP/IP Protocol Properties Window will appear
-
Select Specify an IP address option and enter the IP, Subnet Mask addresses.
For detailed information about the TV-IP300's configuration and advanced settings, please refer to the User's Guide on the included CD-ROM or to www.TRENDnet.com.
Contact Technical Support
Telephone: +1-310-626-6252
Fax: +1-310-626-6267
Website: www.TRENDNET.com
E-mail: support@trendware.com
Technical Support Hours
7:00AM \~ 6:00PM, Monday through Friday
Pacific Standard Time (except holidays)
TRENDnet TRENDware, USA
What's Next in Networking
Product Warranty Registration
Please take a moment to register your product online. Go to TRENDware's website at http://www.TRENDNET.com
TRENDware International, Inc.
3135 Kashiwa Street
Torrance, CA 90505
http://www.TRENDNET.com
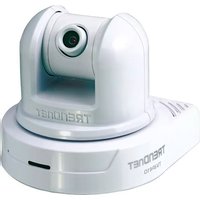
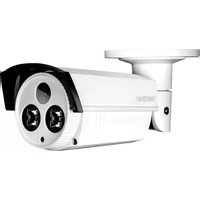
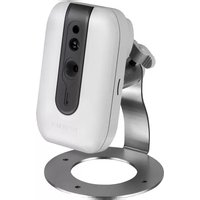
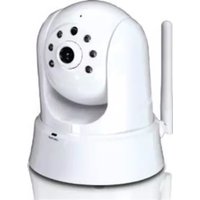
Brand : TRENDNET
Model : TV-IP300
Category : Surveillance Camera