TransImp TIP-D180SU-WH - Computer Accessories MUKii - Free user manual and instructions
Find the device manual for free TransImp TIP-D180SU-WH MUKii in PDF.


| Product Type | SATA/IDE to USB 2.0 Adapter |
| Model | TransImp TIP-D180SU-WH |
| Supported Devices | 2.5" & 3.5" IDE/SATA I/II HDD, SATA SSD, 5.25" SATA/IDE devices, Blu-ray optical drives |
| Interface | USB 2.0 (up to 480 Mbps) |
| Dimensions | 75 x 49 x 13 mm |
| Material | Plastic |
| Power Supply | External AC power adapter (110V~240V) with separate power switch |
| Cable Length | 80 cm (31.5 inches) |
| Hot Swappable | Yes, Plug and Play |
| Tool-free Installation | Yes, easy installation without tools |
| Foolproof Design | Prevents HDD damage from incorrect insertion |
| Software Suite | M One Tuning System: Auto Format, Smart Energy Saving, USB Turbo, Auto Backup, Status Feedback |
| System Requirements | Windows 2000/XP/VISTA/7, Mac OS 8.6+, USB 2.0 port, CD-ROM drive |
| Warranty | 1 year limited warranty (90 days on defective parts) |
| Included Accessories | Adapter, coiled USB 2.0 cable, 4-pin to SATA power cable, SATA cable, AC power adapter, software CD, user manual |
Frequently Asked Questions - TransImp TIP-D180SU-WH MUKii
User questions about TransImp TIP-D180SU-WH MUKii
0 question about this device. Answer the ones you know or ask your own.
Ask a new question about this device
Download the instructions for your Computer Accessories in PDF format for free! Find your manual TransImp TIP-D180SU-WH - MUKii and take your electronic device back in hand. On this page are published all the documents necessary for the use of your device. TransImp TIP-D180SU-WH by MUKii.
USER MANUAL TransImp TIP-D180SU-WH MUKii
SATA/IDE to USB 2.0 Adapter
M one TUNING SYSTEM INTRODUCTION ....10
FAQ 11
WARRANTY 12
CONTACT 12
目錄
包裝內附 13
產品特色 / 產品規格....14
系統需求 15
裝置介面 16
安裝步驟 17
Please check your packing list to be sure all parts are recieved
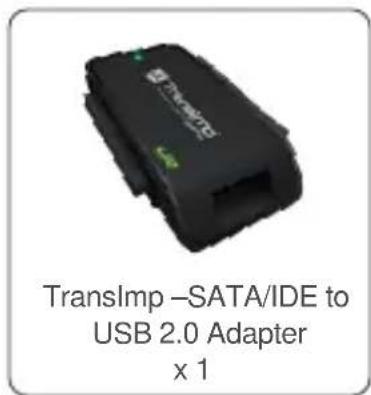
text_image
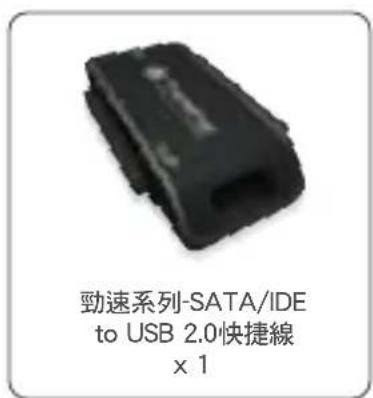
TransImp -SATA/IDE to USB 2.0 Adapter x 1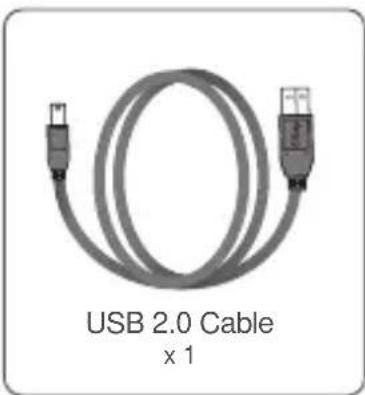
natural_image
Coiled USB 2.0 cable with two connectors (no text or symbols on the cable itself)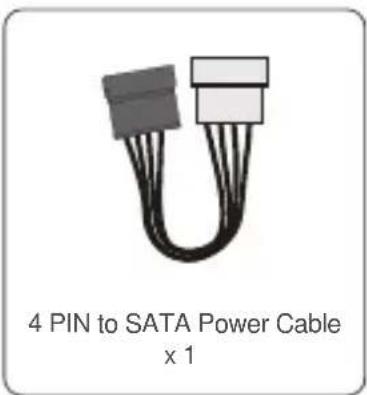
text_image
4 PIN to SATA Power Cable x 1
text_image
Transalmp® Ceramics to User's Manual x 1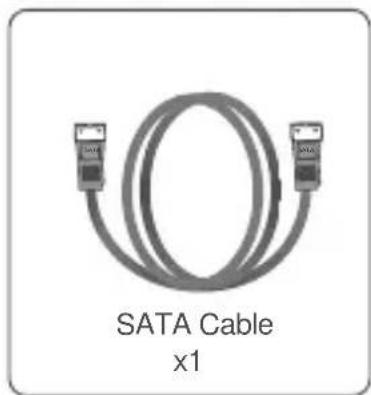
natural_image
SATA Cable x1 cable with two Ethernet connectors (no text or symbols on the diagram itself)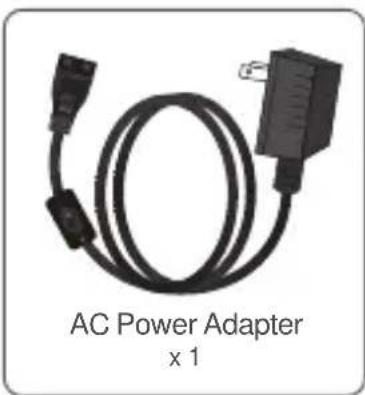
natural_image
AC Power Adapter x 1 cable with two connectors (no text or symbols on the diagram itself)
text_image
M OCLINATING SYSTEMS M OCLINATING SYSTEMS Value Added Software CD x 1FEATURE
■ Easy Installation with Tool-free Design.
■ Support 2.5"/3.5"IDE/SATAI/II HDD/SATA SSD
■The Product Supports the Blu-ray Optical Drives and Regular 5.25" SATA/IDE Devices.
■USB 2.0 Interface for Easy Data Access. Transfer Rates Up to 480Mbps with USB 2.0.
■ Includes a 110V\~240V Certified External Power Adapter which Provide Consistent Power to Your External Device.
■The Port Features Foolproof Design to Prevent HDD Damage Caused by Incorrect Insertion.
■Its Separate Power Switch Provides Trouble-free Hardware Protection.
■ Highly Compact and Extremely Portable
■Hot Swappable: Plug and Play
■M One Tuning System Included : Auto Format / Smart Energy Saving / USB Turbo / Auto Backup / Status Feedback.
SPECIFICATIONS
■ Model : TIP-Q120U2SI
■ Device support : IDE/SATA I/II Hard Drive or SATA SSD
■ Device size : 2.5" / 3.5" / 5.25"
■ Internal interface : USB 2.0
■ Material : Plastic
■ Dimension : 75 x 49 x 13 mm
■ Power : AC Power Adapter
■ Cable : 80cm (31.5 inches)
For the most current storage capacity & Operating System Support, please check our website: www.mukii.com.tw
TransImp®
SATAIDE TO USB 2.0 ADAPTER
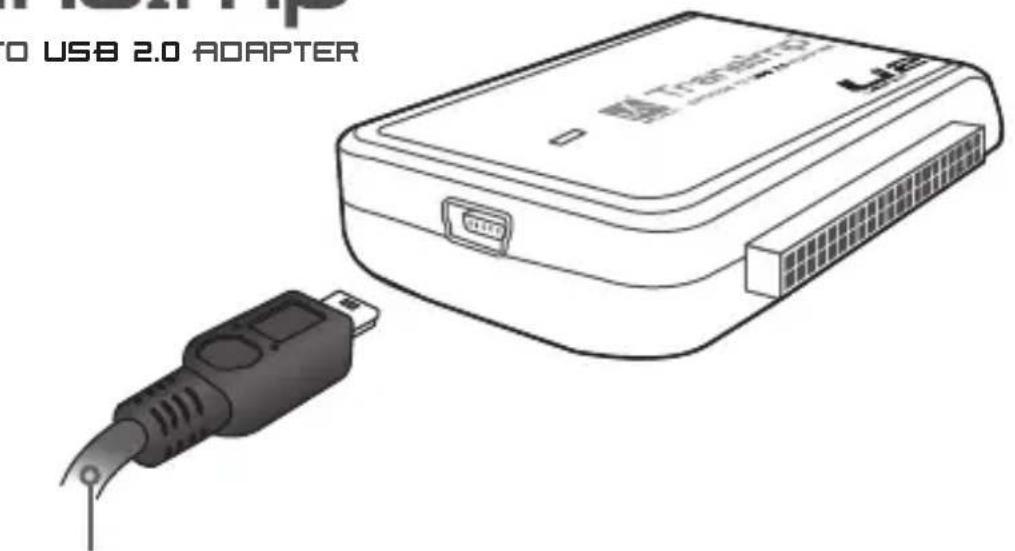
text_image
USB 2.0 ADAPTER To USB 2.0USB 2.0 Cable
SYSTEM REQUIREMENTS

Intel Pentium II 350 MHz-compatible. Microsoft Windows 2000/XP/VISTA/7.
- USB Equipped System
- For USB 2.0 Speeds, the System Must Support USB 2.0 Specifications
- CD Rom drive (for value added software)

Mac G3 processor & greater. MAC OS 8.6 & greater.
- USB Equipped System
- For USB 2.0 Speeds, the System Must Support USB 2.0 Specifications
- CD Rom drive (for value added software)
PARTS LAYOUT
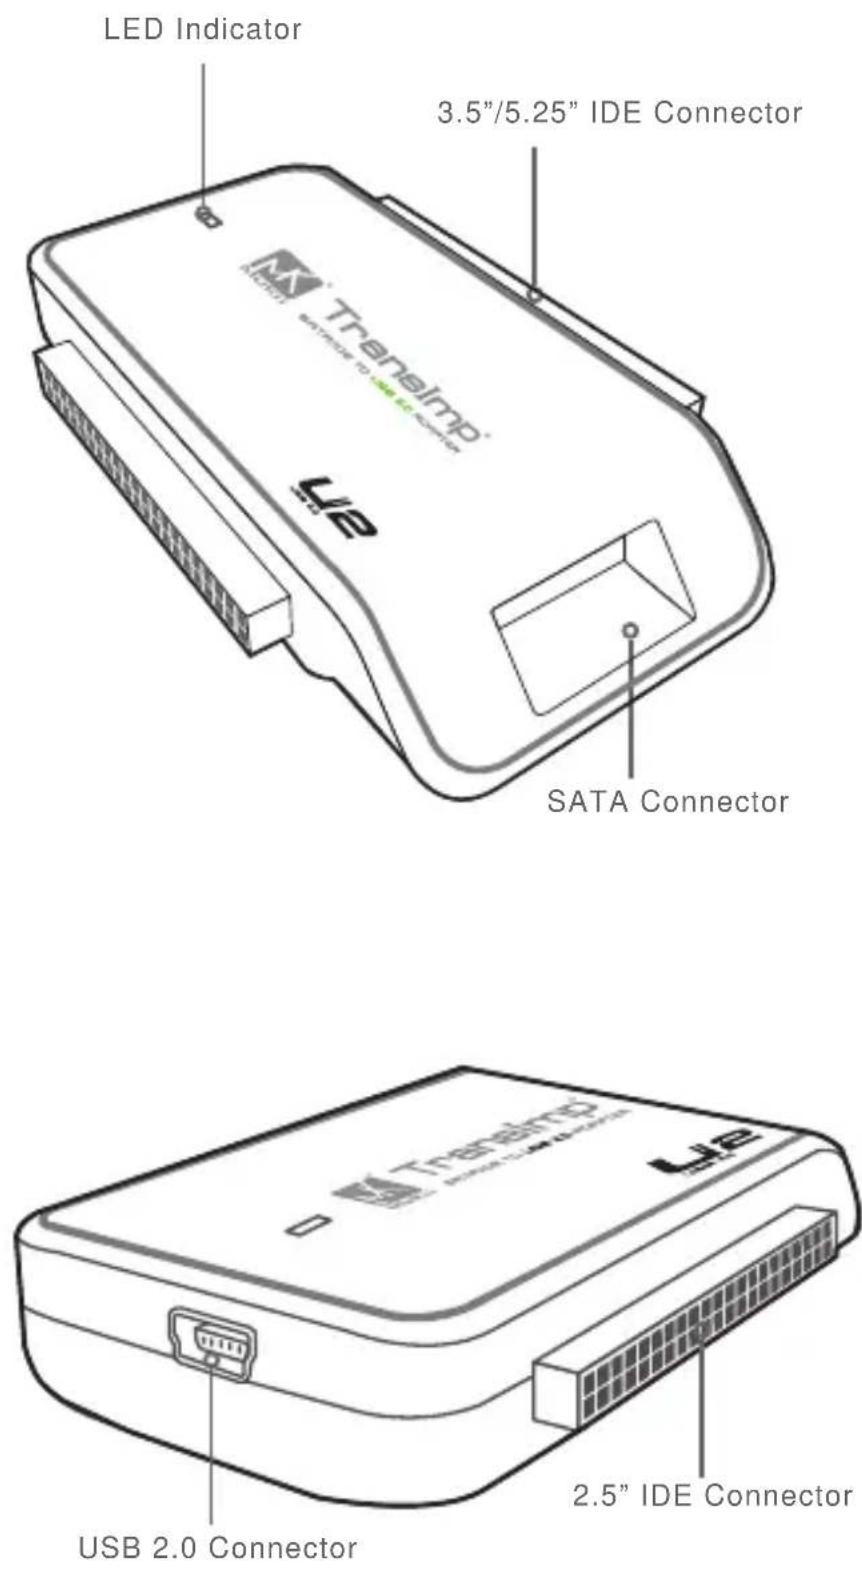
INSTALLATION
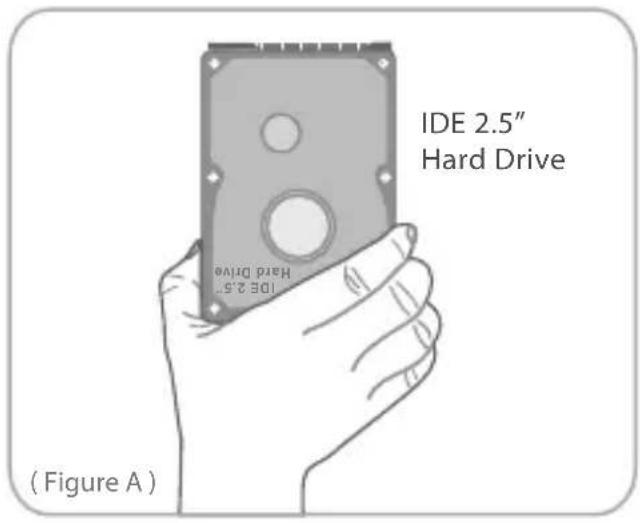
2.5" IDE Hard Drive Installation:
- Insert 2.5" IDE hard drive (HDD) into the slot. Turn the front side upward.
(Figure A)
text_image
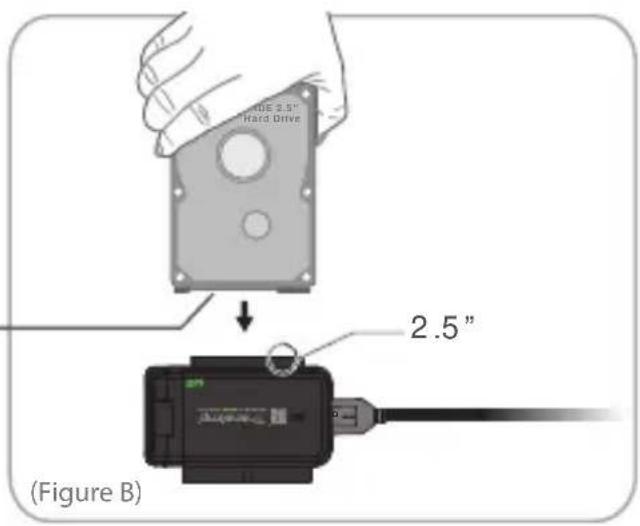
IDE 2.5" Hard Drive IDE 2.5" Hand drive (Figure A)- Make sure that the IDE 2.5" HDD pins align to the device slot.
(Figure B)
text_image
RIDE 2.5" Hard Drive 2.5" (Figure B)
Don't connect the 4-pins on the left side to the device.
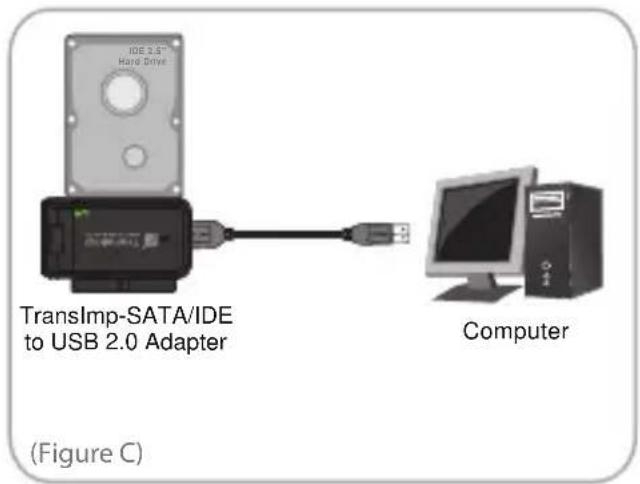
- Connect the USB cable to the USB port on the PC. Once connected properly, the HDD should be automatically detected and be ready for use. (Figure C)

Once the power consumption of PCIE bus is not enough, please connect the power connector of USB cable to the USB 2.0 port of motheroard.
text_image
TransImp-SATA/IDE to USB 2.0 Adapter Computer (Figure C)3.5" IDE Hard Drive Installation:
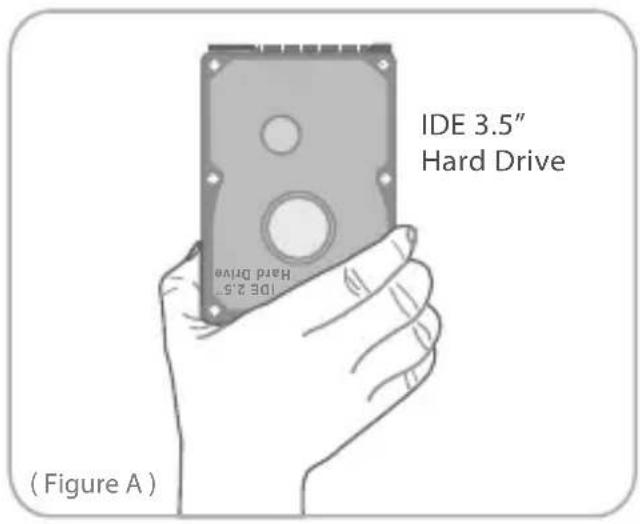
- Insert 3.5" IDE hard drive into the slot. Turn the front side upward. (Set the HDD to MASTER if needed). (Figure A)
text_image
IDE 3.5" Hard Drive 10E 2.5" Hard drive (Figure A)- Connect the larger 40-pin IDE connector of TransImp-SATA/IDE to USB 2.0 Adapter to the hard drive. (Figure B1)
- Connect a 4-pin power connector from power supply to hard drive. (Figure B2)
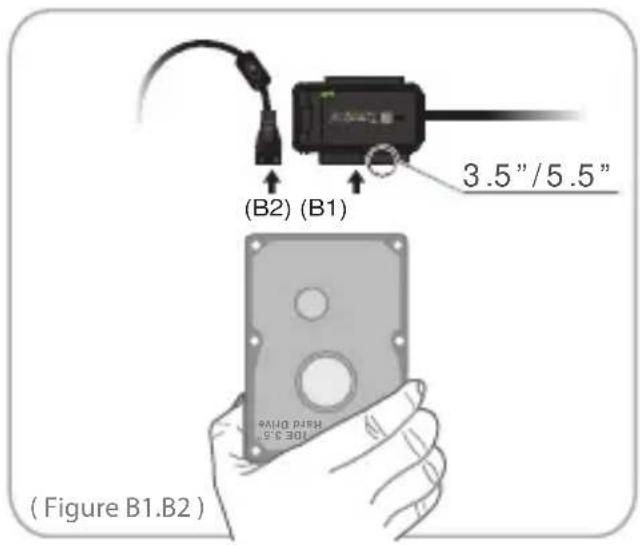
text_image
(B2) (B1) 3.5"/5.5" (Figure B1.B2)- Turn on the device power.
(Figure C1)
- Connect the USB cable to the USB port on the PC. Once connected properly, the HDD should be automatically detected and be ready for use.
(Figure C)
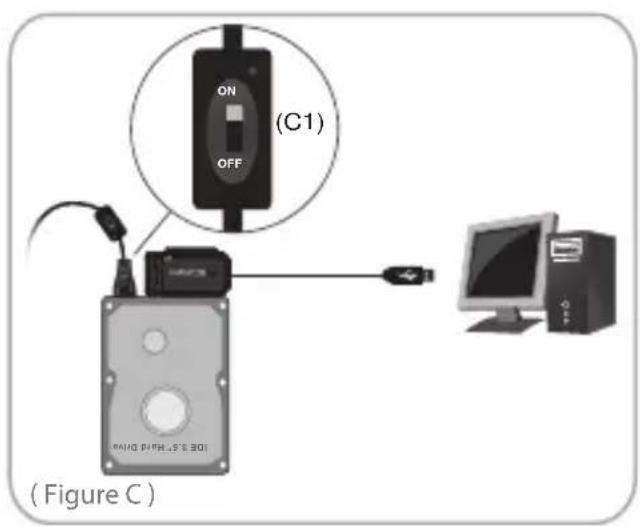
text_image
ON OFF (C1) MINDI-5'S 301 (Figure C)2.5" & 3.5" SATA HDD/SSD installation:
- Using a SATA cable, connect one cable header to your SATA hard drive. (Figure A)
-
Connect the other header to the SATA port of TransImp-SATA/IDE to USB 2.0 Adapter. (Figure A)
-
Connect Power Cable to Power Adapter. (Figure B)
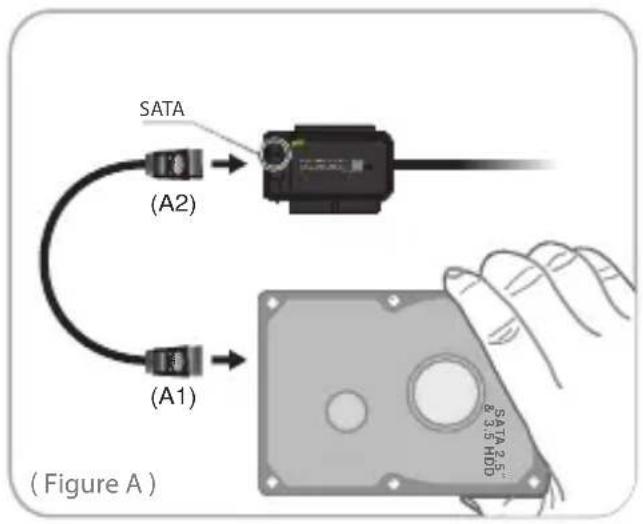
text_image
SATA (A2) (A1) (SATA 2.5" & 3/5 HDD) (Figure A)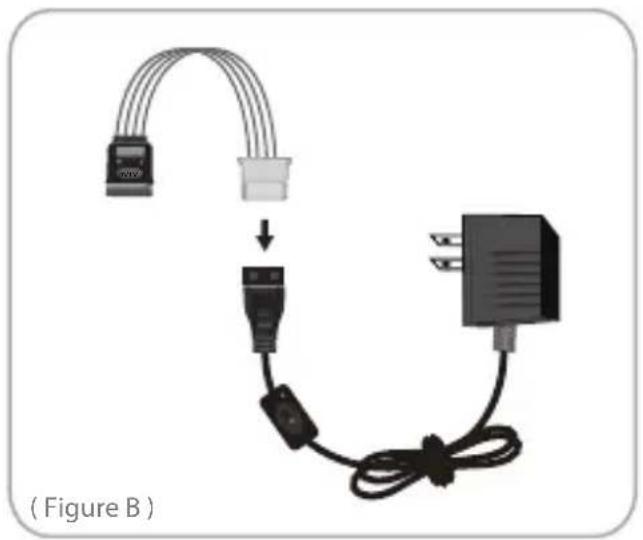
natural_image
Diagram showing cable connection between two connectors and a power adapter, labeled (Figure B) (no text or symbols on components)- Connect Power Adapter to hard drive. (Figure C)
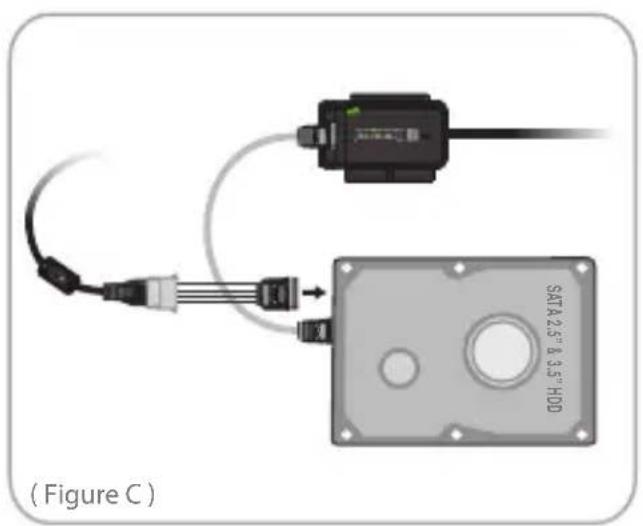
text_image
(Figure C) SATA 2.5" & 3.5" HDD-
Turn on the power, HDD will begin to spin up. (Figure D)
-
Connect the USB cable to the USB port on the PC. Once connected properly, the HDD should be automatically detected and be ready for use. (Figure E)
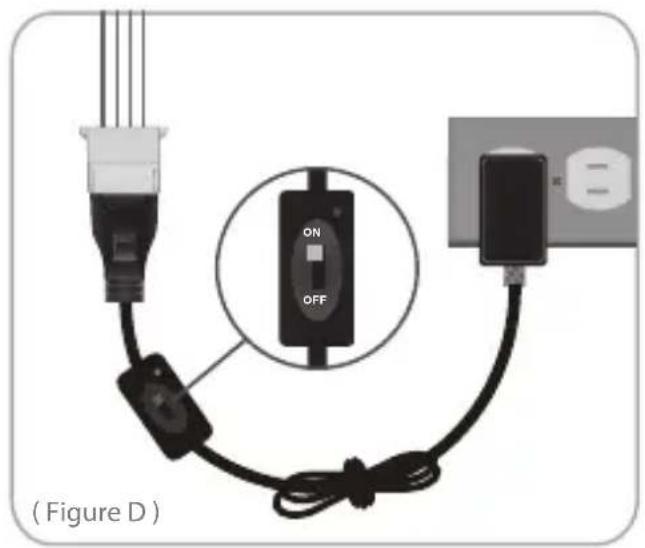
text_image
(Figure D)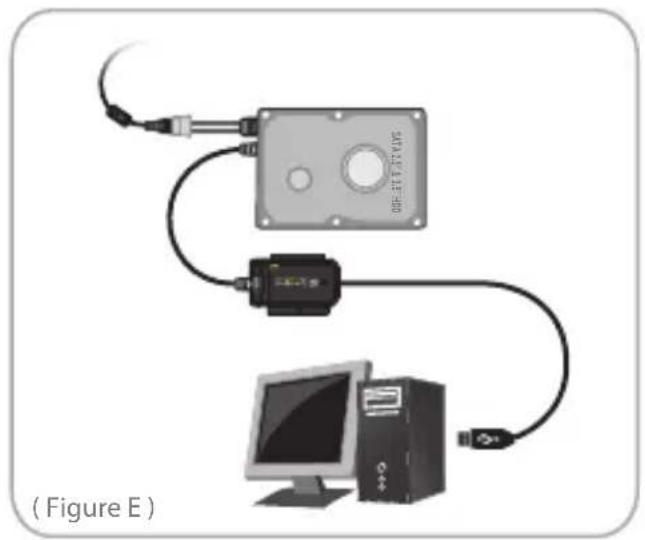
natural_image
Diagram of a connected device setup with monitor, CPU, and control panel (no text or symbols)
NOTE :
- Keep the HDD in a flat position when being used.
- Make sure Power Adapter Switch has been turned off before disconnecting the HDD from the Power Cable.
- Do NOT touch PCB of the HDD when it is power-on.
- Never remove, shake or flap the HDD when hard drive is in use.
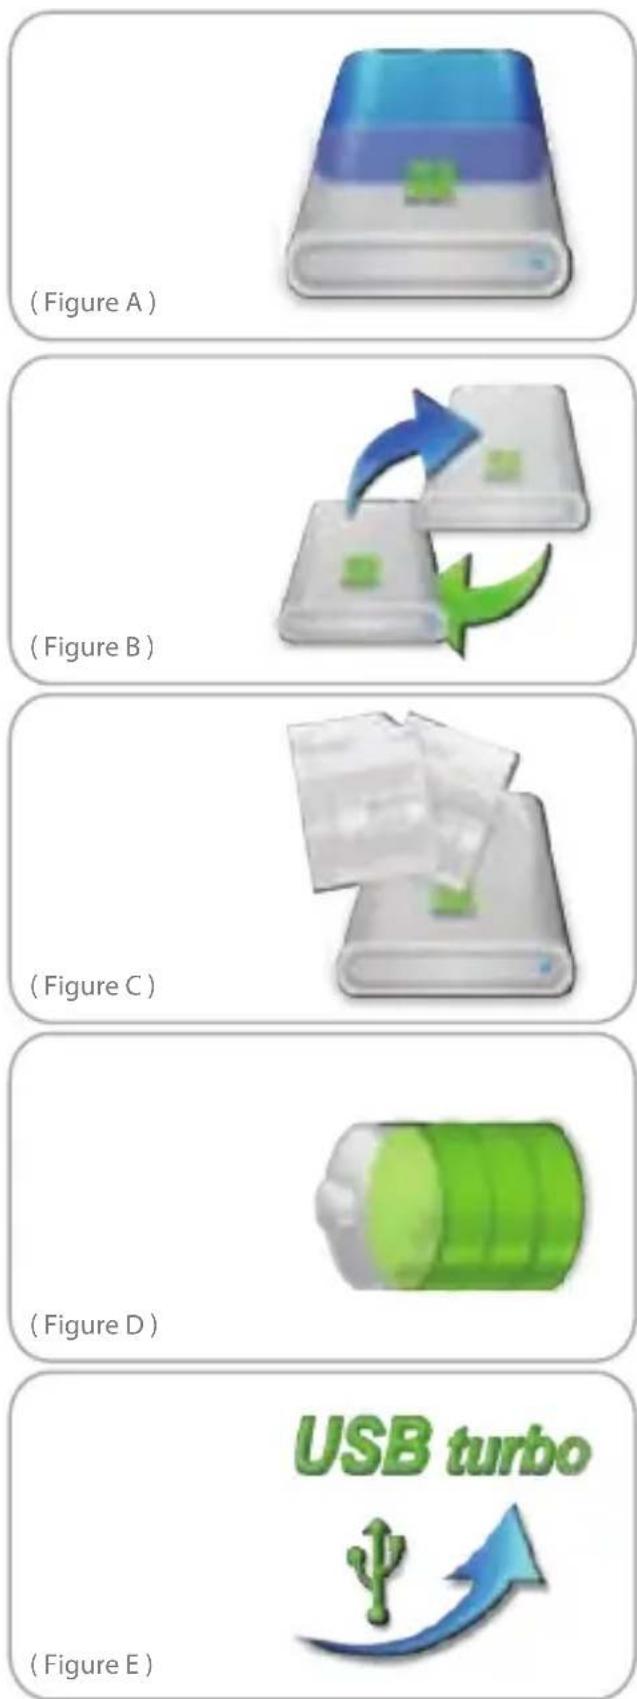
M one TUNING SYSTEM INSTALLATION
Auto Format :
Partition and format your hard drive into one or two disks, label your disk and setting partition size as you want. (Figure A)
Auto Backup :
Auto Backup automatically backup your critical data from local disk to MUKii TransImp external hard disk. (Figure B)
Status Feedback :
When you connect MUKii TransImp external hard disk, you can read the status of your hard disk situation such as, the brand of HDD, available disk space, healthy condition.
(Figure C)
Smart Energy Saving :
The unit will be automatically running into sleeping mode when you stop operating it for a while.
(Figure D)
USB Turbo :
Boost TransImp external hard disk data transfer rate.
(Figure E)
※ Please Find Software CD for M ONE TUNING SYSTEM User's Manual.
FAQ
- When the hard drive is connected, why couldn't the computer work?
- Why couldn't the computer detect the new hard drive?
- Why couldn't the MAC computer use the hard drive which is formatted by Windows system?
- It couldn't work by connecting one USB cable.
A : The 3.5" IDE or SATA drives need to connect the power adapter and turn on the power. When the hard drive works then connect it with the USB cable.
A : You need to format the new hard drive before using it. Please execute MUKii M one tuning system to start formatting & partition your HDD.
A : The format of different system is not the same. It's not compatible.
A : Some NBs and PCs couldn't supply enough electricity. We will suggest you to connect the USB port on the back of PCB.
WARRANTY
The TransImp comes with a One (1) year Limited Warranty (90-day on defective parts). Should your product become defective within the specified time frame, please visit www.mukii.com.tw to receive instructions for obtaining repair or warranty exchange. Cosmetic defects and missing parts are not covered by this warranty. Please check to make sure all parts are included & no visible flaws. If a replacement is required for any cosmetic defects or missing parts, please contact the retailer from whom you purchased the Product immediately.
CONTACT

MUKii Technology INC.
2F, No.588, Tanmei St, Neihu District, Taipei City 114, Taiwan (R.O.C)
TEL:02-87927289 FAX:02-87920373
www.mukii.com.tw
包装内附

請先檢查產品內附是否齊全
natural_image
Diagram showing cable connection between two connectors and a power adapter, with no visible text or symbols.natural_image
Diagram of a computer setup with monitor, CPU, and connected components (no text or symbols)