
SEM4500 - Mètre VOLTCRAFT - Free user manual and instructions
Find the device manual for free SEM4500 VOLTCRAFT in PDF.


| Type | Energy cost meter |
| Brand | Voltcraft |
| Model | SEM4500 |
| Operating Voltage | 230 V/AC, 50 Hz |
| Max. Connection Power | 3680 W (16 A) |
| Internal Power Consumption | approx. 0.4 W (max. 1.1 W during Supercap charging) |
| Measurement Ranges | Voltage: 190-270 V/AC; Current: 0.02-19.00 A; Power: 0.2-3999 W; Frequency: 45-65 Hz; Power Factor: 0.000-1.000 |
| Energy Measurement Resolution | 0.001 kWh (displayed as 0.001 kWh) |
| Cost Calculation | Enter up to 2 tariffs, currencies: €, $, £, CHF |
| CO₂ Emission Monitoring | Enter CO₂ per kWh; displays total and forecast |
| Forecast Mode | Day, week, month, year based on measured data |
| Overload Alarm | Programmable threshold in W and A; audible and visual |
| Standby Detection | Two programmable standby power thresholds |
| Backup Power | Integrated Supercap for programming up to 2 hours after unplugging |
| Backlight | Automatic when mains powered; turns off after 30 s inactivity |
| Display | LCD with backlight, symbols and numeric values |
| Protection Class | I (earthed plug) |
| Dimensions (H x W x D) | 102.5 x 56 x 71.6 mm |
| Weight | approx. 135 g |
| Operating Conditions | 0 °C to +40 °C, 10-90% RH non-condensing |
| Storage Conditions | -10 °C to +70 °C, 5-90% RH non-condensing |
| Care | Wipe with dry cloth; do not use chemicals; unplug before cleaning |
| Disposal | Electronic waste, recycle according to local regulations |
Frequently Asked Questions - SEM4500 VOLTCRAFT
User questions about SEM4500 VOLTCRAFT
0 question about this device. Answer the ones you know or ask your own.
Ask a new question about this device
Download the instructions for your Mètre in PDF format for free! Find your manual SEM4500 - VOLTCRAFT and take your electronic device back in hand. On this page are published all the documents necessary for the use of your device. SEM4500 by VOLTCRAFT.
USER MANUAL SEM4500 VOLTCRAFT
Operating Instructions Energy Cost Meter "SEM4500" Item No. 1647179 Page 35 - 67
Toleranz ....../< ±2% @ >10 W
< ±10% @ 3 - 10 W
< ±0,3 W @ <3 W
- Introduction......37
- Explanation of symbols ...... 38
- Package contents......38
- Intended use....39
- Safety information ....40
a) General information....40
b) Operating location....41
c) Handling and use....41
- Controls/display....44
a) Device 44
b) Display symbols 45
- Operation....46
- Operation....47
a) Switching between "CURRENT" and "FORECAST" mode ....47
b) Switching the display indicators 48
c) Starting, using, closing setup mode 51
d) Setting the time 52
e) Setting electricity tariff 1 and 2....53
f) Setting the standby and low standby limit value ....54
g) Setting the CO_2 emissions 55
h) Alarm in the event of overload 56
i) Delete mode "CLr"....57
j) Backlight....59
k) Resetting the energy cost meter 59
- "FORECAST" mode 60
- Automatic measurement 62
a) Setting the time period 62
b) Starting the measurement process....63
c) Starting the measurement process again with the same time period ..63
d) Cancelling the measurement process early....64
e) Viewing saved measurement processes....64
-
Care and cleaning 65
-
Disposal....65
-
Technical data 66
1. Introduction
Dear customer,
Thank you for purchasing this Voltcraft® product.
Voltcraft ^® produces premium, innovative measuring, charging and network devices that offer outstanding performance.
From the ambitious electronics enthusiast to the professional user, Voltcraft® products provide the optimal solution for the most demanding tasks. And, in particular, we offer sophisticated technology and reliable quality in our Voltcraft® products for an almost unique cost-performance ratio. We have created the basis for long, prosperous and successful cooperation.
We hope that you enjoy using your new Voltcraft® product.
All company and product names are trademarks of their respective owners. All rights reserved.
If there are any technical questions, please contact: www.conrad.com/contact
2. Explanation of symbols
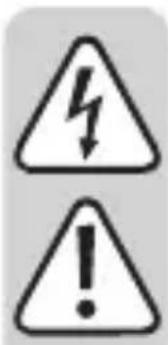
The symbol with the lightning in a triangle indicates that there is a risk to your health, e.g. due to an electric shock.

The symbol with an exclamation mark in a triangle is used to highlight important information in these operating instructions. Always read this information carefully.
The arrow symbol alerts the user to the presence of important tips and notes on using the device.

This product must only be used in dry, enclosed areas; it must not become damp or wet.

Always follow these operating instructions.

Do not connect in series! This can lead to an overload of the product! There is a risk of fire!
3. Package contents
- Energy cost meter
- Operating instructions

Up-to-date operating instructions
To download the latest operating instructions, visit www.conrad.com/downloads or scan the QR code on this page. Follow the instructions on the website.
4. Intended use
The product is used to measure and display the power consumption of electrical devices. The product is connected between the mains socket and the electrical load and requires no additional installation. Operation is only permissible when connected to an earthed household mains socket. The max. admissible power rating of the connected load must not be exceeded (see chapter “Technical data”).
Two different electricity tariffs can be entered for cost calculation (e.g. for day/night-time electricity).
Furthermore, the CO_2 emissions of your electricity tariff can be entered. The energy cost meter can then show how much CO_2 was produced while the connected load was used (or how much CO_2 production was prevented when using electricity from sustainable sourced compared to a normal electricity tariff).
The saved data can also be displayed when not connected to a mains socket since in this case, the power is supplied by an integrated Supercap capacitor.
The energy cost meter is not officially calibrated and therefore must not be used for billing purposes.
It may only be used in dry indoor locations. The product must not become damp or wet.
Read the operating instructions carefully and store them in a safe place. Only make this product available to third parties together with its operating instructions. Observe all safety information and other information in these operating instructions.
Using this product for any purpose other than those described above may damage the product and result in a short circuit, fire or electric shock. The process must not be modified or reassembled!
This product complies with statutory, national and European requirements.
Read all of the operating instructions thoroughly before putting the product into operation; they contain important information and notes on correct operation.
Damage caused due to failure to observe these instructions will void the warranty. We shall not be liable for any consequential damage.
We shall not be liable for damage to property or personal injury caused by incorrect handling or failure to observe the safety information! Such cases will void the warranty/guarantee.
a) General information
- The unauthorised conversion and/or modification of the product is prohibited for safety and approval reasons. Do not open/disassemble! It contains no customer-serviceable parts.
- Maintenance, adjustment or repair work may only be carried out by an expert/authorised service centre, which is familiar with the hazards involved and the relevant regulations.
- This product is built according to protection class I. It must only be connected to an earthed mains socket.
- The mains socket to which the product is connected must be easily accessible.
- The product is equipped with a protection against accidental contact. An integrated mechanism will release the holes of the receptacle only, if the two prongs of a power plug are inserted into the two holes at once.
• Take special caution when children are around. Children cannot recognize the danger arising from the incorrect use of electrical devices. There is a risk of a life-threatening electric shock!
- Do not leave the packaging material lying around carelessly as it may be a danger to children.
- Handle the product with care. Impacts or falls (even from a low height) may damage the product.
• Always comply with the accident prevention regulations for electrical equipment when using the product in industrial facilities. - If you have questions which remain unanswered by these operating instructions, please contact us or other technical personnel.
b) Operating location
- The product may only be used in dry, enclosed, indoor areas. It must not become damp or wet! Never place the product in direct vicinity of a bathroom, shower, bathtub, etc. Danger of death due to electric shock!
- This product is not a toy and must be kept out of the reach of children. Position the product so it is out of the reach of children.
- The product must not be exposed to extremes of temperature, direct sunlight or strong vibrations.
- Do not use the product in environments where there are high levels of dust, flammable gases, vapours or solvents. This may cause a fire or explosion!
• Never use the product in a vehicle.
c) Handling and use
• Always observe the safety information and operating instructions of any other devices that are connected to the product.
- Never pull out a mains plug by pulling on its cable when disconnecting it from the front socket of the product. Always pull the plug out of the front socket by gripping the area on its sides.
- Never overload the product. Pay attention to the connection specifications in the “Technical data” section.
- Do not connect several energy cost meters to one another.
- Do not operate while covered! At higher connected loads, the product becomes warm, which can lead to overheating and potentially a fire if covered!
• De-energised only if unplugged!
- Only use the product in temperate climates. It is not suitable for use in tropical climates.
- Never touch the product or the mains plug with wet or damp hands when trying to connect a plug to the front socket. This may cause a fatal electric shock.
- Never connect the product to the mains immediately after it has been brought from a cold room into a warm one (e.g. after being transported). The condensation that develops in such cases could damage the device or cause an electric shock! Let the product reach room temperature first. Wait until the condensation has evaporated; this may take several hours. Only after this may the product be connected to the mains supply and put into use.
- Do not use the product if it is damaged. There is a risk of fatal electric shock!
- Switch off the mains socket to which the product is connected (switch off at the corresponding circuit breaker or remove the safety fuse, then switch off the residual current operated circuit breaker). Then unplug the product from the mains socket.
Discontinue use of the product and take it to a specialised workshop or dispose of it in an environmentally friendly manner.
- Safe operation can no longer be assumed if:
- there are signs of damage
- the product does not work at all or works poorly (leaking smoke or a smell of burning, audible cracking noises, discolouration to the product or the adjacent surfaces)
- the product was stored under unfavourable conditions
- the product was mishandled during transport
- If the product is not going to be used for an extended period of time (e.g. storage), disconnect it from the power supply removing by removing it from the mains socket. Keep it in a dry, cool place and out of the reach of children.
- Never pour liquids above or near the product. This constitutes a serious fire hazard and may result in a fatal electrical shock. If any liquid has managed to enter the device, immediately switch off the power supply to the mains socket at which the product is connected (deactivate the fuse/circuit breaker/residual current operated circuit breaker of the associated circuits). Only then can you unplug the product from the mains socket and contact a specialist. Discontinue use of the product.
6. Controls/display
a) Device
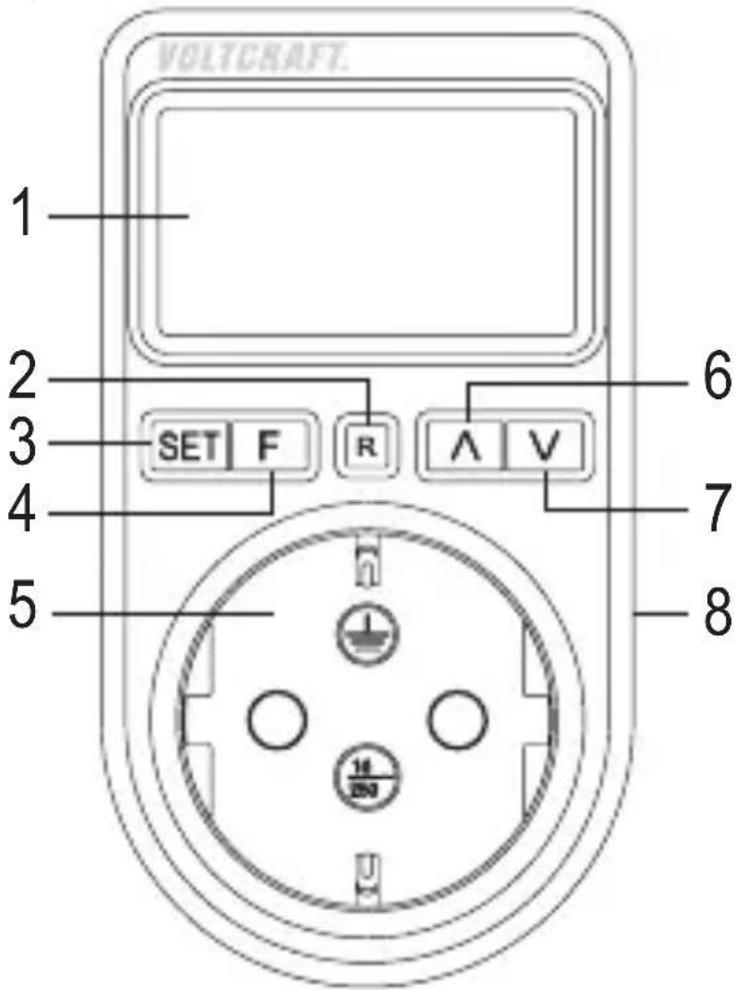
1 Display
2 R button
3 SET button
4 F button
5 Earthed socket for connection of the load to be measured
6 ^ button
7 V button
8 Earthed plug (at the rear)
b) Display symbols
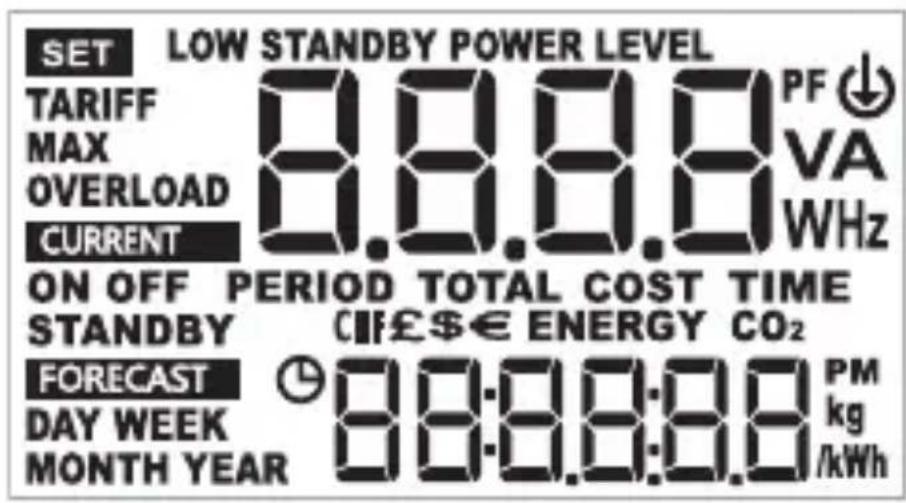
SET
Setting
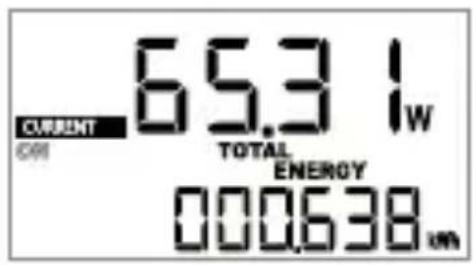
CURRENT
Current data for ON/OFF/STANDBY status (the current status of the connected load flashes)
FORECAST
Forecast mode (duration of the forecast = DAY/WEEK/MONTH/YEAR indicator)
TARIFF Electricity tariff
MAX Maximum value indicator
OVERLOAD
Overload
PF Power factor
V Voltage in Volt
W Power in Watt
A Current in Ampere
TIME Operating time
COST Cost display
PERIOD Automatic measurement process
PM Afternoon in 12h time mode
ENERGY Energy (indicated in kWh = kilowatt hour)
CO _2
CO _2 emissions (indicated in kg/kWh)

Power limit LOW STANDBY POWER LEVEL
7. Operation
A Supercap condenser is integrated into the energy cost meter, which is used to operate/program the device without having to plug it into a mains socket (for min. 30 minutes).
The capacitor is usually in an uncharged state upon delivery/start-up. Therefore, the energy cost meter can only be operated/programmed when it is plugged directly into a mains socket upon start-up.
You can unplug the energy cost meter from the mains socket and program it, e.g. in sufficient light in the living room or office, only when the capacitor is sufficiently charged (after min. 2 hours).
For energy saving reasons, the display backlight only works when the energy cost meter is plugged into a mains socket.
If the energy cost meter is operated without plugging it into a mains socket and the super-cap capacitor becomes empty, the time is lost. You must then set these again.
Proceed as follows:
- Disconnect any loads that may be connected to the energy cost meter.
- Plug the energy cost meter into an earthed household mains socket (230 V/AC, 50 Hz). On start-up, wait until the normal display appears.
- If the load you want to connect to the energy cost meter has a mains switch, switch it off.
- Plug the mains plug of the load into the earthed mains socket on the front of the energy cost meter.
- Switch the load on and wait a few seconds until the energy cost meter shows the first measured data.
- Before you can use all functions of the energy cost meter, you must first implement a few settings (e.g. time, electricity tariff).
a) Switching between "CURRENT" and "FORECAST" mode
"CURRENT" mode is the normal operating mode in which the power consumption of the connected load is measured and displayed. In addition, the energy costs are calculated and displayed on the basis of the electricity prices entered. After start-up, this mode is automatically preselected.
→ Important:
Setup mode can only be called with a long press of the in "CURRENT" mode (see Chapter 8. c)!
SET button (3)
“FORECAST” mode is intended to produce a forecast of energy consumption, costs and CO_2 values on the basis of the saved measured data. Forecasts can be produced for one day, one week, one month and one year. For example, you can estimate what operation of an electrical load will cost.
→ For more information on "FORECAST" mode, see Chapter 9.
Switch mode as follows:
- Press and hold the F button (4) for 3 seconds.
• The display switches between and FORECAST
CURRENT
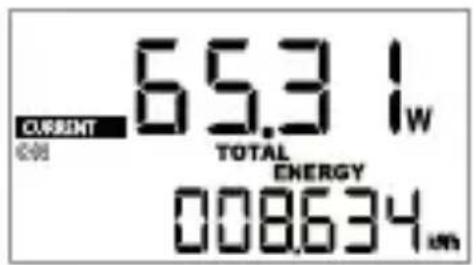
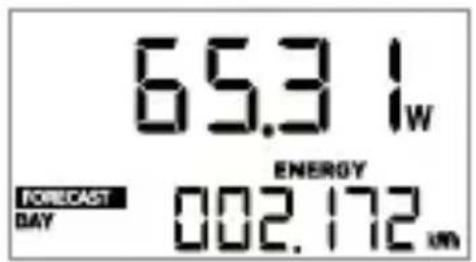
b) Switching the display indicators
Briefly pressing the SET button (3) displays the indicators for the various operating statuses of the load:
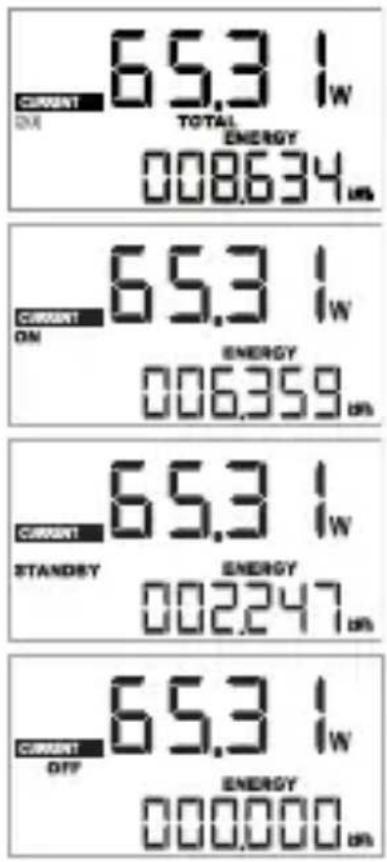
Data total "TOTAL ENERGY"
Data for operating status "ON"
Data for operating status "STANDBY"
Data for operating status "OFF"
In order that data for the operating statuses is displayed correctly, the standby limit value must be set (see Chapter 8. f).
The information shown in the upper display area can be toggled with the button (6). The following indicators are available:

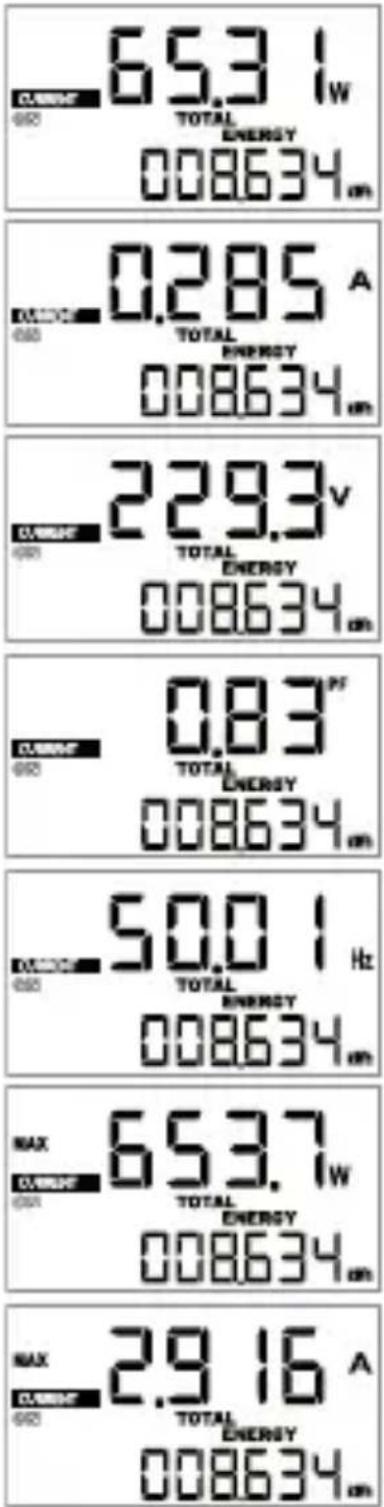
Power in Watt ("W")
Current in Ampere ("A")
Voltage in Volt ("V")
Power factor ("PF")
Mains frequency ("Hz")
Max. power in Watt ("MAX W")
Max. current in Ampere ("MAX A")
The values for power, current, voltage and power factor are the current measured values in each case.
The maximum power and maximum current values are the maximum values for power and current measured since the last reset of the energy cost meter (maximum vales may be very brief maximum values, e.g. at the point of switch-on).
The information in the lower display area can be toggled with the √ button (7). The following indicators are available:
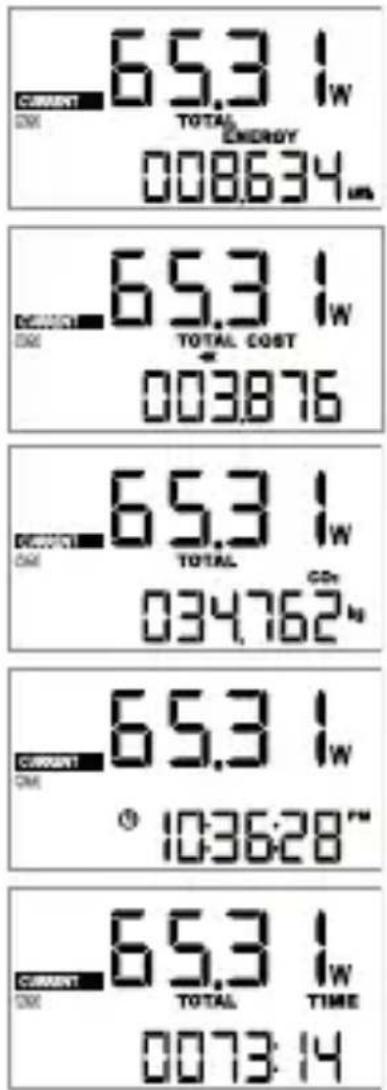
Energy in kWh ("TOTAL ENERGY")
Costs ("TOTAL COST")
CO 2 emissions (“TOTAL CO 2 ”)
Current time
Operating time ("TOTAL TIME")
c) Starting, using, closing setup mode
- Setup mode can be started and ended by pressing the SET button (3) for 3 seconds each time. The settings are applied when closing.
→ Important:
Setup mode can only be called when the energy cost meter is in the "CURRENT" mode, see Chapter 8. a).
- If no indicator is flashing, you can also exit setup mode by briefly pressing the button (2). Settings will be saved.
- If no indicator is flashing in setup mode, you can use the switch to the period record (see Chapter 10. e).
- If no indicator is flashing in setup mode, you can use the switch between the various setting functions.
The following settings are available:
- Time and 12/24 h mode
- Electricity tariff 1 and 2 (costs and start time)
- Setting the standby and low standby limit value
- CO _2 emissions value of the electricity tariff
- Alarm in the event of overload
-
Delete mode
-
To change the setting of the function shown on the display, briefly press the SET button (3).
- Change the flashing value with the ^ button (6) or button (7). Briefly pressing the button (3) switches to the next input point or ends the input, depending on the setting function.
d) Setting the time
- As already outlined in Chapter 8. c, press and hold the Button (3) for 3 seconds until appears in the upper left area of the display (only in "CURRENT" mode, see Chapter 8. a). The current time mode ("12Hr" or "24Hr") is displayed in the upper display row.
To switch to the next setting (electricity tariff) (see Chapter 8. e), briefly press the button (7).
- To switch between time modes (12h or 24h), briefly press the SET button (3); "12" or "24" flashes on the display.
- Switch between 12h and 24h mode by briefly pressing the ^ button (6) or button (7).
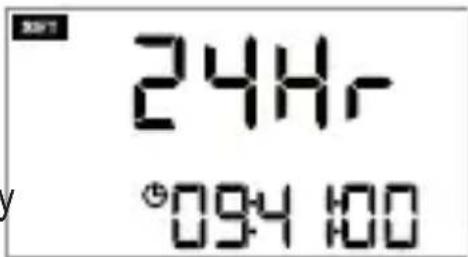
When using 12h mode, “PM” appears to the right of the time during the second half of the day.
- Briefly press the SET (3) button; the hours flash on the display.
- Set the hours by pressing the button (6) or button (7).
- Briefly press the SET (3) button; the minutes flash on the display.
- Set the minutes by pressing the button (6) or button (7).
- Briefly press the SET button (3); all indicators stop flashing.
If no indicator is flashing, you can jump to the next setting by briefly pressing the √ (7) button or exit the setup menu by briefly button (2).
e) Setting electricity tariff 1 and 2
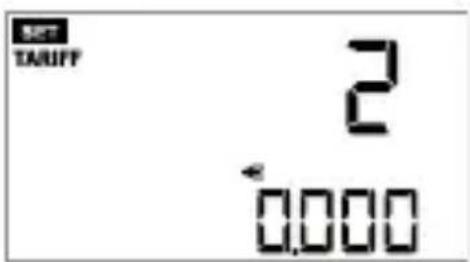
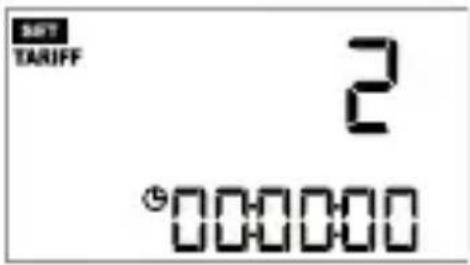
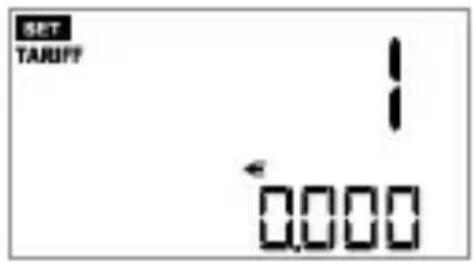
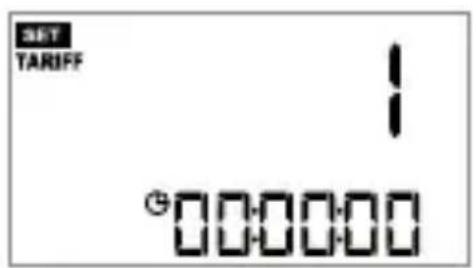
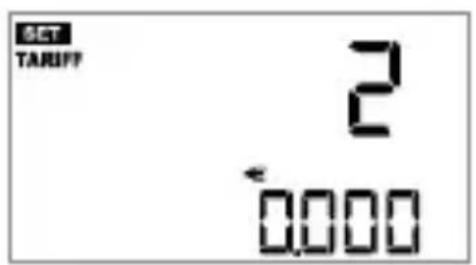
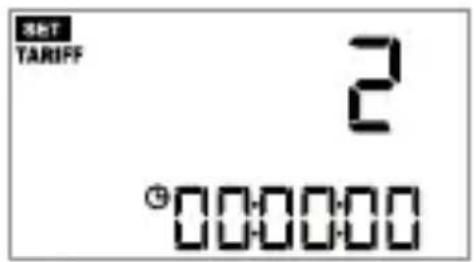
Two different electricity tariffs can be set for cost calculation (e.g. for day/night-time electricity). If you only have one electricity tariff, set the same price for both tariffs and leave the start time at "00:00:00".
- If you have set the 12h/24h format and the time (see Chapter 8. d) before setting the electricity tariff, you can proceed directly to the next step.
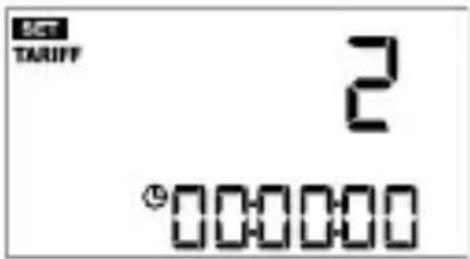
Otherwise, setup mode must be started, see Chapter 8. c). Press the button (7) to go to setting of the first electricity tariff, see the next step. - Briefly pressing the SET button (3) switches successively between the currency, electricity price input and start time settings for both electricity tariffs.
Special times for switching between day-time and night-time electricity (weekends, public holidays) cannot be taken into account. - Change the respective flashing value with the ^ button (6) or button (7).
- If no indicator is flashing, you can jump to the next setting by briefly pressing (the button or exit the setup menu by briefly pressing the button (2).
f) Setting the standby and low standby limit value
Two different limit values for standby power consumption can be set. With some devices, the normal standby power consumption falls to an even lower value after a certain period of time.
- If you have set the electricity tariff (see Chapter 8. e) before setting the standby limit values, you can proceed directly to the next step.
Otherwise, setup mode must be started, see Chapter 8. c). Press the button (7) twice to go to setting of the standby limit value, see the next step.
- Briefly press the SET button (3); "STANDBY POWER LEVEL" flashes at the top of the display.
- Use the ^ button (6) or button (7) to switch between the standby limit value ("STANDBY POWER LEVEL") and the low standby limit value ("LOW STANDBY POWER LEVEL" = symbol
- Briefly press the SET button (3), the limit value for power consumption flashes.
- Change the respective flashing value with the button (6) or button (7).
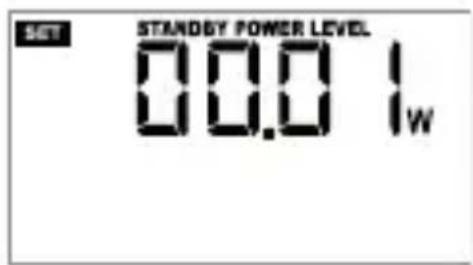
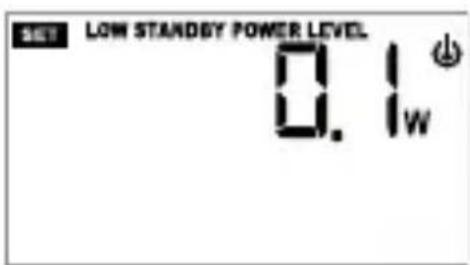
For the limit value "LOW STANDBY POWER LEVEL", set a lower limit value than for "STANDBY POWER LEVEL".
- If no indicator is flashing, you can jump to the next setting by briefly pressing the V button or exit the setup menu by briefly pressing button (2).
g) Setting the CO_2 emissions
Here, you can enter the CO_2 emissions per kWh. The value applicable to your respective electricity tariff (for example 0.480kg / kWh ) can be found on your electricity provider's website.
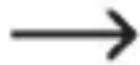
If you have an electricity tariff with 100% electricity from sustainable resources, entering 0.000 kg CO _2 /kWh is not appropriate.
You can enter a value for the CO 2 emissions of a normal electricity tariff. The energy cost meter then shows how much CO 2 is saved by using a provider of energy from sustainable resources.
Depending on the power consumption, the energy cost meter shows the respective CO_2 emissions generated during operation of the connected load.
- If you have set the standby limit value (see Chapter 8. f) before setting the CO_2 value, you can proceed directly to the next step.
Otherwise, setup mode must be started, see Chapter 8. c). Press the button (7) three times to go to setting of the CO_2 value, see the next step.
- Briefly pressing the SET button (3) several times selects the input position for the CO_2 value (the selected input position flashes).
- Change the flashing value with the ∧ button (6) or button (7). After confirming the last input position, the display stops flashing.
- If no indicator is flashing, you can jump to the next setting by briefly pressing the ☑ (7) button or exit the setup menu by briefly pressing the button (2).
h) Alarm in the event of overload
If a set limit value is exceeded, the energy cost meter sounds an alarm every 5 seconds and “OVERLOAD” flashes on the display. Press any button to stop the alarm. “OVERLOAD” will continue to flash.
This function cannot only be used for protection of the energy cost meter or a connected load, but to signal when the load has exceeded the set limit value during operation. You do not have to monitor the display all the time.
A power value (W) as well as a current value (A) can be set as the limit value. The function is deactivated if “0” is entered for either limit value.
If both limit values are programmed (e.g. 1000 W and 2 A), the alarm is activated when the lower of the two values is exceeded (for the example above, the alarm is triggered at 2 A; this corresponds to a power of 460 W for a mains voltage of 230 V/AC).
If necessary, switch off the load in the event of an overload and disconnect it from the energy cost meter.
- If you have set the CO_2 value (see Chapter 8. g) before setting the overload alarm, you can proceed directly to the next step.
Otherwise, setup mode must be started, see Chapter 8. c). Press the button (7) four times to go to setting of the overload alarm, see the next step.
- “OVERLOAD” appears on the display, the limit value for the overload can now be set.
- Briefly press the SET button (3) so that "W" flashes on the display.
- Switch between the limit value for power ("W" flashes) and current ("A" flashes) with the button (6) and (7) button.
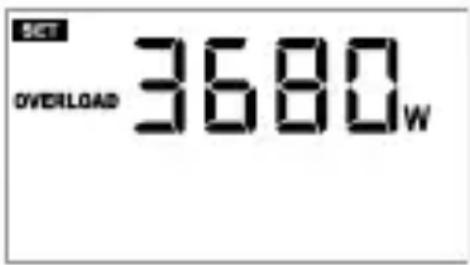
- Briefly press the SET (3) button, the first position of the limit value flashes.
-
Change the numeric value of the flashing input position with the (6) or button (7).
-
Briefly press theT button (3) to confirm, the next input position is the selected.
• After confirming the last input position, the display stops flashing. - If no indicator is flashing, you can jump to the next setting by briefly pressing the V (7) button or exit the setup menu by briefly press button (2).
i) Delete mode "CLr"
Two functions can be used for deleting the saved information/settings:
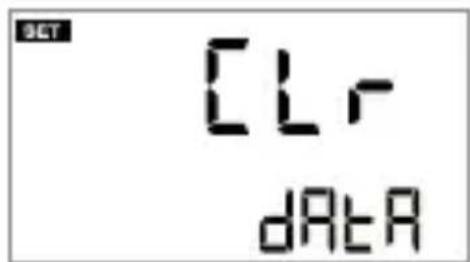
This is recommended when another load is connected or if you want to restart the measurement process.
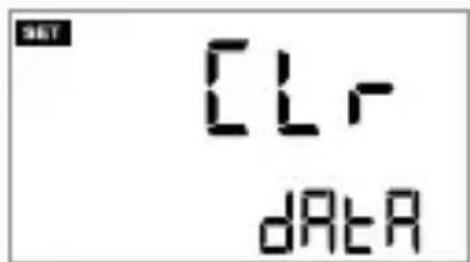
- Function "CLr dAtA"; the following parameters are deleted/reset:
- Period record
- Energy (kWh)
- Costs
- Operating time
- Value for CO_2 emissions
- Maximum value for power and current
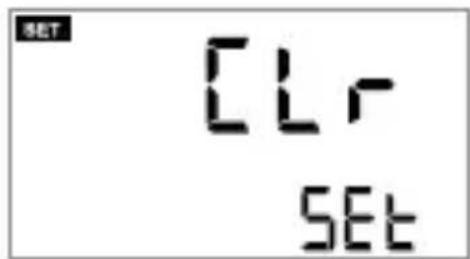
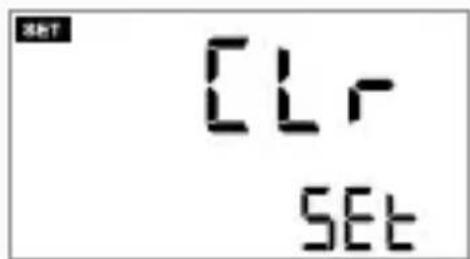
- Function "CLr SET"; the following parameters are deleted:
- Period record
- Period time setting
- Electricity tariff
- CO _2 emissions per kWh (kg/kWh)
- Value for overload alarm
- Standby limit values
- Time setting
- If you have set the overload alarm (see Chapter 8. h) before setting delete mode, you can proceed directly to the next step.
Otherwise, setup mode must be started, see Chapter 8. c. Press the button (7) five times to open delete mode, see the next step.

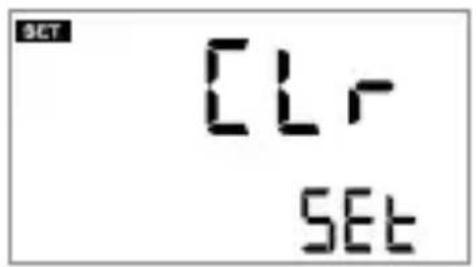
- “CLr” appears on the display.
Briefly press the SET button (3), "CLr dAtA" appears at the bottom of the display.
- Use the ^ button (6) and button (7) to select one of the two delete functions "CLr dAtA" and "CLr SEt".
→ The data that is deleted is outlined at the start of Chapter 8 i).
- To delete the selected data, press and hold the F button (4) for 3 seconds until a beep is heard. The selected data is deleted. "CLr" appears on the display again.
If you want to interrupt delete mode without deleting data, briefly press the SET button (3). "CLr" appears on the display.
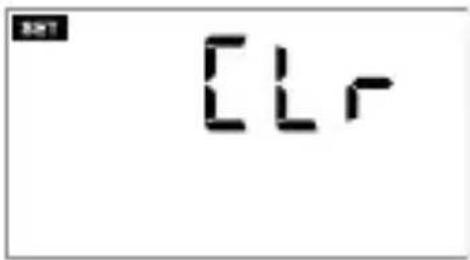
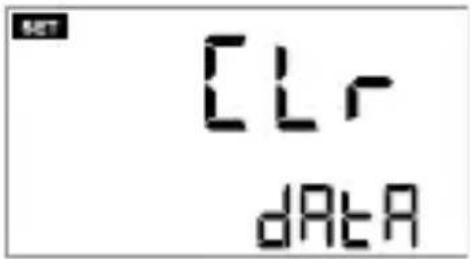
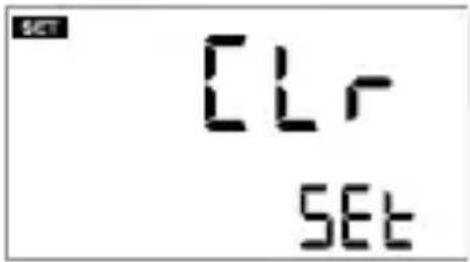
- If no indicator is flashing, you can go to the start of setup mode (time setting, see Chapter 8. d) by briefly pressing the ∨ (7) button or exit the setup menu by briefly pressing the R button (2).
j) Backlight
When the energy cost meter is connected to the mains voltage, the backlight is switched on automatically when a button is pressed.
The backlight is switched off automatically if no button is pressed for 30 seconds.
The display backlight works when the energy cost meter is plugged into a mains socket.
k) Resetting the energy cost meter
The energy cost meter can be fully reset.
All settings (time, electricity tariff, etc.) and measured data are lost if the device is reset.
Proceed as follows:
- Press and hold the R button (2) for at least 3 seconds.
- The energy cost meter emits a beep and the display flashes twice.
- Release the R button (2). All settings and measuring data are deleted. Then, proceed from the beginning of Chapter 8 to implement all settings.
The maximum measuring time is 9999 hours and 59 minutes. When this time is reached, the display will show 9999:59 in “TOTAL TIME”. The energy cost meter will not save data anymore but real time data is still able to show, also the device will sound an alarm (same as “OVERLOAD”) to let user know that the maximum time is reached. In this case you have to perform a reset to resume operation.
9. "FORECAST" mode
"FORECAST" mode is intended to produce a forecast of energy consumption, costs and CO_2 values on the basis of the saved measured data. For a consumption forecast, a period of time can be selected from one day, one week, one month or one year. For example, you can estimate what operation of an electrical load will cost.
In order for a consumption forecast to be possible, measured data of a previously monitored load must be available.
- To switch between "CURRENT" mode and "FORECAST" mode, press and hold the button (4) for 3 seconds (see also Chapter 8. a).
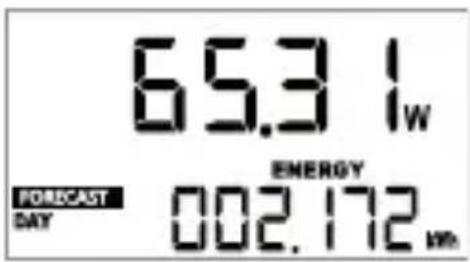
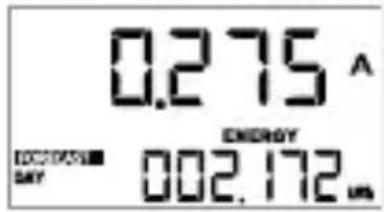
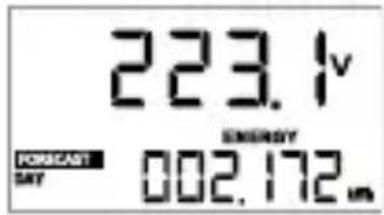
- If "FORECAST" mode is active for the consumption forecast, FORECAST appears on the display.
-
Briefly press the SET button (3) several times to switch between the different time periods for the consumption forecast:
-
"DAY": Time period = 1 day
- "WEEK": Time period = 1 week
- "MONTH": Time period = 1 month
- "YEAR": Time period = 1 year
- When the symbols ("LOW STANDBY POWER LEVEL") and ↓ appear in the display: The power consumption of the connected device is below the low standby limit ("LOW STANDBY POWER LEVEL", see Chapter 8. f).
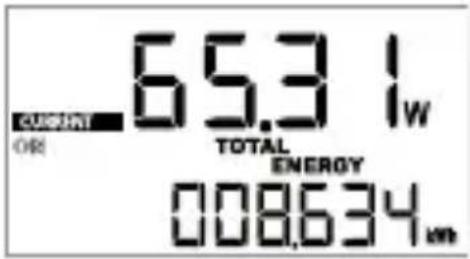
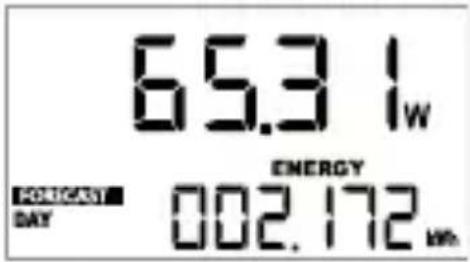
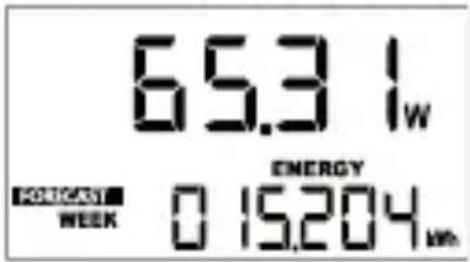
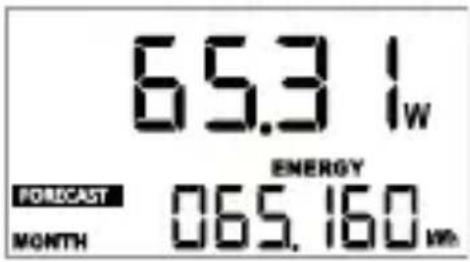
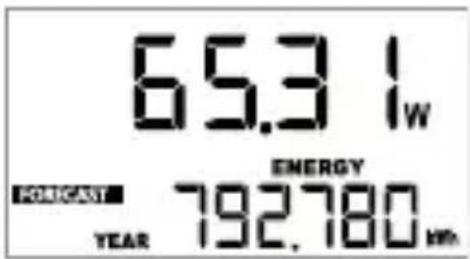
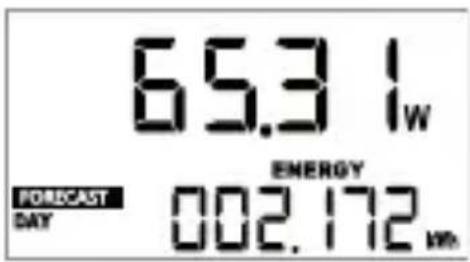
The information shown in the upper display area can be toggled with the button (6). The following indicators are available:

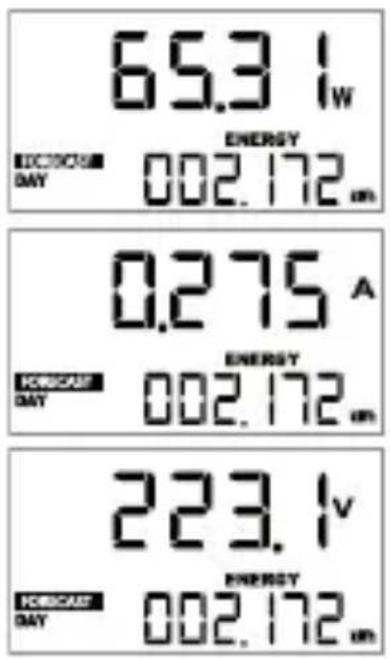
Power in Watt ("W")
Current in Ampere ("A")
Voltage in Volt ("V")
The information in the lower display area can be toggled with the √ button (7). The following indicators are available:
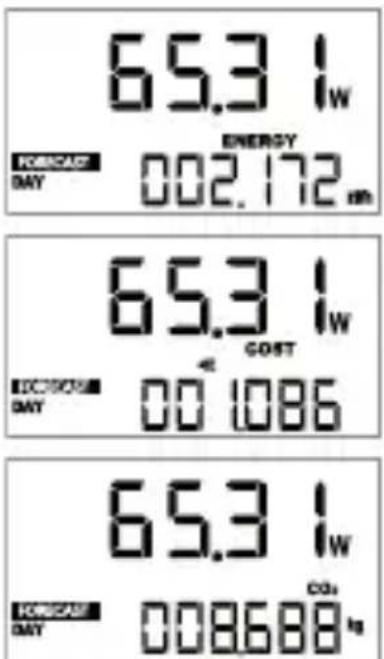
Energy in kWh ("ENERGY")
Costs ("COST")
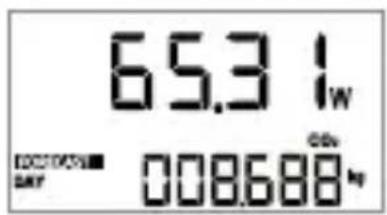
CO_2 value (“ CO_2 ”)
10. Automatic measurement
The energy cost meter can record the total power consumption of a load for a certain period of time. The electricity costs and CO2 emissions for the period can also be displayed on the basis of the data entered for the electricity tariff and CO2 value.
→ Important:
Automatic measurement can only be called and used in "CURRENT" mode (see Chapter 8. a)
a) Setting the time period
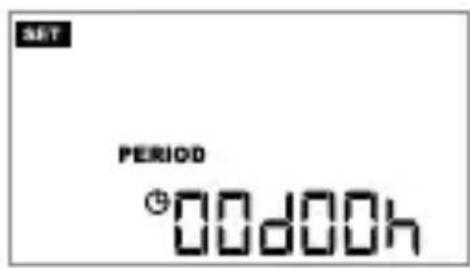
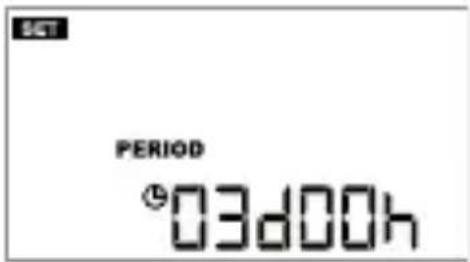
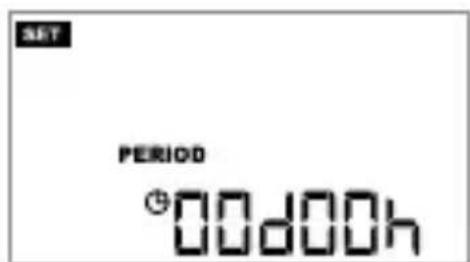
- Briefly press the button (4). "PERIOD" and the currently set time period for the measurement process appear on the display.
$$ " 0 0 d" = \text { number of days } (0 0 - 0 7) $$
$$ " 0 0 h" = \text { number of hours } (0 0 - 2 3) $$
To cancel the settings and to return to the normal display, press the R button (2).
- To start the setting, briefly press the SET button (3), the day flashes.
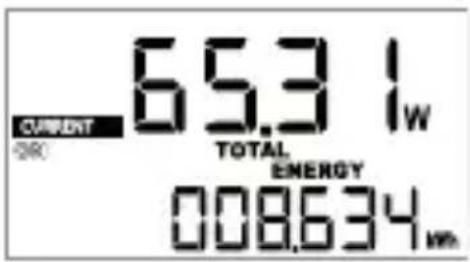
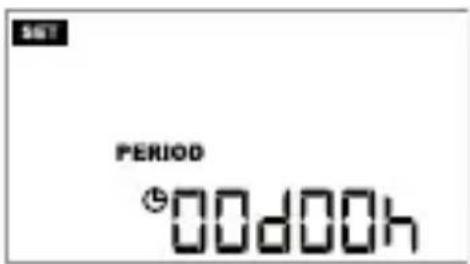
- Use the ∧ button (6) or button (7) to set the number of days (00 - 07) that the measurement process should last.
- Briefly press the SET (3) button to go to hour setting.
- Use the ∧ button (6) or button (7) to set the number of hours (00 - 23) that the measurement process should last.
- Briefly press the SET button (3) to end the setting process. No further value flashes on the display.
b) Starting the measurement process
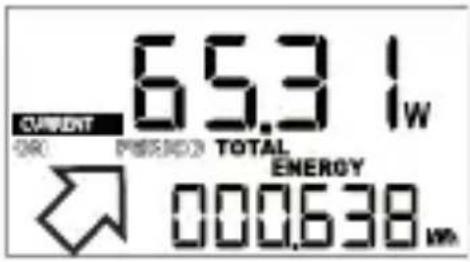
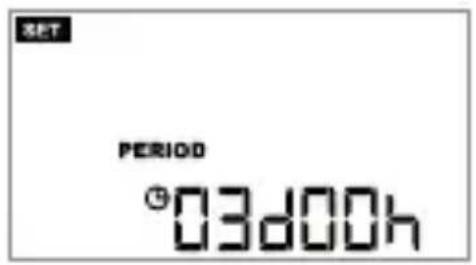
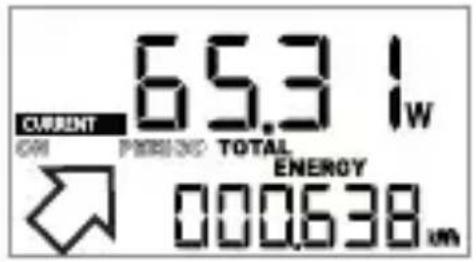
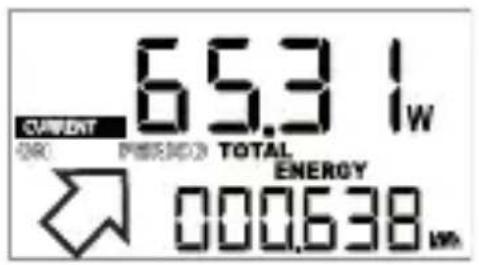
- Start by setting the time period, see Chapter 10. a). In the example to the right, a time period of 3 days has been set.
- When no indicator is flashing, start the measurement process by briefly pressing the button (4).
- The display switches back to the measured values. During the automatic measurement process, "PERIOD" flashes on the display, see the arrow in the figure to the right.
- You can, as usual, use the ^ button (6) or button (7) for more information.
c) Starting the measurement process again with the same time period
To start another measurement process with the same, previously set time period, proceed as follows:
- Briefly press the F button (4). “PERIOD” and the currently set time period for the measurement process appear on the display.
- Briefly press the SET button (3), the day flashes.
- Briefly press the SET button (3), the hours flash.
- Briefly press the SET button (3), setup mode is ended, no indicator flashes.
- Start the measurement process by briefly pressing the F button (4) (see also Chapter 10. b).
d) Cancelling the measurement process early
- Briefly press the button (4) so that the currently set time period is shown on the display.
- Press and hold the F button (4) for 3 seconds until the normal indicator appears on the display.
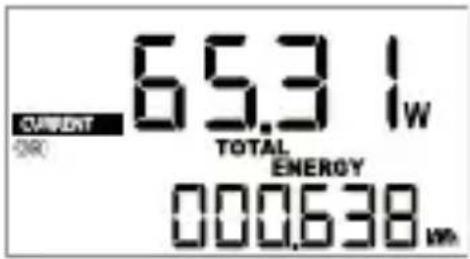
- Once the flashing "PERIOD" indicator has disappeared, the measurement process has been cancelled.
e) Viewing saved measurement processes
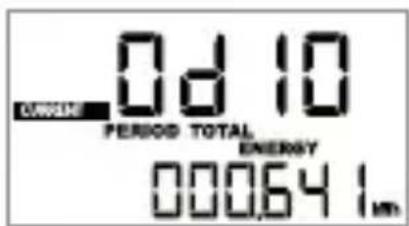
The energy cost meter saves data for the last 3 measurement processes.
The following functions are only possible if a measurement process has previously been ended correctly.
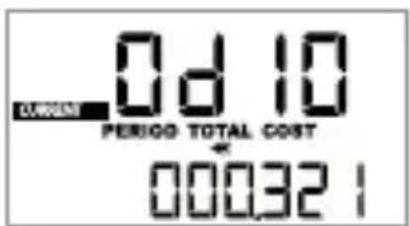
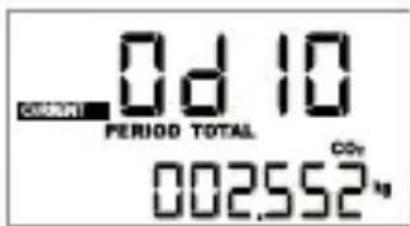
- Briefly pressing the button (6) several times allows you to select the measurement process that you want to view. The respective duration is displayed in the upper row.
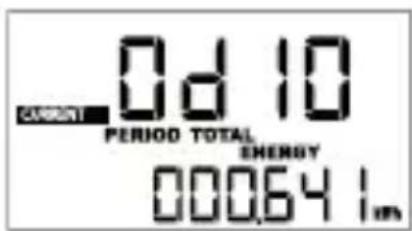
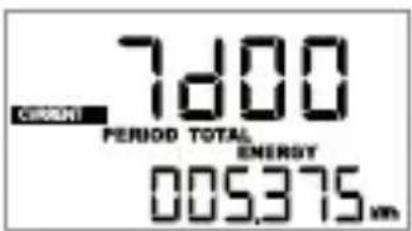
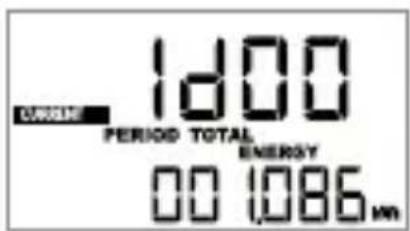
- Briefly press the button (7) several times to view the data (lower display row: "ENERGY" = energy in kWh, "COST" = costs, "CO₂" = CO₂ value).
11. Care and cleaning
This product does not require maintenance. Repair or maintenance work must be carried out by a technician or a specialist repair centre. The product contains no parts that require servicing. Therefore, do not open/dismantle it.
Prior to cleaning the energy cost meter, disconnect it from the mains socket completely. Remove any connected loads fully from the socket on the energy cost meter.
A dry, soft and clean cloth is sufficient for cleaning the exterior.
Dust can be easily removed using a clean, long-haired brush and a vacuum cleaner.
Never use aggressive detergents, rubbing alcohol or other chemical solutions, as these could damage the housing or stop the product from functioning properly.
12. Disposal

Electronic devices are recyclable waste and must not be disposed of in the household waste. At the end of its service life, dispose of the product according to the relevant statutory regulations.
You thus fulfil your statutory obligations and contribute to protection of the environment.
13. Technical data
Operating voltage 230 V/AC, 50 Hz
Internal power consumption ....approx. 0.4 W (for the charging period of the integrated Supercap max. approx. 1.1 W)
Max. connection power....3680 W (230 V/AC, 16 A)
Setup range for overload alarm....0 - 19 A / 0 - 3999 W
Time display ....Hours, minutes, seconds (with 12h/24h format)
Currency for electricity tariff......€, \$, £ or CHF
Electricity tariff resolution....0.001
Operating conditions....0 °C to +40 °C, 10 % to 90 % relative air humidity, non-condensing
Storage conditions....-10 °C to +70 °C, 5 % to 90 % relative air humidity, non-condensing
Dimensions (H x W x D) 102.5 x 56 x 71.6 mm
Weight .....approx. 135 g
Measurement range, tolerance and resolution:
Voltage:
Measurement range 190 - 270 V/AC
Tolerance....±2 %
Resolution....0.1 V
Frequency:
Measurement range 45 - 65 Hz
Tolerance ....../< ±1 %
Resolution....0.01 Hz
Current:
Measurement range 0.02 - 19.00 A
Tolerance .... < ±2 % @ >0.5 A
< ±5 % @ 0.05 - 0.5 A
< ±0.005 A @ <0.05 A
Resolution....0.001 A @ 0 - 9.999 A
0.01 A @ 10.00 - 19.00 A
Power:
Measurement range 0.2 - 3999 W
Tolerance .... < ±2 % @ >10 W
< ±10 % @ 3 - 10 W
< ±0.3 W @ <3 W
Resolution....0.001 W @ 0.3 - 9.999 W
0.01 W @ 10.00 - 99.99 W
0.1 W @ 100.0 - 999.9 W
1 W @ 1000 - 3999 W
Power factor:
Measurement range 0.000 - 1.000
Tolerance .... < ±5 % @ >0.5
< ±25 % @ <0.5
Resolution....0.001
Pagina
Vermogen in watt ("W")
Stroom in ampère ("A")
Spanning in volt ("V")
Energie in kWh ("TOTAL ENERGY")
Kosten ("TOTAL COST")
CO 2 -emissie ("TOTAL CO 2 ")
Huidige tijd
f) Stand-by- en low-stand-by-grenswaarde instellen
Vermogen in watt ("W")
Stroom in ampère ("A")
Spanning in volt ("V")
Kosten ("COST")
CO_2 -waarde (" CO_2 ")
b) Meting starten
Resolutie....0,001 A @ 0 - 9,999 A
0,01 A @ 10,00 - 19,00 A
Vermogen:
Meetbereik....0,2 - 3999 W
Tolerantie ....../< ±2 % @ >10 W
< ±10 % @ 3 - 10 W
< ±0,3 W @ <3 W
Resolutie....0,001 W @ 0,3 - 9,999 W
0,01 W @ 10,00 - 99,99 W
0,1 W @ 100,0 - 999,9 W
1 W @ 1000 - 3999 W
Arbeidsfactor:
Meetbereik....0,000 - 1,000
Tolerantie ....../< ±5 % @ >0,5
< ±25 % @ <0,5
Resolutie....0,001

Copyright 2020 by Conrad Electronic SE.

This is a publication by Conrad Electronic SE, Klaus-Conrad-Str. 1, D-92240 Hirschau (www.conrad.com).
All rights including translation reserved. Reproduction by any method, e.g. photocopy, microfilming, or the capture in electronic data processing systems written approval by the editor. Reprinting, also in part, is prohibited. This publication represent the technical status at the time of printing.
Copyright 2020 by Conrad Electronic SE.

Copyright 2020 by Conrad Electronic SE.

- Introduction
- Explanation of symbols
- Package contents
- Up-to-date operating instructions
- Intended use
- a) General information
- b) Operating location
- c) Handling and use
- Controls/display
- b) Display symbols
- SET
- CURRENT
- FORECAST
- Operation
- Proceed as follows:
- a) Switching between "CURRENT" and "FORECAST" mode
- → Important:
- Switch mode as follows:
- b) Switching the display indicators
- c) Starting, using, closing setup mode
- d) Setting the time
- e) Setting electricity tariff 1 and 2
- f) Setting the standby and low standby limit value
- g) Setting the CO_2 emissions
- h) Alarm in the event of overload
- i) Delete mode "CLr"
- j) Backlight
- k) Resetting the energy cost meter
- "FORECAST" mode
- Automatic measurement
- a) Setting the time period
- b) Starting the measurement process
- c) Starting the measurement process again with the same time period
- d) Cancelling the measurement process early
- e) Viewing saved measurement processes
- Care and cleaning
- Disposal
- Technical data
- Measurement range, tolerance and resolution:
- Voltage:
- Frequency:
- Current:
- Power:
- Power factor:
- Pagina
- f) Stand-by- en low-stand-by-grenswaarde instellen
- b) Meting starten
- Vermogen:
- Arbeidsfactor:
Brand : VOLTCRAFT
Model : SEM4500
Category : Mètre