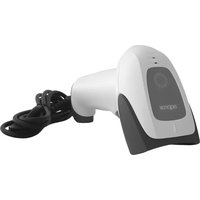
appLS22WH - Scanner Aqprox - Free user manual and instructions
Find the device manual for free appLS22WH Aqprox in PDF.


| Brand | Aqprox |
| Model | appLS22WH |
| Product type | Barcode reader |
| Category | Scanner |
| Power supply | Power via USB port (bus power) |
| Dimensions (approx.) | 10 x 7 x 15 cm |
| Weight (approx.) | 200 g |
| Main functions | Reading 1D and 2D barcodes (QR, Data Matrix, etc.) |
| Screen support | Direct reading from device screen |
| Standby mode | Automatic standby with auto wake-up |
| Configuration | Setup via configuration barcodes |
| Interface | USB (connection to host computer) |
| Care and cleaning | Clean the window with a soft, dry cloth. Do not use solvents. |
| Safety | Do not open the device. Avoid contact with water. Respect the recommended voltage. |
| Recycling | Compliant with WEEE directive (2002/96/EC). Dispose of at a selective collection point. |
| Spare parts and repairability | Not user-repairable. No spare parts available. |
| General information | User manual available for free download. |
Frequently Asked Questions - appLS22WH Aqprox
User questions about appLS22WH Aqprox
0 question about this device. Answer the ones you know or ask your own.
Ask a new question about this device
Download the instructions for your Scanner in PDF format for free! Find your manual appLS22WH - Aqprox and take your electronic device back in hand. On this page are published all the documents necessary for the use of your device. appLS22WH by Aqprox.
USER MANUAL appLS22WH Aqprox
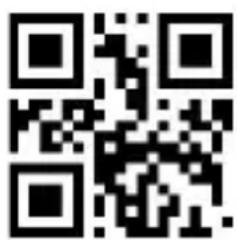
Enter setup Exit setup
*Modo manual
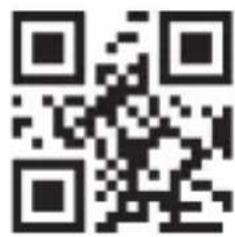
Modo continuo
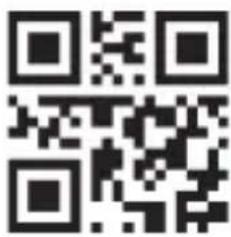
Modo automático
3.3. Sonido
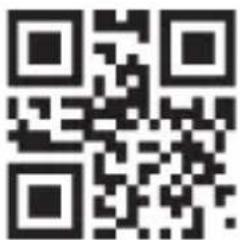
*Con sonido
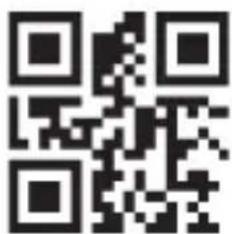
Sin sonido
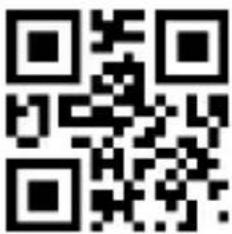
Volumen bajo
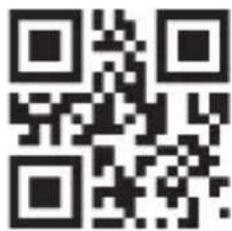
Volumen medio
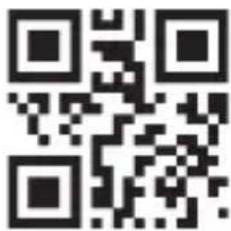
Volumen alto
Please carefully read all the contents of the manual before using the products described in this manual to ensure that the product is safely and effectively preserved for future use. Do not disassemble the terminal or tear off the seal on the terminal. Otherwise, we will not be responsible for the warranty or replacement of the terminal.
appLS22WH is a high performance barcode reader. It can quickly decode any 1D and 2D barcode symbology, including QR codes, from paper or directly from the screen of any device, perfect for customer-facing applications.
1.1. Product display

1.2. Start-up, shutdown, standby and restart
Start-up: Connect host computer with scanner, which will automatically start-up and in working state.
Shutdown: Remove the USB which is connected with host computer.
Standby: Scanner with automatic sleep standby function, it will automatically start-up when barcode approach.
Restart: If the scanner crashes or doesn't respond, please switch it off and restart.
1.3. Maintenance
- The window must be kept clean, the supplier do not bear the guarantee responsibility due to the improper maintenance.
- Avoid the window being wear and tear or scratched by hard object
- Use the hairbrush to remove the stain on the window
- Clean the window with a soft cloth, such as lens cleaning cloth
- Spraying liquid onto the window is prohibited.
- Prohibit any cleaning solvents, except for the cleaning water.
2. Factory defaults
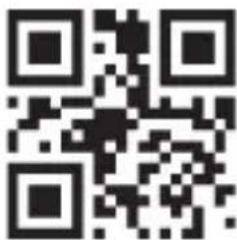
Restore all factory defaults
3. Output settings
3.1. Interface

USB-KBW
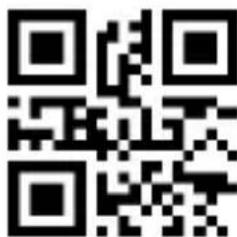
USB Virtual Com
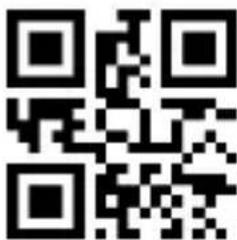
RS-232
3.2. Baud Rate
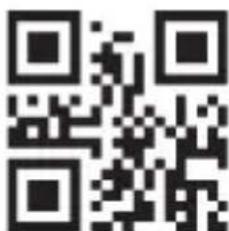
1200
2400
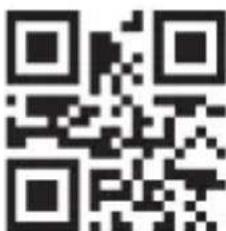
4800
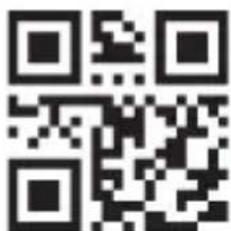
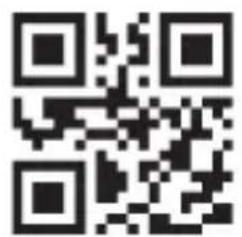
*9600
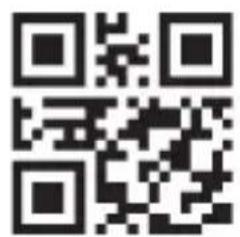
19200
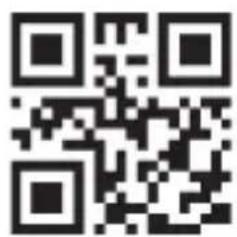
38400
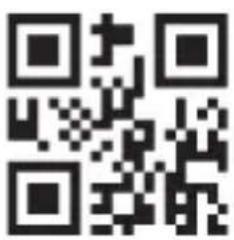
57600
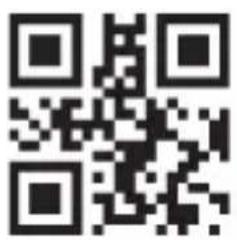
115200
3.3. Keyboard language

USA
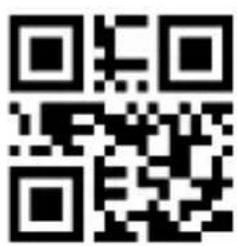
Russia
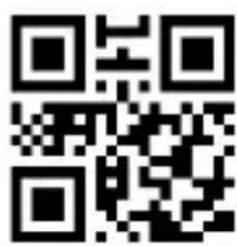
France
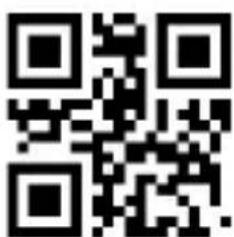
Germany
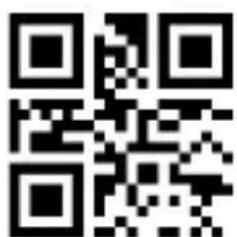
*Spain
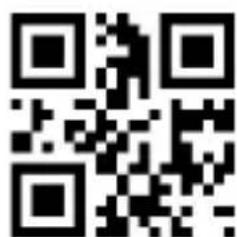
Sweden
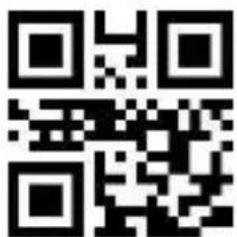
Portugal
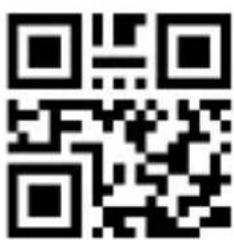
Italy
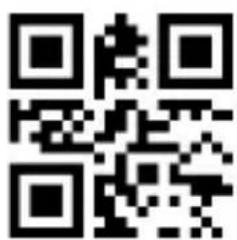
Japan
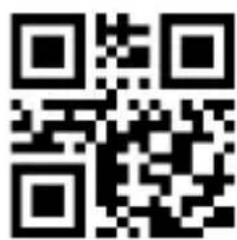
Turkey Q
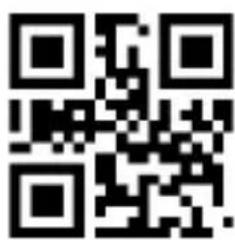
Turkey F
3.4. Case conversion
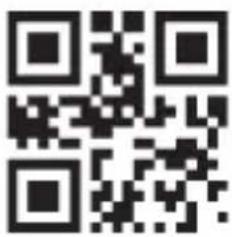
Convert all to lower case
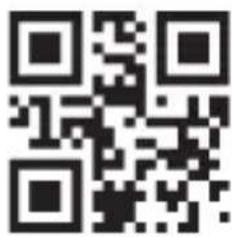
No case conversion
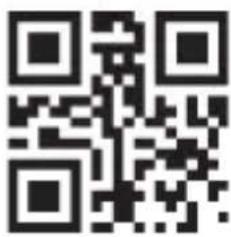
Convert all to upper case
4. System settings
4.1. Enter setup and exit setup
Scanning the "Enter Setup" barcode can enable the scanner to enter the setup mode. Then you can scan a number of programming barcodes to configure your scanner.
To exit the setup mode, scan the Exit Setup barcode or a nonprogramming barcode, or reboot the scanner.
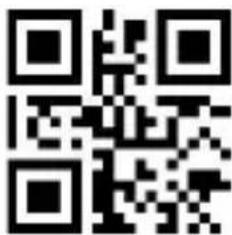
Enter setup Exit setup
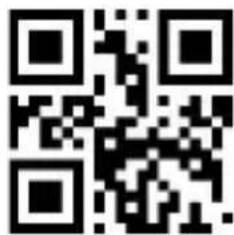
4.2. Scan mode
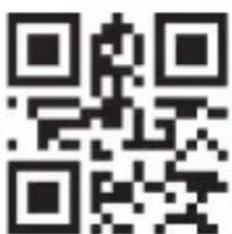
*Manual mode
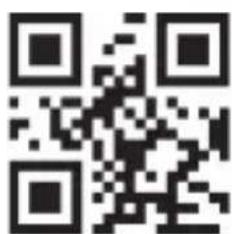
Continuous mode
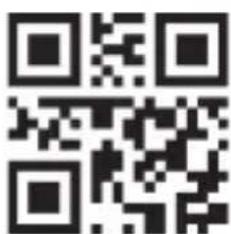
Automatic mode
4.3. Sensitivity
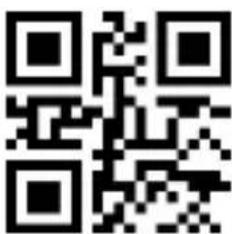
*High
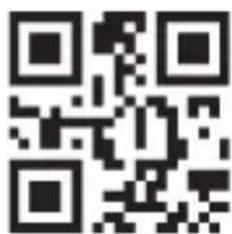
Middle
4.4. Sound
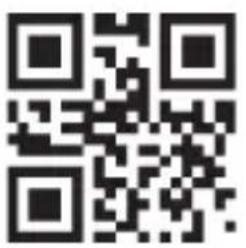
*On
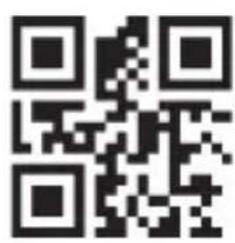
Off
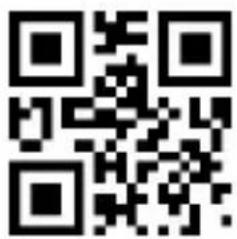
Low
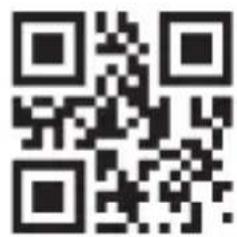
Medium
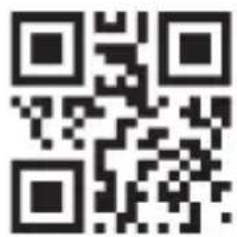
*High
5. Data editing
5.1. Prefix / Suffix setting
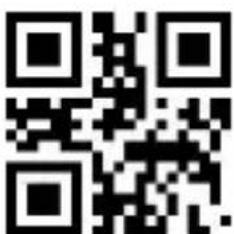
*Enable all prefixes and suffixes
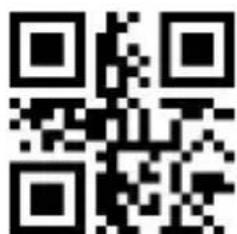
Disable all prefixes and suffixes
5.2. Customized prefix
Customized Prefix: The customized prefix adds a user-defined string before the decoded information. For example, it is allowed to add a customized prefix and set the prefix to the character string "AB". After reading the barcode with the data "123", the scanner adds the character string "AB" before the character string "123", and the host receives "AB123".
5.2.1. Enable / Disable adding customized prefix
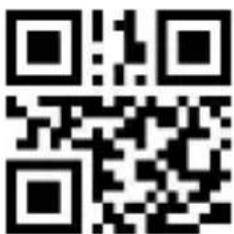
Enable add custom prefixes
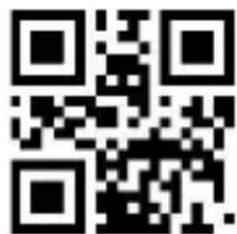
*Disable add custom prefixes
5.2.2. Set customized prefix
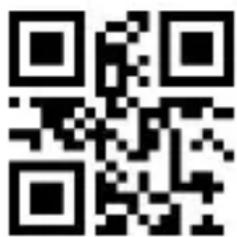
Set custom prefix
Example: Set customized prefix to "CODE" (The hexadecimal value is 0x43/0x4F/0x44/0x45)
1) Scan code "Enter setup"
2) Scan code "Set Custom Prefix"
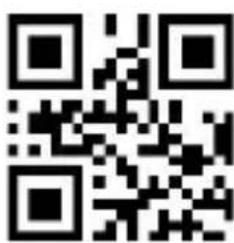
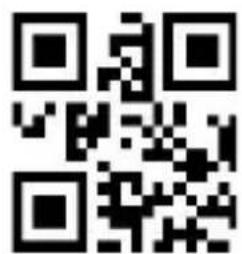
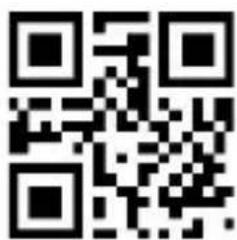
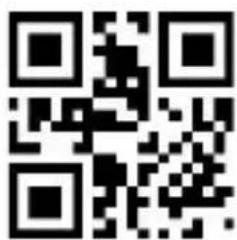
3) Scan Data Code: "4""3""4""F""4""4""4""5" (in Appendix)
4) Scan code "Save" (in Appendix)
5) Scan code "Enable add custom prefixes"
6) Scan code "Exit setup"
5.3. Customized suffix
Custom Suffix: The customized suffix is to add a user-defined string after decoding the information. For example, it is allowed to add a custom suffix and set the suffix to the character string "AB". After reading the barcode with the data as "123", the scanner adds the character string "AB" after the character string "123", and the host receives "123AB" ".
Note: The total length of the custom suffix string cannot exceed 5 characters.
5.3.1. Allow / prohibit adding custom suffix
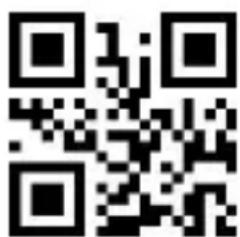
Allow custom suffix
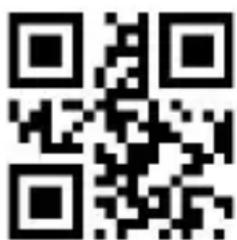
*Prohibit custom suffix
5.3.2. Setting custom suffix
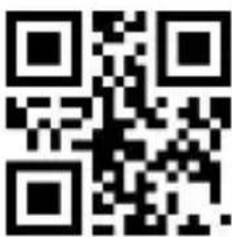
Setting custom suffix
Example: Setting custom prefix is "CODE" (Hexadecimal value is 0x43/0x4F/0x44/0x45)
1) Scan code "Enter setup"
2) Scan code "Setting Custom Suffix"
3) Scan Data code: "4""3""4""F""4""4""4""5" (in Appendix)
4) Scan code "Save" (in Appendix)
5) Scan code "Allow Custom Cuffix"
6) Scan code "Exit setup"
5.4. Add terminal key stroke
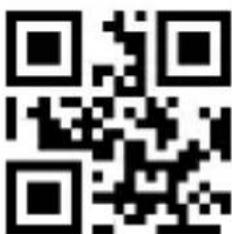
*Add terminal CR
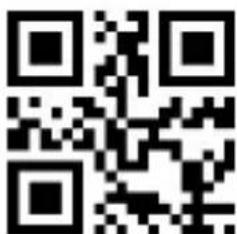
Add terminal CR+LF
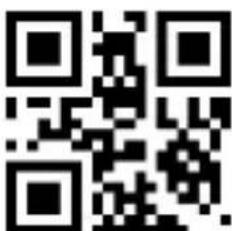
Add terminal TAB
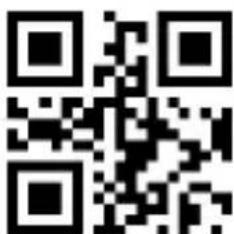
Deactivate terminal addition
5.5. GS character conversion
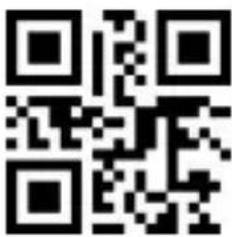
Enable GS characters conversion
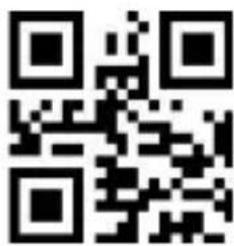
*Disable GS characters conversion
5.5.1. Quick setting code for special GS conversion
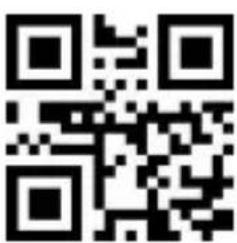
GS
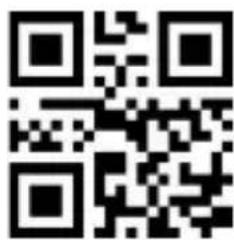
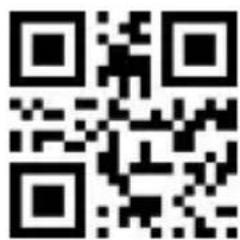
(GS)
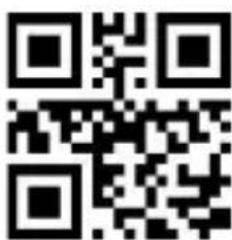
[GS]
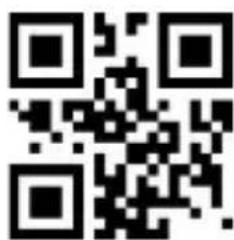
'GS'
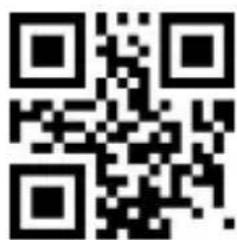
'GS'
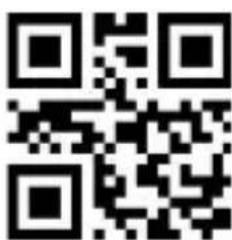
|
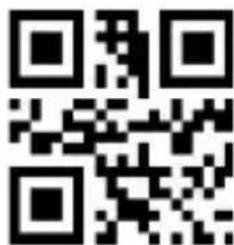
?
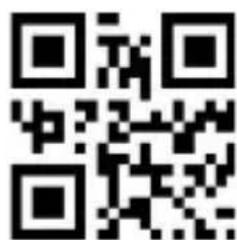
*
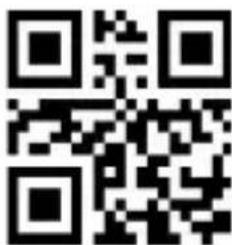
<0x1D>
- Barcode parameter settings
6.1. Enable / Disable reading all barcodes
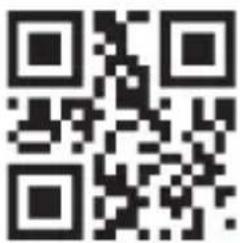
Deactivate 1d barcode scanning
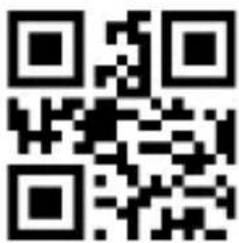
*Activate scanning of all barcodes types
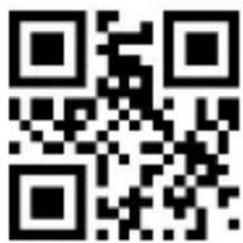
Deactivate 2D barcode scanning
6.2. Enable / Disable reading all 1D/2D reverse barcodes
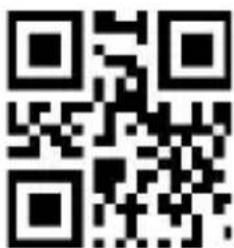
Enable all 1D reverse barcode

*Disable all 1D reverse barcode
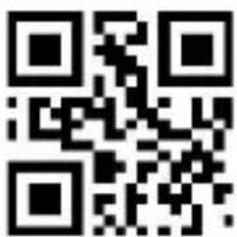
Enable all 2D reverse barcode
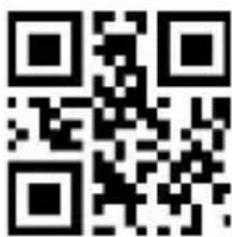
*Disable all 2D reverse barcode
- Appendix: ASCII code
| HEX | Decimal base | Character |
| 00 | 0 | NUL (Null char.) |
| 01 | 1 | SOH (Start of Header) |
| 02 | 2 | STX (Start of Text) |
| 03 | 3 | ETX (End of Text) |
| 04 | 4 | EOT (End of Transmission) |
| 05 | 5 | ENQ (Enquiry) |
| 06 | 6 | ACK (Acknowledgment) |
| 07 | 7 | BEL (Bell) |
| 08 | 8 | BS (Backspace) |
| 09 | 9 | HT (Horizontal Tab) |
| 0a | 10 | LF (Line Feed) |
| 0b | 11 | VT (Vertical Tab) |
| 0c | 12 | FF (Form Feed) |
| 0d | 13 | CR (Carriage Return) |
| 0e | 14 | SO (Shift Out) |
| 0f | 15 | SI (Shift In) |
| 10 | 16 | DLE (Data Link Escape) |
| 11 | 17 | DC1 (XON) (Device Control 1) |
| 12 | 18 | DC2 (Device Control 2) |
| 13 | 19 | DC3 (XOFF) (Device Control 3) |
| 14 | 20 | DC4 (Device Control 4) |
| 15 | 21 | NAK (Negative Acknowledgment) |
| 16 | 22 | SYN (Synchronous Idle) |
| 17 | 23 | ETB (End of Trans. Block) |
| 18 | 24 | CAN (Cancel) |
| 19 | 25 | EM (End of Medium) |
| 1a | 26 | SUB (Substitute) |
| 1b | 27 | ESC (Escape) |
| 1c | 28 | FS (File Separator) |
| 1d | 29 | GS (Group Separator) |
| 1e | 30 | RS (Request to Send) |
| 1f | 31 | US (Unit Separator) |
| 20 | 32 | SP (Space) |
| 21 | 33 | ! (Exclamation Mark) |
| 22 | 34 | “ (Double Quote) |
| 23 | 35 | # (Number Sign) |
| 24 | 36 | $ (Dollar Sign) |
| 25 | 37 | % (Percent) |
| 26 | 38 | & (Ampersand) |
| 27 | 39 | ` (Single Quote) |
| 28 | 40 | ( (Right / Closing Parenthesis) |
| 29 | 41 | ) (Right / Closing Parenthesis) |
| 2a | 42 | * (Asterisk) |
| 2b | 43 | + (Plus) |
| 2c | 44 | , (Comma) |
| 2d | 45 | - (Minus / Dash) |
| 2e | 46 | . (Dot) |
| 2f | 47 | / (Forward Slash) |
| 30 | 48 | 0 |
| 31 | 49 | 1 |
| 32 | 50 | 2 |
| 33 | 51 | 3 |
| 34 | 52 | 4 |
| 35 | 53 | 5 |
| 36 | 54 | 6 |
| 37 | 55 | 7 |
| 38 | 56 | 8 |
| 39 | 57 | 9 |
| 3a | 58 | ; (Colon) |
| 3b | 59 | ; (Semi-colon) |
| 3c | 60 | < (Less Than) |
| 3d | 61 | = (Equal Sign) |
| 3e | 62 | > (Greater Than) |
| 3f | 63 | ? (Question Mark) |
| 40 | 64 | @ (AT Symbol) |
| 41 | 65 | A |
| 42 | 66 | B |
| 43 | 67 | C |
| 44 | 68 | D |
| 45 | 69 | E |
| 46 | 70 | F |
| 47 | 71 | G |
| 48 | 72 | H |
| 49 | 73 | I |
| 4a | 74 | J |
| 4b | 75 | K |
| 4c | 76 | L |
| 4d | 77 | M |
| 4e | 78 | N |
| 4f | 79 | O |
| 50 | 80 | P |
| 51 | 81 | Q |
| 52 | 82 | R |
| 53 | 83 | S |
| 54 | 84 | T |
| 55 | 85 | U |
| 56 | 86 | V |
| 57 | 87 | W |
| 58 | 88 | X |
| 59 | 89 | Y |
| 5a | 90 | Z |
| 5b | 91 | [ (Left / Opening Bracket) |
| 5c | 92 | \ (Back Slash) |
| 5d | 93 | ] (Right / Closing Bracket) |
| 5e | 94 | ^ (Caret / Circumflex) |
| 5f | 95 | _ (Underscore) |
| 60 | 96 | ' (Grave Accent) |
| 61 | 97 | a |
| 62 | 98 | b |
| 63 | 99 | c |
| 64 | 100 | d |
| 65 | 101 | e |
| 66 | 102 | f |
| 67 | 103 | g |
| 68 | 104 | h |
| 69 | 105 | i |
| 6a | 106 | j |
| 6b | 107 | k |
| 6c | 108 | l |
| 6d | 109 | m |
| 6e | 110 | n |
| 6f | 111 | o |
| 70 | 112 | p |
| 71 | 113 | q |
| 72 | 114 | r |
| 73 | 115 | s |
| 74 | 116 | t |
| 75 | 117 | u |
| 76 | 118 | v |
| 77 | 119 | w |
| 78 | 120 | x |
| 79 | 121 | y |
| 7a | 122 | z |
| 7b | 123 | { (Left/ Opening Brace) |
| 7c | 124 | | (Vertical Bar) |
| 7d | 125 | } (Right/Closing Brace) |
| 7e | 126 | ~ (Tilde) |
| 7f | 127 | DEL (Delete) |
7.1. Data code
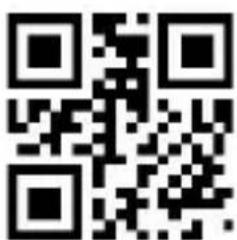
O
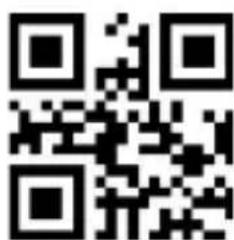
1
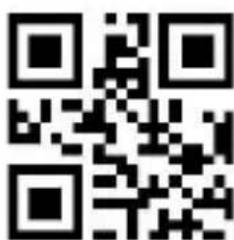
2
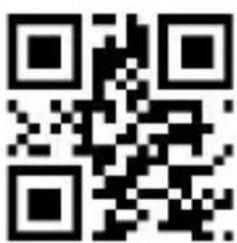
3
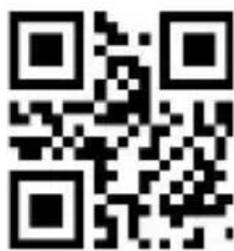
4
5
6
7
8
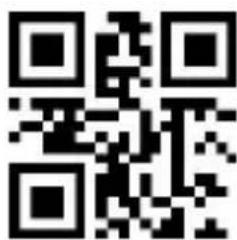
9
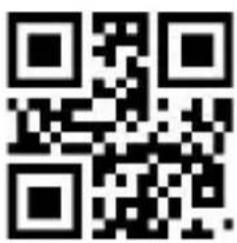
A
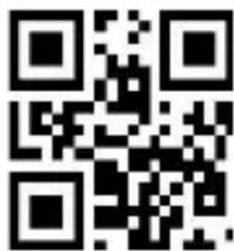
B
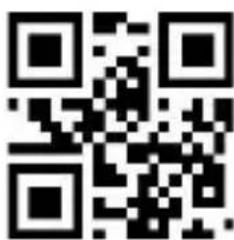
C
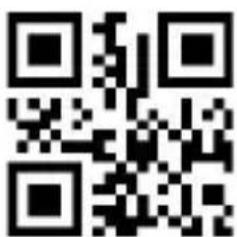
D
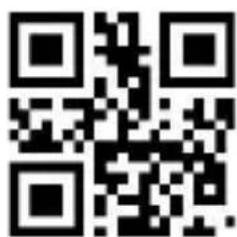
E
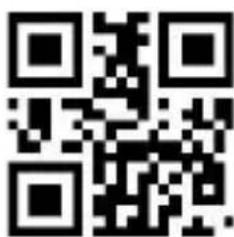
F

Save
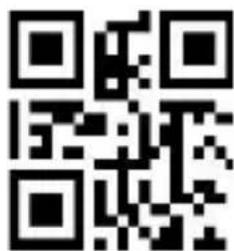
Cancel 1 digit of one
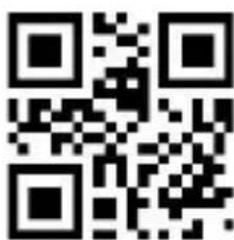
Cancel previous all data
previously read data
8. Safety, maintenance and recycling instructions
- Caution: Never open the device, the internal parts are danger, electrical shock.
- Do not install this unit near water, for example, in a wet basement, in an unprotected outdoor installation or in any area classified as a wet.
- Do not insert objects of any kind into this unit through openings as they may touch voltage points and short out parts that could result in fire or electric shock.
- Do not spill any liquid on the unit. Danger of explosion!
-
Do not crush power cables, danger of short circuit!
-
Always connect to the manufacturer's recommended tension.
- Clean the product with a soft and dry cloth.
- Follow local regulations for disposing of the product.
9. Recycled
AEEREI-RAE 558 - In this manual, the container (bien) symbol indicates that the product is subject to the European directive 2002/96/EC, electrical and electronic products, batteries, and other accessories must necessarily be subject to a selective collection.
At the end of the life of the devise, make use of the recycling bins.
This gesture will help reduce the health risks and preserve the environment. Municipalities and distributor, will provide essential details on recycling your old device. If this device carries an internal battery, it must be removed and deposited separately for proper management.
1. Introdução
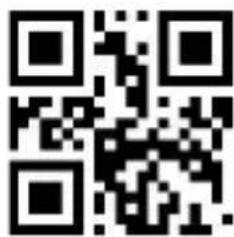
Enter setup Exit setup
*Modo manual
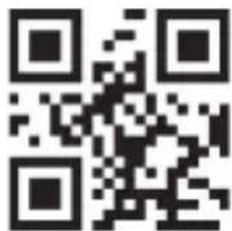
Modo contínuo
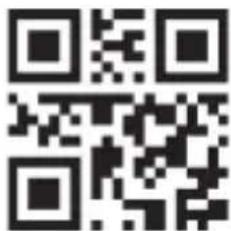
Modo automático
3.3. Som
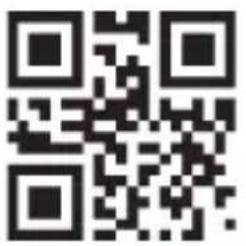
*Com som
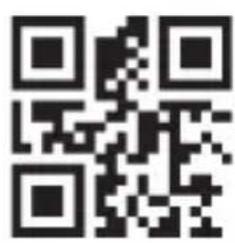
Sem som
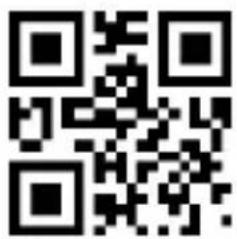
Volume baixo
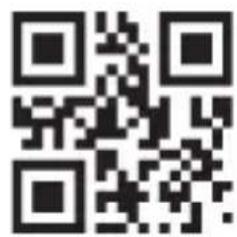
Volume médio
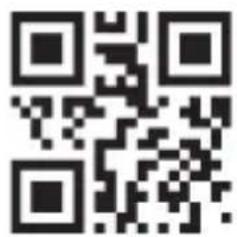
Volume alto*
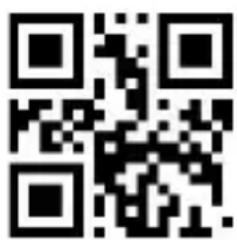
Enter setup Exit setup
3.2. Mode de balayage
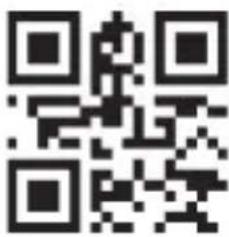
*Mode manuel

Mode continu
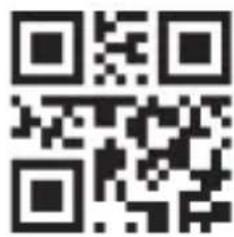
Mode automatique
3.3. Son
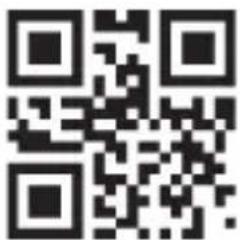
*Avec son

Sans son
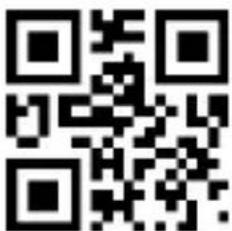
Volume bas
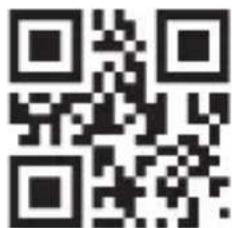
Volume moyen
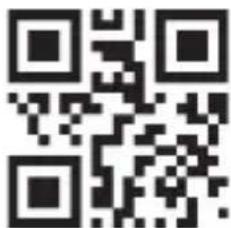
Volume élevé
The content of this guide is subject to typographical errors
www.approxtpv.es
- Sonido
- Product display
- Start-up, shutdown, standby and restart
- Maintenance
- Factory defaults
- Output settings
- Interface
- Baud Rate
- Case conversion
- System settings
- Enter setup and exit setup
- Scan mode
- Sensitivity
- Data editing
- Customized prefix
- Set customized prefix
- Customized suffix
- Allow / prohibit adding custom suffix
- Setting custom suffix
- Add terminal key stroke
- GS character conversion
- Quick setting code for special GS conversion
- Safety, maintenance and recycling instructions
- Recycled
- Introdução
- Som
- Mode de balayage
- Son
Brand : Aqprox
Model : appLS22WH
Category : Scanner