
GCJX-011 - Electric pottery wheel Vevor - Free user manual and instructions
Find the device manual for free GCJX-011 Vevor in PDF.
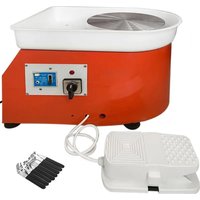


| Product Type | Electric Pottery Wheel |
| Brand | Vevor |
| Model | GCJX-011 |
| Maximum load capacity (clay) | 5 kg |
| Power supply voltage | 100-240 V ~ 50/60 Hz |
| Rated power | 350 W |
| Rated current (leakage protector) | 16 A |
| Speed range | 0-310 RPM |
| Sound power level | 60 dB(A) |
| Turntable | Aluminium, diameter 250 mm |
| Water basin | Removable |
| Speed control | Pedal control and touch panel |
| Touch panel functions | Forward/reverse, manual/pedal selection, deceleration, acceleration, display |
| Leakage protector | With test and reset button |
| Included accessories | Apron, 8-piece tool set, set of 8 stainless steel repair knives |
| Rotation direction | Clockwise and counterclockwise (switchable when stopped) |
| Intended use | Ceramic modeling (domestic use only) |
| Cleaning and maintenance | Clean clay and wipe water stains after use; do not rinse with water; check tightening of parts; run at least once a month if not used |
| Safety | Read all safety instructions; do not change motor rotation direction while running; use on flat and dry ground; unplug before repair; children over 8 years under supervision |
| Warranty and support | Electronic certificate available at www.vevor.com/support |
Frequently Asked Questions - GCJX-011 Vevor
User questions about GCJX-011 Vevor
0 question about this device. Answer the ones you know or ask your own.
Ask a new question about this device
Download the instructions for your Electric pottery wheel in PDF format for free! Find your manual GCJX-011 - Vevor and take your electronic device back in hand. On this page are published all the documents necessary for the use of your device. GCJX-011 by Vevor.
USER MANUAL GCJX-011 Vevor
Support and E-Warranty Certificate
https://www.vevor.com/support
POTTERY WHEEL MACHINE USER MANUAL
We continue to be committed to offering tools at competitive prices. "Save Half", or any other similar expressions used by us, only represent an estimate of saving benefit from buying certain tools with us compared to the major top brands, and do not necessarily mean to cover all categories of tools offered by us. You are kindly requested to verify carefully when placing an order with us if you are saving half in comparison with major brands.
VEVOR®
POTTERY WHEEL MACHINE
MODEL: LSSJSX-515
NEED HELP? CONTACT US!
Have product questions? Need technical support? Please feel free to contact us:

CustomerService@vevor.com
This is the original instruction. Please read all manual instructions carefully before operating. VEVOR reserves a clear interpretation of the user manual. The appearance of the product shall be subject to the product you received. Please forgive us that we won't inform you if there are any technology or software updates on our product.
SAFETY INSTRUCTIONS

WARNING: Read all safety warnings, instructions, illustrations and specifications
provided with this electrical equipment. Failure to follow all instructions listed below may result in electric shock, fire and/or serious injury.
Save all warnings and instructions for future reference.
 | Warning - To reduce the risk of injury, user must read inst manual carefully. |
 | Alternating current |
 | This symbol, placed before a safety comment, indicates a ki precaution, warning, or danger. Ignoring this warning may lea accident. To reduce the risk of injury, fire, or electrocution, always follow the recommendation shown below. |
 | HOUSEHOLD USE ONLY |
- This equipment is only applicable to ceramic drawings and cannot be used for other purposes. Do not use the equipment brutally.
- The equipment shall be placed on a cool, ventilated, dry, dust-proof and level ground.
- Users must wire and install according to electricity safety standards.
- Do not change the rotation direction when the motor is running. To change the rotation direction, stop it first, and start it after the motor completely stops rotating.
- Please use a towel or sponge to clean the machine body, and do not use a lot of water to wash it to avoid water immersion in the motor, switch, bearing, and other parts, which may cause failure.
- Before use, make sure that the switch and pedal are in the stop position before plugging in the power.
- When repairing or replacing parts, the switch must be cut off and the power supply must be unplugged.
- Children should use this equipment with adults. (Note: This appliance can be used by children aged from 8 years and above and persons with reduced physical, sensory or mental capabilities or lack of experience and knowledge if they have been given supervision or instruction concerning use of the appliance in a safe way and understand the hazards involved.)
supervision or instruction concerning use of the appliance in a safe way and understand the hazards involved. Children shall not play with the appliance. Cleaning and user maintenance shall not be made by children without supervision).
- Periodically check whether the power cable is damaged and the connector is loose.
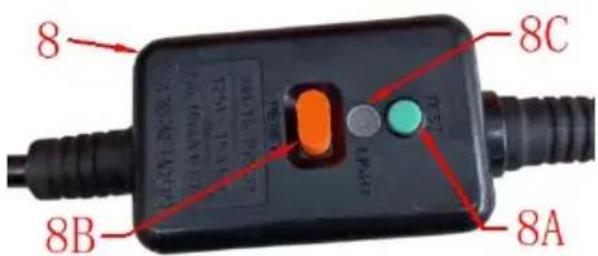
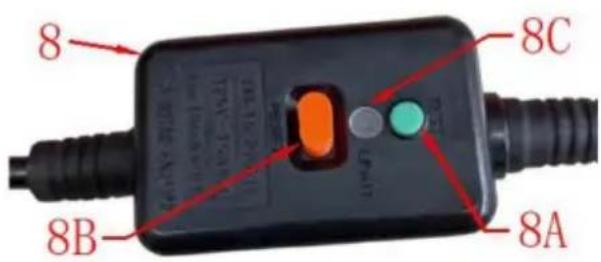
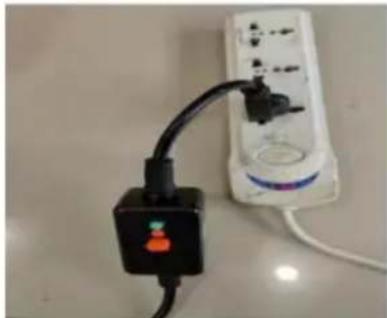
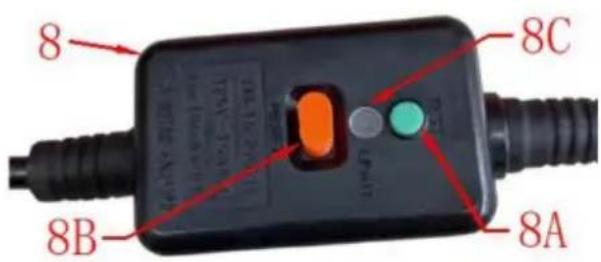
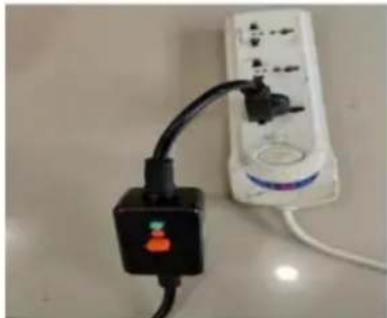
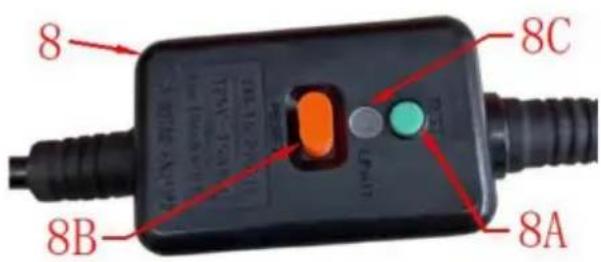
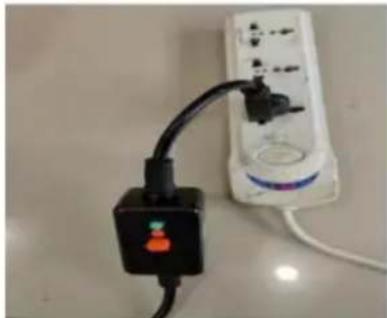
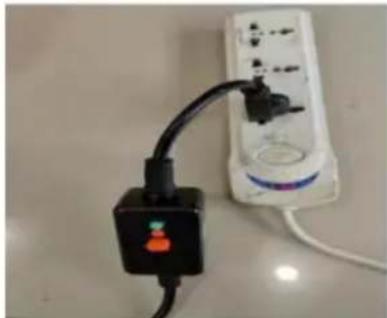
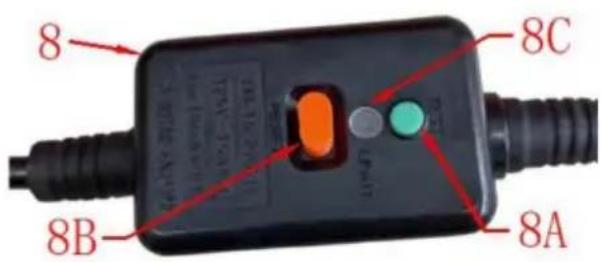
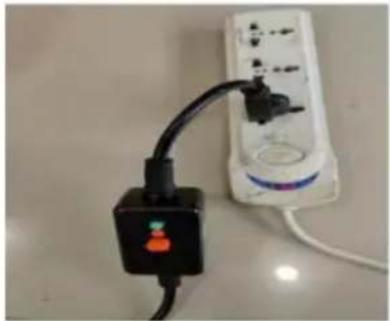
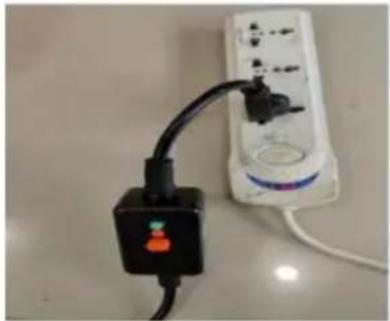
- Press button (8A) on the leakage protector once a month to check whether the leakage protection can work normally!
MODEL AND PARAMETERS
| Model | LSSJSX-515 |
| Maximum Payload(Clay) | 5 KG |
| Voltage | 100-240V~ 50/60Hz |
| Power | 350W |
| Rated current(Leakage protector) | 16A |
| Speed | 0-310r/min |
| Sound power level | 60dB |
STRUCTURE DIAGRAM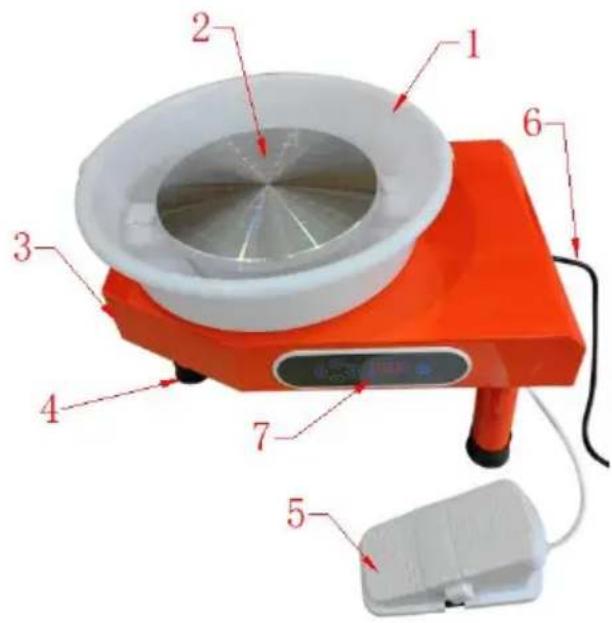
- Removable water basin
- Aluminum turntable
- Equipment body
4. Foot Pad
5. Speed regulating pedal
6. Power line
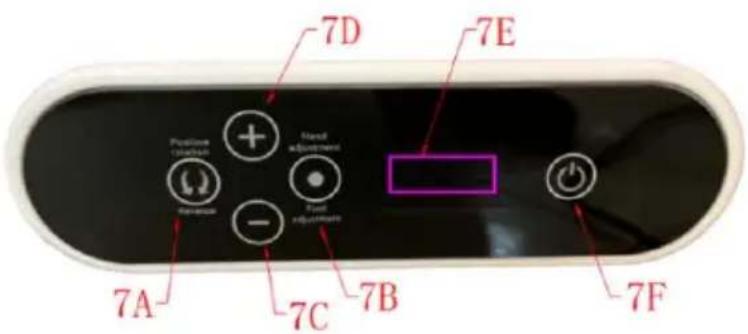
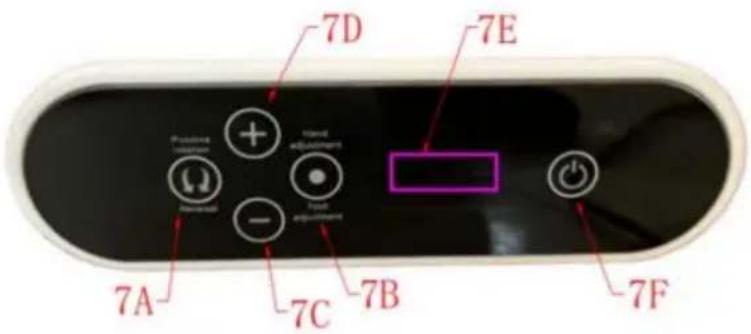
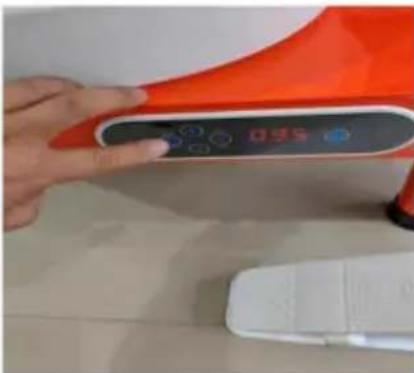
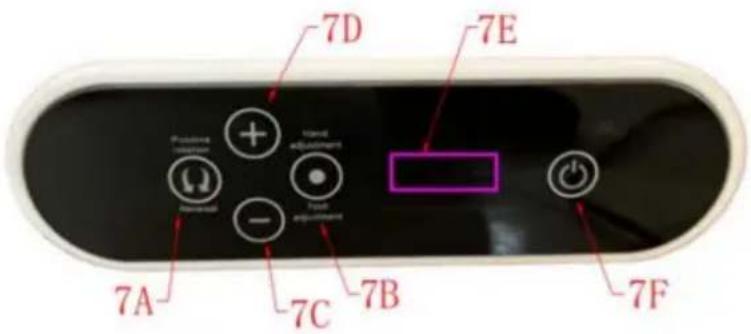
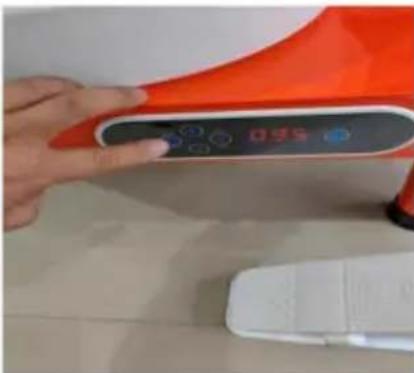
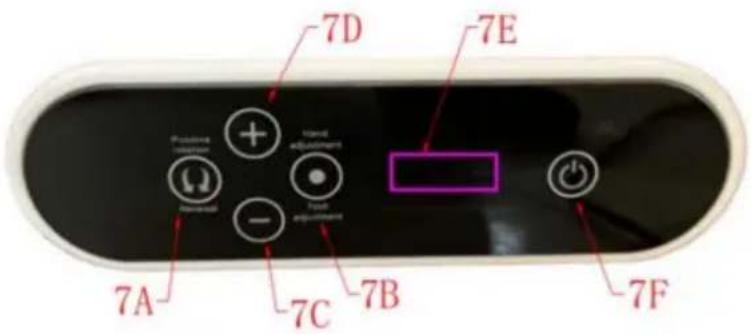
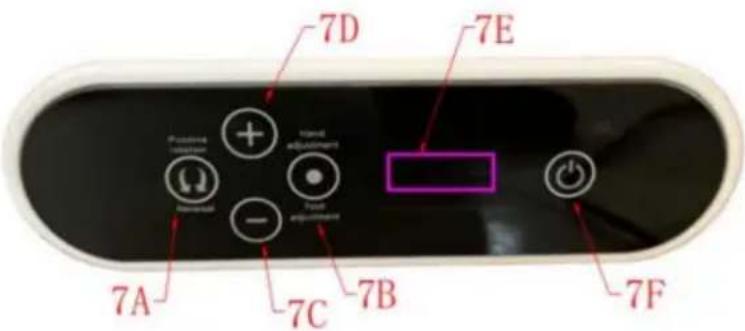
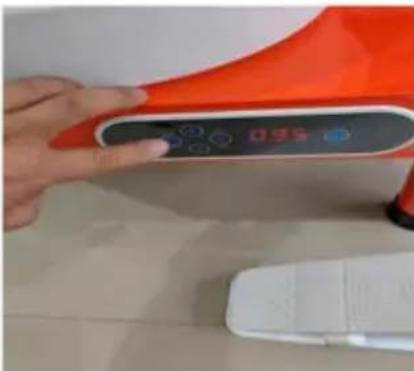
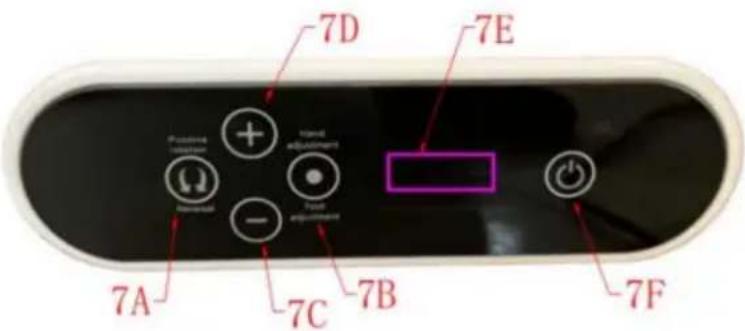
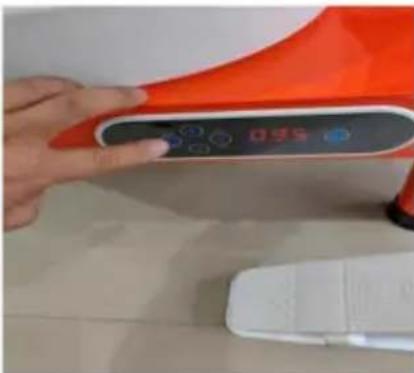
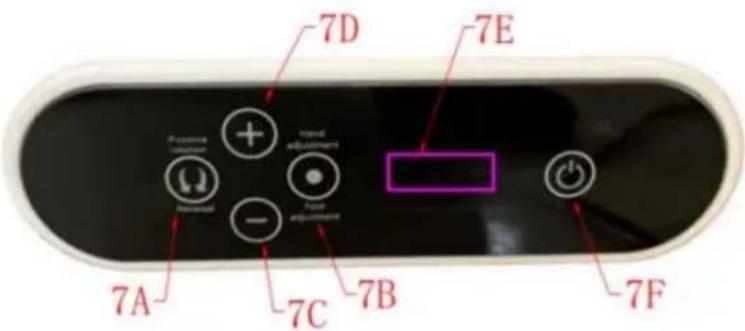
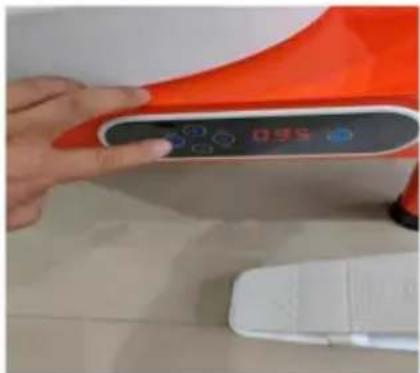
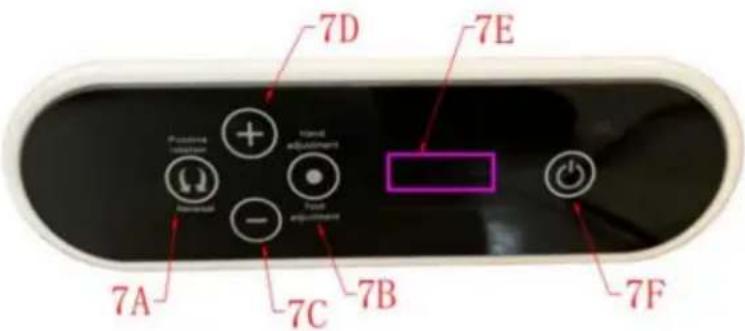
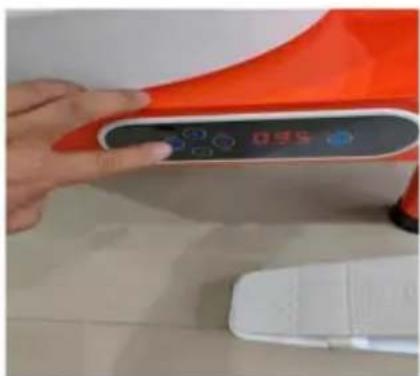
- Touch panel
7A: Forward/reverse switch 7B: Manual/pedal switch
7C: Slow down 7D: Acceleration
7E: Display 7F: Touch switch
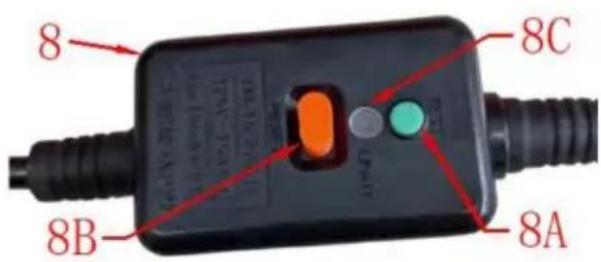
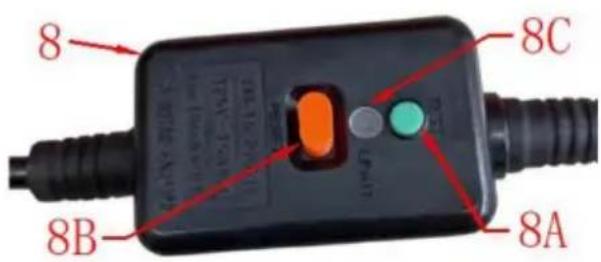
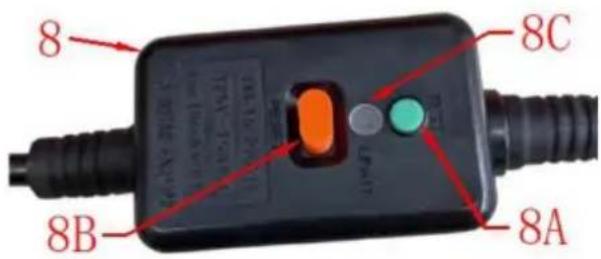
8. Leakage protector
8A: Test button
(Press once a month. It is normal if the indicator goes off after you press it)
8B: Reset button
(If the power is off, please first remove the leakage danger, and then press this to restore the power.)
8C: Indicator light (Power on when the light is on)
TOOL ACCESSORIES AND USE
- Apron (x1): Prevent clothes from getting dirty.

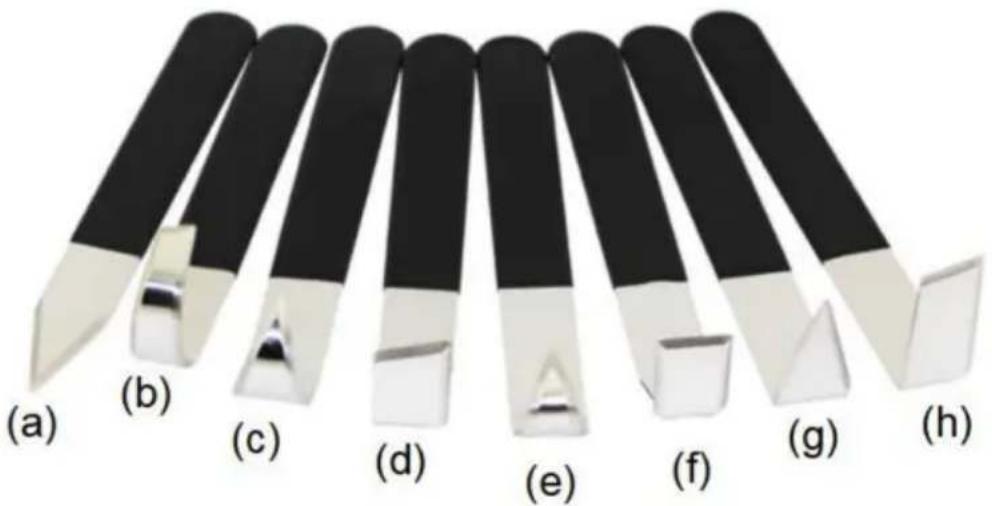
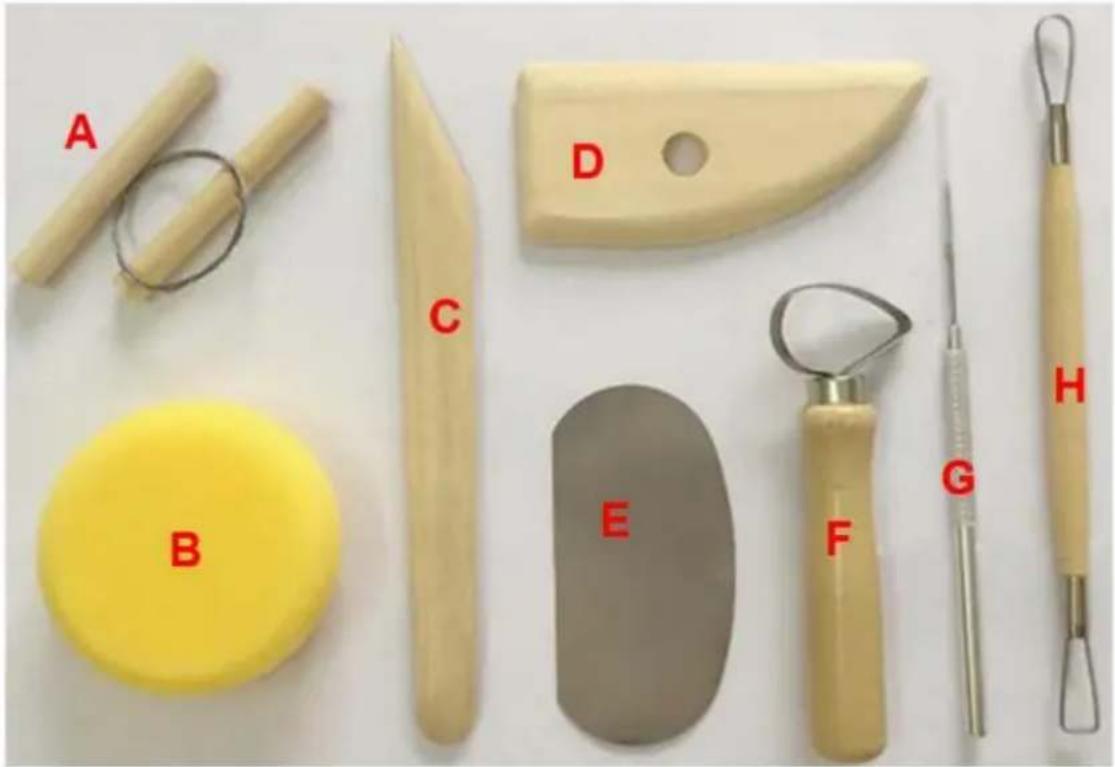
2. 8-Piece Tool Set (x1)
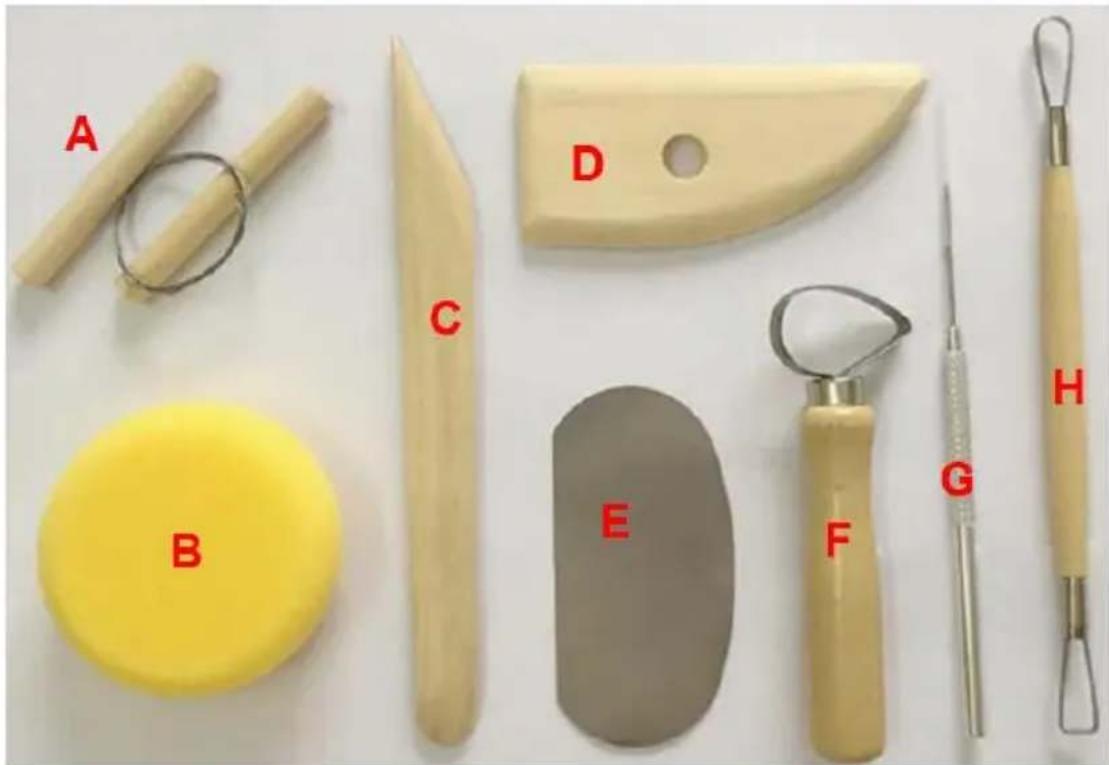
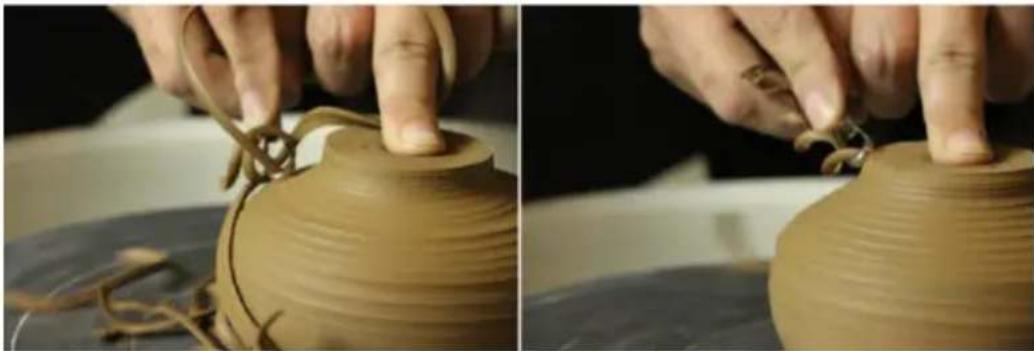
A (Clay cutting line): Assists in precisely cutting clay (cutting surface is very smooth), repairing and leveling the mouth of the work, and taking away the finished product.
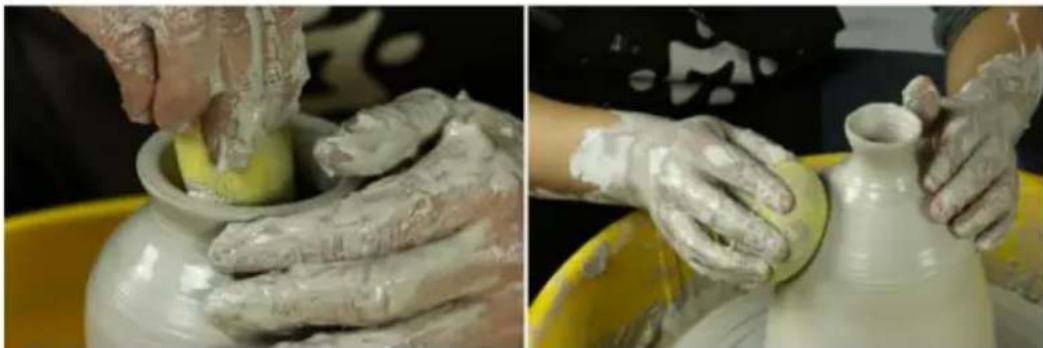
B (Small yellow sponge): Add water or absorb water, and trim the surface or mouth edge to make it smooth.
C (Wooden knife): Trim the bottom for later removal and trimming.
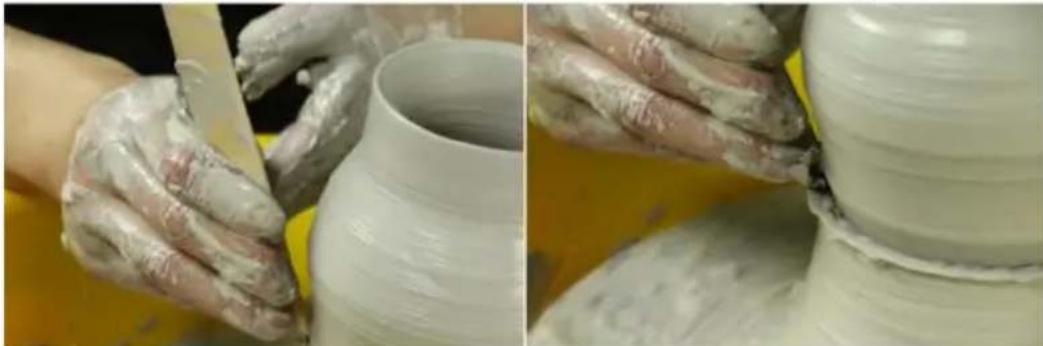
D (Wooden scraper): Trim the opening and shape, and remove excess clay on the surface to make it smooth.
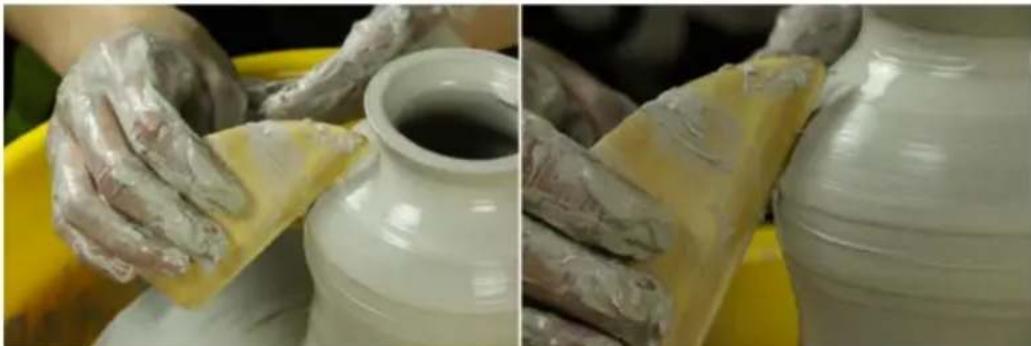
E (Stainless steel scraper): Remove excess clay on the surface to make it smooth.
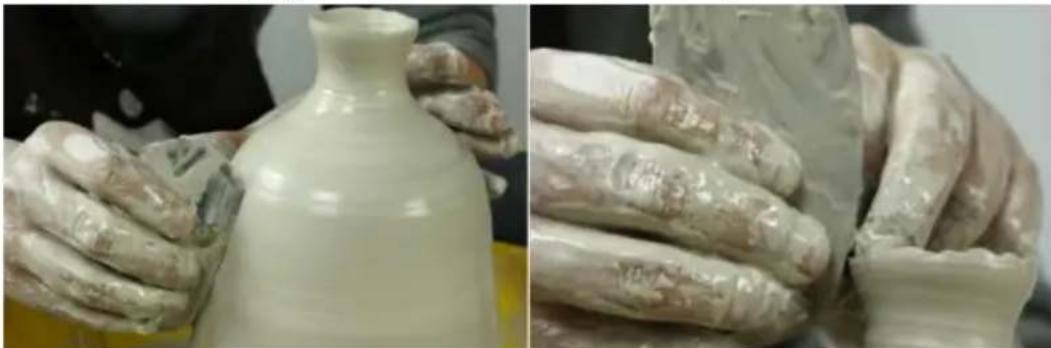
F (Circular large flat wire knife): Trim the surface of the vessel, control the thickness, and cut out the bottom ring foot.
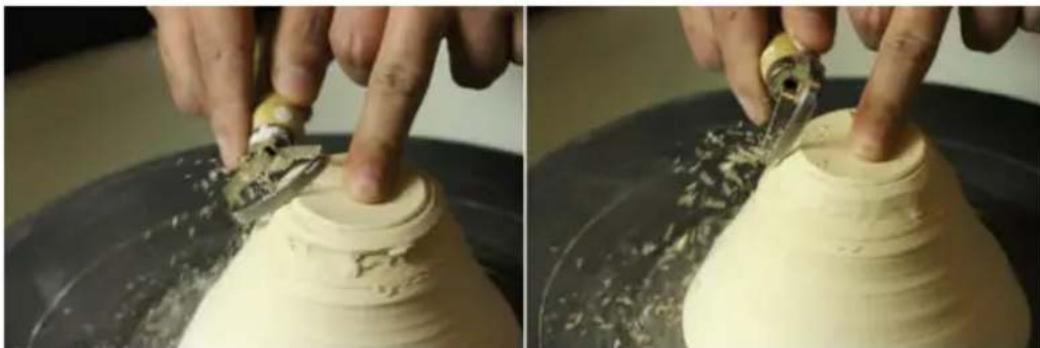
G (Steel needle): Scrape off excess clay from the mouth edge, remove air bubbles, and punch holes.
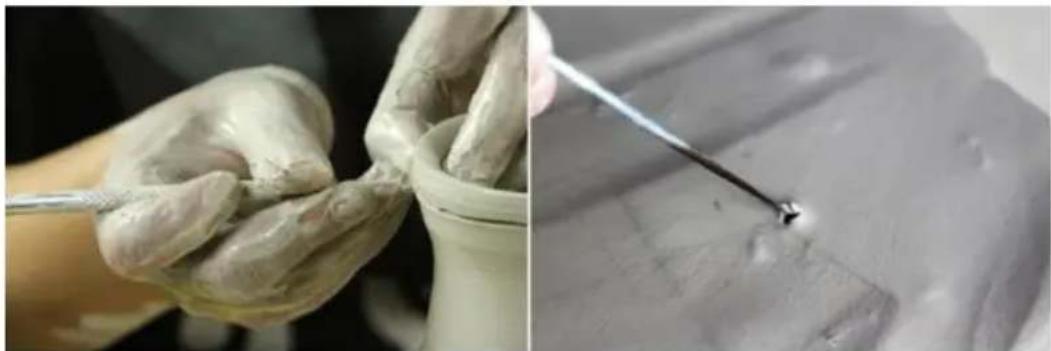
H (Ribbon flat wire knife): Finely trim the surface of the utensil or circle the foot.
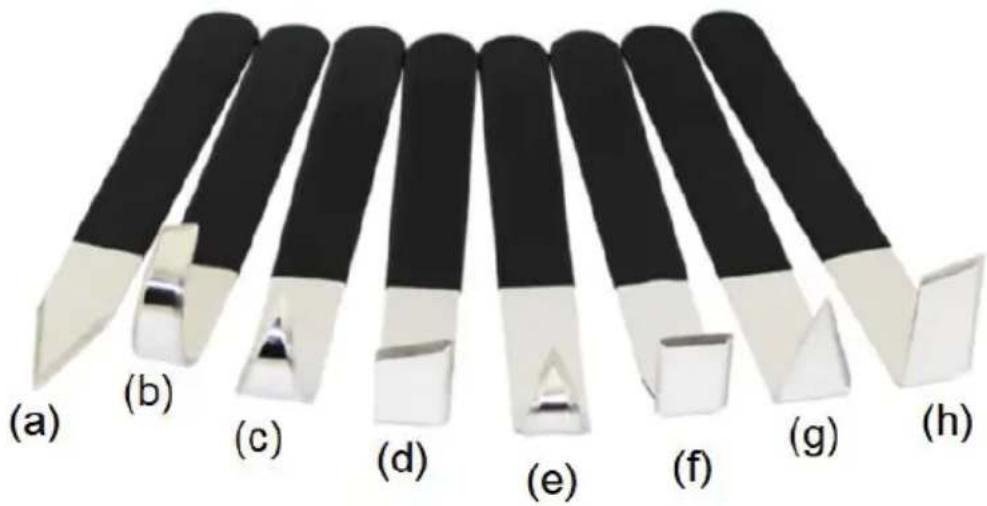
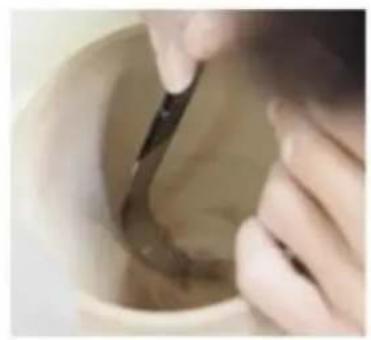
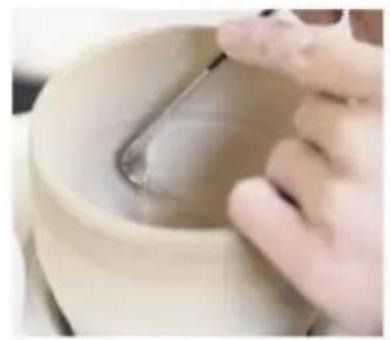
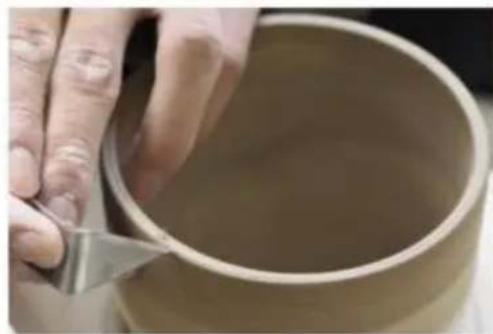
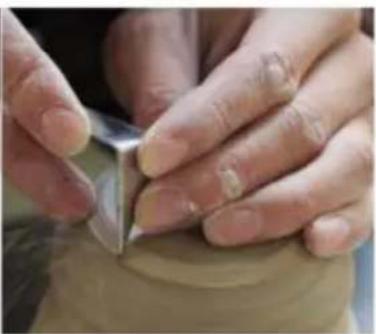
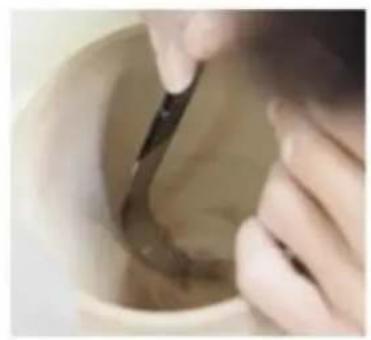
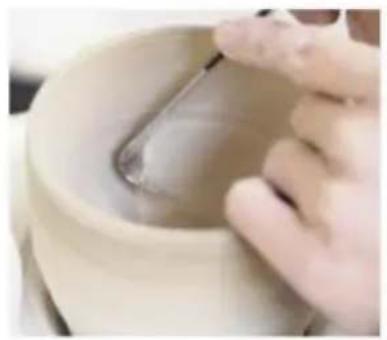
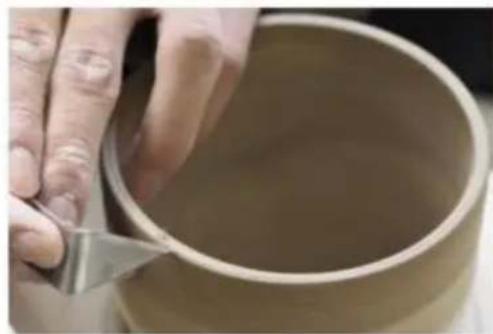
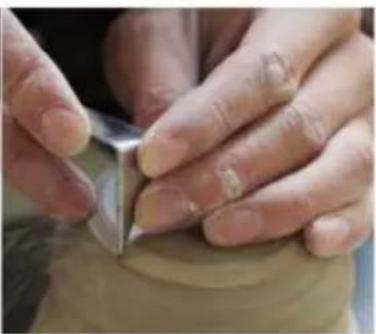
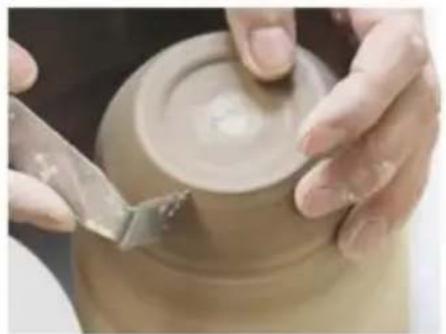
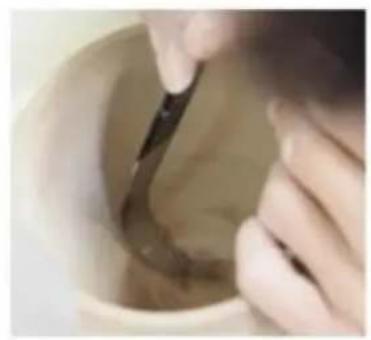
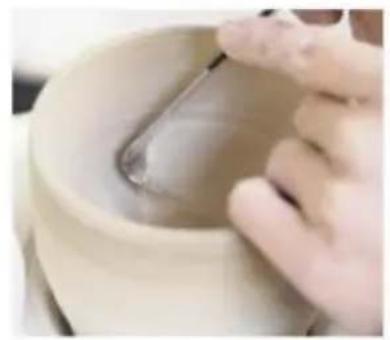
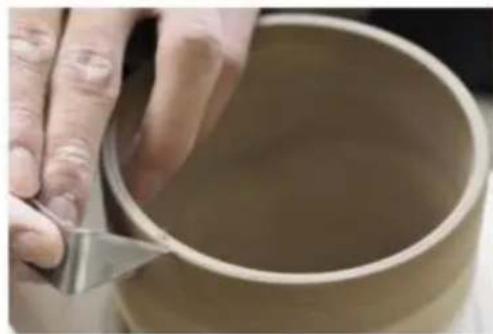
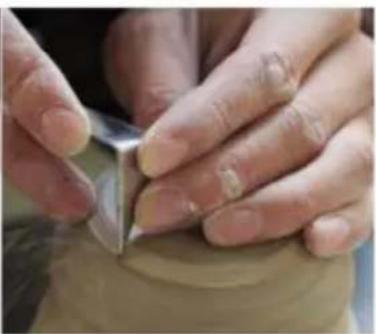
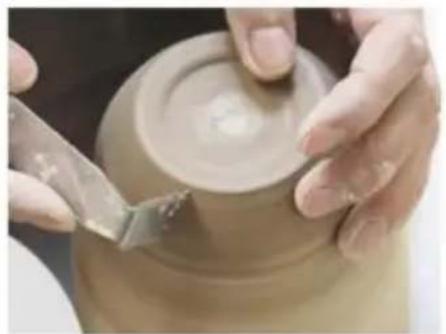
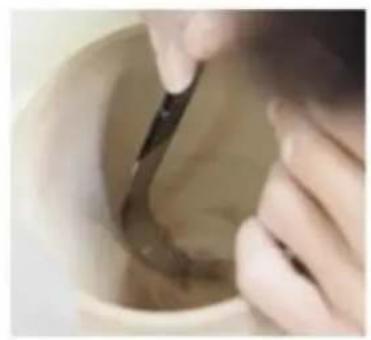
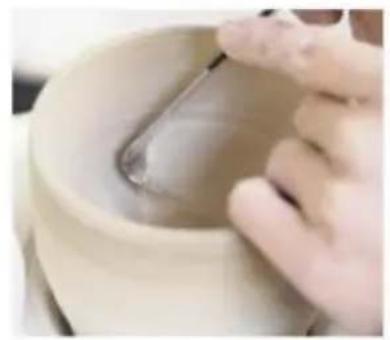
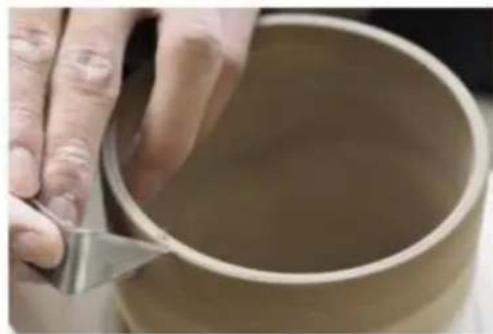
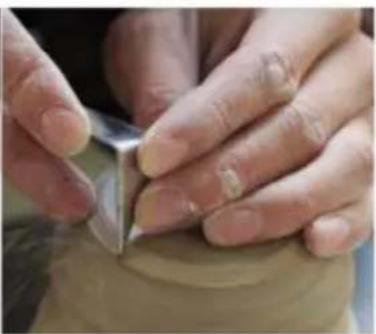
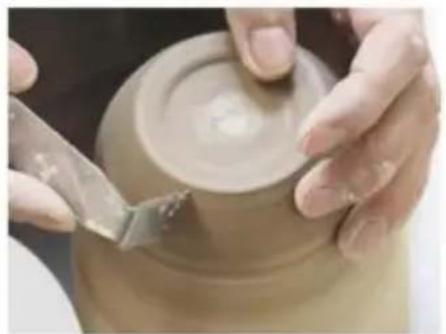
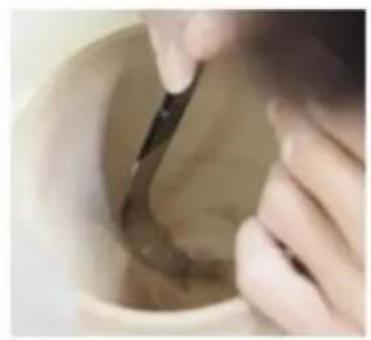
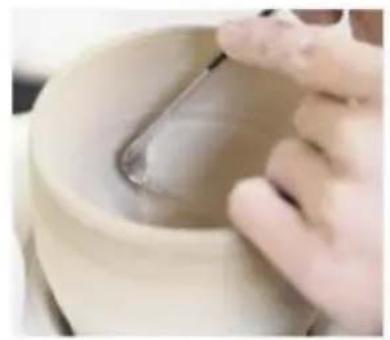
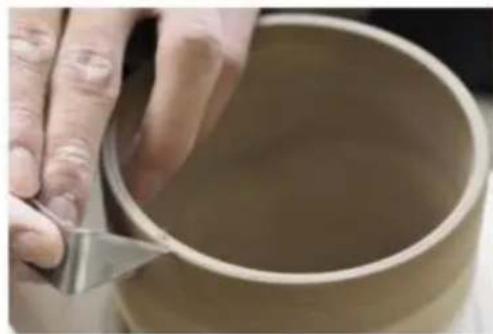
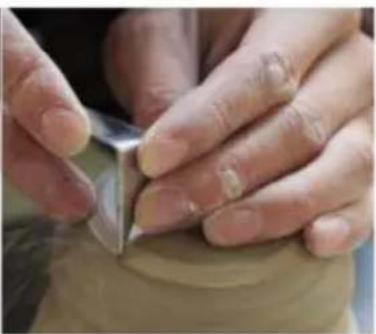
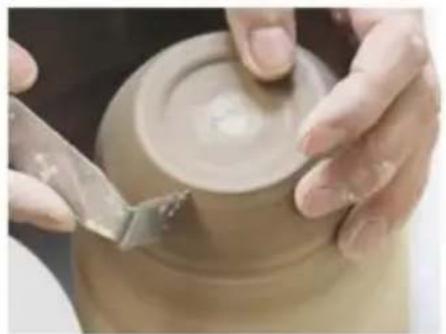
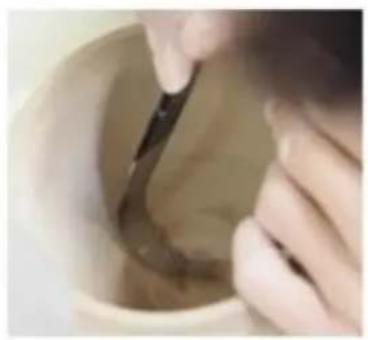
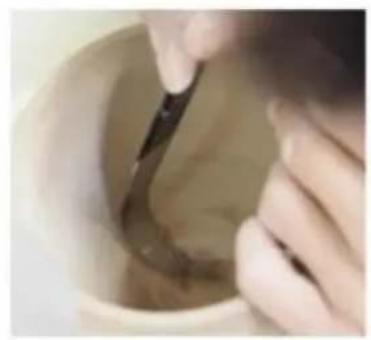
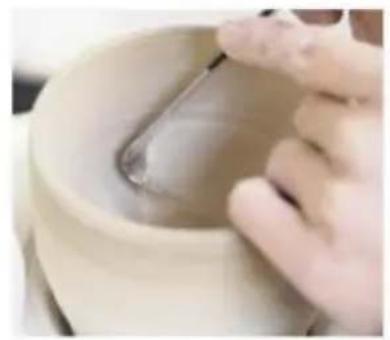
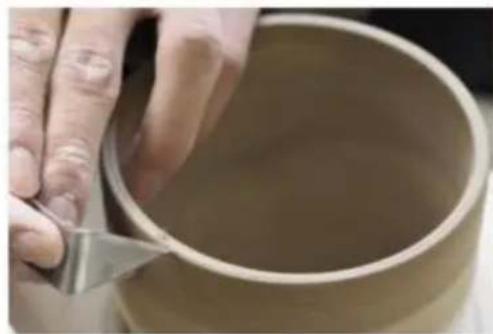
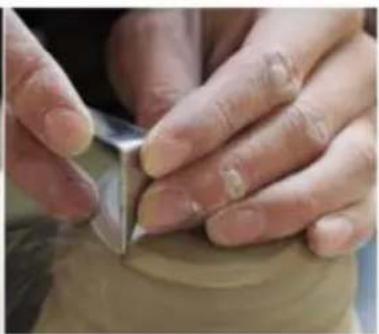
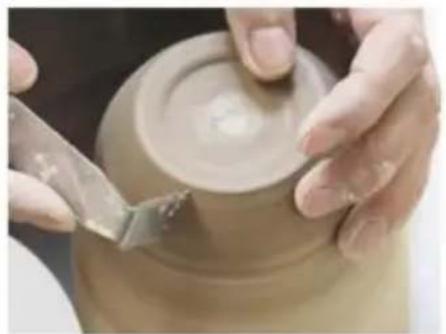
- Stainless steel clay-repair knife 8-piece set (x1): Repair clay molds as shown.
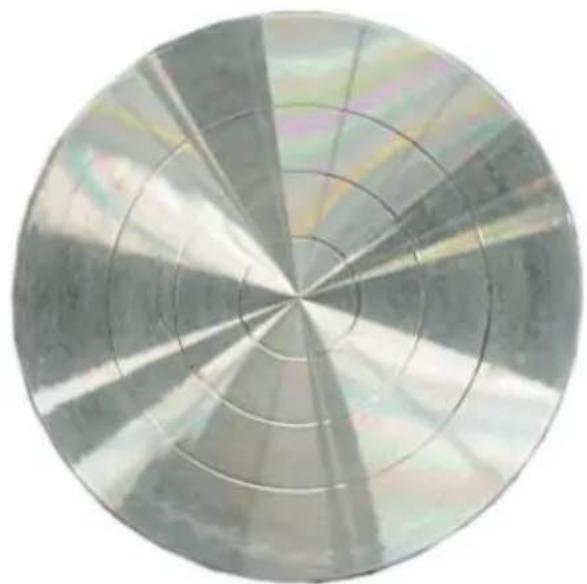
- Aluminium turntable (Φ250mm): The size of the turntable directly determines the maximum diameter we can achieve.
(Loosen the bolt with a wrench and replace it)
OPERATING STEPS
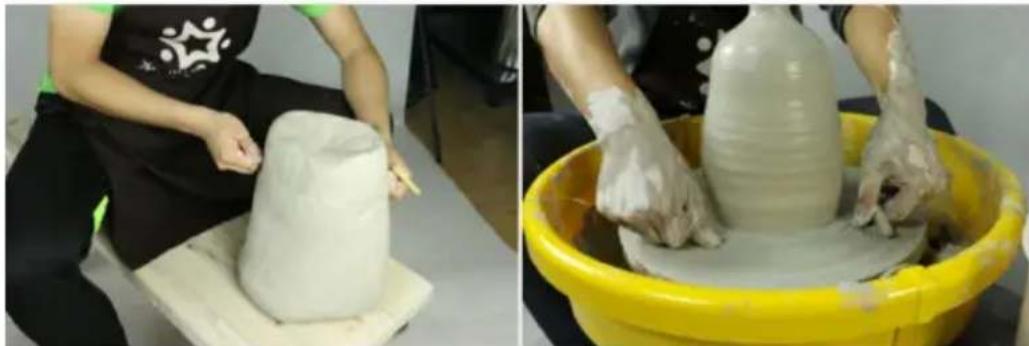
Step 1: Take out a proper amount of clay, throw the mud ball in the center of the press it (wet your hands).
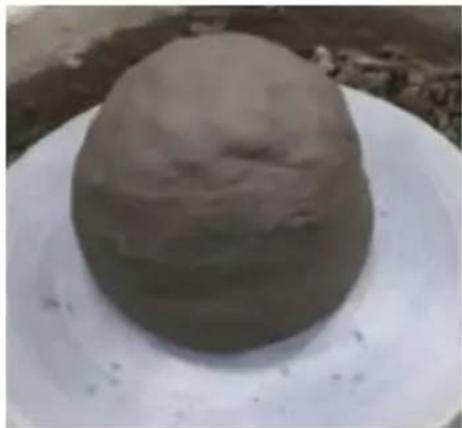
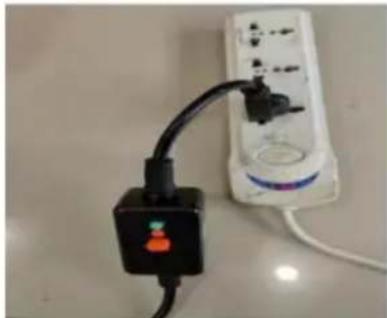
Step 2: Plug in the power (if the water basin is not installed, install the water basin).
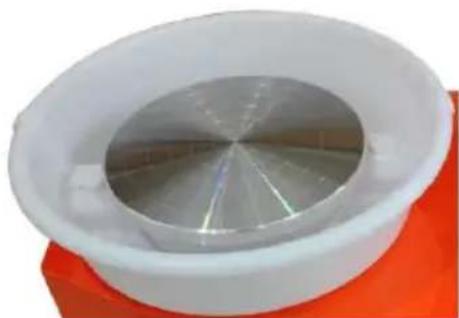
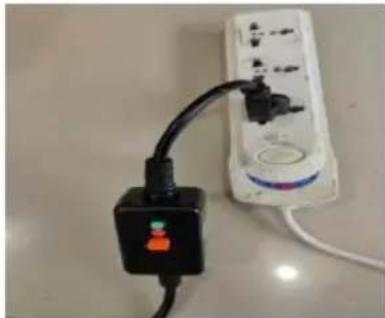
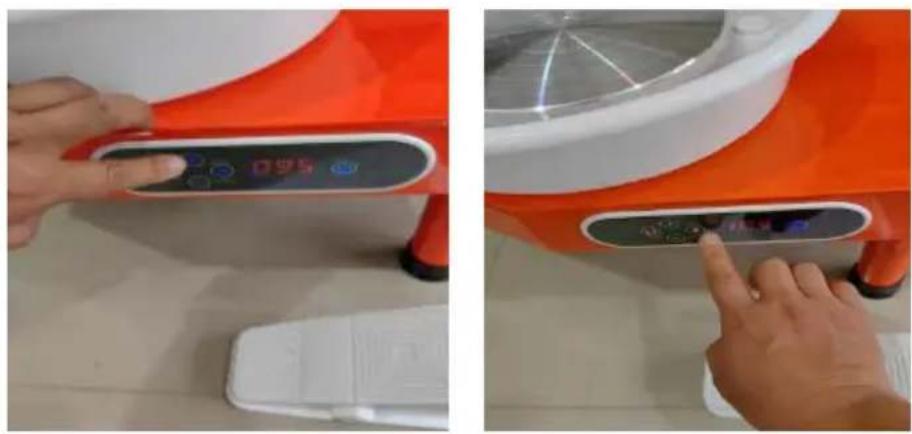
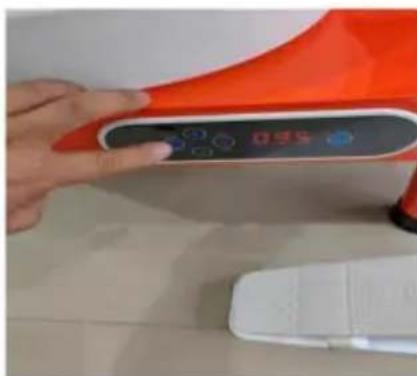
Step 3: Turn on the switch and choose the direction of forward (clockwise) or reverse (counterclockwise) rotation according to your needs.

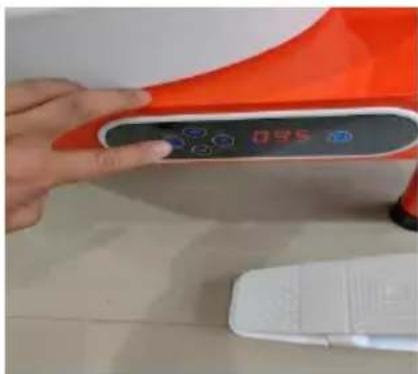
Step 4: Adjust the speed and start clay molding with tools (you can also choose to use the foot pedal for speed control).
Step 5: Repair the clay mold with tools.
Step 6: You can paint and color creatively according to your needs. After completing the work, stop the machine in reverse order.
Remove the molding using a scraper or clay cutting line.
Place it in a cool place for a period of time before firing.
SKILLS GUIDANCE
| Problem | Reason | Solution |
| Fracture of clay | Excessive force during lifting | The lifting process should be small and even. |
| Clay is in a spiral shape. | The clay molding speed exceeds the machine speed. | Turn the mold a few time advance. |
| Clay unevenly stressed presses | Abnormal posture of clay molding. | Sit firmly and keep your back, neck, shoulders, upper arms, forearms, wrists and palms still. Coordinate your whole body Strength. |
| Clay off center | Got wrong and unstable force on hands when looking for the center. | The left palm must be placed in the eight o'clock position on the turntable applied downward oblique pressure with even force. |
| The opening is uneven ar off-center. | 1.The center is not found correctly.2.Not opening in the cent3.Hands shake when pressing down, uneven force. | The opening of the middle tip of the left finger or th must be assisted by the right finger and must be pressed down vertically from the center point. |
| Hollow at the bottom | Pressing down too fast ar too hard. | 1.The bottom thickness of the hole should be left a 2cm.2.Pause the machine, add new clay, start the machi and smooth the surface. |
| Bubbles. | The clay has not been kneaded properly. | Pause the machine and prick the air bubbles with needle, fill the hole with clay, then start the machi to smooth the surface. |
| Uneven thickness when lifted. | Hands are not on parallel lines or uneven force. | The inner and outer fingertips must move synchronously in a straight line when lifting the clay. |
| Mold collapsed. | 1.There was too much wa and the clay was too sof hold.2.Opening rapidly expands, deformation and collapse.3.The wall is thick on the and thin on the bottom, which cannot be supported4.Clay is used for too lor and its viscosity decreases | 1. Use as little water as possible when drawing.2. Keep your hands movi from the bottom to the to3. Never press down.4. Rapid prototyping. |
| Bottom break | 1.Knead clay is not uniformclay dry and wet is not uniform.2.Water at the bottom, no water absorption after forming.3.When dry, not placed o absorbent boards.4.Sun exposure.5.Too thick at the bottom. | 1.Knead the clay evenly.2.Sponge up the water inside the vessel when finished.3.Let dry on a solid boar4.Keep out of the sun.5.The bottom thickness is less than 2cm. |
TROUBLESHOOTING INSTRUCTIONS
| Problem | Reason | Solution |
| Does not work. | The power supply is not connected. | 1.Check whether the power plug is properly inserted.2.Check whether the leakage protector is on. |
| Shaking of the machine | The machine is not level with the ground. | Adjust the four feet of the machine so that the machine is level with the ground. |
| The turntable makes a sound. | The water basin against t turntable. | Check whether water basin is properly installed. |
| Water basin is leaking. | 1.The water exceeds the waterproofing edge of the basin.2.The water basin is not installed properly. | 1.Check whether the storage of mud water exceeds the waterproof edge.2.Check that water basin properly installed. |
| The turntable jumps too much. | The fastener is loose. | Check whether the fastene is loose. If not, ask a professional to debug it. |
CLEANING AND CARE RULES
- After finishing equipment operation, clean the clay from the turntable surface and wipe off water stains (do not use water directly).
- Regularly check parts for looseness.
- If used infrequently, run it at least once a month.
Manufacturer: Hebei Lesheng Teaching Equipment Co., Ltd.
Address: East of Xingye Street, North of Hai'an Road, Haixing County, Cangzhou City, Hebei Province
Importer: WAITCHX
Support and E-Warranty Certificate
https://www.vevor.com/support
VEVOR®
TOUGH TOOLS, HALF PRICE
https://www.vevor.com/support
POTTERY WHEEL MACHINE
OPERATING INSTRUCTIONS
NEED HELP? CONTACT US!
(a)
(b)
(c)/(e)
(g)
(g)

(d)/(f)/(h)
OPERATING STEPS
Manufacturer: Hebei Lesheng Teaching Equipment Co., Ltd.
https://www.vevor.com/support
CERAMIC TURNING MACHINE
USER MANUAL
Machine Translated by Google
(a)
(b)
(c)/(e)
(g)
(g)
(d)/(f)/(h)
OPERATING STEPS
electronics https://www.vevor.com/support
VEVOR®
TOUGH TOOLS, HALF PRICE
https://www.vevor.com/support
(a)
(b)
(c)/(e)
(g)
(g)
(d)/(f)/(h)
OPERATIONAL STEPS
NEED HELP? CONTACT US!
H (Ribbon flat wire knife): Trim the surface of the tool finely or ring around the foot.
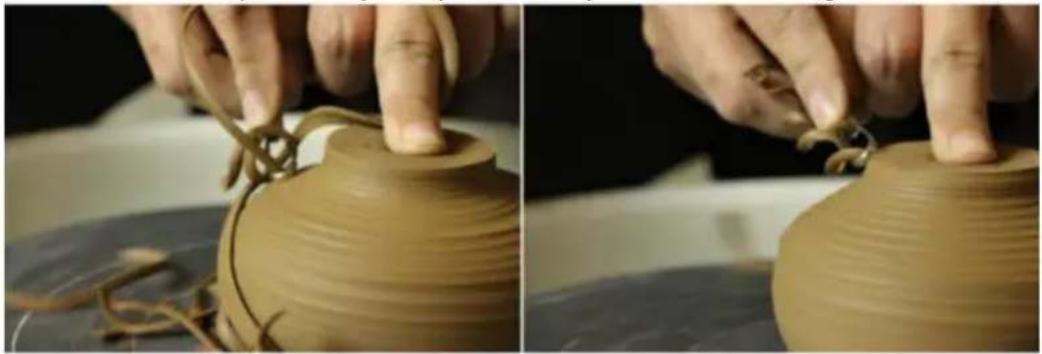
- Stainless steel clay repair knife 8-piece set (x1): Repair clay molds as shown in the image below.
(a)
(b)
(c)/(e)
(g)
(g)
(d)/(f)/(h)
OPERATING INSTRUCTIONS
Step 5: Repairing clay molds with tools.
https://www.vevor.com/support
VEVOR®
TOUGH TOOLS, HALF PRICE
https://www.vevor.com/support
POTTERY WHEEL MACHINE
USER MANUAL
NEED HELP? CONTACT US!
CustomerService@vevor.com
2. 8-piece tool set (x1)
(a)
(b)
(c)/(e)
(g)
(g)
(d)/(f)/(h)
OPERATING STEPS
Manufacturer: Hebei Lesheng Teaching Equipment Co., Ltd.
ADD: East of Xingye Street, North of Hai'an Road, Haixing County, Cangzhou City, Hebei Province
Importer: WAITCHX
Address: 250 bis boulevard Saint-Germain 75007 Paris
EUREP GmbH Unterlettenweg 1a, 85051 Ingolstadt, Germany
Made in China
VEVOR®
TOUGH TOOLS, HALF PRICE
https://www.vevor.com/support
VEVOR®
TOUGH TOOLS, HALF PRICE
https://www.vevor.com/support
POTTERY WHEEL MACHINE
USER MANUAL
NEED HELP? CONTACT US!
Machine Translated by Google
(a)
(b)
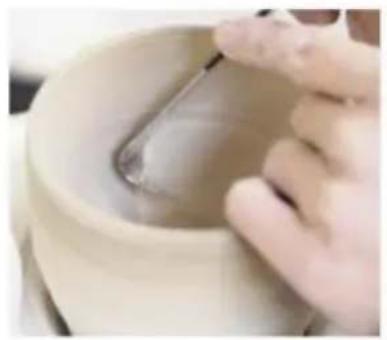
(c)/(e)
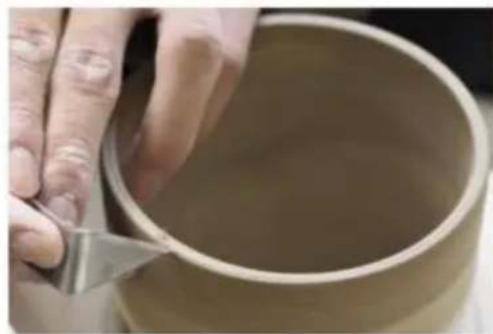
(g)
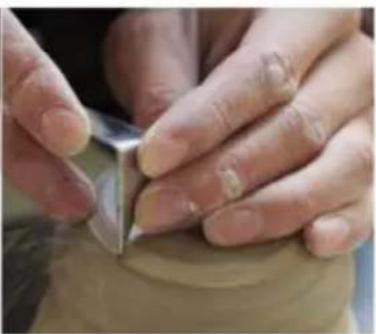
(g)
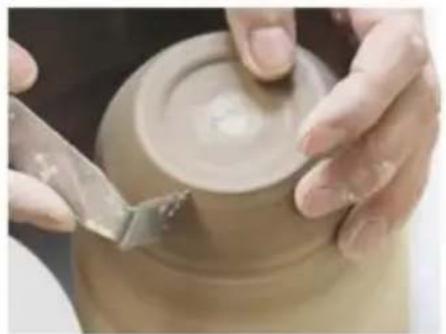
(d)/(f)/(h)
OPERATING STEPS
Manufacturer: Hebei Lesheng Teaching Equipment Co., Ltd.
https://www.vevor.com/support
Pottery Wheel
USER MANUAL
Kundenservice@vevor.com
Machine Translated by Google
(a)
(b)
(c)/(e)
(g)
(g)
(d)/(f)/(h)
OPERATING STEPS
Manufacturer: Hebei Lesheng Teaching Equipment Co., Ltd.
https://www.vevor.com/support

- POTTERY WHEEL MACHINE USER MANUAL
- VEVOR®
- POTTERY WHEEL MACHINE
- MODEL: LSSJSX
- NEED HELP? CONTACT US
- SAFETY INSTRUCTIONS
- TOOL ACCESSORIES AND USE
- PIECE TOOL SET (X1)
- OPERATING STEPS
- CLEANING AND CARE RULES
- TOUGH TOOLS, HALF PRICE
- CERAMIC TURNING MACHINE
- USER MANUAL
- MACHINE TRANSLATED BY GOOGLE
- OPERATIONAL STEPS
- OPERATING INSTRUCTIONS
- CUSTOMERSERVICE@VEVOR.COM
- POTTERY WHEEL
- KUNDENSERVICE@VEVOR.COM
Brand : Vevor
Model : GCJX-011
Category : Electric pottery wheel