NLSSHL496 - Safety gate Vevor - Free user manual and instructions
Find the device manual for free NLSSHL496 Vevor in PDF.


User questions about NLSSHL496 Vevor
0 question about this device. Answer the ones you know or ask your own.
Ask a new question about this device
Download the instructions for your Safety gate in PDF format for free! Find your manual NLSSHL496 - Vevor and take your electronic device back in hand. On this page are published all the documents necessary for the use of your device. NLSSHL496 by Vevor.
USER MANUAL NLSSHL496 Vevor
Technical Support and E-Warranty Certificate www.vevor.com/support
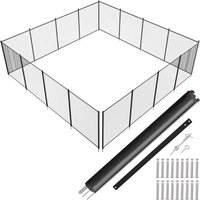
POOL FENCE
MODEL: NLSSHL412, NLSSHL448, NLSSHL472, NLSSHL496, NLSSHL4108
We continue to be committed to provide you tools with competitive price.
"Save Half", "Half Price" or any other similar expressions used by us only represent estimate of savings you might benefit from buying certain tools with us compared to the n brands and does not necessarily mean to cover all categories of tools offered by us. Y kindly reminded to verify carefully when you are placing an order with us if you are actual half in comparison with the top major brands.
Model:NLSSHL412, NLSSHL448, NLSSHL472, NLSSHL496, NLSSHL4108
NEED HELP? CONTACT US!
Have product questions? Need technical support? Please feel free to contact Technical Support and E-Warranty Certificate www.vevor.com/support
This is the original instruction, please read all manual instructions carefully be operating. VEVOR reserves a clear interpretation of our user manual. The appearance of the product shall be subject to the product you received. Please forgive us that we won't inform you again if there are any technology or software updates on our product.
THIS SAFETY FENCE IS INTENDED TO LIMIT THE ACCESS OF THE POCTO CHILDREN UNDER FIVE YEARS. THIS FENCE IS INTENDED FOR INDIVIDUAL USE ONLY.
Important recommendations
Before starting, it is important to know which rules must be followed when in the barrier.
- The barrier must isolate the pool and all its points of access completely.
- All sides of the pool must be protected, whether with the barrier itself or fixed element such as a wall, a panel or any other type of fence, as long element complies with the NF P 90 -306 standard (particularly with the part that said element must never have a clearance height inferior to 1.10m ).
- In the case that the barrier must be connected to another element, make that it is firm enough to provide a stable point of attachment.
- Do not install the barrier on an unstable surface such as grass, sand.WARNING: it is imperative to maintain a corridor of at least 1.10m between the barrier and any fixed or movable point of attachment (on each side of the barrier).
- We recommend installing the barrier at a minimum distance of 2' above w level. In private pools for individual use, we recommend installing the barrier too far from the pool itself so that its efficiency is not reduced.
- However, when calculating the distance between the pool and the barrier, take into consideration the minimum distance required for carrying out maintenance tasks such as vacuuming. Do not leave a small distance which impair maintenance tasks.
- Before installing this product, please read and follow all the warnings and instructions that accompany this product. Failure to comply with the safety warnings and instructions could cause injuries, death or material damages.
- Please keep this instruction manual for future consultation.
- We reserve to change all of part of the articles or contents of this document without prior notice.
SPECIFICATIONS
| Model | NLSSHL412 |
| Product Size | 4*12ft |
| Color | Black |
| Model | NLSSHL448 |
| Product Size | 4*48ft |
| Color | Black |
| Model | NLSSHL472 |
| Product Size | 4*72ft |
| Color | Black |
| Model | NLSSHL496 |
| Product Size | 4*96ft |
| Color | Black |
| Model | NLSSHL4108 |
| Product Size | 4*108ft |
| Color | Black |
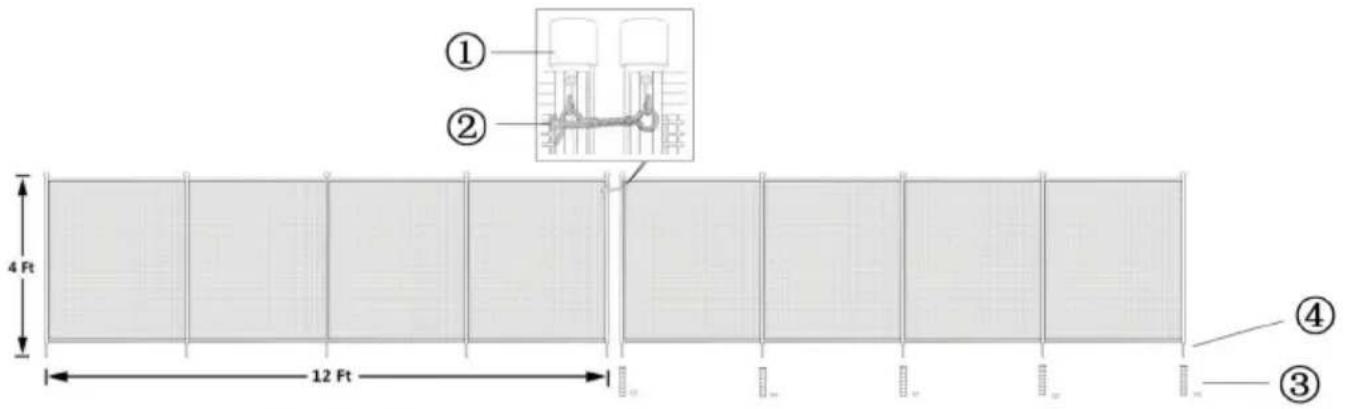
PARTS LIST
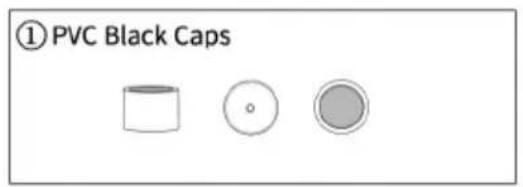
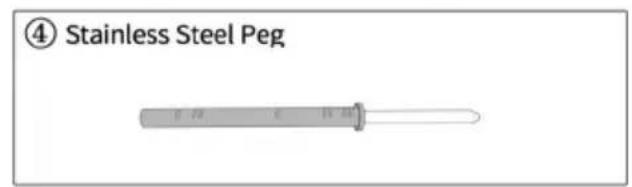
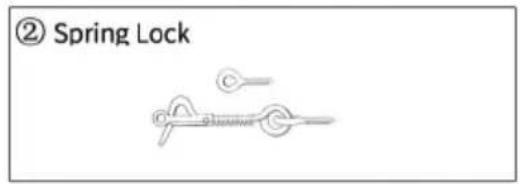
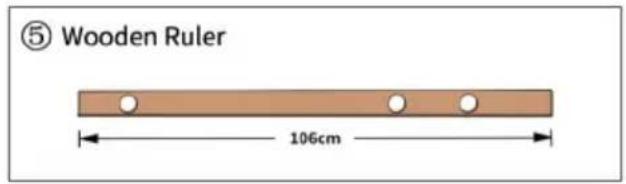
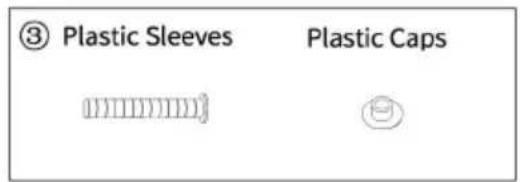
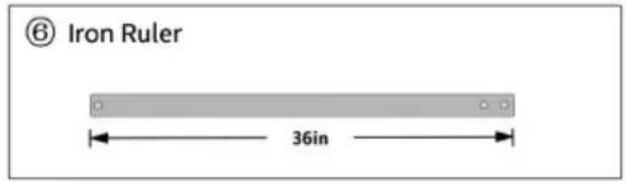
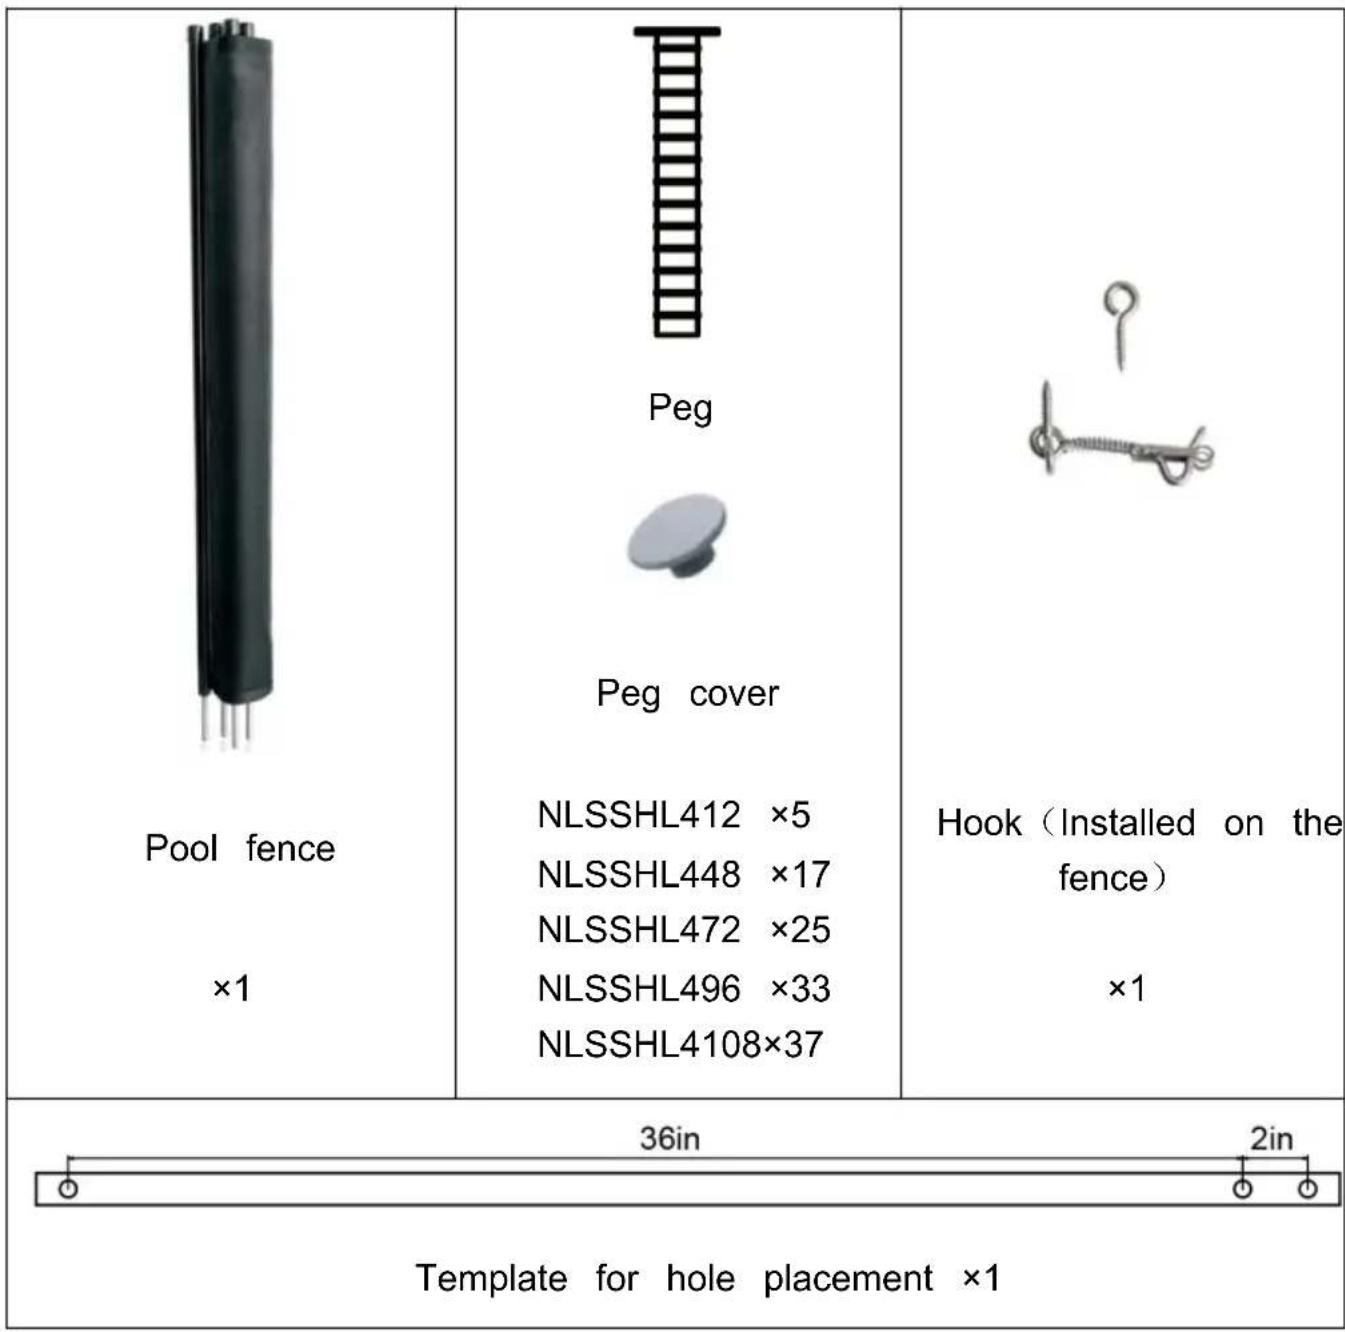
Required tools
| 1. Rotary Hammer Drill | 8. Scissors |
| 2. Concrete drill bit ø16 and ø10 | 9. Household Stapler |
| 3. Extension Cord | 10. #2 Square Head Screw Tip |
| 4. Tape Measure | 11. Cordless Screw Gun |
| 5. Hammer | 12. 1 - Template (Incl.) |
| 6. Marker | 13. Chalk Line |
| 7. Garden Hose | 14. Spirit level |
NOTE: This manual takes NLSSHL412 as an example for installation instructions, other models are only different in length and the installation method is the same.
Installation
STEP 1: Site planning and marking
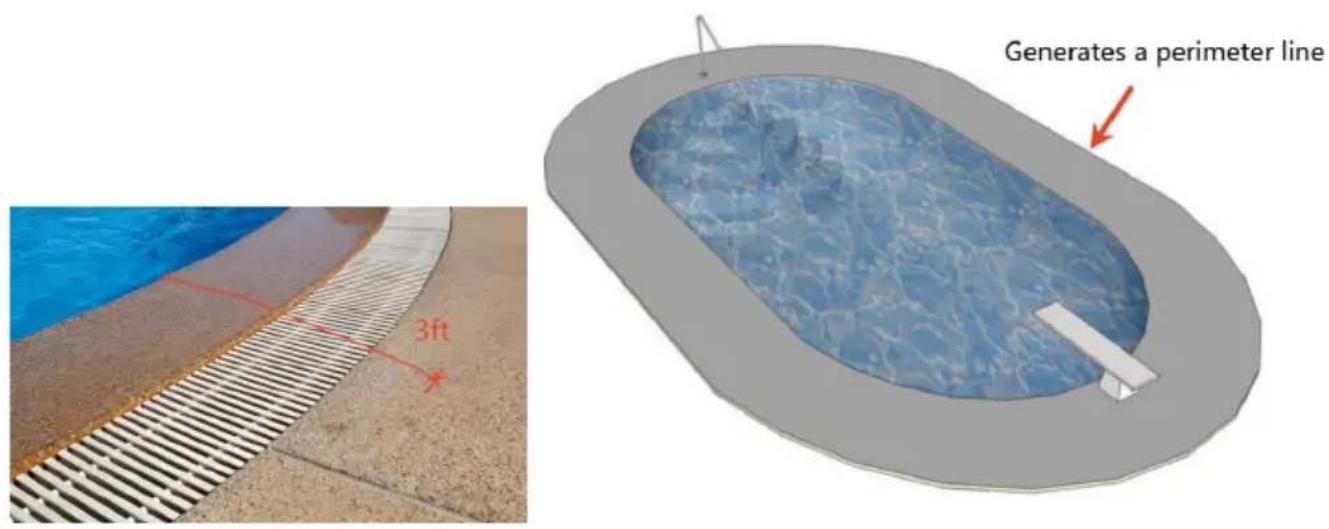
Determine the location of the fence:
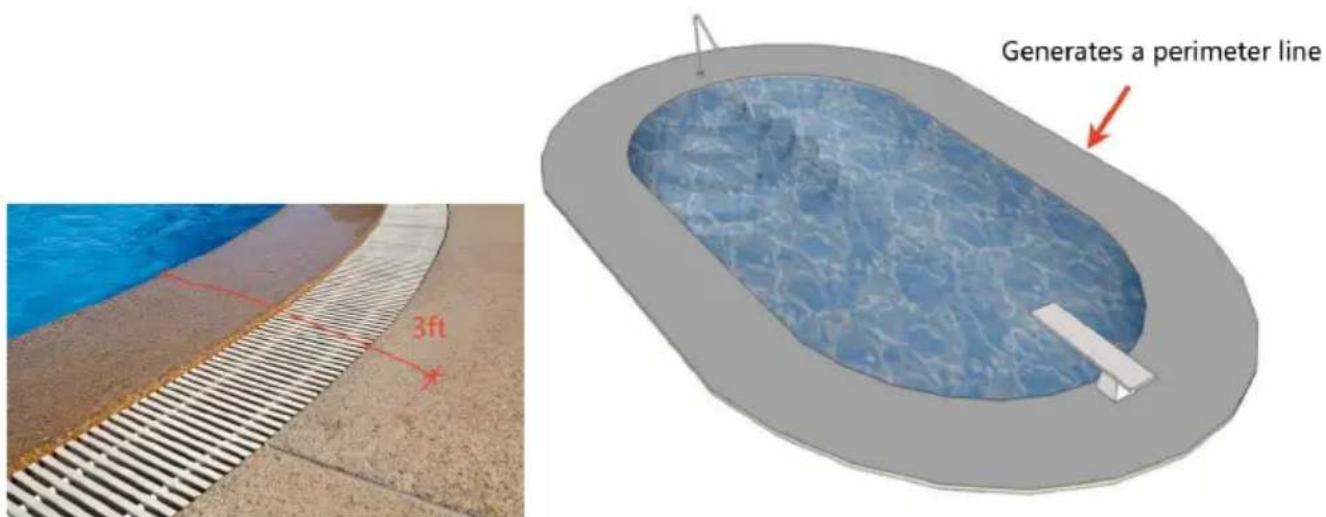
The fence should be installed at least 3 feet away from the edge of the safety. Use a tape measure or garden hose to measure and mark out the fence will be installed along the edge of the pool.
STEP 2: Determine the starting point
Find the manual opening location to enter the pool area as the starting point. Using the double holes on the provided template, mark the first hole at the starting point, which corresponds to the
STEP 2: Determine the starting point position of the first post on the left side of the fence. (Reserve the location of the door)

STEP 3: Mark other holes
Cover the template over the marked start hole, and move the template to mark the hole location of the first column on the right. After that, the other holes are marked sequentially by the stencil scale, usually 36 inches apart from adjacent holes. For subsequent fence sections, repeat the marking steps above until the entire perimeter fence hole is marked.
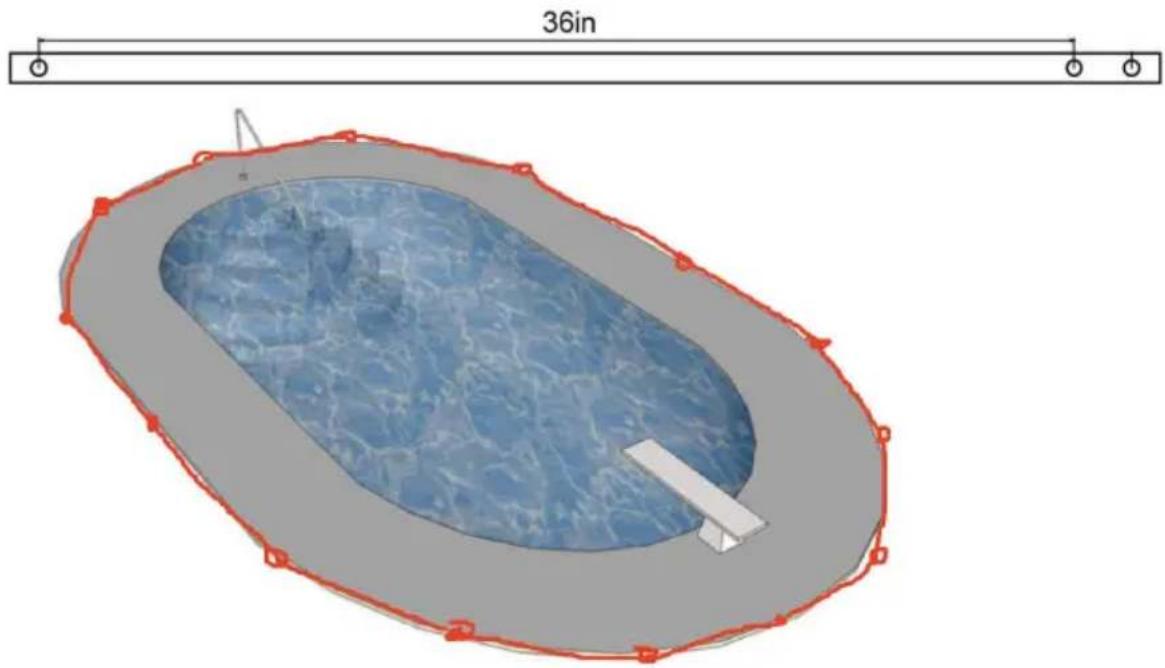
STEP 4: Drilling and Inserting Ground Sleeves
The holes must be made with drill bit 016. If the initial hole is made a bit 010 then it may be easier to carry out the definitive drilling with 01 With the help of a spirit level, make the holes that have been mark these instructions above.
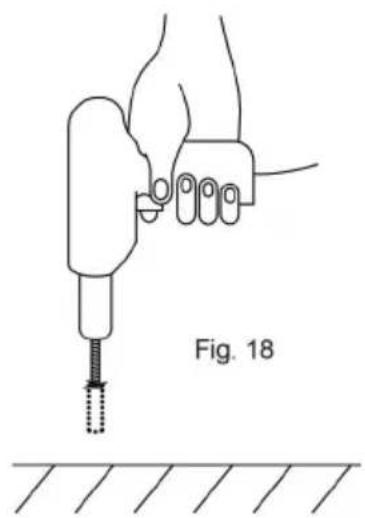
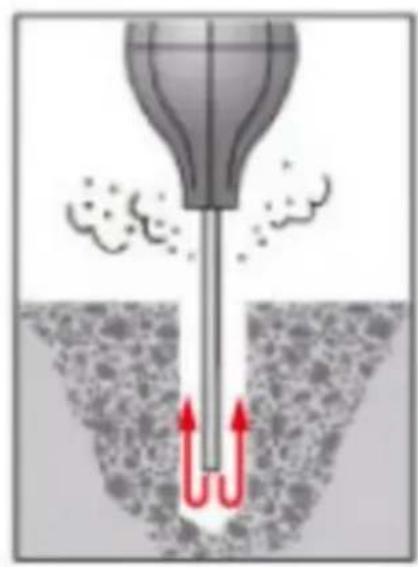
- Sleeving: Once drilling is completed, flush out the debris from the hole a garden hoseFig. 19. Next insert the plastic sleeves in the holes a down completely Fig. 20.
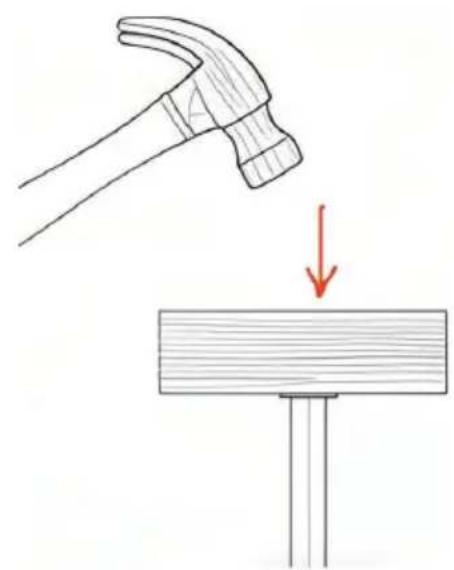
Tip:To avoid damaging the sleeve, place a piece of wood on top of the illustrated, and gently hammer the sleeve down into the hole until it sinks ground.
STEP 5: Assemble the fence parts
- Open the fence mesh:
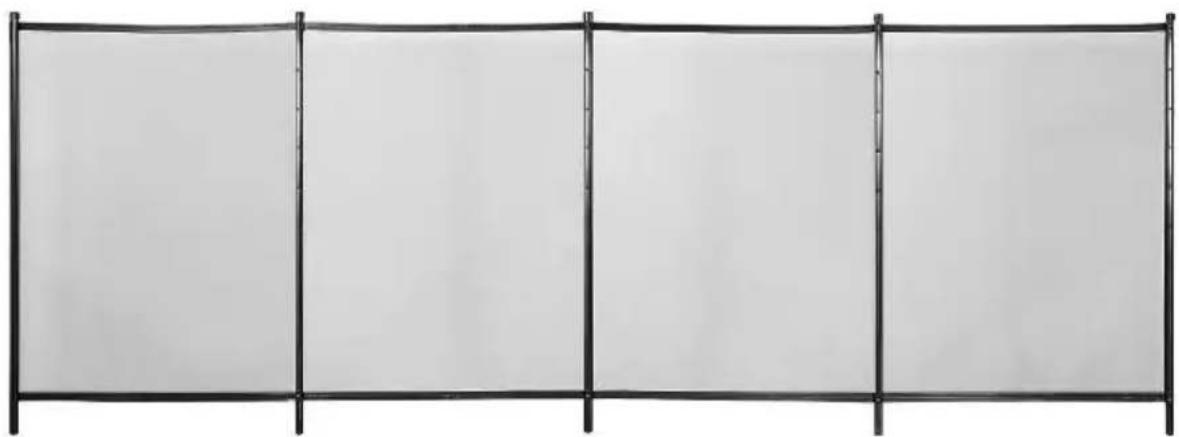
Install the fence: Start the installation from the starting point double hole. Insert the first column into the corresponding hole, and when installing, it is slightly tilted back for easy insertion, and then push forward to make fit with the plastic sleeve. Install other columns and fence parts in turn that the fence is neat and straight.
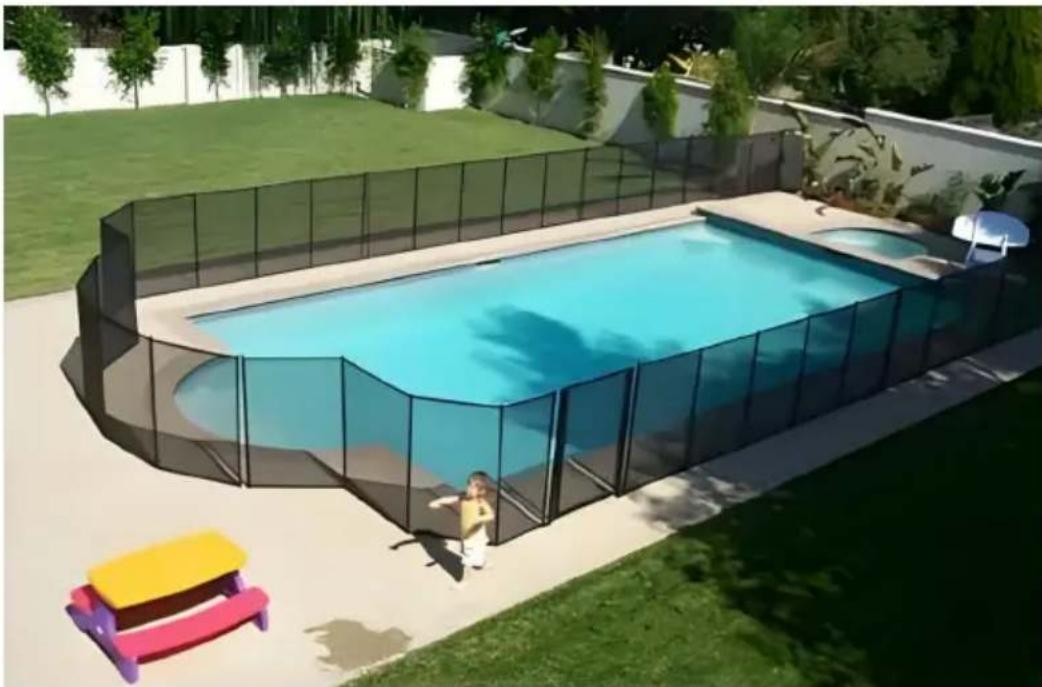
STEP 6: Finishing & Latching Your New Pool Fence.
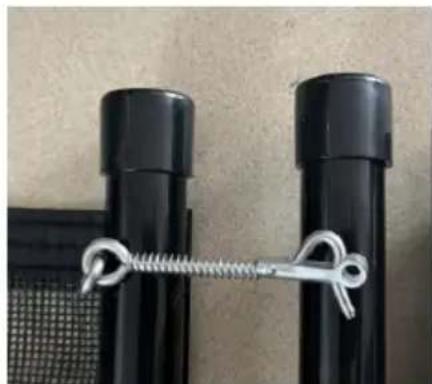
You must squeeze poles together and press the spring to remove and repl latch.
WARNING: THE POLE CANNOT BE REMOVED IF YOU SIMPLY PULL WITHOUT TURNING IT AT THE SAME TIME. IT IS IMPERATIVE THAT ACCESS POINTS ARE CLOSED AT THE END OF THE SEASON OF SUPERVISED SWIMMING.
1. Maintenance
Try to regularly monitor all safety fence components. If any of the components should be damaged, especially those relating to closing, please contact the shop where you purchased the barrier immediately in order to obtain a replacement part. It is imperative
replace the elements or groups of elements that are damaged as soon as possible. use parts that are not officially approved by the PROVIDER/ INSTALLER.
SAFETY PRECAUTIONS
- THE SWIMMING POOL CAN BE A HAZARD TO YOUR CHILDREN. DROWNING M HAPPEN VERY QUICKLY. WHEN CHILDREN ARE NEAR THE POOL THEY REQUIRE CONSTANT AND ACTIVE SUPERVISION, EVEN IF THEY ARE ABLE TO SWIM.
- THIS BARRIER DOES NOT REPLACE COMMON SENSE OR INDIVIDUAL RESPONSIBILITY. THE BARRIER CANNOT REPLACE SUPERVISION CARRIED OUT BY RESPONSIBLE ADULTS WHICH STILL REMAINS THE KEY FACTOR IN PROTECTING SMALL CHILDREN.
- POINTS OF ACCESS MUST BE CLOSED SYSTEMATICALLY WHEN NO ONE IS HOME, EVEN IF IT IS FOR A SHORT PERIOD OF TIME.
- WARNING! SAFETY IS GUARANTEED ONLY WHEN POINTS OF ACCESS ARE LOCKED.
- CHECK WHETHER THERE ARE ELEMENTS NEAR THE BARRIER THAT COULD ENABLE OR FACILITATE CLIMBING THE FENCE.
- CLOSING POINTS OF ACCESS THROUGH AUTOMATED CLOSING SYSTEMS SHOULD BE CHECKED SYSTEMATICALLY.
- WHEN THE BARRIER IS BROKEN OR DAMAGED AND REQUIRES REPAIR WORK IT IS VERY IMPORTANT TO INCREASE SUPERVISION TO PREVENT SMALL CHILDREN FROM ACCESSING THE POOL.
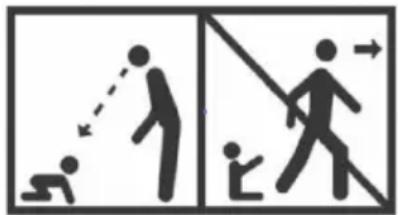
- LEARN RESCUE TECHNIQUES (CARDIOPULMONARY RESUSCITATION) AND UPDATE YOUR KNOWLEDGE PERIODICALLY. IT COULD SAVE A LIFE IN AN EMERGENCY.
- THE PRESENCE OF PARENTS AND/OR OTHER RESPONSIBLE ADULTS IS REQUIRED WHEN THE POOL IS ACCESSIBLE.
MEMORIZE AND DISPLAY NEAR THE POOL THE FIRST AID NUMBERS.
FIREIGHTERS
EMERGENCY MEDICAL SERVICES
POISON CONTROL CENTER
Manufacturer: Shanghaiuxinmuyeyouxianggsi
Address: Shuangchenglu 803nong11hao1602A-1609shi, baoshanqu, shanghai 200000 CN.
Imported to AUS: SIHAO PTY LTD. 1 ROKEVA STREETEASTWOOD NSW 2122 Australia
Imported to USA: Sanven Technology Ltd. Suite 250, 9166 Anaheim Place, Rancho Cucamonga, CA 91730
| UK | REP |
YH CONSULTING LIMITED. C/O YH Consulting
Limited Office 147, Centurion House, London
Road, Staines-upon-Thames, Surrey, TW18 4AX
| EC | REP |
E-CrossStu GmbH
Mainzer Landstr.69,
60329 Frankfurt am Main.
VEVOR®
TOUGH TOOLS, HALF PRICE
Technical Support and E-Warranty Certificate
www.vevor.com/support
VEVOR
TOUGH TOOLS, HALF PRICE
YH CONSULTING LIMITED. C/O YH Consulting
Limited Office 147, Centurion House, London Road, Staines-upon-Thames, Surrey, TW18 4AX
| EC | REP |
www.vevor.com/support
VEVOR
TOUGH TOOLS, HALF PRICE
Assistance technique et certificate de garantie electronique www.vevor.com/support
CLÔTURE DE PISCINE
MODELE : NLSSHL412 , NLSSHL448 , NLSSHL472, NLSSHL496 NLSSHL4108
Lieu, Rancho Cucamonga, CA 91730
| UK | REP |
YH CONSULTING LIMITED. C/O YH Consulting
Limited Office 147, Centurion House, London Road, Staines-upon-Thames, Surrey, TW18 4AX
| EC | REP |
NEEM CONTACT MET ONS OP!

④ Stainless Steel Peg
③ Plastic Sleeves

Plastic Caps

⑥ Iron Ruler
YH CONSULTING LIMITED. C/O YH Consulting
Limited Office 147, Centurion House, London Road, Staines-upon-Thames, Surrey, TW18 4AX
| EC | REP |
www.vevor.com/support
VEVOR
TOUGH TOOLS, HALF PRICE
YH CONSULTING LIMITED. C/O YH Consulting
Limited Office 147, Centurion House, London Road, Staines-upon-Thames, Surrey, TW18 4AX
| EC | REP |
www.vevor.com/support
VEVOR®
TOUGH TOOLS, HALF PRICE
Soporte专业技术o y certificate de garantia electrònica www.vevor.com/support
VALLA DE PISCINA
MODELO: NLSSHL412, NLSSHL448, NLSSHL472, NLSSHL496, NLSSHL4108

④ Stainless Steel Peg
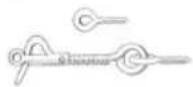
② Spring Lock

⑤ Wooden Ruler
③ Plastic Sleeves
Plastic Caps


⑥ Iron Ruler
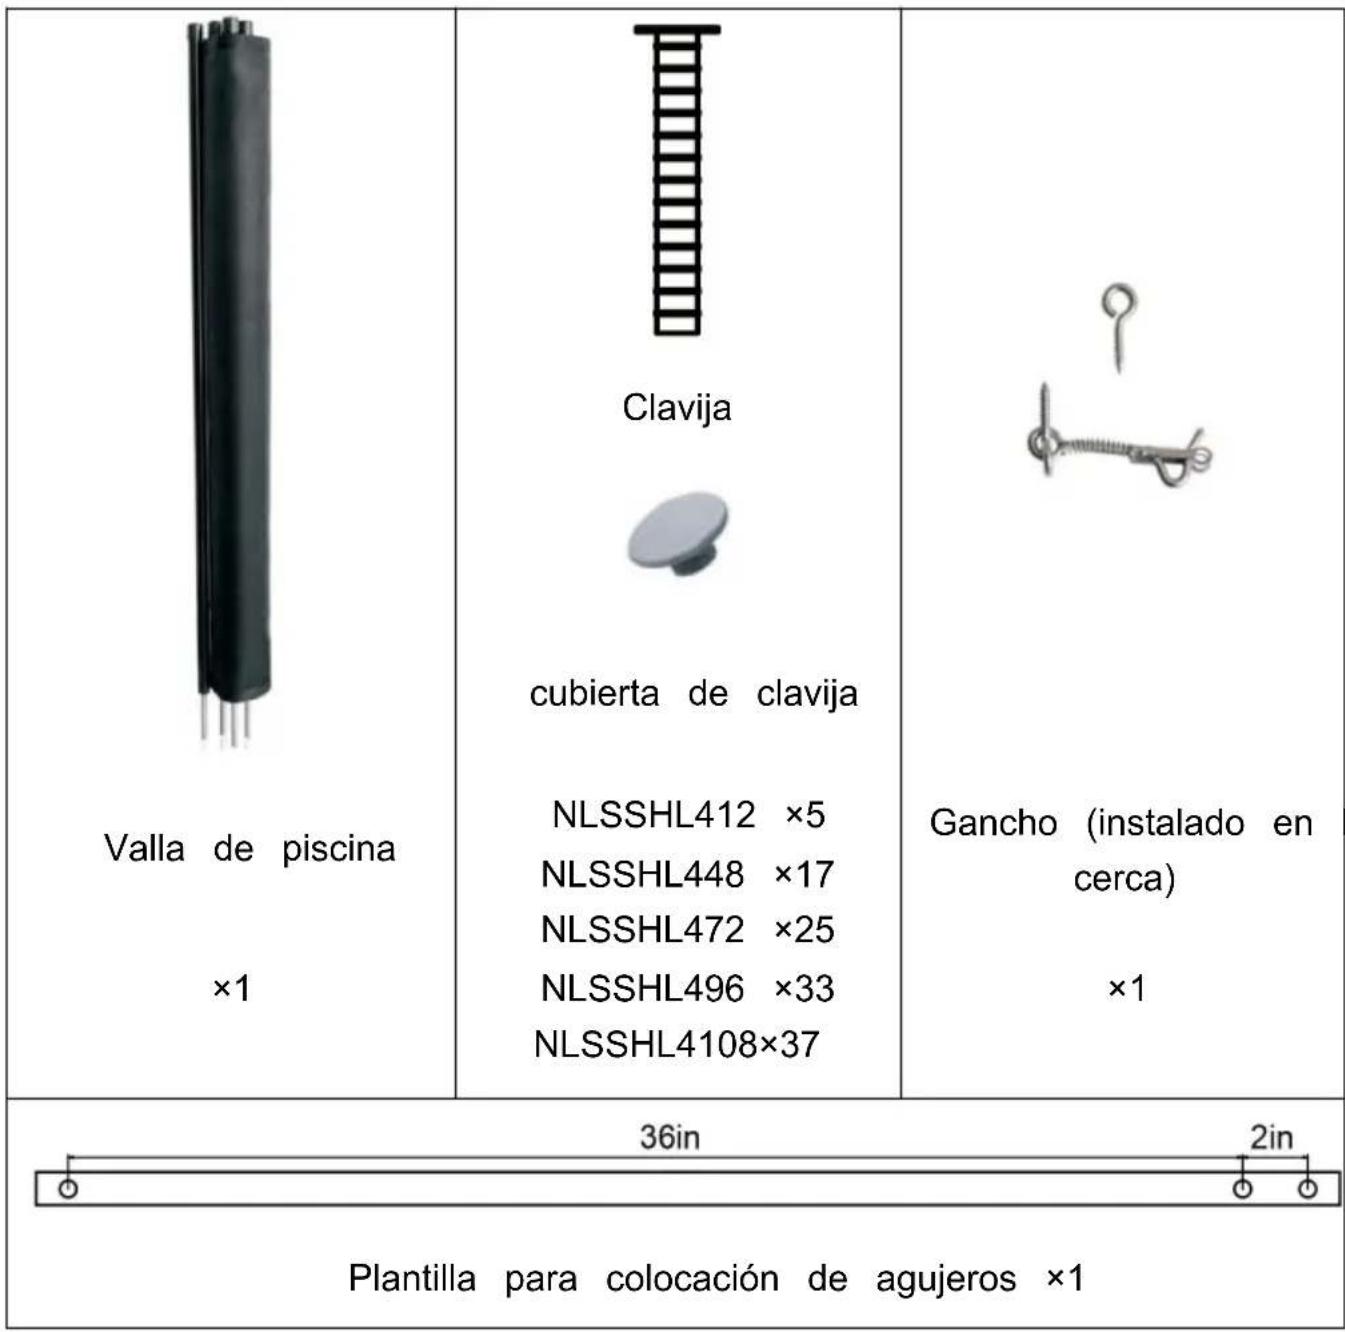
Herramentas necessities
La hora de ser available is a 90 minutes waiting time. Use the hours of operation to be able to get your work done on time. The hours of operation are based on the number of hours you have worked in the past year.
YH CONSULTING LIMITED. C/O YH Consulting
Limited Office 147, Centurion House, London Road, Staines-upon-Thames, Surrey, TW18 4AX
| EC | REP |
YH CONSULTING LIMITED. C/O YH Consulting
Limited Office 147, Centurion House, London Road, Staines-upon-Thames, Surrey, TW18 4AX
| EC | REP |
www.vevor.com/support
VEVOR
TOUGH TOOLS, HALF PRICE

④ Stainless Steel Peg
③ Plastic Sleeves

Plastic Caps

⑥ Iron Ruler
YH CONSULTING LIMITED. C/O YH Consulting
Limited Office 147, Centurion House, London
Road, Staines-upon-Thames, Surrey, TW18 4AX
E-CrossStu GmbH
Mainzer Landstr.69,
60329 Frankfurt am Main.
VEVOR®
TOUGH TOOLS, HALF PRICE
www.vevor.com/support