
FWHB-191929 - Food storage furniture Vevor - Free user manual and instructions
Find the device manual for free FWHB-191929 Vevor in PDF.
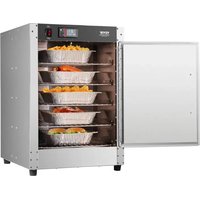


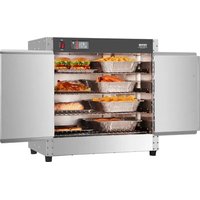
| Product Type | Food storage cabinet / warming cabinet |
| Brand | Vevor |
| Model | FWHB-191929 |
| Supply voltage | 120 V (+10%) |
| Rated power | 850 W |
| Temperature range | 0 to 80 °C (32 to 177 °F) |
| Display | Digital screen with measured temperature and set point indicator |
| Thermostat | Electronic adjustment with SET, + and - keys |
| Timer function | Adjustable countdown (0 to 999 minutes) for warming |
| Warming function | Maintains the set temperature for a fixed duration or continuously |
| Heating indicator | Indicator light: on when heating is active |
| Internal settings | Parameters P00 to P07: lock, temperature correction, °C/°F switching, etc. |
| Grounding | Mandatory - ground wire to be connected to the power plug |
| Cleaning and maintenance | Clean with a damp cloth; do not immerse; unplug before maintenance |
| Environmental regulations | Do not dispose with household waste, recycle according to WEEE directive (2012/19/EU) |
Frequently Asked Questions - FWHB-191929 Vevor
User questions about FWHB-191929 Vevor
0 question about this device. Answer the ones you know or ask your own.
Ask a new question about this device
Download the instructions for your Food storage furniture in PDF format for free! Find your manual FWHB-191929 - Vevor and take your electronic device back in hand. On this page are published all the documents necessary for the use of your device. FWHB-191929 by Vevor.
USER MANUAL FWHB-191929 Vevor
Technical Support and E-Warranty Certificate www.vevor.com/support
FOOD STORAGE CABINETS
MODEL: FWHB-162224 / FWHB-251524 / FWHB-251524-KS / FWHB-191929 / FWHB-400*600-5
We continue to be committed to providing you with tools at competitive prices. "Save Half," "Half Price," or any other similar expressions used by us represent an estimate of savings you might benefit from buying certain tools from us compared to the major top brands, and do not necessarily mean that all categories of tools offered by us are at half price. You are kindly reminded to verify when placing an order with us whether you are actually saving half in comparison with the top major brands.
MODEL: FWHB-162224 / FWHB-251524 / FWHB-251524-KS / FWHB-191929 / FWHB-400*600-5
NEED HELP? CONTACT US!
Have product questions? Need technical support? Please feel free to contact us:
Technical Support and E-Warranty Certificate www.vevor.com/support
This is the original instruction. Please read all manual instructions carefully before operating. VEVOR reserves the right to interpret the user manual. The appearance of the product shall be subject to the product you received. Please forgive us that we won't inform you in advance if there are any ontology or software updates on our product.
IMPORTANT SAFEGUARDS
When using electrical appliances, basic safety precautions should always be followed, including the following:

Please read this manual carefully before using this product.
Make sure you are familiar with all safety and usage instructions.
Keep this manual in a safe place for future reference.
FOR YOUR SAFETY!
Follow these precautions at all times to avoid personal injury to others.
Do not spray with water or cleaning products.
Do not use the unit with a damaged or modified electric cord.
To reduce the risk of equipment damage and personal injury:
- Only use grounded power outlets that match the rated voltage on the nameplate.
- Only use in a horizontal position.
- Do not use a power strip or surge protection cord with the equipment.
- Unplug the equipment before cleaning or moving.
- Do not use cleaning agents or liquids on the outside of the equipment. Keep it away from open flames and other heat sources.
- Do not operate damaged or malfunctioning equipment.
- Do not leave equipment ON unattended.
- Do not let children or minors touch or use this product. Please supervise during use.
- Do not put non-food items into the product for heating.
- Please use purified water.
- This appliance is not intended for use by persons (including children) with reduced physical, sensory or mental capabilities, or lack of experience and knowledge, unless they have been given supervision or instruction concerning use of the appliance by a person responsible for their safety. Children should be supervised to ensure that they do not play with the appliance.
- If the supply cord is damaged, it must be replaced by the manufacturer, its service agent or similarly qualified persons in order to avoid a hazard.
SAVE THESE INSTRUCTIONS
OPERATING INSTRUCTIONS
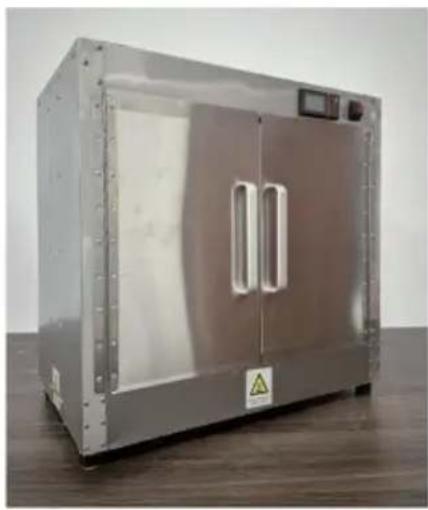
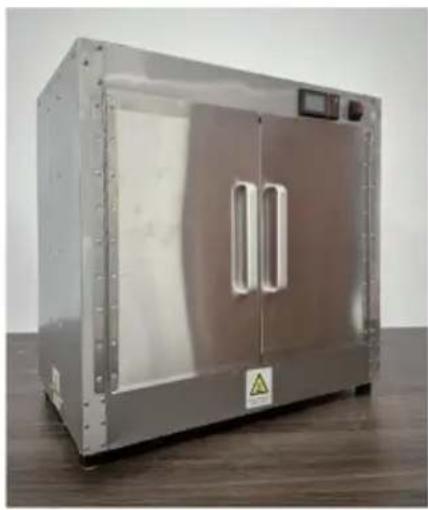
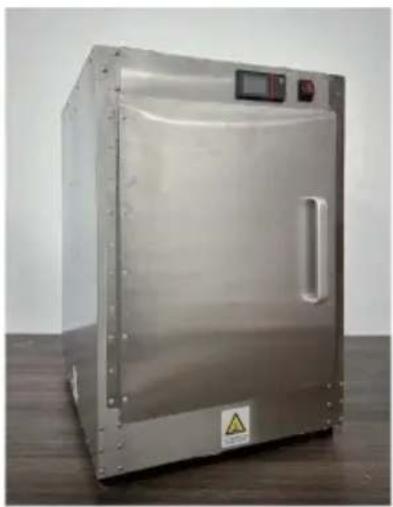
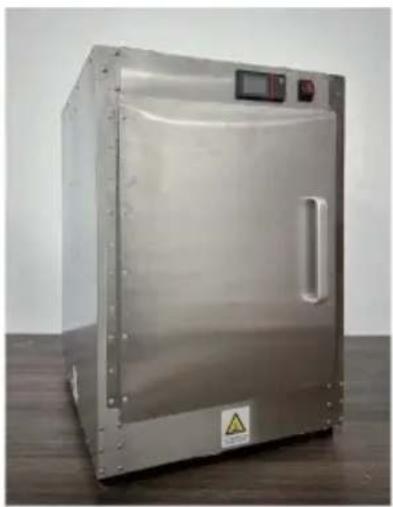
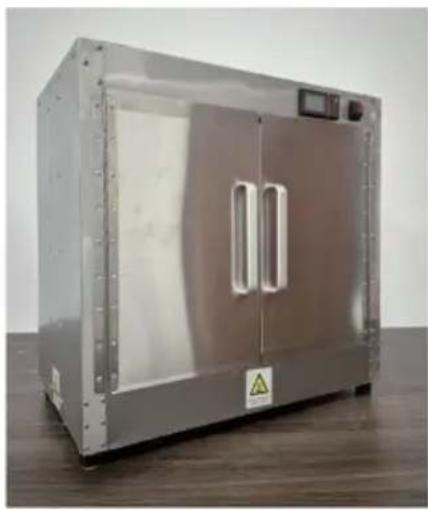
Includes the following accessories: power cord, anti-scald gloves, aluminum alloy handle, handle screws, cabinet feet, cabinet foot screws, small wrench, water box, manual, shelf.
Step 1: Attention: Tear off the white protective film on the surface. Operation: Use a hair dryer to heat the protective film for a while, and then tear it off by hand.
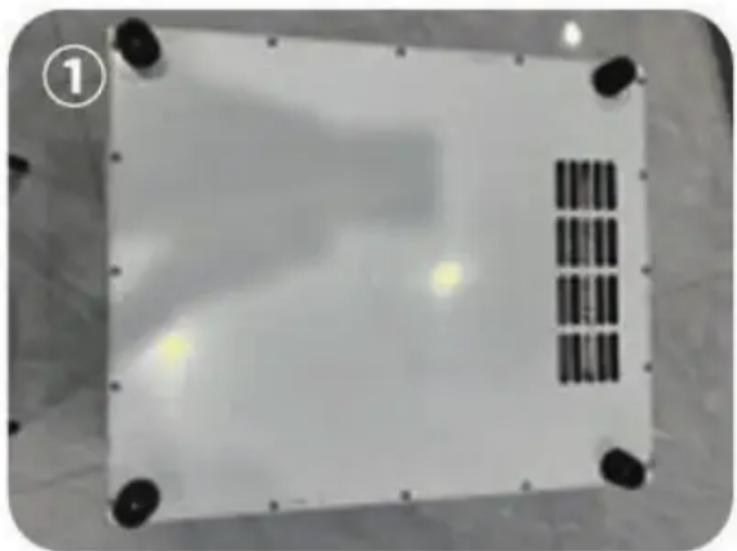
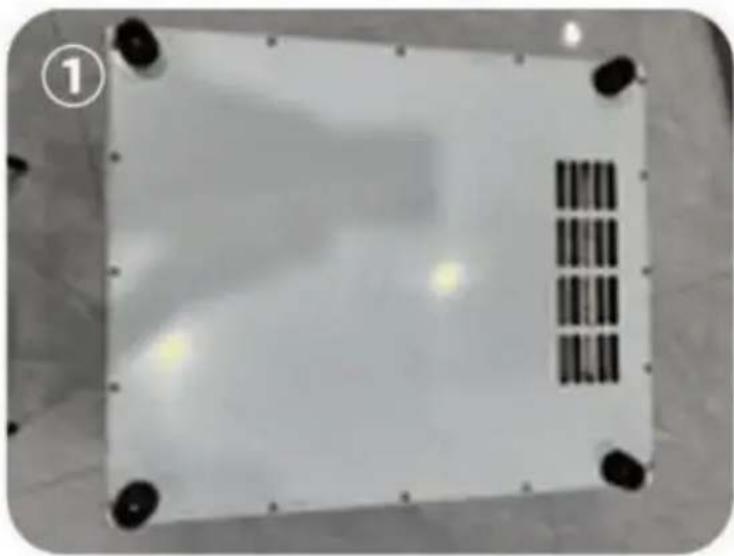
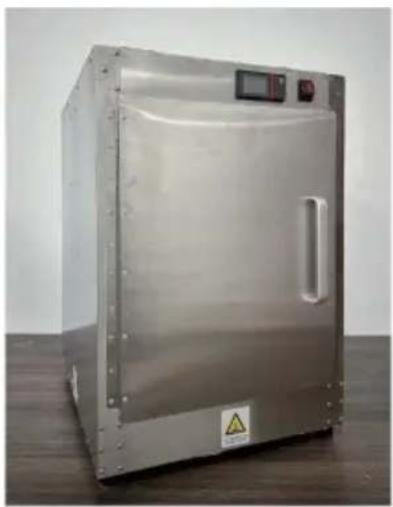
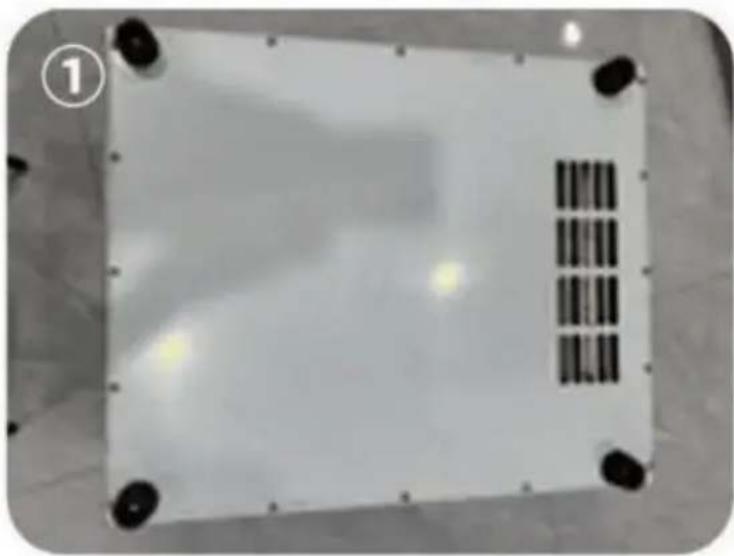
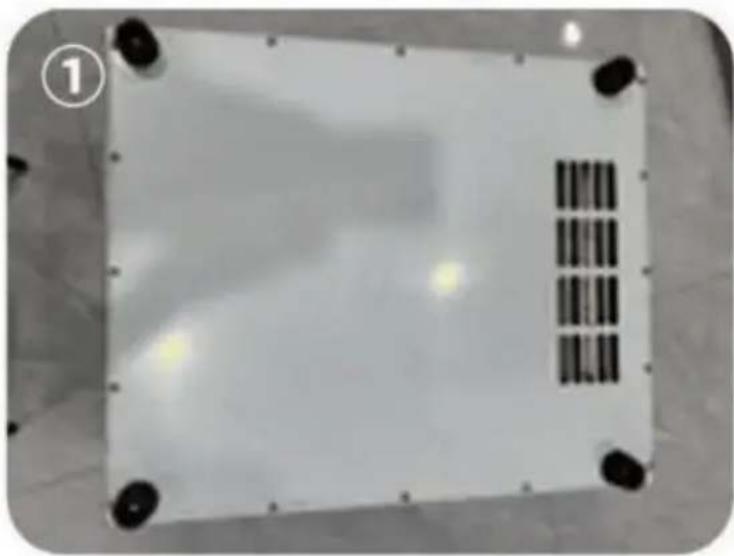
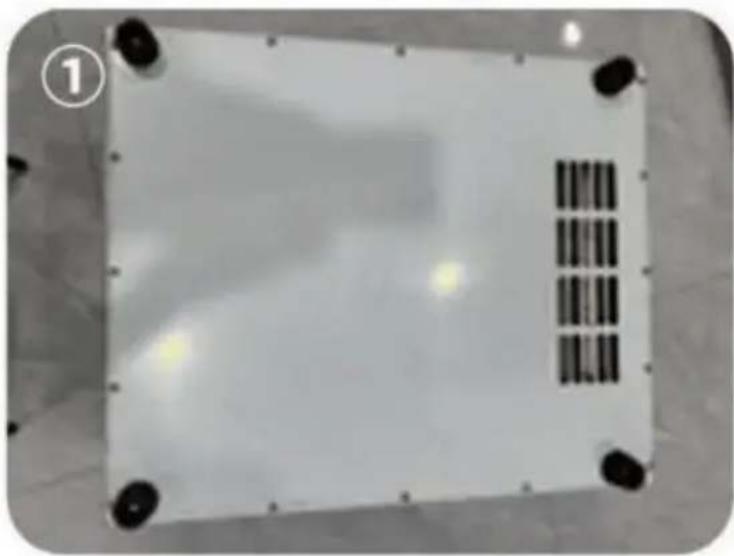
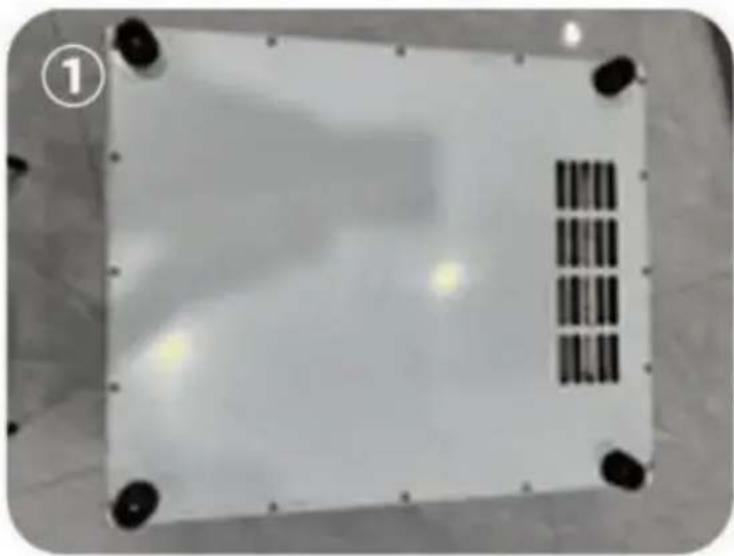
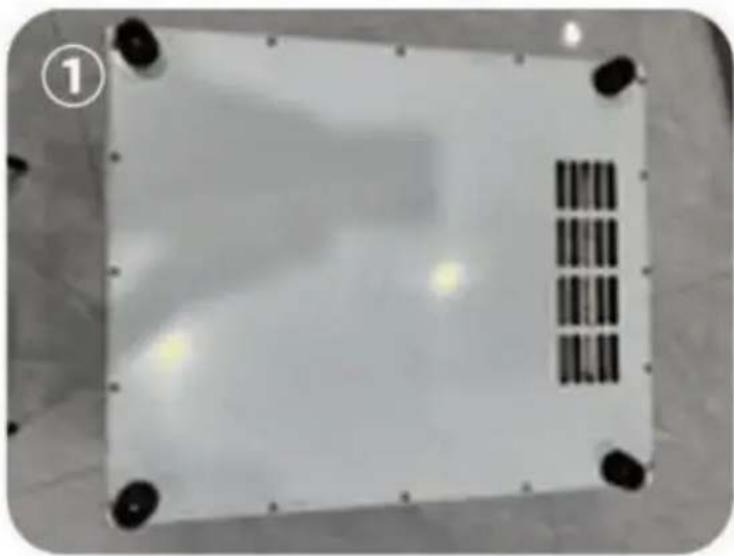
Step 2: Turn the cabinet upside down so that its bottom is facing up. Take out the bag with the cabinet legs, and install the long screws with a wrench. Place the four cabinet legs inside, pass the screws through the holes in the middle of the cabinet feet, and then tighten the nuts on the four corners of the bottom of the cabinet firmly with a wrench. As shown in Figure ①.
Step 3:
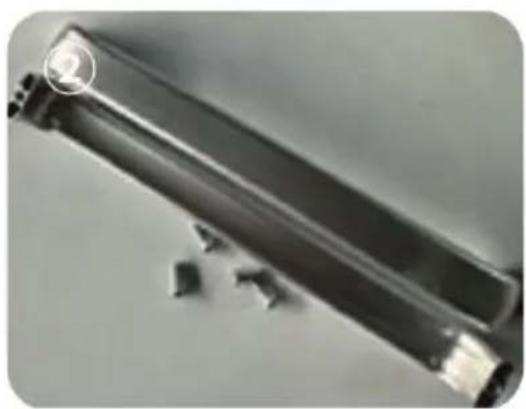
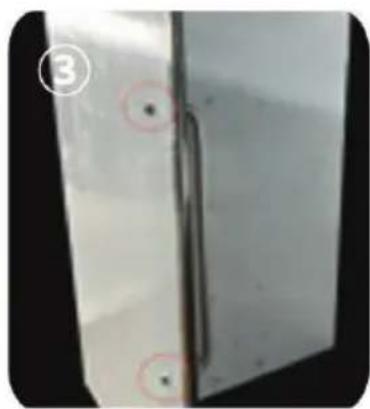
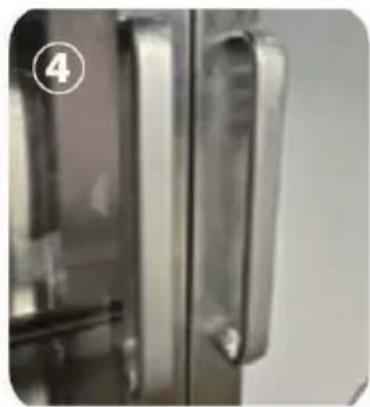
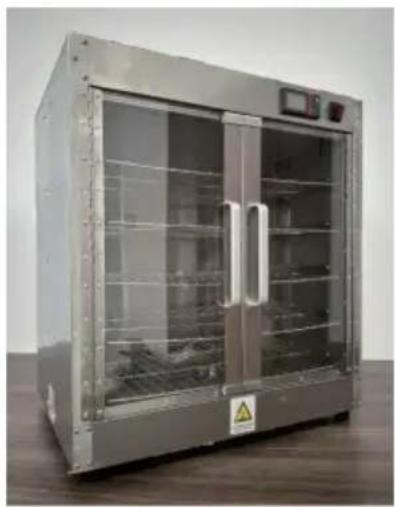
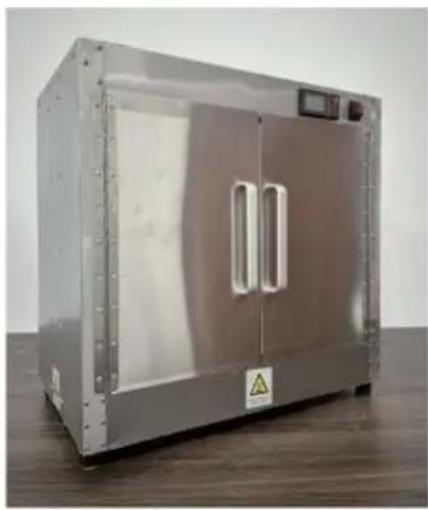
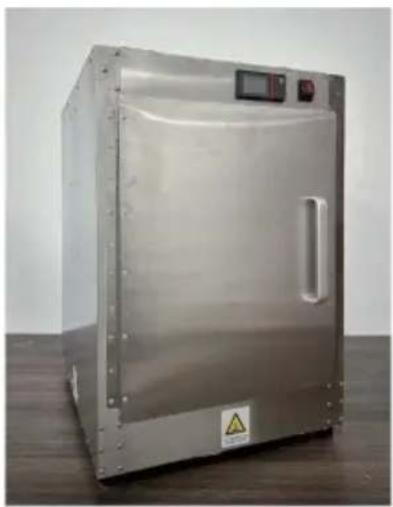
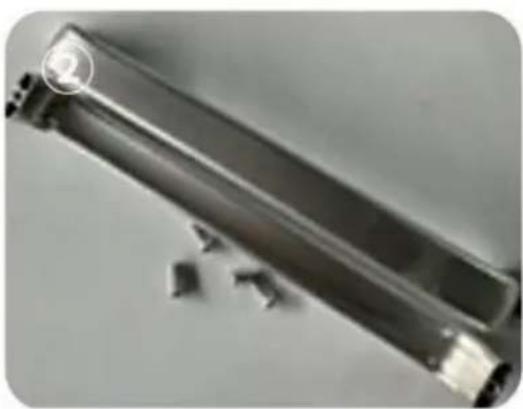
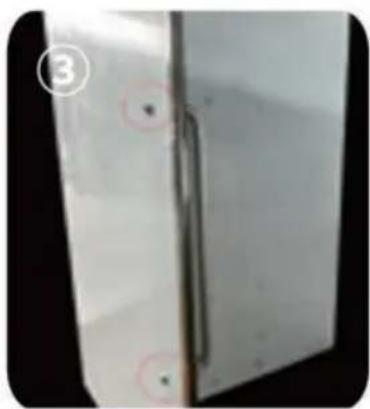
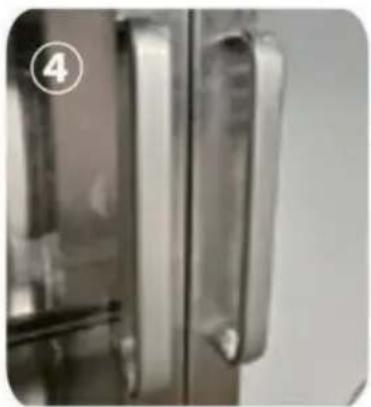
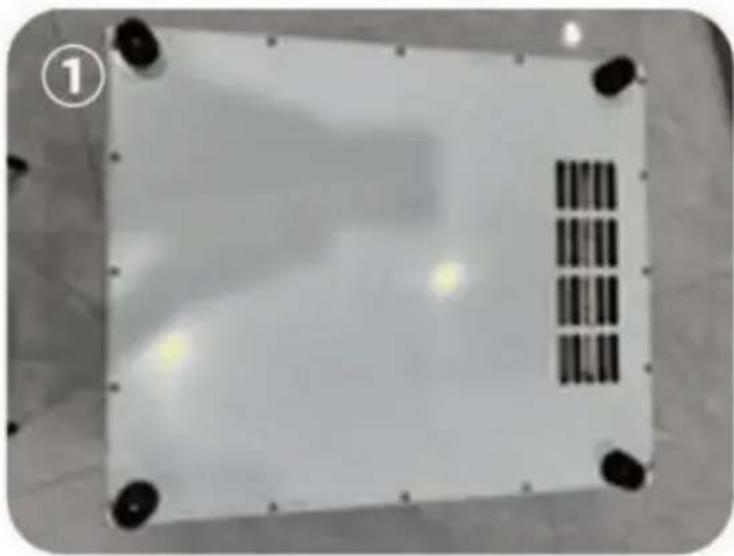
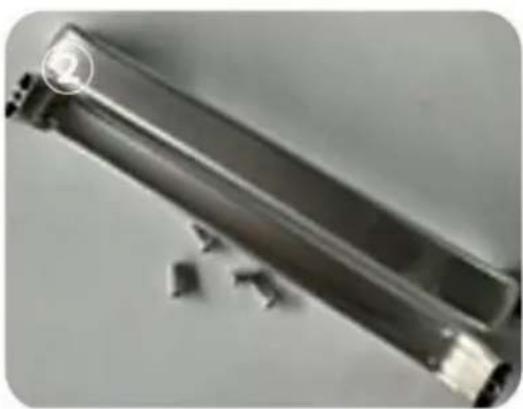
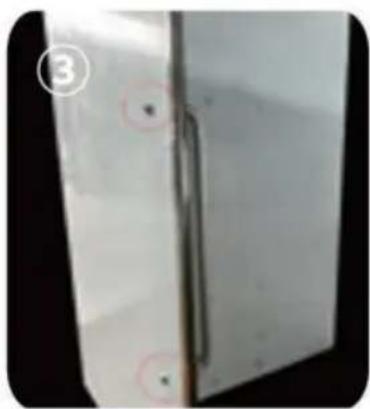
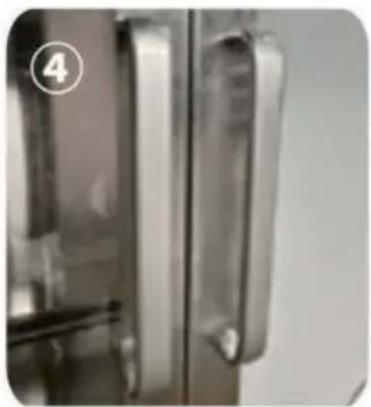
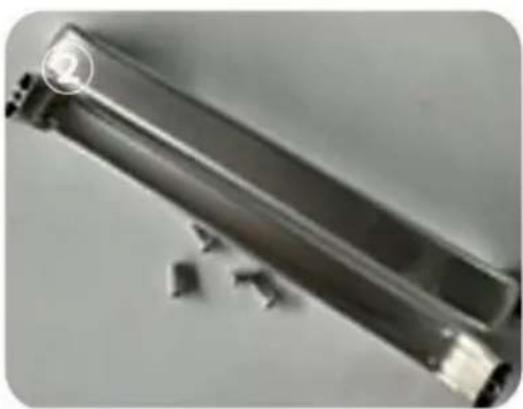
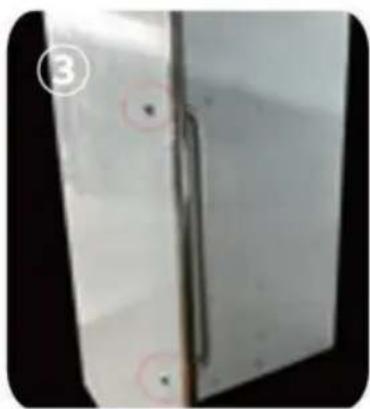
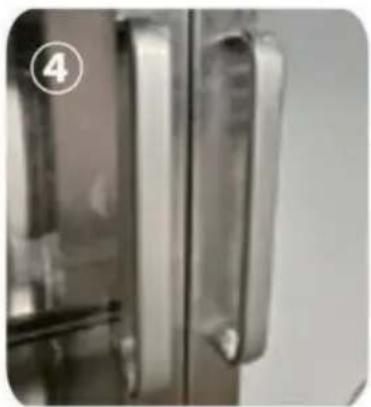
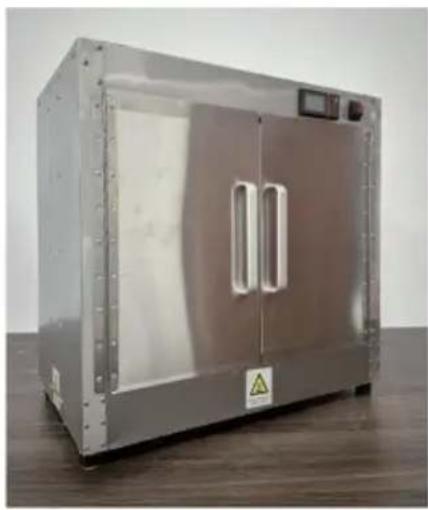
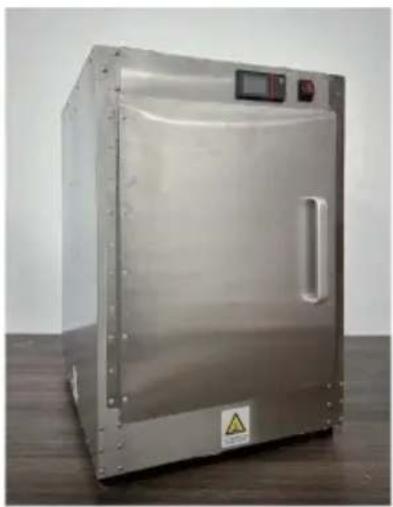
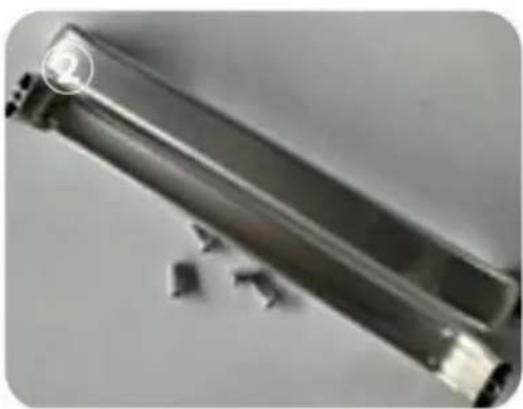
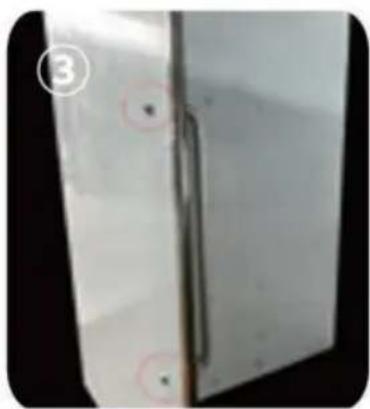
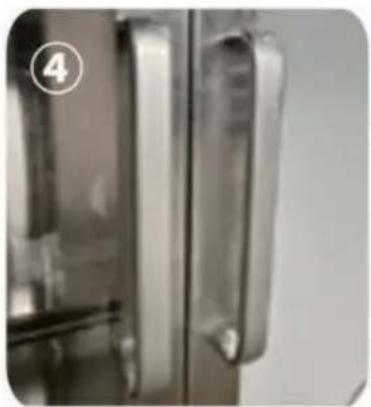
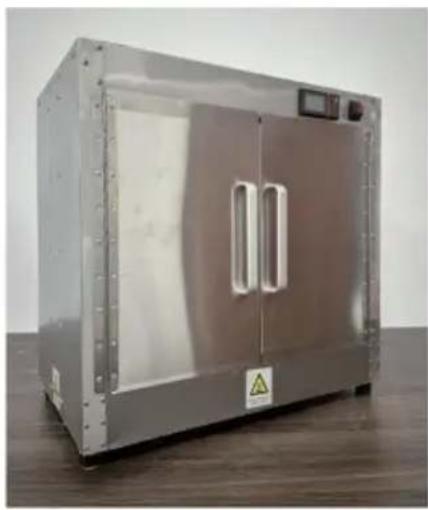
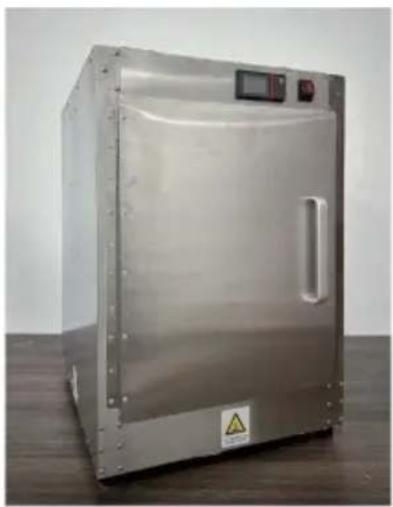
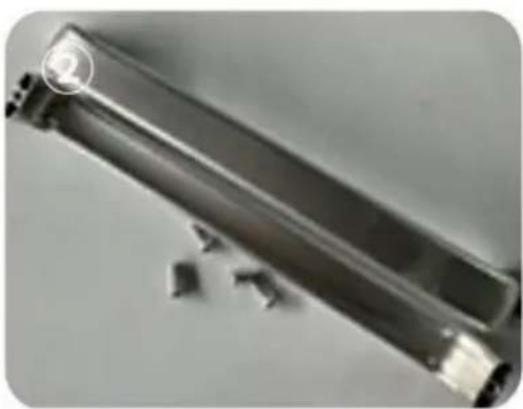
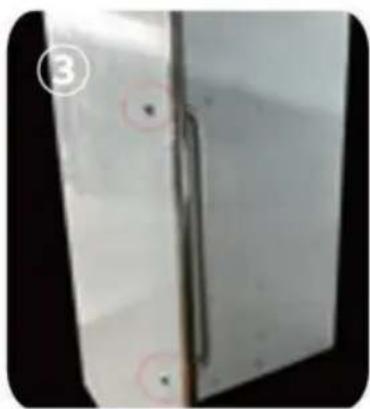
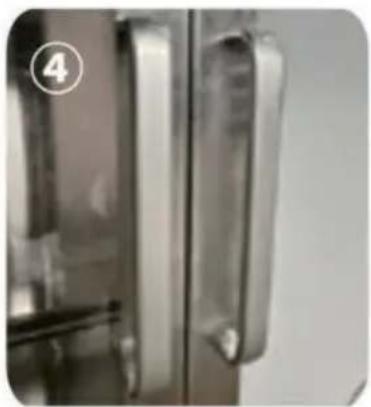
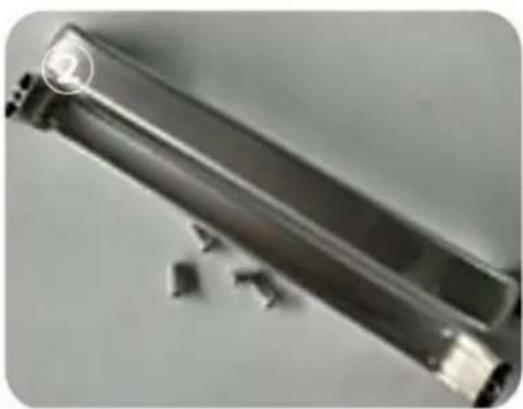
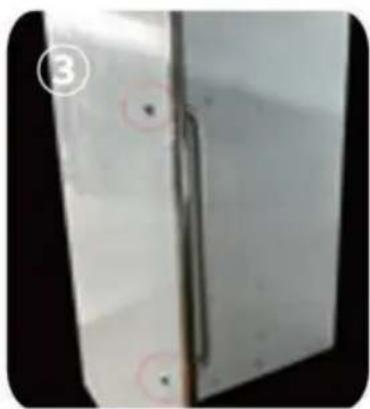
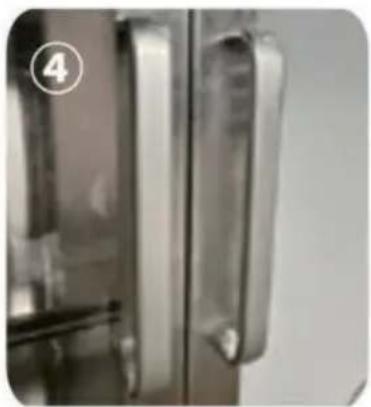
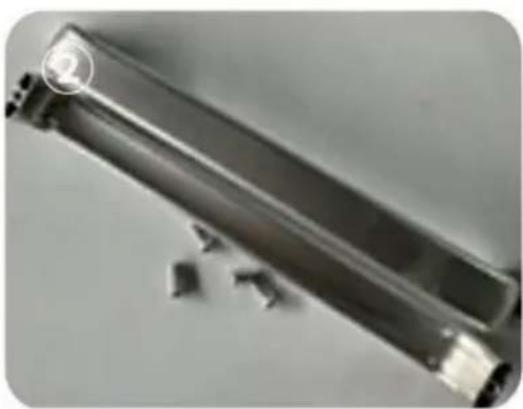
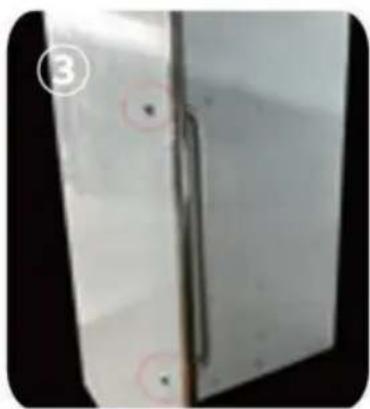
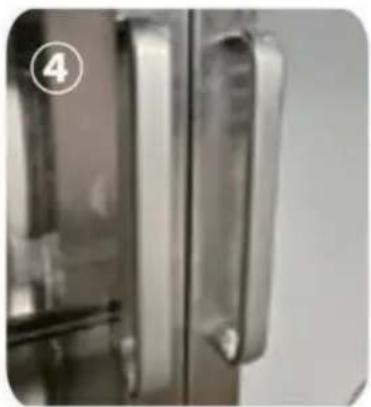
Install the aluminum alloy handle of the cabinet on the cabinet. There are two screw holes on the top and bottom of the aluminum alloy handle. Take out the matching screws used to install the aluminum alloy handle from the accessories, pass the screws through the two holes on the cabinet door, and then align the screw holes of the aluminum alloy handle with the holes and tighten it with a wrench. As shown in Figures ②③④.
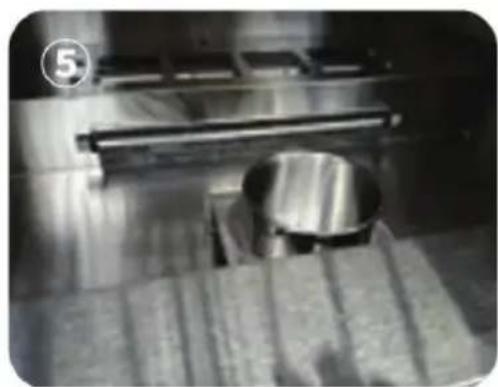
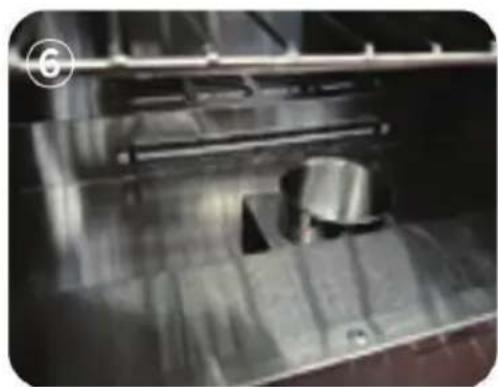
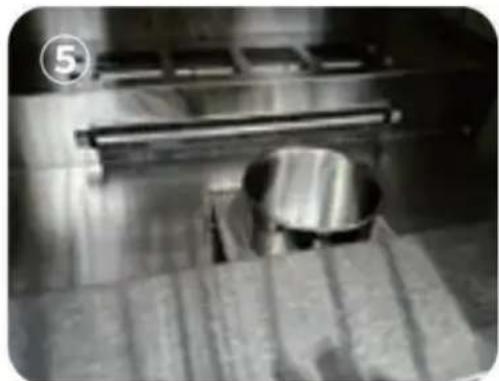
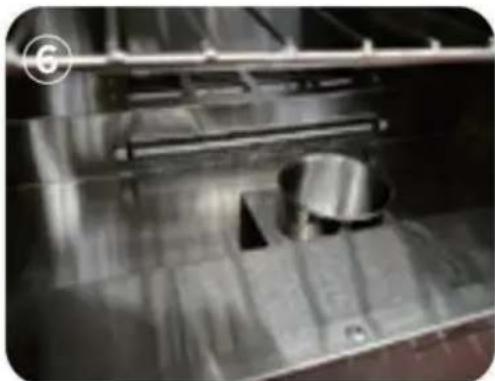
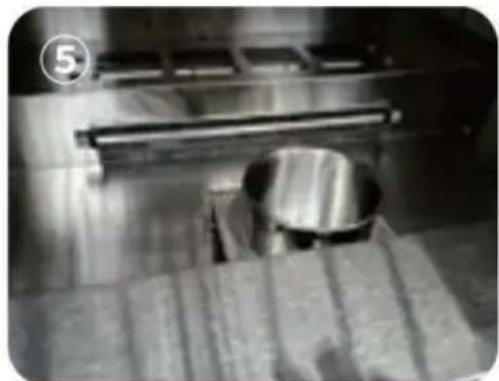
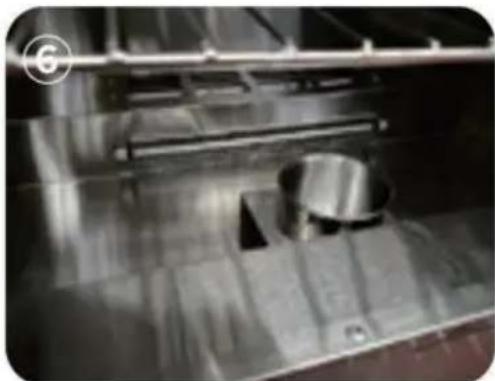
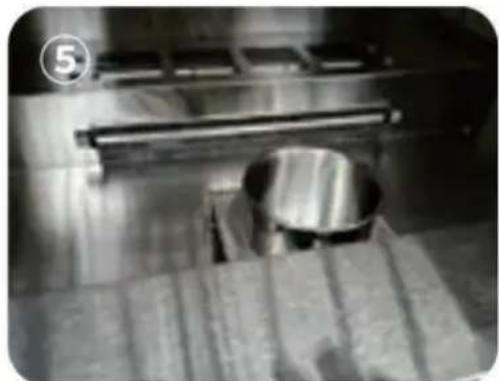
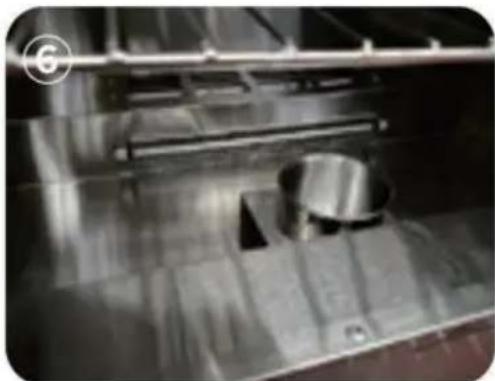
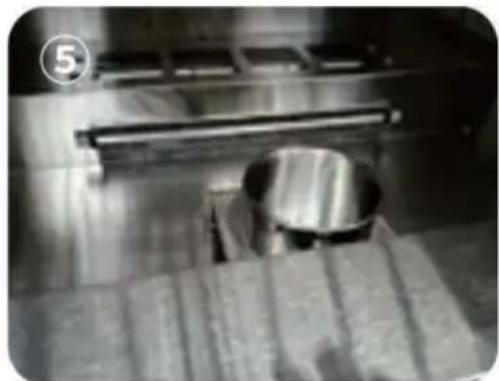
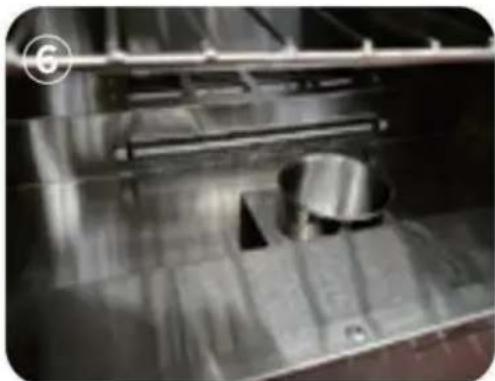
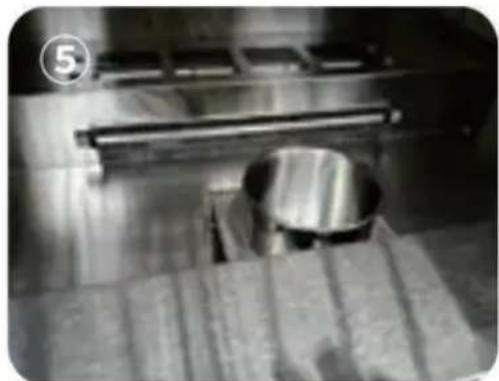
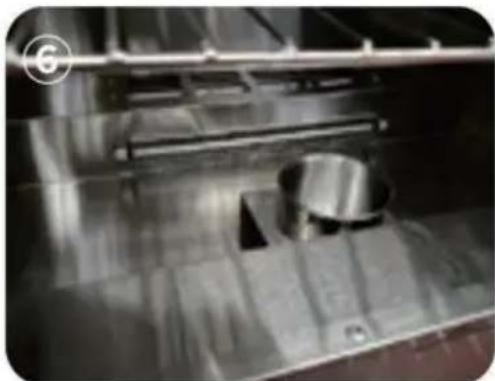
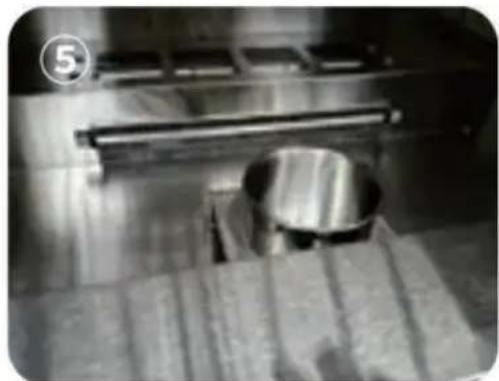
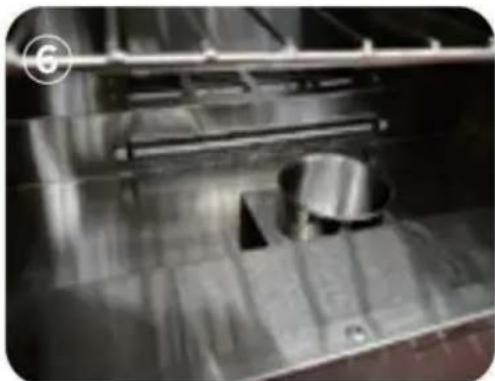
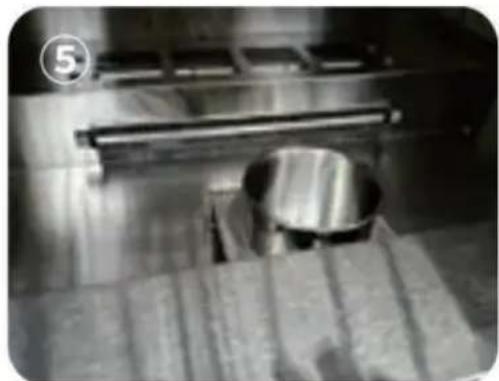
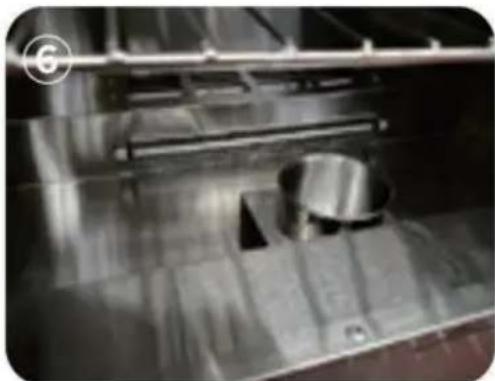
Step 4: Place the water box in the lowest space of the cabinet. The water box needs to be placed close to the side of the cabinet, avoiding blocking the air outlet and affecting the heating effect. As shown in Figures ⑤⑥.
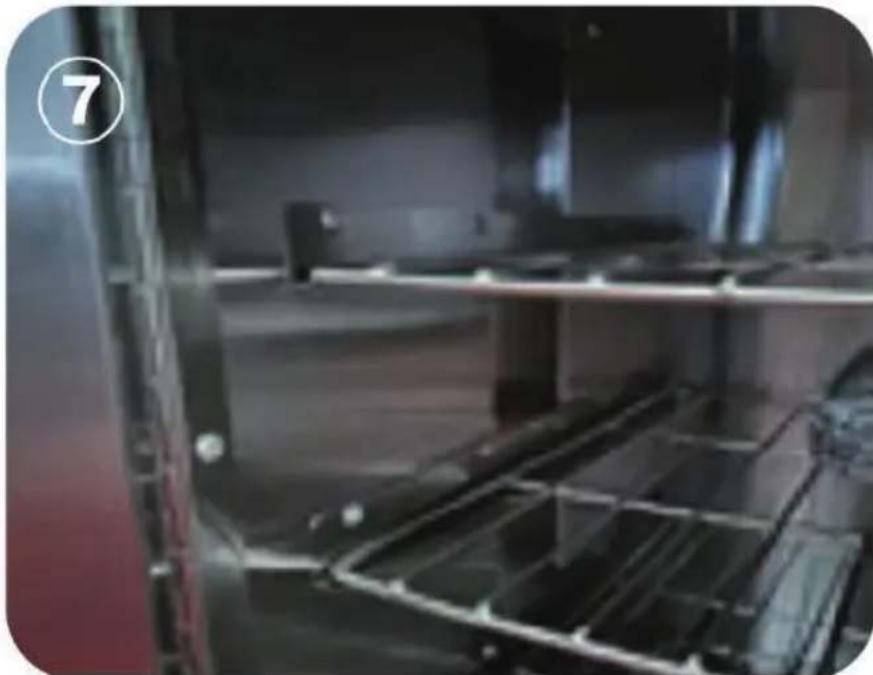
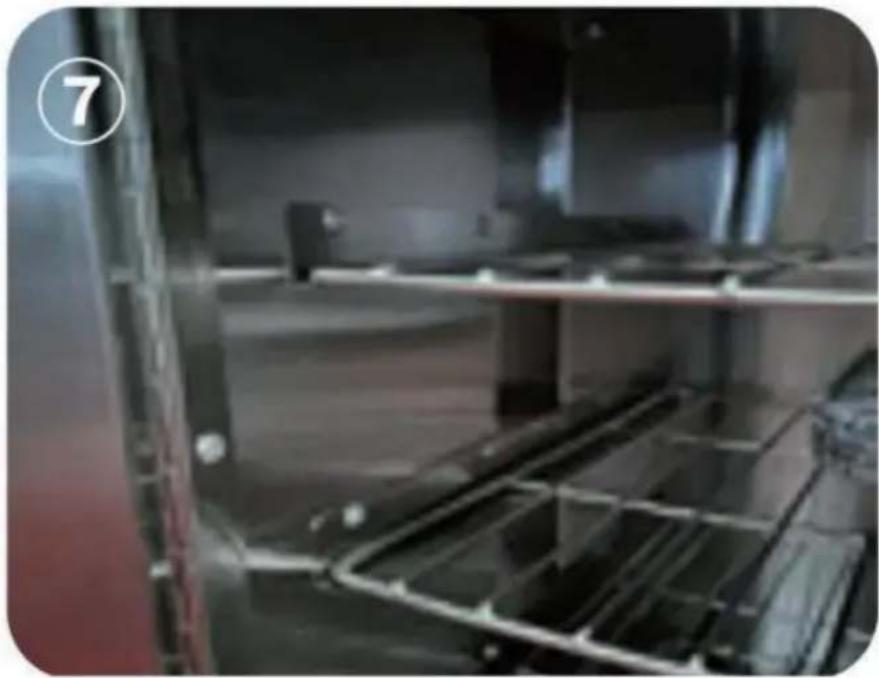
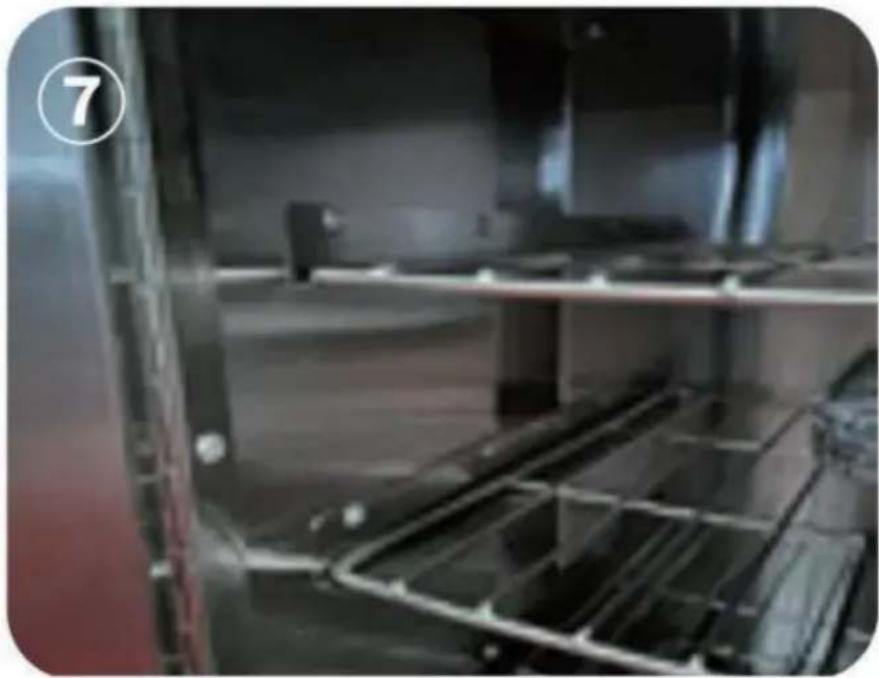
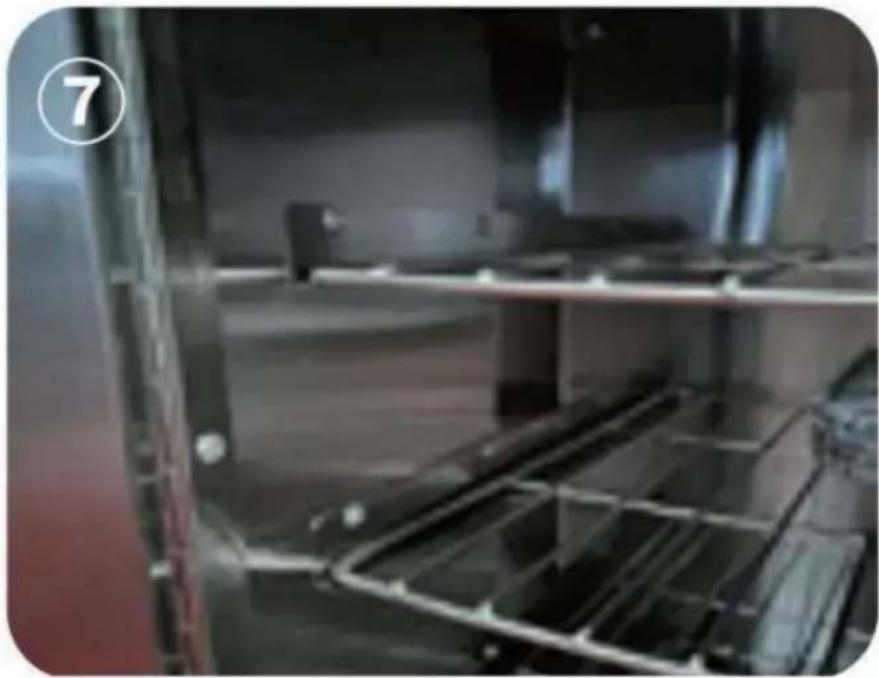
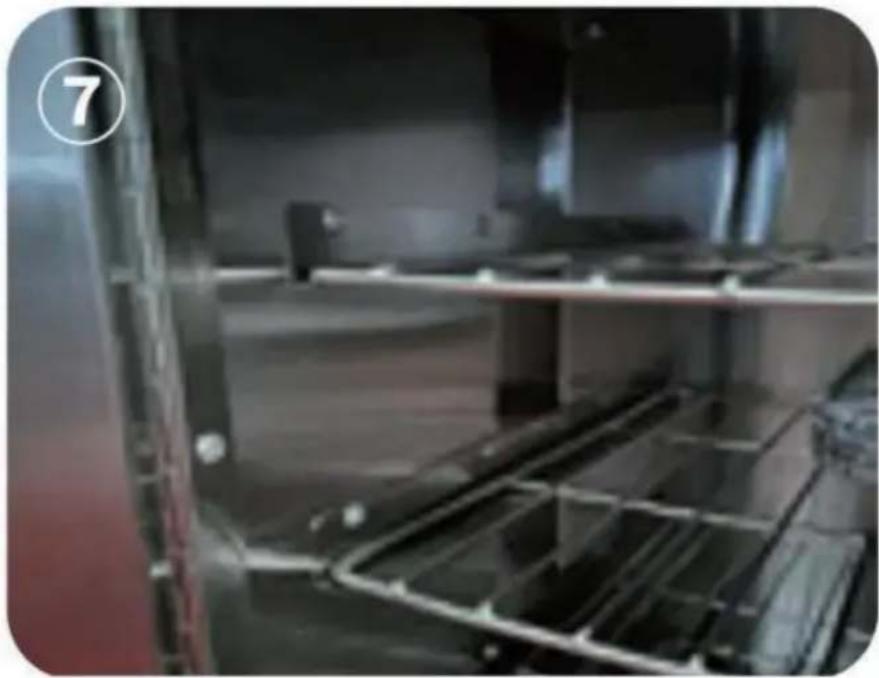
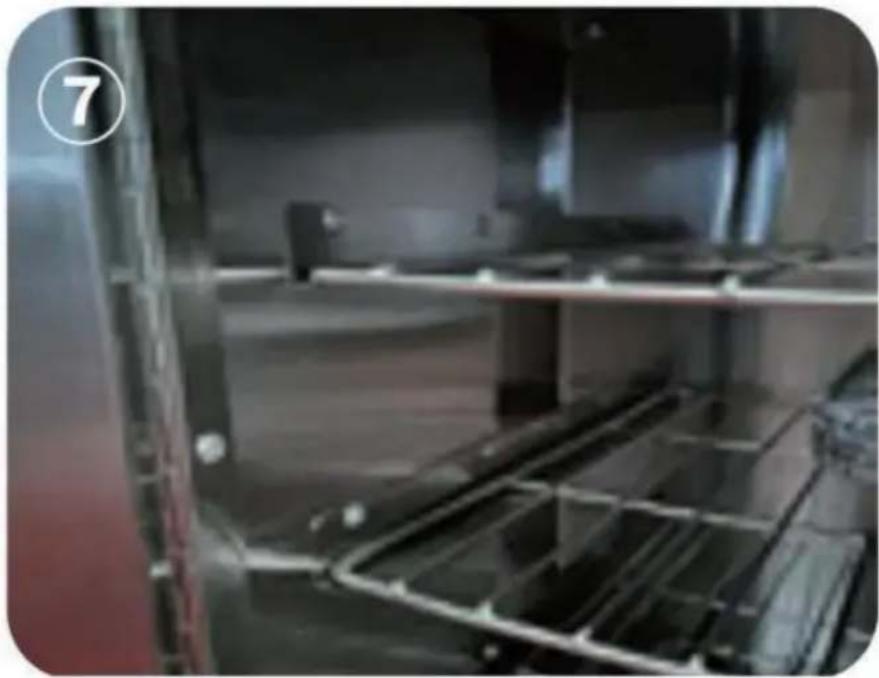
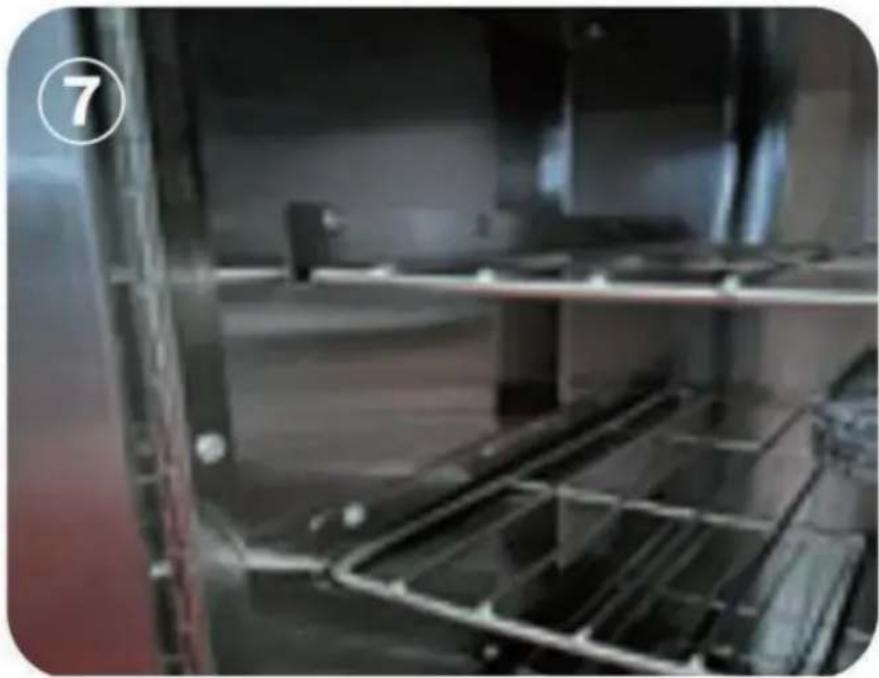
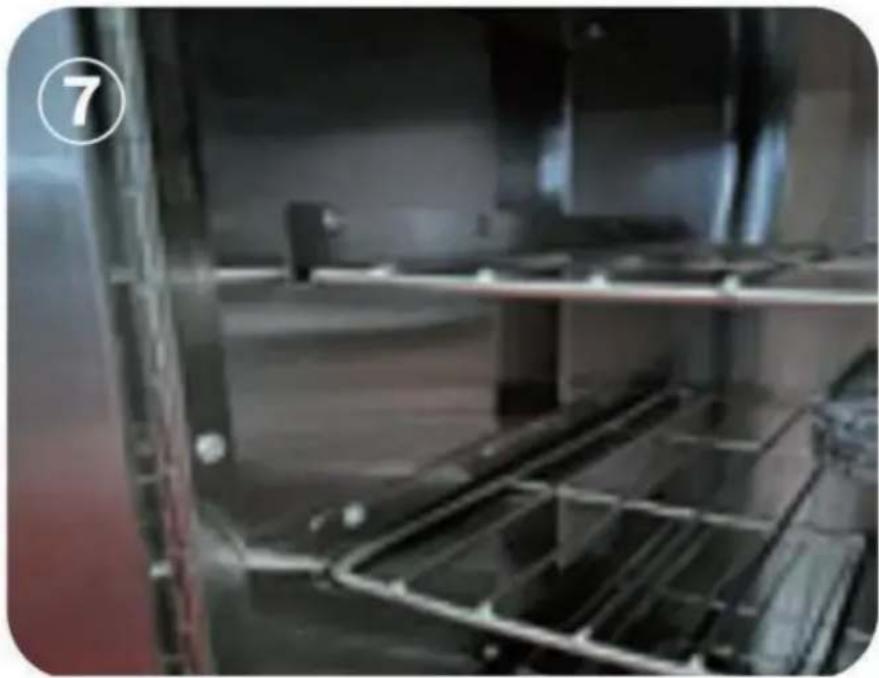
Step 5: Take out the shelves and place them on top of the shelf supports. As shown in Figure ⑦.
Step 6:
- At the position of the power plug, connect the ground wire (the connection ground wire must be effectively grounded).
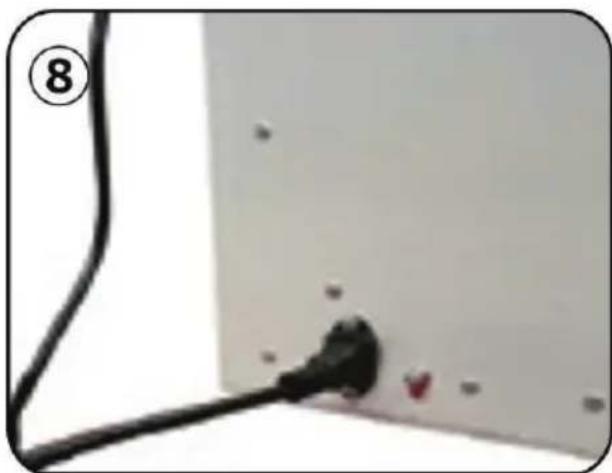
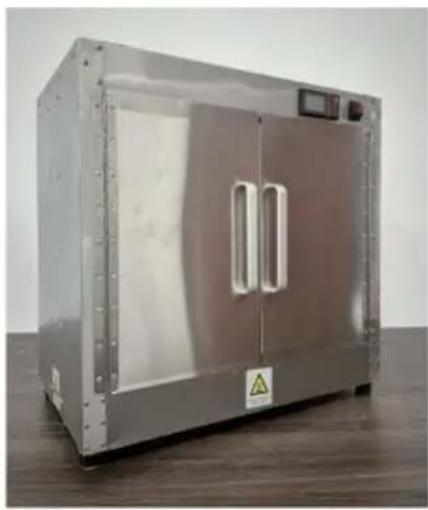
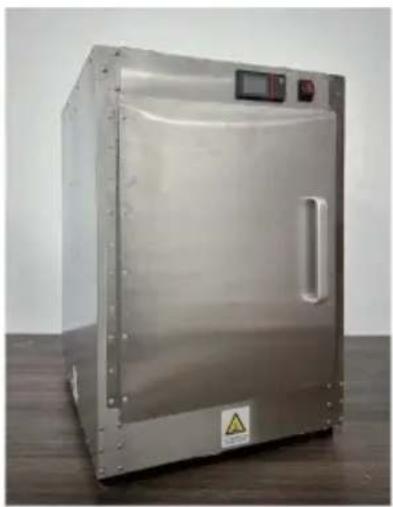
- Plug the power cord into the power socket behind the cabinet. To power on, press the red switch on the front of the cabinet. The cabinet is energized, and the display screen lights up. As shown in Figure ⑧.
- Set the desired temperature: Click the "set" key, and the blue set value on the screen will flash. Use the up and down keys to adjust it to the required temperature value, and then click the "set" key to save the setting and exit the temperature setting mode.
Step 7: Temperature setting. Description of the function of the thermostat operation panel:
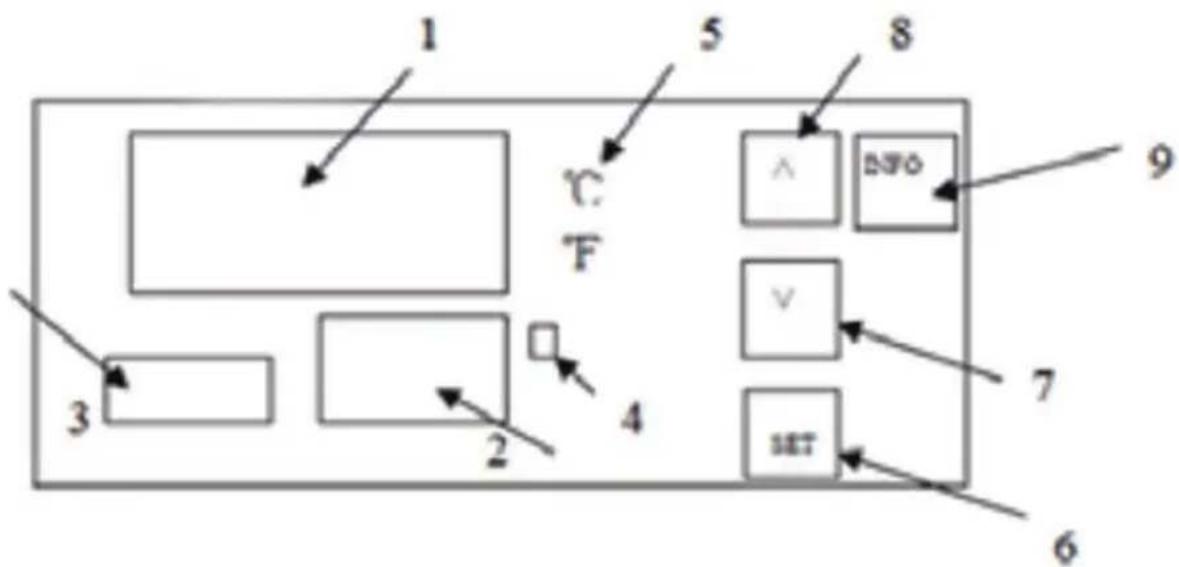
- Display the measured value.
- Display the set value.
3. Timekeeping time. When the power is on, press the SET key for 3 seconds to display P00, and the SET value is changed to 8. Then press the SET key to enter the internal parameter settings. Press the SET key continuously to find the P07 countdown setting, then press the up and down keys to SET the countdown time. Finally, press the SET key to save, and press the SET key for 3 seconds to save and exit the internal settings.
- Heating indicator light, heating when it is on.
- Celsius / Degree Fahrenheit indication. Press and hold the up increase key for 3 seconds to switch the display degrees Celsius/Fahrenheit
6. SET key:
Function I: Click this key, the upper row will display SV, the lower row will flash, press the upper or lower key to set the temperature, and then click the lower key to set it to completion.
Function II: Press and hold this button for 3 seconds to enter the internal parameters.
- Subtract key: Press this key to decrease the value.
- Add button:
I. Press this button to increase the value when setting.
II. Press and hold the up increase key for 3 seconds to switch the display degrees Celsius/Fahrenheit.
9. INFO button:
Function I: Press and hold this button for 3 seconds to power off or on.
Function II: When you are in an internal parameter, click this key to rewind to the previous parameter.
PARAMETER TYPE
Note: When measuring the control page, press and hold the SET key for 3 seconds, and the parameter code P00 (parameter lock) will appear. After changing it to "8", click the SET key to appear other parameter codes. After adjusting the required value, press and hold the SET key to exit the measurement and control page in 3 seconds, and the parameters will be automatically saved (if you need to return to the previous code, click the "INFO" key once. No matter which code you stop at, you can press and hold the SET key for 3 seconds to exit). See the table below for the details of the meaning of the parameter code.
| Parameter | Name Set Description | Initial Value | ||
| P00 | Parameter locks | 8、110 | 8:When the permission is unlocked the following parameter codes(P01,P04, P06, and P07)appear and if this value is a different value no other parameter code appears.110:Factory reset | 0 |
| P01 Return 0-10 Modify as needed 2 | ||||
| P04 | Temperature correction | -20~20 | It is used for temperature correction when there is a problem with the position of the sensor or other factors that affect the temperature. | 0 |
| P06 | °C °F switching | °C °F | 0:celsius 1:degree Fahrenheit | 1 |
| P07 | Keep warm at are qular time | 0~999unit minutes | Set the holding temperature at 0 for an unlimited time, Set 10 o'clock to start timing after reaching temperature, and turn off heating after 10 minutes. Set 60 to start timing after reaching temperature, and turn off heating after 60 minutes. And so on | 0 |
Note: This product has the function of food heat preservation and constant temperature drying, with a maximum setting temperature of 177°F and 80°C. The access voltage is required to be 120V+10% and the device power is 850W.
 | CORRECTDISPOSALThis product is subject to the provision of European Directive 2012/19/EC. The symbol showing a wheelie bin crossed through indicates that the product requires separate refuse collection in the European Union. This applies to the product and all accessories marked with this symbol. Products marked as such may not be discarded with normal domestic waste, but must be taken to a collection point for recycling electrical and electronic devices |
VEVOR®
TOUGH TOOLS, HALF PRICE
Technical Support and E-Warranty Certificate
www.vevor.com/support
VEVOR®
TOUGH TOOLS, HALF PRICE
VEVOR®
TOUGH TOOLS, HALF PRICE

Step 6:
Note: When measuring the control page, press and hold the SET key for 3 seconds, and the parameter code P00 (parameter lock) will appear. After changing it to "8", click the SET key to appear other parameter codes. After adjusting the required value, press and hold the SET key to exit the measurement and control page in 3 seconds, and the parameters will be automatically saved (if you need to return to the previous code, click the "INFO" key once, No matter which code you stop at, you can press and hold the SET key for 3 seconds to exit). See the table below for the details of the meaning of the parameter code.

Step 6:
Note: When measuring the control page, press and hold the SET key for 3 seconds, and the parameter code P00 (parameter lock) will appear. After changing it to "8", click the SET key to appear other parameter codes. After adjusting the required value, press and hold the SET key to exit the measurement and control page in 3 seconds, and the parameters will be automatically saved (if you need to return to the previous code, click the "INFO" key once, No matter which code you stop at, you can press and hold the SET key for 3 seconds to exit). See the table below for the details of the meaning of the parameter code.

Step 6:
Note: When measuring the control page, press and hold the SET key for 3 seconds, and the parameter code P00 (parameter lock) will appear. After changing it to "8", click the SET key to appear other parameter codes. After adjusting the required value, press and hold the SET key to exit the measurement and control page in 3 seconds, and the parameters will be automatically saved (if you need to return to the previous code, click the "INFO" key once, No matter which code you stop at, you can press and hold the SET key for 3 seconds to exit). See the table below for the details of the meaning of the parameter code.

Step 6:
Note: When measuring the control page, press and hold the SET key for 3 seconds, and the parameter code P00 (parameter lock) will appear. After changing it to "8", click the SET key to appear other parameter codes. After adjusting the required value, press and hold the SET key to exit the measurement and control page in 3 seconds, and the parameters will be automatically saved (if you need to return to the previous code, click the "INFO" key once, No matter which code you stop at, you can press and hold the SET key for 3 seconds to exit). See the table below for the details of the meaning of the parameter code.

Step 6: 1.
Note: When measuring the control page, press and hold the SET key for 3 seconds, and the parameter code P00 (parameter lock) will appear. After changing it to "8", click the SET key to appear other parameter codes. After adjusting the required value, press and hold the SET key to exit the measurement and control page in 3 seconds, and the parameters will be automatically saved (if you need to return to the previous code, click the "INFO" key once, No matter which code you stop at, you can press and hold the SET key for 3 seconds to exit). See the table below for the details of the meaning of the parameter code.

Step 6:
Note: When measuring the control page, press and hold the SET key for 3 seconds, and the parameter code P00 (parameter lock) will appear. After changing it to "8", click the SET key to appear other parameter codes. After adjusting the required value, press and hold the SET key to exit the measurement and control page in 3 seconds, and the parameters will be automatically saved (if you need to return to the previous code, click the "INFO" key once, No matter which code you stop at, you can press and hold the SET key for 3 seconds to exit). See the table below for the details of the meaning of the parameter code.

Step 6:
Note: When measuring the control page, press and hold the SET key for 3 seconds, and the parameter code P00 (parameter lock) will appear. After changing it to "8", click the SET key to appear other parameter codes. After adjusting the required value, press and hold the SET key to exit the measurement and control page in 3 seconds, and the parameters will be automatically saved (if you need to return to the previous code, click the "INFO" key once, No matter which code you stop at, you can press and hold the SET key for 3 seconds to exit). See the table below for the details of the meaning of the parameter code.
- FOOD STORAGE CABINETS
- MODEL: FWHB-162224 / FWHB-251524 / FWHB-251524-KS / FWHB-191929 / FWHB
- NEED HELP? CONTACT US
- TECHNICAL SUPPORT AND E-WARRANTY CERTIFICATE WWW.VEVOR.COM/SUPPORT
- IMPORTANT SAFEGUARDS
- FOR YOUR SAFETY
- SAVE THESE INSTRUCTIONS
- OPERATING INSTRUCTIONS
- STEP
- STEP 7: TEMPERATURE SETTING. DESCRIPTION OF THE FUNCTION OF THE THERMOSTAT OPERATION PANEL
- PARAMETER TYPE
- VEVOR®
Brand : Vevor
Model : FWHB-191929
Category : Food storage furniture