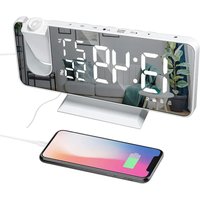
H-AC52 - Alarm clock radio ThreeH - Free user manual and instructions
Find the device manual for free H-AC52 ThreeH in PDF.


User questions about H-AC52 ThreeH
0 question about this device. Answer the ones you know or ask your own.
Ask a new question about this device
Download the instructions for your Alarm clock radio in PDF format for free! Find your manual H-AC52 - ThreeH and take your electronic device back in hand. On this page are published all the documents necessary for the use of your device. H-AC52 by ThreeH.
USER MANUAL H-AC52 ThreeH
English Language....2
Deutsche Sprache 6
Please remove plastic insulator tab from button battery compartment in the back and connect the power cable into the jack in the back of clock and then plug the power cable into the socket. The LED display turns on.
Note: When the power is off, the LED screen won't show, the radio and alarm cannot work. The backup battery only retains the basic settings of time and alarm.
SETTINGS
- Time Setting
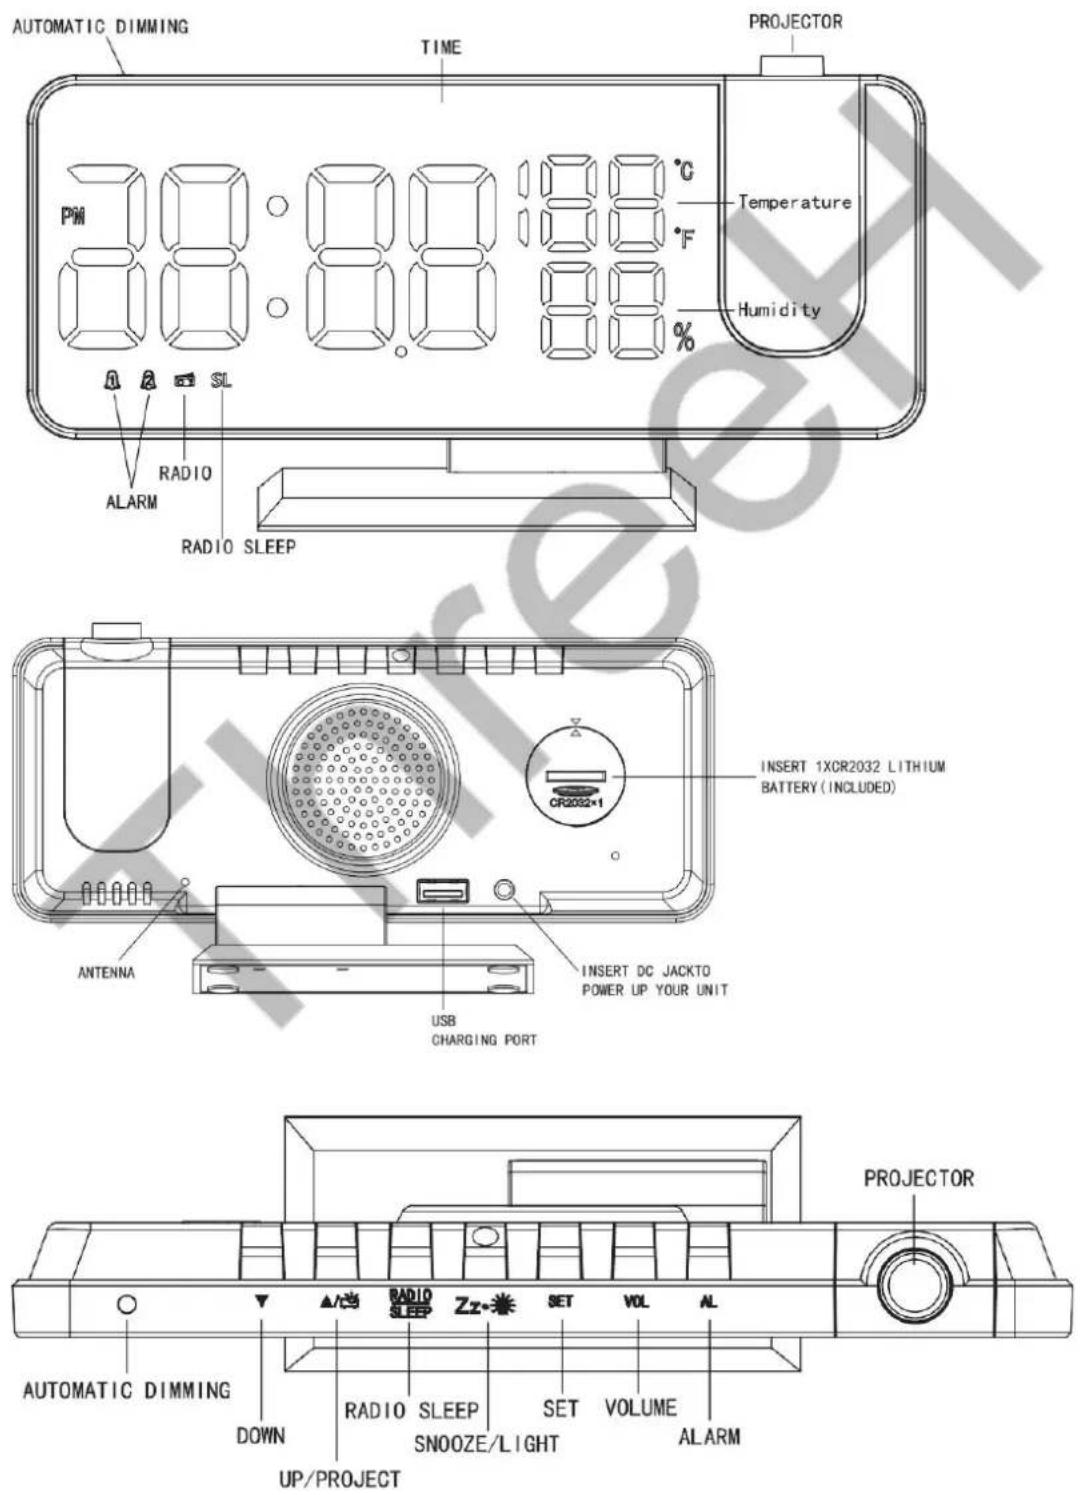
- Press and hold the "SET" button 3 seconds, the display screen shows "24H" and flashes, press "△/project" or "▽" to select "12H" or "24H".
- Press "SET" again, the hour digits flash, press "△/project" or "▽" to set hour. (Long press "△/project" or "▽" will accelerate setting at high speed.)
- Press "SET" again, the minute digits flash, press "△/project" or "▽" to set minute. (Long press "△/project" or "▽" will accelerate setting at high speed.)
- Press "SET" or without any operation within 10 seconds, it will exit the current setting mode. Note: When 12- hour time format is selected, the "PM" icon will appear on the screen in the afternoon. Press and hold the "△/project" 3 seconds to switch from "12H" and "24H" format.
- Alarm Setting
- Short press "▽" once to turn on/off alarm. The sequence is: Alarm 1 ON - Alarm 2 ON - Alarm 1 OFF - Alarm 2 OFF (Circulation).
2.Short press "AL" once to select alarm ( There are "AL" icon on the bottom of display, the sequence is Alarm 1-- Alarm 2, the "AL" icon is flashing). - After selecting the alarm (the related "AL" icon is flashing), Press and hold "AL" for 3 seconds to enter setting mode. The sequence is "Hour" — "Minute" - "Snooze time" - "Alarm mode". (The setting object is flashing).
- Adjust the value using "△/project" or "▽", after setting press "AL" once to confirm and enter other mode.
The default snooze time is 5 minutes, "05" icon is flashing (represent of 5 minutes), short press "/project" or "▽" to set from 5 to 60 minutes snooze time.
- Press "△/project" or "▽" to select alarm mode ("rd" = wake-to-radio, "bu" = wake-to-buzzer, when "rd" or "bu" is selected, the related alarm will turn on).
- If you need second alarm, please repeat step 2-6 (Note: Second alarm clock reflects “ALARM 2” on the display screen).
- Alarm ON/Alarm OFF
- When alarm is setting, there will be an “ALARM 1” or an “ALARM 2” icon on the bottom of the display. When alarm 1 or 2 is sounding, the related icon flashes, press “SNOOZE/LIGHT” once, the alarm will be silent and come on again after the setting snooze duration.
- Press any other buttons except the "SNOOZE/LIGHT" one time to stop the alarm and it will sound on the following day. The related icon won't disappear.
- If your second alarm activates while the first alarm is sounding or it is in the snooze mode, the second alarm will override the first alarm (the first alarm is reset to come on the next day).
- If you select the radio as the alarm tone. The station and volume of the radio will be same as you played last time.
- The radio alarm will keep playing until the user press to stop it.
- Program the Radio
FM Setting
- Press "RADIO/SLEEP" once to play radio, the display shows "ON" and then the radio frequency
readings in Mhz (From 76.0 Mhz -- 108 Mhz).
-
Press "SET" briefly, FM radio will scan and automatically save the frequency of 01,02,03....It will stay on first station once scan is completed.
-
Press "△/project" or "▽" to choose stored station.
-
To adjust the volume, press "VOL" briefly, the display shows "L10", press "△/project" or "▽" to adjust volume from L00 (minimum) to LI5 (maximum).
-
Press "SNOOZE/LIGHT" to turn off the radio.
Note: Keep your radio away from interference source or other electronic devices, which may cause interference to the radio.
Sleep Timer
-
Press "RADIO/SLEEP" twice to enter the sleep mode, then the sleep icon "SL" and sleep time "05" (represent of 5 minutes) appear on the display.
-
Then press the "RADIO/SLEEP" to adjust the sleep timer from 5, 15, 30, 45, 60, 75, 90 or OFF.
-
When the display changes back to show the time, press the "RADIO/SLEEP" twice to show the sleep time remaining.
4.The radio will play for the programmed sleep time and then shut off automatically.
- Use Projection
-
In the clock mode, press "△/project" or "▽" once in the AC mode to turn on the projection (bright), then press again to adjust the brightness of projection. (From bright- slightly bright- off, default is off)
-
When the projection is on, press and hold "△/project" to revolve projection view. Long press the project key to rotate the projection 180 degrees.
Note: There is no projection function in battery-powered mode.
● Brightness Control
In the clock mode, Short press "SNOOZE/LIGHT" to adjust the brightness of the LED display.
-
Bright (default) -- Slightly Bright -- Dim -- Off.
-
Press and hold the "SNOOZE/LIGHT" for 3 seconds to select the on/off of Auto mode. If select "ON" means that LED display automatically enter into the low brightness mode in the dark environment; if select "OFF" that can only control brightness manually (default is "OFF"). Note: This can only be done when radio is off and the unit is not sounding.
- Night Mode
-
Night mode means that LED automatically enter into the low brightness display status at night or preset period.
-
Short press "SET" enter into night mode (the default is "OFF"), Switch the value using "△ /project" or "▽", if select "ON" means that night mode turns on, during the period of 18:00 to 6:00 the next day, it will automatically enter into low brightness display status.
-
When night mode is "ON", press and hold "SET" for 3 seconds to enter interval time setting mode. The setting sequence is: "start hour" - "start minute" - "end hour" - "end minute".
At start hour and minute setting status, the upper point in the center of the screen is long bright. At end hour and minute setting status, the lower point in the center of the screen is long
bright.
Note: If Automatic dimming is enabled, the Night Mode will not work.
● Displays of Thermometer&Humidity
-
The default unit of temperature is ° C.
-
Press and hold "▽" for 3 seconds to switch the unit from ° C to ° F.
-
Indoor Temperature range: 32^ F -- 122 ' F (0 ' C--50 ' C).
-
Indoor Humidity range: 20%--95%.
- Charging
Connect the charging cable of your mobile phone to the USB port at the back of unit, then connect the other end to your mobile phone or other equipment. The clock will charge the mobile phone automatically.
Notes
- Use the original cable of your mobile phone for charging.
- Charge with this USB jack may take a long time.
- RESTORE FACTORY DEFAULT
If the time error occurs, it may be subject to other equipment's electrostatic interference. To resolve this, you can remove the power supply and the backup battery, then the clock can be restored to the Factory Default. Repower on the clock and set the function.
- PRECAUTION
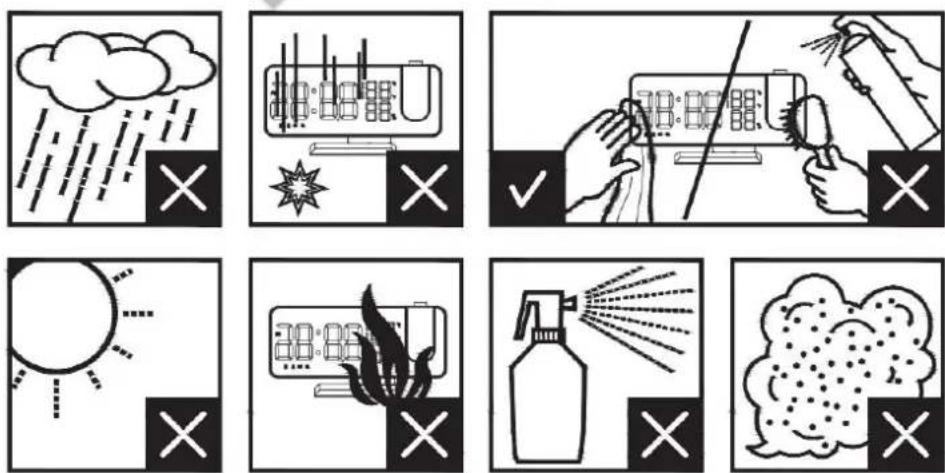
- Do not place the electronic clock in a high temperature, water or direct sunlight environment.
- When placing the clock on the furniture, use a cloth or other protective material to keep away from the furniture.
- If necessary, use a flannel with a little soapy water to clean the clock. Substances such as gasoline, thinner or similar liquids will damage the clock's surface. Cut off the power before cleaning.
- If you don't use this clock for a long time, such as a month or even longer, remove the battery to prevent the clock from being corroded, if the battery compartment is corroded or dirty, clean and replace the battery in time.
5.Do not disassemble this product.
Deutsche Sprache
ANFANG
text_image
AUTOMATIC DIMMING DOWN UP/PROJECT RADIO SLEEP SNOOZE/LIGHT SET VOLUME ALARM RADIO SLEEP Zz- SET VOL AL PROJECTOREINSTELLUNGEN
- Zeiteinstellung
natural_image
Simple weather icon showing cloud with raindrops and a 'X' symbol (no text or labels)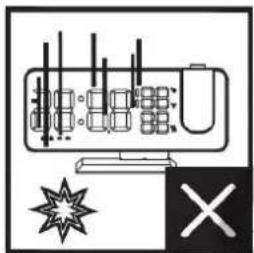
text_image
Diagram showing a computer monitor with labeled buttons and a starburst symbol below, likely indicating status or warning.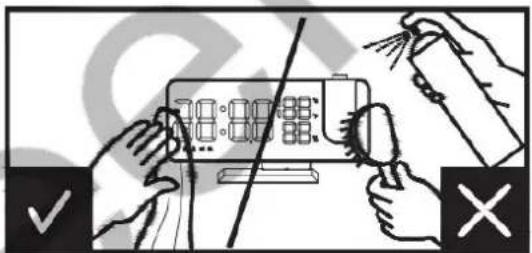
text_image
Diagram showing hands using a digital timer with checkmark and cross symbols indicating cancellation or error
natural_image
Simple line drawing of a sun with rays and geometric shapes (no text or symbols)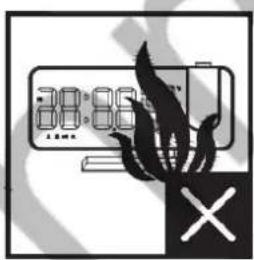
text_image
88:89 上記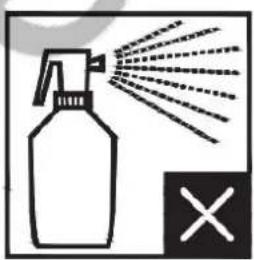
natural_image
Illustration of a spray bottle emitting particles with a 'X' symbol (no text or labels)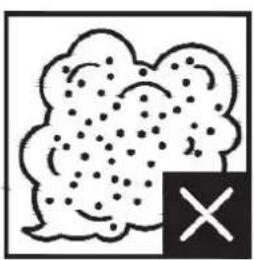
natural_image
Simple line drawing of a cloud with dots and a black X symbol (no text or labels)Langue Française
DÉMARRAGE
text_image
AUTOMATIC DIMMING DOWN UP/PROJECT RADIO SLEEP SNOOZE/LIGHT SET VOLUME ALARM RADIO SLEEP Zz- SET VOL AL PROJECTORPARAMÈTRES
natural_image
Simple line drawing of a cloud with raindrops and a cross symbol (no text or labels)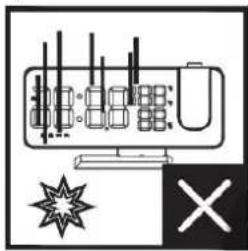
text_image
Diagram showing a computer monitor with labeled components and a warning symbol with a starburst and cross.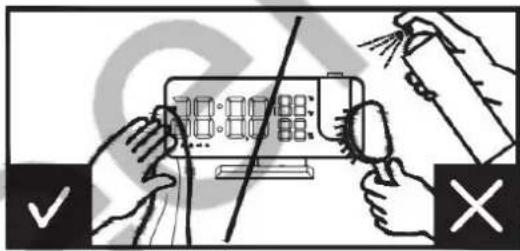
text_image
Diagram showing hands holding a device with a screen and a tool, marked with check and cross symbols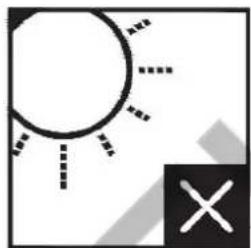
natural_image
Simple line drawing of a sun with rays and a cross symbol (no text or labels)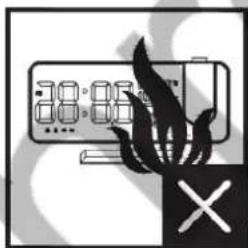
text_image
8:00-8:50 ×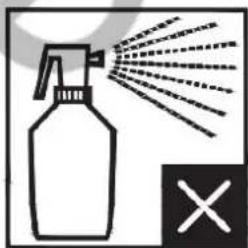
natural_image
Illustration of a spray bottle emitting particles with a 'X' symbol (no text or labels)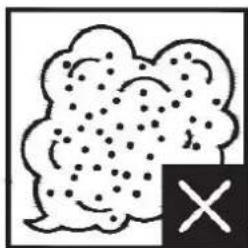
natural_image
Simple line drawing of a cloud with scattered dots and a black X symbol (no text or labels)Langue Italienne
AVVIO
text_image
AUTOMATIC DIMMING DOWN UP/PROJECT RADIO SLEEP SNOOZE/LIGHT SET VOLUME ALARM RADIO SLEEP Zz- SET VOL AL PROJECTORIMPOSTAZIONI
natural_image
Weather icon showing cloud over rain with a 'X' symbol (no text or labels)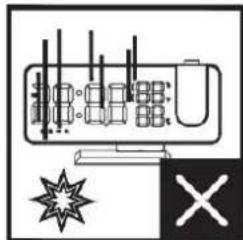
text_image
Diagram showing a computer monitor with labeled components and warning symbols including a starburst and cross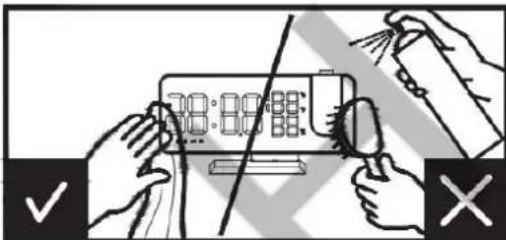
text_image
Illustration showing hands using a digital timer with check and cross icons, indicating status or notification.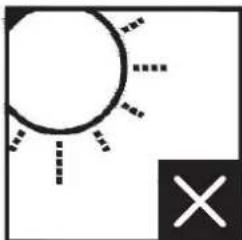
natural_image
Simple line drawing of a sun with rays and a cross symbol (no text or labels)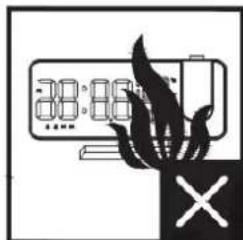
text_image
8:00-8:30 ×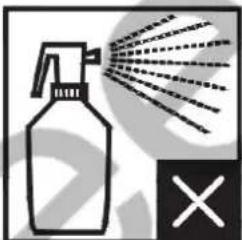
text_image
Safety warning symbol showing spray bottle spraying with exhaust lines and a cross mark indicating no hazard.