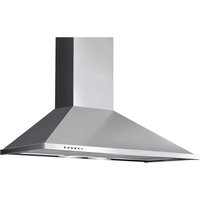
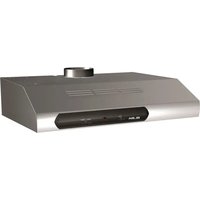
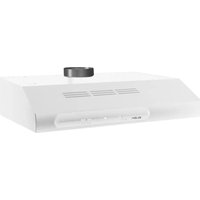
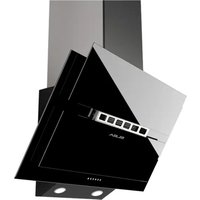
Elio ECH 6144 X - Range hood Elba - Free user manual and instructions
Find the device manual for free Elio ECH 6144 X Elba in PDF.


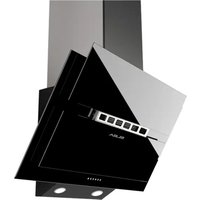
| Product Type | Kitchen hood |
| Brand | Elba |
| Model | Elio ECH 6144 X |
| Power supply | 220-240 V ~ 50/60 Hz |
| Electrical class | Class I (mandatory grounding) |
| Number of speeds | 3 speeds + booster (7 minutes) |
| Timer | Yes, delayed shut-off 5 minutes |
| Lighting | Halogen lamps |
| Control type | Electronic (SLD) or mechanical (PBE) depending on version |
| Minimum mounting height | 65 cm above cooking surface |
| Filter type | Washable metal grease filter + activated carbon filter (non-regenerable) |
| Grease filter maintenance | Monthly wash in hot water or dishwasher |
| Charcoal filter replacement | Every 2 months |
| Lamp replacement | Follow the manual instructions, unplug before |
| Protection | Use with gas appliances: ensure ventilation |
| Usage | Extracting or recirculating version (recycling) |
| Air outlet diameter | Adapt according to opening, same diameter recommended |
| Prohibitions | Do not flambé under the hood, do not leave open flames |
| Children | Use under supervision for children over 8 years |
| Cleaning | Damp cloth and mild detergent, avoid abrasive products |
Frequently Asked Questions - Elio ECH 6144 X Elba
User questions about Elio ECH 6144 X Elba
0 question about this device. Answer the ones you know or ask your own.
Ask a new question about this device
Download the instructions for your Range hood in PDF format for free! Find your manual Elio ECH 6144 X - Elba and take your electronic device back in hand. On this page are published all the documents necessary for the use of your device. Elio ECH 6144 X by Elba.
USER MANUAL Elio ECH 6144 X Elba
- Take care when the cooker hood is operating simultaneously with an open fireplace or burner that depend on the air in the environment and are supplied by other than electrical energy, as the cooker hood removes the air from the environment which a burner or fireplace need for combustion. The negative pressure in the environment must not exceed 4Pa (4x10⁻⁵ bar). Provide adequate ventilation in the environment for a safe operation of the cooker hood. Follow the local laws applicable for external air evacuation.
Before connecting the model to the electricity network:
- Control the data plate (positioned inside the appliance) to ascertain that the voltage and power correspond to the network and the socket is suitable. If in doubt ask a qualified electrician.
- If the power supply cable is damaged, it must be replaced with another cable or a special assembly, which may be obtained direct from the manufacturer or from the Technical Assistance Centre.
2. Warning!
In certain circumstances electrical appliances may be a danger hazard.
A) Do not check the status of the filters while the cooker hood is operating.
B) Do not touch bulbs or adjacent areas, during or straight after prolonged use of the lighting installation.
C) Flambè cooking is prohibited underneath the cooker hood.
D) Avoid free flame, as it is damaging for the filters and a fire hazard.
E) Constantly check food frying to avoid that the overheated oil may become a fire hazard.
F) Disconnect the electrical plug prior to any maintenance.
G) This appliance can be used by children aged from 8 years and above and persons with reduced physical, sensory or mental capabilities or lack of experience and knowledge if they have been given supervision or instruction concerning use of the appliance in a safe way and understand the hazards involved. Children shall not play with the appliance. Cleaning and user maintenance shall not be made by children w thout supervision.
H) Young children should be supervised to ensure they do not play with the appliance.
I) There shall be adequate ventilation of the room when the range-hood is used at the same time as appliances burning gas or other fuels.
L) There is a risk of fire if cleaning is not carried out in accordance with the instructions.
- The minimum distance between the support surfaces of the cooking pots on the cooker top and the lowest part of the cooker hood must be at least 65 cm. If a connection tube composed of two parts is used, the upper part must be placed outside the lower part. Do not connect the cooker hood exhaust to the same conductor used to circulate hot air or for evacuating fumes from other appliances generated by other than an electrical source. Before proceeding with the assembly operations, remove the anti-grease filter(s) so that the unit is easier to handle.
- In the case of assembly of the appliance in the suction version prepare the hole for evacuation of the air.
- We recommend the use of an air exhaust tube which has the same diameter as the air exhaust outlet hole. If a pipe with a smaller diameter is used, the efficiency of the product may be reduced and its operation may become noisier.
INSTALLATION
Procedure for fixing
• Dimensional Drawings.
• Fix the hood as shown in the scheme.
Connecting and fitting
- Before connecting the appliance, check the household installation.
Appliance with prefitted power cable: The power cable must only be replaced by a trained after-sales engineer. Installing: Do not trap the power cable and do not route it over sharp edges. If the oven is a built-under type, route the cable on the rear corners of the oven to the socket.
Eletrical Connection
This is a class I, appliance and must therefore be connected to an efficient earthing system.
- The appliance must be connected to the electricity supply as follows:
BROWN = L line
BLUE = N neutral
YELLOW/GREEN = earth.
The neutral wire must be connected to the terminal with the N symbol while the YELLOW/GREEN, wire must be connected to the terminal by the earth symbol.
When connecting the appliance to the electricity supply, make sure that the mains socket has an earth connection. After fitting the ducted cooker hood, make sure that the electrical plug is in a position where it can be accessed easily. If the appliance is connected directly to the electricity supply, an omnipolar switch with a minimum contact opening of 3 mm must be placed in between the two; its size must be suitable for the load required and it must comply with current legislation.
INSTRUCTIONS
Command Switch SLD
| Three-speed suction switch | |
| Lighting switch | |
| Suction indicator light |
Mechanical Push Button PBE
 | Intake warning |
 | Aspiration off push button |
 | Aspiration 1°speed push button |
 | Aspiration 2°speed push button |
 | Aspiration 3°speed push button |
 | Light push button |
Commands MR
 | Push this button and the motor starts on the 1° speed, push it again to switch of the coke hood. |
 | Push this button and the motor starts on the 2° speed, push it again to switch off the coke hood. |
 | Push this button and the motor starts on the 3° speed (the Booster) that remains in use for 7 minu-tes before returning to the 2° speed. |
 | Timer: Pushing this button, the motor will keep the currently speed in use for 5 minutes. After this the cooker hood will be switched off automatically (motor and lighting). |
 | Push This button to switch on/off the light. |
Maintenance
- Use only a damp doth with neutral liquid detergent.
- Do not use wet sponges or cloths, water jets, thinners, solvents, hydrochloric acid, bleach, alcohol or abrasive substances.
- Unplug the appliance or switch off the circuit breaker before carrying out maintenance operations.
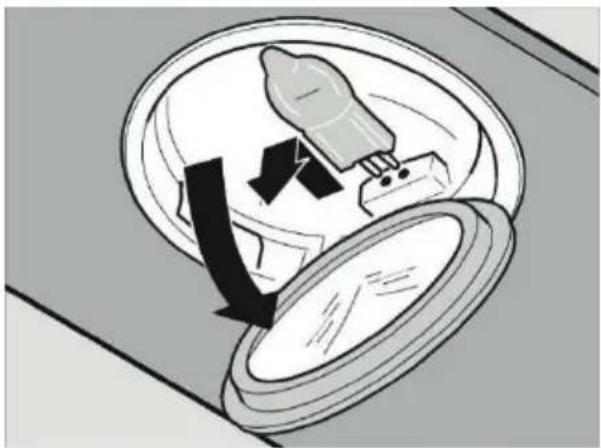
Halogen Lamps Replacement (Fig. 1)
- Disconnect the hood from the mains and wait a few minutes for the lamp to cool.
- Follow the instructions in the related design, using gloves.
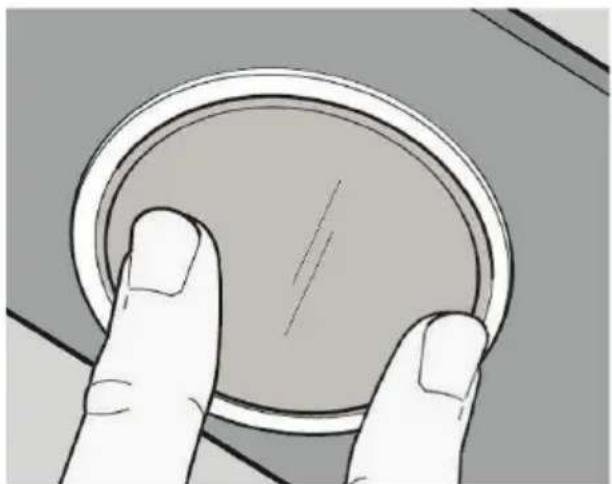
Lamp Replacement (Fig. 2)
- Disconnect the hood from the mains and replace the part
- Follow the instructions in the related design, using gloves.
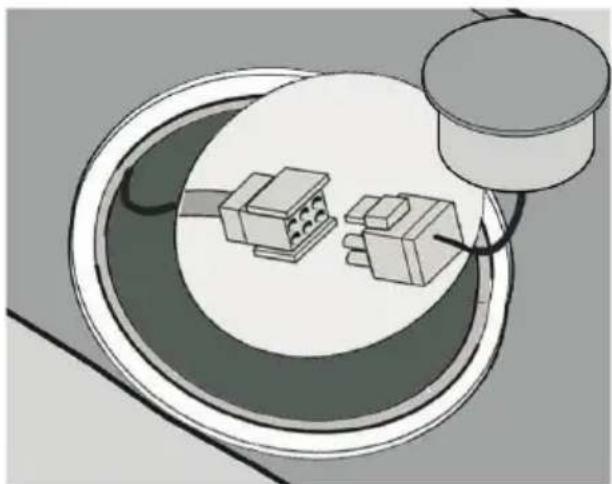
LED Replacement (Fig. 3)
- Disconnect the connetor and replace the part Filters replacement
- Follow the instructions in the related design, using gloves.
• A. ACTIVATED CARBON FILTERS (Only filtering types) (Fig. 4):
- The filter assembly can not be regenerated and must be replaced at least every two months.
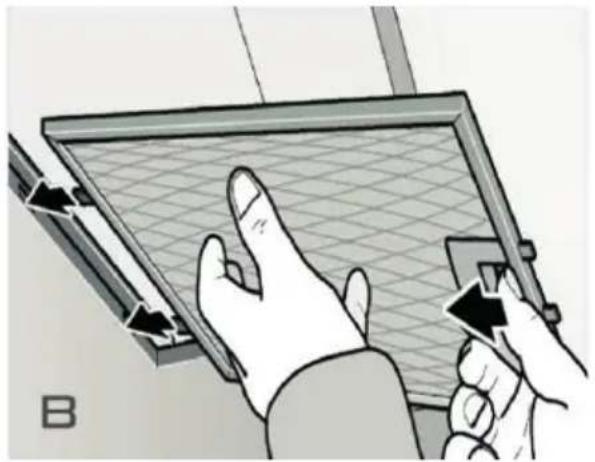
• B. METALLIC ANTI-GREASE FILTERS (Fig. 5):
- The filters must be washed at least one a month with hot water and detergent.
- It can also be washed in the dishwasher.
- Open by means of the handle.
Tips for Energy Saving
• Always use the cover corresponding to each pot. When cooking without a lid, the energy consumption is somewhat greater.
- Use a glass lid to see inside without having to lift it.
- Use containers flatbed. If the base is not flat, the energy consumption is greater.
- For small amounts, use small pans. A large bowl and filled just needs a lot of energy.
- For cooking, use a little water. Thus, it saves energy and preserves all the vitamins and minerals in vegetables.
IT
AVVERTENZE
Rempalcement des led (Fig.3)
natural_image
Illustration of a hand pressing a circular button with a mechanical component, showing motion arrows (no text or symbols)(Fig. 1)
natural_image
Illustration of a device inside a container with arrows indicating flow or movement (no text or symbols)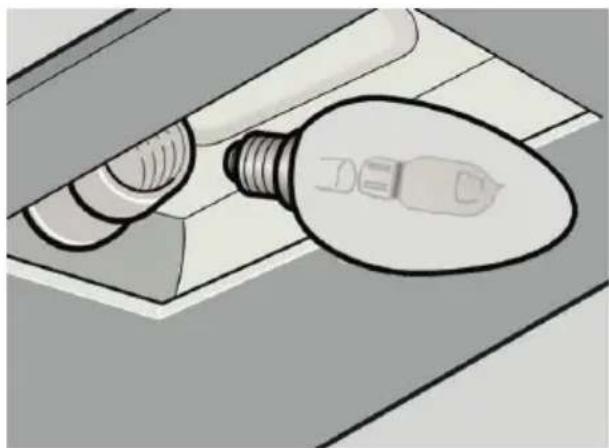
natural_image
Illustration of a light bulb being inserted into a plastic tray (no text or symbols)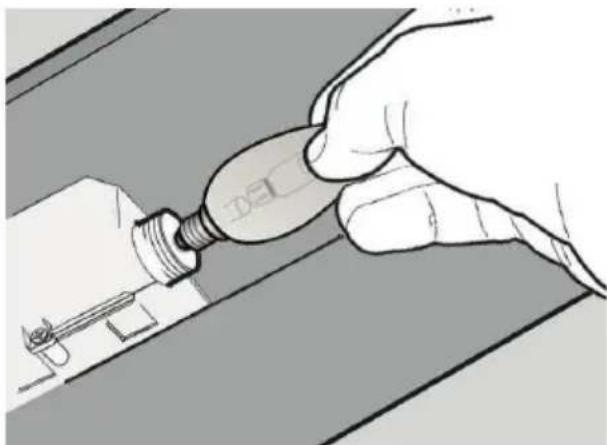
natural_image
Hand holding a light bulb with a screwdriver inserted, no visible text or symbols(Fig. 2)
natural_image
Illustration of a hand holding a circular object with a diagonal line, no text or symbols present(Fig. 3)
natural_image
Illustration of a mechanical assembly with two blocks and a cylindrical component (no text or symbols)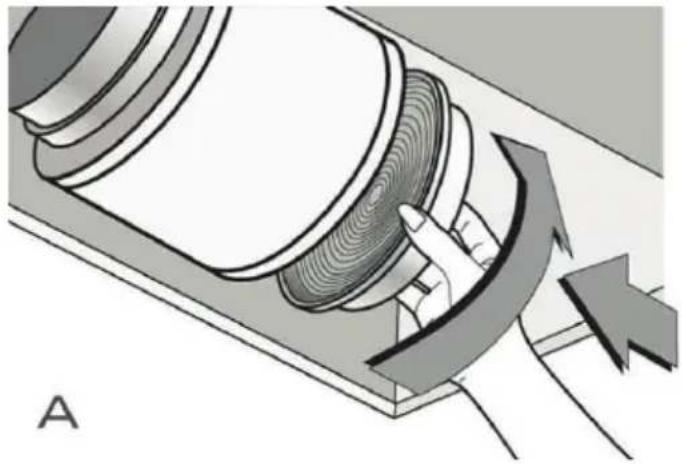
natural_image
Diagram of a mechanical device with rotating components and directional arrows indicating motion (no text or symbols)(Fig. 4) (Fig. 5)
natural_image
Illustration of hands using a tool to interact with a grid-patterned screen (no text or symbols visible)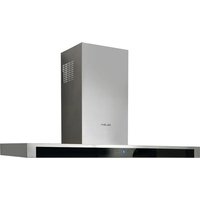
- Before connecting the model to the electricity network:
- Warning!
- INSTALLATION
- Procedure for fixing
- Connecting and fitting
- Eletrical Connection
- INSTRUCTIONS
- Command Switch SLD
- Mechanical Push Button PBE
- Commands MR
- Maintenance
- Halogen Lamps Replacement (Fig. 1)
- Lamp Replacement (Fig. 2)
- LED Replacement (Fig. 3)
- Tips for Energy Saving
- AVVERTENZE
- Rempalcement des led (Fig.3)
Brand : Elba
Model : Elio ECH 6144 X
Category : Range hood