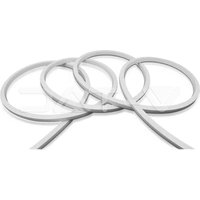
VT-560 - LED Lighting V-TAC - Free user manual and instructions
Find the device manual for free VT-560 V-TAC in PDF.


| Brand | V-TAC |
| Model | VT-560 |
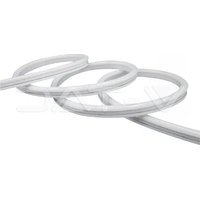
| Product type | Flexible LED neon lighting |
| Power supply | Direct current (DC) via driver |
| Input voltage | 12V or 24V DC (check datasheet) |
| Power consumption | Approximately 12 W/m (depending on model) |
| Length | Variable, cuttable every 50 cm (at markings) |
| Protection rating | IP65 (after cutting, requires silicone to restore) |
| Light color | White or RGB (depending on version) |
| Main functions | Decorative and architectural lighting, flexible |
| Maintenance and cleaning | Use a dry cloth, unplug before cleaning |
| Safety | Cut power before installation, do not install in water, avoid bending |
| Warranty | 2 years (excluding abnormal wear and incorrect installation) |
| Recommended daily use | 10-12 hours |
| Cutting | Only at scissor markings, otherwise product damaged |
| Spare parts | End caps, connectors, power supply (driver) |
| Repairability | Not user-repairable; replace defective segment |
| Installation | Certified electrician recommended |
| Operating temperature | Not specified, indoor/outdoor use with precautions |
| Material | Flexible silicone |
Frequently Asked Questions - VT-560 V-TAC
User questions about VT-560 V-TAC
0 question about this device. Answer the ones you know or ask your own.
Ask a new question about this device
Download the instructions for your LED Lighting in PDF format for free! Find your manual VT-560 - V-TAC and take your electronic device back in hand. On this page are published all the documents necessary for the use of your device. VT-560 by V-TAC.
USER MANUAL VT-560 V-TAC
WEEE Number: 80133970
INSTALLATION INSTRUCTION NEON FLEX LIGHT
natural_image
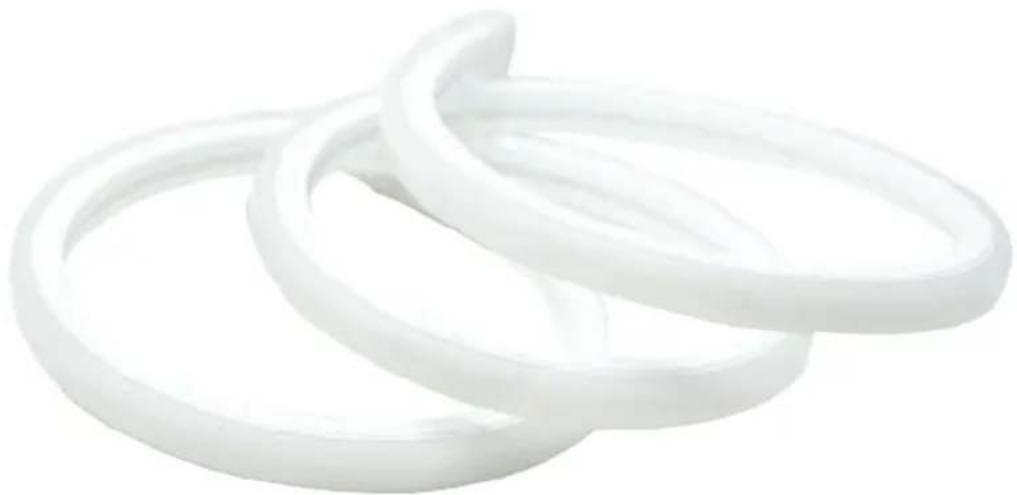
Three white plastic rings arranged diagonally (no text or symbols visible)TECHNICAL DATA:

IP65 RATING

| Model | Watts | Lumens | Beam Angle | Body Type | CRI | PCB Width | Roll/M | LED QTY/M | Operation Temperature |
| VT-559 | 13 | 1000 | 120° | Silicone | >80 | 8mm | 10 | 120 | -20 to +60°C |
| VT-560 | 8 | 530 | 120° | Silicone | >90 | 4mm | 5 | 238 | -20 to +60°C |
| VT-555 | 8 | 320 | 160° | Silicone | >80 | 5mm | 10 | 120 | -20 to +60°C |
WARNING!
- Please make sure to turn off the power before starting the installation.
- The light source of this luminaire is not replaceable, when the light source reaches its end of life the whole luminaire should be replaced.
- Installation should only be done by a certified electrician.
This marking indicates that this product should not be disposed of with other household wastes.
Caution, risk of electric shock.
INTRODUCTION
Thank you for selecting and buying V-TAC product. V-TAC will serve you the best. Please read these instructions carefully before starting the installing and keep this manual handy for future reference. If you have any another query, please contact our dealer or local vendor from whom you have purchased the product. They are trained and ready to serve you at the best. The warranty is valid for 2 years from the date of purchase. The warranty does not apply to damage caused by incorrect installation or abnormal wear and tear. The company gives no warranty against damage to any surface due to incorrect removal and installation of the product. The products are suitable for 10-12 Hours Daily operation. Usage of product for 24 Hours a day would void the warranty. This product is warranted for manufacturing defects only.

Attention
natural_image
Close-up of a white curved object with a red 'X' mark at the bottom left (no text or symbols on the object itself)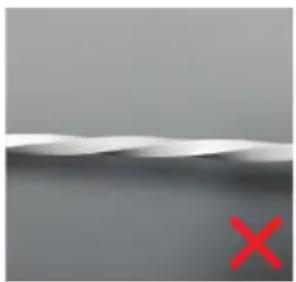
natural_image
Close-up of a smooth, curved surface with a red 'X' mark in the bottom right corner (no text or symbols on the surface)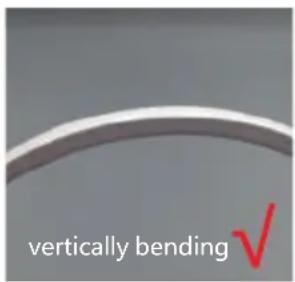
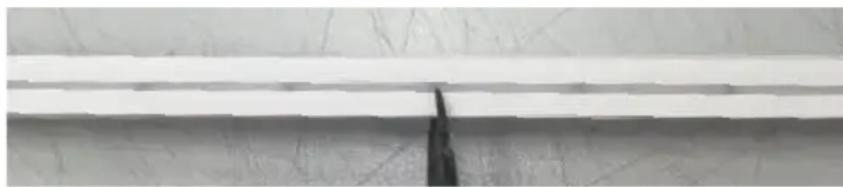
Cutting instruction
natural_image
Close-up of a white metal strip with a black vertical seam, against a textured gray background (no text or symbols)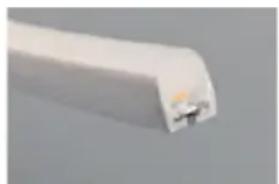
natural_image
Close-up of a white plastic component with a small metallic tip, against a plain gray background (no text or symbols visible)Please cut only on the dotted/scissor marking on the LED Neon Flex. End Cap required.
SAFETY INSTRUCTION AND WARNINGS!
- Please cut the LED Neon Flex according to the cutting as shown in the cutting instructions. Cutting outside the marking will damage the product. Please cut only on the dotted/scissor marking on the LED Neon Flex. End Cap required.
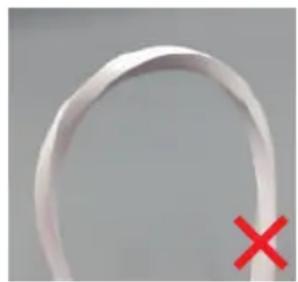
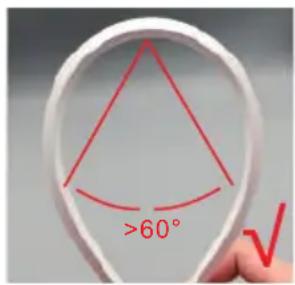
- LED Neon Flex cannot be folded, bent or twisted during the installation. Please install in straight direction. DO NOT turn on power until LED Neon Flex is connected properly and well-installed.
- DO NOT touch/cut the LED Neon Flex when power is on.
- DO NOT power the LED Neon Flex in roll/package.
- DO NOT install in water or flammable environment, and make sure well ventilated.
- DO NOT wrap or cover LED Neon Flex with any objects. Additional waterproof measure needed when used outdoors.
- DO NOT directly connect LED Neon Flex to AC power. Special power plug is needed.
- If LED Neon Flex does not work when Power is on, please check "+" and "-" polarity.
- When selecting power supply always add additional 10% to the maximum load.
-
DO NOT use excessive wire length between the power supply and LED Neon Flex to avoid voltage drop
-
Once the LED Neon flex is cut it loses its IP X5. To ensure and regain its IP use Silicone and ensure the IP is secured. Place End Cap at the end of LED Neon Flex
INFORMATION CONCERNING INSTALLATION
1) Use only DC power Supply (kindly check the technical data sheet).
2) When selecting appropriate power supply, please take into account, the electric power consumed by LED Neon Flex (kindly check the technical data sheet).
3) In case when section is longer than 5M/10M, we recommend to power strips from the ends
INSTALLATION INSTRUCTIONS
Step 1: Switch Off the power before starting the installation.
Step 2: Connect the LED Neon Flex polarity "+" and "-" to the driver's polarity "+" and "-". Follow the wiring diagram to ensure the wiring is done correctly [Refer to Figure 1].
Red wire should be connected to positive (+) side of the power supply.

Black wire should be connected to negative (-) side of the power supply.
Step 3: Wire the AC input source to the power supply and the AC plug. Additional waterproof measure needed when used outdoors.
AC Power
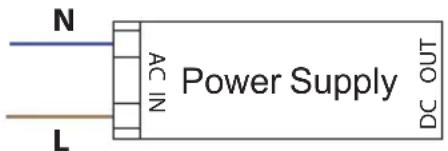
WIRING DIAGRAM

Figure 1
Step 4: Switch on the power to test the light.
REMARKS CONCERNING MAINTENANCE
1) Use dry delicate cloth for cleaning.
2) Switch off the LED Neon Flex, prior to cleaning and make sure that the plug is pulled out of the outlet.
3) Please wait until the lamp cools down in case it is heated.
4) During cleaning, follow the general safety rules and always be careful.
REMARKS CONCERNING SAFETY
1) The product should be safeguarded from children and in any case, should not be the subject of play.
2) If the product is damaged, it should not be used (Advisably for recycling).
3) To be used for indirect lighting/architectural purpose only.
4) The manufacturer is not responsible for any damage arisen from not following safety instruction or misuse of product.
INTRODUCTION & GARANTIE
INTRODUCERE, GARANTIA
Brand : V-TAC
Model : VT-560
Category : LED Lighting