F-16SMB - Fan Brentwood - Free user manual and instructions
Find the device manual for free F-16SMB Brentwood in PDF.

User questions about F-16SMB Brentwood
0 question about this device. Answer the ones you know or ask your own.
Ask a new question about this device
Download the instructions for your Fan in PDF format for free! Find your manual F-16SMB - Brentwood and take your electronic device back in hand. On this page are published all the documents necessary for the use of your device. F-16SMB by Brentwood.
USER MANUAL F-16SMB Brentwood
Brentwood® Appliances
© 2024 Brentwood Appliances, Inc.
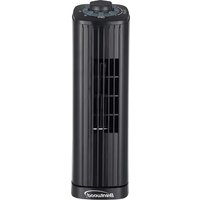
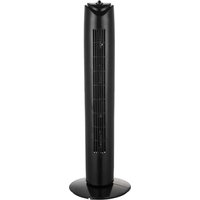
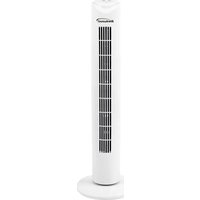
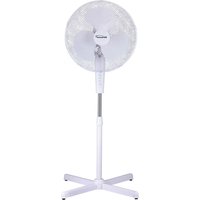
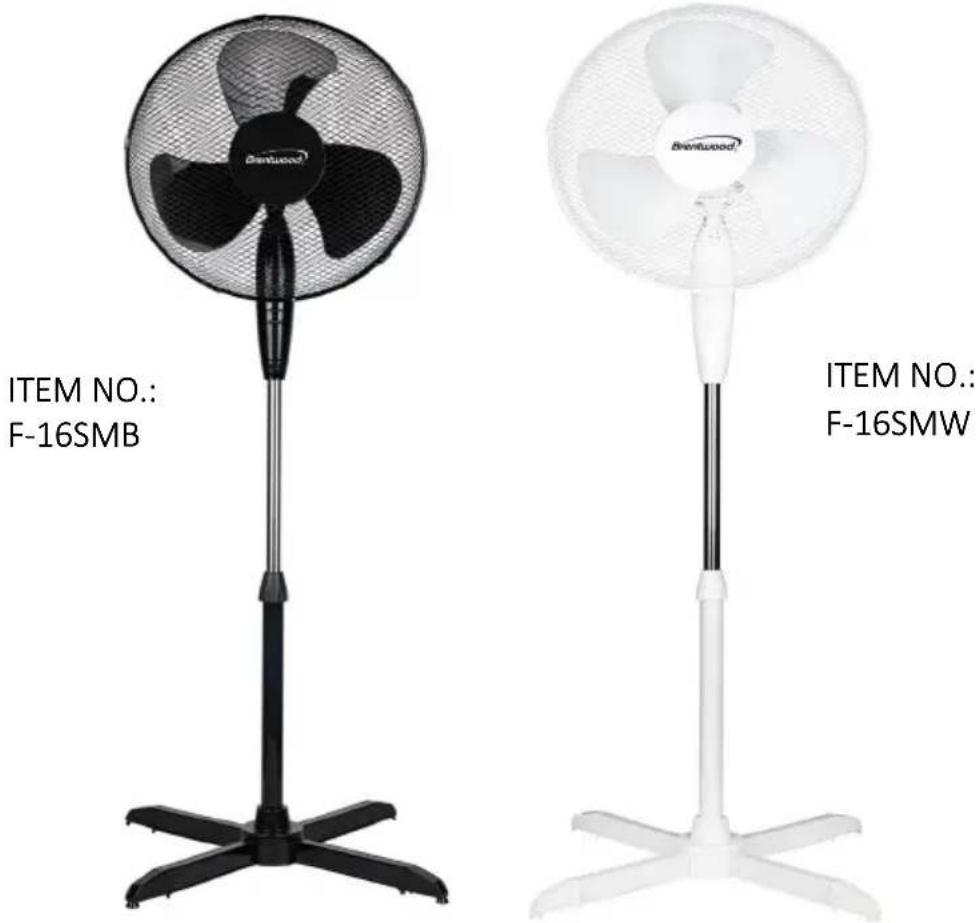
16" STAND FAN
VENTILADOR DE PEDESTAL DE 40 CM VENTILATEUR SUR PIED DE 40 CM
text_image
ITEM NO.: F-16SMB ITEM NO.: F-16SMWOperating and Safety Instructions
FOR INDOOR HOUSEHOLD USE ONLY
When using this or any other electrical appliance, always follow these basic safety precautions, especially when children are present.
READ ALL INSTRUCTIONS BEFORE USE
⚠ WARNING-To reduce the risk of fire, electric shock, serious personal injury, and property damage please note the following:
- This product is not intended for use by children. Keep the product out of the reach of children and pets. Extra caution is necessary when using this appliance near children.
- Never insert finger or any type of objects in the grill especially while in use.
- Do not use it in areas with elevated levels of humidity such as restrooms.
- Do not install or position this fan in a window.
- Please discard or store all packing materials away from the reach of children.
- Make sure the fan is in the OFF position before connecting to the power supply.
- Always ensure the product is unplugged from the electrical outlet before assembling, disassembling, relocating, or cleaning it.
- Do not leave the product unattended while it is in use. Always unplug the product from the electrical outlet when not in use.
- Do not place on or near a hot gas or electric burner, or other heated surfaces.
- Use extreme caution when moving an appliance.
- Only use accessory parts that come with your purchased package. It is not recommended to use accessory parts made by other manufacturers.
- Use the product in a well-ventilated area. Use on a flat surface. Keep at least 4-6 inches of space on all sides of the product to allow adequate air circulation.
- Do not plug or unplug the product from the electrical outlet with a wet hand.
- Do not operate the product if it has a damaged or cut Power Cord or plug, if wires are exposed, if it malfunctions, if it is dropped or damaged, or if the Motor Housing has been exposed to water or submerged.
- This appliance has no user-serviceable parts. Do not attempt to examine or repair this appliance yourself. Please review the Warranty Policy on Page 6.
- Do not put any stress on the power cord where it connects to the product, as the power cord could fray and break.
SPECIAL INSTRUCTIONS:
- This product comes with a longer power cord. An extension cord is not recommended with this unit.
- Longer extension cords are available and may be used if care is exercised in their use.
- If a long detachable power-supply cord or extension cord is used:
A. The marked electrical rating of the cord or extension cord should be at least as great as the electrical rating of the appliance.
B. If the appliance is of the grounded type, the extension cord should be a grounding 3-prong cord; and
C. The longer cord should be arranged so that it does not drape over the countertop or tabletop where it can be pulled on by children or tripped over unintentionally.
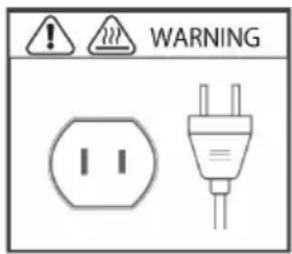
WARNING: This product is equipped with a polarized plug (one blade is wider than the other
blade) to reduce the risk of electrical shock. This is a safety feature. The plug will fit into a polarized outlet only one way. If you are unable to insert the plug into the electrical outlet, try reversing the plug. If the plug still does not fit, contact a qualified electrician. Never use the plug with an extension cord unless you can fully insert the plug into the extension cord. Do not alter the plug. Do not attempt to defeat the safety purpose of the polarized plug.
text_image
WARNINGOverload Protection Fuse
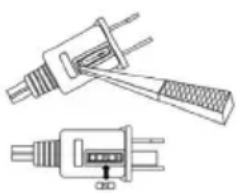
This product employs overload protection (fuse). A blown fuse indicates an overload or short-circuit situation. If the fuse blows, unplug the product from the outlet. Replace the fuse by following the servicing instructions below (follow product marking for proper fuse rating). If the replacement fuse also blows, a short-circuit may be present and the product should be discarded. Grasp plug and remove it from the receptacle or other outlet device. Do not unplug by pulling on cord.
- Select a suitable tool such as a small flat screwdriver.
- Open the fuse access cover by sliding or prying it open.
- Carefully remove the fuse by prying it out from one end or by turning the fuse holder over.
- Risk of fire. Replace fuse only with 5 Amp, 125 Volt fuse. Gently press the new fuse into the slot at both ends. Do not press on the glass tube.
- Close the access cover until it is flush with the plug face.
- Do not replace the plug. It contains safety devices (fuse, AFCI, LSDI) that should not be removed. Discard the product if the plug is damaged.
natural_image
Technical line drawing of a plug and socket (no text or symbols)Tips
- Do not use excessive force when replacing the fuse or damage to the fuse or plug may occur.
- If it is hard to close the access cover, make sure the fuse is fully inserted.
FOR HOUSEHOLD USE ONLY. PLEASE READ INSTRUCTIONS PRIOR TO USE AND SAVE FOR FUTURE REFERENCE.
Parts and Assembly for Fans:
Tool Needed for Assembly: Phillips Screwdriver
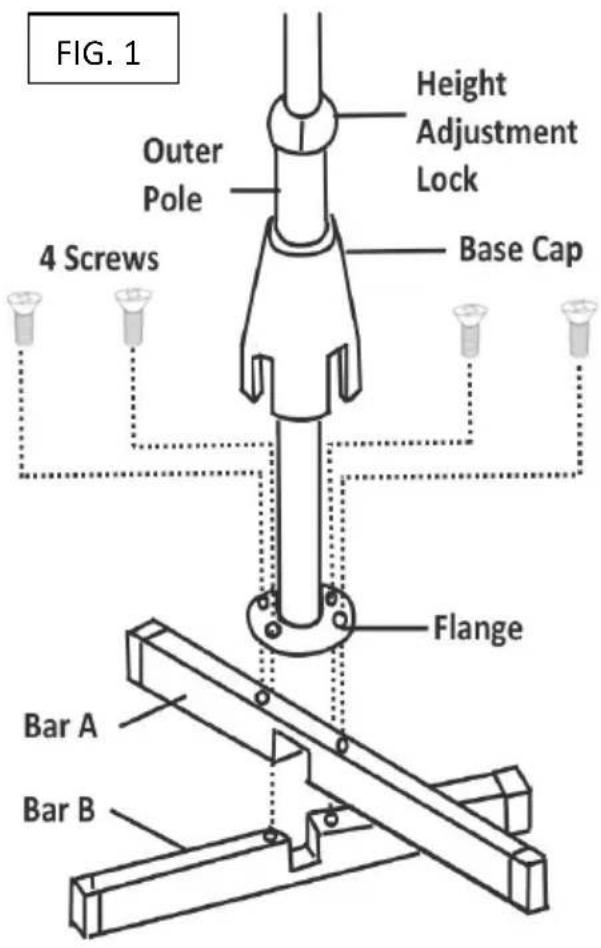
- Connect Bar A and Bar B as shown on Fig. 1. Cross the 2 bars and align the four holes with those on the Flange. Secure the Flange to the bars with the four screws. Slide the Base Cap down over the assembly.
Reference Fig. 2 for the following:
- Unscrew the Grill Lock Nut from the Shaft end of the Motor Housing. Mount the Rear Grill to the Motor Housing by matching the 3 holes on the Rear Grill to the 3 round pins on the front of the Motor Housing. Push in firmly until the 3 pins protrude through the 3 holes.
- Secure the Rear Grill to the Motor Housing with the Grill Lock Nut.
- Insert the Blade on to the Motor Shaft, matching the slots on the back of the Blade with the Shaft Pin. Secure Blade with Blade Cap, turning counterclockwise to tighten.
text_image
FIG. 1 Height Adjustment Lock Outer Pole Base Cap 4 Screws Flange Bar A Bar B
flowchart
graph LR
    A["Front Grill"] --> B["Blade Cap"]
    B --> C["Blades"]
    C --> D["Grill Lock Nut"]
    D --> E["Rear Grill"]
    E --> F["Motor Housing"]
    F --> G["Oscillating Control"]
    G --> H["Shelf Pin"]
    H --> I["Power Control Buttons"]
    I --> J["Fan Pole Screws (2)"]
    J --> K["Extension Pole"]
    K --> L["Height Adjustment Lock"]
Do Not plug in to any power source before properly assembling the whole fan.
Caution: Only operate the fan once it is completely assembled and safe to plug into an electrical outlet.
Attention: First use may cause a slight odor or small smoking upon heating, it is normal. This is a result of the heating element chemical reaction. It quickly goes away.
- Plug the power cord into a wall outlet
- To make the fan head oscillate, push in the Oscillating Knob, located on the top of the Motor Housing. [Fig. 2]
- To adjust vertical angle, tilt fan head up or down.
- To adjust height, loosen the Height Adjustment Knob [Fig. 2] and adjust fan to the desired height. Re-tighten the Adjustment Knob before turning the fan on.
- Speed is controlled by the Power Control Buttons.
CLEANING YOUR FAN:
WARNING: Make sure the blades have come to a complete stop before proceeding with cleaning.
NOTICE: Always unplug the product before cleaning or storing it.
- Press the Control Power Button to the off position and disconnect the power cord from the electrical outlet.
- Allow the blades to come to a complete stop and remove the Grill Plate. You can also wipe down the Grill Plate with a damp towel before placing it back onto the fan. If the Rear Grill Plate needs wiping, now would be a good time to wipe it clean before reassembling.
- With a soft and barely damp clean cloth, carefully wipe each of the blades. Making sure water does not drip into the fan's Motor Housing.
NOTE: Do not use thinners, benzene, or any other type of abrasive materials to clean the fan. For stubborn spots use a small amount of mild soap to scrub the area. Wipe any residue remaining and dry all parts completely before placing the Grill and securing it back into place.
FAN STORAGE:
- Your fan can be stored partially disassembled or assembled. Make sure to store it in a safe and dry location away from the reach of children.
- For disassembled storage we recommend you keep the original box and use it to store the fan, as it is the appropriate size.
- For assembled storage we recommend using a dust cover to protect the fan from dust, placing it away from where parts can be damaged.
ONE YEAR LIMITED WARRANTY
Write down the following information about your appliance to better help you obtain assistance or service if you ever need it.
CUSTOMER RECORD
Date of Purchase ____ Store/Dealer ____
Model/Item No: ____
THIS WARRANTY APPLIES TO PRODUCTS PURCHASED AND USED IN THE CONTINENTAL U.S. AND CANADA ONLY. This is the only express warranty for this product and is in lieu of any other warranty or condition. This product is warranted to be free from defects in material and workmanship for a period of one (1) year from the date of original purchase. During this period, your exclusive remedy is repair or replacement of this product, at our option; however, you are responsible for all costs associated with returning the product to us and our returning a product or component under this warranty to you. If the product or component is no longer available, we will replace it with a similar one of equal or greater value. This warranty does not cover glass, filters, wear from normal use, use not in conformity with the printed directions, or damage to the product resulting from accident, alteration, abuse, or misuse.
THIS WARRANTY EXTENDS ONLY TO THE ORIGINAL CONSUMER PURCHASER. KEEP THE ORIGINAL SALES RECEIPT, AS PROOF OF PURCHASE IS REQUIRED TO MAKE A WARRANTY CLAIM.
This warranty is void if the product is used for other than single-family household use or subjected to any voltage and waveform other than what is specified on the rating label (E.G., 120V\~60Hz). We exclude all claims for special, incidental, and consequential damages caused by breach of express or implied warranty. All liability is limited to the amount of the purchase price. Every implied warranty, including any statutory warranty or condition of merchantability or fitness for a particular purpose, is disclaimed except to the extent prohibited by law, in which case such warranty or condition is limited to the duration of this written warranty. This warranty gives you specific legal rights. You may have other legal rights that vary depending on where you live. Some states do not allow limitations on implied warranties or special, incidental, or consequential damages, so the foregoing limitations may not apply to you. To make a warranty claim do not return this appliance to the store.
TO OBTAIN WARRANTY SERVICE AND/OR TROUBLESHOOTING INFORMATION:
Call Customer Service at 1-888-903-0060 in the U.S.
Monday through Friday: 9:00am – 5:00pm PST.
Email at warranty@brentwoodus.com
Canadian Customers Please Email: canada.warranty@brentwoodus.com
Go online at www.brentwoodus.com
natural_image
Technical line drawing of two electrical connectors with a fuse and socket (no text or symbols)natural_image
Technical line drawing of two electrical connectors with no visible text or symbols© 2024 Brentwood Appliances, Inc.