F-9DW - Fan Brentwood - Free user manual and instructions
Find the device manual for free F-9DW Brentwood in PDF.


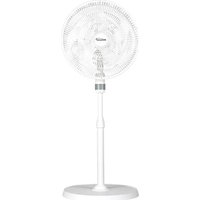
| Product Type | Pedestal Fan |
| Brand | Brentwood |
| Model | F-9DW |
| Grill Diameter | 9 inches |
| Number of Speeds | 2 (Low, Medium) + Off |
| Oscillation | Yes, push button |
| Tilt | Adjustable vertically |
| Power Supply | 120 V, 60 Hz (approx.) |
| Power | 50 W (approx.) |
| Weight | 2.5 kg (approx.) |
| Dimensions (H x W x D) | 30 x 30 x 25 cm (approx.) |
| Usage | Indoor household use only |
| Material | Plastic and metal |
| Power Cord | Short, polarized plug |
| Cleaning | Removable grills, wash with warm water and mild detergent |
| Maintenance | Regular cleaning every few weeks |
| Safety | Auto shut-off not mentioned, do not use near water |
| Replacement Parts | Grills, blade, nuts, cap |
| Repairability | Do not repair yourself, contact after-sales service |
Frequently Asked Questions - F-9DW Brentwood
User questions about F-9DW Brentwood
0 question about this device. Answer the ones you know or ask your own.
Ask a new question about this device
Download the instructions for your Fan in PDF format for free! Find your manual F-9DW - Brentwood and take your electronic device back in hand. On this page are published all the documents necessary for the use of your device. F-9DW by Brentwood.
USER MANUAL F-9DW Brentwood
© 2024 Brentwood Appliances, Inc.
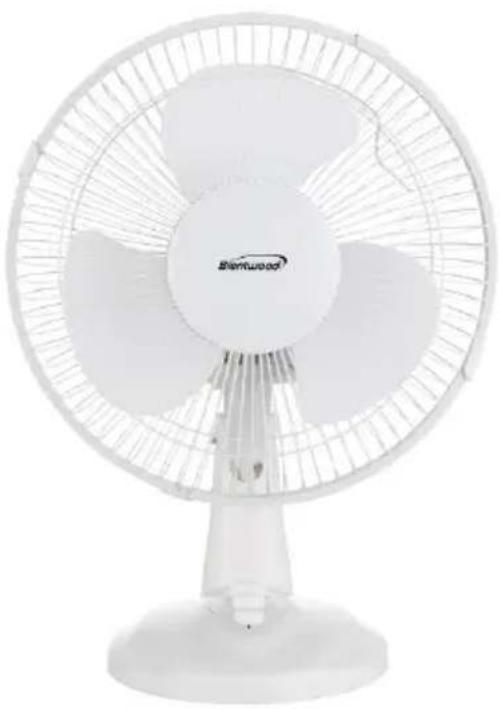
DESK FAN
VENTILADOR DE ESCRITORIO
VENTILATEUR DE BUREAU
ITEM NO: F-9DW (9") & F-12DW (12")
natural_image
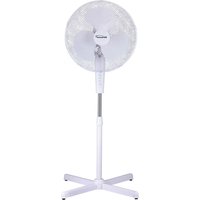
White Siemens 4.5-inch electric fan with three blades and a brand logo on the front (no text or symbols on the fan body)Operating and Safety Instructions
FOR INDOOR HOUSEHOLD USE ONLY
When using this or any other electrical product, always follow these basic safety precautions, especially when children are present.
READ ALL INSTRUCTIONS BEFORE USE.
WARNING: To reduce the risk of fire, electric shock, serious personal injury, and property damage, please note the following:
• Store the fan out of reach of children and supervise its use by minors.
- Do not use the fan for anything other than its intended purpose.
- If the fan malfunctions, do not attempt to repair it yourself. Refer to the Warranty Policy on Page 6 for guidance.
- Do not use attachments not recommended or sold by the manufacturer.
- Regularly inspect the cord and plug for damage. Do not use the fan if any part is damaged.
- Keep the power cord away from hot surfaces and sharp edges to prevent damage.
- Ensure that the voltage of the power supply matches the specifications of the fan. Use a suitable outlet.
- Do not plug the fan into an overloaded outlet to prevent tripping breakers or electrical fires.
- Position the fan on a stable, flat surface to prevent tipping.
- Ensure the fan is not obstructed by furniture or other objects.
- Ensure that air vents are not blocked to maintain optimal performance.
- Do not place the fan in direct sunlight for extended periods, as it may cause overheating or damage to the fan.
- Keep the fan away from water and damp areas to prevent electric shock.
- Keep the fan away from heating appliances or open flames to prevent fire hazards.
- During the first use, you may notice a slight odor or small amount of smoke upon heating; this is normal. It is a result of a chemical reaction in the heating element and will quickly dissipate.
- Do not insert fingers, pencils, or other objects into the fan's grille while it is operating.
- Do not leave the fan running for extended periods when unattended.
- If you notice any unusual sounds or smells, turn off the fan immediately and unplug it.
- When not in use for an extended period, unplug the fan and store it in a dry, cool place.
- Check the fan for dust buildup and clean it regularly to ensure efficient operation.
- Turn off and unplug the fan before cleaning or performing maintenance. SPECIAL INSTRUCTIONS: A short power supply cord is provided to reduce the risk of becoming entangled in or tripping over a longer cord. Using an extension cord with the product is not recommended. However, if one must be used:
- The marked electrical rating of the extension cord must be at least as great as that of the product.
- Arrange the extension cord so that it does not drape over the countertop or tabletop where it can be tripped over or pulled.
WARNING: The product is equipped with a polarized plug (one blade is wider than the other) to reduce the risk of electrical shock, which is a safety feature. The plug is designed to fit into a polarized outlet in only one direction. If you are unable to insert the plug into the outlet, try reversing it. If the plug still does not fit, contact a qualified electrician. Never use the plug with an extension cord unless you can fully insert the plug into the extension cord. Do not alter the plug or attempt to bypass its safety features.
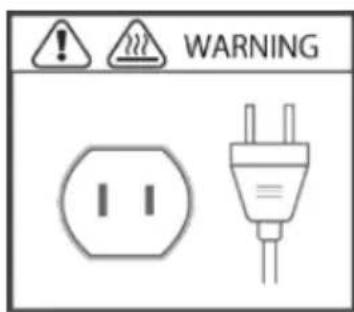
FOR HOUSEHOLD USE ONLY! PLEASE READ INSTRUCTIONS BEFORE USE & SAVE FOR FUTURE REFERENCE.
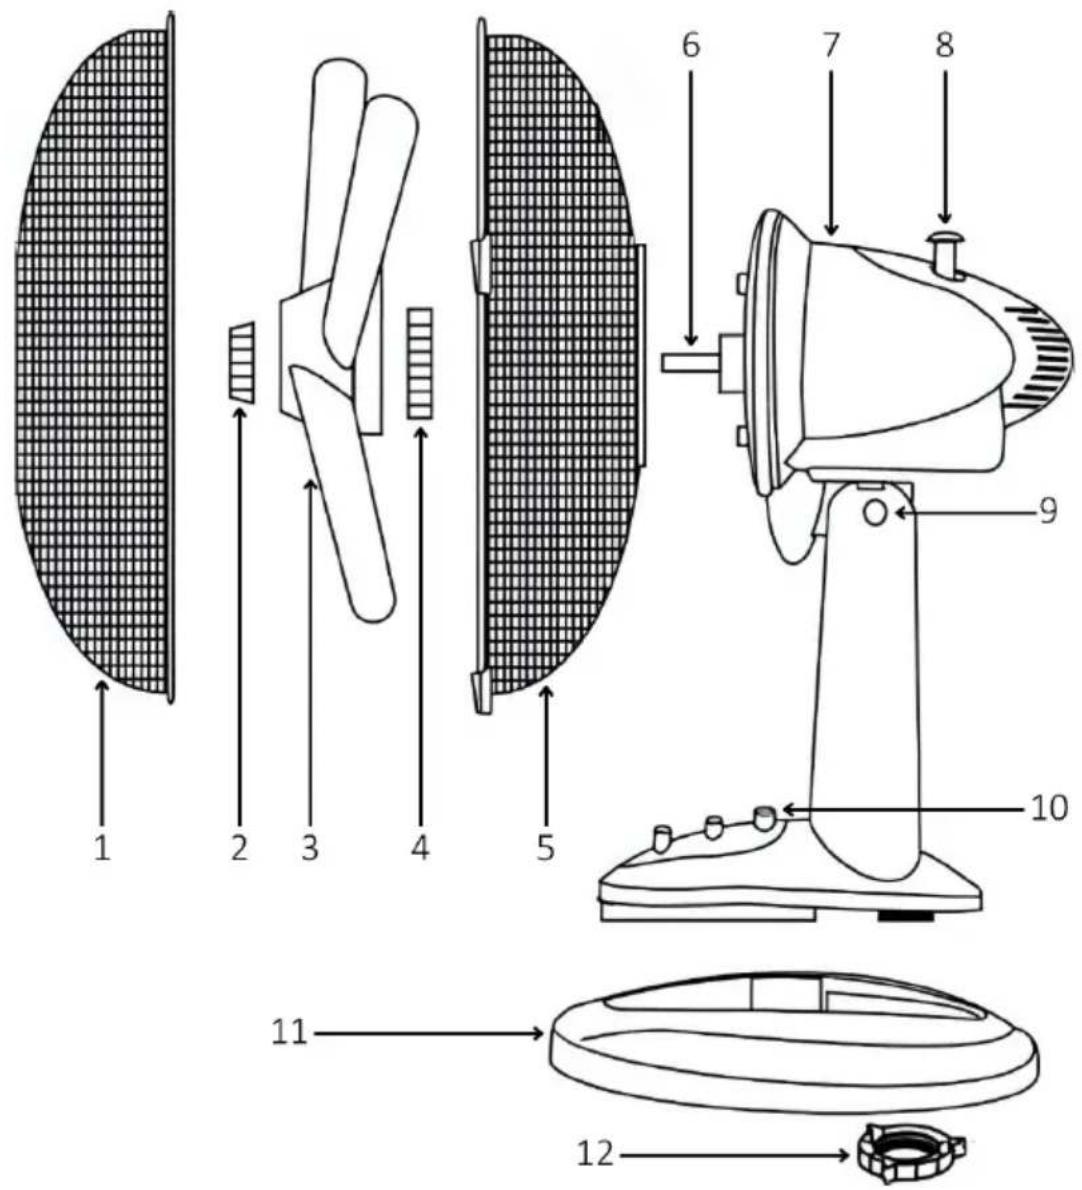
| 1 | Front Grille | 7 | Motor Housing |
| 2 | Blade Cap | 8 | Oscillation Button |
| 3 | Blade | 9 | Tilt Adjustment |
| 4 | Mounting Nut | 10 | Speed Control Panel |
| 5 | Rear Grille | 11 | Base Plate |
| 6 | Motor Shaft | 12 | Base Nut |
ASSEMBLING THE FAN
- Connect the body of the fan and the base plate together:
a. For F-9DW, insert the body into the base plate.
b. For F-12DW, connect the body and the base plate together and secure it with the base nut.
-
Unscrew the blade cap and the mounting nut from the motor shaft.
-
Place the rear grille through the motor shaft and secure it with the mounting nut.
-
Place the blade through the motor shaft and secure it with the blade cap.
-
Connect the front grille and the rear grille together and secure them by closing the clips.
CONTROLLING THE SPEED
- For F-9DW, the speed is controlled by buttons located at the base of the fan: 0 = Off. 1 = Low. 2 = Medium.
- For F-12DW, the speed is also controlled by buttons located at the base of the fan: 0 = Off, 1 = Low, 2 = Medium, 3 = High.
CONTROLLING THE TILT
The airflow can be adjusted upward or downward by tilting the head of the fan to the desired vertical angle.
OSCILLATING THE FAN
Push down the oscillation button located on the top of the motor housing. Pull it up, and the fan will stop oscillating.
CLEANING AND MAINTENANCE
TIP: Clean the fan regularly to prevent dust accumulation and maintain optimal performance. It is recommended to clean it every few weeks, especially during heavy usage.
-
Before cleaning, ensure the fan is turned off and unplugged from the electrical outlet to prevent any risk of electric shock.
-
Gently unclip the grilles and carefully remove the front grille, blade cap, blade, mounting nut and rear grille.
-
Use a mild detergent mixed with warm water to clean the front grille, blade cap, blade, mounting nut and rear grille. A soft cloth or sponge can be used to wipe away dust and dirt.
-
Rinse thoroughly with clean water and allow them to dry completely before reassembling.
-
Use a damp cloth to wipe down the rest of the parts.
WARNING: Avoid getting water into the motor housing.
-
For hard-to-reach areas, use a soft brush or vacuum attachment to remove dust buildup.
-
Once all components are completely dry, reattach the fan. Ensure everything is securely in place.
-
After reassembling, plug the fan back in and turn it on to ensure it operates correctly.
ONE YEAR LIMITED WARRANTY
Write down the following information about your product to better help you obtain assistance or service if you ever need it.
CUSTOMER RECORD
Date of Purchase: ____ Store/Dealer: ____
Model/Item No: ____
THIS WARRANTY APPLIES TO PRODUCTS PURCHASED AND USED IN THE CONTINENTAL U.S. AND CANADA ONLY. This is the only express warranty for this product and is in lieu of any other warranty or condition. This product is warranted to be free from defects in material and workmanship for a period of one (1) year from the date of original purchase. During this period, your exclusive remedy is repair or replacement of this product, at our option. However, you are responsible for all costs associated with returning the product to us and for the return of a product or component under this warranty to you. If the product or component is no longer available, we will replace it with a similar one of equal or greater value. This warranty does not cover glass, filters, wear from normal use, use not in conformity with the printed directions, or damage to the product resulting from accident, alteration, abuse, or misuse. THIS WARRANTY EXTENDS ONLY TO THE ORIGINAL CONSUMER PURCHASER. KEEP THE ORIGINAL SALES RECEIPT, AS PROOF OF PURCHASE IS REQUIRED TO MAKE A WARRANTY CLAIM. This warranty is void if the product is used for other than single-family household use or subjected to any voltage and waveform other than what is specified on the rating label (e.g., 120V\~60Hz). We exclude all claims for special, incidental, and consequential damages caused by breach of express or implied warranty. All liability is limited to the amount of the purchase price. Every implied warranty, including any statutory warranty or condition of merchantability or fitness for a particular purpose, is disclaimed except to the extent prohibited by law, in which case such warranty or condition is limited to the duration of this written warranty. This warranty gives you specific legal rights. You may have other legal rights that vary depending on where you live. Some states do not allow limitations on implied warranties or special, incidental, or consequential damages, so the foregoing limitations may not apply to you. To make a warranty claim, do not return this product to the store.
TO OBTAIN WARRANTY SERVICE AND/OR TROUBLESHOOTING INFORMATION:
Call Customer Service at 1-888-903-0060 in the U.S.
Monday through Friday: 9:00am – 5:00pm PST.
U.S. Customers Please Email: warranty@brentwoodus.com
Canadian Customers Please Email: canada.warranty@brentwoodus.com
Go Online at www.brentwoodus.com
PRECAUCIONES IMPORTANTES

© 2024 Brentwood Appliances, Inc.
Brand : Brentwood
Model : F-9DW
Category : Fan