
100-100-213 - Shower system HOZELOCK - Free user manual and instructions
Find the device manual for free 100-100-213 HOZELOCK in PDF.
| Product type | Heated solar outdoor shower |
| Brand | Hozelock |
| Model | 100-100-213 |
| Tank capacity | 8 liters |
| Maximum water temperature | 60 °C |
| Power supply | Solar energy (direct sunlight) |
| Main functions | Solar water heater, shower with temperature control tap |
| Assembly | No tool required, screw and snap assembly |
| Recommended use | Outdoor, direct sunlight exposure |
| Maintenance | Drain after each use, check O-rings |
| Cleaning | Clean the shower head to prevent clogging |
| Safety | Do not exceed 60 °C, protect from frost, do not sit on the base, do not remove the pressure regulator |
| Warranty | 2 years |
| Spare parts | O-rings (B), pressure regulator (R) |
| Customer service | www.hozelock.com/guarantee |
Frequently Asked Questions - 100-100-213 HOZELOCK
User questions about 100-100-213 HOZELOCK
0 question about this device. Answer the ones you know or ask your own.
Ask a new question about this device
Download the instructions for your Shower system in PDF format for free! Find your manual 100-100-213 - HOZELOCK and take your electronic device back in hand. On this page are published all the documents necessary for the use of your device. 100-100-213 by HOZELOCK.
USER MANUAL 100-100-213 HOZELOCK
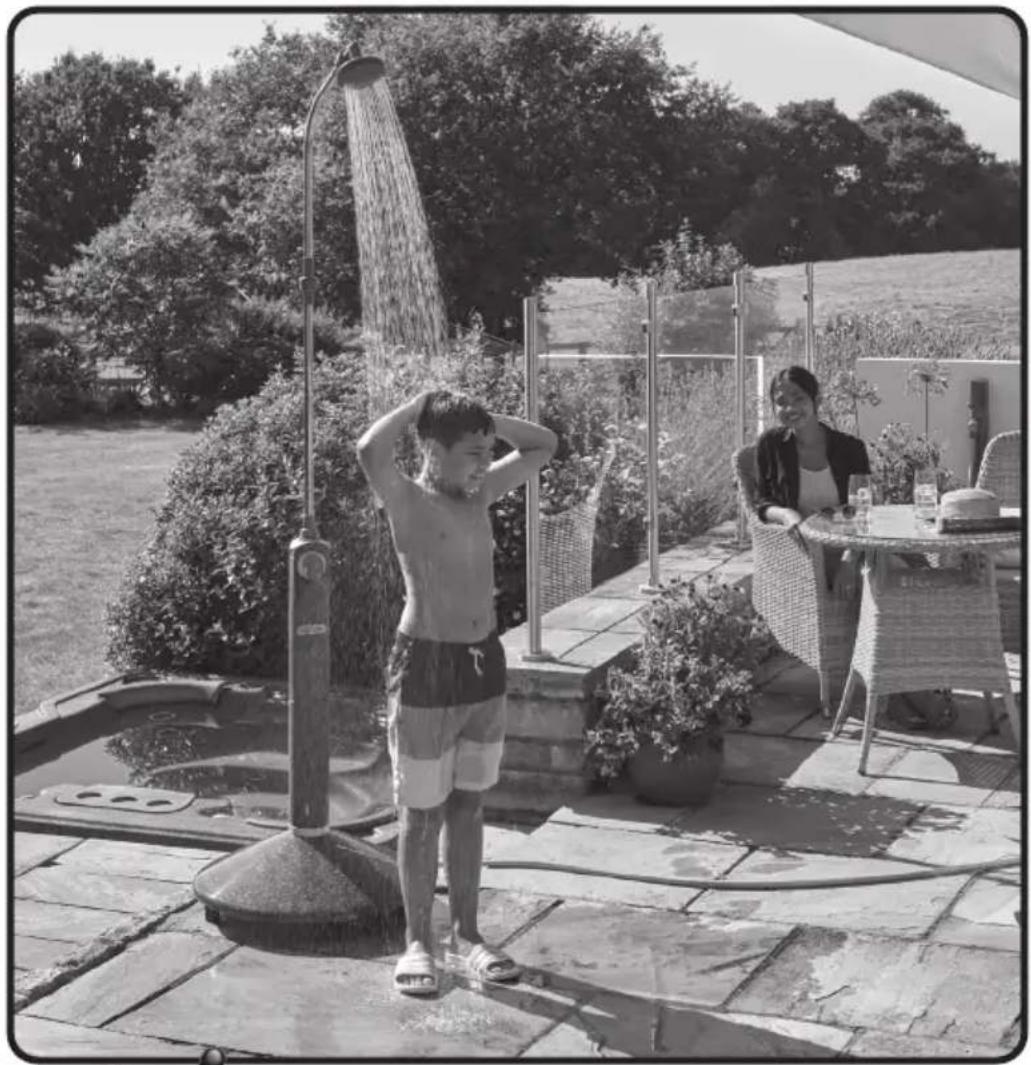
Outdoor Solar Heated Shower
natural_image
Black-and-white photo of a child showering at a sink in a garden, with an adult nearby (no visible text or symbols)
natural_image
Cartoon bee character holding a smartphone (no text or symbols visible)


www.hozelock.com
600-100-566
2
Year guarantee Ans de garantie Jahre Garantie Jaar garantie Años de garantia Χρόνια εγγύηση
Contents • Contenu • Inhalt • Inhoud • Contenidos • Innehåll • Innhold • Sisältö • Indhold Indice • Conteúdo • Zawartość • Перιεχόμενα • İçindekiler • Tartalom • Obsah • Obsah Содержание • Sisukord • Saturs • Turinys • Continut • Вміст • Kazalo vsebine • Pred uporabo
text_image
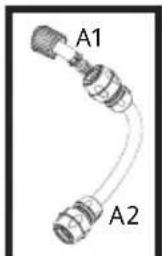
A1 A2A x1
natural_image
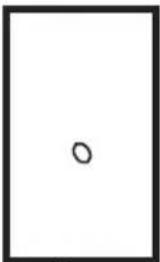
Simple black outline of a rectangle with a small centered circle (no text or symbols)B x3
natural_image
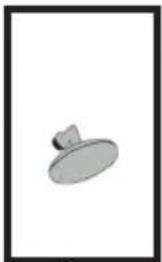
Simple 3D-rendered gray object resembling a knob or knob with a small protrusion, no text or symbols present.C x1
natural_image
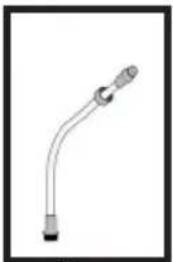
Simple line drawing of a curved pipe or tube with a looped end (no text or symbols)D x1
natural_image
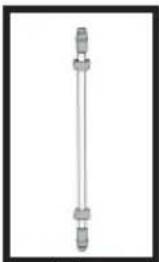
Pure vertical line diagram without any text, numbers, or symbolsEx1
text_image
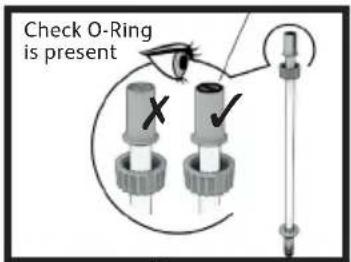
Check O-Ring is presentF x1
natural_image
Simple line drawing of a pipe fitting with a flanged end (no text or symbols)G x1
natural_image
3D rendering of a circular, layered object with no visible text or symbolsH x1
natural_image
Plain oval-shaped object with a slightly curved edge, no text or symbols visible.I x1
natural_image
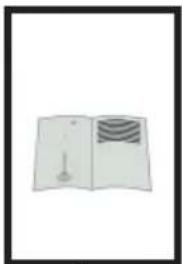
Simple line drawing of an open book with a bookmark and decorative pattern on the right page (no text or symbols)J x1
natural_image
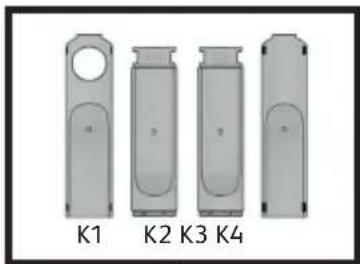
Four identical gray cylindrical objects labeled K1 to K4, arranged vertically (no additional text or symbols visible)Kx1
natural_image
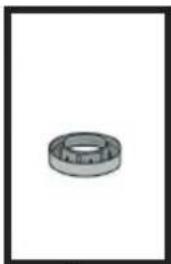
Simple line drawing of a ball bearing (no text or symbols)Lx1
flowchart
graph TD
    A["Component L"] --> B["Component F"]
    B --> C["Component H + I"]
    C --> D["Component E"]
    D --> E["Component D"]
    E --> F["Component B"]
    F --> G["Component 1"]
    G --> H["Component 3"]
    H --> I["Component 2"]
    I --> J["Component 3"]
    J --> K["Component 1"]
    K --> L["Component 2"]
    L --> M["Component 3"]
    M --> N["Check O-Ring is present"]
text_image
1 I H
text_image
2 F
text_image
3 A1 A2 A1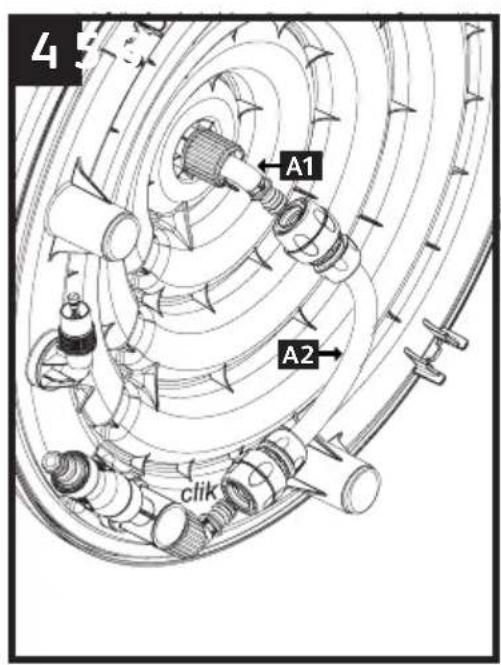
text_image
4 A1 A2 click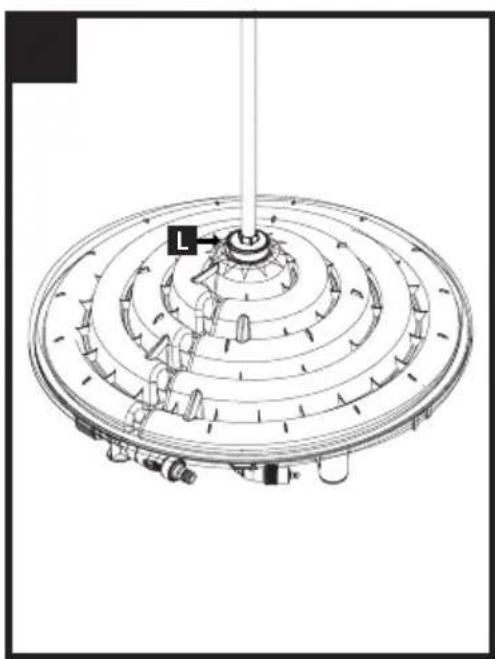
natural_image
Technical line drawing of a mechanical assembly with concentric circular components and a central hub (no text or symbols)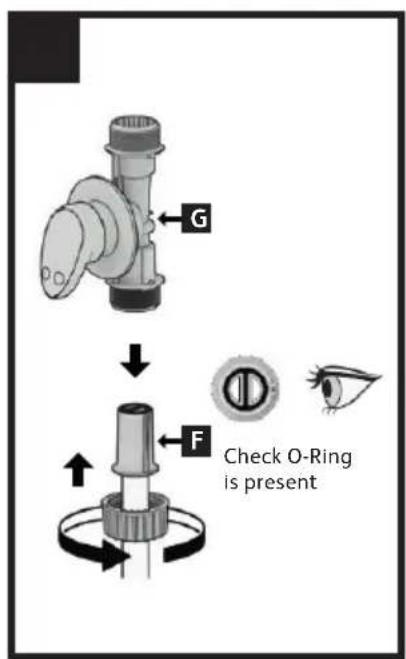
text_image
G F Check O-Ring is present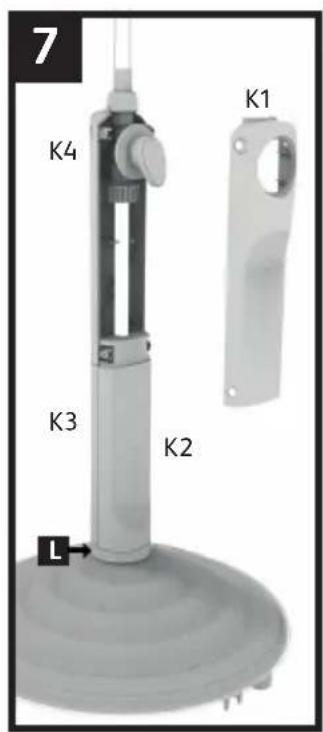
text_image
7 K4 K1 K3 K2 L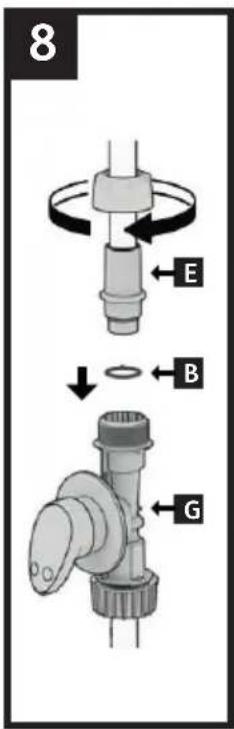
text_image
8 E B G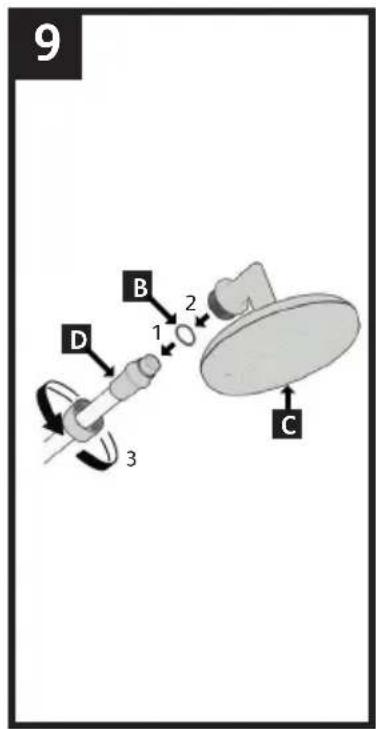
text_image
9 B 1 2 D 3 C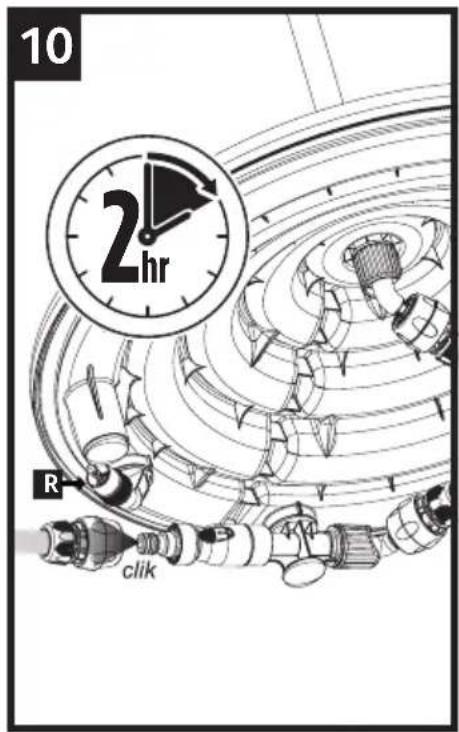
text_image
10 2hr R clickGB
Outdoor Solar Heated Shower
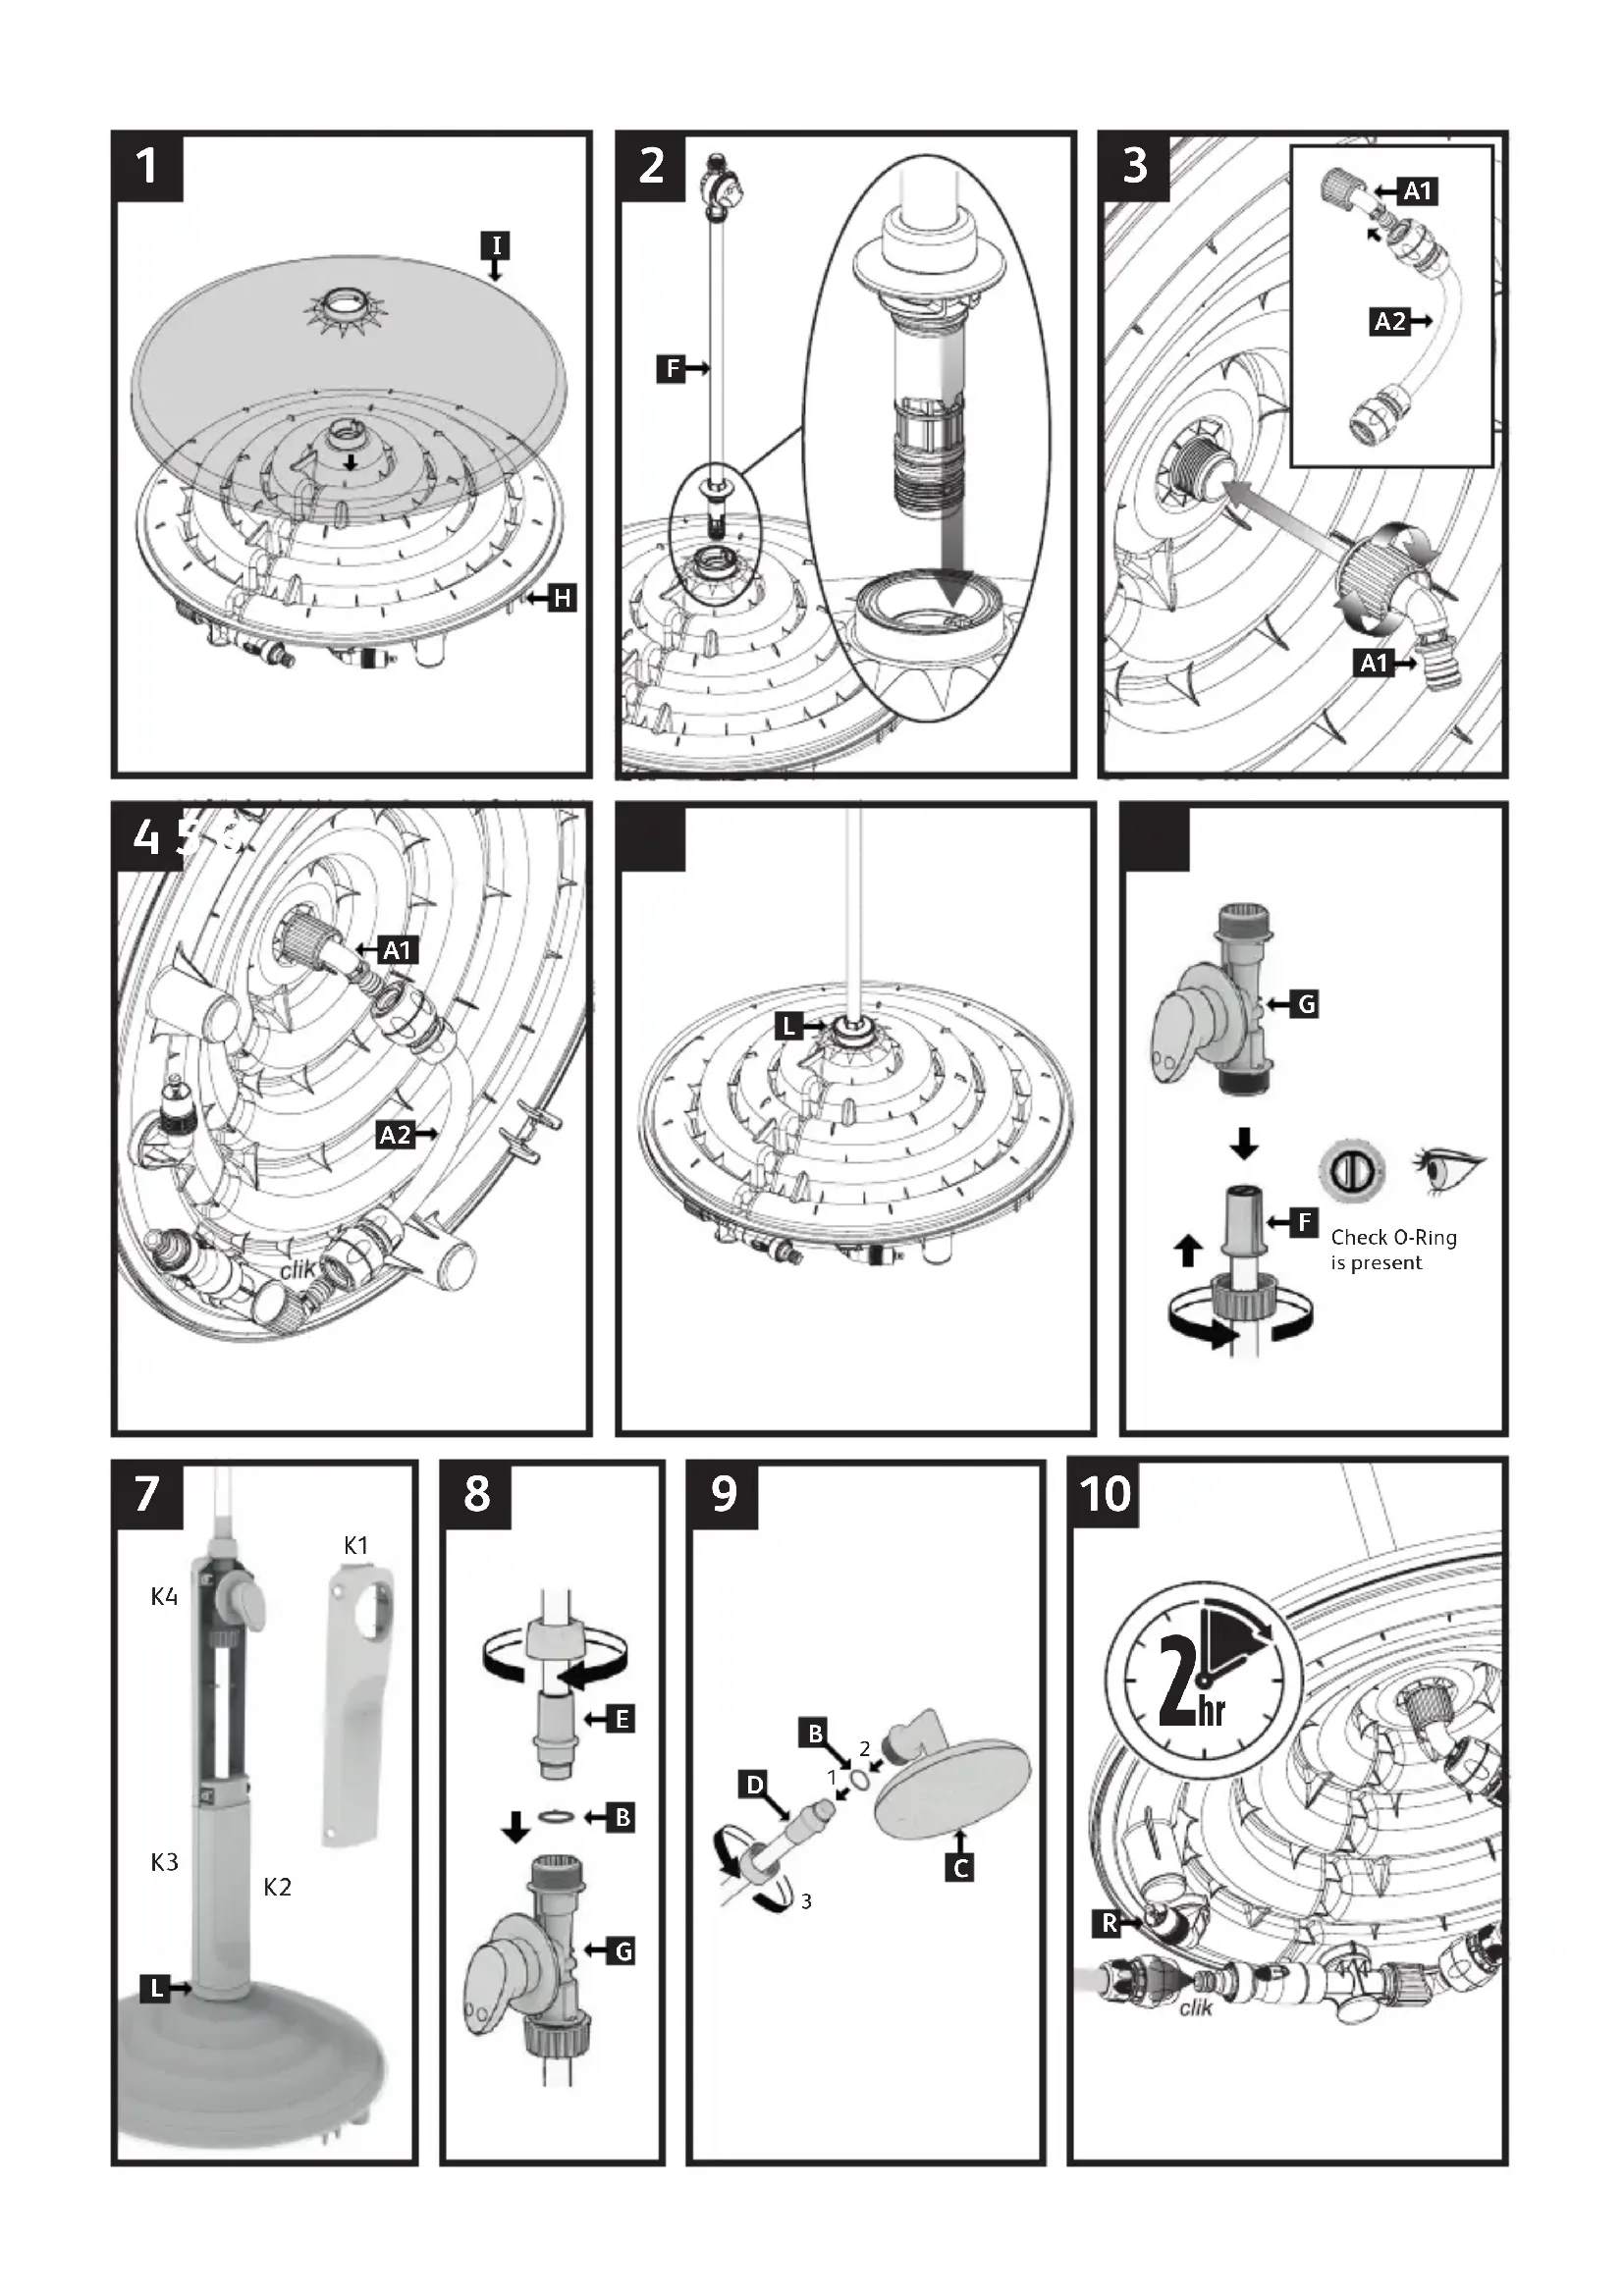
Contents
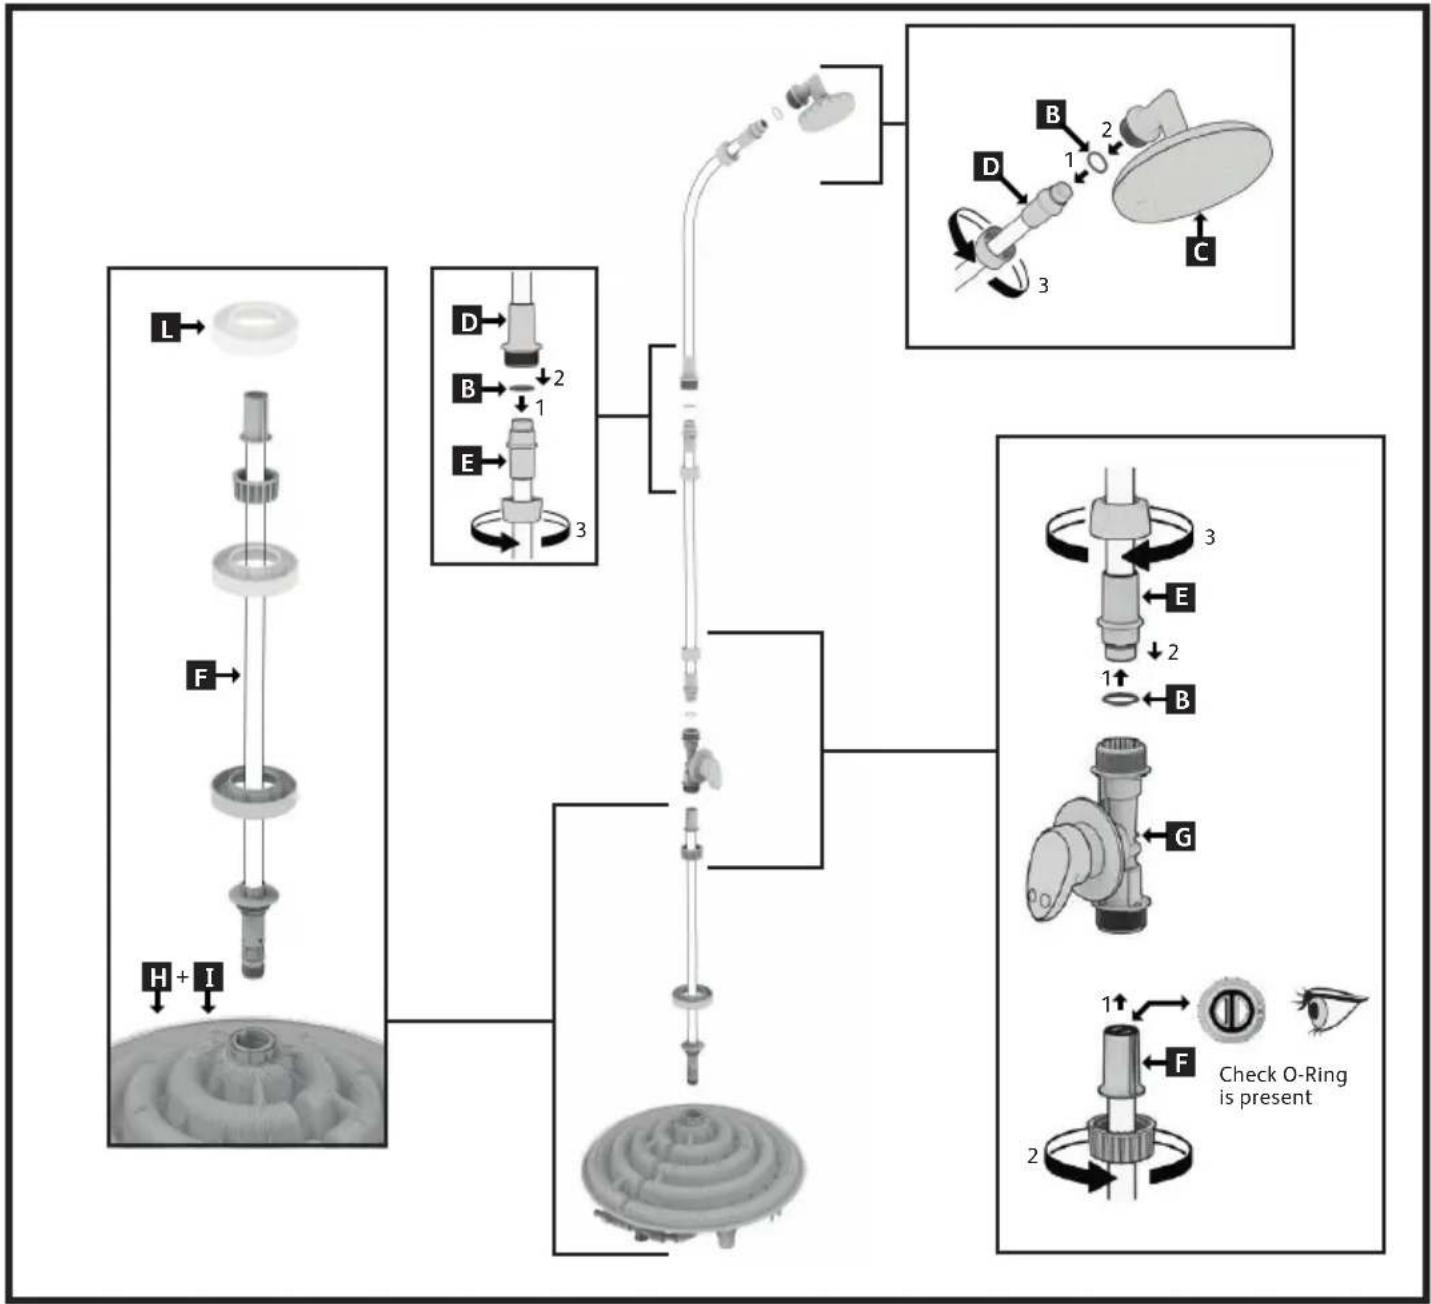
A Base to Lower Pole Connector (x1)
B O-Rings (x3)
C Shower Head (x1)
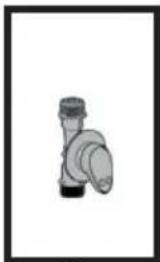
D Top Curved Shower Pole (x1)
E Mid Shower Pole (x1)
F Lower Shower Pole (x1)
G Tap (Temperature Adjuster) (x1)
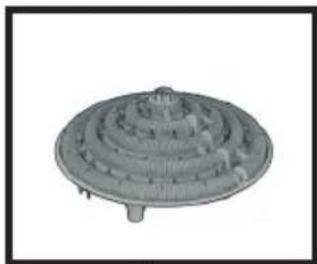
H Shower Base (x1)
I Shower Base Cover (x1)
J Instruction Pack (x1)
K Shower Pole Case (x4)
L Pole Cases Insert For Shower Base (x1)
Before use
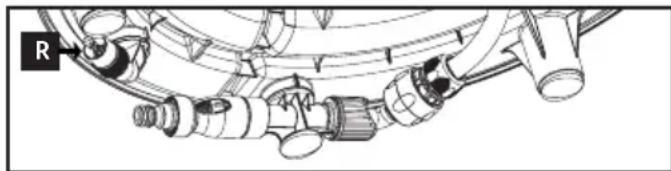
- Please make sure you have all parts and rubber washers are attached onto the top of Part F. Ensure you have enough space to build the shower, no tools are required to complete assembly of the shower. Please check the pressure valve is present (Part R) (Pre-assembled).
Assembly
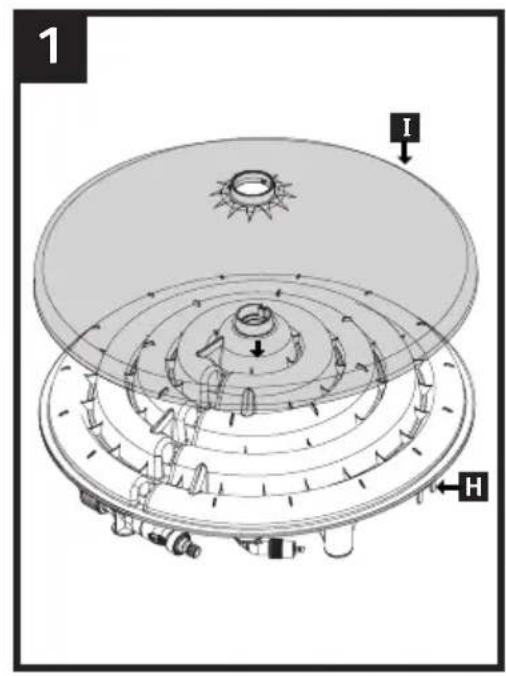
1 Locate Part H and attach Part I to the top.
2 Locate Part F and place into Part H.
3 Invert the base of the shower and secure Part F to the base by attaching Part A by screwing in the ring nut.
4 Part A can now be attached to the base of the shower.
5 Return the base to a standing position and place Part L over the lower pole and leave in place.
6 Locate Part G and attach to the top of Part F, Secure by screwing into place with the nut.
7 Locate Parts K2 and K3. Place onto Part F and click into place, slide down into the ring (Part L). Locate Part K4, place and click onto the pole (Part F), locate part K1, place into the pole (Part F). Click into place with the rear of Part K4.
8 Attach O-Ring Part B to Part E. You can now attach Part E to Part G by screwing securely into place.
9 Locate Part C and Part D. Attach Part C to the shorter length of Part D ensuring to add and O-Ring (Part B).
10 Attach Step 9 to part E by screwing into place ensuring to add an O-Ring Part B. Now you can connect to your Hose connection.
Safety
- Do not leave the shower outside during the winter months. Please protect from the frost.
- When transporting the shower please ensure it is empty of water and carry by the base.
- Water temperature should not exceed 60^ C / 140^ F. This can lead to scalding and skin damage. The shower could also be damaged. Water temperature in the tank can become very hot when left in direct sunlight so before using test the temperature, ensuring you start with cold water
and gradually add hot water before use.
- Children are to be supervised when using the shower due to the presence of hot water.
- Please do not stand or sit on the base as heat could cause burns. The base may also become damaged resulting in the shower being unusable.
- Do not swing or hang from the shower pole. This can cause damage to the shower.
- The pressure valve must never be removed from the shower (Part R).
natural_image
Mechanical assembly diagram showing interconnected pipes and gears (no text or symbols)• After use always disconnect and drain remaining water.
- Always ensure all parts of the shower are connected properly and securely before use.
- Follow the Hints and Tips guide.
Hints and Tips
- When filling the base tank, switch the tap to hot and move to an on position. This will ensure the air is removed from the tank. When a flowing stream of water is being produced by the shower head move the tap to an off position. This will now allow the base to fill up. Please allow time for the water to heat.
- Before use, have the tap set to a cool setting and gradually heat up to your desired temperature.
- After the first use and periodically after, check the shower head holes for any foreign material and if required remove and clean to ensure an even flow of water.
- After use, ensure the shower is fully drained by disconnecting the water inlet fitting to avoid water being left within the tank. This will guarantee a frequent water change in the tank itself. At the start of each use leave to run for several seconds as detailed in the first paragraph.
- Periodically check that the safety valve is operating properly by gently pulling and releasing the knob in order to prevent scale sedimentation.
Guarantee
2 year guarantee. Hozelock terms and conditions apply.
Please visit www.hozelock.com/guarantee for more information
F
natural_image
Technical diagram of a mechanical assembly with no visible text or symbolsnatural_image
Mechanical assembly diagram showing interconnected pipes and valves (no text or labels)natural_image
Mechanical assembly diagram showing interconnected pipes and gears (no text or symbols)natural_image
Technical line drawing of a mechanical assembly with gears and shafts (no text or symbols)natural_image
Technical diagram of a mechanical assembly with no visible text or symbolsnatural_image
Mechanical assembly diagram showing interconnected pipes and valves (no text or labels)natural_image
Mechanical assembly diagram showing pipe connections and components (no text or labels)natural_image
Mechanical assembly diagram showing interconnected components with no visible text or symbolsnatural_image
Technical diagram of a mechanical assembly with pipes and gears (no visible text or labels)www.hozelock.com/guarantee
P
natural_image
Mechanical assembly diagram showing pipe connections and a labeled component 'R' (no text or symbols beyond label)natural_image
Mechanical assembly diagram showing pipe connections and components (no text or labels)natural_image
Technical line drawing of a mechanical assembly with no visible text or symbolsnatural_image
Technical diagram of a mechanical assembly with pipes and valves (no text or labels visible)natural_image
Technical diagram of a mechanical assembly with no visible text or symbolsnatural_image
Technical diagram of a mechanical assembly with pipes and gears (no visible text or labels)natural_image
Mechanical assembly diagram showing interconnected components with no visible text or symbolsnatural_image
Mechanical assembly diagram showing pipe connections and a labeled component 'R' (no text or symbols beyond label)www.hozelock.com/guarantee
EST
natural_image
Technical diagram of a mechanical assembly with pipes and valves (no text or labels)www.hozelock.com/guarantee
LAT
Ar saules energiju apsildāma āra duša
Saturs
natural_image
Technical diagram of a mechanical assembly with pipes and gears (no visible text or labels)natural_image
Mechanical assembly diagram showing interconnected components with no visible text or symbolsnatural_image
Technical diagram of a mechanical assembly with pipes and valves (no text or labels)natural_image
Technical diagram of a mechanical assembly with pipes and gears (no visible text or labels)natural_image
Technical line drawing of a mechanical assembly with no visible text or symbolsMidpoint Park, Birmingham, B76 1AB, England.
Tel: +44 (0)121 313 1122
Hozelock-EXEL