
NS1213C1E - Heating MIDEA - Free user manual and instructions
Find the device manual for free NS1213C1E MIDEA in PDF.
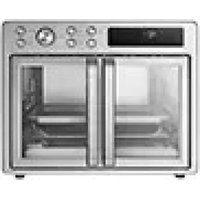
| Product type | Halogen radiant supplementary heater |
| Brand | Midea |
| Model | NS1213C1E |
| Rated power | 1.2 kW |
| Supply voltage | 220-240 V ~ 50 Hz |
| Maximum electrical consumption | 1.156 kW |
| Minimum power | 0.4 kW |
| Power settings | 2 levels (0.4 kW / 1.2 kW) |
| Oscillation | Yes, via dedicated switch |
| Heating type | Halogen (quartz tube) |
| Safety | Tilt switch (shutdown if tipped over), thermal safety fuse |
| Overheat protection | Yes, automatic shutdown |
| Safety distance | 1 m in front and sides, 0.5 m behind |
| Cleaning | Dust off grilles; clean reflector with a soft cloth and mild detergent |
| Assembly | Base plate to attach with provided wing nuts |
| Usage | Indoors only, do not cover, do not use in a bathroom or near a pool |
| Target audience | Suitable for well-insulated spaces or occasional use; not recommended unattended for vulnerable persons |
Frequently Asked Questions - NS1213C1E MIDEA
User questions about NS1213C1E MIDEA
0 question about this device. Answer the ones you know or ask your own.
Ask a new question about this device
Download the instructions for your Heating in PDF format for free! Find your manual NS1213C1E - MIDEA and take your electronic device back in hand. On this page are published all the documents necessary for the use of your device. NS1213C1E by MIDEA.
USER MANUAL NS1213C1E MIDEA
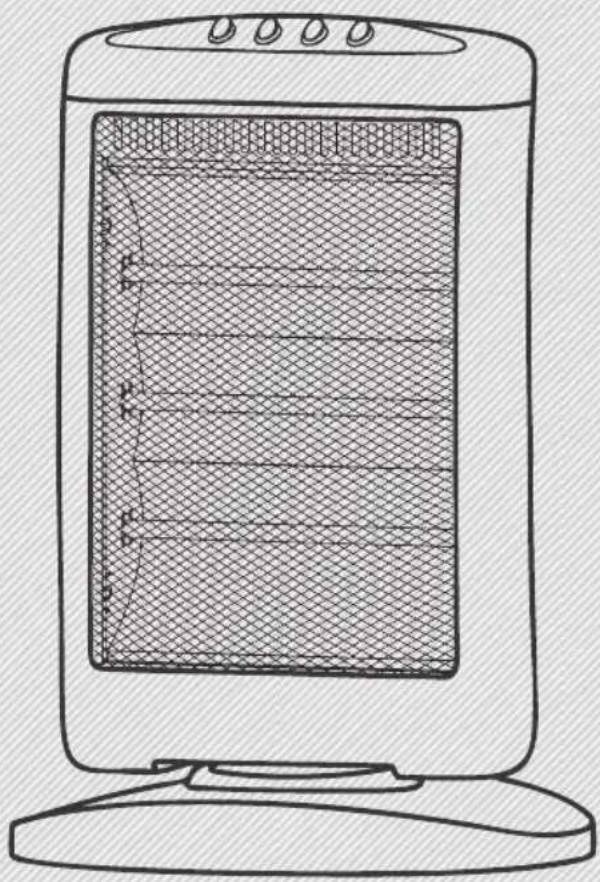
natural_image
Line drawing of a portable electric heater with mesh grille and control panel (no text or symbols)MANUALE PER L'UTENTE
GD Midea Environment Appliances MFG.Co.,Ltd.
No.28, Dong Fu Road, Hesui East Industrial Area, Dong Feng Town,
Zhongshan, Guangdong 528425 P.R.China
natural_image
Simple line drawing of a vertical cylindrical object mounted on a base, with two horizontal arrows pointing left (no text or symbols)natural_image
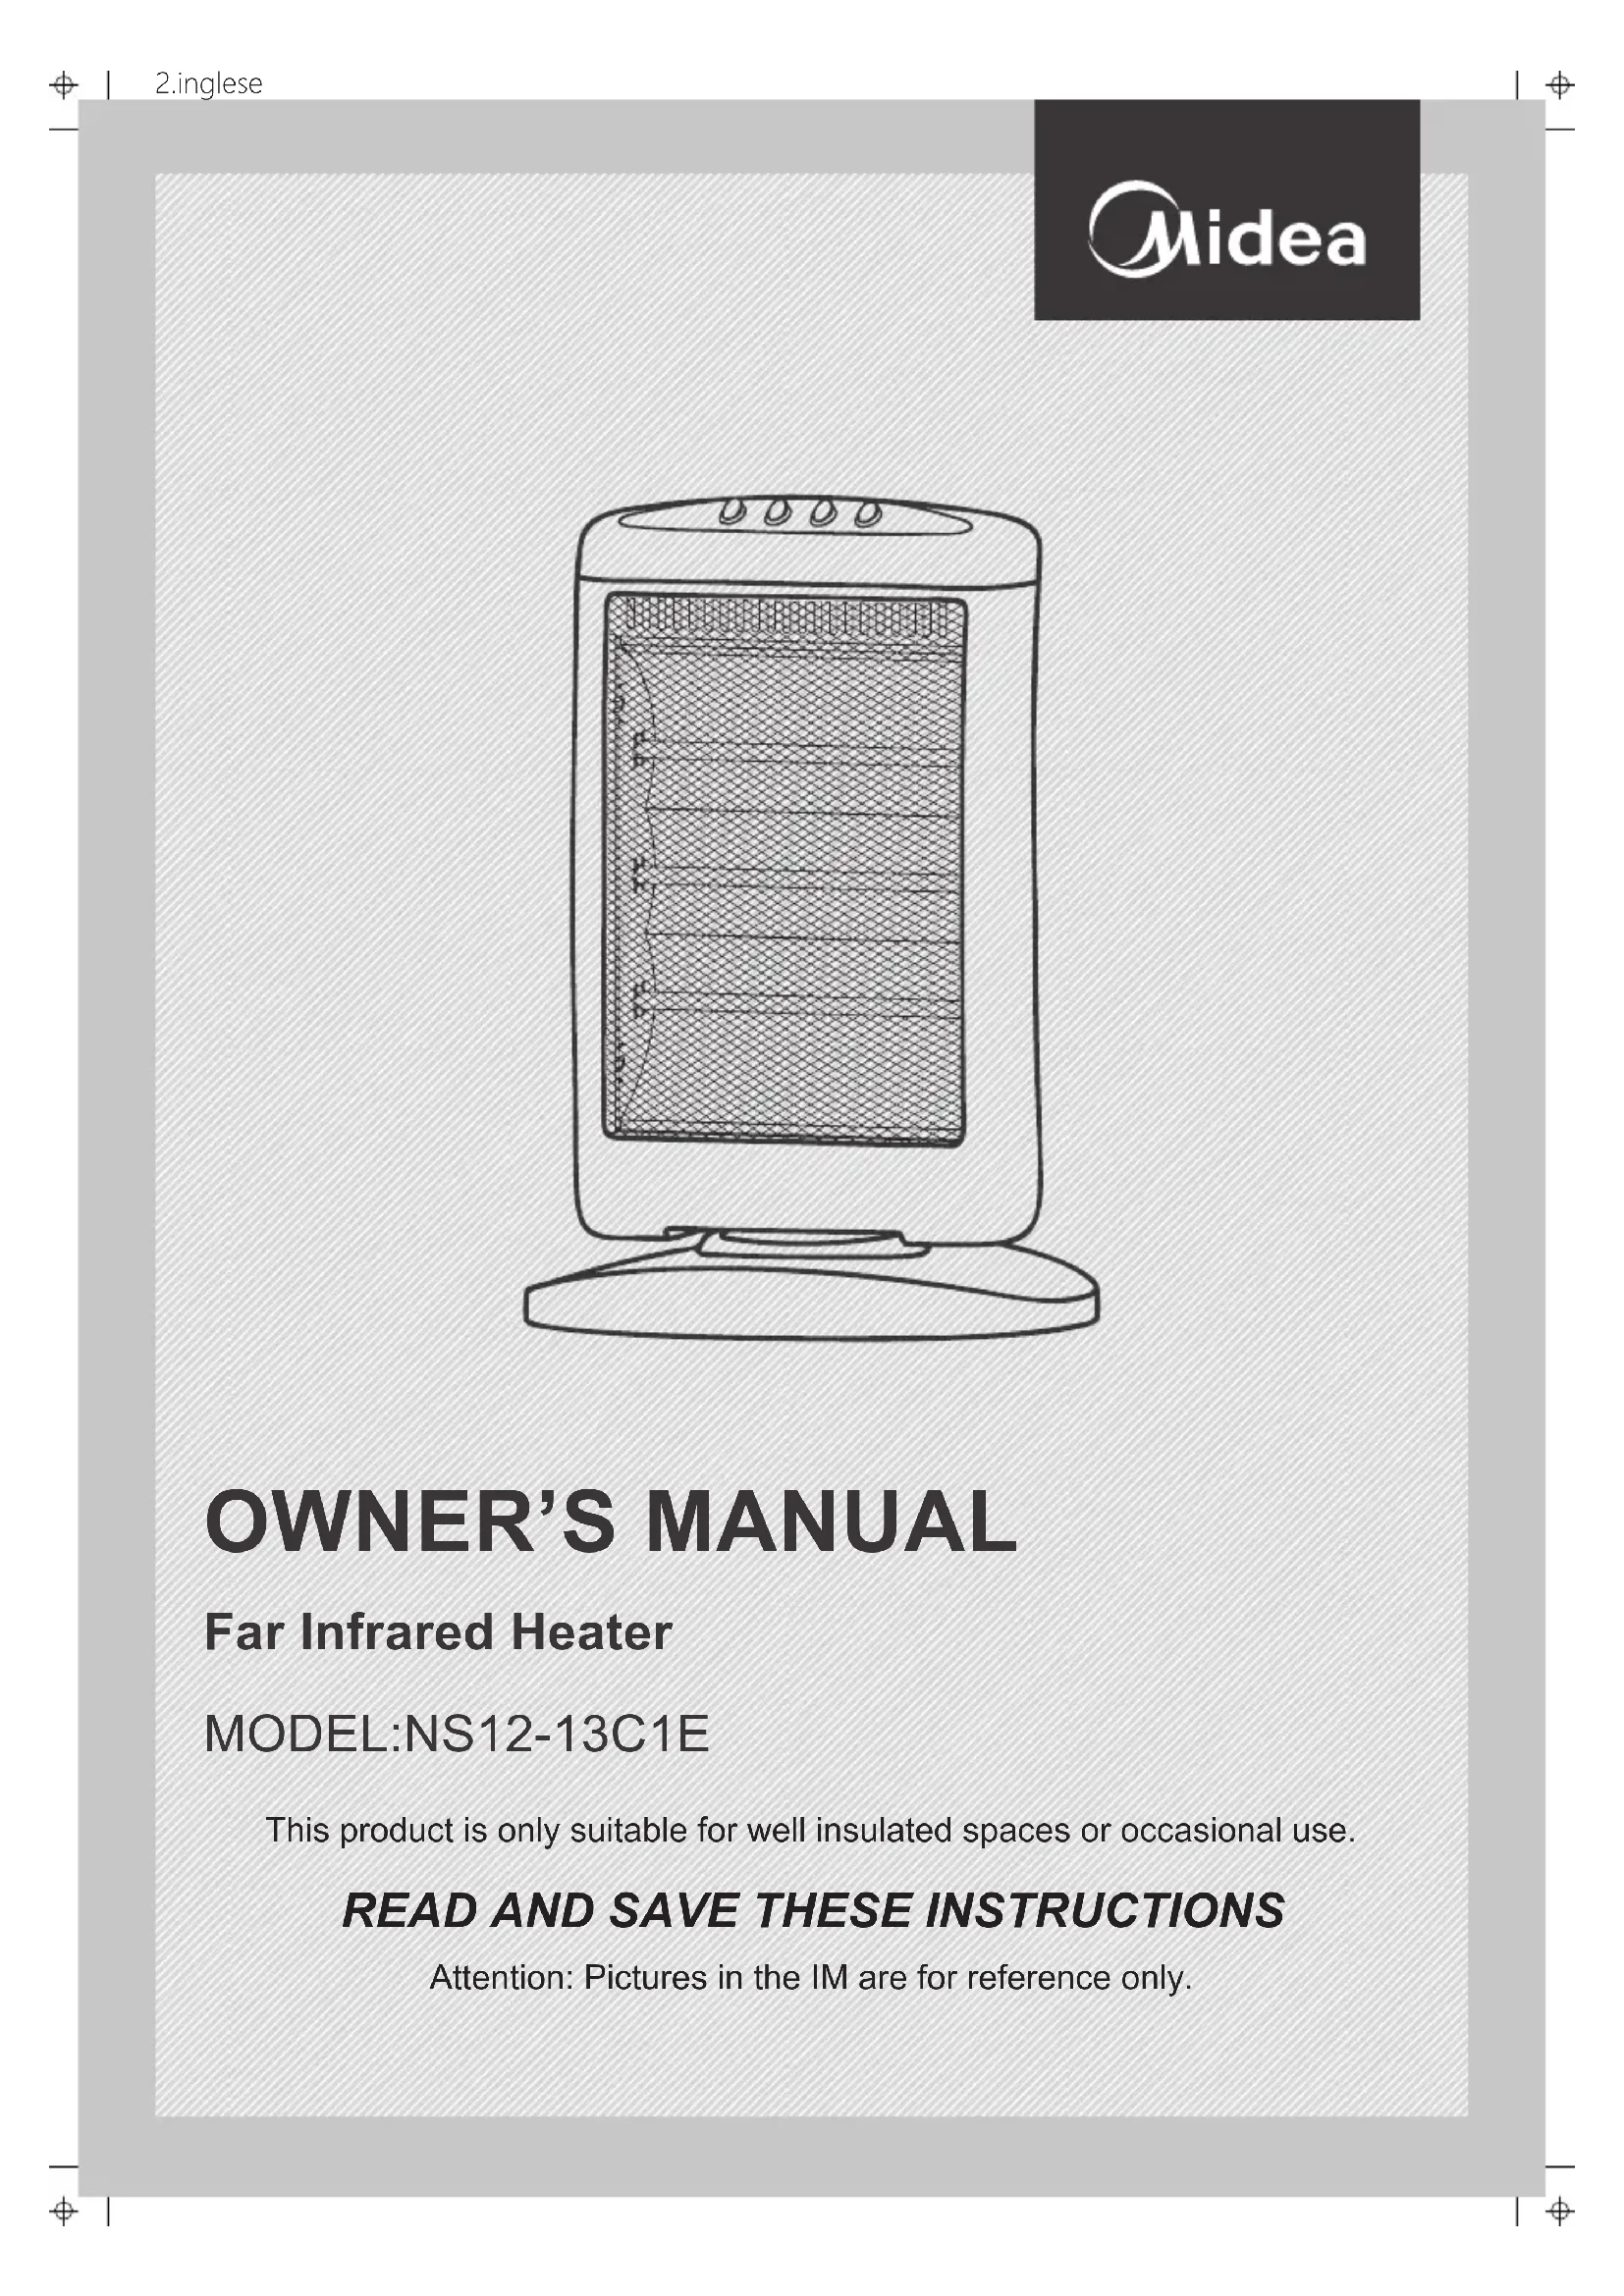
Line drawing of a portable electric heater with mesh grille and base (no text or symbols)OWNER'S MANUAL
Far Infrared Heater
MODEL:NS12-13C1E
This product is only suitable for well insulated spaces or occasional use.
READ AND SAVE THESE INSTRUCTIONS
Attention: Pictures in the IM are for reference only.
IMPORTANT SAFEGUARDS
When using any electrical appliance, basic safety precautions should always be followed, including the following:
- To ensure Familiarity with the controls, safety features, and operation of your heater -Read all instructions before using.
- Do not insert foreign objects through the intake or discharge grilles.
- This appliance can be used by children aged from 8 years and above and persons with reduced physical, sensory or mental capabilities or lack of experience and knowledge if they have been given supervision or instruction concerning use of the appliance in a safe way and understand the hazards involved. Children shall not play with the appliance. Cleaning and user maintenance shall not be made by children without supervision.
- Disconnect the cord from the outlet before cleaning. A heater should never be used under conditions where it may be immersed, or come in contact with water. Similarly do not plug in your heater if its surfaces are damp.
- Do not use the appliance on the same socket or electric circuit with other electrical appliances so as to prevent the circuit from being overloaded, which will cause fire. Please do not prolong the power cords by yourself or use movable socket.
- Unplug heater by grasping plug and pulling it from the outlet. NEVER YANK ON CORD.
-
If the supply cord is damaged, it must be replaced by its service agent or a similar qualify person in order to avoid hazard.
-
Do not use in locations when the heater will be left unattended for long periods of time. (for example - several weeks in an unoccupied summer cottage)
-
Do not use attachments not recommended and sold by MIDEA distributor.
-
Loose connections between the heater plug and the electrical outlet may cause the plug to overheat.
-
Ensure no other appliances are plugged into the same circuit as your heater. A circuit overload could occur resulting in dimmed lights, blown fuses, tripped circuit breakers, or fire hazard.
-
The heater is intended for household indoor use only.
-
The heater must not be located immediately below a socket-outlet.
-
Warning: In order to avoid overheating, do not cover the heater.
-
Do not use this heater in the immediate surroundings of a bath, a shower or a swimming pool.
16.
| Correct Disposal of this product | |
 | This marking indicates that this product should not be disposed with other household wastes throughout the EU. To prevent possible harm to the environment or human health from uncontrolled waste disposal, recycle it responsibly to promote the sustainable reuse of material resources. To return your used device, please use the return and collection systems or contact the retailer where the product was purchased. They can take this product for environmental safe recycling. |
- Children of less than 3 years should be kept away unless continuously supervised. Children aged from 3 years and less than 8 years shall only switch on/off the appliance provided that it has been placed or installed in its intended normal operating position and they have been given supervision or instruction concerning use of the appliance
in a safe way and understand the hazards involved.
Children aged from 3 years and less than 8 years shall not plug in, regulate and clean the appliance or perform user maintenance.
-
CAUTION — Some parts of this product can become very hot and cause burns. Particular attention has to be given where children and vulnerable people are present.
-
WARNING: This heater is not equipped with a device to control the room temperature. Do not use this heater in small rooms when they are occupied by persons not capable of leaving the room on their own, unless constant supervision is provided.
-
Do not use this heater with a programmer, timer or any other device that switches the heater on automatically, since a fire risk exists if the heater is covered or positioned incorrectly.
WARNING: IN ORDER TO AVOID OVERHEATING, DO NOT COVER THE HEATER.
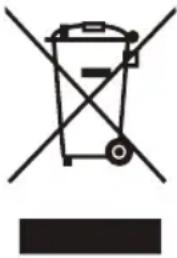
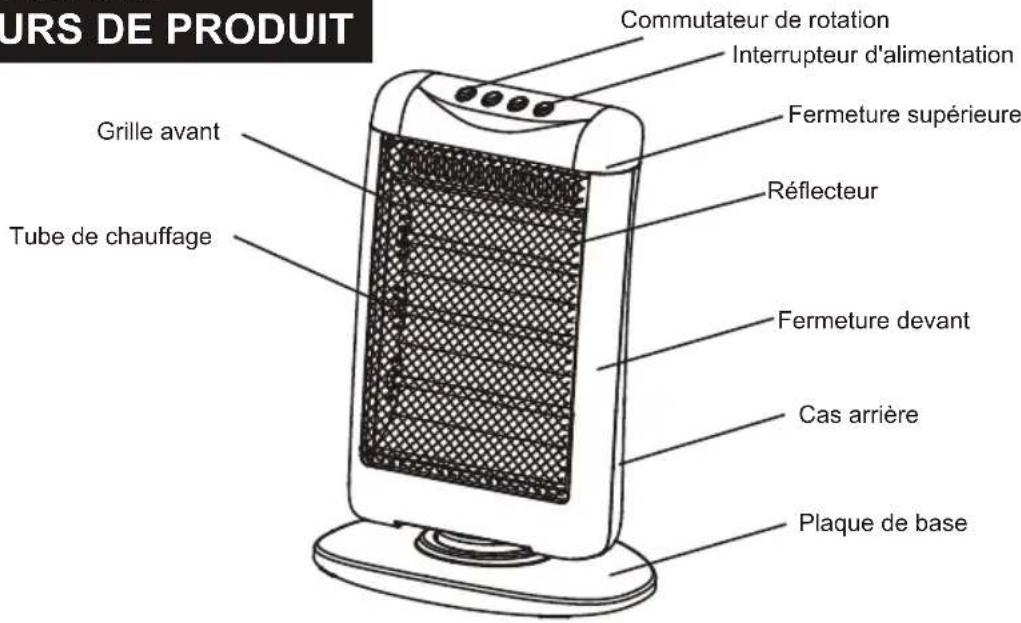
PART FIGURE
ASSEMBLY
Assemble the main body of the heater and the base plate as follows:
- Remove the butterfly nuts from the bottom of the main unit.
- Place the main unit on a flat surface with the heater elements uppermost.
- Fit the base plate to the bottom of the main unit. Match the projections on the main unit with the cut outs in the base plate.
- Fit the butterfly nuts through the base plate and screw them firmly into the bottom of the main unit.
- Pass the mains cord through the cord guide channel and fit the guide cover.
- Insert the plug into a suitable socket.
- Ensure that the unit is placed on a firm level surface. The unit may not operate if it is placed on an uneven surface, as the tip-over switch may not operate.
- Press the Power switch to the ON position. The upper and centre elements will operate. The remaining tube can be switched on by pressing the 1200W switch for full power.
- Press the Oscillation switch to activate the oscillating feature of the main unit.
- After use, turn off all the switches and remove the main plug from the wall outlet.
WARNING: The push rod of the tip-over switch must be free to move and should never be tampered with or jammed into position as this will disable the safety tip-over protection circuit.
SAFETY CONTROL
Your heater is fitted with a safety device thermal fuse that Shuts off the heater by thermal fuse in the event of overheating or malfunction and not operates by some other accidental reason.
If overheating or malfunctions continue, return the heater to an Approved Service Agent for examination.
The most common cause of overheating is deposits of dust or fluff entering the heater, Ensure these deposits are removed regularly by unplugging the unit and vacuum cleaning air vents and front grille.
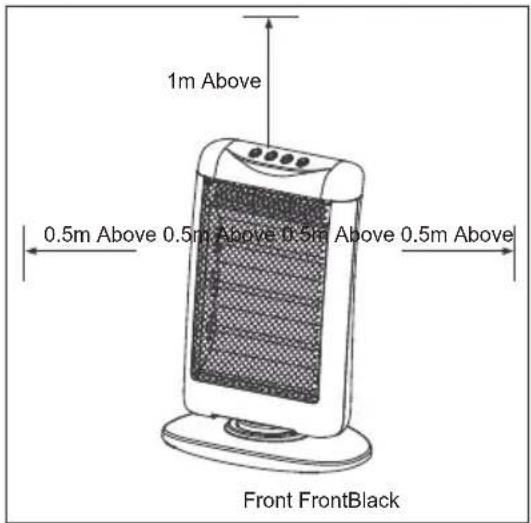
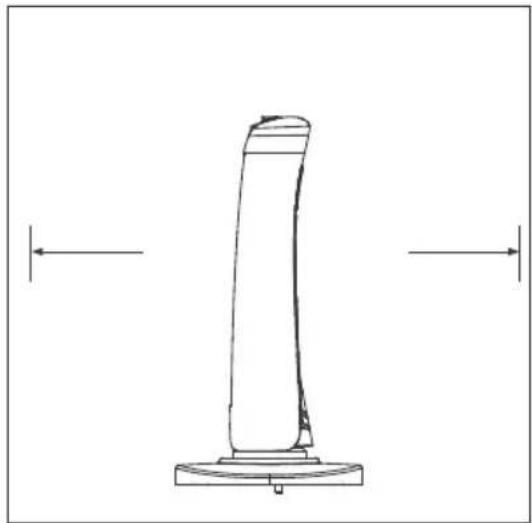
Safety distance in a narrow place when in use and the surrounding objects
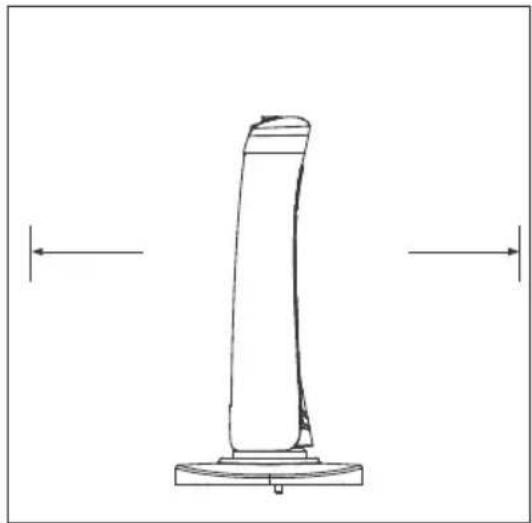
natural_image
Simple line drawing of a vertical cylindrical object mounted on a base, with two horizontal arrows pointing left (no text or symbols)| Table for information requirements for electric local space heaters | P | ||||
| Model identifier(s): NS12-13C1E | |||||
| Item | Symbol | Value | Unit | Item | Unit |
| Heat output | Type of heat input, for electric local space heaters only (select one) | ||||
| Nominal heat output | Pnom | 1,2 | kW | Manual heat charge control with integrated thermostat | [no] |
| Minimum heat output (indicative) | Pmin | 0,4 | kW | Manual heat charge control with room and/or outdoor temperature feedback | [no] |
| Maximum continuous heat output | Pmax | 1,2 | kW | Electronic heat charge control with room and/or outdoor temperature feedback | [no] |
| Auxiliary electricity consumption | Fan assisted heat output | [no] | |||
| At nominal heat output | elmax | 1,156 | kW | Type of heat output/room temperature control (select one) | |
| At minimum heat output | elmin | 0,395 | kW | Single stage heat output and no room temperature control | [no] |
| In standby mode | eISB | N/A | W | Two or more manual stages, no room temperature control | [yes] |
| With mechanic thermostat room temperature control | [no] | ||||
| With electronic room temperature control | [no] | ||||
| Electronic room temperature control plus day timer | [no] | ||||
| Electronic room temperature control plus week timer | [no] | ||||
| Other control options (multiple selections possible) | |||||
| Room temperature control, with presence detection | [no] | ||||
| Room temperature control, with open window detection | [no] | ||||
| With distance control option | [no] | ||||
| With adaptive start control | [no] | ||||
| With working time limitation | [no] | ||||
| With black bulb sensor | [no] | ||||
| Contact details: | Midea Italia S.r.l. a socio unicoViale Luigi Bodio 29/37 20158 Milano Italia | ||||
| Remark:For electric local space heaters, the measured seasonal space heating energy efficiency ηs cannot be worse than the declared value at the nominal heat output of the unit. | |||||
| The seasonal space heating energy efficiency of all local space heaters except commercial local space heaters, ηs (%) | 32 | ||||
CARE, CLEANING AND STORAGE
Always switch off and unplug the heater before cleaning. Allow it to cool. Use only a clean, dry or slightly moistened cloth to clean the external surfaces only.
- Remove the two screws securing the top cover to the rear of the main unit.
- Remove the guard grill.
- The lattice grill retaining lugs should be bent upwards and the lattice grill can then be removed.
- The halogen elements can then be removed by holding them in the centre using a cloth, sliding them slightly to one side before pulling them forward. Avoid direct finger contact with the halogen element glass.
- The reflector can then be cleaned using a cloth dampened with mild detergent. Do not use solvents, chemicals or polish on the reflector.
- The lattice mesh can be cleaned using a soft brush or vacuum cleaner.
- Reversing the above steps should then assemble the heater.
Allow the heater to cool before storing. Packing the heater in its original carton provides the best protection to store the unit in a cool and dry location.
WARNING: Fabric, clothing or other flammable materials may ignite if placed against or in close proximity to the heater. No flammable materials should be placed within 1 metre of the front or sides or 0.5 metres of the rear of the heater.
The tip-over switch push rod must not be tampered with or jammed into position, as this will disable the tip-over safety cut out operation.. The heater must be placed on a firm even surface to ensure the correct operation of the tip-over switch. Locating the heater on an uneven surface may result in the switch failing to operate making the heater inoperable.
READ AND SAVE THESE INSTRUCTIONS
natural_image
Line drawing of a portable electric heater with mesh grille and top base (no text or symbols)MANUEL DE L'UTILISATEUR
Chauffe Infrarouge
MODÈLE: NS12-13C1E
ILLUSTRATION
SECTEURS DE PRODUIT
natural_image
Simple line drawing of a vertical cylindrical object mounted on a base, with two horizontal arrows pointing left (no text or symbols)natural_image
Line drawing of a portable electric heater with mesh grille and top base (no text or symbols)UPORABNIŠKI PRIROČNIK
natural_image
Simple line drawing of a vertical cylindrical object mounted on a base, with two horizontal arrows pointing left (no text or symbols)natural_image
Line drawing of a portable electric heater with mesh grille and top base (no text or symbols)MANUAL DE USO
natural_image
Simple line drawing of a vertical cylindrical object mounted on a base, with two horizontal arrows pointing left (no text or symbols)natural_image
Line drawing of a portable electric heater with mesh grille and top base (no text or symbols)BENUTZERHANDBUCH

natural_image
Simple line drawing of a vertical cylindrical object mounted on a base, with two horizontal arrows pointing left (no text or symbols)
Brand : MIDEA
Model : NS1213C1E
Category : Heating