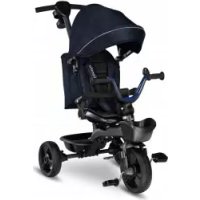
Kori - Stroller Lionelo - Free user manual and instructions
Find the device manual for free Kori Lionelo in PDF.



| Product Type | Convertible children's tricycle |
| Brand | Lionelo |
| Model | Kori |
| Recommended age | 1.5 to 5 years |
| Maximum child weight | 25 kg |
| Seat back positions | 3 positions (facing forward, facing parent, folded for transport) |
| Parent handle height adjustment | 3 levels |
| Freewheel function | Yes, with locking lever |
| Handlebar lock | Yes, to steer or let free |
| Brakes | Foot brakes on rear wheels |
| Canopy | Adjustable tilt |
| Included accessories | Front basket, rear basket, cup holder, footrest, safety bar |
| Safety harness | Crotch strap and waist belt |
| Washing fabric parts | Machine wash at 30°C |
| Frame cleaning | Damp cloth, do not immerse |
| Use | Under adult supervision for younger children |
Frequently Asked Questions - Kori Lionelo
User questions about Kori Lionelo
0 question about this device. Answer the ones you know or ask your own.
Ask a new question about this device
Download the instructions for your Stroller in PDF format for free! Find your manual Kori - Lionelo and take your electronic device back in hand. On this page are published all the documents necessary for the use of your device. Kori by Lionelo.
USER MANUAL Kori Lionelo
natural_image
Black and white photo of a children's tricycle with a canopy cover, no visible text or symbols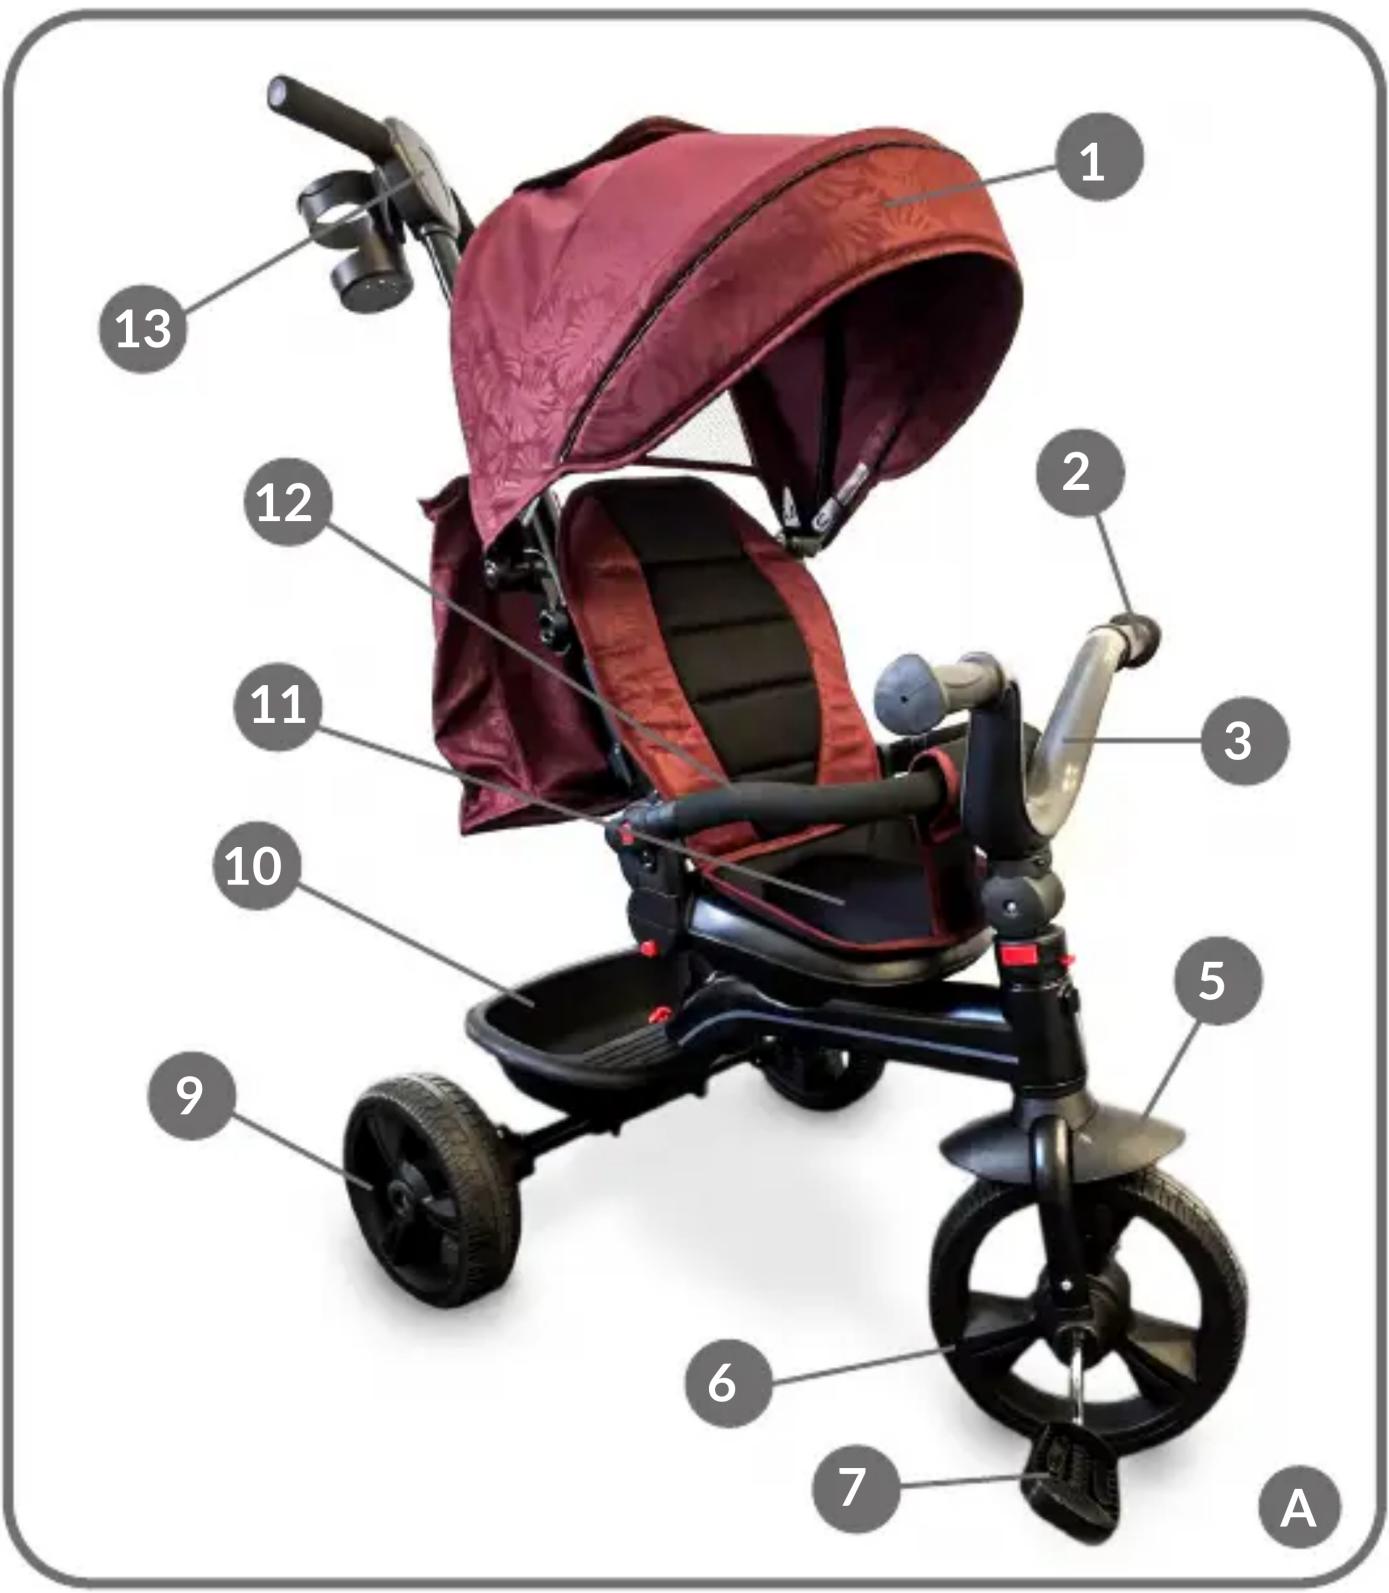
natural_image
Close-up of a tire being adjusted with a red-handled lever, no text or symbols visible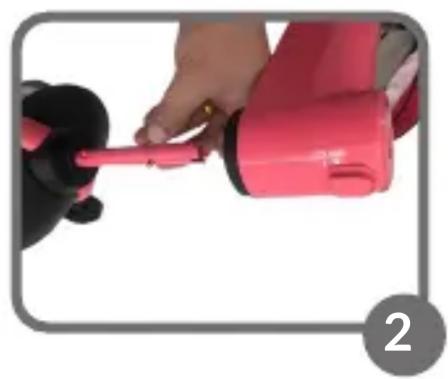
natural_image
Close-up of a hand using a red handheld device to adjust a black mechanical component (no text or symbols visible)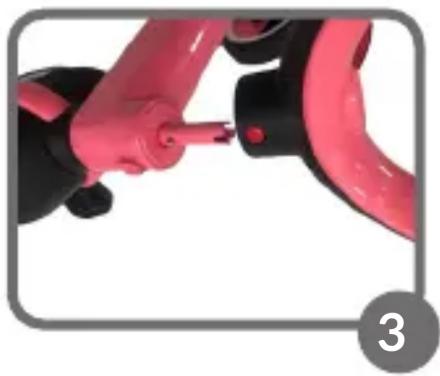
natural_image
Close-up of a hand using a pink tool to adjust a red mechanical component (no text or symbols visible)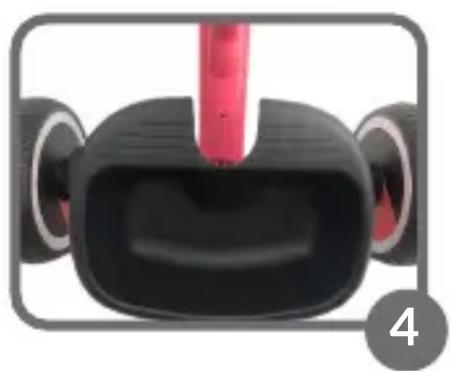
natural_image
Close-up of a black and red electronic device with circular wheels, no visible text or symbols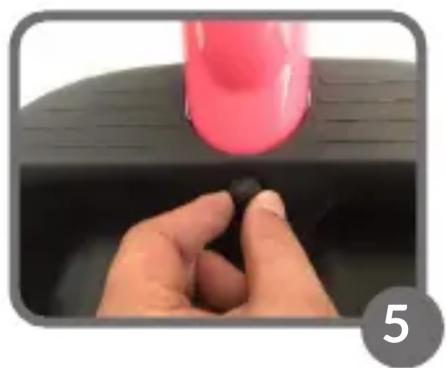
natural_image
Close-up of a hand pressing down on a black surface with a pink object above it (no text or symbols visible)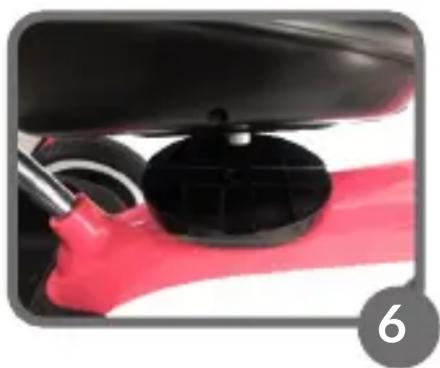
natural_image
Close-up of a red car fuel nozzle with black plastic cover and pipe fitting (no visible text or symbols)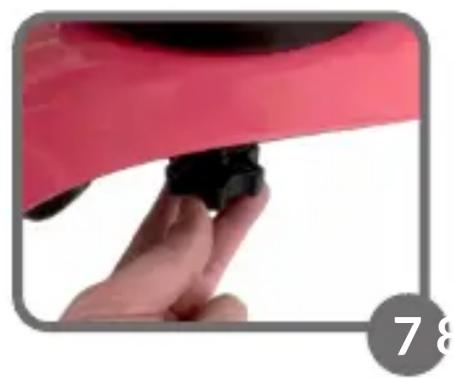
natural_image
Close-up of a hand holding a pink and black object, possibly a device or tool, with no visible text or symbols.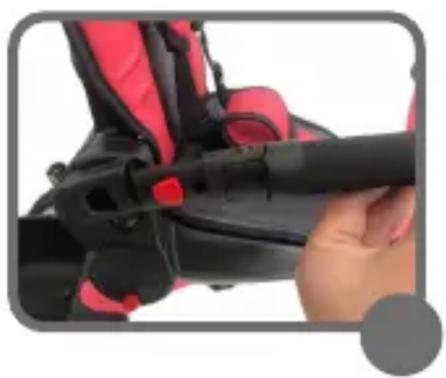
natural_image
Close-up of a hand holding a black cable or cable with red and black components, no visible text or symbols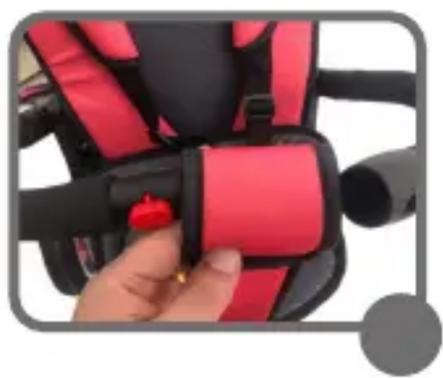
natural_image
Close-up of a hand adjusting a red and black bicycle seatbelt device (no text or symbols visible)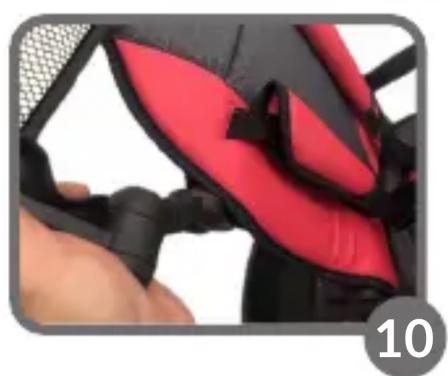
natural_image
Close-up of a red and black athletic helmet being adjusted by a hand (no text or symbols visible)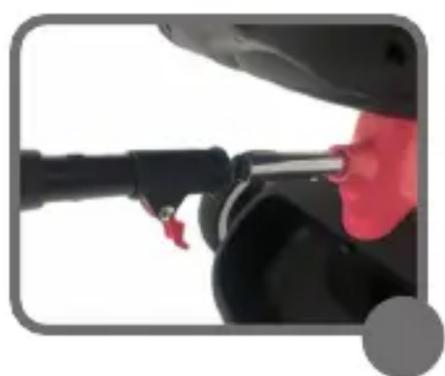
natural_image
Close-up of a hand holding a black cable with a red clip, no visible text or symbols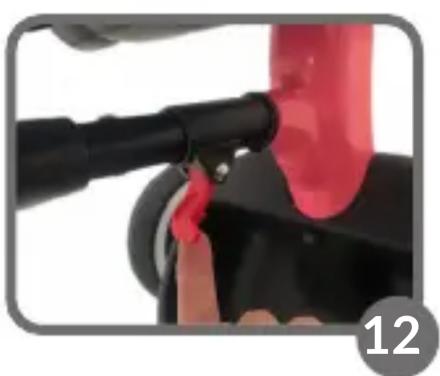
natural_image
Close-up of a red and black object with a finger pressing a button, no visible text or symbols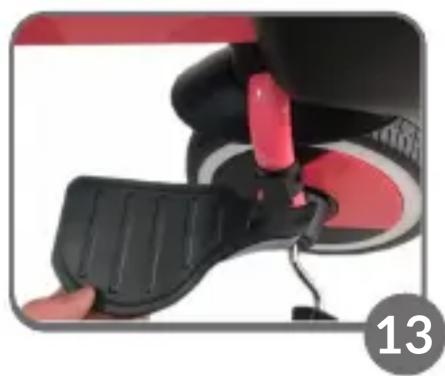
natural_image
Close-up of a black and red athletic equipment grip with a blue handle, no visible text or symbols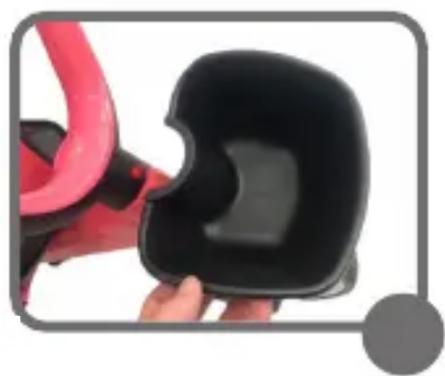
natural_image
Close-up of a hand holding a black and red fitness tracker device (no text or symbols visible)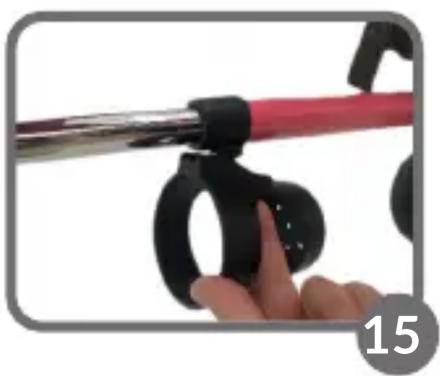
natural_image
Close-up of a hand holding a red cable with black clamps, no visible text or symbols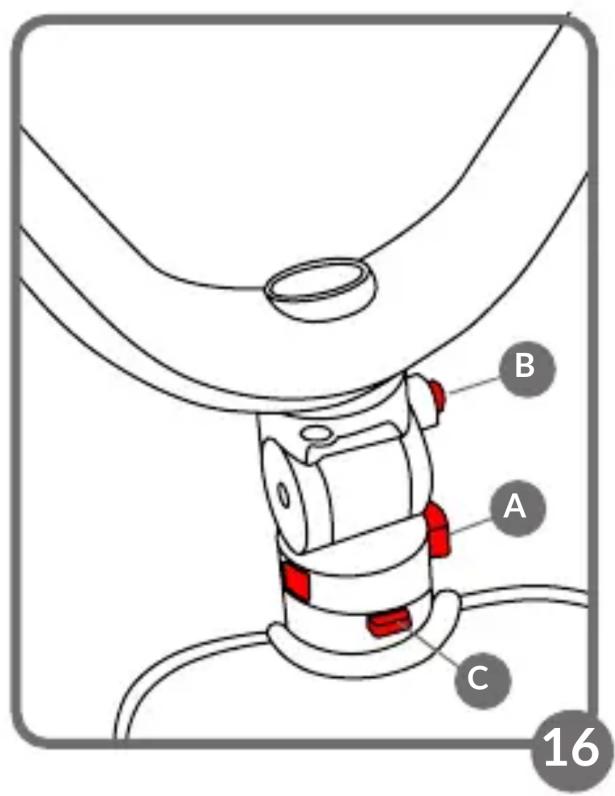
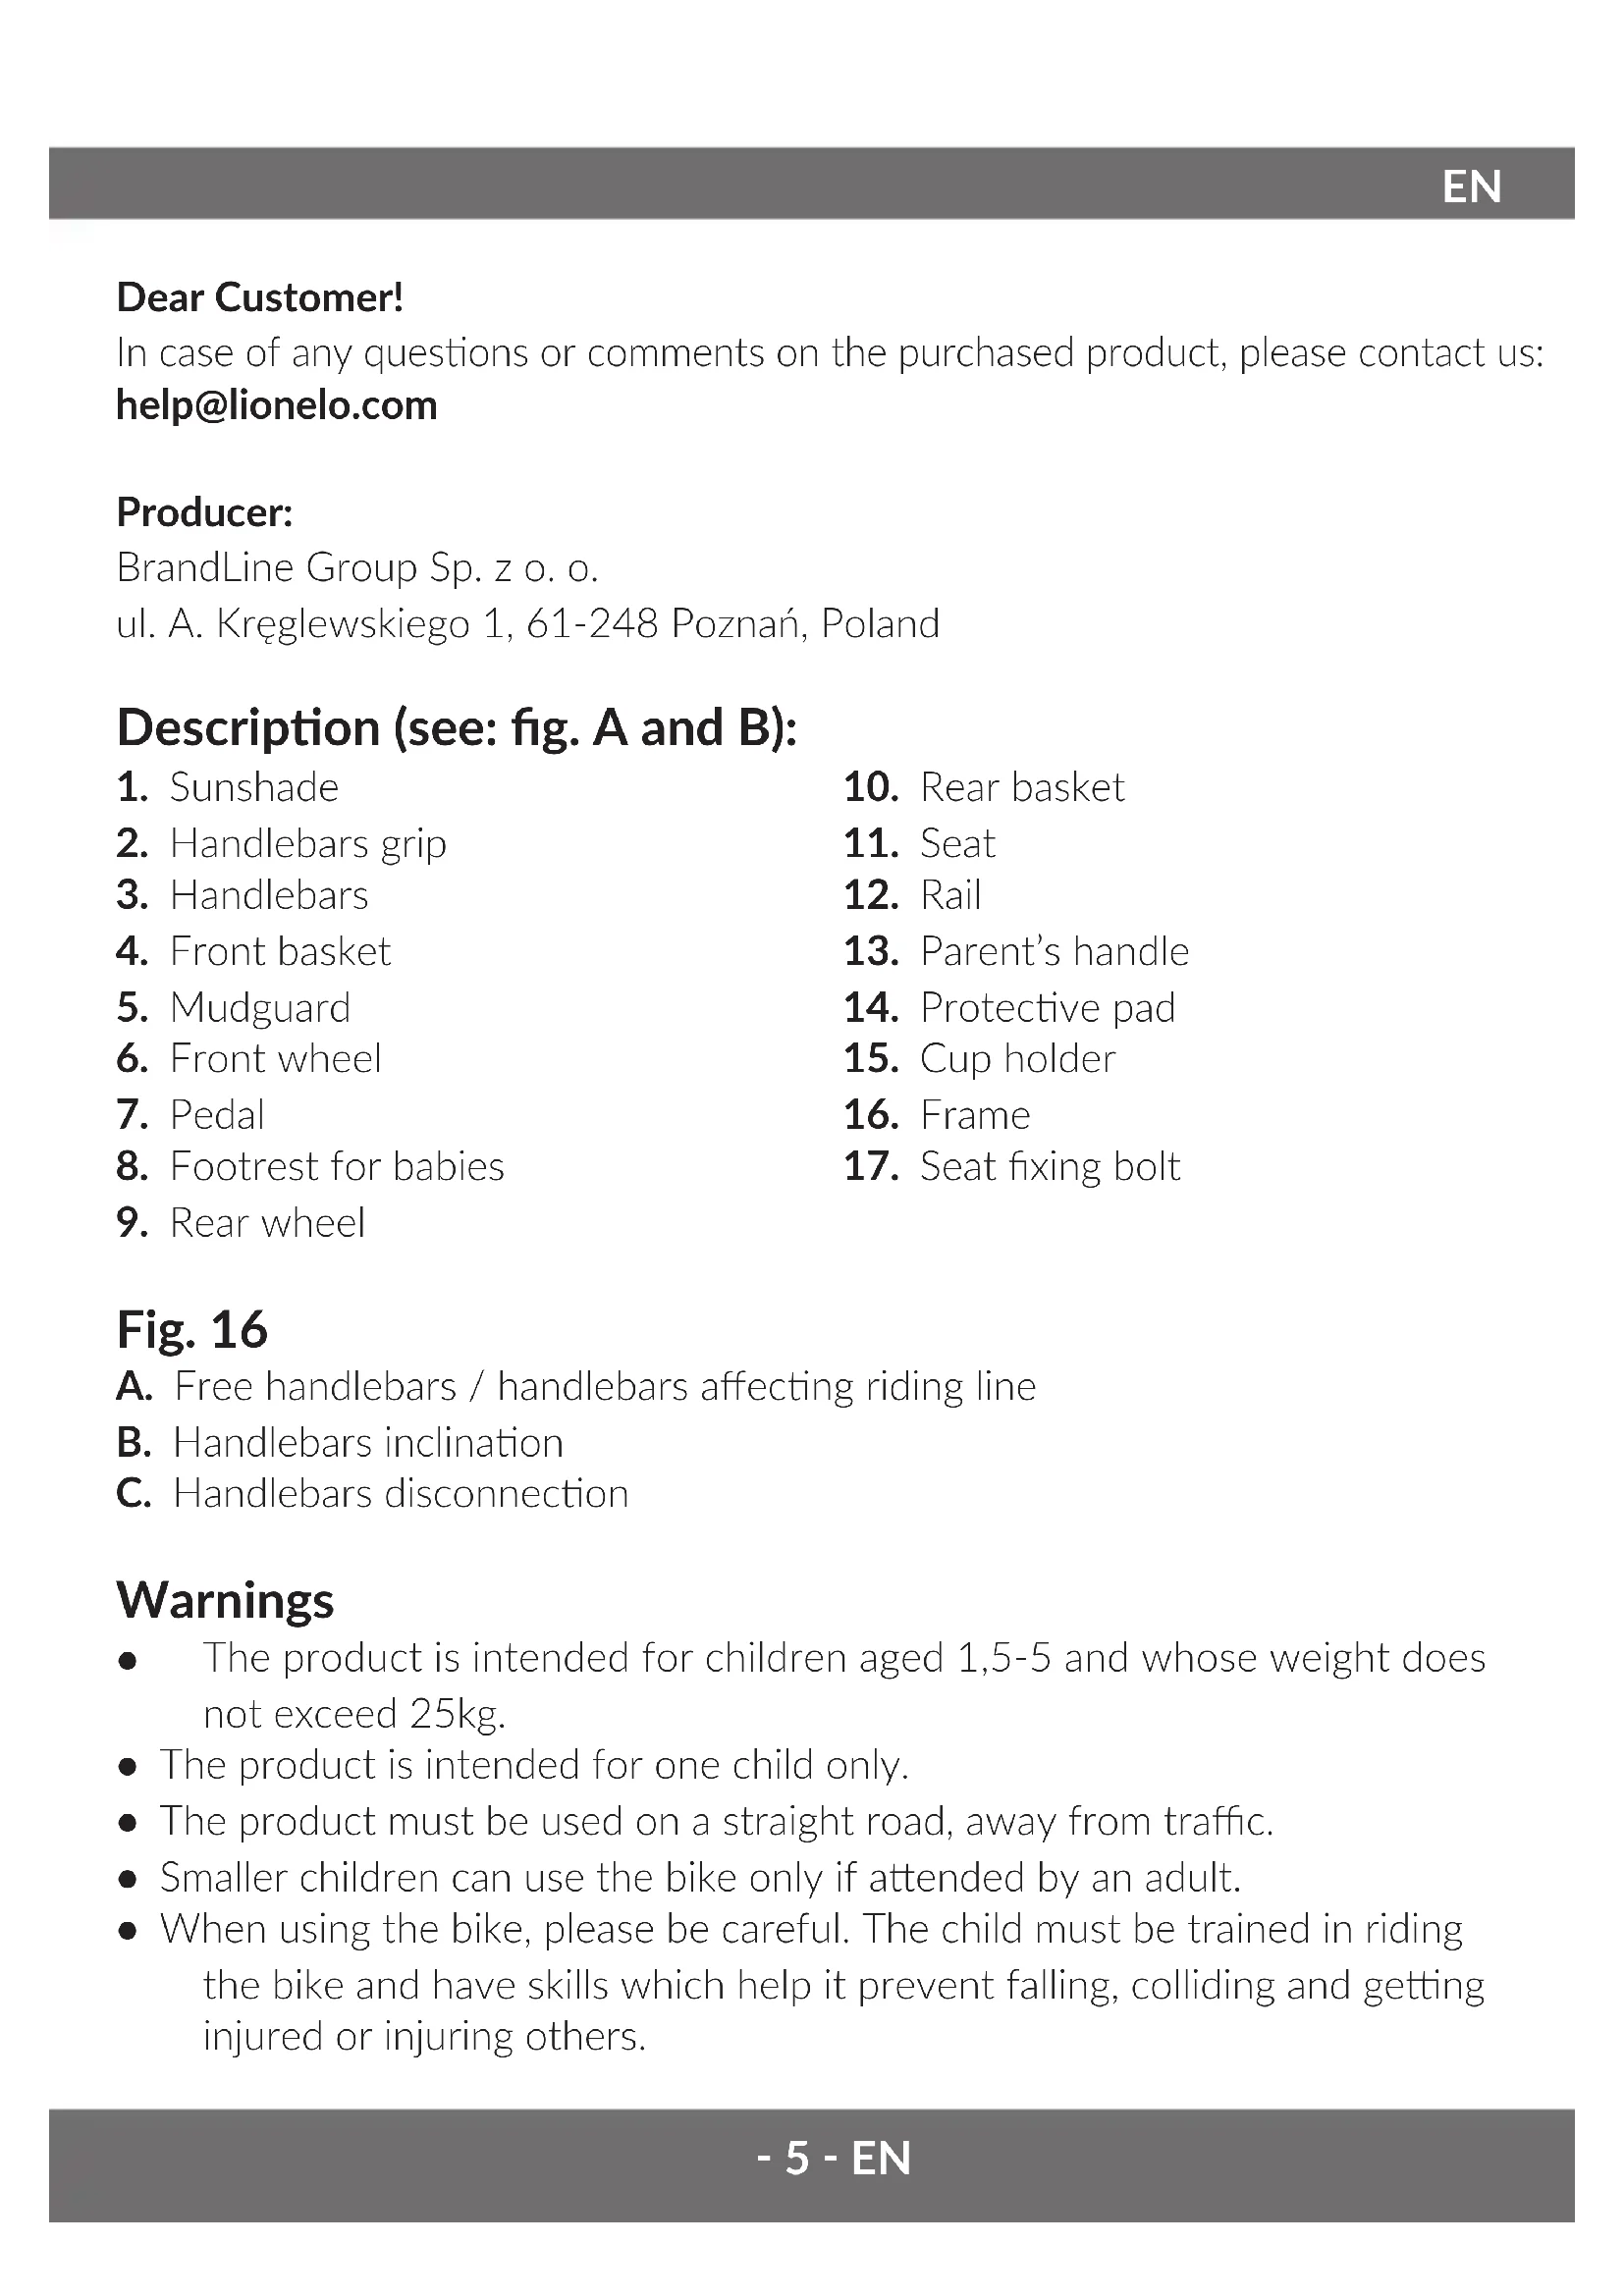
Dear Customer!
In case of any questions or comments on the purchased product, please contact us:
help@lionelo.com
Producer:
BrandLine Group Sp. z o. o.
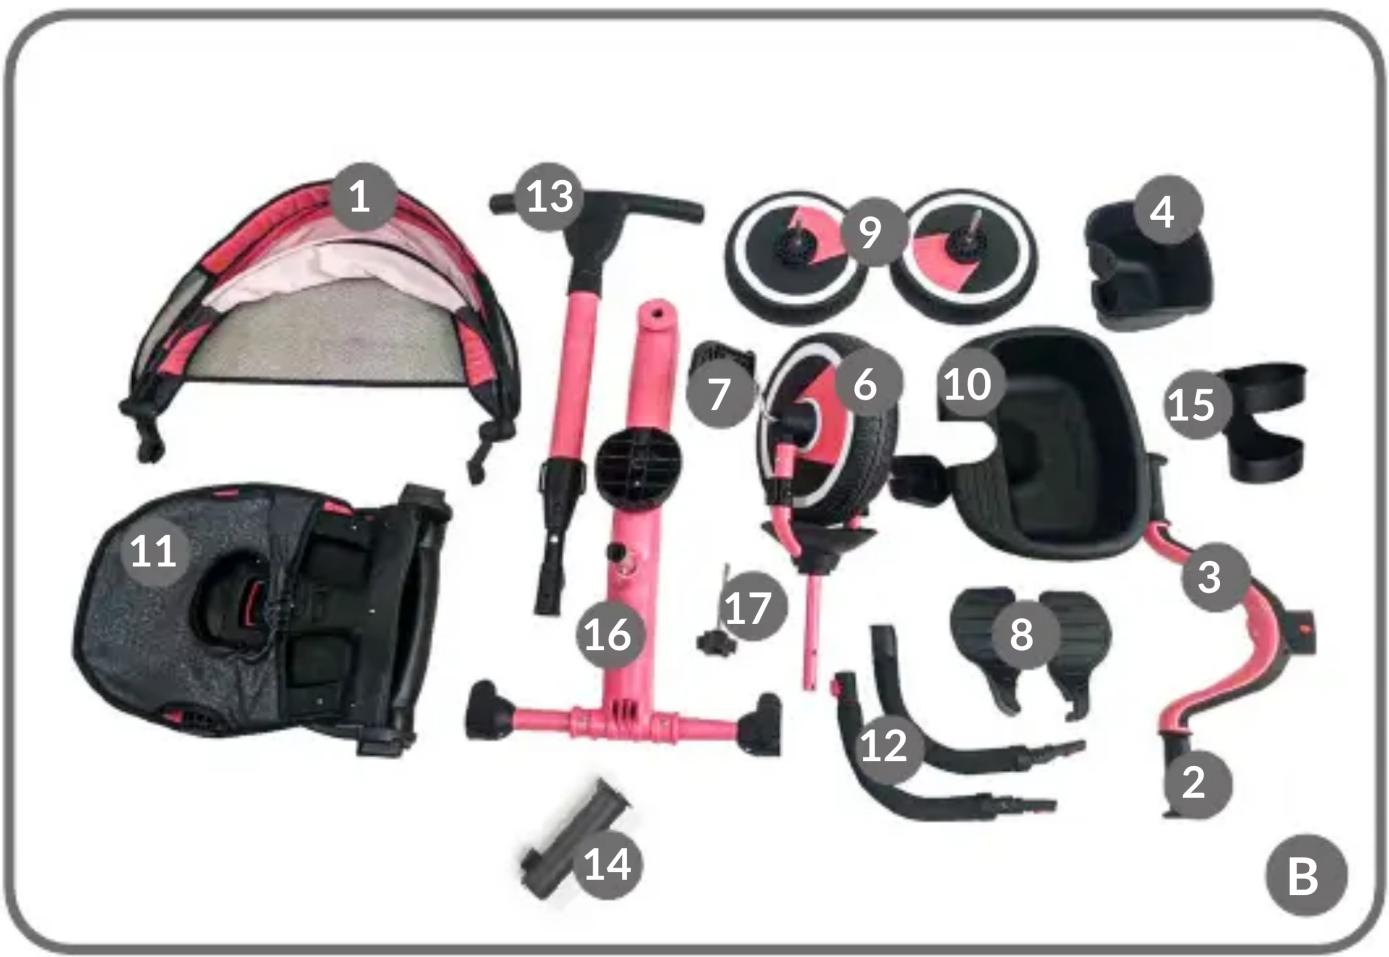
Description (see: fig. A and B):
- Sunshade
- Handlebars grip
- Handlebars
- Front basket
- Mudguard
- Front wheel
- Pedal
- Footrest for babies
- Rear wheel
- Rear basket
- Seat
- Rail
- Parent's handle
- Protective pad
- Cup holder
- Frame
- Seat fixing bolt
Fig. 16
A. Free handlebars / handlebars affecting riding line
B. Handlebars inclination
C. Handlebars disconnection
Warnings
- The product is intended for children aged 1,5-5 and whose weight does not exceed 25kg.
- The product is intended for one child only.
- The product must be used on a straight road, away from traffic.
- Smaller children can use the bike only if attended by an adult.
-
When using the bike, please be careful. The child must be trained in riding the bike and have skills which help it prevent falling, colliding and getting injured or injuring others.
-
Before the ride, make sure all elements have been properly fixed.
- Before the use, make sure all locking mechanisms have been locked.
- To assure stability of the product, do not overload it. Do not hang or place any heavy items on the handlebars/parent's handle as they may cause the product to collapse and the child to get injured.
- Do not store the product in a place in which it may be exposed to high temperature and humid air.
- When riding, avoid bumpy roads.
- If the bike is damaged in any way, stop using it immediately and contact the manufacturer.
- The child must not stand up when using the bike.
- The child must always be secured with belts.
- Keep the product away from fire and sources of heat
How to assemble
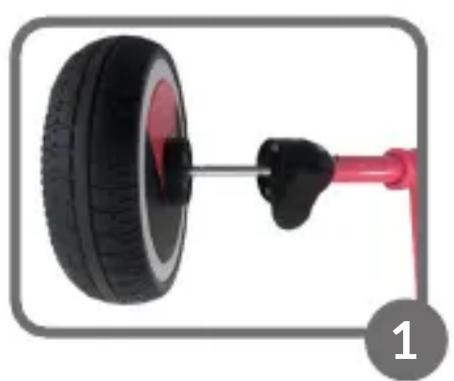
A. Fix rear wheels in dedicated spots on the rear part of the crossbar. Make sure the wheels have been properly fixed – try to pull them out (fig. 1)
B. Press the clip on the shank of the front wheel and fix this element on the front part of the crossbar (make sure you mount the wheel in accordance with mudguard marking). Put the handlebars on the outstanding shank of the front wheel. If you can hear a „click”, it means that fixing is correct (fig. 2 and 3).
C. Fix the rear basket and tighten it up with the crossbar nut (fig. 4 and 5).
D. Place the seat on the crossbar – put it through the outstanding metal shank. Tighten the shank up on the other side of the crossbar with a bolt (fig. 6 and 7).
E. Slide bow fasteners in corresponding spots on both sides of the seat until you can hear a „click”. Connect two tips of the bow by pulling it through the crotch protection (fig. 8 and 9). Make sure the belts have been properly locked in the seat.
F. Fix the sunshade on seat brackets on both sides. In order to adjust the inclination of the sunshade, pull the brackets evenly and set the inclination angle.
G. Put the parent's handle into the metal shank standing out in the rear part of the crossbar and secure with the interlock at the bottom of the handle.
H. Fix the footrest on both sides of the front wheel with the use of fasteners (fig. 13).
I. Fix the front basket at the front of the crossbar (fig. 14).
J. Fix the cup holder on the parent's handle (fig. 15).
How to use
Sit on the seat, fasten safety belts, grab both handlebars grips, and then start pedaling to set the bike in motion. To turn, turn the handlebars in a desired direction. To brake, stop pedaling.
How to adjust
How to lock pedals – free wheel function
The three-wheeled bike has a free wheel function. When using this function, the child can pedal regardless of the speed of the bike.
To set this configuration, switch the lever on the side of the wheel. If you want the movement of pedals to lead to movement of wheel, switch this lever again. If your child uses a tricycle alone, make sure that the freewheel function is disabled.
How to lock handlebars
To lock handlebars, press the button showed in fig. 16.
The locked button will unite the handlebars with the wheel. If you slide it in another direction, it will be unlocked and the child will be allowed to play with the handlebars, without any impact on riding line. It is also possible to incline the handlebars (see: How to adjust the seat backrest).
Independent bike
The product can also be used without the parent's handle in the independent bike function. To disassemble: incline the lever located at the bottom of the handle and slide the element out. Secure the metal shank standing out of the bike crossbar with the protective pad (marked as 14 in fig. B).
How to adjust the seat backrest
To set the backrest in one of three available positions, use the buckle at the back of the backrest. If you can hear a „click”, it means the backrest has been properly locked. There are three rear-facing and forward-facing backrest positions. The backrest can also be forward-folded for transportation purposes.
When changing the seat backrest angle in a rear-facing position, at first fold the
handlebars. To do so, press the button marked as B in fig. 16 and incline the handlebars.
How to adjust the seat front-back
ATo adjust the position, loosen the bolt located at the bottom of the seat. After setting the desired position, tighten the bolt up again.
To adjust the height of the handle
Adjust the height of the handle by pressing the interlock located at the top of the handle. A 3-level adjustment is possible.
How to lock rear wheels
To lock rear wheels, press both brakes with a foot.
How to disassemble and transport
In order to fold the product:
- Undo the seat at the bottom of the crossbar and remove it.
- Detach the bow with buttons located on sides of the seat.
- Undo the handlebars: press C button in fig. 16 and take the element off.
- Press the clip on the shank of the front wheel, pull out the front wheel from the bike crossbar.
- Detach rear wheels (each of them has an interlock button which must be released in the first place).
- Unlock the parent's handle interlock (at the bottom) and take it out.
- Remove footrests, cup holder and baskets.
For transportation purposes, take the following steps: fold the seat backrest, fasten the bow at the top, detach the parent's handle.
Cleaning and maintenance
- Check the bike on a regular basis and take care of its technical condition so that it does not pose a threat to the child.
- Wash the bike with a soft cloth. Do not immerse the bike in water and do not pour water on it for cleaning purposes.
-
Regularly check the bike for any loose elements or damaged parts. It is forbidden to use the bike with defective parts.
-
Fabric elements can be washed in the washing machine at the temperature of up to 30^ C.
- You can grease connecting elements of the bike with oil (e.g. its crossbar, handlebars hinges).
The pictures are for reference only. The real design of the products may differ from the pictures presented.
PL
Drogi Kliencie!
BrandLine Group Sp. z o.o.
BrandLine Group Sp. z o.o.
Detailed warranty conditions are available on the website:
Thank you for purchasing our product

- Dear Customer!
- Producer:
- Description (see: fig. A and B):
- Fig. 16
- Warnings
- How to assemble
- How to use
- How to adjust
- How to lock pedals – free wheel function
- How to lock handlebars
- Independent bike
- How to adjust the seat backrest
- How to adjust the seat front-back
- To adjust the height of the handle
- How to lock rear wheels
- How to disassemble and transport
- In order to fold the product:
- Cleaning and maintenance
- Drogi Kliencie!
Brand : Lionelo
Model : Kori
Category : Stroller