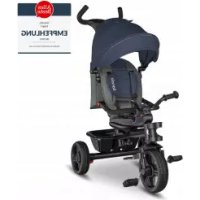
Haari - Stroller Lionelo - Free user manual and instructions
Find the device manual for free Haari Lionelo in PDF.


| Product Type | Convertible tricycle (stroller) |
| Brand | Lionelo |
| Model | Haari |
| Recommended Age | 1.5 to 5 years |
| Maximum Child Weight | 25 kg |
| Maximum Basket Weight | 1 kg |
| Parent Handle Height | Adjustable from 91 to 107 cm (3 positions) |
| Number of Wheels | 3 |
| Brakes | Independent rear brakes (brake pedals) |
| Freewheel Function | Yes, with selection lever |
| Canopy | Yes, adjustable tilt |
| Safety Straps | Yes (integrated harness) |
| Footrests | Yes, removable |
| Cup Holder | Yes |
| Basket | Yes (maximum load: 1 kg) |
| Assembly | Assembly required (instructions included) |
| Maintenance | Clean with a soft cloth; do not immerse; fabric parts washable at 30°C |
| Safety | Never leave child unattended; check locks before use; use brakes |
| Spare Parts | Use only manufacturer-approved parts |
| Warranty | Detailed conditions on manufacturer's website |
Frequently Asked Questions - Haari Lionelo
User questions about Haari Lionelo
0 question about this device. Answer the ones you know or ask your own.
Ask a new question about this device
Download the instructions for your Stroller in PDF format for free! Find your manual Haari - Lionelo and take your electronic device back in hand. On this page are published all the documents necessary for the use of your device. Haari by Lionelo.
USER MANUAL Haari Lionelo
natural_image
Black tricycle with lionelo branding and a blue canopy, no visible text or symbols on the vehicle itself.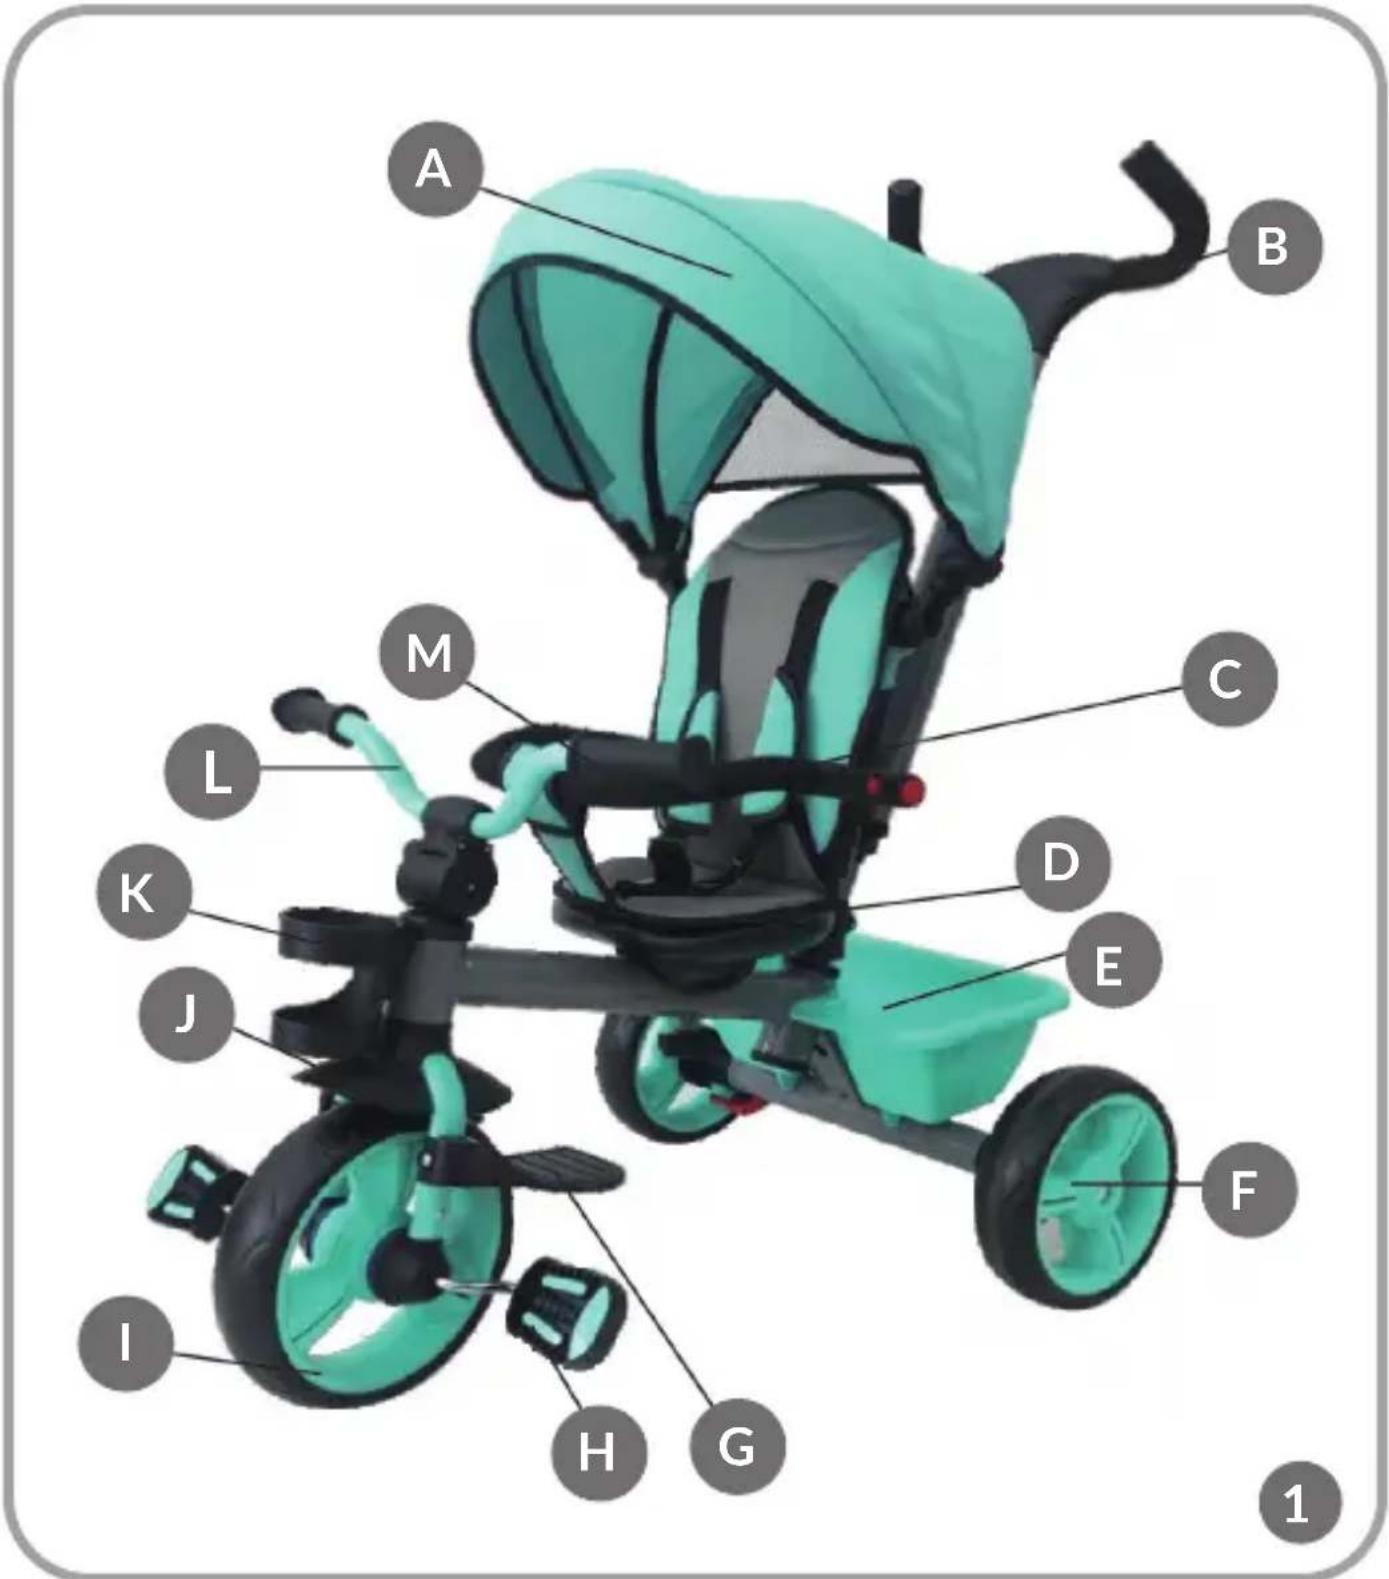
natural_image
Close-up of a mechanical component with a green wheel and red handle, no visible text or symbols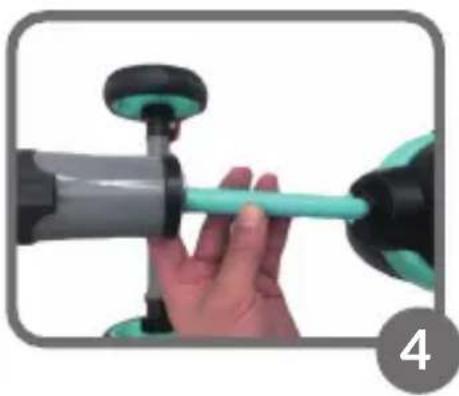
natural_image
Hand holding a cylindrical tool with a teal handle, no visible text or symbols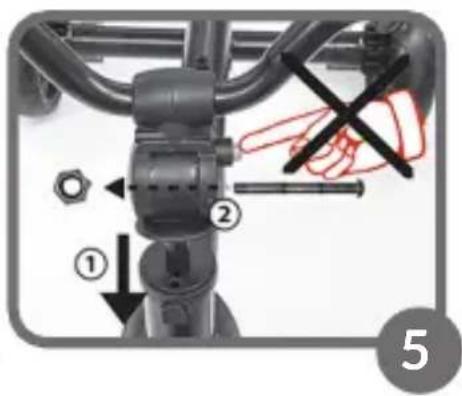
natural_image
Close-up of a hand adjusting a bicycle seatbelt with a numbered step indicator (no text or symbols on the main subject)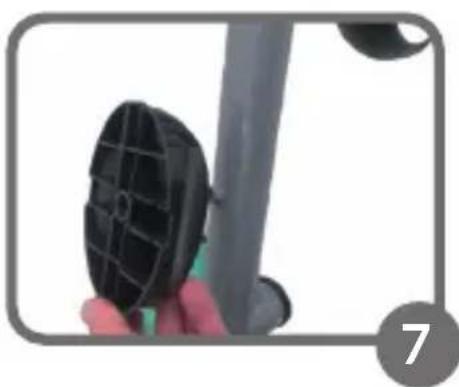
natural_image
Close-up of a hand holding a black plastic component next to a gray cylindrical object, with no visible text or symbols.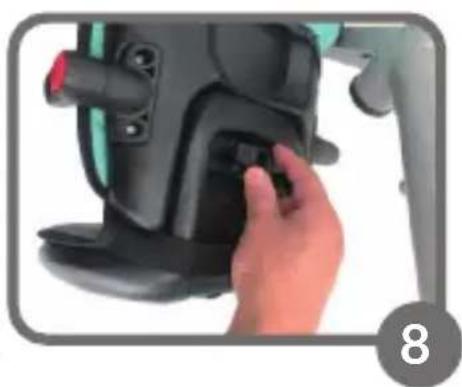
natural_image
Close-up of a hand adjusting a black industrial device component, no visible text or symbols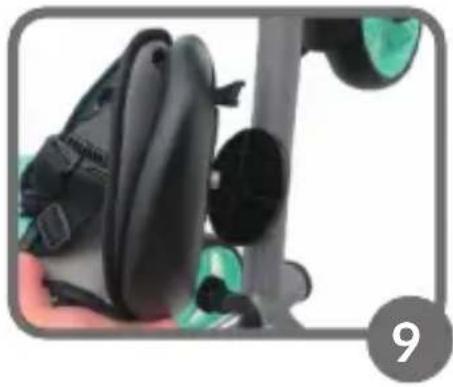
natural_image
Close-up of a black athletic bag attached to a scooter seat, with green wheels and a numbered badge (no visible text or symbols)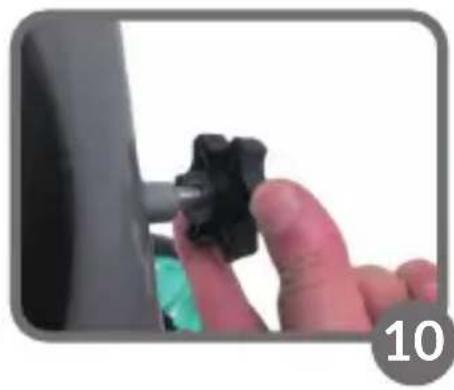
natural_image
Close-up of a hand holding a black plastic clip attached to a dark surface, with no visible text or symbols.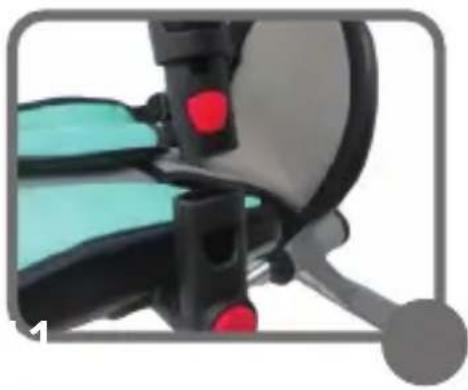
natural_image
Close-up of a car seatbelt with red buttons and black frame (no visible text or symbols)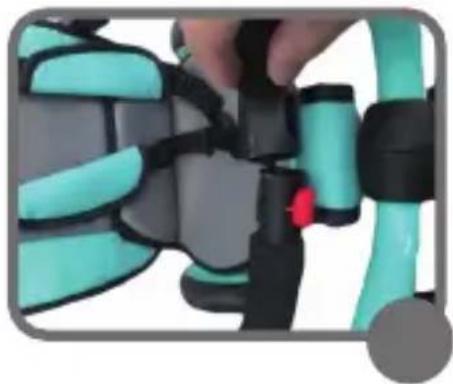
natural_image
Close-up of a hand adjusting a teal-colored brake belt with black adjustment knobs (no text or symbols visible)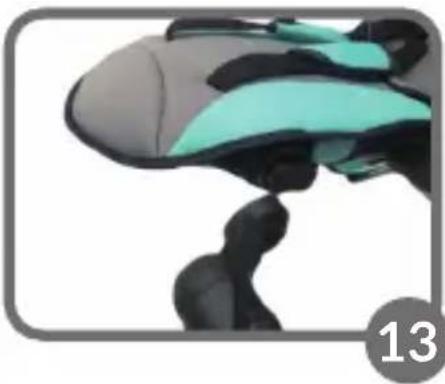
natural_image
Close-up of a futuristic robotic head with blue and black accents, no visible text or symbols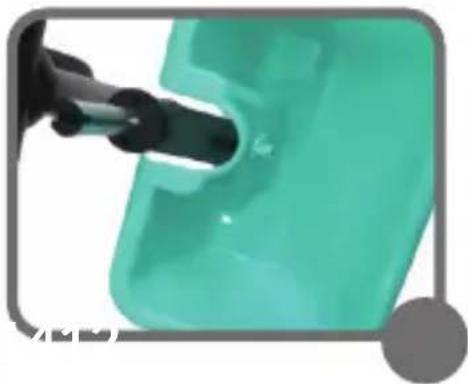
natural_image
Close-up of a green plastic container being inserted with a black piping bag (no text or symbols visible)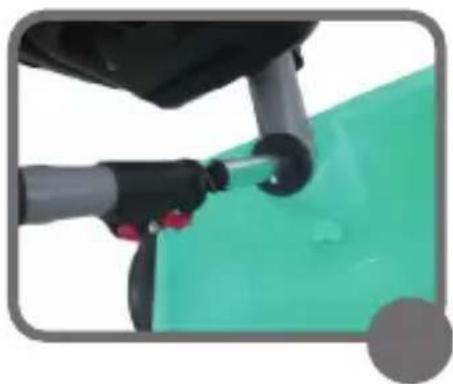
natural_image
Close-up of a green car wheel with attached black and gray components (no visible text or symbols)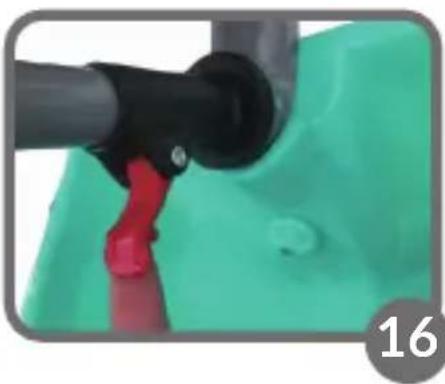
natural_image
Close-up of a green gas pump nozzle with red handle and black valve (no text or symbols visible)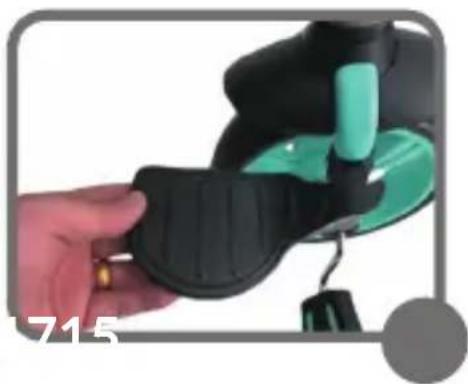
natural_image
Close-up of a hand adjusting a black and green athletic belt device (no visible text or symbols)
natural_image
Close-up of a hand holding a black and green handheld device with a small cable, no visible text or symbolsDear Customer!
In case of any questions or comments on the purchased product, please contact
us: help@lionelo.com
Producer:
BrandLine Group Sp. z o. o.
Note! Keep this manual for future reference.
- Please read this manual before using the product to familiarize yourself with its functions and use it as intended. The equipment, if not used in accordance with the manual, can pose a danger to your child!
- The safest areas to ride the bike are areas with limited or no traffic, such as private areas, recreational areas, playgrounds, school playgrounds.
• Maximum child weight: 25 kg
- The product is intended for children aged 1,5-5.
- Never leave your child unattended.
- Before you use the product, make sure all locking mechanisms have been locked.
- To avoid injuries, make sure your child is away when you assemble or disassemble the product.
- Check if saddle fixing elements have been properly attached before you use them.
- This product is not intended for running or roller-skating.
- If the tricycle is somehow damaged, stop using it immediately and contact the seller.
- Do not let your child stand up when being in the tricycle.
- The child must always be secured with belts.
- The product is intended for one child only.
- It is permissible to use spare parts supplied by the manufacturer only.
- The accessories not approved by the manufacturer should not be used.
- All tricycle components must be checked regularly to make sure they are operational.
- Do not hang or put any heavy items on the tricycle frame as it may cause it
to fall down and injure the child.
- When putting the child in or taking it out, the brake must be locked.
- The product must be kept away from fire and sources of heat.
- The maximum shopping basket capacity is 1kg
- The product should be used on a straight road away from traffic.
- Smaller children may use the tricycle only if accompanied by an adult.
- Be careful when using the bicycle. The child should be trained to use the bicycle and have skills to effectively avoid falling, collision and injury to the child or other people.
- Children should be instructed in the correct use of the product, especially how to brake.
- Brake by stopping pedaling.
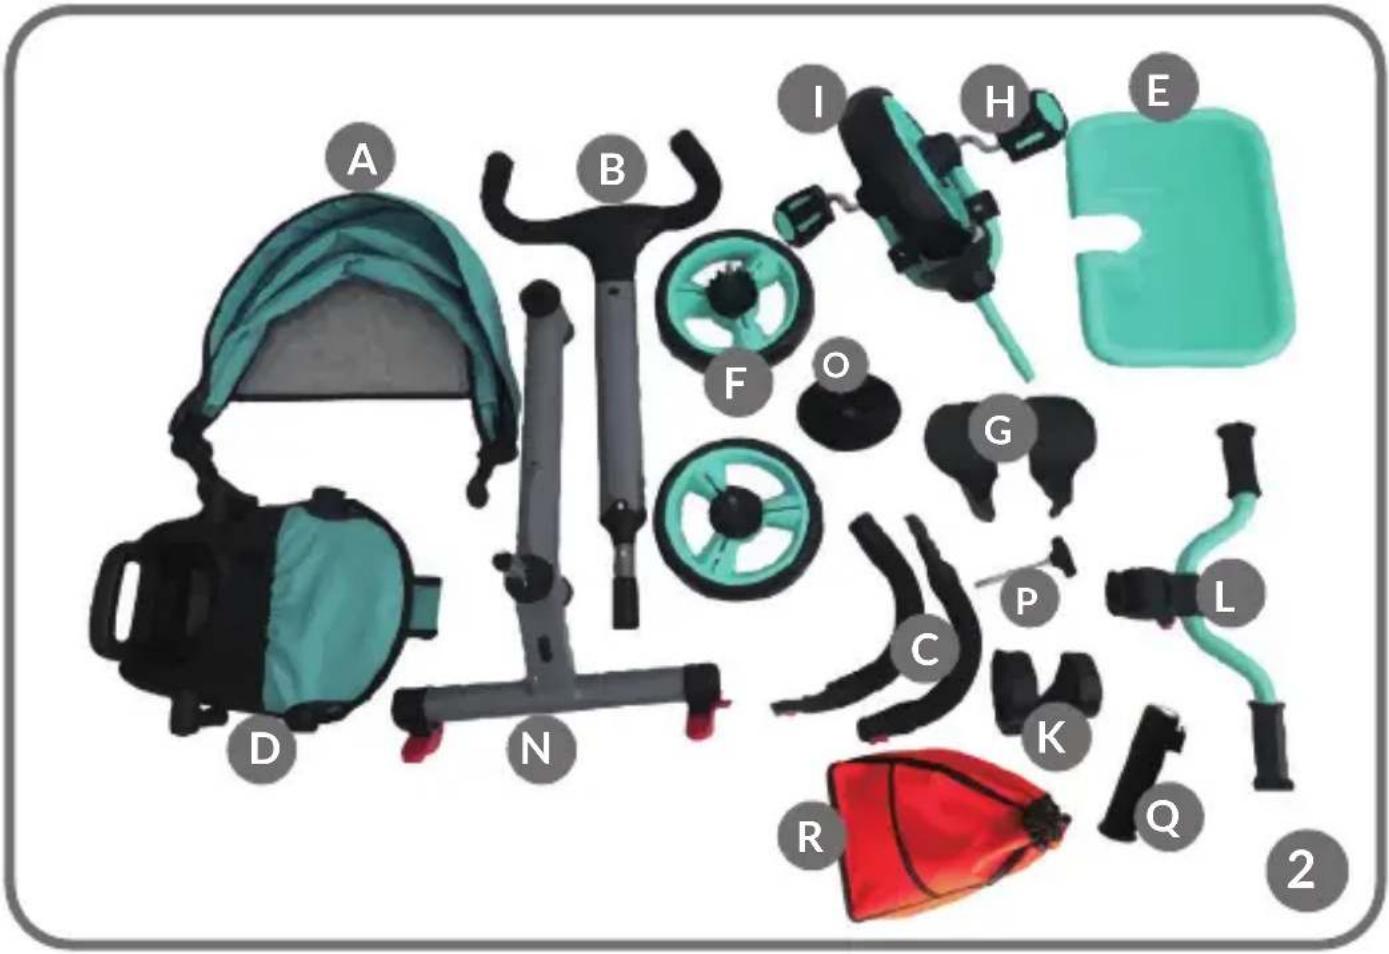
Description (1, 2):
A. peak
B. parent handle
C. bail
D. seat
E. basket
F. rear wheel
G. footrest
H. pedal
I. front wheel
J. fender
K. cup holder
L. steering wheel
M. steering wheel handle
N. frame
O. seat base
P. seat pin
Q. securing element on the back of the frame
R. bag
How to assemble the tricycle
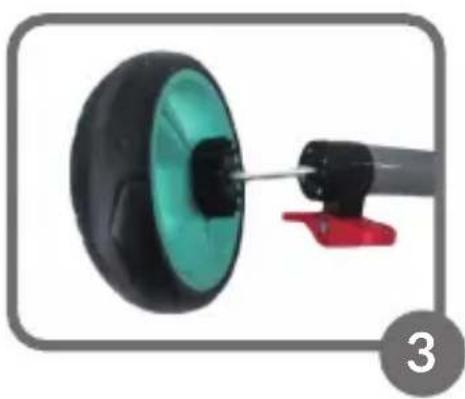
- Assemble rear wheels in dedicated spots at the back of the frame. If you can hear a „click”, it means they have been fixed properly. Make sure the wheels are secured properly – try to push them out (Fig. 4).
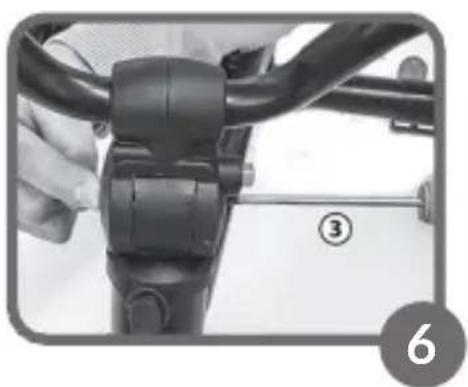
- Slide the front wheel into the front of the frame (Fig. 4), then put the steering wheel on the protruding stem and tighten it with a screwdriver (Fig. 5, 6).
- Fix the mug holder at the front of the frame. Place the saddle on the frame – pull a metal shank through it.
-
Screw in the shank on the other side of the frame with the use of black nut (Fig. 9).
-
Place the seat base on the frame (fig. 7) Put the belt cushion through a bow and join it together (Fig. 8, 9).
- Fix the sunshade on the saddle brackets which stick out on both sides. In order to adjust the inclination of the sunshade, pull evenly the brackets to the outside and set the inclination angle. Make sure that the button on the back of the seat is latched and the backrest is locked (Fig. 11-13).
- Insert the parent's handle into the corresponding place on the frame and secure it with the red button (Fig. 15, 16). Put on the basket (fig. 14)
- Put the footrests on the right places on both sides of the fork (Fig. 17)
Handle height adjustment
Adjust the height of the parent's handle by pressing the clips on its parent frame and moving the handle in the desired direction. A 3-step adjustment of 91 - 107 cm is possible.
Locking the rear wheels
Depress the brake feet on both wheels to lock the rear wheels. Move it down to lock the wheel or up to unlock it. Both brakes work independently of each other.
How to lock pedals – free wheel function
The three-wheeled bike has a free wheel function. When using this function, the child can pedal regardless of the speed of the bike.
To set this configuration, switch the lever on the side of the wheel. If you want the movement of pedals to lead to movement of wheel, switch this lever again. If your child uses a tricycle alone, make sure that the freewheel function is disabled.
How to disassemble the tricycle
To assemble the device:
-
Unscrew the seat at the bottom of the frame and remove it with the base.
-
Remove the screw that secures the handlebar to the frame. Disassemble the steering wheel and slide off the front wheel.
-
Unhook the headband using the button on the side.
-
Disconnect both rear wheels (each has a silver lock button that must be released first).
-
Unlock the parent handle lock (red button at the bottom) and pull it out.
6. Remove the footrest and cup holder.
For transport purposes, lower the tricycle steering wheel by pushing the red button, then fold the seat backrest and secure it with the railing by closing it above the backrest.
How to clean and maintain
- Check the tricycle and take care of its technical condition on a regular basis so that it does not pose a threat to your child.
- Wash the tricycle with a soft cloth. Do not immerse the tricycle in water and do not pour water on it to clean it.
- Regularly check the tricycle for loose items or damaged parts. It is forbidden to use the tricycle if its parts are defective.
- Fabric cover might be machine – washed (max 30°C).
- You can apply oil on tricycle linking elements (e.g. frame, handlebar hinges).
The pictures are for reference only. The real design of the products may differ from the pictures presented.
PL
Drogi Kliencie!
BrandLine Group Sp. z o.o.
BrandLine Group Sp. z o.o.
Detailed warranty conditions are available on the website:

- Dear Customer!
- Producer:
- Note! Keep this manual for future reference.
- Description (1, 2):
- How to assemble the tricycle
- Handle height adjustment
- Locking the rear wheels
- How to lock pedals – free wheel function
- How to disassemble the tricycle
- Remove the footrest and cup holder.
- How to clean and maintain
- PL
- Drogi Kliencie!
Brand : Lionelo
Model : Haari
Category : Stroller