
MMC1005BW - Food Processor GORENJE - Free user manual and instructions
Find the device manual for free MMC1005BW GORENJE in PDF.
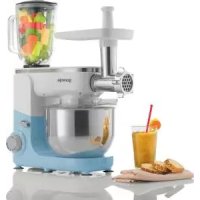



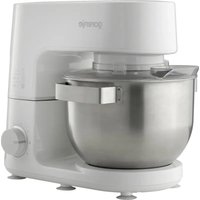
| Product type | Food processor |
| Brand | Gorenje |
| Model | MMC1005BW |
| Bowl capacity | Up to 1 kg of dough |
| Bowl material | Stainless steel |
| Included accessories | Whisk, dough hook, flat beater, meat grinder (with grilling plates and sausage nozzle), glass jar, citrus juicer, separator |
| Functions | Beating, whisking, kneading, mincing, juicing citrus fruits |
| Noise level | 72 dB(A) |
| Speeds | Variable speed (5-6 speeds) + 0 position |
| Operating temperature | Ambient |
| Power supply | 220-240 V, 50/60 Hz (grounded plug) |
| Safety instructions | Do not immerse the motor unit; do not use for more than 5 minutes at a time; let it cool for 30 minutes; unplug before cleaning |
| Cleaning | Wipe the motor unit with a soft dry cloth; accessories washable with soapy water |
| Warranty | International Gorenje warranty (see warranty card) |
Frequently Asked Questions - MMC1005BW GORENJE
User questions about MMC1005BW GORENJE
0 question about this device. Answer the ones you know or ask your own.
Ask a new question about this device
Download the instructions for your Food Processor in PDF format for free! Find your manual MMC1005BW - GORENJE and take your electronic device back in hand. On this page are published all the documents necessary for the use of your device. MMC1005BW by GORENJE.
USER MANUAL MMC1005BW GORENJE
MMC1005W
MMC1005BW
MMC1005RW
| Kuhinjski robot | Navodila za uporabo | SI |
| Kuhinjski robot | Upute za uporabu | BIH HR |
| Kuhinjski robot | Uputstvo za upotrebu | BIH SRB MNE |
| Кујнски робот | Упатства за употреба | MK |
| Kitchen robot mixer | Instruction manual | GB |
| Кухненски робот | Инструкции за употреба | BG |
| Robot de bucătărie | Manual de utilizare | RO |
| Konyhai robotgép | Használati utasítás | H |
| Robot kuchenny | Instrukcja obsługi | PL |
| Kuchynské roboty | Návod na obsluhu | SK |
| Kuchyňské roboty a procesory | Návod na použití | CZ |
| Küchenmaschine | Gebrauchsanweisung | D |
| Кухонний комбайн | Інцтрукція з експлуатації | UA |
| Кухонный комбайн | Инструкция по эксплуатации | RUS |
| Robot pâtissier | Notice d'utilisation | F |
SL Instructions for use ....3
HR; BIH Instructions for use 8
SRB MNE BIH Instructions for use 13
Description:
USING THE MIXER:
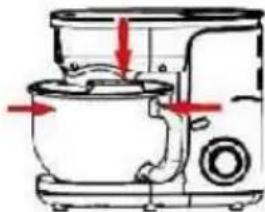
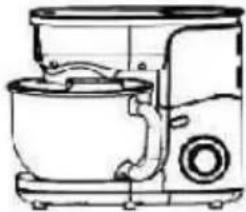
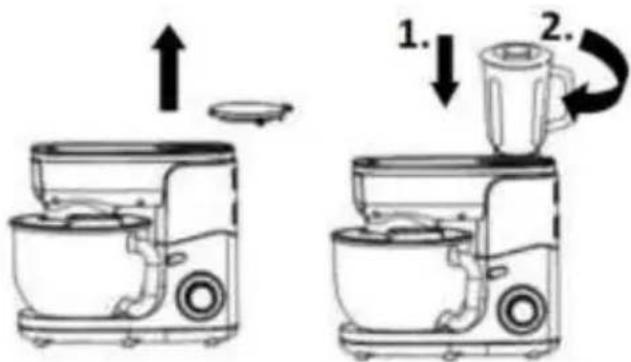
USING THE BLENDER:
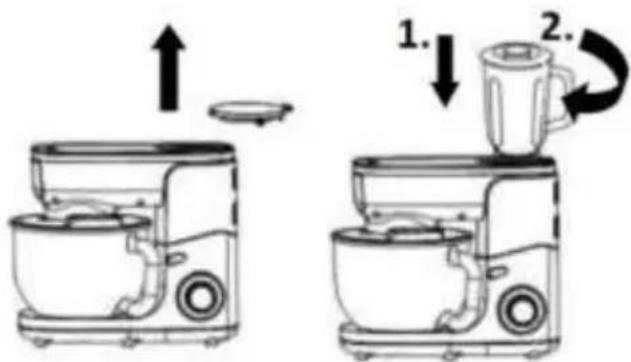
- First place the sealing ring of the jug over the blade set for mixing.
![graph TD A["Adder"] --> B["Shutter"] B --> C["Transfer to blender"] C --> D["Ordering into mixer"] D --> E["Reinjection of blender"] E --> F["Final cleaning with blender"]](/content/2026/04/607625/images/008e8e709c553ec0d175801e8dd3ef3e1b030bc7fb2e7b90840d2a166884bc29.jpg)
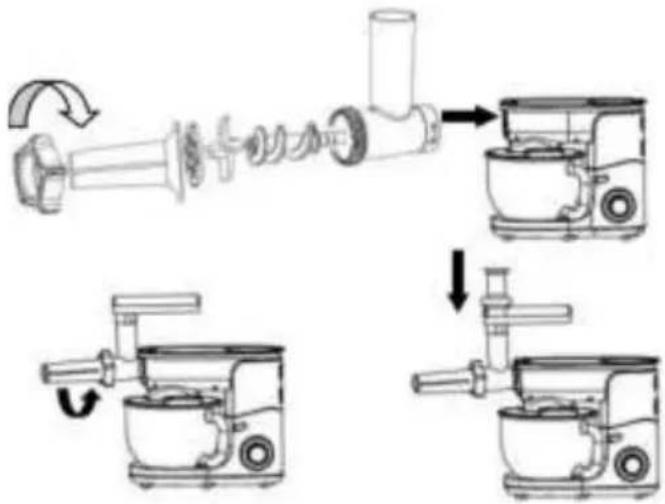
• Check that the sharp edges of the chopper blades are facing outward. - Make sure that the groove on the meat grinder disc is aligned with the pin on the meat grinder attachment housing. • Never grind frozen meat! - During use, do not overload the appliance by pushing too much meat into the grinder attachment. - Cut the meat into strips 10 cm long and 2 cm thick. - Remove bones, cartilage, and tendons as much as possible. - Place the prepared meat on the tray for feeding meat into the grinder. - Start the appliance by pressing the on/off button. - Using the food pusher, gently push the meat into the meat grinder attachment. - For tartar steak, grind the meat twice through the disc with medium-sized grinding holes.
Sausage preparation – tips and warnings
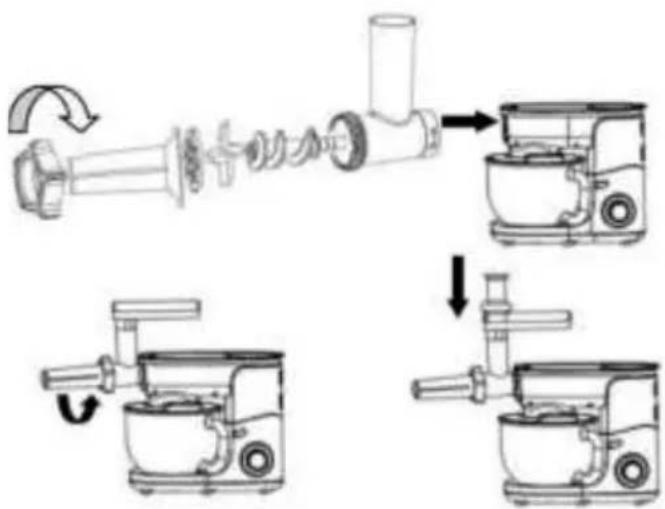
- First place the round seal of the jug over the blade set for mixing.
![graph TD A["Preparation with mixing bowl"] --> B["Adder into blender"] B --> C["Transfer to blender"] C --> D["Replace to blender"] D --> E["Final processing with lid and buffer"]](/content/2026/04/607625/images/731a3cd37e893e9ddc7255c5ebab22928917b0f2575dc09911d6de5a58758e53.jpg)
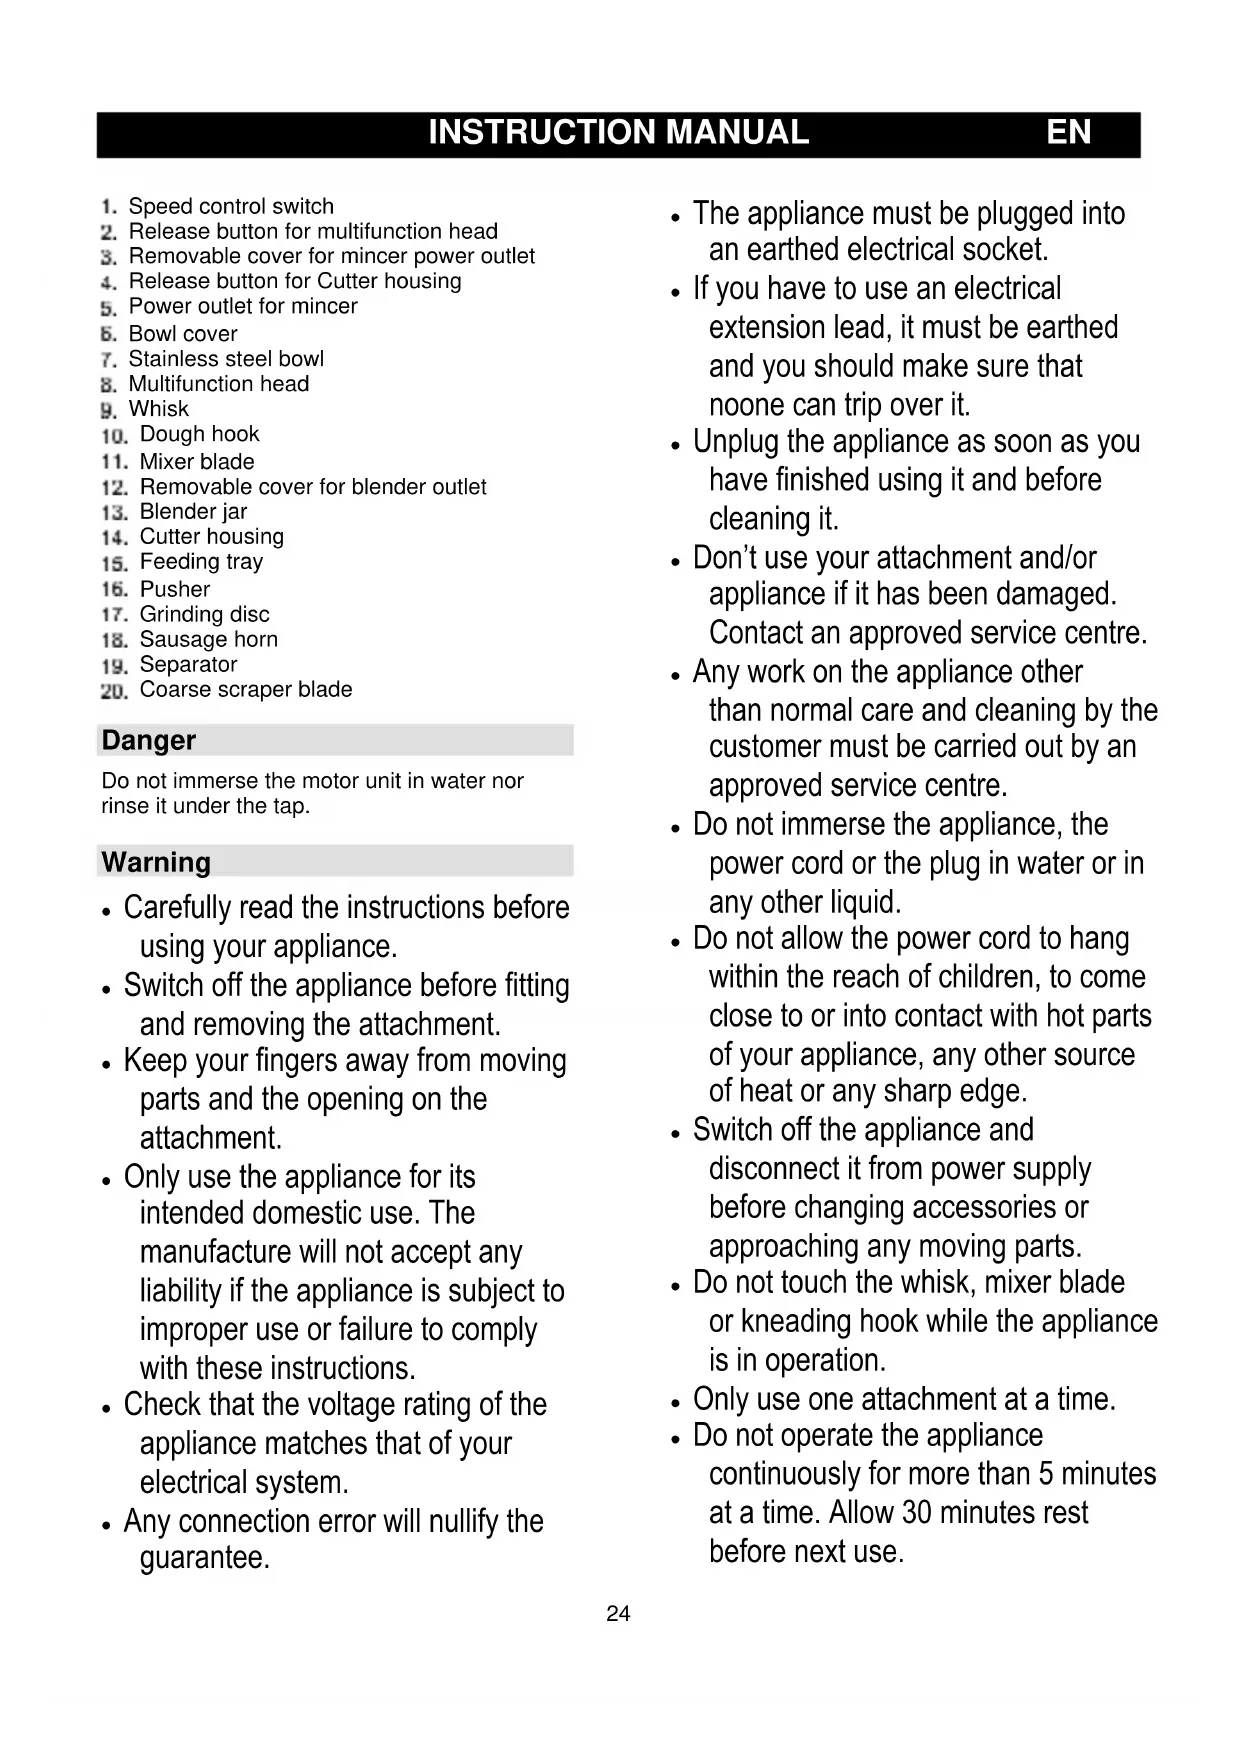
- Speed control switch
- Release button for multifunction head
- Removable cover for mincer power outlet
- Release button for cutter housing
- Power outlet for mincer
- Bowl cover
- Stainless steel bowl
- Multifunction head
- Whisk
- Dough hook
- Mixer blade
- Removable cover for blender outlet
- Blender jar
- Cutter housing
- Feeding tray
- Pusher
- Grinding disc
- Sausage horn
- Separator
- Coarse scraper blade
Danger
Do not immerse the motor unit in water nor rinse it under the tap.
Warning
- Carefully read the instructions before using your appliance.
- Switch off the appliance before fitting and removing the attachment.
- Keep your fingers away from moving parts and the opening on the attachment.
- Only use the appliance for its intended domestic use. The manufacture will not accept any liability if the appliance is subject to improper use or failure to comply with these instructions.
- Check that the voltage rating of the appliance matches that of your electrical system.
- Any connection error will nullify the guarantee.
- The appliance must be plugged into an earthed electrical socket.
- If you have to use an electrical extension lead, it must be earthed and you should make sure that no one can trip over it.
- Unplug the appliance as soon as you have finished using it and before cleaning it.
- Don't use your attachment and/or appliance if it has been damaged. Contact an approved service centre.
- Any work on the appliance other than normal care and cleaning by the customer must be carried out by an approved service centre.
- Do not immerse the appliance, the power cord or the plug in water or in any other liquid.
- Do not allow the power cord to hang within the reach of children, to come close to or into contact with hot parts of your appliance, any other source of heat or any sharp edge.
- Switch off the appliance and disconnect it from power supply before changing accessories or approaching any moving parts.
- Do not touch the whisk, mixer blade or kneading hook while the appliance is in operation.
- Only use one attachment at a time.
- Do not operate the appliance continuously for more than 5 minutes at a time. Allow 30 minutes rest before next use.
- Appliances can be used by persons with reduced physical, sensory or mental capabilities or lack of experience and knowledge if they have been given supervision or instruction concerning use of the appliance in a safe way and if they understand the hazards involved.
- Children should be supervised to ensure that they do not play with the appliance.
- If the supply cord is damaged, it must be replaced by the manufacturer, service agent or a similarly qualified person, in order to avoid a hazard.
- This appliance may not be used by children. Keep the appliance and its cord out of reach of children. Children may not play with the appliance.
- Children may not clean the appliance or perform user maintenance tasks on it without supervision.
- This appliance is intended to be used in household and similar applications.
- There is a potential injury from misuse. Please handle it with care.
- Care should be taken when handling the sharp cutting blades, emptying the bowl and during cleaning.
- WARNING: AFTER DETACHING THE ACCESSORY, DO NOT TOUCH THE MOVING SHAFT.
- Be careful if hot liquid is poured into the blender as it can be ejected out
of the appliance due to a sudden steaming.
- Always disconnect the appliance from the supply if it is left unattended and before assembling, disassembling or cleaning.
- The appliance should cool down to room temperature after each process.
- Noise level: 82 dB(A)
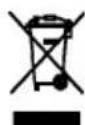
This appliance is marked according to the European directive 2012/19/EU on Waste Electrical and Electronic Equipment (WEEE). This guideline is the frame of a European-wide validity of return and recycling on Waste Electrical and Electronic Equipment.
Caution
Always place the appliance on a flat, stable surface.
Do not use the citrus press longer than 5 minutes without interruption.
This appliance is intended for household use only.
Never use any accessories or parts from other manufacturers unless they are authorized by Gorenje. In case you use these accessories, the warranty will be canceled.
Before use
Clean all detachable parts before using the appliance for the first time (see chapter 'Cleaning').
Make sure the appliance is assembled properly (see chapter ‘General description’) before you plug it in the wall socket.
Put the plug in the wall socket.
Using the appliance MIXER BLADE/ WISK/ DOUGH HOOK
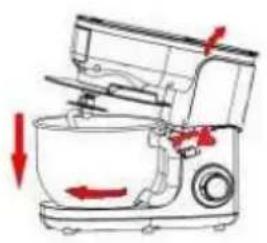
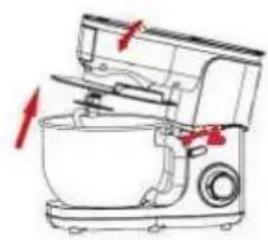
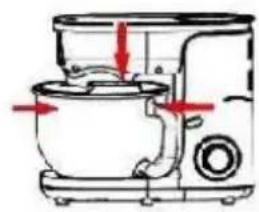
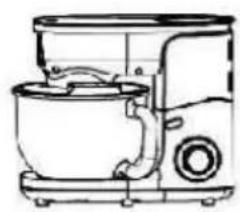
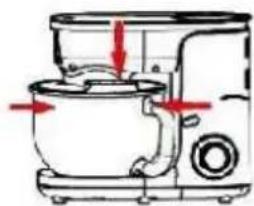
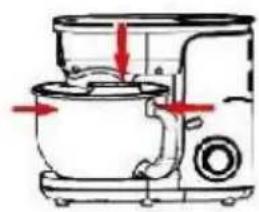
Depending on the nature of the ingredients, the bowl (7) with its cover can be used to prepare up to 1kg of dough.
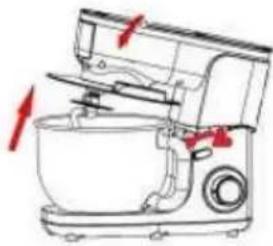
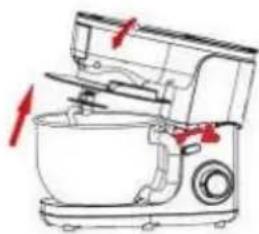
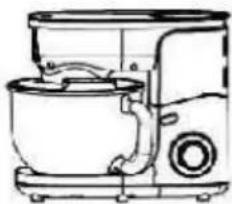
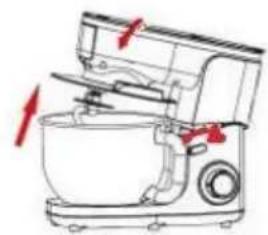
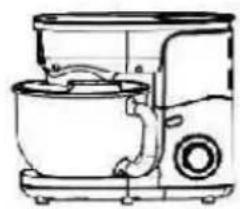
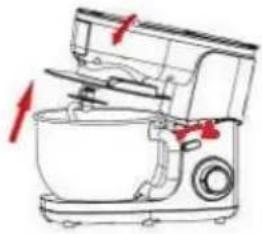
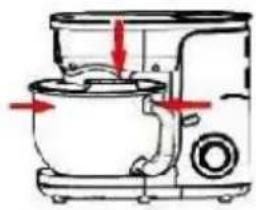
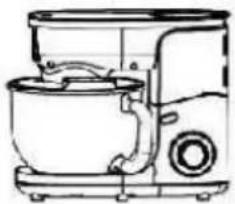
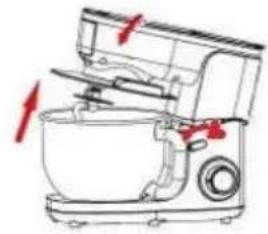
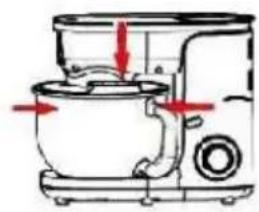
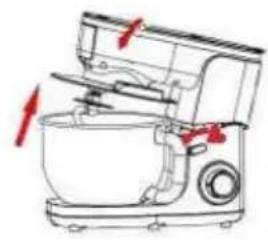
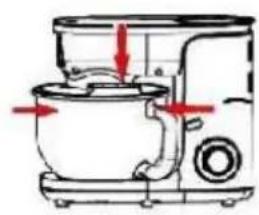
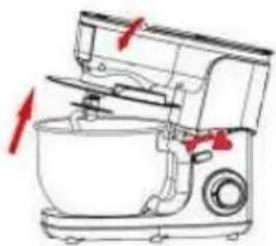
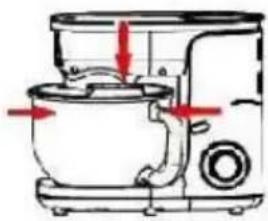
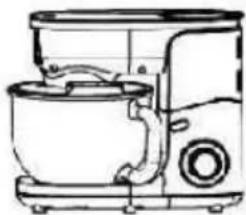
- Press the release button for the multifunction head (8) up, lift the multifunction head then fit the bowl (7) onto the appliance by turning until it locks into position. Place the ingredients in bowl first.
- Put the stainless steel bowl cover onto the stainless bowl and insert the mixer blade, hook or whisk (depending on the consistency you prefer). Adjust the height by turning the shaft: adjust the accessories to the ideal position.
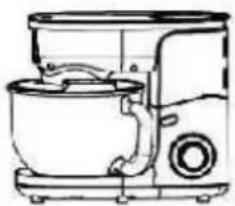
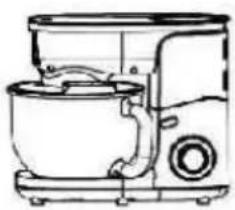
- Press the multifunction head (8) of the appliance down until a click is heard.
- During preparation, you can add ingredients through the opening in the cover.
- To stop appliance operation, turn the knob (1) back to 0.
- Before using for the first time, clean all parts of the accessories with soapy water, rinse and dry.
- Place the appliance on a flat, clean and dry surface and then plug in your appliance.
| Accessory | Food | Maximum amount | Operation time | Speeds | Preparation |
| Whisk | Cream (38% fat) | 500 ml | 3-5 minutes | 5-6 | / |
| Egg white | 12 pcs | 3 minutes | 5-6 | / | |
| Dough hook | Flour | 450 g | Operation 1 minute and 30 seconds at MIN speed, and then 3 minutes and 30 seconds at 2 speed. Don’t operate the appliance for more than 5 minutes. | / | |
| Salt | 5 g | ||||
| Yeast | 7 g | ||||
| Sugar | 3 g | ||||
| Water(43°C) | 312 ml | ||||
| Lard | 7 g | ||||
| Mixer blade | Flour | 200 g | 5 minutes | 3-4 | / |
| Caster sugar | 200 g | ||||
| Margarine | 200 g | ||||
| Eggs | 4 pcs | ||||
Mincing meat - tips and warnings
- Make sure the cutting edges of the cutter unit are pointing outwards.
- Make sure the notch of the grinding disc fits onto the projection of the cutter housing. • Never use frozen meat!
- Do not overload the appliance during use by pushing too much meat into the cutter housing.
- Cut the meat into 10cm-long, 2cm-thick strips.
- Remove bones, gristles and sinews as much as possible.
- Put the prepared meat on the feeding tray.
- Press the on/off button to switch the appliance on.
- Use the pusher to gently push the meat into the cutter housing.
- For steak tartare, mince the meat with the medium grinding disc twice.
![graph TD A["Feeder with fan blade"] --> B["Adder into mixing bowl"] B --> C["Transfer to mixer"] C --> D["Adjustment to fan blade"] D --> E["Final mixer with handle"] E --> F["Downward shift"] F --> G["Downward shift"]](/content/2026/04/607625/images/da3c21a10b65ee14cd8ae885aa1dc721f8f144197c96e4996f1fa3ce30226356.jpg)
Making sausages - tips and warnings
Always mince the meat first.
- Let the sausage skin soak in lukewarm water for 10 minutes. Then slide the wet skin onto the sausage horn. Do not block the air outlet grooves of the horn.
- Put the minced meat of the feeding tray. Press Speed control switch to the appliance on.
- If the skin gets stuck on the sausage horn, wet it with some later.
USING BLENDER:
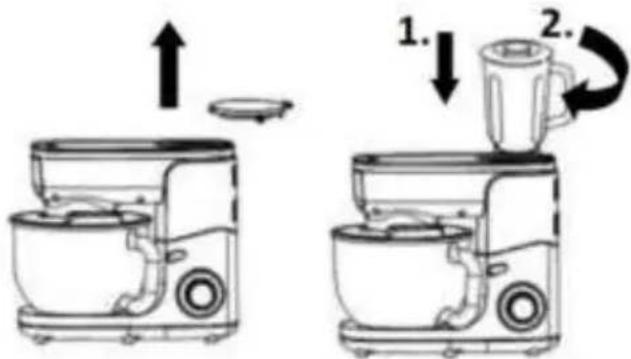
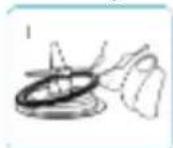
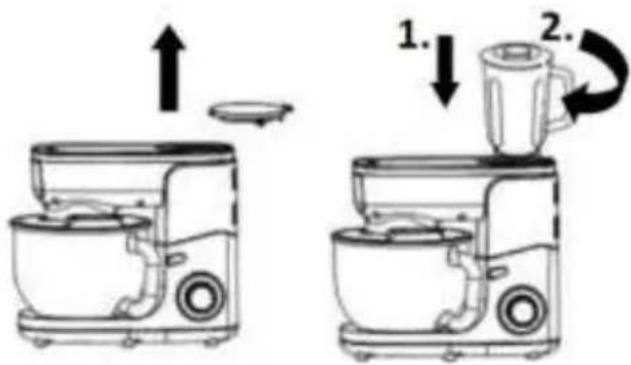
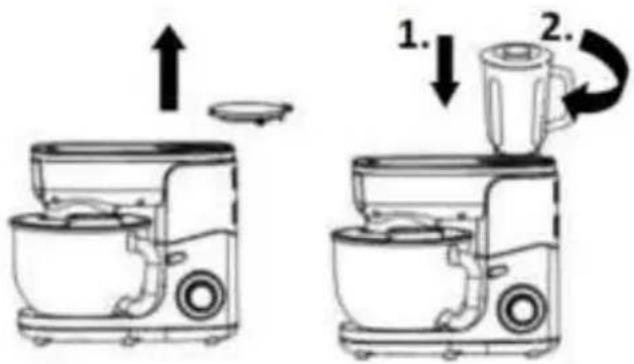
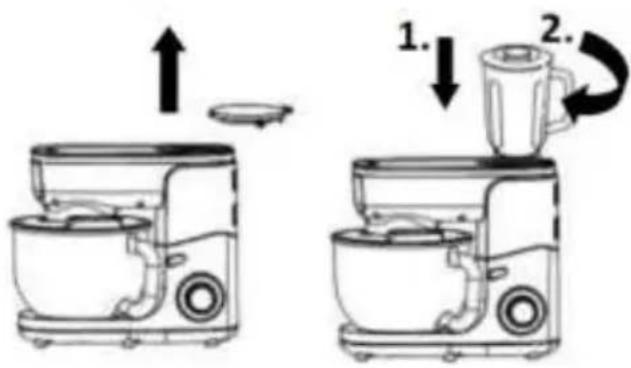
- Install the jar sealing ring over the blending blade assembly.
- Install the blending blade assembly over the jar base.
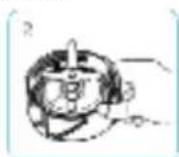
- Attach the jar base to the jar by turning it in the direction of the arrow.
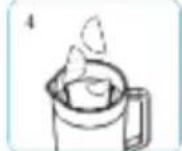
- Put the ingredients that are not bigger than 2 centimeter in the jar.
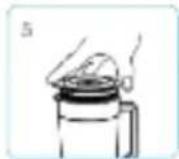
- Press the lid into place.
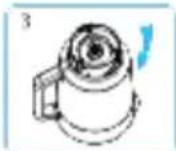
- Install the jar onto the base.
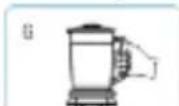
- Tips: While the motor is running, if you want to add ingredients you can:
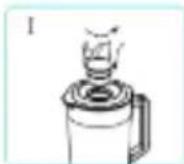
- I: Turn the inner lid off the lid in the anticlockwise direction.
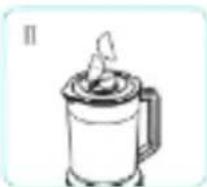
II. Add the ingredients into the jar through the opening in the lid.
After you have done your work, push the "ON/OFF" button, unplug the appliance, and pour out the content.
Cleaning
- Unplug the appliance.
- Never immerse the motor unit in water or put it under running water. Wipe it with a soft dry or slightly damp cloth.
- For easier cleaning, quickly rinse the accessories after use. Completely dismantle the mixer attachment. Handle the blades with care, as some have sharp cutting edges.
- If your accessories are discoloured by food (carrots, oranges etc.), rub them gently with a kitchen towel dipped in cooking oil and then clean in the usual way.
Environment
This marking indicates that this product should not be disposed of with other household waste throughout the EU. To prevent possible harm to the environment or human health from uncontrolled waste disposal, recycle it responsibly to promote the sustainable reuse of material resources. To return your used device, please use the return and collection systems or contact the retailer where the product
was purchased. They can take this product for environmentally safe recycling.
Guarantee & service
If you need information or if you have a problem, please contact the Gorenje Customer Care Centre in your country (you find its phone number in the worldwide guarantee leaflet). If there is no Customer Care Centre in your country, go to your local Gorenje dealer or contact the Service department of Gorenje domestic appliances.
For personal use only!
GORENJE WISHES YOU A LOT OF PLEASURE WHEN USING YOUR APPLIANCE
We reserve the right to any modifications!
USING THE MIXER:
USING THE TURMIX:
USING THE BLENDER: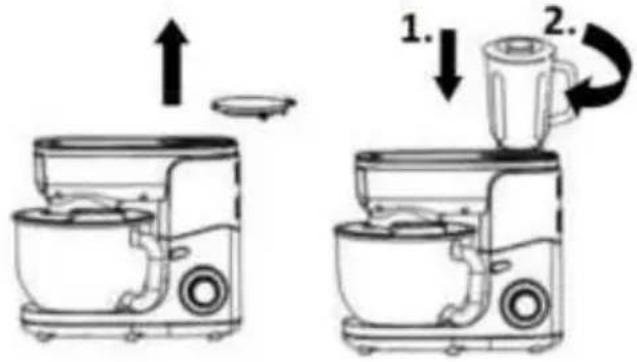
USING THE MIXER:
II. Add ingredients to the container through the opening in the lid.
USING THE MIXER: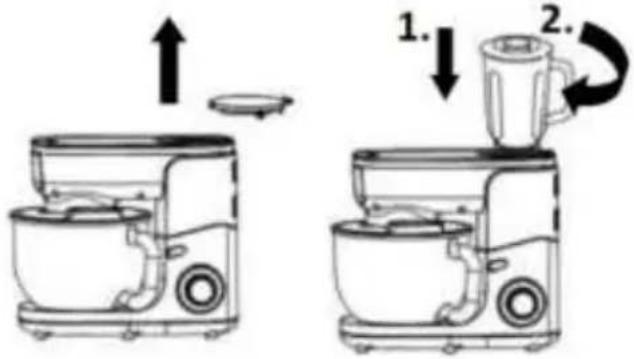


- DESCRIPTION
- USING THE MIXER
- USING THE BLENDER
- SAUSAGE PREPARATION – TIPS AND WARNINGS
- DANGER
- WARNING
- CAUTION
- BEFORE USE
- USING THE APPLIANCE MIXER BLADE/ WISK/ DOUGH HOOK
- MINCING MEAT - TIPS AND WARNINGS
- MAKING SAUSAGES - TIPS AND WARNINGS
- ALWAYS MINCE THE MEAT FIRST
- USING BLENDER
- CLEANING
- ENVIRONMENT
- GUARANTEE & SERVICE
- GORENJE WISHES YOU A LOT OF PLEASURE WHEN USING YOUR APPLIANCE
- USING THE TURMIX
Brand : GORENJE
Model : MMC1005BW
Category : Food Processor