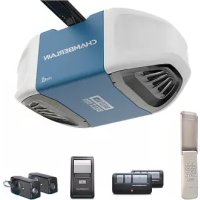
041D7440 - Garage door CHAMBERLAIN - Free user manual and instructions
Find the device manual for free 041D7440 CHAMBERLAIN in PDF.
Download the instructions for your Garage door in PDF format for free! Find your manual 041D7440 - CHAMBERLAIN and take your electronic device back in hand. On this page are published all the documents necessary for the use of your device. 041D7440 by CHAMBERLAIN.
USER MANUAL 041D7440 CHAMBERLAIN
This motor kit is for use with AC garage door openers that utilize electronic controls to set the open (UP) and close (DOWN) travel. The force is adjusted automatically when you program the travel. The images are for reference and your product may look different. You will need:
- 1/4" magnetic nut driver
- 5/16" long-shafted magnetic nut driver and socket Installation Overview
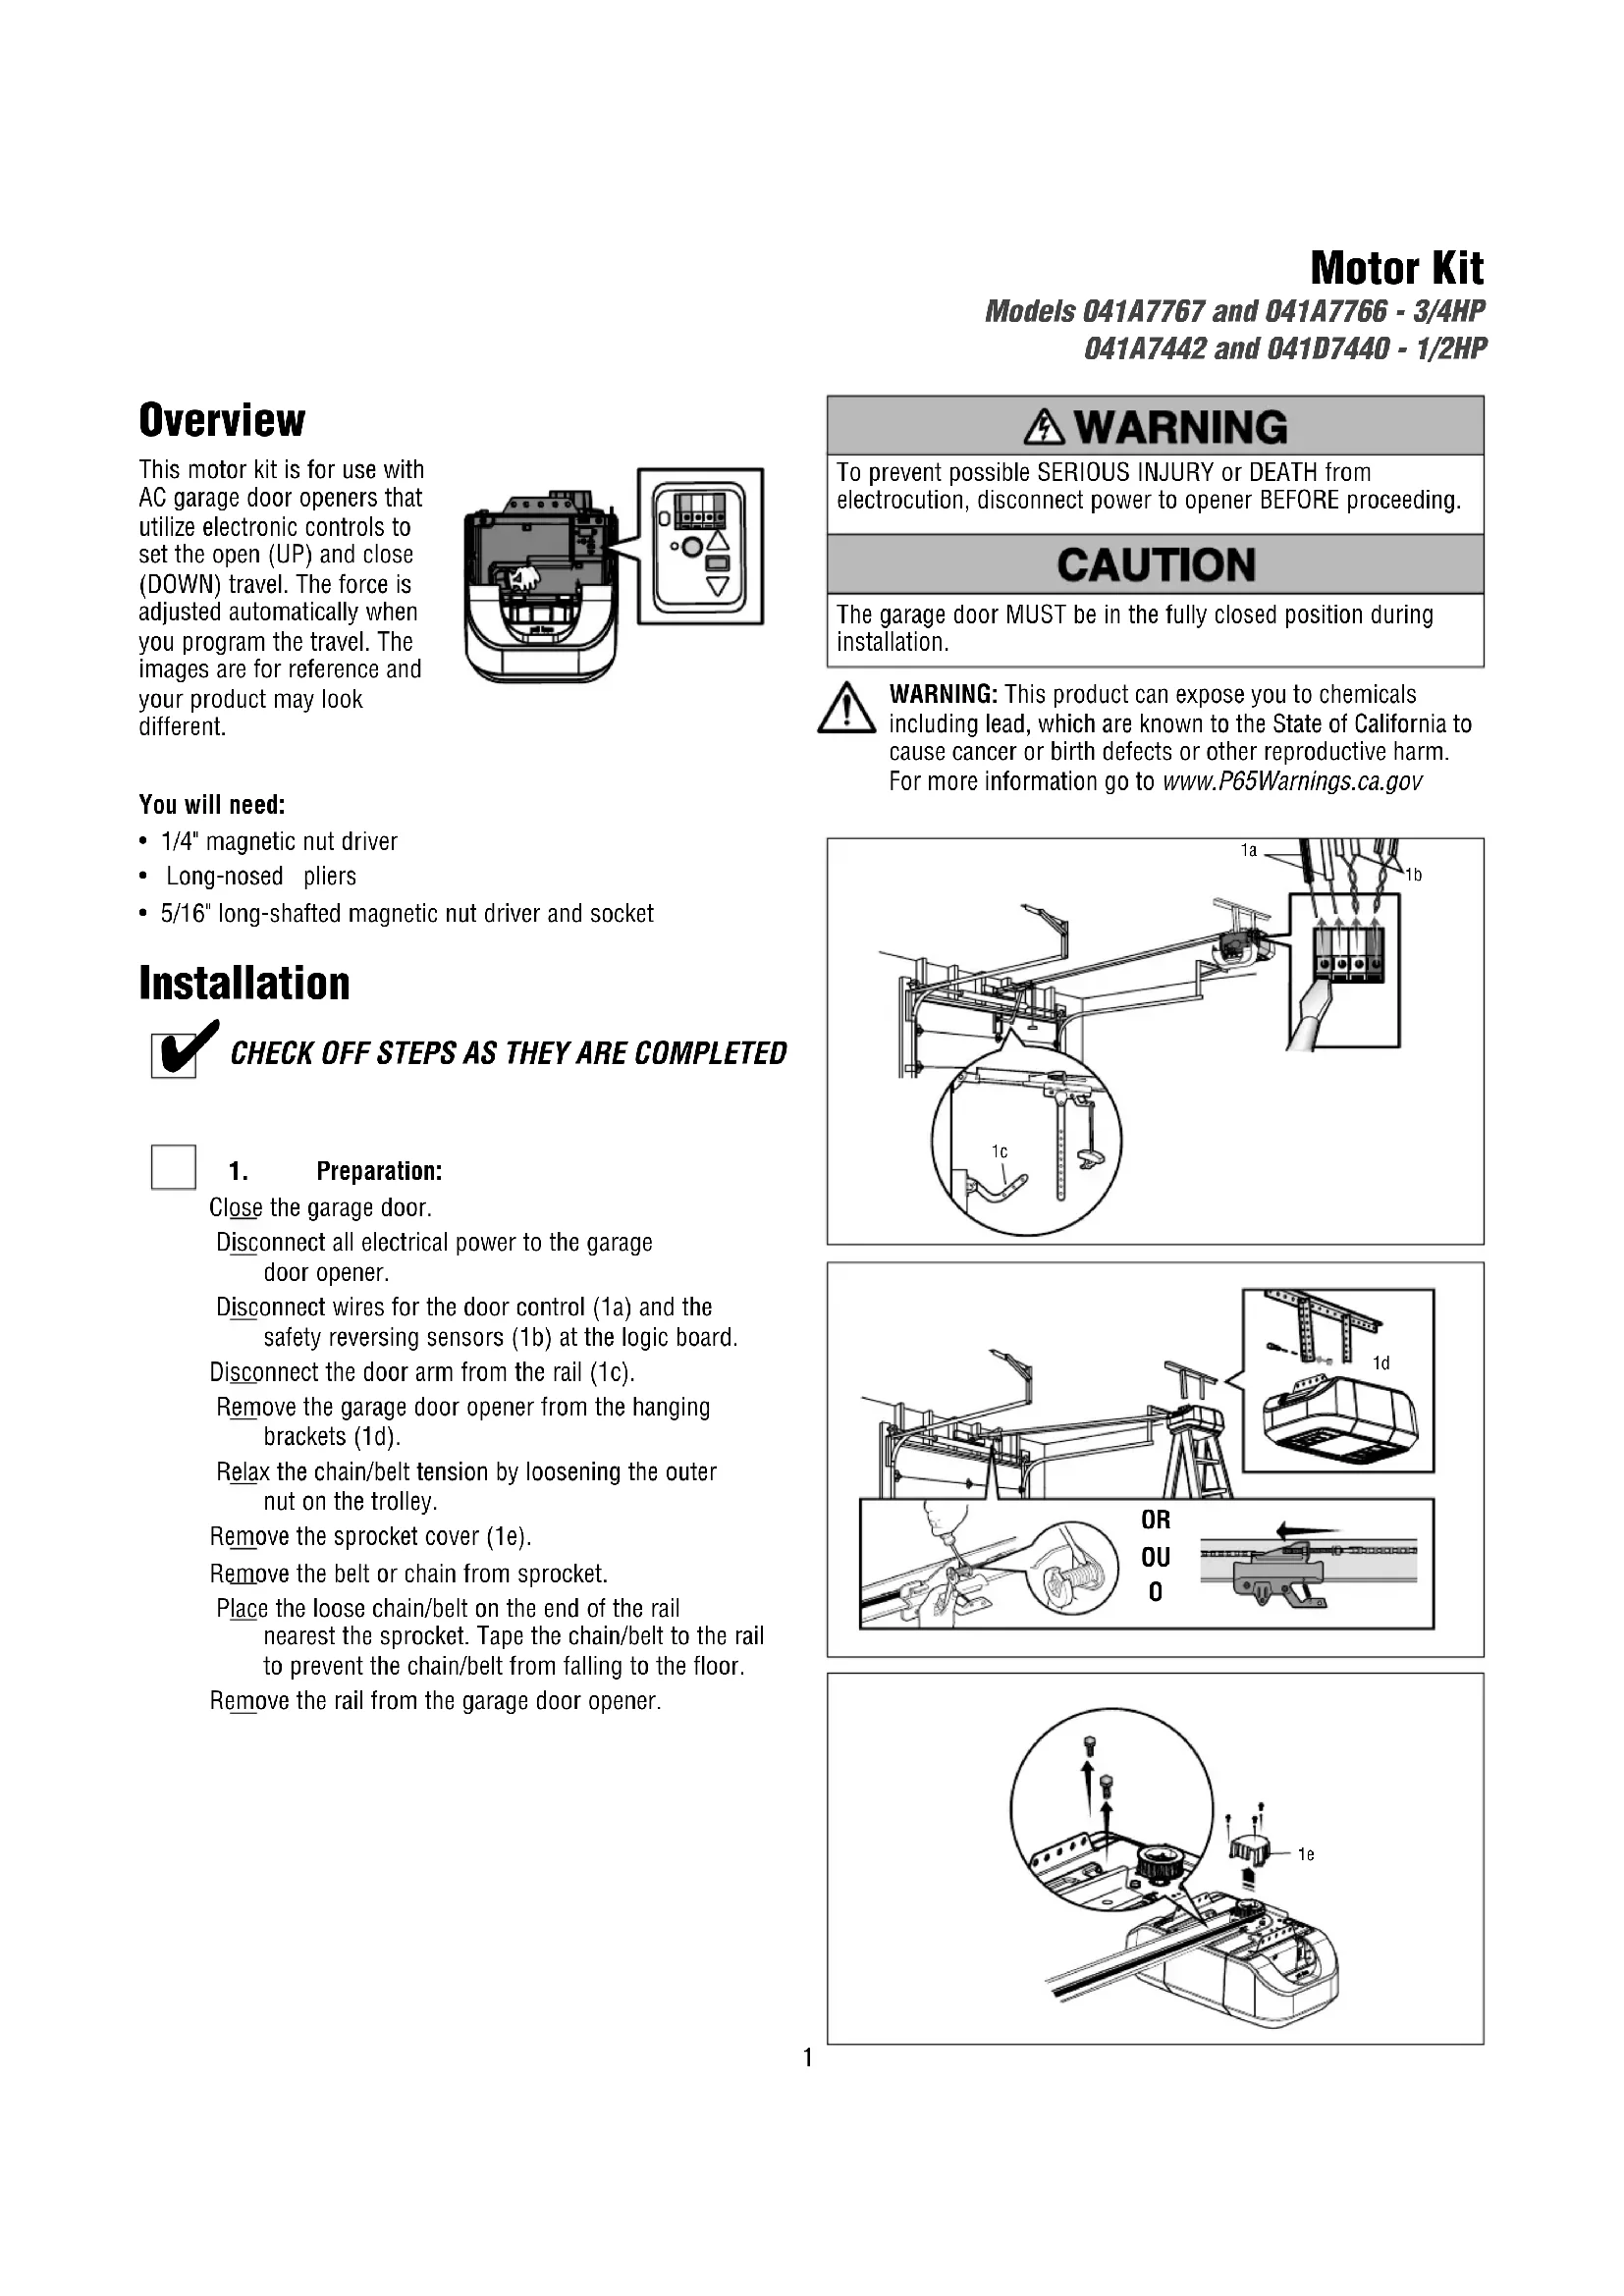
Close the garage door. Disconnect all electrical power to the garage door opener. Disconnect wires for the door control (1a) and the safety reversing sensors (1b) at the logic board. Disconnect the door arm from the rail (1c). Remove the garage door opener from the hanging brackets (1d). Relax the chain/belt tension by loosening the outer nut on the trolley. Remove the sprocket cover (1e). Remove the belt or chain from sprocket. Place the loose chain/belt on the end of the rail nearest the sprocket. Tape the chain/belt to the rail to prevent the chain/belt from falling to the floor. Remove the rail from the garage door opener. To prevent possible SERIOUS INJURY or DEATH from electrocution, disconnect power to opener BEFORE proceeding. The garage door MUST be in the fully closed position during installation. Motor Kit Models 041A7767 and 041A7766 - 3/4HP 041A7442 and 041D7440 - 1/2HP
WARNING: This product can expose you to chemicals
including lead, which are known to the State of California to cause cancer or birth defects or other reproductive harm. For more information go to www.P65Warnings.ca.gov2
4. Reinstall the garage door opener:
NOTE: Trolley must be in the down position before installing chain/belt. Fasten the rail to the garage door opener. Attach the garage door opener to the hanging brackets (4a). Attach the door arm from the rail (4b). Reconnect wires for the door control (4c) and the safety reversing sensors (4d) at the logic board. Remove tape from chain/belt and rail. Reinstall chain/belt and sprocket cover on sprocket. To tighten the chain, turn outer nut in the direction shown. When the chain is approximately 1/4" (square rail) or 1/2" (T-rail) above the base of the rail at its midpoint, re-tighten the inner nut to secure the adjustment (4e). To tighten the belt, manually thread the spring trolley nut on the threaded shaft until it is finger tight. Place a 7/16" open end wrench on the square end. Tighten spring to a 1-1/4" tension (4e). Reconnect power to the garage door opener. Proceed to Adjustments
3. Install the new motor:
Install the new motor and motor bracket to the opener chassis. Reverse steps in part 2 to reassemble the opener.
2. Disassemble opener:
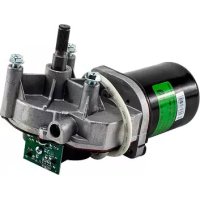
Remove the light lens (2a). Remove the cover (2b). Remove the logic board and end panel (2c). Remove the front end panel (2d). Remove retainer clip (2e), and wire harness (2f) from the travel module (2g). Disconnect the capacitor (red and blue wires) (2h) and the terminal block (white wire) from the motor. If your garage door opener has a gear case, remove the top cover by pushing in the tabs on the front and back of the case. Remove hardware securing the motor bracket (2i) to the chassis. Discard the old motor and bracket assembly.
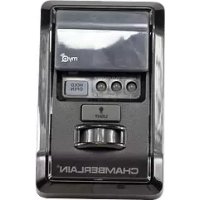
4e3 Adjustments Program the Travel Your garage door opener is designed with electronic controls to make setup and adjustments easy. The adjustments allow you to program where the door will stop in the open (UP) and close (DOWN) position. The electronic controls sense the amount of force required to open and close the door. The force is adjusted automatically when you program the travel and cannot be changed. The programming buttons are located on the left side panel of the garage door opener and are used to program the travel. To prevent damage to vehicles, be sure fully open door provides adequate clearance. Setting the UP position:
1. Press and hold the Adjustment Button until the UP Button
begins to flash and/or a beep is heard.
2. Press and hold the UP Button until the door is in the desired
UP position. NOTE: The UP and DOWN Buttons can be used to move the door up and down as needed.
3. Once the door is in the desired UP position press and release
the Adjustment Button. The garage door opener lights will flash twice and the DOWN Button will begin to flash. Setting the DOWN position:
4. Press and hold the DOWN Button until the door is in the
desired DOWN position. NOTE: The UP and DOWN Buttons can be used to move the door up and down as needed.
5. Once the door is in the desired DOWN position press and
release the Adjustment Button. The garage door opener lights will flash twice and the UP Button will begin to flash.
6. Press and release the UP Button. When the door travels to the
programmed UP position, the DOWN Button will begin to flash.
7. Press and release the DOWN Button. The door will travel to the
programmed DOWN position. Programming is complete.
- If the garage door opener lights are flashing 5 times during the steps for Program the Travel, the programming has timed out. If the garage door opener lights are flashing 10 times during the steps for Program the Travel, the safety reversing sensors are misaligned or obstructed (refer to owner’s manual). When the sensors are aligned and unobstructed, cycle the door through a complete up and down cycle using the remote control or the UP and DOWN buttons. Programming is complete. If you are unable to operate the door up and down, repeat the steps for Programming the Travel. UP Button Bouton UP (HAUT) Botón de UP (ARRIBA) Adjustment Button Bouton de Réglage Botón de Ajuste DOWN Button Bouton DOWN (BAS) Botón de DOWN (ABAJO) PROGRAMMING BUTTONS
Without a properly installed safety reversal system, persons (particularly small children) could be SERIOUSLY INJURED or KILLED by a closing garage door.
- Incorrect adjustment of garage door travel limits will interfere with proper operation of safety reversal system.
- After any adjustments are made, the safety reversal system MUST be tested. Door MUST reverse on contact with 1-1/2" (3.8 cm) high object (or 2x4 laid flat) on floor.
1. With the door fully open, place a 1-1/2 inch (3.8 cm) board
(or a 2x4 laid flat) on the floor, centered under the garage door.
2. Press the remote control push button to close the door. The
door MUST reverse when it makes contact with the board. If the door stops and does not reverse on the obstruction, increase the down travel (see Program the Travel). Repeat the test. When the door reverses upon contact with the 1-1/2 inch board, remove the board and open/close the door 3 or 4 times to test the adjustment. If the opener continues to fail the safety reversal test, call a trained door systems technician. Without a properly installed safety reversal system, persons (particularly small children) could be SERIOUSLY INJURED or KILLED by a closing garage door.
- Safety reversal system MUST be tested every month.
- After ANY adjustments are made, the safety reversal system MUST be tested. Door MUST reverse on contact with 1-1/2" high (3.8 cm) object (or 2x4 laid flat) on the floor. Test the Protector System
1. Open the door. Place the garage door opener carton in the path
2. Press the remote control push button to close the door. The
door will not move more than an inch (2.5 cm), and the garage door opener lights will flash 10 times. The garage door opener will not close from a remote control if the LED in either safety reversing sensor is off (alerting you to the fact that the sensor is misaligned or obstructed). If the garage door opener closes the door when the safety reversing sensor is obstructed (and the sensors are no more than 6 inches (15 cm) above the floor), call for a trained door systems technician. Without a properly installed safety reversing sensor, persons (particularly small children) could be SERIOUSLY INJURED or KILLED by a closing garage door.