
Profile SPSD157JMV - Washing Machine/Dryer GE - Free user manual and instructions
Find the device manual for free Profile SPSD157JMV GE in PDF.
| Brand | GE |
| Model | Profile SPSD157JMV |
| Product Type | Pedestal for washer and dryer |
| Color | Metallic Vermilion |
| Washer Compatibility | WPDH8800 |
| Dryer Compatibility | DPVH880EJ, DPVH8800GJ |
| Material | Painted Steel |
| Maximum Supported Weight | Approximately 60 kg (estimate) |
| Drawer Capacity | With divider, storage for laundry and accessories |
| Included Accessories | 4 support pads, 4 mounting screws, drawer divider |
| Number of People Required for Installation | 2 people |
| Required Tools | Phillips screwdriver, 9/16 in open-end wrench, 8 mm socket wrench |
| Installation | Attachment underneath the appliance, leveling via adjustable legs |
| Maintenance | Clean the drawer with a soft cloth |
| Repairability | Spare parts available through GE service |
Frequently Asked Questions - Profile SPSD157JMV GE
User questions about Profile SPSD157JMV GE
0 question about this device. Answer the ones you know or ask your own.
Ask a new question about this device
Download the instructions for your Washing Machine/Dryer in PDF format for free! Find your manual Profile SPSD157JMV - GE and take your electronic device back in hand. On this page are published all the documents necessary for the use of your device. Profile SPSD157JMV by GE.
USER MANUAL Profile SPSD157JMV GE
Installation Instructions
Pedestal Models
White Pedestal SPSD157JWW
Metallic Gold SPSD157JMG
Metallic Vermillion SPSD157JMV
For Washer Model: WPDH8800
For Dryer Models: DPVH880EJ, DPVH8800GJ
Read these instructions completely and carefully.
- IMPORTANT — Save these instructions for local inspector's use.
- IMPORTANT — Observe all governing codes and ordinances.
- Note to Consumer – Keep these instructions with your Owner's Manual for future reference.
• Completion time – 1 to 2 hours - Proper installation is the responsibility of the installer.
- Product failure due to improper installation is not covered under the Warranty.
A CAUTION — Due to the size and weight of these products, and to reduce the risk of personal injury or damage to the product, TWO PEOPLE ARE REQUIRED FOR PROPER INSTALLATION.
- See washer and dryer installation instructions for additional installation requirements and guidelines.
KIT CONTENTS
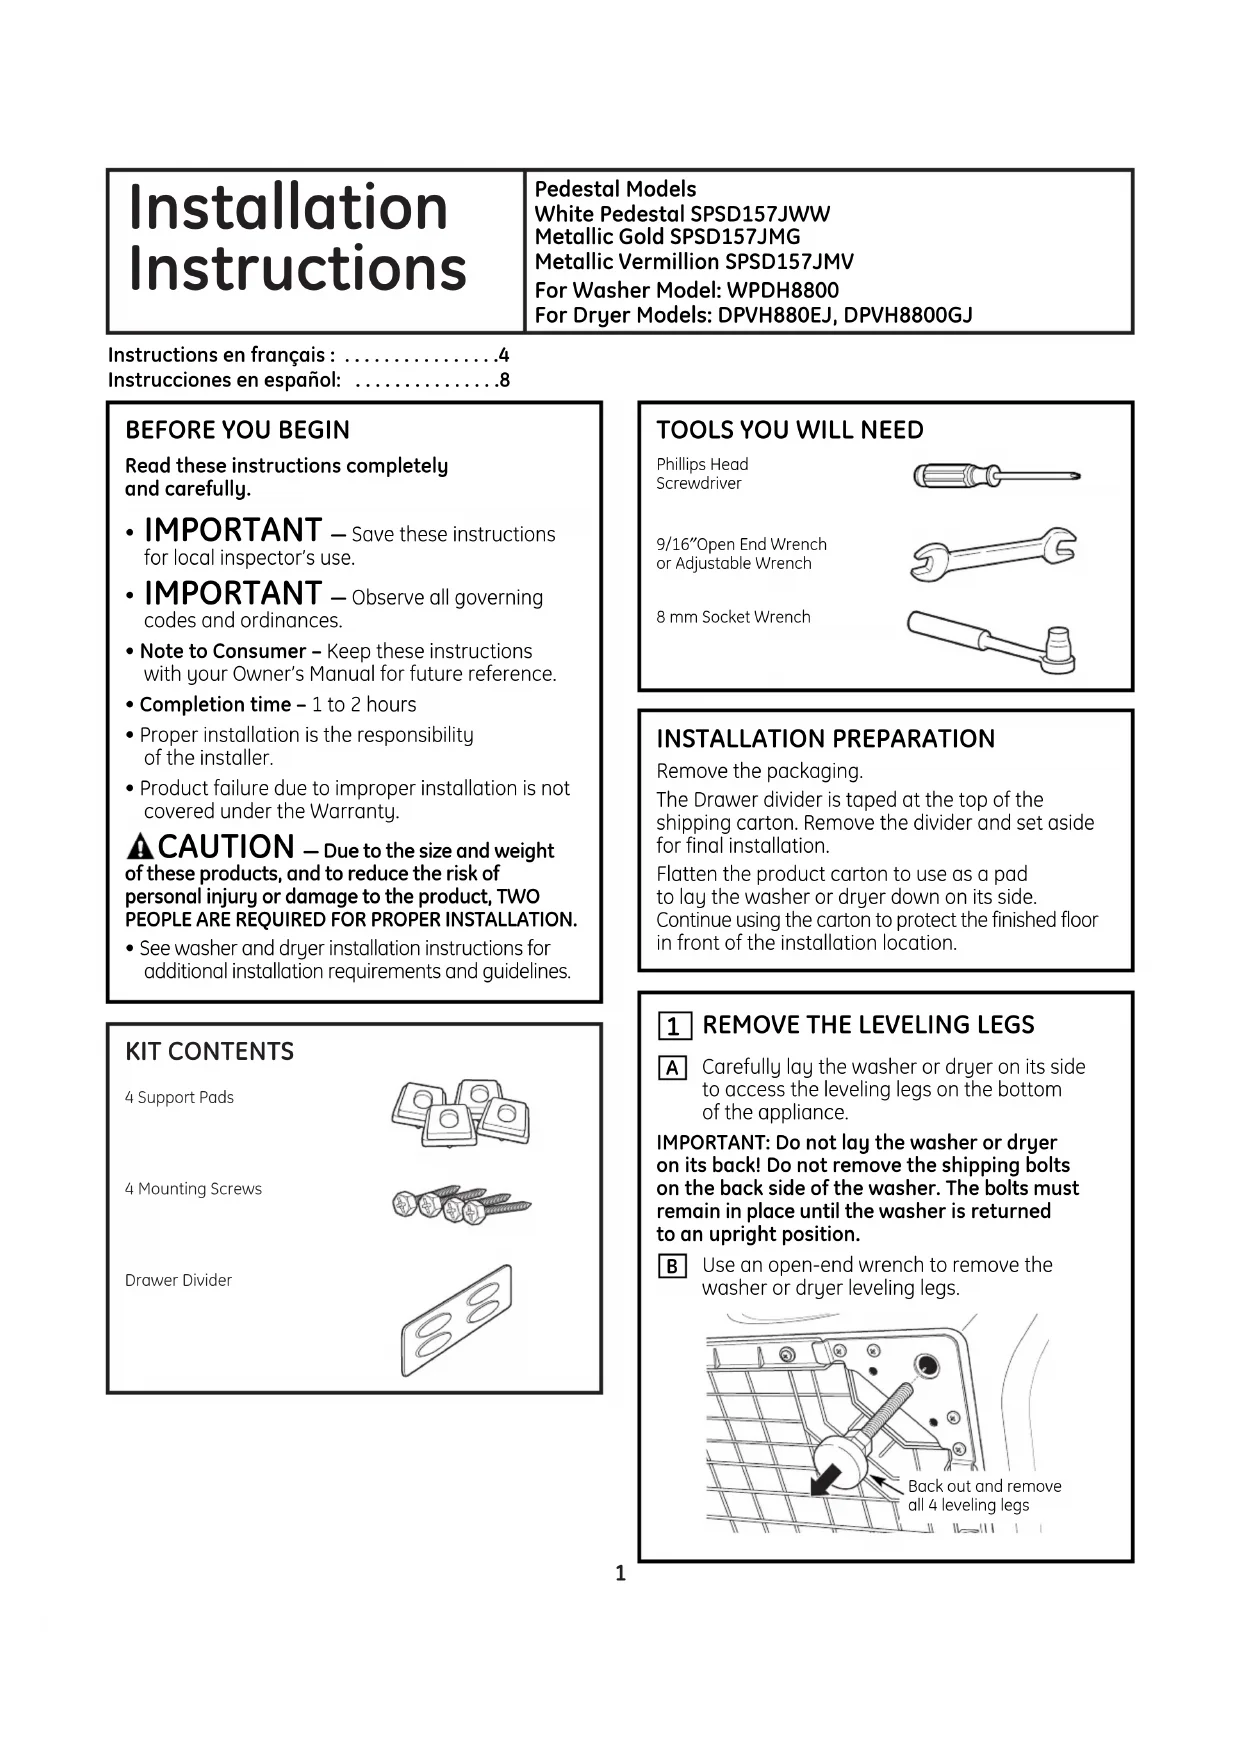
4 Support Pads
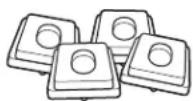
4 Mounting Screws
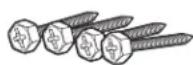
Drawer Divider
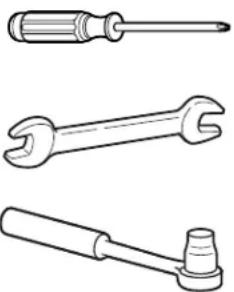
TOOLS YOU WILL NEED
Phillips Head Screwdriver
9/16"Open End Wrench or Adjustable Wrench
8 mm Socket Wrench
natural_image
Line drawings of three different wrenches (screwdriver, wrench, and base) without any text or symbolsINSTALLATION PREPARATION
Remove the packaging.
The Drawer divider is taped at the top of the shipping carton. Remove the divider and set aside for final installation.
Flatten the product carton to use as a pad to lay the washer or dryer down on its side. Continue using the carton to protect the finished floor in front of the installation location.
1 REMOVE THE LEVELING LEGS
A Carefully lay the washer or dryer on its side to access the leveling legs on the bottom of the appliance.
IMPORTANT: Do not lay the washer or dryer on its back! Do not remove the shipping bolts on the back side of the washer. The bolts must remain in place until the washer is returned to an upright position.
B Use an open-end wrench to remove the washer or dryer leveling legs.
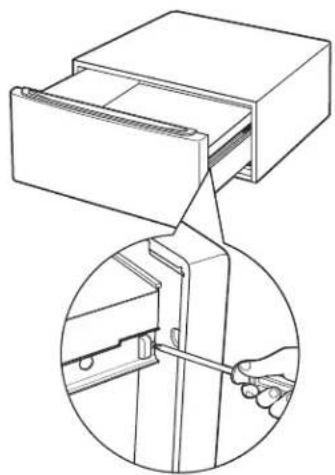
2 PREPARE THE PEDESTAL
A Pull the drawer out as far as it will go.
B Remove screws from drawer slides. Slide drawer out of the base and set aside.
natural_image
Technical line drawing of a mechanical device with an inset showing a hand using a tool to adjust or install a component (no text or symbols present)FOR DRYERS ONLY:
C Locate the 4 support pads from the parts package. Each pad has 2 protrusions that fit into the holes on top of the pedestal. Press the rubber pads into each set of corner holes on the top of the pedestal as shown.
natural_image
Technical line drawing of a mechanical assembly with mounting holes and a circular component (no text or symbols)NOTE: The support pads should be installed on the dryer only. DO NOT INSTALL THESE PADS ON THE WASHER PEDESTAL.
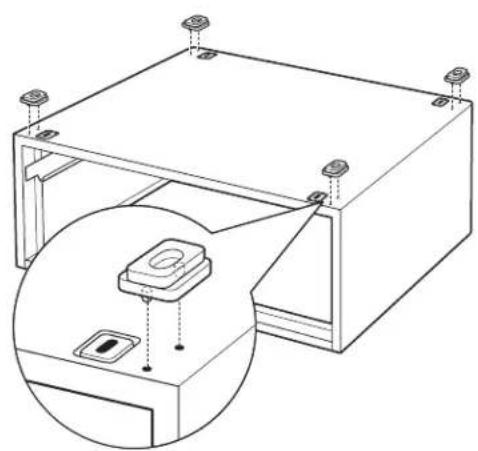
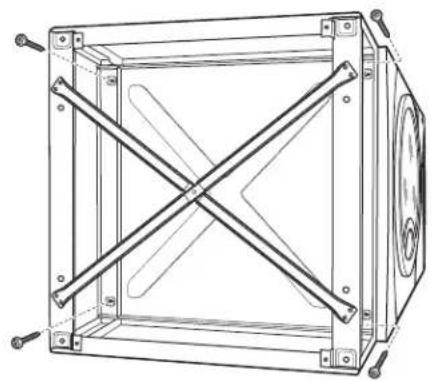
3 INSTALL THE PEDESTAL TO THE WASHER OR DRYER
A Place the pedestal against the bottom of the unit. Check to be sure the drawer front is at the front of the unit.
B Align the holes in the pedestal with the holes in the bottom of the unit. Use a Phillips screwdriver to install the 4 screws through the pedestal and into the unit—do not tighten.
natural_image
Technical line drawing of a mechanical enclosure with diagonal braces and mounting holes (no text or symbols)C Slide the pedestal toward the unit, until it is aligned front to back. Use an 8 mm socket wrench to securely tighten the screws.
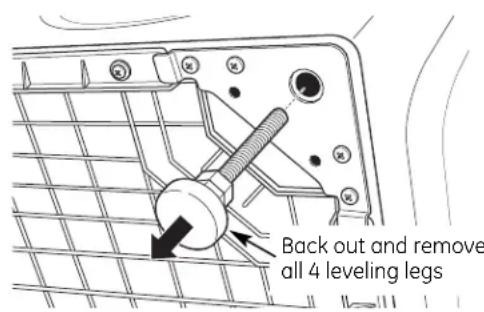
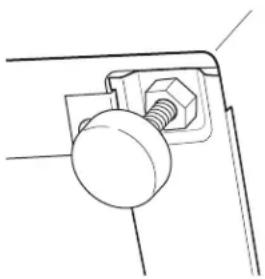
4 LEVEL THE WASHER OR DRYER
A Locate the 4 legs from the parts package and install.
B Stand the washer or dryer upright. Move it close to its final location.
C Make sure that the washer or dryer is level by placing a spirit level on top. Check side to side and front to back.
D Use an open ended wrench to adjust the legs in and out. Tighten the lock nut against the bottom of the pedestal.
natural_image
Technical line drawing of a mechanical bracket with a bolt and nut (no text or symbols)NOTE:
- To minimize vibration, the locking nuts must be tight.
- To reduce vibration, ensure that all four rubber leveling legs are firmly touching the floor. Push and pull on the back right and then the back left of your washer or dryer.
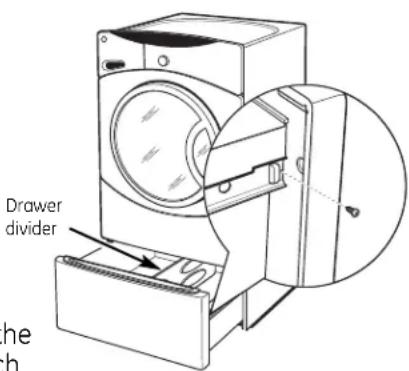
5 REINSTALL THE DRAWER
A Check to be sure the slides are closed.
B Slide the drawer into the opening. Align the drawer supports to the slides on each side.
C Reinstall the original screws into each drawer slide. Tighten both screws.
D Open the drawer fully. Slide drawer divider into slots in the center of the drawer. The drawer should slide smoothly when you push it closed.
6 REMOVE SHIPPING SCREWS
Remove the 4 shipping screws on the back side of the unit.
7 FINALIZE THE INSTALLATION
Refer to the washer or dryer Installation Instructions to complete the installation.
natural_image
Line drawings of three different wrenches (screwdriver, wrench, and gasket) without any text or symbolsPRÉPARATION DE L'INSTALLATION
Retirez l'emballage.
natural_image
Technical line drawing of a mechanical device with an inset showing a hand holding a tool (no text or symbols present)POUR LES SÉCHEUSES SEULEMENT :
natural_image
Technical line drawing of a mechanical assembly with mounting holes and a circular inset showing a component (no text or symbols)natural_image
Technical line drawing of a mechanical enclosure with diagonal braces and mounting holes (no text or symbols)natural_image
Technical line drawing of a mechanical component with a bolt and nut (no text or symbols)5 RÉINSTALLEZ LE TIROIR
natural_image
Line drawings of three different wrenches (screwdriver, wrench, and screwdriver) with no text or symbolsnatural_image
Technical line drawing of a mechanical component with an inset showing a hand holding a tool (no text or symbols present)natural_image
Technical line drawing of a mechanical assembly with mounting holes and a circular inset showing a component (no text or symbols)natural_image
Technical line drawing of a mechanical enclosure with mounting holes and internal beams (no text or symbols)natural_image
Technical line drawing of a mechanical assembly with a bolt and nut (no text or symbols)5 VUELVA A INSTALAR EL CAJÓN
natural_image
Technical line drawing of a washing machine with a circular component inserted (no text or symbols)6 RETIRE LOS TORNILLOS DE ENVÍO
- Installation Instructions
- KIT CONTENTS
- TOOLS YOU WILL NEED
- INSTALLATION PREPARATION
- REMOVE THE LEVELING LEGS
- PREPARE THE PEDESTAL
- FOR DRYERS ONLY:
- INSTALL THE PEDESTAL TO THE WASHER OR DRYER
- LEVEL THE WASHER OR DRYER
- NOTE:
- REINSTALL THE DRAWER
- REMOVE SHIPPING SCREWS
- FINALIZE THE INSTALLATION
- PRÉPARATION DE L'INSTALLATION
- POUR LES SÉCHEUSES SEULEMENT :
- RÉINSTALLEZ LE TIROIR
- VUELVA A INSTALAR EL CAJÓN
- RETIRE LOS TORNILLOS DE ENVÍO
Brand : GE
Model : Profile SPSD157JMV
Category : Washing Machine/Dryer