
SoniCare AirFloss HX8230 - Interdental brush PHILIPS - Free user manual and instructions
Find the device manual for free SoniCare AirFloss HX8230 PHILIPS in PDF.
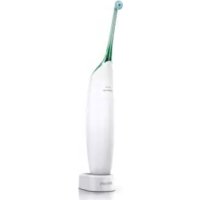



| Product type | Interdental brush AirFloss |
| Brand | Philips |
| Model | SoniCare AirFloss HX8230 |
| Power supply | Mains charger (non-replaceable cord) |
| Battery | Built-in rechargeable |
| Battery life | Up to 2 weeks (14 uses) after full charge |
| Charging time | 24 hours for first use |
| Main function | Interdental cleaning with air and micro-droplet liquid jet |
| Usage modes | Single jet or continuous (1 jet/second by holding the button) |
| Automatic shut-off | After 4 minutes of inactivity |
| Nozzle | Removable, replace every 6 months or if it becomes detached |
| Cleaning the nozzle | Rinse with water after each use |
| Cleaning the reservoir | Rinse with water, possible with a cotton swab |
| Cleaning the handle | Wipe with a damp cloth |
| Cleaning the charger | Unplug, then wipe with a damp cloth |
| Safety | Do not immerse charger; do not use outdoors or near heated surfaces |
| Specific safety | Can be used by children over 8 years old under supervision; consult a dentist if bleeding persists |
| Spare parts | AirFloss nozzle only |
| Repairability | No user-serviceable parts; contact consumer service in case of damage |
| Warranty | International warranty (excluding nozzle and damage due to misuse) |
Frequently Asked Questions - SoniCare AirFloss HX8230 PHILIPS
User questions about SoniCare AirFloss HX8230 PHILIPS
0 question about this device. Answer the ones you know or ask your own.
Ask a new question about this device
Download the instructions for your Interdental brush in PDF format for free! Find your manual SoniCare AirFloss HX8230 - PHILIPS and take your electronic device back in hand. On this page are published all the documents necessary for the use of your device. SoniCare AirFloss HX8230 by PHILIPS.
USER MANUAL SoniCare AirFloss HX8230 PHILIPS
Always here to help you
Register your product and get support at www.philips.com/welcome
Philips Sonicare AirFloss
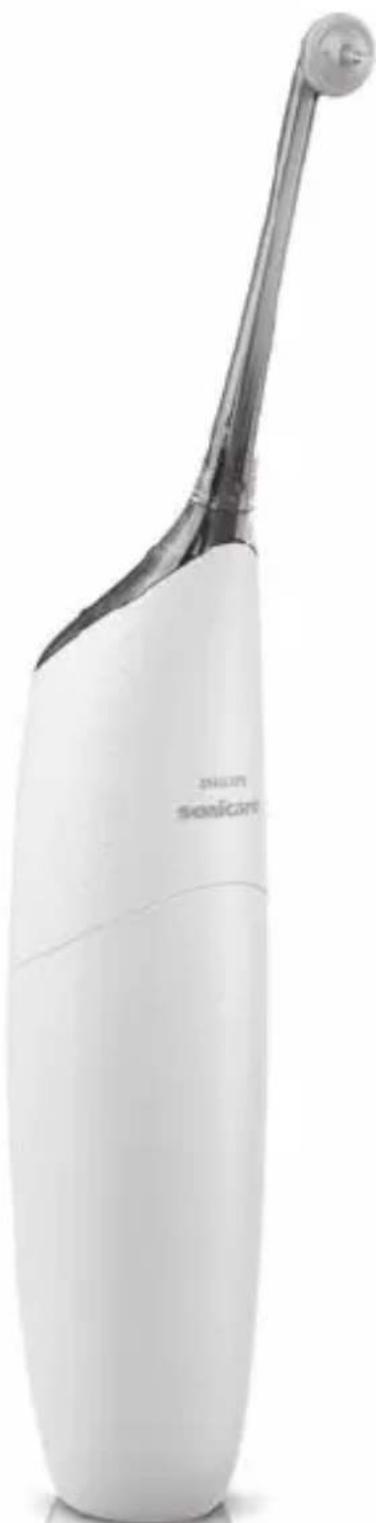
PHILIPS sonicare
ENGLISH 4
FRANÇAIS 15
INDONESIA 26
BAHASA MELAYU 37
PORTUGUÊS DO BRASIL 48
ภาษาไทย 59
TIÊNG VIÊT 67


Introduction
Congratulations on your purchase and welcome to Philips! To fully benefit from the support that Philips offers, register your product at
www.philips.com/welcome.
Use the AirFloss as part of your oral care routine. In addition to brushing, it helps reduce plaque.
Important
Read this user manual carefully before you use the appliance and save it for future reference.
Danger
- Keep the charger away from water. Do not place or store it over or near water contained in a bathtub, washbasin, etc. Do not immerse the charger in water or any other liquid. After cleaning, make sure the charger is completely dry before you connect it to the mains.
Warning
- The mains cord cannot be replaced. If the mains cord is damaged, discard the charger. Always have the charger replaced with one of the original type in order to avoid a hazard.
- If the appliance is damaged in any way (AirFloss nozzle, handle and/or charger), stop using it.
- This appliance contains no serviceable parts. If the appliance is damaged, contact the Consumer Care Centre in your country (see chapter 'Guarantee and support').
- Do not use the charger outdoors or near heated surfaces.
- This appliance can be used by children aged from 8 years and above and by persons with reduced physical, sensory or mental capabilities or lack of experience and knowledge if they have been given supervision or instruction concerning use of the appliance in a safe way and if they understand the hazards involved. Cleaning and user maintenance shall not be made by children unless they are older than 8 and supervised. Keep the appliance and its cord out of reach of children aged less than 8 years.
- Children shall not play with the appliance.
Caution
- If you have had recent oral or gum surgery, suffer from an ongoing dental condition or had extensive dental work in the previous 2 months, consult your dentist before you use this appliance.
- Consult your dentist if excessive bleeding occurs after using this appliance or if bleeding continues to occur after 1 week of use.
- If you have medical concerns, consult your doctor before you use this appliance.
- This Philips appliance complies with the safety standards for electromagnetic devices.
If you have a pacemaker or other implanted device, contact your physician or the manufacturer of the implanted device before use.
- Do not use attachments other than those recommended by the manufacturer.
- Do not exert excessive pressure on the guidance tip of the nozzle.
- To avoid physical injury, do not fill the reservoir with hot water. Do not put foreign objects in the reservoir.
- Only use the AirFloss for its intended purpose as described in this user manual.
- To avoid physical injury, do not direct the spray under the tongue or into the ear, nose, eye, or other sensitive area.
- Do not clean the AirFloss nozzle, the handle, the charger, the water reservoir, or its cover in a dishwasher or microwave.
- To avoid an ingestion hazard, do not put isopropyl alcohol or other cleaning fluids in the reservoir.
- The AirFloss is a personal care device and is not intended for use on multiple patients in a dental practice or institution.
Electromagnetic fields (EMF)
This Philips appliance complies with all standards regarding electromagnetic fields (EMF). If handled properly and according to the instructions in this user manual, the appliance is safe to use based on scientific evidence available today.
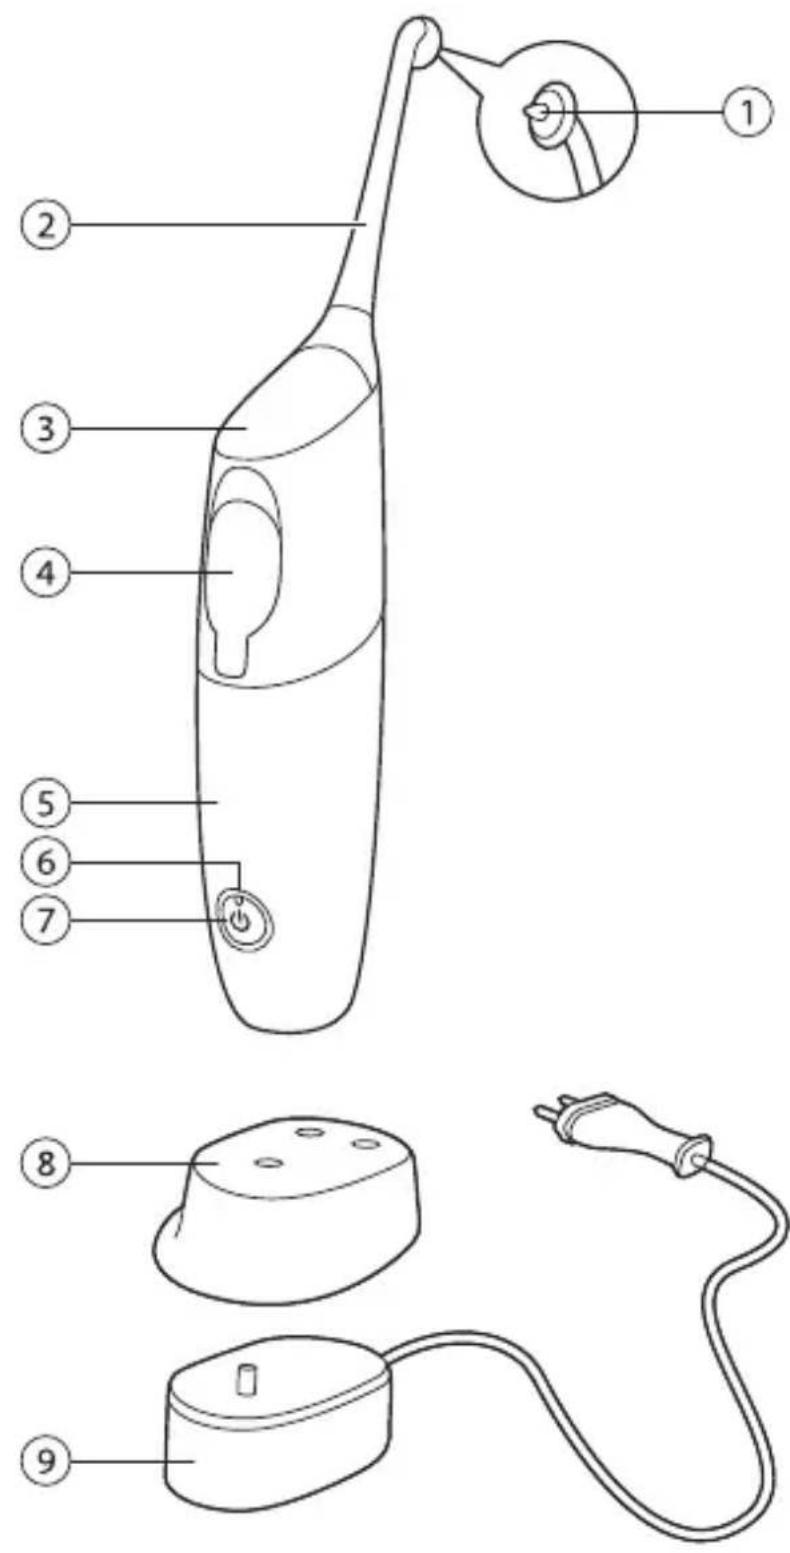
General description (Fig. 1)
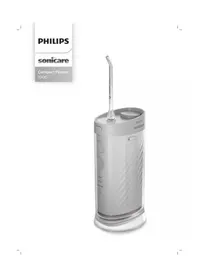
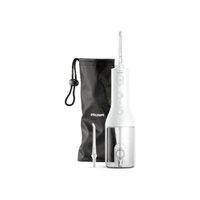
1 Guidance tip 2 AirFloss nozzle 3 Activation button 4 Reservoir and cover 5 Handle 6 Charge indicator 7 Power on/off button 8 Removable nozzle holder (specific types only) 9 Charger
Note: The contents of the box may vary based on the model purchased.
Charging
Charge the AirFloss for 24 hours before first use.
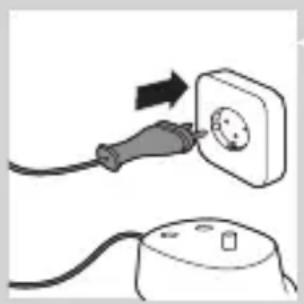
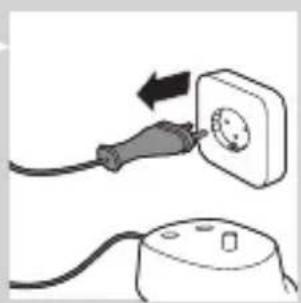
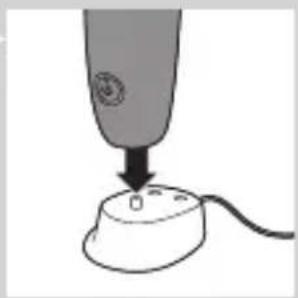
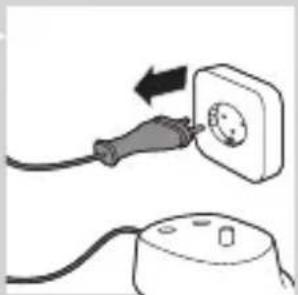
1 Put the plug of the charger in the wall socket.
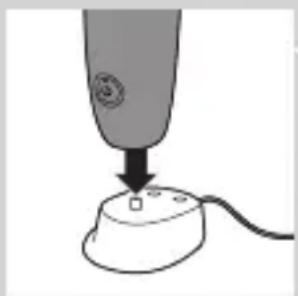
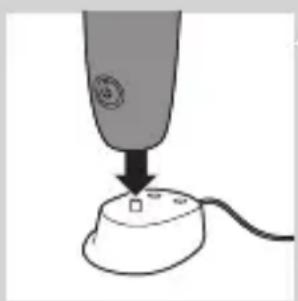
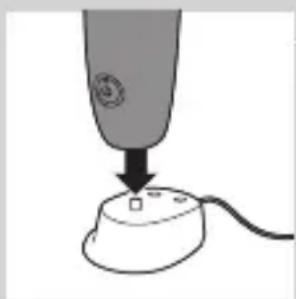
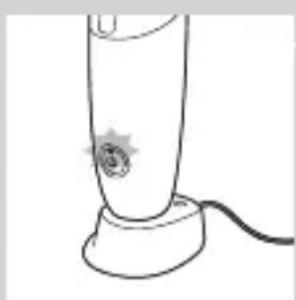
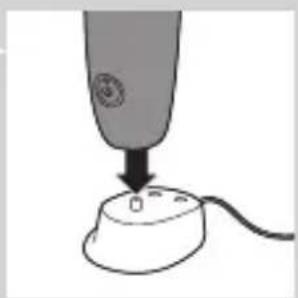
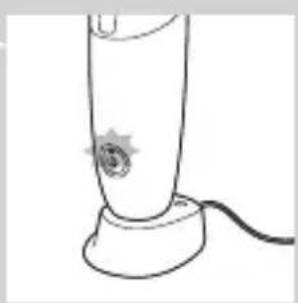
2 Place the handle on the charger.
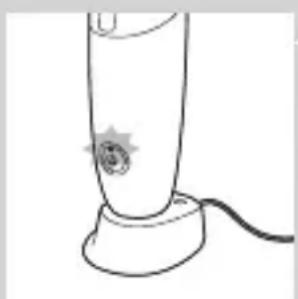
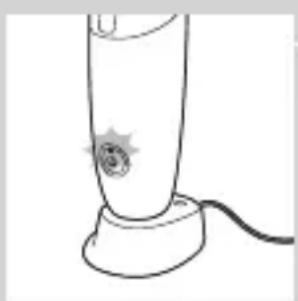
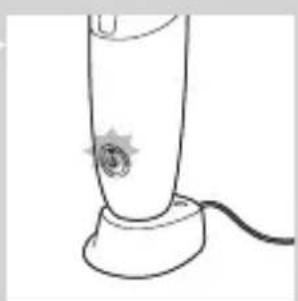
The charge indicator flashes green to indicate that the appliance is charging.
Note: When it is fully charged, the AirFloss has an operating time of up to 2 weeks (or 14 uses).
Note: When the charge indicator flashes yellow, the battery is low and needs to be recharged (fewer than 3 uses left).
Preparing for use
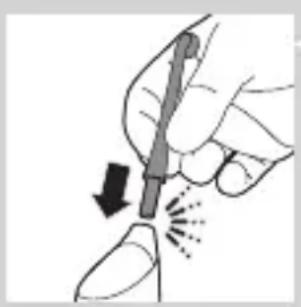
1 Align the nozzle so the tip faces the front of the handle and press the nozzle down onto the handle ('click').
Note: Replace the nozzle every 6 months for optimal results. Also replace the nozzle if it becomes loose or no longer clicks onto the handle.
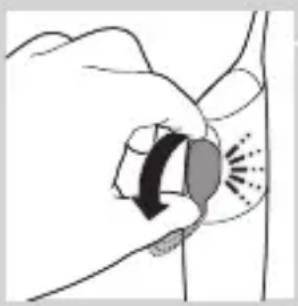
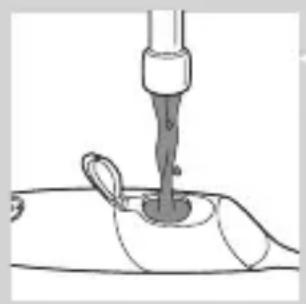
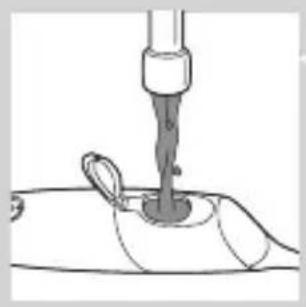
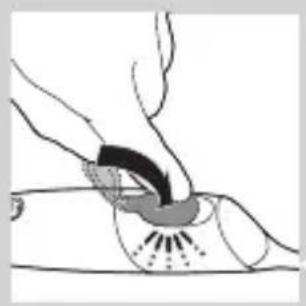
2 Open the cover of the reservoir ('click').
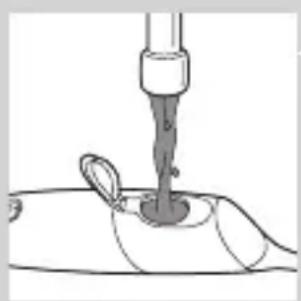
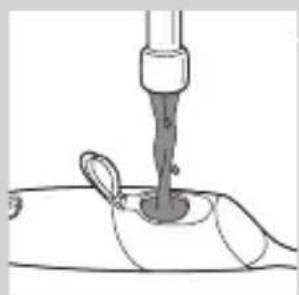
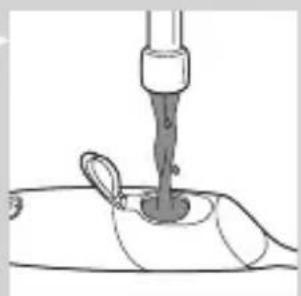
3 Fill the reservoir with mouthwash or water.
Note: To operate effectively, the AirFloss has to contain either mouthwash or water.
Tip: For a fresher experience, use mouthwash instead of water.
Note: Do not use mouthwash that contains isopropyl myristate, as it may damage the appliance.
4 Close the cover of the reservoir ('click').
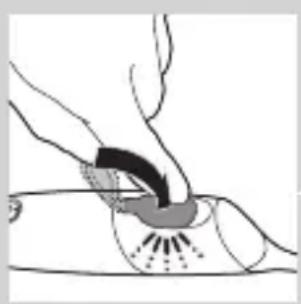
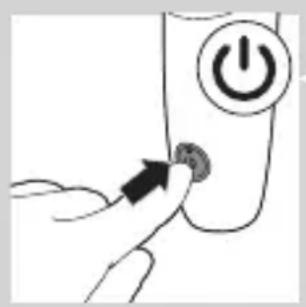
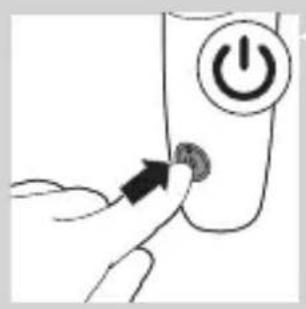
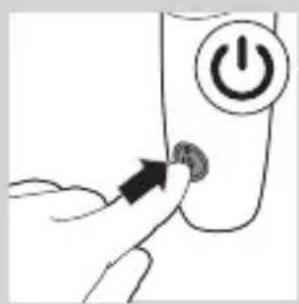
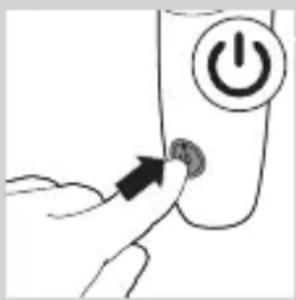
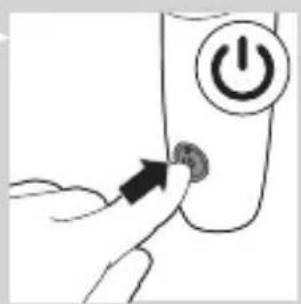
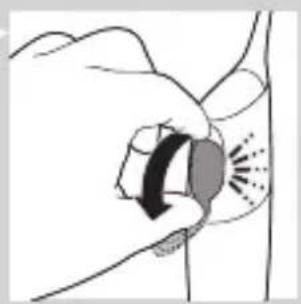
5 Press the on/off button.
The green charge indicator lights up.
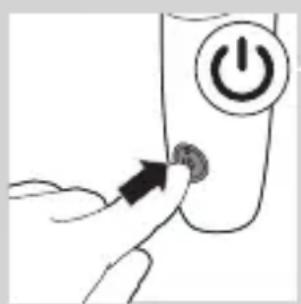
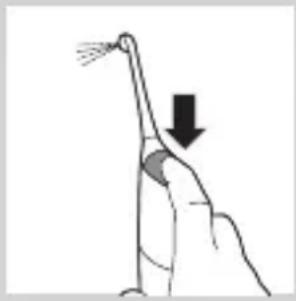
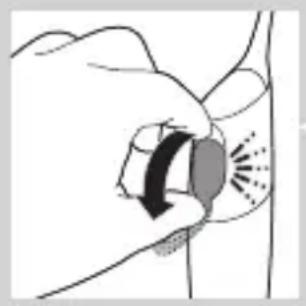
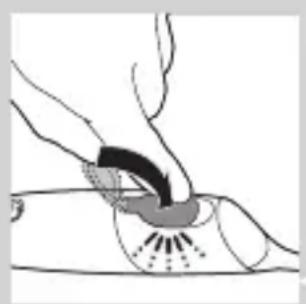
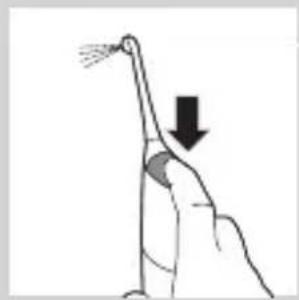
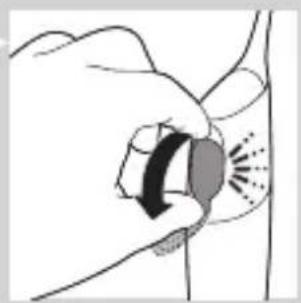
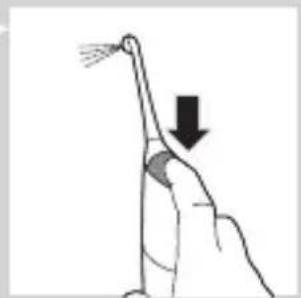
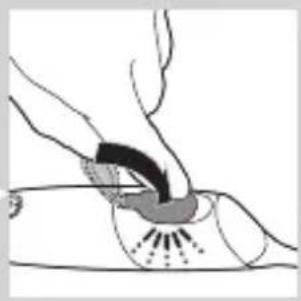
6 Press and hold the activation button until spray comes out of the tip of the nozzle.
Using the appliance
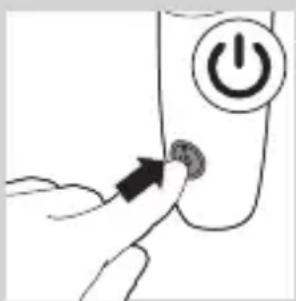
1 Make sure the AirFloss is switched on.
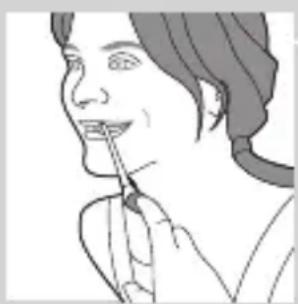
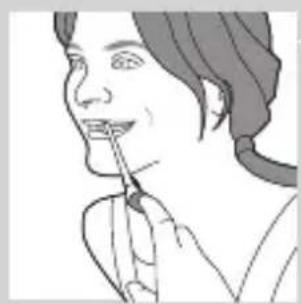
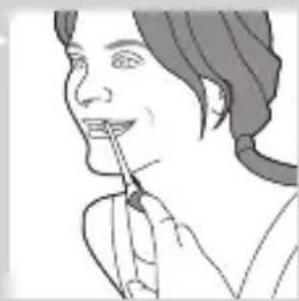
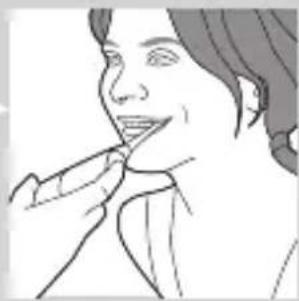
2 Place the tip between the teeth and apply gentle pressure. Slightly close your lips over the nozzle when it is in place, to avoid splashing.
Tip: Use your finger to press the activation button.
Note: The AirFloss is intended to be used on the front/outside surface of the teeth only.
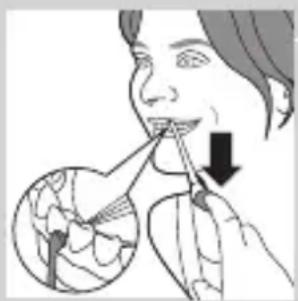
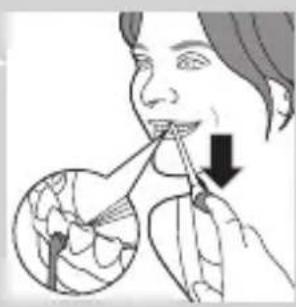
3 Press the activation button to deliver a single burst of air and micro-droplets of mouthwash or water between the teeth. Alternatively, hold the activation button to deliver continuous bursts of mouthwash or water approximately every 1 second.
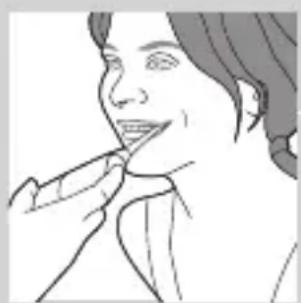
4 Slide the guidance tip along the gum line until you feel it settle between the next two teeth.
5 Continue this procedure for all spaces including behind your back teeth.
6 To switch off the AirFloss, press the on/off button again.
Automatic shut-off function
The automatic shut-off function automatically switches off the AirFloss if it has not been used for 4 minutes.
Cleaning
Do not clean the nozzle, handle or charger in the dishwasher.
Do not use cleaning agents to clean the appliance.
Handle and nozzle
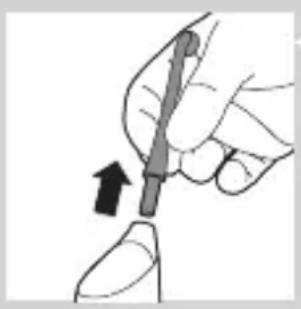
1 Remove the nozzle from the handle. Rinse the nozzle after each use.
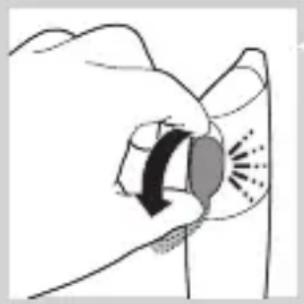
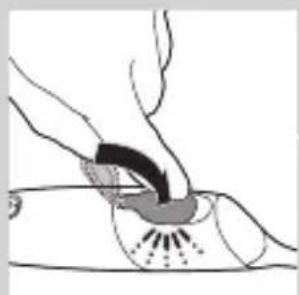
2 Open the reservoir and rinse it under the tap to eliminate residue.
Tip: You can also use a cotton bud to wipe the reservoir.
Note: Do not immerse the handle in water.
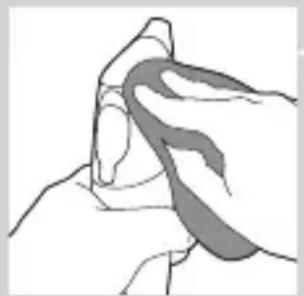
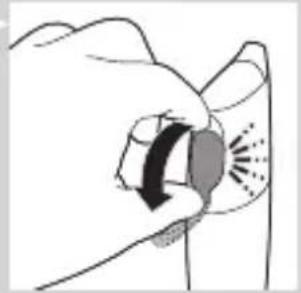
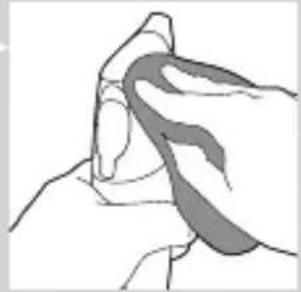
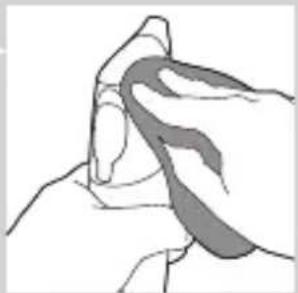
3 Wipe the entire surface of the handle with a damp cloth.
Charger
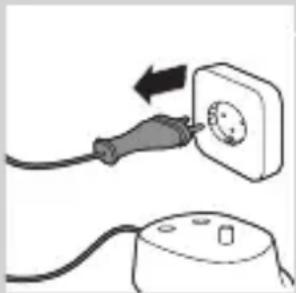
1 Unplug the charger before you clean it.
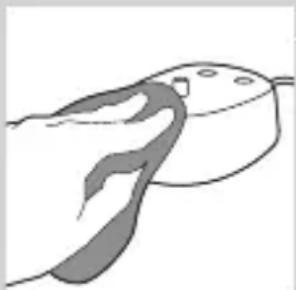
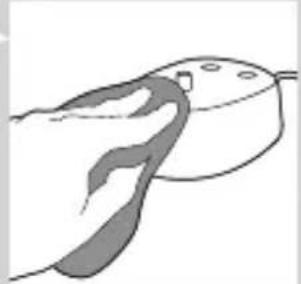
2 Wipe the surface of the charger with a damp cloth.
Storage
If you are not going to use the AirFloss for an extended period of time, follow the steps below.
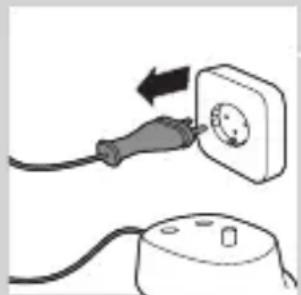
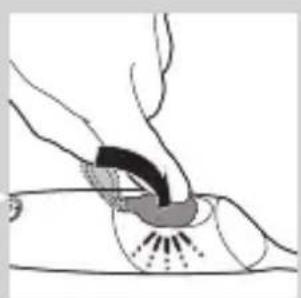
1 Open the cover of the reservoir and empty the reservoir. 2 Press the activation button until no more spray comes out of the nozzle. 3 Unplug the charger. 4 Clean the AirFloss nozzle, handle and charger. 5 Store the AirFloss in a cool, dry place away from direct sunlight.
Environment
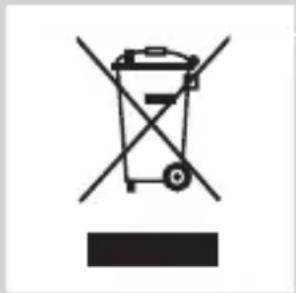
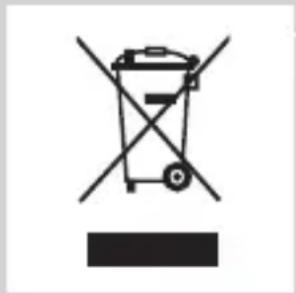
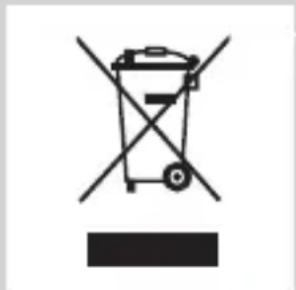
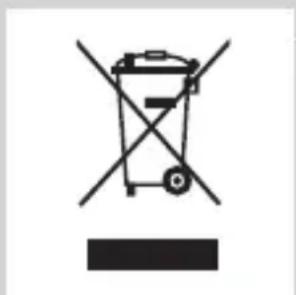
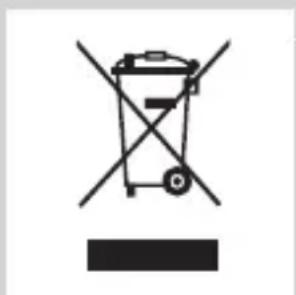
- Do not throw away the appliance with the normal household waste at the end of its life, but hand it in at an official collection point for recycling. By doing this, you help to preserve the environment.
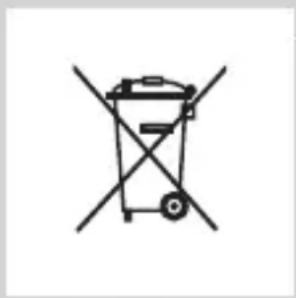
- The built-in rechargeable battery contains substances that may pollute the environment. Always remove the battery before you discard and hand in the appliance at an official collection point. Dispose of the battery at an official collection point for batteries. If you have trouble removing the battery, you can also take the appliance to a Philips service center. The staff of this center will remove the battery for you and will dispose of it in an environmentally safe way.
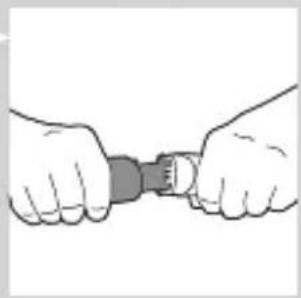
Removing the rechargeable battery
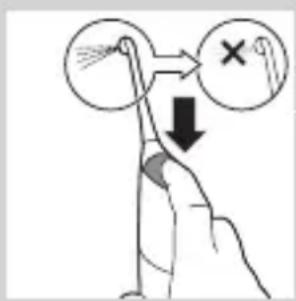
Please note that this process is not reversible.
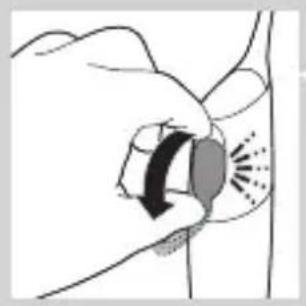
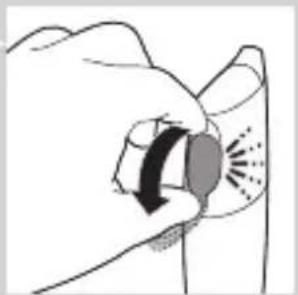
1 To deplete the battery, repeatedly press the activation button until the AirFloss no longer produces any bursts of air.
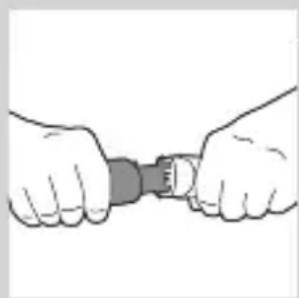
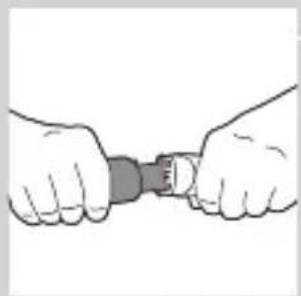
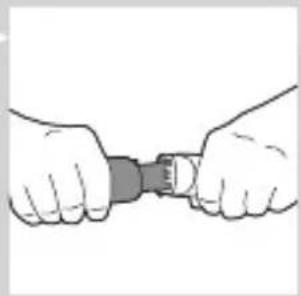
2 Use a screwdriver to pry open the handle.
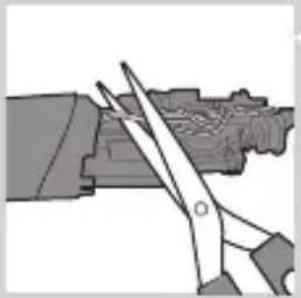
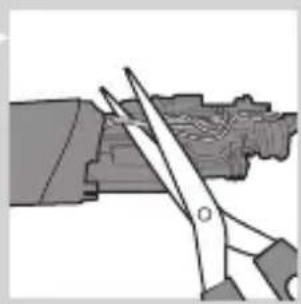
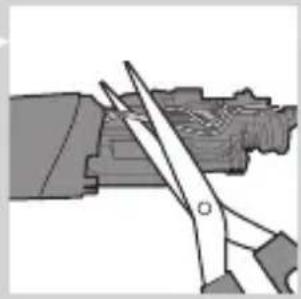
3 Cut the wires and remove the battery from the appliance. Observe basic safety precautions.
Guarantee and support
If you need information or support, please visit www.philips.com/sonicare or read the separate worldwide guarantee leaflet.
Guarantee restrictions
The terms of the international guarantee do not cover the following:
- AirFloss nozzle
- Damage caused by misuse, abuse, neglect, alterations or unauthorised repair
- Normal wear and tear, including chips, scratches, abrasions, discolouration or fading
Introduction
Charge the AirFloss for 24 hours before first use.
1 Plug the charger into a wall outlet.
2 Place the handle on the charger.
Environment
1 Make sure the AirFloss is turned on.
Environment
2 Clean the entire surface of the charger with a damp cloth.
Storage
Environment
Using the device
Environment
Warranty and support
Environment
Using the device
General description (Figure 1)
Warranty and support
Setup
Environmental protection
Using the device
www.philips.com/Sonicare
All rights reserved. PHILIPS and Philips shield are registered trademarks of KPENV.
Airfloss, Sonicare and the Sonicare logo are trademarks of Philips Oral Healthcare, Inc. and/or KPENV.
Protected by U.S. and international patents.
Other patents pending. Reg. U.S. Pat. & Tm. Off.

100% recycled paper
4235.020.6346.1
- ALWAYS HERE TO HELP YOU
- PHILIPS SONICARE AIRFLOSS
- PHILIPS SONICARE
- INTRODUCTION
- WWW.PHILIPS.COM/WELCOME
- IMPORTANT
- DANGER
- WARNING
- CAUTION
- ELECTROMAGNETIC FIELDS (EMF)
- GENERAL DESCRIPTION (FIG. 1)
- CHARGING
- PREPARING FOR USE
- USING THE APPLIANCE
- AUTOMATIC SHUT-OFF FUNCTION
- CLEANING
- HANDLE AND NOZZLE
- CHARGER
- STORAGE
- ENVIRONMENT
- REMOVING THE RECHARGEABLE BATTERY
- GUARANTEE AND SUPPORT
- GUARANTEE RESTRICTIONS
- USING THE DEVICE
- WARRANTY AND SUPPORT
- GENERAL DESCRIPTION (FIGURE 1)
- SETUP
- ENVIRONMENTAL PROTECTION
Brand : PHILIPS
Model : SoniCare AirFloss HX8230
Category : Interdental brush