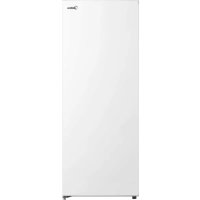
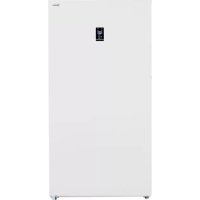
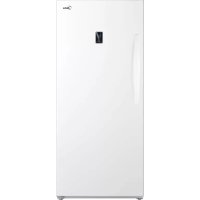
MU53DSWBR1RCM - Freezer MIDEA - Free user manual and instructions
Find the device manual for free MU53DSWBR1RCM MIDEA in PDF.
Download the instructions for your Freezer in PDF format for free! Find your manual MU53DSWBR1RCM - MIDEA and take your electronic device back in hand. On this page are published all the documents necessary for the use of your device. MU53DSWBR1RCM by MIDEA.
USER MANUAL MU53DSWBR1RCM MIDEA
This symbol indicates that dangerous voltage constituting a risk of electric shock is present within your freezer. This symbol indicates that there are important operating and maintenance instructions in the literature accompanying your freezer.4 WARNING Electric Shock Hazard Failure to follow these instructions can result in electric shock, fire, or death. 1 WARNING–Keep ventilation openings, in both your freezer and the built-in structure, clear of obstruction. 2 WARNING–Do not touch the interior of your freezer with wet hands. This could result in frostbite. 3 WARNING–Do not use mechanical devices or other means to accelerate the defrosting process, other than those recommended by the manufacturer. 4 WARNING–Do not damage the refrigerant circuit. 5 WARNING–Do not damage the refrigerant tubing when handling, moving, or using your freezer. 6 WARNING–DANGER—Never allow children to play with, operate, or crawl inside your freezer. Risk of child entrapment. Before you throw away your old freezer:
- Leave the shelves in place so that children may not easily climb inside. 7 Unplug your freezer before carrying out user maintenance on it. 8 If a component part is damaged, it must be replaced by the manufacturer, its service agent, or similar qualified persons in order to avoid a hazard. 9 Follow local regulations regarding disposal of your freezer due to flammable refrigerant and gas. All refrigeration products contain refrigerants, which under the guidelines of federal law must be removed before disposal. It is the consumer's responsibility to comply with federal and local regulations when disposing of this product. 10 Your freezer is intended to be used in household and similar environments. 11 Do not store or use gasoline or any flammable liquids inside or in the vicinity of your freezer. 12 WARNING - Do not use mechanical devices or other means to accelerate the defrosting process, other than those recommended by the manufacturer. Grounding requirement Your freezer must be grounded. Your freezer is equipped with a cord having a grounding wire with a grounding plug. The plug must be inserted into an outlet that is correctly installed and grounded. Incorrect use of the grounding plug can result in a risk of electric shock. Consult a qualified electrician or service person if the grounding instructions are not completely understood, or if doubt exists as to whether your freezer is correctly grounded.5 Features Package contents
- 5.3 cubic foot upright freezer
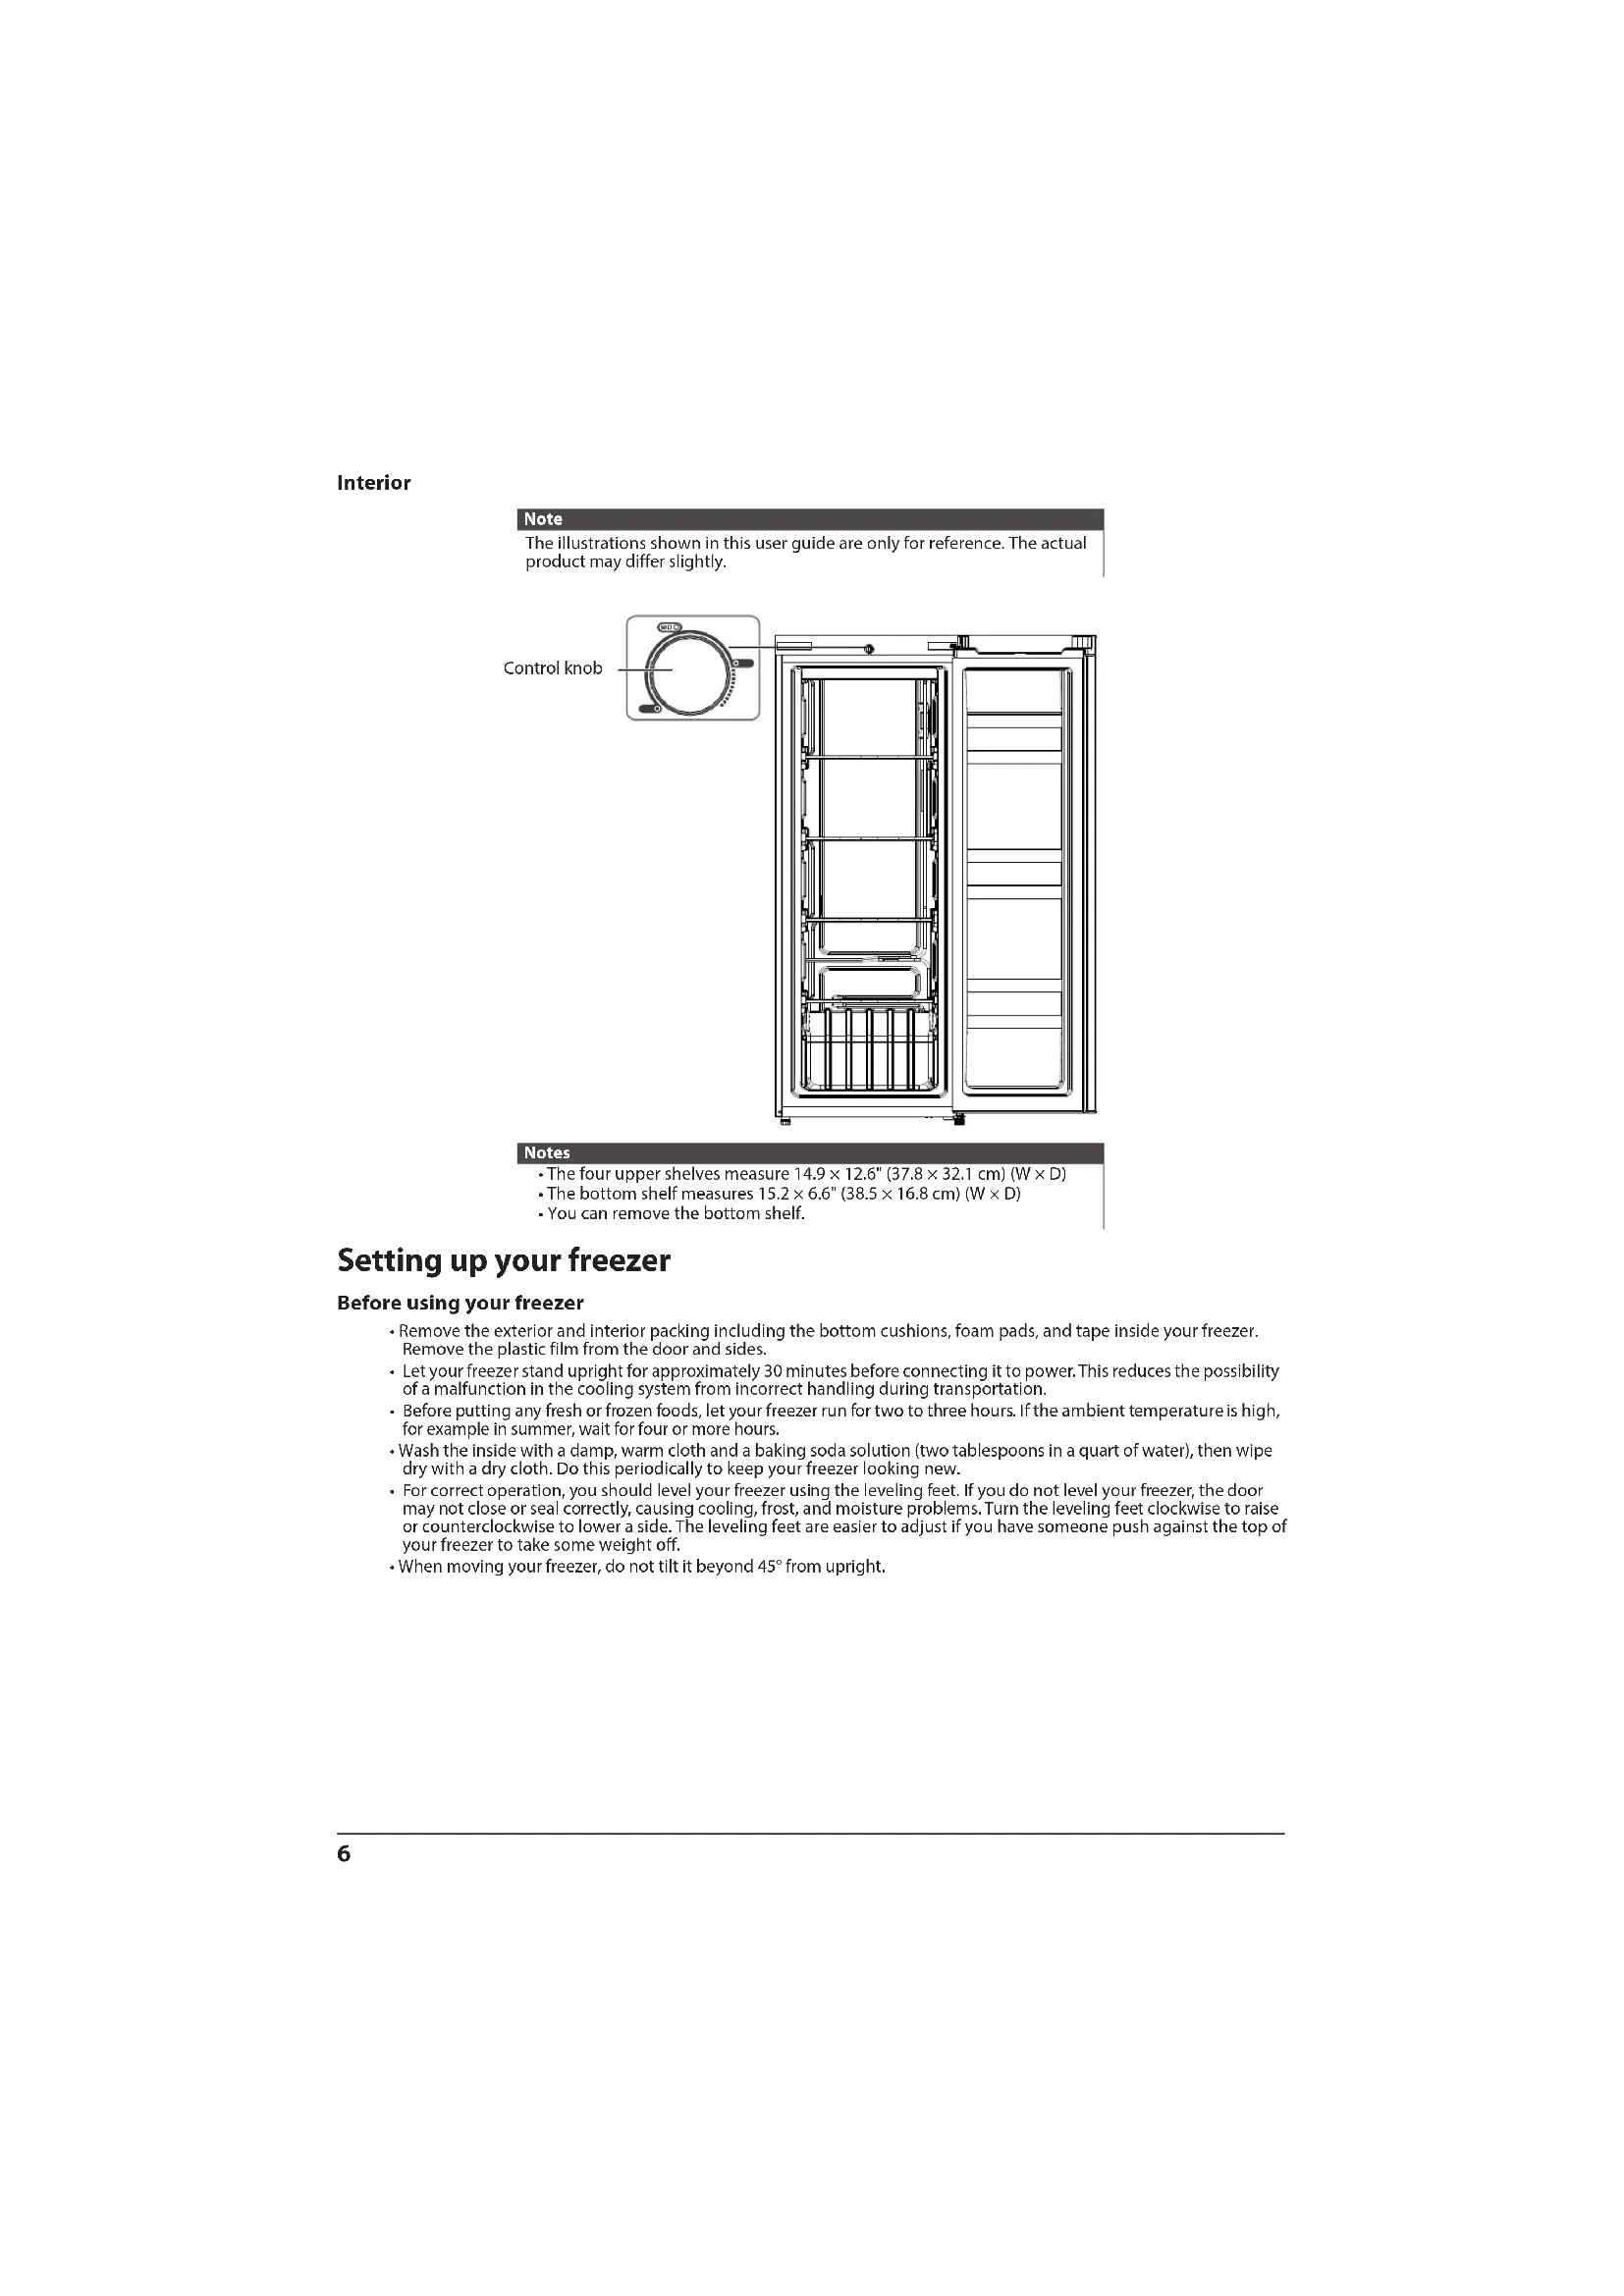
- User Guide Dimensions 21.5" (54.5 cm) 35.9" (91.1 cm) 36.7" (93.1 cm) 19.2" (48.7 cm) 135° 21.7" (55 cm) 55.9" (142 cm) Top of Freezer6 Interior Setting up your freezer Before using your freezer
- Remove the exterior and interior packing including the bottom cushions, foam pads, and tape inside your freezer. Remove the plastic film from the door and sides.
- Let your freezer stand upright for approximately 30 minutes before connecting it to power. This reduces the possibility of a malfunction in the cooling system from incorrect handling during transportation.
- Before putting any fresh or frozen foods, let your freezer run for two to three hours. If the ambient temperature is high, for example in summer, wait for four or more hours.
- Wash the inside with a damp, warm cloth and a baking soda solution (two tablespoons in a quart of water), then wipe dry with a dry cloth. Do this periodically to keep your freezer looking new.
- For correct operation, you should level your freezer using the leveling feet. If you do not level your freezer, the door may not close or seal correctly, causing cooling, frost, and moisture problems. Turn the leveling feet clockwise to raise or counterclockwise to lower a side. The leveling feet are easier to adjust if you have someone push against the top of your freezer to take some weight off.
- When moving your freezer, do not tilt it beyond 45° from upright. Note The illustrations shown in this user guide are only for reference. The actual product may differ slightly. Notes
- The four upper shelves measure 14.9 × 12.6" (37.8 × 32.1 cm) (W × D)
- The bottom shelf measures 15.2 × 6.6" (38.5 × 16.8 cm) (W × D)
- You can remove the bottom shelf. Control knob7 Finding a suitable location
- Place your freezer on a floor that is strong enough to support your freezer when it is fully loaded.
- Do not install your freezer on carpeting or a rug.
- Your freezer is designed to be free standing and should not be recessed or built-in.
- If you use your freezer in a garage, make sure that the ambient temperature is between 5°F and 190°
- Allow 3.9 inches (20 cm) of space between the sides of your freezer and the surrounding walls, 3.9 inches (10 cm) between the back of your freezer and the wall, and 11.8 inches (30 cm) between the top of your freezer and the ceiling. This allows for correct air ventilation. Adjust the feet to keep your freezer level.
- If you locate your freezer next to a fixed wall, allow sufficient space on the hinge side for the door to swing open.
- Position your freezer away from direct sunlight and sources of heat, such as a stove, heater, or radiator. Direct sunlight may affect the acrylic coating and heat sources may increase electrical consumption. Extremely cold temperatures may also prevent your freezer from performing correctly.
- Avoid locating your freezer in moist areas. 11.8" (30 cm) 3.9" (10 cm) 3.9" (10 cm) Front view Side view 3.9" (10 cm)8 Leveling your freezer
- Leveling your freezer is important. If you do not level your freezer during installation, the doors may not close or seal correctly which can cause cooling, frost, or moisture problems.
- To level your freezer, rotate the leveling feet clockwise (to raise) your freezer or counter-clockwise (to lower). Note To make it easier to adjust the feet, have someone push against the top of your freezer to tilt it slightly. Lower Raise9 Reversing the freezer door You will need the following tools to reverse the freezer door: 1 Unplug your freezer. 2 Remove the hinge cover, then remove the top hinge screws and hinge from your freezer. Remove the pin from the top edge of the door, then remove the hole cover from the other side of the freezer. Warnings
- Unplug your freezer before you reverse the door. Failure to unplug your freezer may result in serious injury or death from electrical shock.
- To avoid personal injury and property damage, get another person to help you reverse the door. Flat-blade screwdriver Phillips screwdriver Putty knife 5/16" socket wrench Tape Hole cover Top hinge Hinge cover10 3 While one person tilts your freezer backwards, remove the bottom hinge screws and hinge and the two leveling feet. Install the bottom hinge and leveling feet on the other side. 4 Remove the door stopper, then install it on the other side. 5 Align the door bottom so that the pin on the hinge slides into the hole in the door bottom. Tip You can lay your freeze flat on the floor to make removing and installing the bottom hinge easier. If you do lay it flat, when you return it to the upright position, wait two hours before you plug it in. Bottom hinge and screws Leveling foot Door stopper11 6 Align the hinge with the screw holes on the door and the hole in the top edge of the door. Slide the pin through the hole in the hinge and into the hole on the top edge of the door. Use the screws to attach the hinge to your freezer. Place the hole cover over the hinge opening on the other side of the door. Hinge Pin12 Providing the correct power source Check your local power source. Your freezer requires a 115V, 60Hz power supply. Using your freezer The storage life of frozen foods varies. You should use the food before the recommended storage time expires. Place frozen food into your freezer as quickly as possible after purchase. If there are instructions on the packaging, carefully follow these instructions regarding storage times. Prepackaged, commercially-frozen food should be stored in accordance with the frozen food manufacturer's instructions for a three-star frozen food storage compartment or home freezer. Shelves are provided for the organization of odd-shaped items. 1 Plug in your freezer. Wait for 30 minutes, then open the freezer door to determine if your freezer is working correctly. When your freezer is plugged into a power outlet, it runs continuously. 2 Wait two to four hours before putting food into your freezer. If the room temperature is high, wait four or more hours. 3 Turn the Control knob to adjust the temperature. Your freezer has three marked temperature settings:
- MAX” -7.6°F ~ -11.2°F (-22°C ~ -24°C) You can set the temperature to one of the setting positions or to a setting position between the marked settings. Warnings Make sure that:
- The power outlet accepts a 3-prong grounding plug. The third prong on the power cord plug grounds your freezer to minimize the possibility of electric shock. Do not modify the power plug.
- You do NOT plug anything else into the same power outlet as your freezer. You may overload the circuit which can cause a fire.
- You do NOT use an extension cord. If your freezer is too far from th
power outlet, move your freezer or have a electrician install a plug closer to your freezer.
- The power outlet cannot be turned off with a switch or pull string. Note If the power fails, food in your freezer will stay frozen for several hours, even in summer. During a power failure, do not open the door more than you have to and do not add new food. Notes
- You may need to adjust the temperature based on the ambient room temperature. If the room temperature is high, (for example, in summer) lower the freezer temperature. If the room temperature is low, (for example, in winter) raise the freezer temperature.
- You may need to adjust the temperature based on how much food is in your freezer.
- If your freezer is unplugged or loses power, you must wait three to five minutes before restarting it. Your freezer will not start if you attempt to restart it sooner.
- If the power fails, unplug your freezer, then wait until the power is back to normal before you plug it in.
- Large amounts of food lower the cooling efficiency of your freezer.
- Do not put bottled food or drinks in your freezer. 3-prong outlet Outlet cover 3-prong plug Grounding lead Grounding adapter Outlet cover Screw Outlet Using a 3-prong plug and outlet Using a grounding adapter13 Cleaning your freezer Your freezer is designed for year-round use with only minimal cleaning and maintenance. We recommend that you do the following every time you clean it to keep your freezer running odor-free and efficiently: 1 Unplug your freezer from the power outlet. 2 Remove all food. 3 Wash the shelves with a mild detergent solution. 4 Wash the inside and outside with a cloth dampened with a non-corrosive, neutral detergent. If you use a detergent, remove the residual detergent with a cloth dampened with clear water. Do not use excessive detergent or water. Too much liquid may damage the electrical insulation. 5 Dry the inside and outside with a soft cloth or towel. 6 Make sure that you keep the door gasket (seal) clean so that the door seals tightly. This helps your freezer run efficiently. Defrosting your freezer 1 Unplug your freezer. 2 Remove all food from your freezer, and place the food into containers that will prevent it from melting. 3 To speed the defrosting, you can:
- Place a fan blowing on its highest speed right at the freezer. The ice will melt faster. After the ice melts, use towe
to wipe up excess water, then use the fan to speed drying.
- Place containers with hot water inside the freezer.
- Use a plastic or wooden ice shovel (like a spatula) to remove thick layers of ice or frost. Do not use a sharp utensil (like a knife) because you may damage your freezer. 4 Use a cloth dampened with water or a mild cleaning solution to clean the inside of your freezer. 5 When you finish defrosting, wipe the inside with a dry towel. 6 Close your freezer, plug it into the power outlet, then put the food back into your freezer. Storing your freezer 1 Unplug your freezer from the power outlet. 2 Remove all food. 3 Clean your freezer. 4 Take off the doors, and leave the shelves in place so that children may not easily climb inside. Moving your freezer 1 Unplug your freezer from the power outlet. 2 Remove all food. 3 Securely tape down all loose items inside your freezer. 4 Tape the door shut. 5 Make sure that your freezer does not tilt more than 45° from the upright position during transportation. Tips on saving energy
- Locate your freezer in the coolest area of the room, away from heat producing appliances or heating ducts and out of direct sunlight.
- Let hot foods cool to room temperature before placing them in your freezer. Overloading your freezer forces the compressor to run longer. Foods that freeze too slowly may lose quality or spoil.
- Wrap foods correctly and wipe containers dry before placing them in your freezer. This cuts down on frost build-up inside your freezer. Caution To prevent damage to the finish, do not use gasoline, benzine, thinner, or other solvents, and do not use abrasive cleaners. Tip To avoid standing water when you defrost, place some towels on the floor in front of your freezer. Caution Use extreme caution with children. Make sure that children cannot access your freezer.14
- Do not line the freezer storage shelves with aluminum foil, wax paper, or paper toweling. Liners interfere with cold air circulation and make your freezer less efficient.
- Organize and label food to reduce door openings and extended searches. Remove as many items as needed at one time, and close the door as soon as possible. Troubleshooting PROBLEM SOLUTION My freezer does not work.
- Make sure that your freezer is securely plugged into a working outlet.
- Make sure that your power source has the correct voltage. Your freezer’s voltage rate is on a label on the back of your freezer.
- Check the house fuse or circuit breaker box and replace the fuse or reset the circuit breaker. The freezer has a bad odor.
- Make sure that all food with a strong odor (like onions) is wrapped or stored in airtight packaging.
- Certain containers and wrapping materials (such as paper, foil
r plastic) can cause odors. If you think this might be the case, try using different containers or a different brand of wrapping materi al.
Check for spoiled food and remove it.
- Clean the inside of your freezer. See Cleaning your freezer on page 13. The freezer door does not close completely.
- Make sure that no food packages are in the way.
- Make sure that the door gasket (seal) is clean. See Cleaning yo
- If the door gasket does not seal, try heating then cooling th
eal. You can use an electric hair dryer to heat the seal.
- Make sure that your freezer is level. See Leveling your freezer on page 8. The freezer door is hard to open.
- When you open the freezer door, warm air rushes inside. When you close the door, the warm air rushes to the condenser which causes a vacuum. This causes the door to be hard to open for about 10 to 15 seconds after closing.
- If the door is hard to open at other times, try rubbing paraffin wax or petroleum jelly along the edges of the entire gasket. Paraffin wax is used for canning and is safe for use around food. The compressor runs for a long time or turns on and off frequently. The compressor runs longer if:
- The room temperature is high.
- You just added a large amount of food. Wait for the food to freeze, then check again.
- You open and close the door frequently.
- The door gasket is dirty. Clean the gasket. See Cleaning your freezer on page 13.
- Your freezer has been disconnected for a period of time. Wait for your freezer to cool (about four hours) before adding food.
- You have the temperature set too low. Set the Control knob to a higher temperature. The light inside the freezer does not turn on.
- Make sure that your freezer is plugged into a working outlet.
- Check to see if the light is damaged. If the light is damaged, have it replaced by a qualified service technician. The freezer makes unusual noises or vibrations.
- Metal parts expand and contract as the temperature changes. This is normal.
- When the refrigerant is circulating throughout the system, your freezer may make noises. This is normal.
- Remove items from the top of your freezer.
- Make sure that your freezer is level. See Leveling your freezer on page 8.
- If your freezer is touching walls, move it away from the walls.
- Make sure that the shelves are installed correctly. The water pan overflows.
- You have too much food in your freezer or stored food contains too much water which results in heavy defrosting.
- The doors are not closed correctly, resulting in increased defrosting.15 The outside of the freezer is hot. Heat dissipation from the condenser may make the outside feel hot. This is normal and happens if:
- The room temperature is high.
- You have too much food in your freezer.
- You open and close the door excessively. Water condenses on the outside of the freezer.
- Condensation on the exterior surface and door seal is normal when the room humidity is high.
- When you open the door, warm, moist outside air meets th
cold dry air inside your freezer. These are normal. Just wipe off the condensation with a clean towel. PROBLEM SOLUTION16 Midea replacement parts shall be used and will be warranted only for the period remaining on the original warranty. 1-866-646 4332. The date on the bill established the warranty period should service be required.MANUEL D'UTILISATEUR