
CAMERABADDON - Surveillance Camera STRONG - Free user manual and instructions
Find the device manual for free CAMERABADDON STRONG in PDF.
| Product type | Wi-Fi surveillance camera |
| Brand | Strong |
| Model | CAMERABADDON |
| Power supply | Rechargeable battery 6000 mAh via USB port (AC adapter 100-240 V) |
| Charging time | Approximately 4 hours |
| LED indicator | Fast flashing red: configuration waiting; Flashing green: network association; Solid green: online; Slow yellow: update; Slow red: fault; Solid white: charging |
| Sensors | Infrared motion sensor (PIR) and brightness detector |
| Audio functions | Built-in microphone |
| Controls | Power button, reset button |
| Pairing | Via Helo by Strong app and base station |
| Installation | Wall mounting with screws (wall plugs not included), recommended height 2-3 meters |
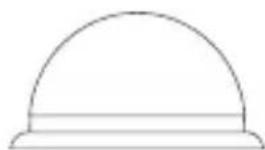
| Package contents | Camera, mounting base, USB cable |
| Reset | Hold reset button for 3 seconds |
| Maintenance | Clean with a soft dry cloth |
| Repairability | Spare parts available through Strong customer service |
| Security | Reset possible if needed, secure pairing via app |
| General information | Manual available for free download in PDF format |
Frequently Asked Questions - CAMERABADDON STRONG
User questions about CAMERABADDON STRONG
0 question about this device. Answer the ones you know or ask your own.
Ask a new question about this device
Download the instructions for your Surveillance Camera in PDF format for free! Find your manual CAMERABADDON - STRONG and take your electronic device back in hand. On this page are published all the documents necessary for the use of your device. CAMERABADDON by STRONG.
USER MANUAL CAMERABADDON STRONG
natural_image
White handheld device with a green lens and 'HELD' branding (no visible text or symbols on the device body)HELO CAMERA-B-ADDON ADD-ON Full HD Security Camera
Quick Start Guide
Thanks for selecting this product. Please kindly add your camera according to the Quick Start Guide and keep the Quick Start Guide properly.
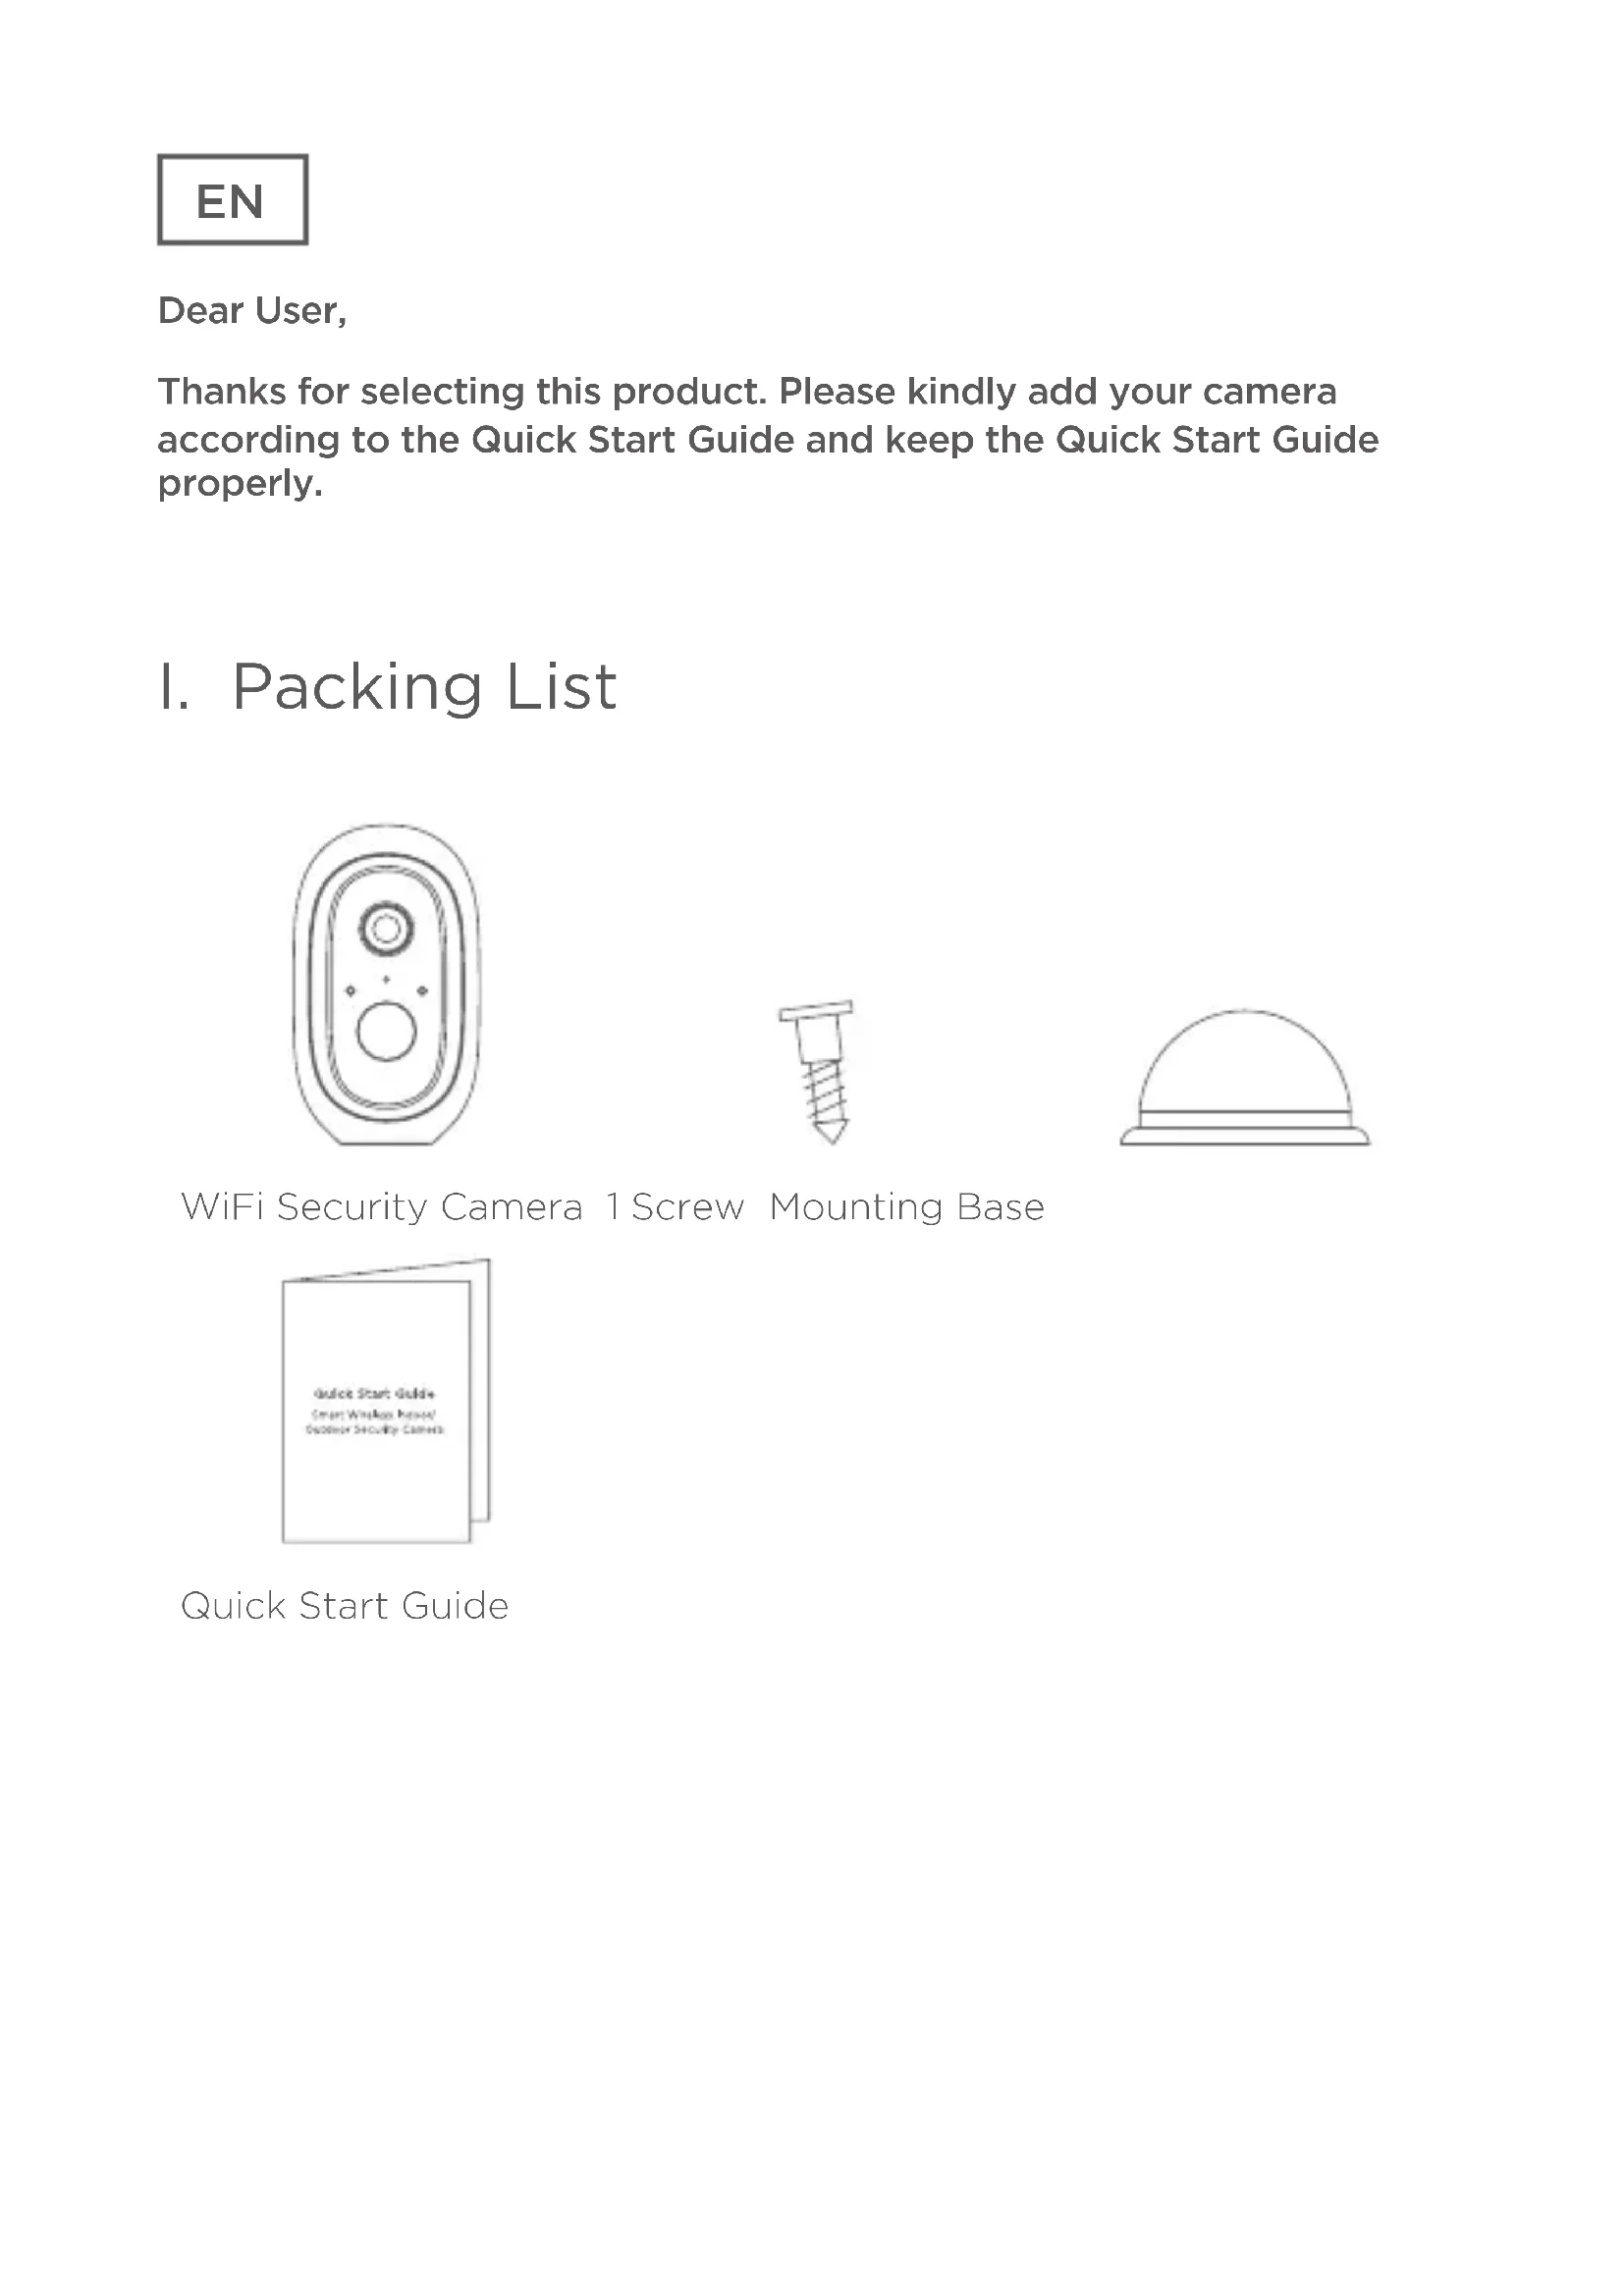
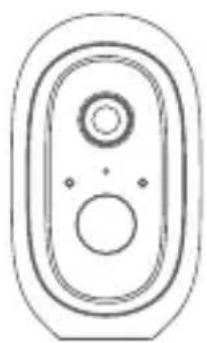
I. Packing List
natural_image
Simple line drawing of a symmetrical oval shape with two central circles and two small dots, no text or symbols present.
natural_image
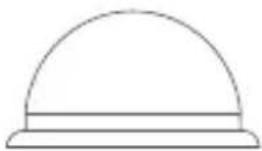
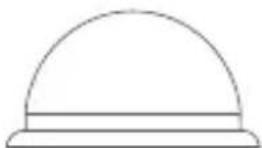
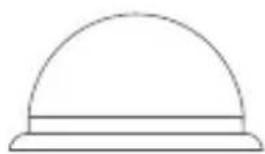
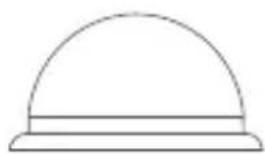
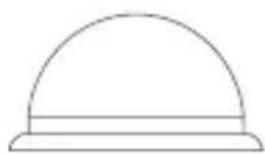
Simple line drawing of a dome-shaped object with a horizontal bar at the base (no text or symbols)WiFi Security Camera 1 Screw Mounting Base
Quick Start Guide
EN
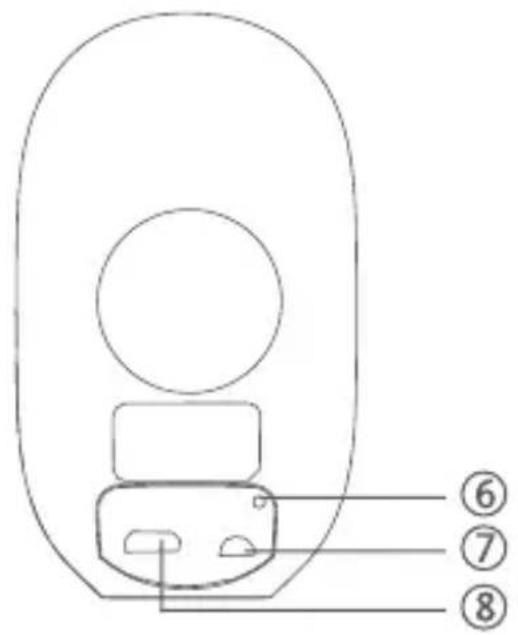
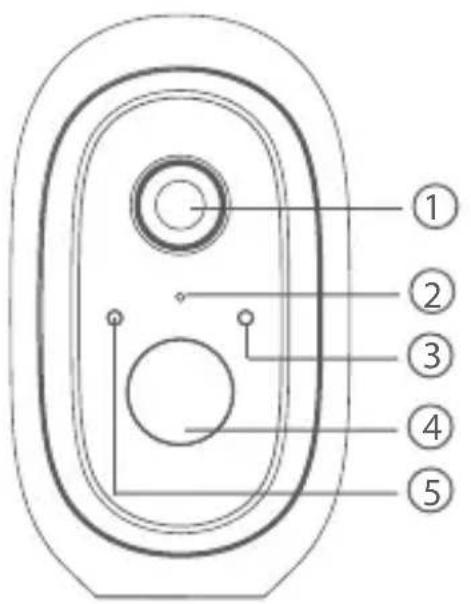
II. Product Overview


① Lens 2 Microphone 3 Indicator Light
④ PIR 5 Light sensor 6 Reset Button
⑦ On/Off Button 8 USB Charging Port
III. Indicator Light Illustration
| Indicator Light Red LED | LED blinks quickly: Standby for configuration.Green LED blinks quickly: Network pairing.Green LED on : Camera online.Yellow LED blinks slowly : Firmware upgrade.Solid White LED ON : Camera chargingRed LED blinks slowly : Device fault.Solid White LED ON : Camera charging |
| On/off Button SYNC | Press the button, then the device will enter Waiting for Pairing status.Power Button: Press the button to wake it up when the camera is in deep sleep mode; Press and hold the button for 3s, the camera will enter deep sleep mode. |
| USB Charging Port Charging port | |
| Reset Button Press and | hold for 3s, the device will power off and reboot after reset setting, but the camera will not be unbound. |
EN
IV. Adding Device
- Please press the On/Off button of all cameras one by one. Then the cameras will beep, and the indicator light of the camera will start to flash red; If the indicator light does not flash red, please press and hold the reset button for 5 s to reset the camera.
- Enter the Base station interface on the Helo by Strong app, click
the “+Add Device” in bottom, or press the pairing button on top of the base station to enter pairing status, the Indicator light 2 will flash green.


- When the camera successfully pairs to base station, a voice prompt will be heard from camera and camera's indicator light will turn green, while Indicator light 2 of base station will turn off and base station will exit the pairing status. Then the added cameras will be displayed on the app.
- If there is any camera that could not pair to the base station, please add the camera again following the above ① ② ③ steps.
V. Charging Camera
- The camera is with built-in 6000 mAh rechargeable battery.
- When charging, please use the camera USB cable to connect camera and camera adaptor, then plug the adaptor into a power outlet (100 V -240 V) for charging. The indicator light on camera will turn solid white indicating that the device is in charging (if the indicator light flashes when charging, please contact customer service).
- It requires 4 hrs for full charging. Once full charged, the white indicator will turn off
EN
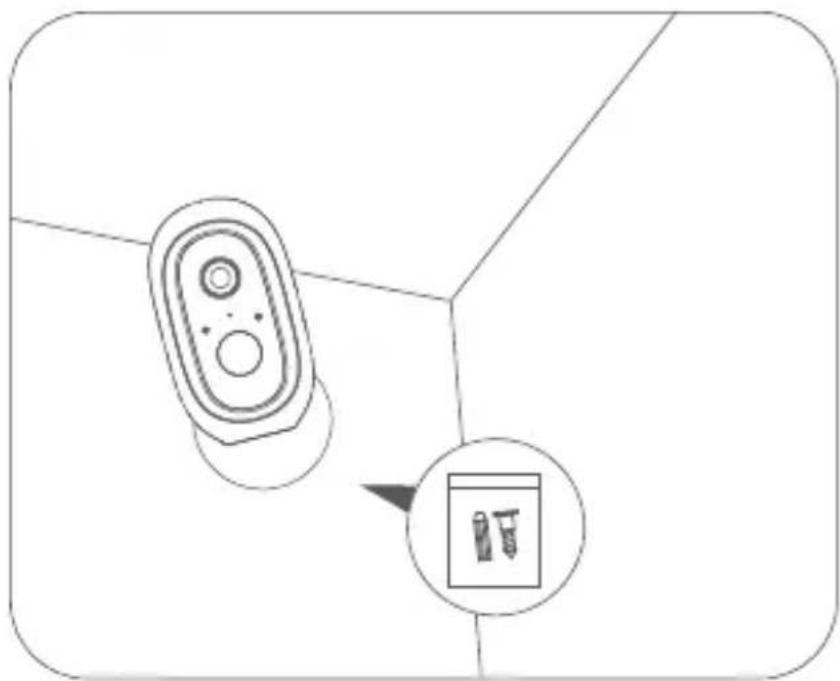
VI. Installing Camera
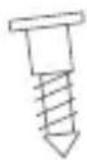
- Drill or drive the mounting screws into the wall. If it's a stone wall, then it requires a screw anchor.
- Mount the mounting base on the screws.
- Install the camera on the mounting base and adjust the camera angle.
natural_image
Diagram showing a remote control device and a magnified inset of two test tubes (no text or symbols present)Recommended mounting height: 2-3 meters
Câmara adicional
natural_image
Simple line drawing of a device with two circular ports and a central hub (no text or symbols)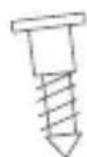
natural_image
Simple line drawing of a dome-shaped object with a horizontal bar at the base (no text or symbols)


natural_image
Diagram showing a remote control device and a close-up of a screwdriver (no text or symbols present)natural_image
Simple line drawing of a double oval-shaped device with two circular ports and a central hub (no text or symbols)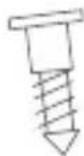
natural_image
Simple line drawing of a dome-shaped object with a horizontal bar at the base (no text or symbols)
natural_image
Diagram showing a remote control device and a small inset image of two pens (no text or symbols)natural_image
Simple line drawing of a symmetrical oval shape with two central circles and two small dots, no text or symbols present.

natural_image
Simple line drawing of a dome-shaped object with a horizontal bar at the base (no text or symbols)Guide installation rapide
FR

natural_image
Diagram showing a remote control device and a close-up of a device with a pen, no text or symbols presentnatural_image
Simple line drawing of a double oval-shaped device with internal components (no text or symbols)

natural_image
Simple line drawing of a dome-shaped object with a horizontal bar at the base (no text or symbols)
① Šošovka
④ PIR
⑦ Tlačidlozapnutia/vypnutia
② Mikrofón
⑤ Svetelný snímač
⑧ Port nabijania cez USB
③ Kontrolka
natural_image
Diagram showing a remote control device and a small inset image of two pens (no text or symbols)natural_image
Simple line drawing of a symmetrical oval-shaped object with two central circles and two small dots, no text or symbols present.
Sigurnosna Wi-Fi kamera Vijci Baza za postavljanje
Vodič za brzi početak upotrebe
HR
II. Pregled proizvoda


- Nakon uspješnog uparivanja s baznom postajom kamera se oglasava zvučnim signalom i pali se zelena lampica kamere. Indikacijska lampica 2 bazne postaje se isključuje i bazna postaja izlazi iz načina za uparivanje. U aplikaciji će se prikazati dodane kamere.
- Ako se kamera ne može upariti s baznom postajom, ponovo je dodajte prema prethodnim koracima ① ② ③ .
V. Punjenje kamere
natural_image
Diagram showing a remote control device and a small inset image of a device with two buttons, no text or symbols present.Preporučena visina postavljanja: 2-3 metra.
natural_image
Simple line drawing of a speaker grille with no text or symbols
natural_image
Simple line drawing of a dome-shaped object with a horizontal bar at the base (no text or symbols)

natural_image
Diagram showing a remote control device with an inset image of a pen and screw (no text or symbols)natural_image
Simple line drawing of a stylized electronic device with two circular ports and a central hub (no text or symbols)WiFi Камера за наблюдение
Винтове

natural_image
Simple line drawing of a dome-shaped object with a horizontal bar at the base (no text or symbols)


natural_image
Top-down diagram of a remote control device with an inset showing two test tubes (no text or symbols)natural_image
Simple line drawing of a double oval-shaped device with internal components (no text or symbols)
natural_image
Simple line drawing of a dome-shaped object with a horizontal bar at the base (no text or symbols)


natural_image
Diagram showing a remote control device and a magnified inset of two screws (no text or symbols)natural_image
Simple line drawing of a double oval-shaped device with two circular ports and a central hub (no text or symbols)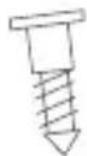
natural_image
Simple line drawing of a dome-shaped object with a horizontal bar at the base (no text or symbols)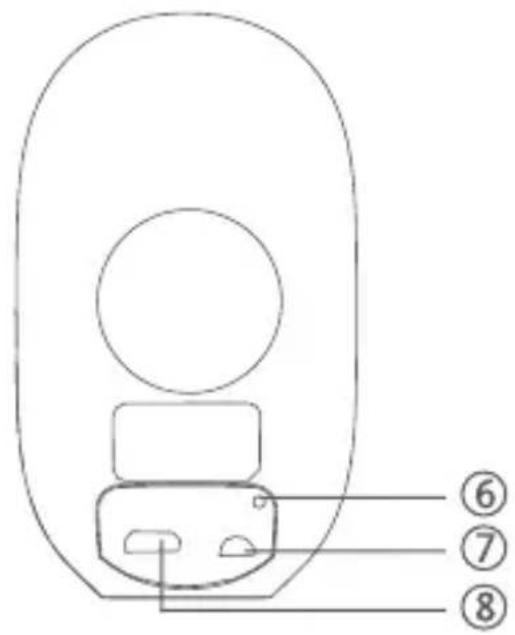

natural_image
Diagram showing a remote control device with a magnified inset of its internal components (no text or symbols)natural_image
Simple line drawing of a symmetrical oval shape with two central circles and two small dots, no text or symbols present.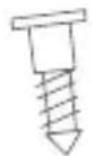

natural_image
Simple line drawing of a dome-shaped object with a horizontal bar at the base (no text or symbols)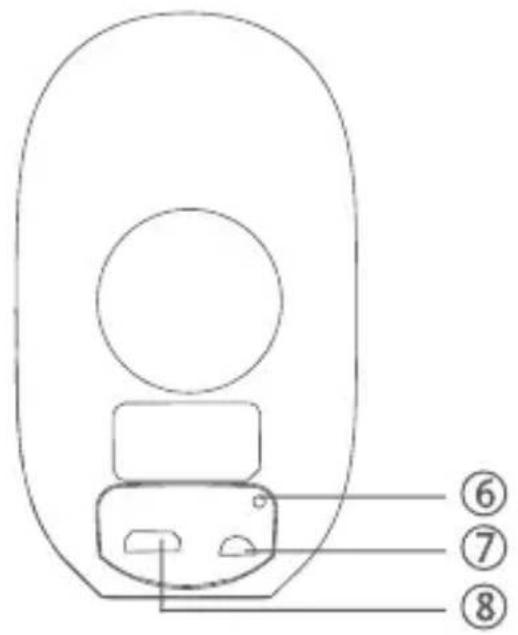
natural_image
Diagram showing a remote control device and a close-up of a device with two pins, no text or symbols present.natural_image
Simple line drawing of a symmetrical oval shape with two central circles and two small dots, no text or symbols present.

natural_image
Simple line drawing of a dome-shaped object with a horizontal bar at the base (no text or symbols)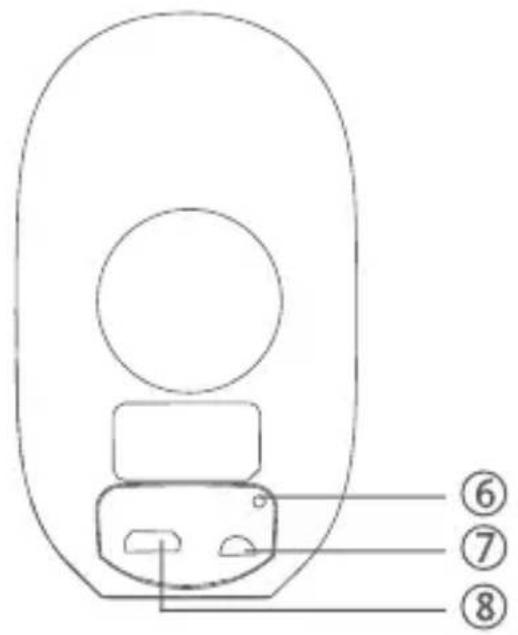
natural_image
Diagram showing a remote control device and a close-up of a screwdriver (no text or symbols present)
①Optik 2 Mikrofon 3 LED indikatorlys
④ PIR 5 Lyssensor 6 Reset knap
⑦ On/Off knap 8 USB Opladeport
III. Indikatorlys Illustration
natural_image
Diagram showing a remote control device with an inset image of a battery (no text or symbols present)Snelstartgids
NL
II. Productoverzicht

① Lens 2 Microfoon 3 IndicatorLED

④ PIR 5 Lichtsensor 6 Reset-knop

natural_image
Diagram showing a remote control device and a close-up of a screwdriver (no text or symbols present)
①Optik 2 Mikrofon 3 LED indikatorlys
④ PIR 5 Lyssensor 6 Reset knap
⑦ On/Off knap 8 USB Ladeport
III. Indikatorlys Illustration
natural_image
Diagram showing a remote control device with a magnified inset of two screws (no text or symbols)
① Optik
② Mikrofon
③ LED Indikatorlampor

natural_image
Diagram showing a remote control device with an inset image of a battery (no text or symbols present)Brand : STRONG
Model : CAMERABADDON
Category : Surveillance Camera