Power Tower PT20 - Rowing Machine TUNTURI - Free user manual and instructions
Find the device manual for free Power Tower PT20 TUNTURI in PDF.
User questions about Power Tower PT20 TUNTURI
0 question about this device. Answer the ones you know or ask your own.
Ask a new question about this device
Download the instructions for your Rowing Machine in PDF format for free! Find your manual Power Tower PT20 - TUNTURI and take your electronic device back in hand. On this page are published all the documents necessary for the use of your device. Power Tower PT20 by TUNTURI.
USER MANUAL Power Tower PT20 TUNTURI
natural_image
Black TENTURY fitness equipment with adjustable arms and legs (no visible text or symbols)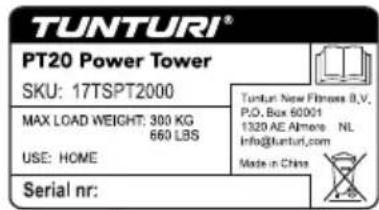
text_image
TUNTURI® PT20 Power Tower SKU: 17TSPT2000 MAX LOAD WEIGHT: 300 KG 660 LBS USE: HOME Serial nr: Tunturi: New Fitness B.V. P.O. Box 60001 1320 AE Almere NL info@tunturi.com Made in ChinaAttention, Achtung, Attention, Attentie, Attenzione, Atención, Giv akt, Huomio
- Please read this assembly manual carefully prior to assembling this product.
- Lesen Sie sich vor der Montage des Produkts diese Montageanleitung sorgfältig durch.
- Veuillez lire attentivement le présent manuel d'assemblage avant de monter ce produit.
- Lees deze montagehandleiding zorgvuldig voordat u dit product in elkaar gaat zetten.
- Leggere attentamente questo manuale di montaggio prima di montare il prodotto.
- Antes de montar este producto, lea atentamente este manual de montaje.
- Läs den här monteringshandboken noggrant före användning av den här produkten.
- Lue tämä asennusohje huolellisesti ennen tämän tuotteen asennusta.
A
natural_image
Black TUNTURI fitness equipment with green accents, no visible text or symbols on the device itselfA-0
1 | 2 | 3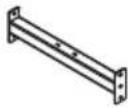 | 4 | 5 |
6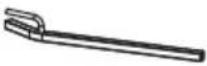 | 7 | 8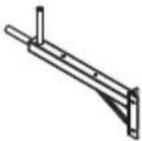 | 9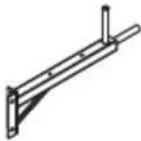 | 10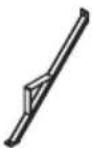 |
11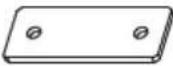 | 12[###] | 13[XKHB] | 14 | 15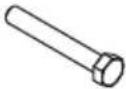 |
16 | 17 | 18 | 19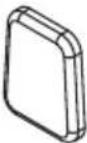 | 20 |
| 21[H6TG] | 22[SHDD] | 23 | 24 | 25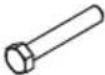 |
| 26[###] | 27 | 28### | ||
A-1
natural_image
Diagram of an adjustable wrench crossed out by a diagonal line, no text or symbols present
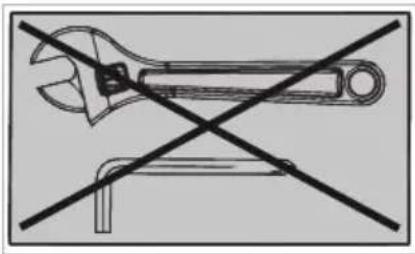
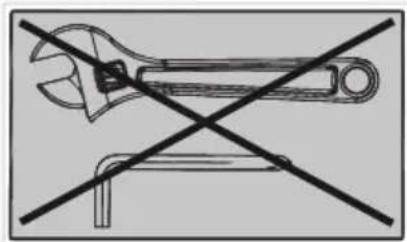
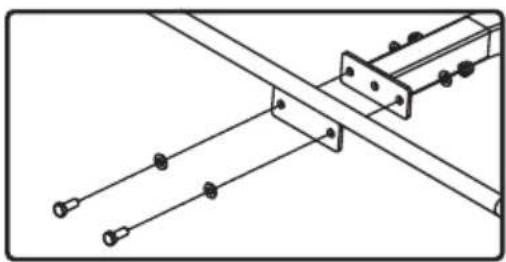
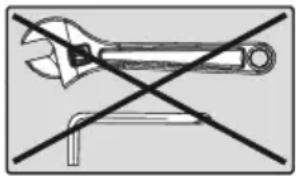
DO NOT FASTEN BOLTS AND NUTS IN THIS STEP
text_image
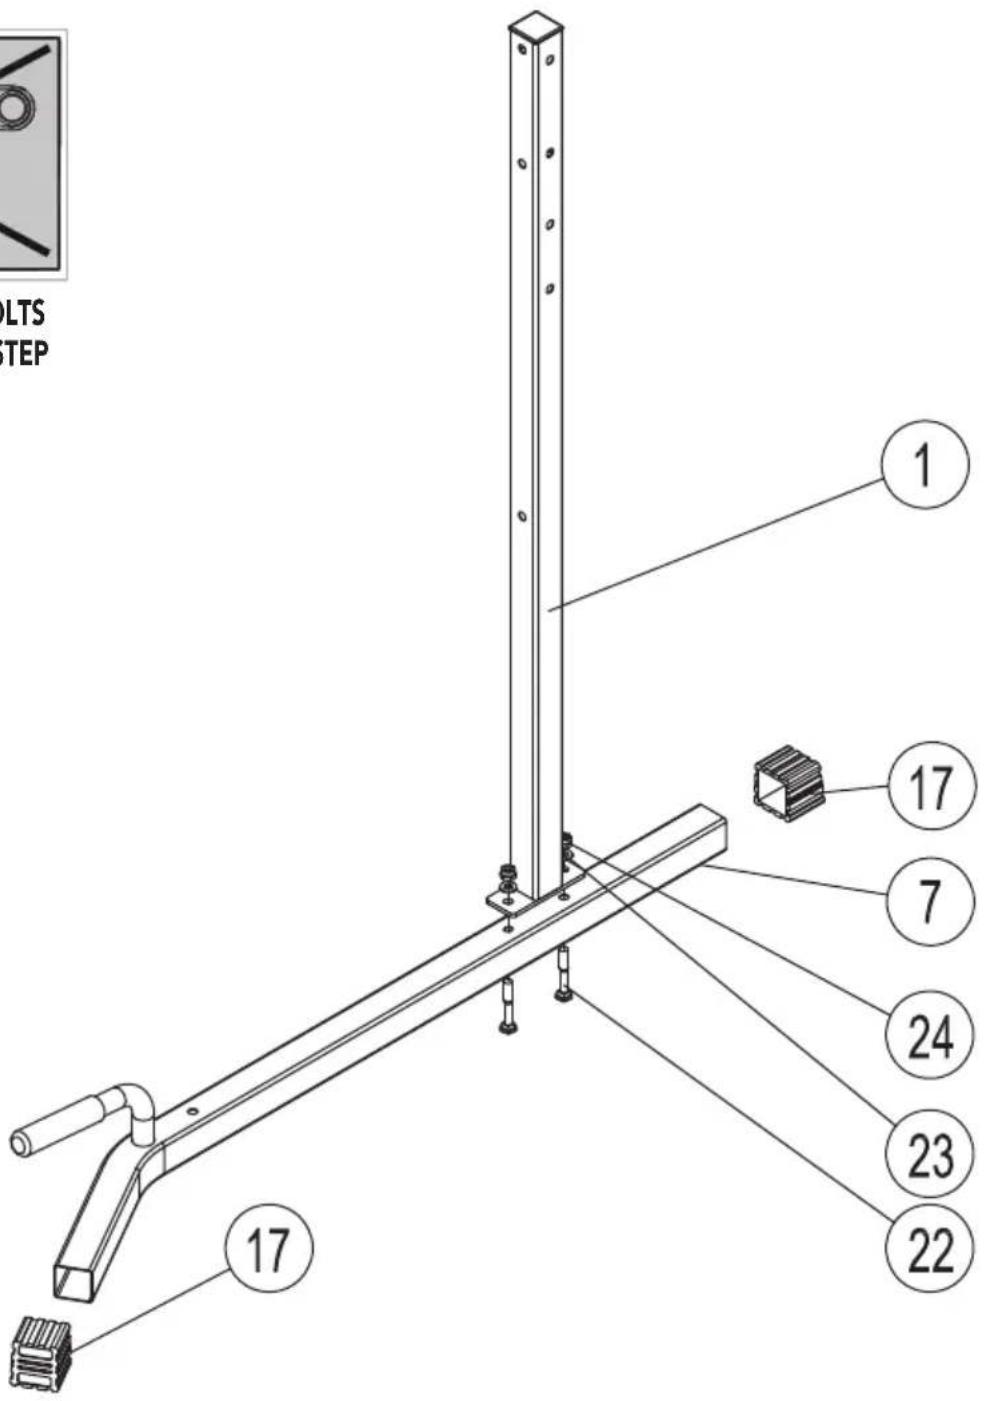
OLTS STEP 1 17 7 24 23 22 17| 1# |  | Qty:2 | 22# | 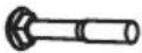 | M10*57 | Qty:2 |
| 7# |  | Qty:1 | 23# |  | 10 | Qty:2 |
| 17# |  | Qty:2 | 24# |  | M10 | Qty:2 |
A-2
natural_image
Diagram of an adjustable wrench crossed out by a diagonal line, no text or symbols present
DO NOT FASTEN BOLTS
AND NUTS IN THIS STEP
text_image
24 23 25 10 1 24 23 21 7| 10# | 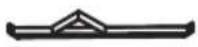 | Qty:1 | 21# | 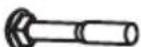 | M10*55 | Qty:1 |
| 24# |  | M10 | Qty:2 | |||
| 23# |  | 10 | Qty:3 | |||
| 25# | 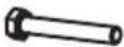 | M10*63 | Qty:1 | |||
A-3
natural_image
Diagram of an adjustable wrench crossed out by a diagonal line, no text or symbols present
DO NOT FASTEN BOLTS AND NUTS IN THIS STEP
text_image
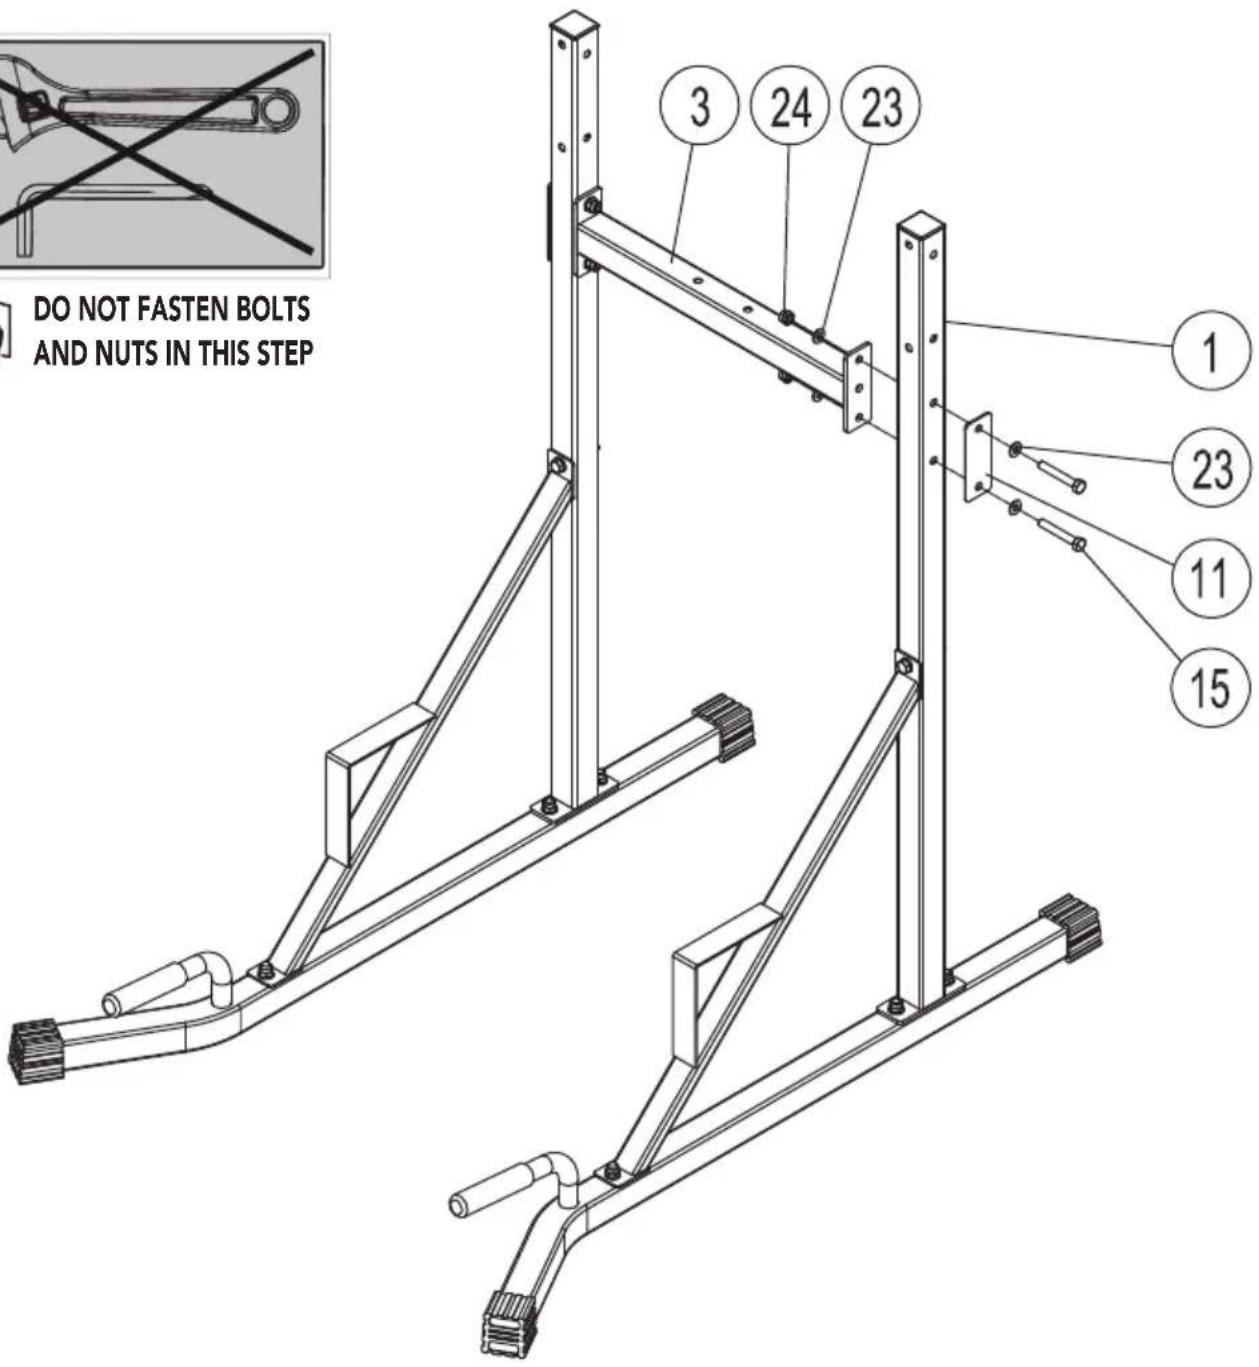
DO NOT FASTEN BOLTS AND NUTS IN THIS STEP 1 23 11 15 3 24 23| 3# | 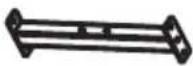 | Qty:1 |
| 11# |  | Qty:2 |
| 15# | 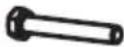 | M10*67 | Qty:4 |
| 23# |  | 10 | Qty:8 |
| 24# | [BAD7] | M10 | Qty:4 |
A-4
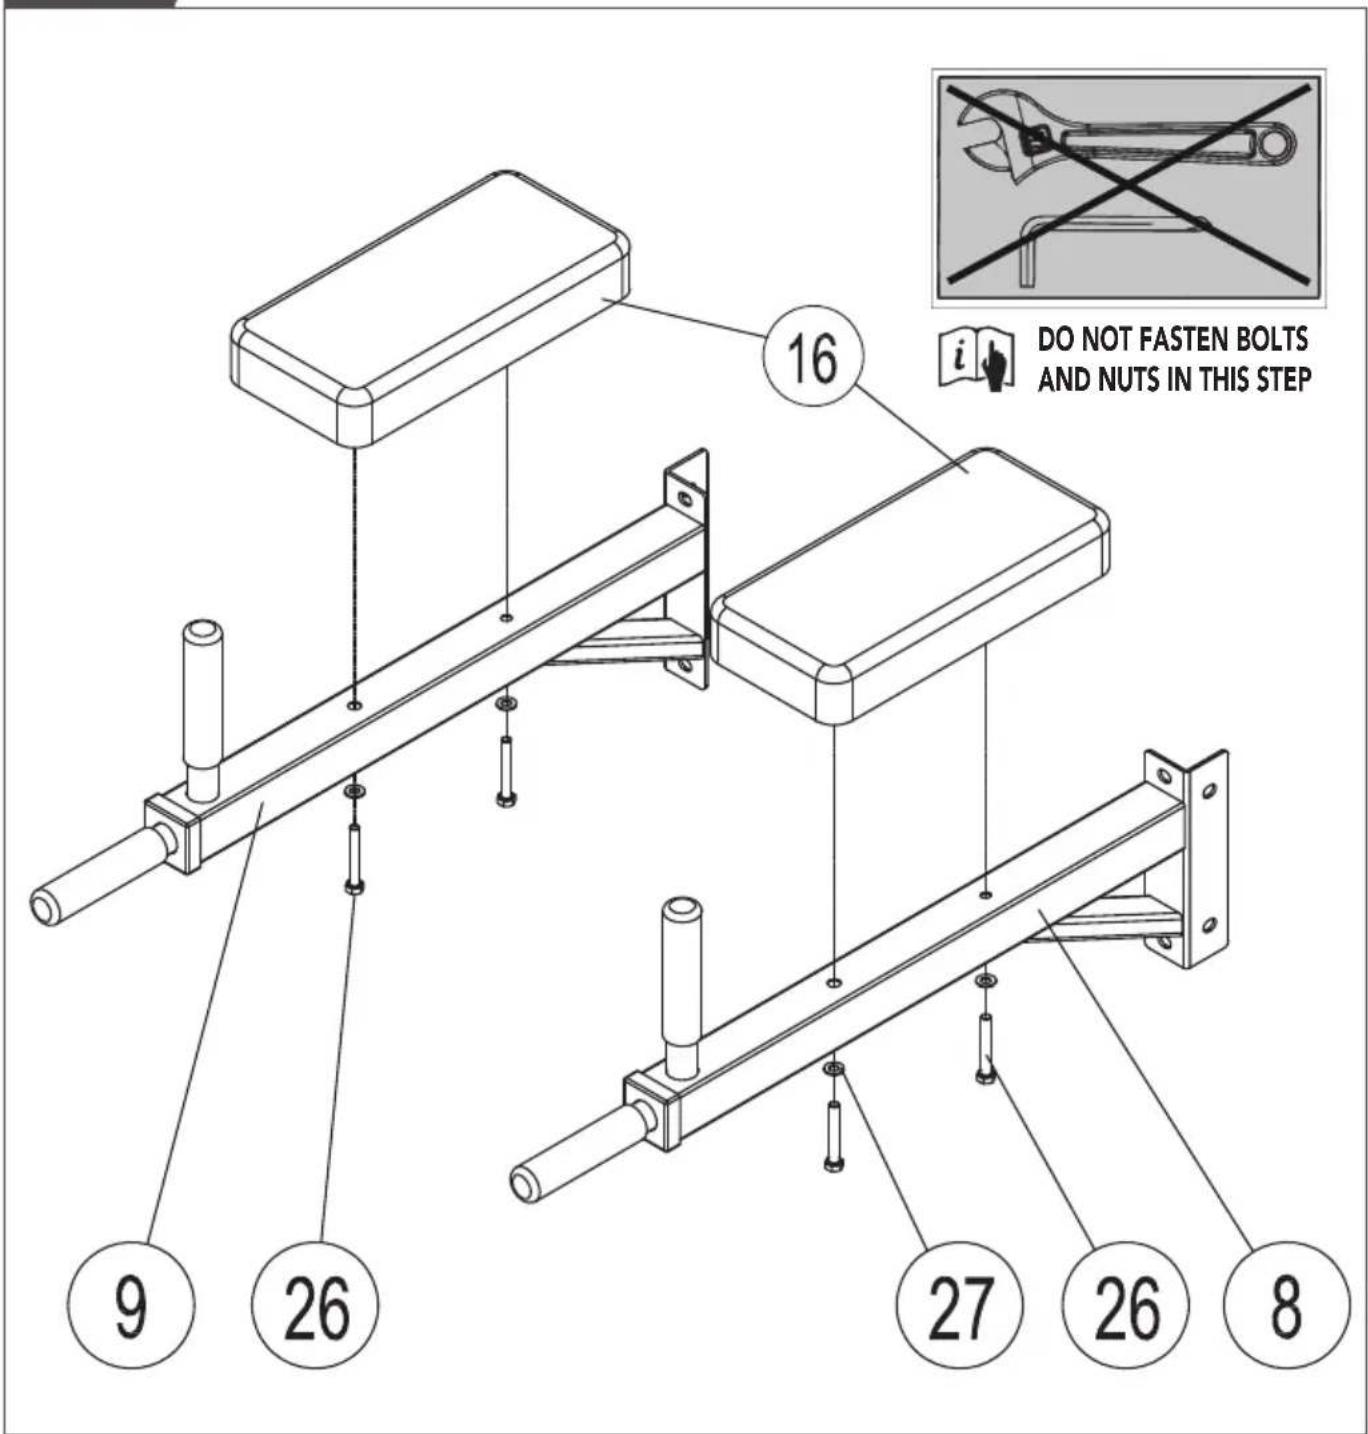
text_image
DO NOT FASTEN BOLTS AND NUTS IN THIS STEP| 8# | 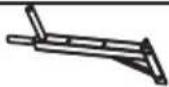 | Qty:1 | 26# | 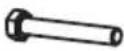 | M8*60 | Qty:4 |
| 9# |  | Qty:1 | 27# | (642H) | 8 | Qty:4 |
| 16# |  | Qty:2 | ||||
natural_image
Diagram of an adjustable wrench crossed out by a diagonal line, no text or symbols present
DO NOT FASTEN BOLTS AND NUTS IN THIS STEP
A-5
text_image
DO NOT FASTEN BOLTS AND NUTS IN THIS STEP| 2# | 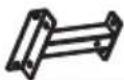 | Qty:2 | 12# | 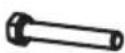 | M10*65 | Qty:8 |
| 23# | [YK6G] | 10 | Qty:16 | |||
| 24# | [4DKC] | M10 | Qty:8 | |||
A-6
natural_image
Diagram of an adjustable wrench crossed out by two diagonal lines (no text or symbols)
DO NOT FASTEN BOLTS AND NUTS IN THIS STEP
natural_image
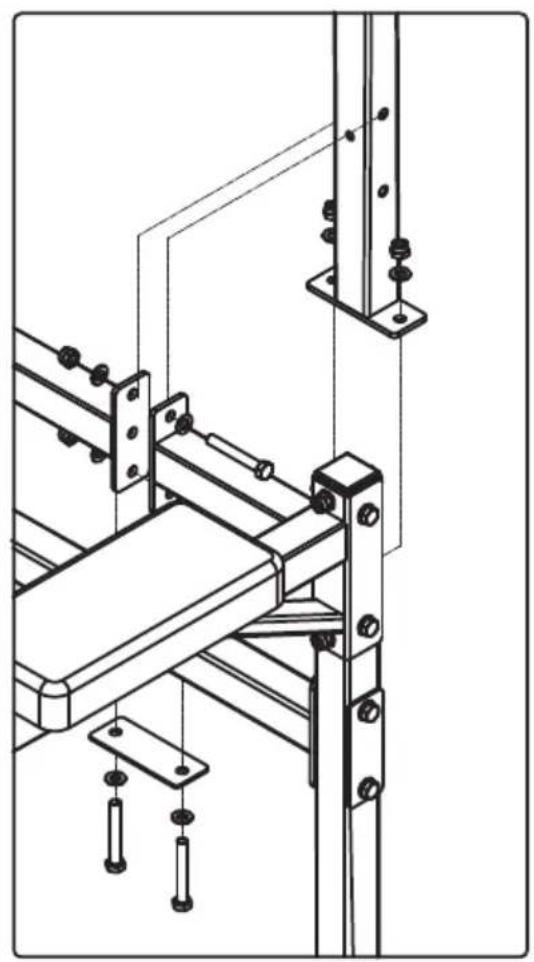
Technical line drawing of a mechanical assembly with mounting brackets and support columns (no text or symbols)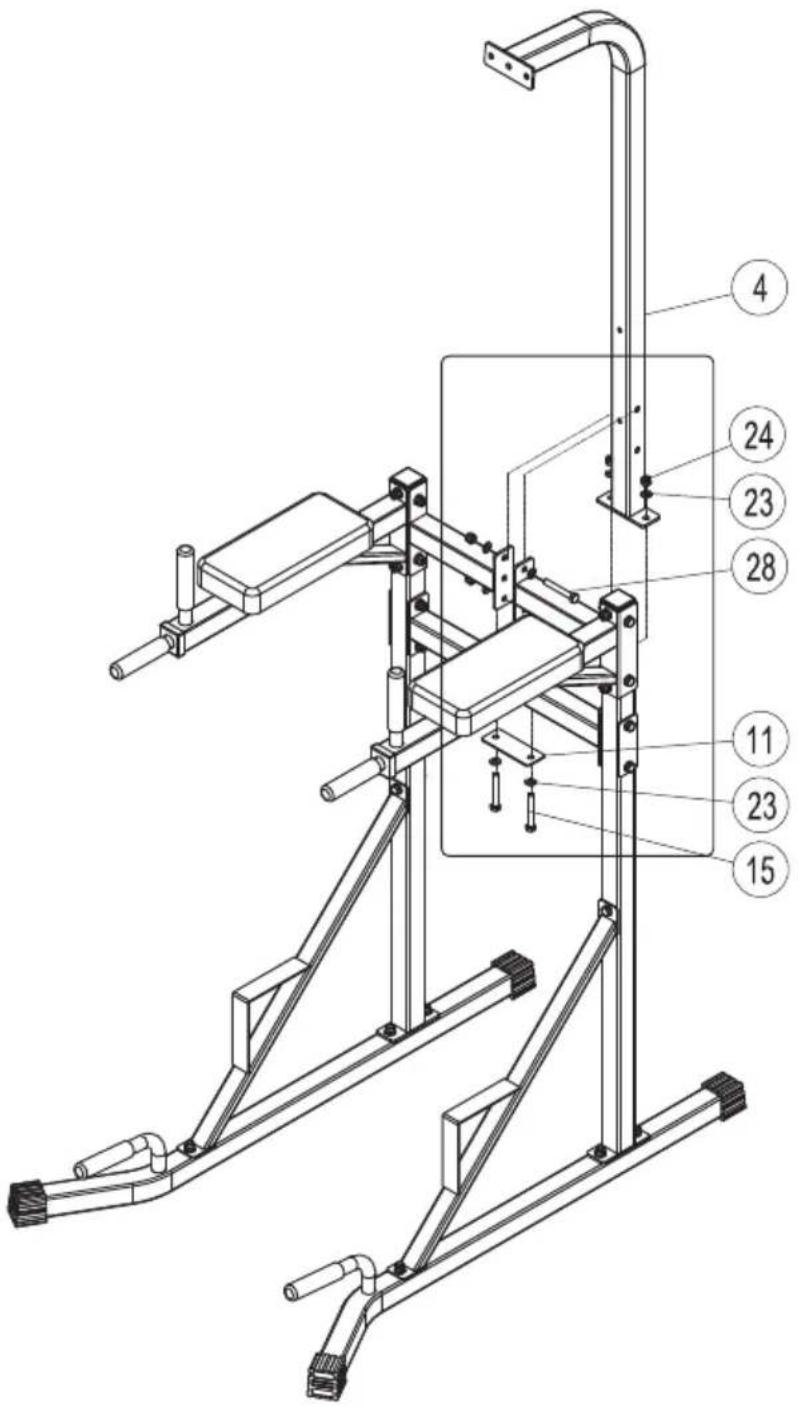
text_image
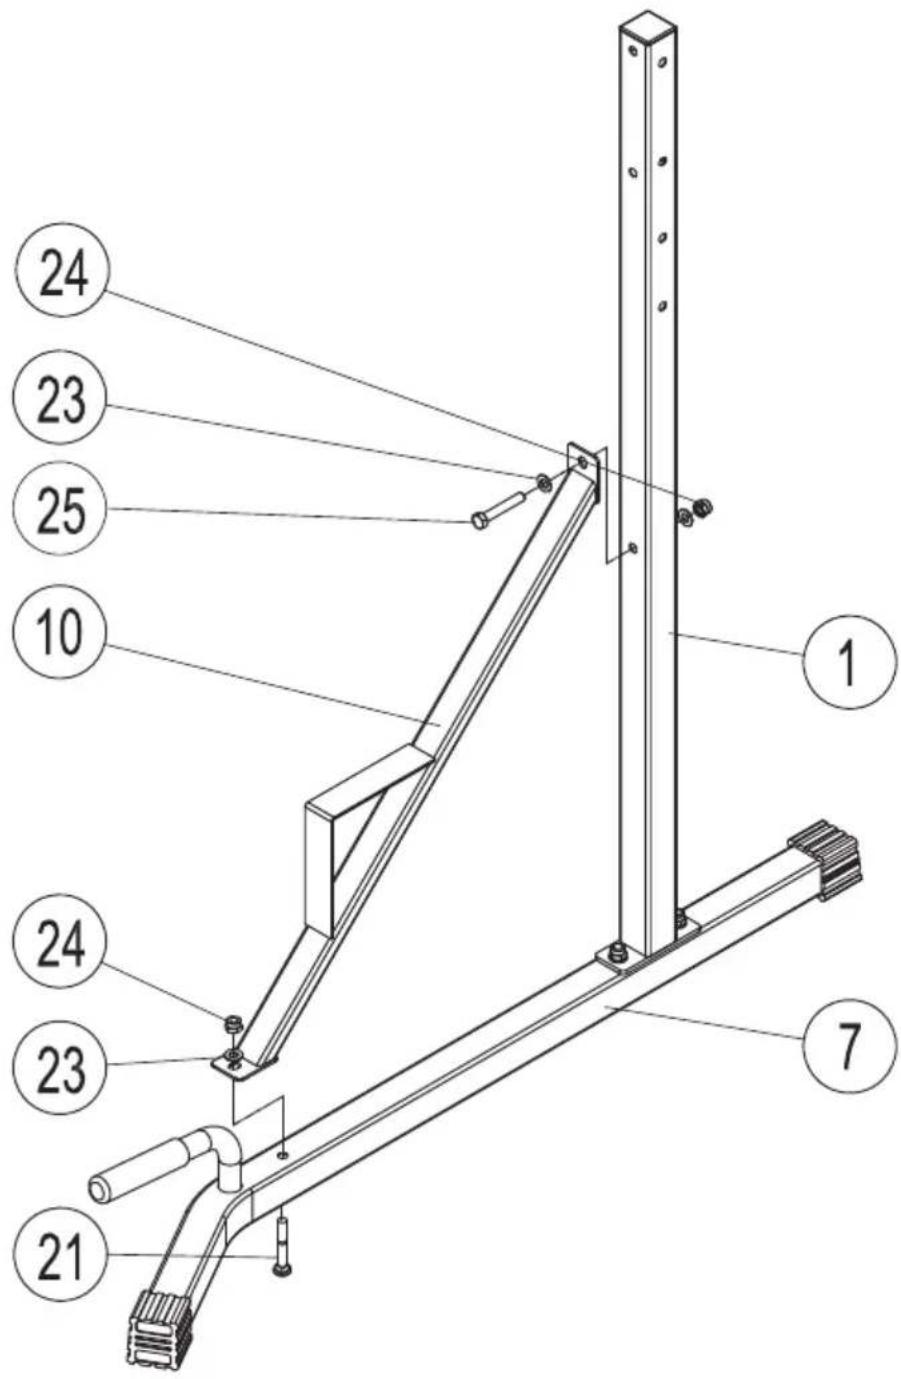
Technical diagram of a mechanical device with numbered components for identification| 4# | 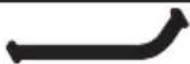 | Qty:1 |
| 11# |  | Qty:1 |
| 15# |  | M10*67 | Qty:2 |
| 23# | [CZK] | 10 | Qty:8 |
| 24# |  | M10 | Qty:4 |
| 28# | [GXK] | M10*70 | Qty:2 |
A-7
natural_image
Line drawing of an adjustable wrench and a separate L-shaped tool (no text or symbols)
DO FASTEN ALL BOLTS AND NUTS IN THIS STEP AND BOLTS AND NUTS OF FORMER STEPS
natural_image
Pure mechanical assembly diagram showing rods and fasteners without any text or symbols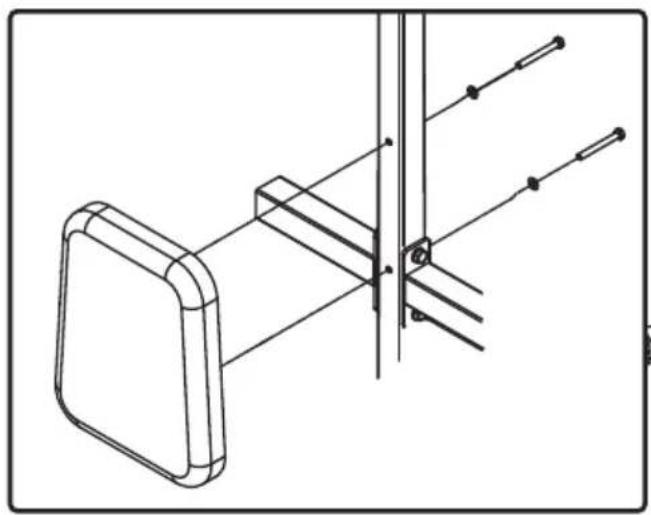
natural_image
Technical line drawing of a mechanical assembly with no visible text or symbols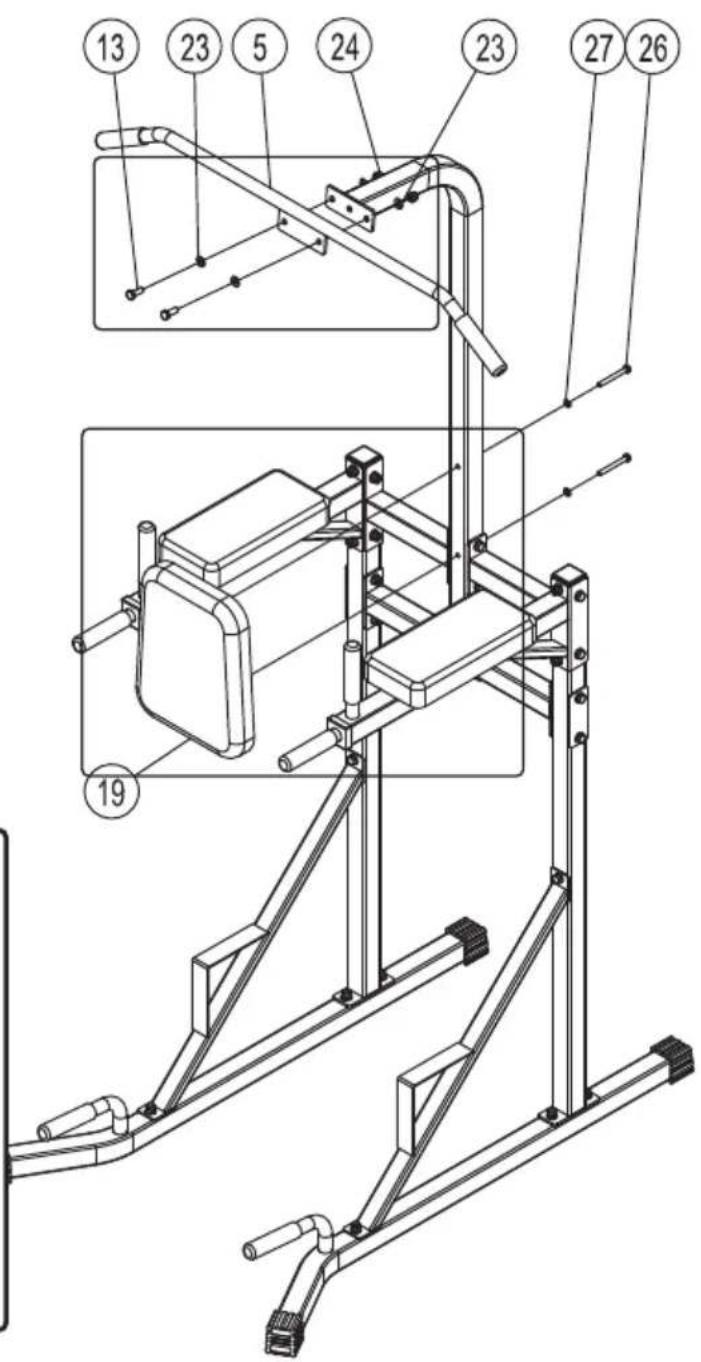
text_image
Technical diagram of a mechanical device with numbered components, likely an electrical or mechanical assembly.| 5# |  | Qty:1 |
| 19# |  | Qty:1 |


M10*25
10
M10
M8*60
Qty:2
Qty:4
Qty:2
Qty:2
Qty:2
W-1
text_image
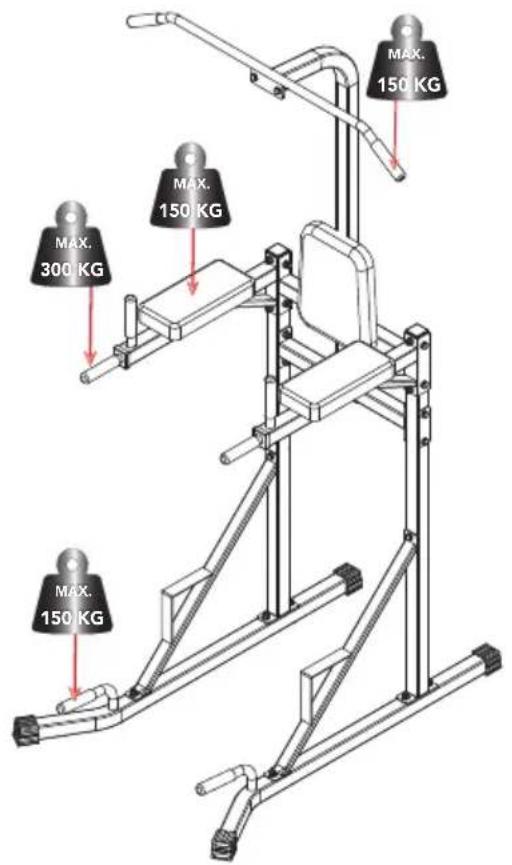
MAX. 300 KG MAX. 150 KG MAX. 150 KG MAX. 150 KGW-2
text_image
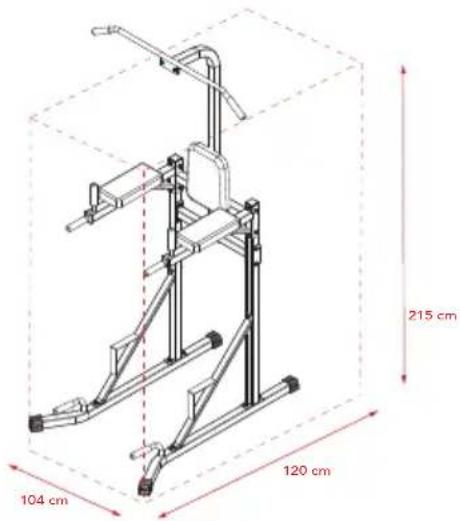
215 cm 104 cm 120 cm
natural_image
Green recycling symbol with a tree and recycling arrow inside a partial square frame (no text or symbols)USER MANUAL ON OUR WEBSITE
To reduce the impact on the environment, you will only find the assembly steps in this manual. To learn how to use and maintain this product, please download the user manual from:
manuals.tunturi.com
Index
Welcome 13
Important safety notice......13
Important assembly information .... 14
Before you start....14
Description illustration A....14
Description illustration B....14
Description illustration C....14
Description illustration D....14
Additional assembly information .....15
Additional environmental information .....15
Warranty....15
Weight capacity and dimension.....16
Disclaimer 16
Welcome
Important Safety Instructions
This manual is an essential part of your training equipment please read all instructions in this manual before you start using this equipment. The following precautions must always be followed:
Important safety notice
This exercise equipment is built for optimum safety. However, certain precautions apply whenever you operate a piece of exercise equipment. Be sure to read the entire manual before you assemble or operate your equipment. In particular, note the following safety precautions:
- Keep children and pets away from the equipment at all times. DO NOT leave children unattended in the same room with the equipment.
- Only one person at a time should use the equipment.
- If the user experiences dizziness, nausea, chest pain, or any other abnormal symptoms, STOP the workout at once. CONSULT A PHYSICIAN IMMEDIATELY.
Position the equipment on a clear, levelled surface. DO NOT use the equipment near water or outdoors.
- Keep hands away from all moving parts.
- Always wear appropriate workout clothing when exercising. DO NOT wear robes or other clothing that could become caught in the equipment. Running or aerobic shoes are also required when using the equipment.
Use the equipment only for its intended use as described in this manual. DO NOT use attachments not recommended by the manufacturer.
English
- Do not place any sharp object around the equipment.
- Disabled person should not use the equipment.
- Before using the equipment to exercise, always do stretching exercises to properly warm up.
- Never operate the equipment if the equipment is not functioning properly.
- A spotter is recommended during exercise.
- This equipment is designed and intended for home and consumer use only, not for commercial use.
Warning:
Before beginning any exercise program, consult your physician. This is especially important for individuals over the age of 35 or persons with pre-existing health problems.
Read all instructions before using any fitness equipment.
Tunturi New fitness bv. assumes no responsibility for personal injury or property damage sustained by or through the use of this product.
Save these instructions!
Important assembly information
Before you start
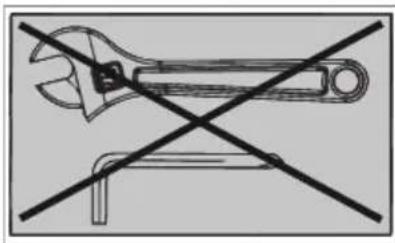
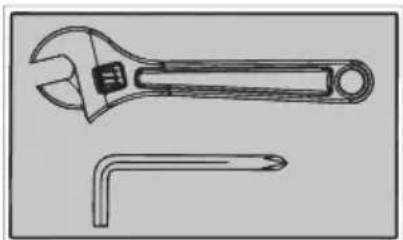
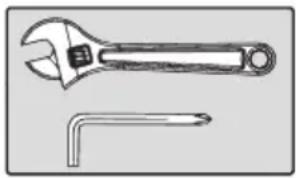
We recommend to use two adjustable wrenches to assemble your product. If you have metric sized wrenches in correct size this is fine too.
!! NOTE
- Suitable (adjustable) wrenches are "NOT" provided with the product, neither included in the assembly kit.
- It is strongly recommended that this equipment is assembled by two or more people to avoid possible injury.
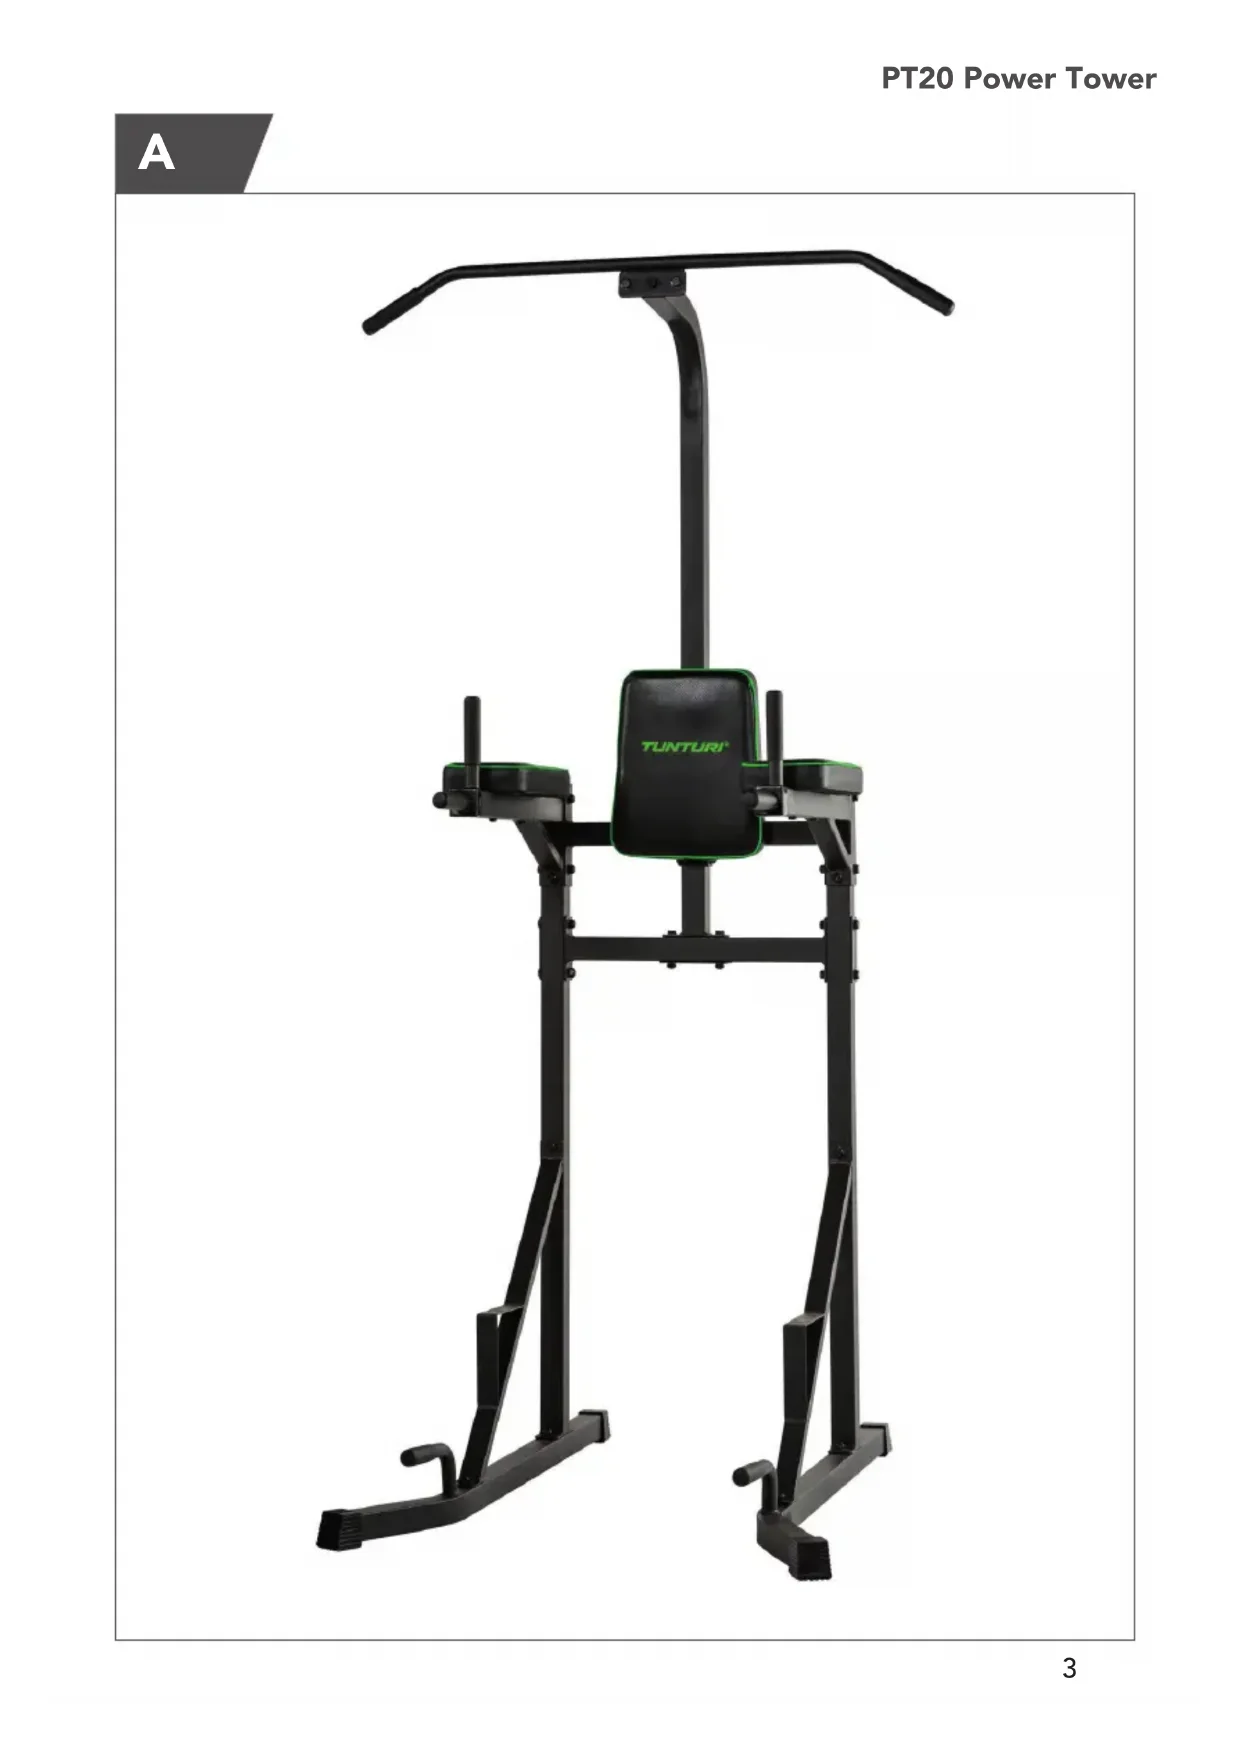
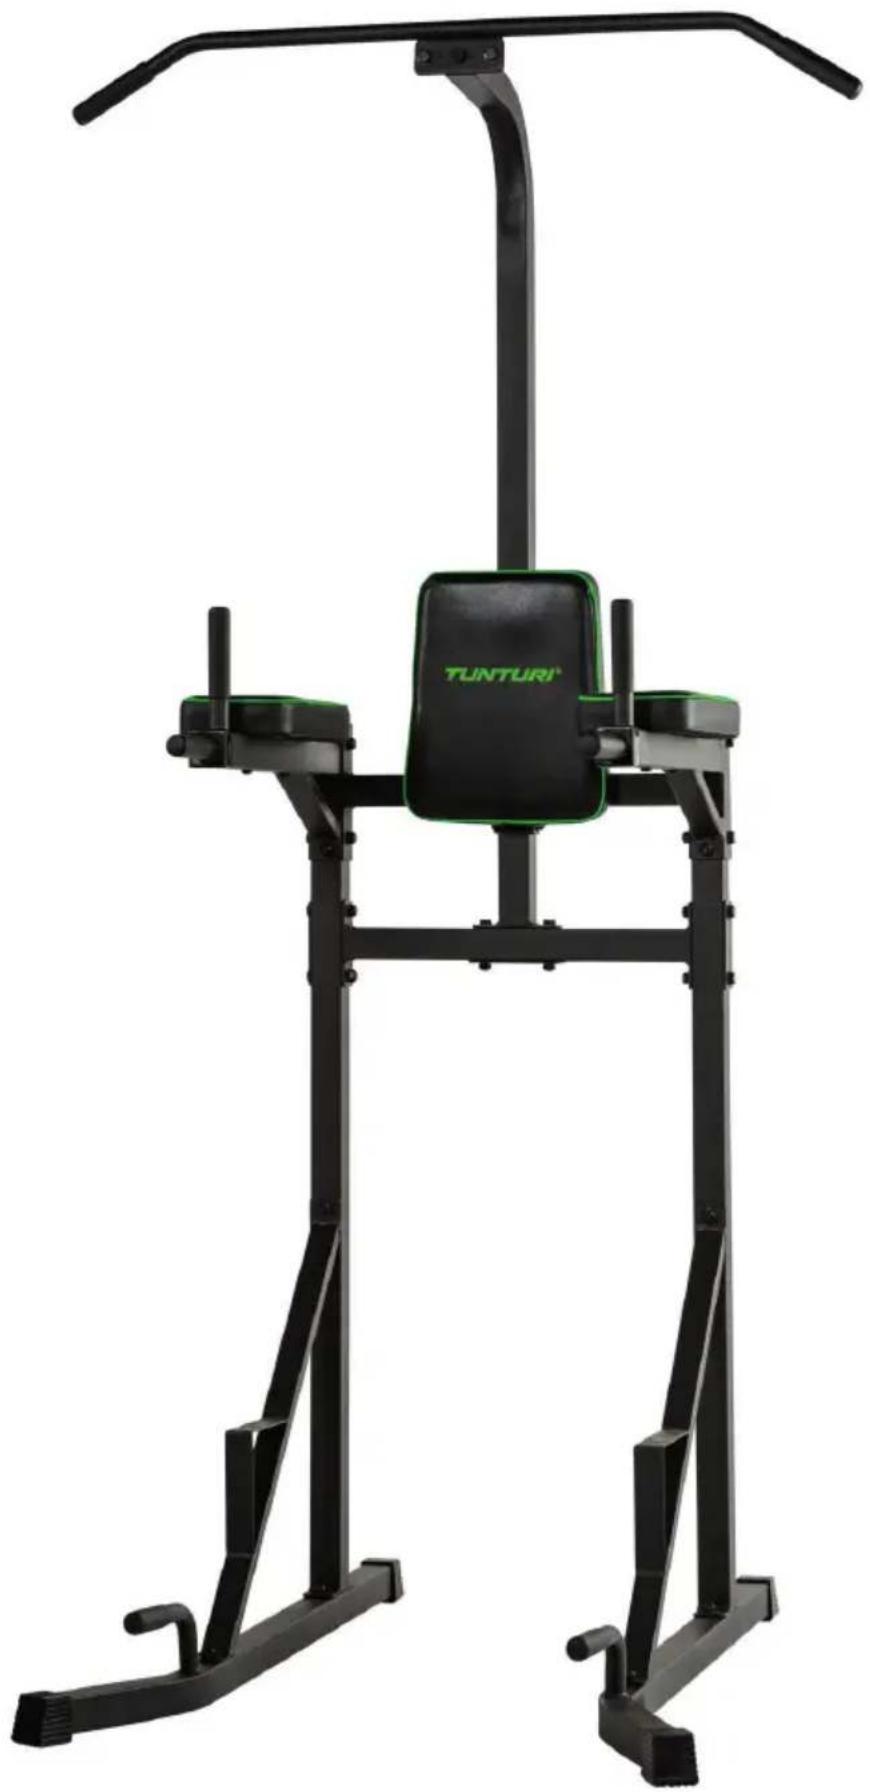
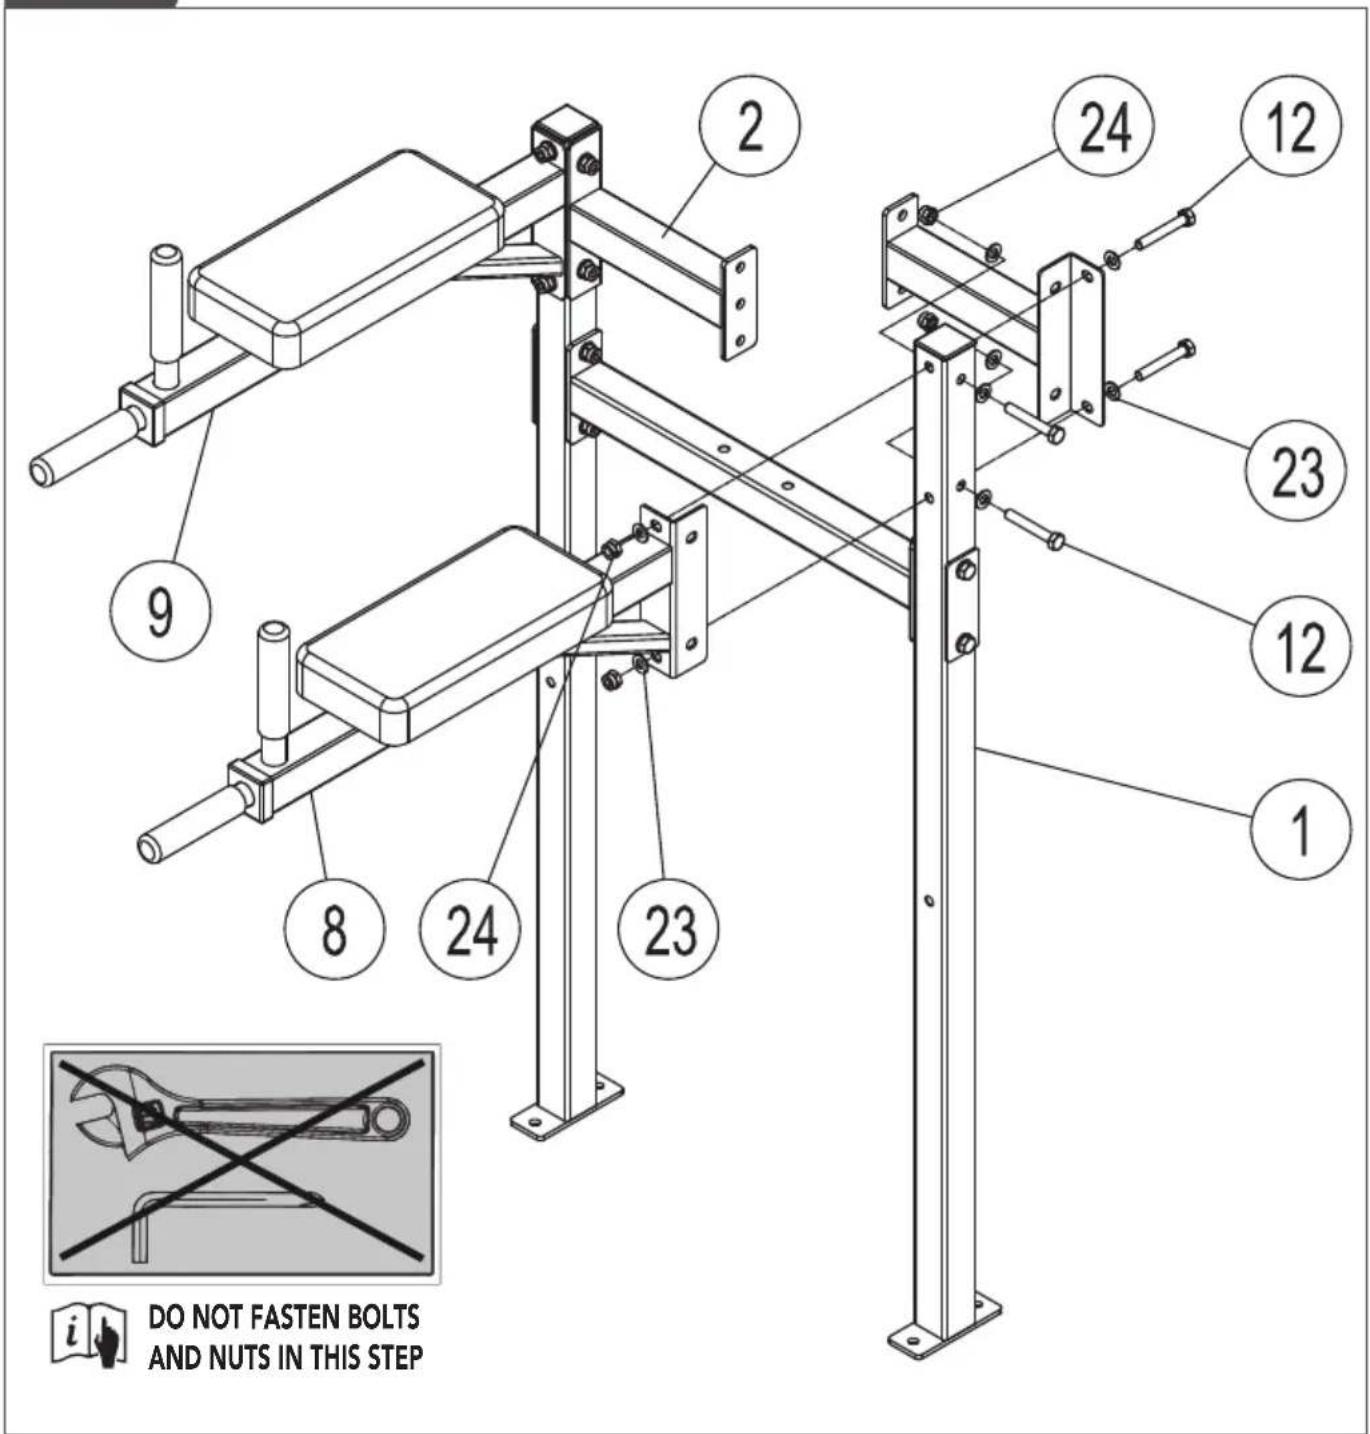
Description illustration A
The illustration shows what the trainer will looks like after the assembly is completed.
You can use this as a reference during your assembly, but do follow the assembly steps always in the correct sequence as showed in the illustrations.
Description illustration B
The illustration shows what components and parts you should find when un-boxing your product.
!! NOTE
- Small parts can be hidden/ packed in hollow spaces used as the product protective materials.
- If a part is missing, contact your dealer.
Description illustration C
The illustration shows the hardware kit that comes with your product.
The hardware kit contains bolts, washers, screws, nuts etc. and the required tools to properly fit your trainer.
!! NOTE
- All loose hardware parts required for the proper assembly of your product are packed onto a step by step organised blister package.
- Please use the hardware (bolts, nuts, washers etc.) assigned to the assembly step as mentioned on the blister package for the commencing assembly step.
- Try to avoid unpack hardware assigned for other steps prior than needed to avoid confusing during your assembly.
Description illustration D
The illustrations shows you in the correct following order how to assembly your trainer best.
WARNING
- Assemble the equipment in the given order.
- Carry and move the equipment with at least two persons.
CAUTION
- Place the equipment on a firm, level surface.
- Place the equipment on a protective base to prevent damage to the floor surface.
- Allow at least 100 cm of clearance around the equipment.
- Refer to the illustrations for the correct assembly of the equipment.
Additional assembly information
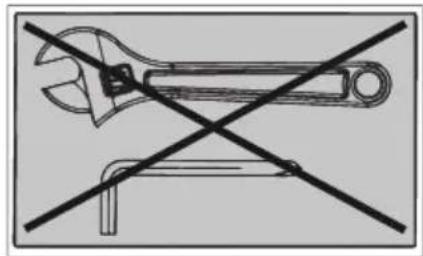
Fasten Nuts and Bolts
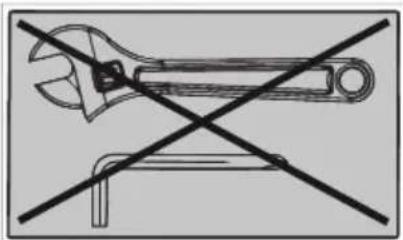
To prevent mounted frame parts from not being correctly aligned, it is advisable to complete the first subsequent steps before fully tightening nuts and bolts. This provides space to reposition previously mounted parts, allowing the overall assembly to proceed more smoothly. Therefore it advisable to follow up on the below instructions.
natural_image
Illustration of an adjustable wrench and a separate L-shaped tool (no text or symbols)Securely tighten all Nuts and Bolts after all components have been assembled in current and previous steps.
!! NOTE
- Do not over tighten any component with pivoting function.
- Make sure all pivoting components are able to move freely.
text_image
Prohibition sign showing a wrench crossed out by a diagonal line, indicating no resistance or prohibition.Do not tighten all Nuts and Bolts in this step.
IMPORTANT
Because your trainer will/ can set in the first using hours, we recommend you do a quick check on the hardware you have fitted during your assembly.
We suggest tightening all bolts and nuts once again after the first few workout sessions (approximate 10 hours).
Just to assure the bolts and nuts are still tightened well for your trainer's best performance.
!! NOTE
• We recommend checking the hardware regularly, at least once every 3 months.
Additional environmental information
Packaging disposal
Government guidelines ask that we reduce the amount of waste material disposed of in land fill sites. We therefore ask that you dispose of all packaging waste responsibly at public recycling centres.
End of life disposal
We at Tunturi hope you enjoy many years of enjoyable use from your fitness trainer. However, a Time will come when your fitness trainer will come to the end of its useful life. Under 'European WEEE Legislation you are responsible for the appropriate disposal of your fitness trainer to a recognised public collection facility.
Warranty
Tunturi purchaser's warranty
Warranty terms
The consumer is entitled to the applicable legal rights stated in the national legislation concerning the commerce of consumer goods. This warranty does not restrict these rights. The Purchaser's Warranty is only valid if the item is used in an environment approved by Tunturi New Fitness BV, and is maintained as instructed for that particular equipment. The product-specific approved environment and maintenance instructions are stated in the "user manual" of the product. The "user manual" can be downloaded from our website.
http://manuals.tunturi.com
Weight capacity and dimension
(Fig. W#1)
- Maximum load weight: 300 kg. Assembled Dimension: 120x 104x 215 cm.
text_image
215 cm 104 cm 120 cmDisclaimer
© 2025 Tunturi New Fitness BV All rights reserved.
- The product and the manual are subject to change.
- Specifications can be changed without further notice.
- Check our website for the latest user manual version.

natural_image
Green recycling symbol with a tree and recycling arrow inside a partial square frame (no text or symbols)natural_image
Illustration of an adjustable wrench and a separate wrench (no text or symbols present)text_image
Diagram showing a wrench crossed out by a diagonal line, indicating no tool use or resistance.natural_image
Green recycling symbol with a tree and recycling arrow inside a partial square frame (no text or symbols)natural_image
Illustration of an adjustable wrench and a separate L-shaped tool (no text or symbols)text_image
Safety warning symbol showing an adjustable wrench crossed out by a diagonal line, indicating no resistance or no work.natural_image
Green recycling symbol with a tree and recycling arrow inside a partial square frame (no text or symbols)natural_image
Illustration of an adjustable wrench and a separate L-shaped tool (no text or symbols)text_image
Prohibition sign showing an adjustable wrench crossed out by a diagonal line, indicating no tool use or resistance.natural_image
Green recycling symbol with a tree and recycling arrow inside a partial square frame (no text or symbols)natural_image
Illustration of an adjustable wrench and a separate L-shaped tool (no text or symbols)text_image
Prohibition sign showing an adjustable wrench crossed out by a diagonal line, indicating no resistance or clearance requirement.natural_image
Green recycling symbol with a tree and recycling arrow inside a partial square frame (no text or symbols)natural_image
Illustration of an adjustable wrench and a separate L-shaped tool (no text or symbols)text_image
Prohibition sign showing a wrench crossed out by a diagonal line, indicating no use or prohibition.natural_image
Green recycling symbol with a tree and recycling arrow inside a partial square frame (no text or symbols)natural_image
Illustration of an adjustable wrench and a separate L-shaped tool (no text or symbols)text_image
Prohibition sign showing an adjustable wrench crossed out by a diagonal line, indicating no tool use or resistance.natural_image
Green recycling symbol with a tree and recycling arrow inside a partial square frame (no text or symbols)natural_image
Illustration of an adjustable wrench and a separate L-shaped tool (no text or symbols)text_image
Prohibition sign showing an adjustable wrench crossed out by a diagonal line, indicating no tool use or resistance.© 2025 Tunturi New Fitness BV