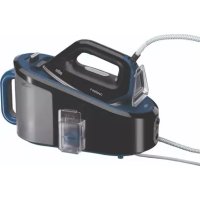
USER MANUAL CareStyle 5 IS 5145 BK BRAUN
www.braunhousehold.com
IS 5022
Ironing system
German 4
English 8
French 12
Spanish 16
Portuguese 20
Italian 24
Dutch 28
Danish 32
Norwegian 36
Swedish 39
Finnish 43
Polish 46
Czech 50
Slovak 53
Hungarian 56
Croatian 60
Slovenian 63
Turkish 66
Romanian (MD) 70
Greek 74
Kazakh 78
Russian 82
Ukrainian 86

De'Longhi-Braun-Household GmbH
F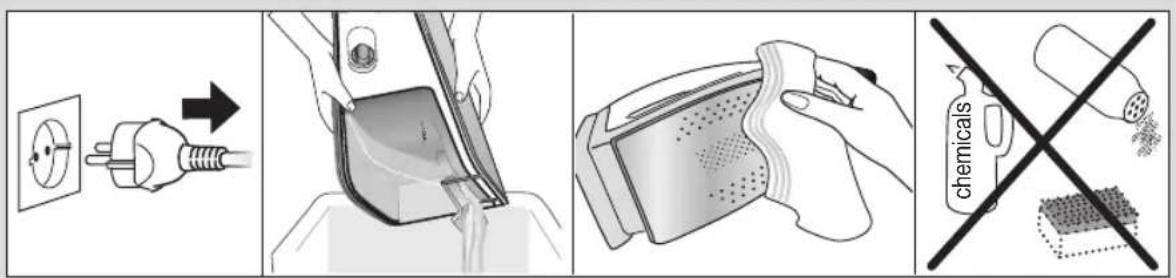
German
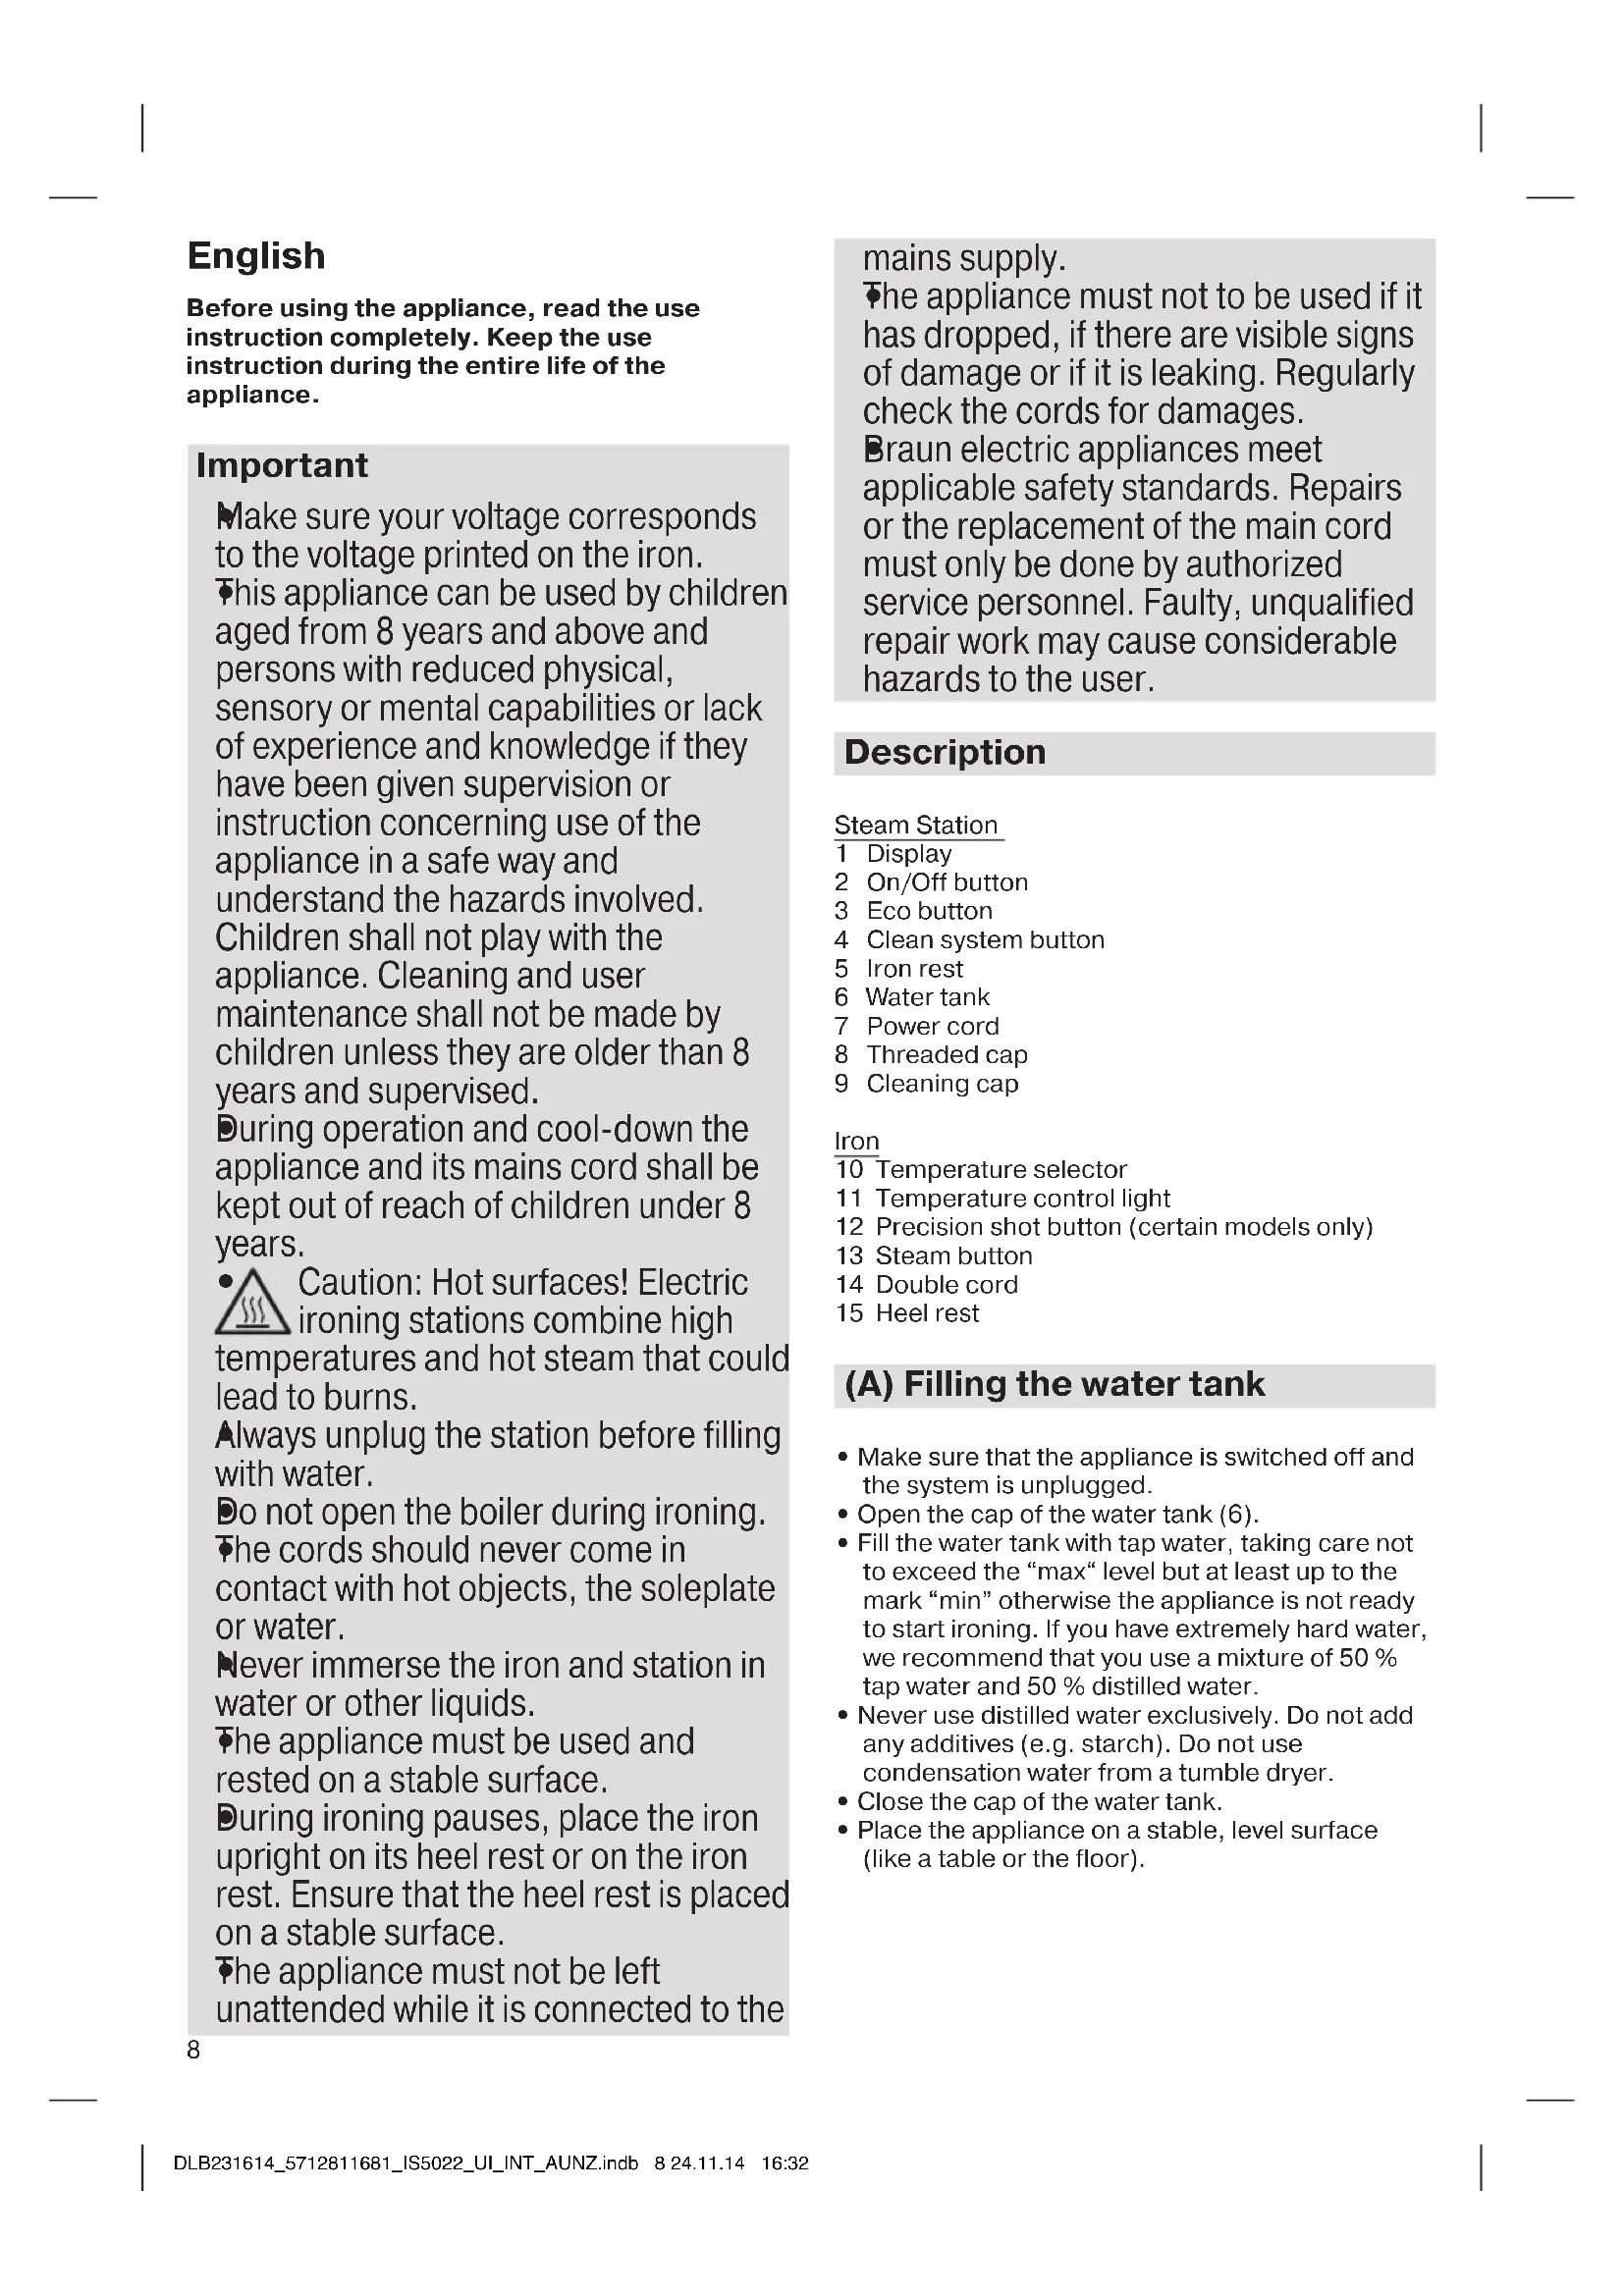
Before using the appliance, read the use instruction completely. Keep the use instruction during the entire life of the appliance.
Important
Make sure your voltage corresponds to the voltage printed on the iron. This appliance can be used by children aged from 8 years and above and persons with reduced physical, sensory or mental capabilities or lack of experience and knowledge if they have been given supervision or instruction concerning use of the appliance in a safe way and understand the hazards involved. Children shall not play with the appliance. Cleaning and user maintenance shall not be made by children unless they are older than 8 years and supervised. During operation and cool-down the appliance and its mains cord shall be kept out of reach of children under 8 years. Caution: Hot surfaces! Electric ironing stations combine high temperatures and hot steam that could lead to burns. Always unplug the station before filling with water. Do not open the boiler during ironing. The cords should never come in contact with hot objects, the soleplate or water. Never immerse the iron and station in water or other liquids. The appliance must be used and rested on a stable surface. During ironing pauses, place the iron upright on its heel rest or on the iron rest. Ensure that the heel rest is placed on a stable surface. The appliance must not be left unattended while it is connected to the
mains supply.
The appliance must not be used if it has dropped, if there are visible signs of damage or if it is leaking. Regularly check the cords for damages.
Braun electric appliances meet applicable safety standards. Repairs or the replacement of the main cord must only be done by authorized service personnel. Faulty, unqualified repair work may cause considerable hazards to the user.
Description
Steam Station
1 Display 2 On/Off button 3 Eco button 4 Clean system button 5 Iron rest 6 Water tank 7 Power cord 8 Threaded cap 9 Cleaning cap
Iron
10 Temperature selector
11 Temperature control light 12 Precision shot button (certain models only) 13 Steam button 14 Double cord 15 Heel rest
(A) Filling the water tank
- Make sure that the appliance is switched off and the system is unplugged.
- Open the cap of the water tank (6).
- Fill the water tank with tap water, taking care not to exceed the “max” level but at least up to the mark “min” otherwise the appliance is not ready to start ironing. If you have extremely hard water, we recommend that you use a mixture of 50 % tap water and 50 % distilled water.
- Never use distilled water exclusively. Do not add any additives (e.g. starch). Do not use condensation water from a tumble dryer.
- Close the cap of the water tank.
- Place the appliance on a stable, level surface (like a table or the floor).
Low Water
- When the water level is low, the icon is permanently on. The icons / turn off.
- If you want to continue steam ironing, refill the tank of the steam station (A).
(B) Start ironing
- Place the iron on the iron rest (5) or on its heel rest (15), plug in the appliance and press the on/off switch on the station (2).
- After switch ON, the related icon in the display (1) is permanently on.
- At the same time the icon (49) in the display (1) will start to blink until steam is ready. This steam setting is suitable for garments like cotton and linen. Note: during the blinking in the display, the steam function is deactivated.
- Once the conditions have been reached, the icon will stay permanently on.
- The iron will start to heat up: During this, the temperature control light on the iron (11) turns on. Once the desired temperature is reached, the temperature control light switches off.
- Set the desired temperature with the temperature selector (10). Temperature level 1 (●) is suitable for synthetics, temperature level 2 (●●) for wool, silk, polyester and temperature level 3 (●●●) for cotton and linen.
- During use, the light is turning on and off indicating that it is heating up.
- For steam ironing, set the temperature between temperature level 2 (●●) and “max” on the temperature selector and press the steam button (13) below the iron handle. Steam will come out from all the holes in the soleplate. Please do not set temperature below level 2 (●●) for steam ironing to avoid water drops coming out of the sole plate.
- For dry ironing, select the temperature most suitable for the garments to be ironed, then iron without pressing the steam button (13) or precision shot button (12). Take care that after 10 minutes of dry iron, the steam station turns into „stand-by“ mode.
- The unique round shape of the 3D eloxal soleplate ensures best gliding results on difficult parts (e.g. buttons, pockets and tough wrinkles).
- Double trigger: Press twice the steam button (13). There will be a steam emission for a few seconds. To stop this function, press the button (13) again.
- Vertical steam: The iron can be used as well for steaming hanging clothes (B).
Note:
When starting the ironing session or when you have not used the steam function for some time, the steam still present in the supply hose will condense into water. This may cause some spluttering in the appliance and a few drops of water may come out from the soleplate.
ECO Function
- For ironing with lower steam press the ECO button (3) and the icon 📋 turns permanently on.
- Lower steam is suggested for most delicate garments like silk, wool and synthetics.
- From 2nd switch on, the appliance works based on the latest set function. To return to the normal steam function press the ECO button again.
(C) Precision shot
- Press the precision shot button (12) completely down to activate it.
- Steam is coming out of the tip area of the iron only.
- To stop this function just release the button (12).
- If you don't press it down completely, some steam may also come out from the rear steam holes in the soleplate.
(D) Stand-by
The system (steam iron and steam station) will enter standby mode to reduce power consumption. When the system enters standby mode, the icon blinks.
It is activated:
• after 10 minutes without pressing the steam button (13). - after 10 minutes if the icon 🔊 is activated, the water tank is not refilled, and there is no steam emission.
To turn the system on again, press the ON/OFF button (2). Before starting to iron again, wait until the temperature control light (11) has turned off.
After ironing
- Press the On/Off button to turn off the appliance (2).
- Unplug and let the appliance cool down before storing. • Empty the water tank.
- For models with a lock system, lock the iron.
To maintain optimum performance, the system needs to be decalcified after every 15 liters of water consumption (about 10 complete refills). The icon ⚙ (4) blinks.
- First unplug the appliance. Wait until the appliance has cooled down completely. • Empty the water tank. • Take the iron aside (if applicable, unlock the iron).
- Unscrew the threaded cap (8) positioned on the
- steam station side and unscrew the cleaning cap (9).
- Fill in 500 ml tap water.
- Screw the cleaning cap to close the steam station.
- Shake the steam station to rinse, then empty the water.
- Repeat the procedure one more time.
- After completing this cleaning procedure, switch on the steam station (2) and press the clean system button (4) for 2 seconds to reset.
If the appliance is switched off without cleaning, the icon Ⓤ (4) will start blinking again the next time it is plugged in.
(F) Cleaning and maintenance
- Before cleaning, always make sure that the appliance is unplugged and has cooled down.
- Wipe the soleplate clean with a cloth.
- Never use scouring pads, vinegar, or other chemicals.
- To clean the soft material on the handle, use a damp cloth.
For UK Only
Guarantee Information
All Braun Household products carry a minimum guarantee period of two years. The rights and benefits under this guarantee are additional to your statutory rights, which are not affected.
Please keep your receipt as this will form the basis of your guarantee.
In the unlikely event of a breakdown, you have access to professional help from our team simply by calling:
02392 392333
For service in the Republic of Ireland please call:
012475471
Braun Household undertakes within the specified period to repair or replace any part of the appliance, free of charge (with the exception of any glass or porcelain-ware incorporated in the product) found to be defective provided that;
- We are promptly informed of the defect.
- The product is used and maintained in accordance with the User Instructions.
- The appliance has not been altered in any way or subjected to misuse or repair by a person other than an authorised service agent for Braun Household.
- No rights are given under this guarantee to a person acquiring the appliance second hand or for commercial or communal use.
- Any repaired or replaced appliance will be guaranteed on these terms for the unexpired portion of the guarantee.
- The need for repair has not been caused by insufficient aftercare or cleaning: or damage caused by the chemical or electrochemical effects of water.
Under no circumstances shall the application of this guarantee give rise to the complete replacement of the appliance or entitle the consumer to damages.
Braun Household, New Lane, Havant, Hampshire PO9 2NH
www.braunhousehold.co.uk
Troubleshooting guide
| PROBLEM CAUSE REMEDY | | |
| The appliance does not switch on. The appliance is not plugged into a mains socket. | Make sure the appliance is correctly connected and press the on/off button. |
| Steam comes out under the steam station | The “max” pressure safety system has opened. | Turn the appliance off immediately and contact an authorised Braun Customer Services |
| There are some water drops from the holes in the bottom of the sole plate. | Water has condensed inside the tubes because steam is being used for the first time, or has not been used for some time | Press the steam button several times away from the ironing board. This will eliminate cold water from the steam circuit. |
| The thermostat knob is not in the correct position. | Place the thermostat knob in the ••• (3 dots) sector. |
| Water drops come out after a restart from Stand by. | The iron has not reached the temperature. | After re-start from Stand by, wait until temperature control light has turned off. |
| Brown coloured fluid leaks from the sole plate. | Chemical water softeners or additives have been poured into the water tank or steam generator. | Never pour products into the water tank. Clean the sole plate with a damp cloth. |
| The first time the appliance is turned on, you notice smoke | Some parts have been treated with sealer/lubricant which evaporates the first time the iron heats up. | This is normal and will stop when you have used the iron a few times. |
| The appliance emits an intermittent noise associated with vibrations. | Water is being pumped into the steam generator. | This is completely normal |
| The appliance emits a continuous noise associated with vibrations. | | Unplug the system from the mains and contact an authorised Braun Customer Services. |
| The steam generator cap is difficult to unscrew | Limescale has made the steam generator cap difficult to open | Turn the cap forcefully. To avoid the problem, rinse the steam generator frequently |
| After topping up with water, the light does not reset. | The water float doesn’t work appropriately | Empty the water tank, rinse out it and refill. |
| All LEDs are blinking System error Unplug the system, plug it again and | press ON/off button. If this problem is still present, Turn the appliance off immediately and contact an authorised Braun Customer Services. |
| The icons ♠ and ⚫ are blinking | Accidentally the reset button was pressed instead of ON/OFF button. | Unplug and plug again |
Subject to change without notice. Please do not dispose the product in the household waste at the end of its useful life. Disposal can take place at a Braun Service Centre or at appropriate collection points provided in your country

French
Country of origin: China
Year of Manufacture
To determine the year of manufacture, refer to the 5-digit production code located near the type plate. The first digit of the production code refers to the last digit of the year of manufacture. The next 2 digits refer to the calendar week in the year of manufacture. The last 2 digits show the print date automatically calculated since 1992. Example: 30421 - The product was manufactured in week 4 of 2013.