Optix AG32CQ - Monitor MSI - Free user manual and instructions
Find the device manual for free Optix AG32CQ MSI in PDF.

Pick your language and provide your email: we'll send you a specifically translated version.
| Product type | 31.5-inch curved gaming monitor |
| Screen size | 31.5 inches (80 cm) |
| Native resolution | 2560 x 1440 (WQHD) |
| Refresh rate | 144 Hz |
| Panel technology | VA (Vertical Alignment) |
| Screen curvature | 1800R |
| Typical brightness | 300 cd/m² |
| Contrast ratio | 3000:1 |
| Response time | 1 ms (MPRT) / 4 ms (GtG) |
| Viewing angles | 178° horizontal and vertical |
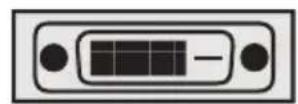
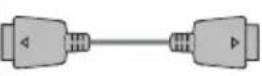
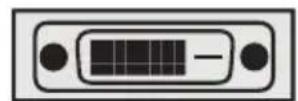
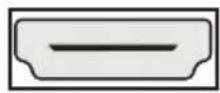
| Video input connectors | 1 x DisplayPort 1.2, 2 x HDMI 2.0, 1 x DVI-D |
| Audio jack | 3.5 mm headphone jack |
| Built-in speakers | No |
| VESA compatibility | 100 x 100 mm |
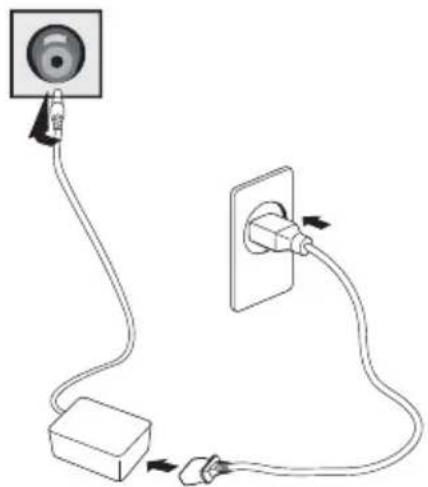
| Power supply | 100-240 V AC, 50/60 Hz |
| Typical consumption | 45 W |
| Net weight with stand | 9.8 kg |
| Dimensions with stand (W x H x D) | 726 x 505 x 242 mm |
| Integrated technologies | Flicker-Free, Low Blue Light, Adaptive Sync |
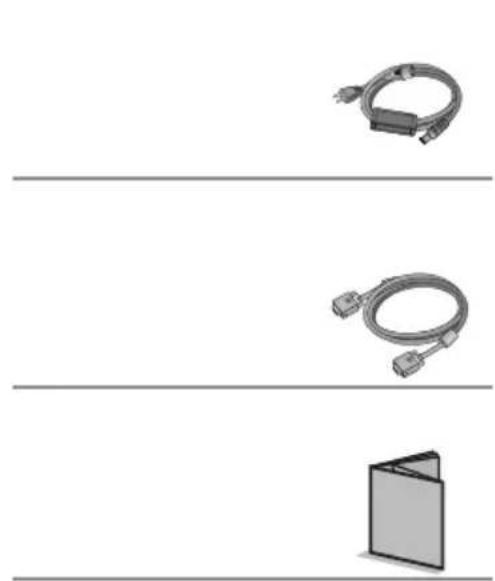
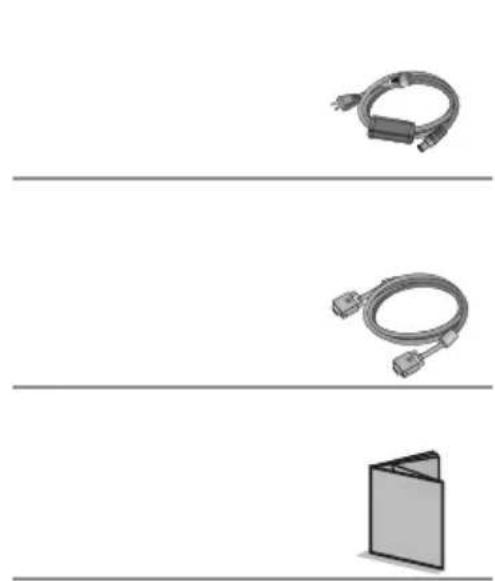
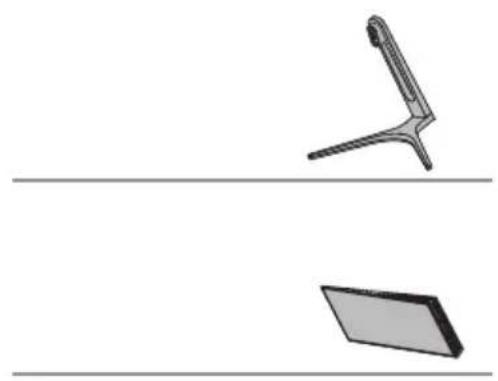
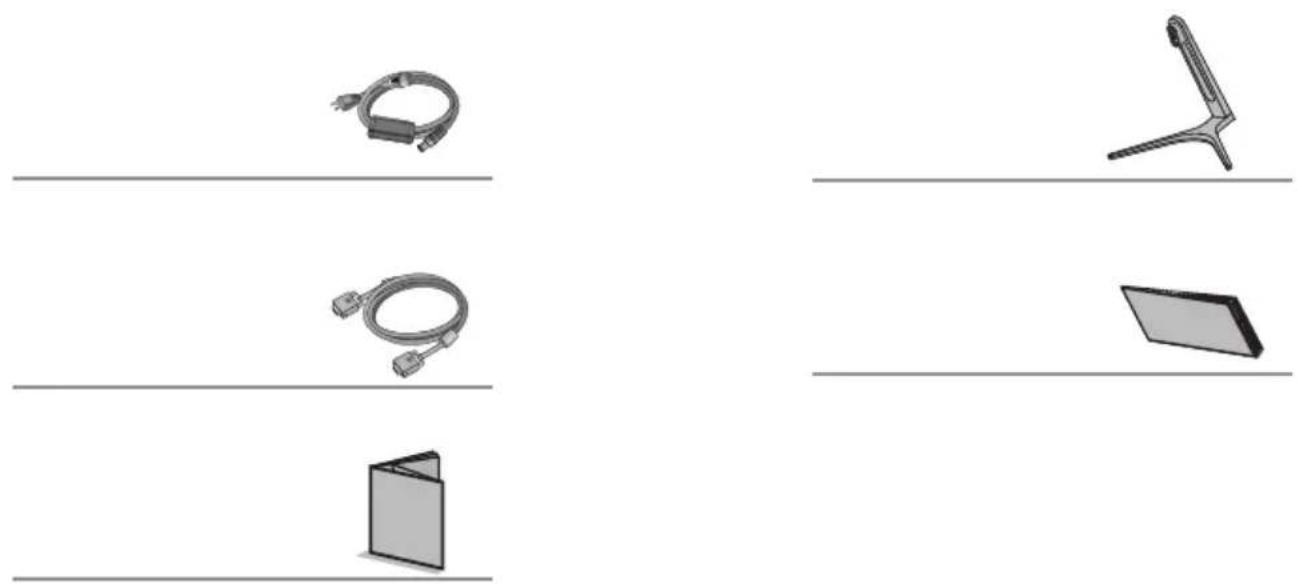
| Box contents | Monitor, stand, DisplayPort cable, HDMI cable, power adapter, quick start guide |
| Care and cleaning | Clean with a soft, dry cloth; do not use solvents |
| Safety instructions | Turn off before cleaning; do not expose to moisture or shocks |
| Spare parts and repairability | Contact MSI customer service for replacement parts |
Frequently Asked Questions - Optix AG32CQ MSI
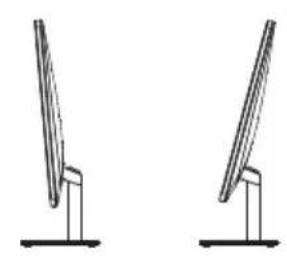
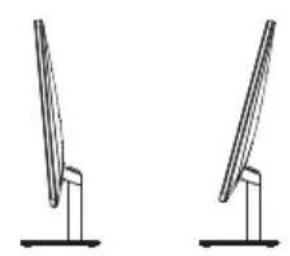
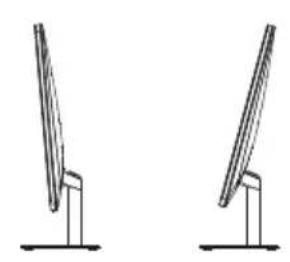
How to adjust the height and tilt of the screen?
The MSI Optix AG32CQ stand allows tilt adjustment from -5° to 20° and swivel. There is no built-in height adjustment; use a VESA mount if needed.
Can I mount the monitor on an articulating arm?
Yes, the screen is VESA 100 x 100 mm compatible. Remove the stand and screw the arm bracket onto the four holes at the back.
How to activate adaptive sync (FreeSync/G-Sync)?
Connect the monitor via DisplayPort, then enable FreeSync in the OSD (On-Screen Display) under the 'Gaming' tab. Make sure your graphics card supports FreeSync or G-Sync Compatible.
What type of cable to use for 144 Hz?
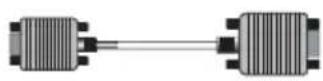
Use a DisplayPort cable (version 1.2 or higher) to achieve 144 Hz at 2560x1440 resolution. HDMI 2.0 cables can also do it, but DisplayPort is recommended.
How to reduce blue light?
Press the 'Mode' button on the remote or navigate the OSD to enable the 'Low Blue Light' filter. Several levels are available.
What to do if the screen remains black after power on?
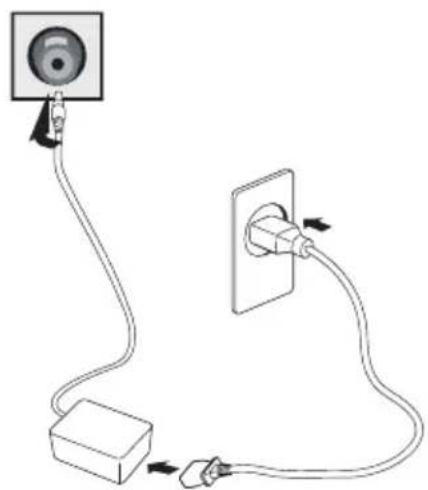
Check that the power cable is properly connected and the monitor is on. Test another video cable or source. If the problem persists, contact MSI support.
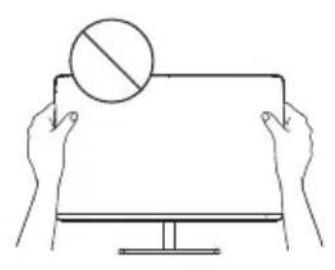
How to clean the screen without damaging it?
Turn off the monitor and unplug it. Use a slightly damp microfiber cloth (clean water) and wipe gently. Never use abrasive products or solvents.
Does the monitor have built-in speakers?
No, the MSI Optix AG32CQ does not have built-in speakers. Use the 3.5 mm headphone jack at the back to connect headphones or external speakers.
Can I use the monitor in portrait mode?
The screen can be rotated 90° (pivot mode) if you remove it from the stand and use a suitable VESA mount. Make sure to set the rotation in your system display settings.
Where to find the latest driver or firmware?
Go to the official MSI website (msi.com), Support > Monitors section, and search for 'Optix AG32CQ' to download drivers, firmware, and manuals.
User questions about Optix AG32CQ MSI
0 question about this device. Answer the ones you know or ask your own.
Ask a new question about this device
No questions yet. Be the first to ask one.
Download the instructions for your Monitor in PDF format for free! Find your manual Optix AG32CQ - MSI and take your electronic device back in hand. On this page are published all the documents necessary for the use of your device. Optix AG32CQ by MSI.
USER MANUAL Optix AG32CQ MSI
Optix AG32CQ
MSIGAMINGMONITORUser'sManual


| ≤2000m | |||


A


| ◎ | ||
| D | ||||
| D | ||||
| ≤2000m | |||


| ◎ | ||
| D | ||||
| D | ||||
| D | ||||
| ≤2000m | |||


A


HOMI


| ◎ | ||
| D | ||||
| D | ||||
| D | ||||