
Indie - Stroller Bumbleride - Free user manual and instructions
Find the device manual for free Indie Bumbleride in PDF.

User questions about Indie Bumbleride
0 question about this device. Answer the ones you know or ask your own.
Ask a new question about this device
Download the instructions for your Stroller in PDF format for free! Find your manual Indie - Bumbleride and take your electronic device back in hand. On this page are published all the documents necessary for the use of your device. Indie by Bumbleride.
USER MANUAL Indie Bumbleride
natural_image
Line drawing of a two-wheeled baby stroller with wheels and a backrest (no text or symbols)Indie
owner's manual manual de instrucciones le manuel d'instructions
Hello
Welcome to the Bumbleride family.
Get ready for the ride of your life.
At Bumbleride, our goal is to make gear for parents to get out and do what they love, while doing our best to preserve the planet.
With Indie and all our products, we are committed to creating the very best product experience for our families. Our designers seek to understand how you interact with your children and develop ergonomic designs for you and your baby. Our customer care team is here to help and put a smile on your face. We love to make your life just a little bit easier. That's our Bumbleride Promise.
Everything we do has an impact on this world. From the factories we partner with, to the materials we choose, we take the time to think critically and act responsibly. We promise straightforward, common sense design that doesn't try to be too clever.
We know you're busy. So you need products and services that work seamlessly and a partner that supports you if they don't. For us, it's not just about providing quality service, but caring about the service we provide.
Our aim with Indie is to give you an all terrain stroller perfect for the active family. From the pavement to the trail, Indie adapts to your daily adventures called life. Wherever your path takes you, Indie is the only stroller you will need from birth through toddlerhood.
Please complete the product registration card so that we may assist you with any of your warranty needs should they arise. You can also register your product online at: www.bumbleride.com/support
The Bumbleride Indie complies with ASTM F-833, SOR/85-379 and EN 1888 safety standards.
Feel good knowing our eco fabrics keep plastic bottles out of landfills and our dye process conserves water.
Table of Contents
This owner's manual is broken into 4 sections. The first, Assembly, will introduce you to the Indie and guide you through the steps of assembling your new Indie. The second, Operation, will show you how to use your Indie properly. The third, Maintenance, will give you clear steps on how to maintain your Indie. The fourth, Useful Information, contains all product information such as warranty, warnings and additional accessories you may need.
ASSEMBLY
8 What's in the box
10 Opening frame
12 Attaching rear axle & wheels
14 Attaching front wheel
16 Attaching sun canopy
18 Attaching bumper bar
19 Attaching wrist strap
OPERATION
20 Using the brake
21 Adjusting the handlebar
22 PART ONE
Using with an infant
24 PARTTWO
Using with an infant
26 Folding Indie
MAINTENANCE
28 Adding air to the tires
30 PART ONE
Removing the fabric to wash
32 PARTTWO
Removing the fabric to wash
34 Cleaning instructions
USEFUL INFORMATION

35 Additional accessories
36 Stroller warranty, standards and warnings (English)
38 Stroller warranty, standards and warnings (Spanish)
40 Stroller warranty, standards and warnings (French)
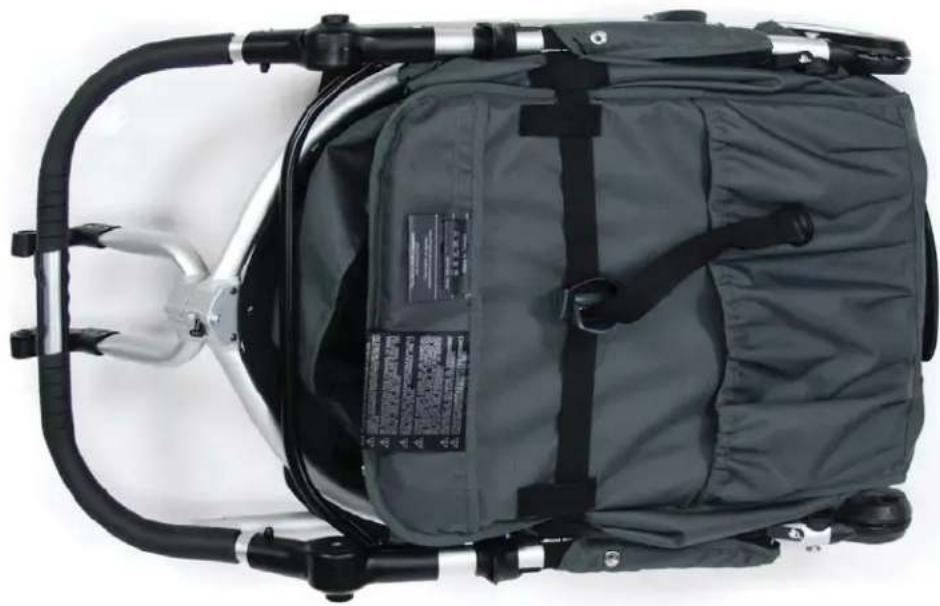
natural_image
Top-down view of a dark gray backpack with black straps and metal frame, mounted on a white background (no visible text or symbols)Indie frame
Estructura Indie
Cadre Indie
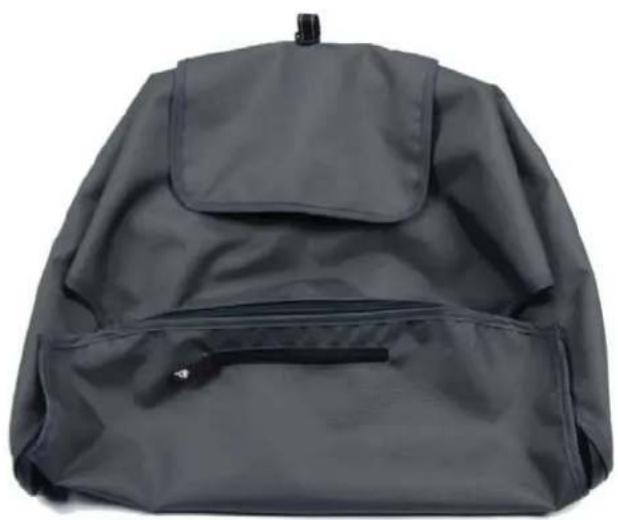
natural_image
Gray backpack with front cover and pocket pockets, no visible text or symbolsUPF 45+ canopy
Capota UPF 45+
Pare-soleil UPS 45+

natural_image
Top-down view of a black and white wheeled scooter with three wheels and a small handle (no text or symbols visible)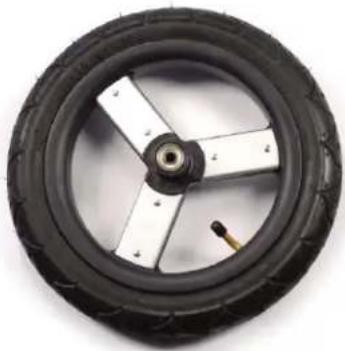
natural_image
Top-down view of a black and white bicycle steering wheel with four blades (no text or symbols visible)12in front wheel 30.5cm ruedas frontales 30.5cm roues avant
natural_image
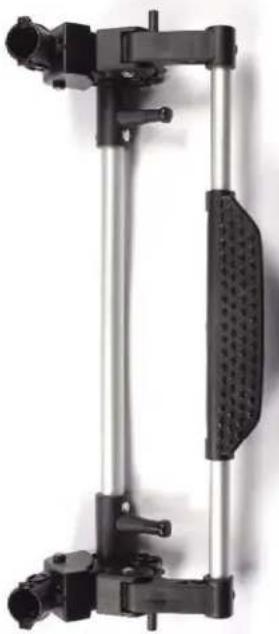
Mechanical device with black and silver components, no visible text or symbolsRear axle Eje trasero Essieu arrière
natural_image
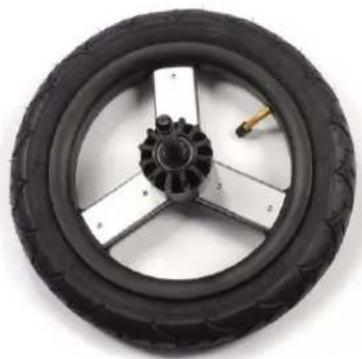
Top-down view of a black and white tire with three wheels and a central hub (no text or symbols visible)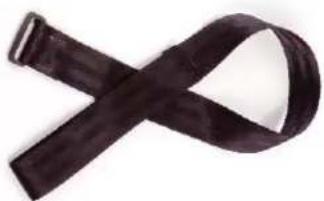
natural_image
Black ribbon belt with loop design (no text or symbols)12in rear wheels
30.5cm ruedas traseras
Roues de 30.5cm a l'arrière
Wrist strap
Correa para la muñe
corroie de poignet
natural_image
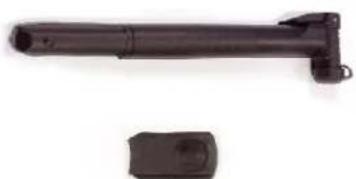
Black cylindrical object with attached metallic clip and separate plastic clip (no text or symbols visible)Also included but not pictured, 2 Allen wrenches, open wrench, operating manual, inflation cheat sheet and warranty registration card.
natural_image
Black and silver outdoor scooter with adjustable handle and seat, no visible text or symbols
WARNING / ADVERTENCIA / ATTENTION
Always ensure baby is a safe distance away while opening and folding the stroller.
Begin by releasing the autolock. Lever it away from the stroller and pull up on the handlebar at the same time.
natural_image
Person assembling a black exercise bike with visible frame and handle (no text or symbols)2
Lift handle upwards & back.
natural_image
Person using a black and silver athletic backpack device to lift a white seat, with a blue curved arrow indicating motion (no text or symbols visible)3
As handle comes around lift the stroller onto the back legs and continue rotating the handle until the hinge locks engage.
natural_image
Hand holding a black umbrella device with a small logo, shown in a white setting (no text or symbols visible)
Attaching rear axle & wheels
natural_image
Black and silver robotic device with articulated legs and a back cover, no visible text or symbols1
Position the rear axle so that the brake bar is facing outward. Slide the rear axle onto the rear tubes until you hear a 'CLICK' on both legs.
natural_image
Person assembling a black athletic device frame with a blue arrow indicating motion (no text or symbols visible)2
To remove the rear axle press release tabs. There is one on each side.
natural_image
Close-up of a person adjusting a black mechanical device with a white strap (no visible text or symbols)3
Slide the rear wheel into the rear axle tube. You will hear a 'CLICK'. To remove rear wheel pull on the release knob while pulling out the wheel.
natural_image
Close-up of a person adjusting a tire with mechanical components, showing a blue arrow indicating motion (no text or symbols visible)
Attaching front wheel
natural_image
Black and white photo of a Stubble pushing scooter with visible branding (lb) and 'Aboumbrievide' patch, no text or symbols on the body itself.1
Position front wheel between fork. Slide the axle bolt through the fork and wheel.
natural_image
Close-up of a hand adjusting a black bicycle tire with a blue arrow pointing to the wheel (no text or symbols visible)2
Thread nut onto axle bolt. Hold axle bolt in place with the Allen wrench and tighten the nut with the wrench (tools included).
natural_image
Close-up of hands adjusting a black tire with a blue circular component, no visible text or symbols3
When running or jogging at a fast pace always lock fork for maximum stability.
natural_image
Close-up of a hand adjusting a metallic mechanical component with blue arrows indicating motion (no text or symbols visible)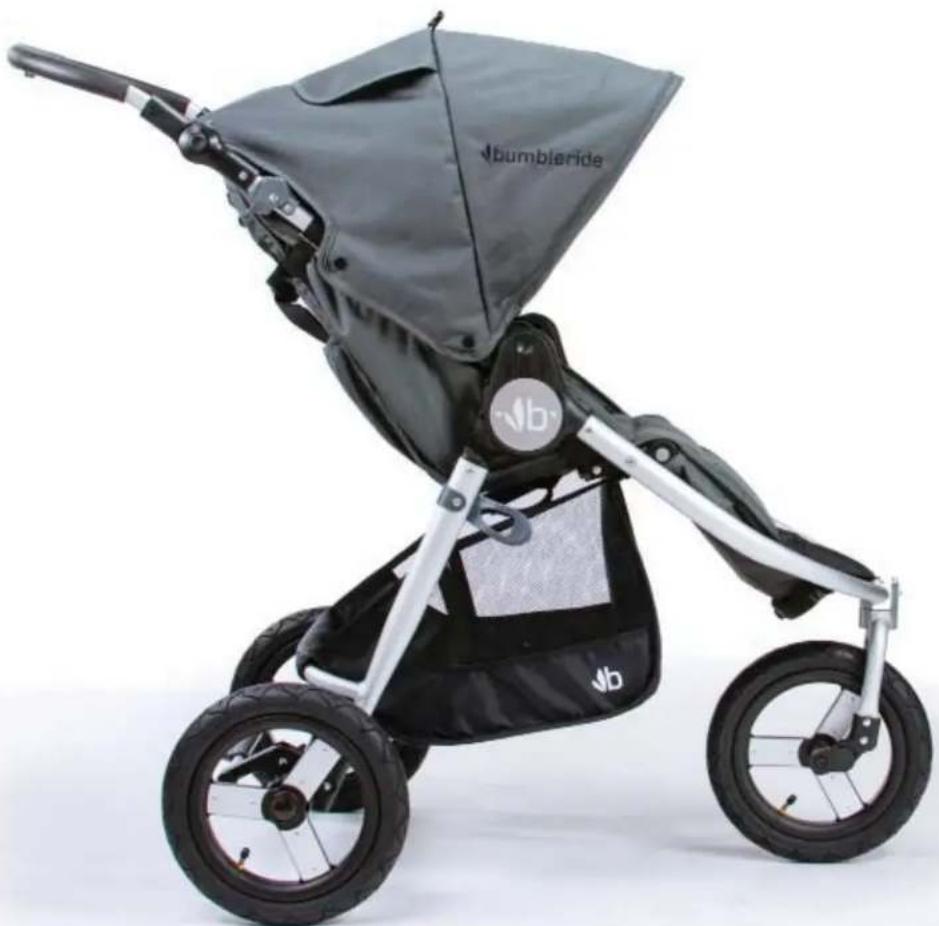
natural_image
Black and silver Bumbleride stroller with a canopy cover, no visible text or symbols on the body1
Slide canopy ratchets onto the hot shoes located on the inside of the handlebars. Push the ratchets down until they notch in place
natural_image
Close-up of hands adjusting a black athletic device with a green cap and mechanical components (no visible text or symbols)2
Pull open the canopy and, using the snaps, secure the back edge to the black support bar. Snaps on both sides will secure the canopy to the seat fabric.
natural_image
Close-up of hands installing a green bicycle seatbelt component, showing adjustment and assembly steps (no text or symbols visible)3
For more coverage reach inside the canopy to pull out extended visor.
natural_image
Close-up of a bumbleide scooter seat with hands adjusting the seat (no visible text or symbols)4
The rear canopy extension can be added if more coverage is required.
natural_image
Three-panel image showing hands installing a green safety belt patch, with no visible text or symbols.
Attaching bumper bar
Colocación de la barra de parachoques / Fixation de la barre pare-chocs
1
Locate the bumper bar holsters on each side of the seat and slide it into place.
natural_image
Close-up of hands adjusting a black wrist strap with a blue arrow indicating the angle (no text or symbols visible)2
To release bumper bar press on the plastic tabs and lift.
natural_image
Close-up of a hand adjusting a black athletic device with a blue arrow pointing to the component (no visible text or symbols)3
When folding the stroller use the grey buttons on the bumper bar to move it down for a more compact fold. Always ensure the bar is in an upright position when a child is in the stroller.
natural_image
Close-up of hands adjusting a black athletic jacket with blue motion arrows (no text or symbols visible)
Attaching wrist strap
Feed the loop end of the strap through the slot in the handlebar standoff.
natural_image
Close-up of a hand adjusting a black cable with a strap (no text or symbols visible)2
Bring the loop under and feed it through the buckle until it is tight against the handlebar standoff.
natural_image
Close-up of hands adjusting a black cable with a strap (no text or symbols visible)
Using the brake
Cómo usar el freno / Futilisation du frein

Press down on the brake bar to engage.
natural_image
Close-up of a person's foot stepping on a stroller, showing the wheel and foot (no text or symbols visible)
Lift up on the brake bar to release it.
natural_image
Close-up of a stroller with blue motion arrow indicating rotation, showing wheel and foot assembly (no text or symbols)
WARNING / ADVERTENCIA / ATTENTION
Always ensure baby is a safe distance away while opening and folding the stroller.
Adjusting the handlebar
Push the buttons on the outside of the handlebar to adjust position.
natural_image
Close-up of hands adjusting a black athletic vest with a blue arrow indicating rotation (no text or symbols visible)
PART ONE
Using with an infant
Open the fi ve point safety harness. Notice how the harness locks together.
natural_image
Close-up of a hand holding a black plastic camera strap with a circular button (no visible text or symbols)2
For infants ensure the waist straps are threaded through the infant side straps.
natural_image
Close-up of hands adjusting a black belt buckle buckle (no text or symbols visible)3
To tighten the straps pull down on the straps until the harness fi ts comfortably and securely.
natural_image
Close-up of hands adjusting a black belt buckle strap (no text or symbols visible)4
As your child becomes taller you can rethread the shoulder straps in a higher position on the backrest.
natural_image
Close-up of a hand adjusting a black plastic buckle on a gray garment (no text or symbols visible)5
Undo the Velcro pocket on the seat back to access matching slots on the seat back support.
natural_image
Close-up of hands installing or adjusting a black garment with a zipper (no visible text or symbols)6
Push the shoulder straps buckles through the slots and lay them fl at against seat back support.
natural_image
Close-up of hands installing a black plastic door panel on a car seat (no text or symbols visible)
PART TWO
Using with an infant
Recline the backrest to its lowest position by squeezing the backrest adjuster and pulling it down.
natural_image
Close-up of a hand adjusting a black cable with a blue arrow indicating the motion (no text or symbols visible)
Lift footrest to its highest position by pressing the buttons on each side.
natural_image
Close-up of hands adjusting a gray cushioned seat with a blue arrow indicating the motion (no text or symbols visible)
Unsnap the infant wall from under foot-rest.
natural_image
Close-up of hands adjusting a dark garment sleeve on a car wheel (no text or symbols visible)
Wrap the infant wall around footrest and engage snaps on seat fabric.
natural_image
Close-up of hands adjusting a black seatbelt with metal fasteners, showing mechanical assembly (no text or symbols visible)
Folding Indie
Cómo plegar Indie / Plier Indie

Begin by folding down the bumper bar and footrest.
natural_image
Close-up of hands adjusting a gray mechanical component with a blue arrow indicating motion (no text or symbols visible)
Stand behind stroller and simultaneously squeeze both triggers while lifting the handlebars.
natural_image
Close-up of a hand pressing down on a dark fabric garment, with a blue arrow indicating the motion direction (no text or symbols visible)
Fold the handle forward.
natural_image
Person assembling a black and silver stroller with a blue directional arrow indicating motion (no text or symbols visible)
Continue fold until you hear the autolock engage.
natural_image
Close-up of a hand pressing down on a black exercise machine with a blue arrow pointing to the handle (no text or symbols visible)
Adding air to the tires
Cómo agregar aire a las ruedas / Ajouter de l'air aux pneus

Indie's tires have inner tubes and will occasionally need air added. Keep the pump handy by storing it in the zippered pocket of the cargo basket.
natural_image
Close-up of hands installing or adjusting a black plastic bag on a chair (no text or symbols visible)
Begin by removing the valve cap. Keep it close by and out of reach of children.
natural_image
Close-up of a hand adjusting a tire component with a blue circular arrow indicating rotation (no text or symbols visible)
Flip the dust cover of the pump head.
natural_image
Close-up of hands installing a black tire component with a yellow cable, no visible text or symbols
Push pump head firmly onto valve. You may hear some air escaping. Flip up the pump head lever to seal the connection.
natural_image
Close-up of hands installing a tire component with a blue arrow indicating the adjustment (no text or symbols visible)
Unfold pump handle and infl ate the tire to 30psi/2bar.
natural_image
Close-up of hands installing a black plastic tire component on a white surface (no text or symbols visible)
PART ONE
Removing the fabric to wash
Cómo quitar la tela para lavarla / Retirer le tissu pour le laver

Begin by unsnapping all six snaps on the sides and back of the canopy. Grasp the canopy ratchets from underneath and give them a fi rm tug upwards to remove them from the hot shoes.
natural_image
Close-up of a hand using a medical pressure monitor to adjust the device (no visible text or symbols)
Remove the bumper bar by pressing on the release tabs. Unzip the fabric for washing.
natural_image
Close-up of a hand adjusting a black athletic helmet with a blue upward arrow, no visible text or symbols.
Unsnap the seat fabric from the handlebars.
natural_image
Close-up of a hand adjusting a black mechanical component with screws, no visible text or symbols
Unzip the side panels.
natural_image
Close-up of hands adjusting a black jacket with metal clip (no visible text or symbols)
Remove backrest adjuster by feeding the strap through the split buckle.
natural_image
Close-up of hands adjusting a black fabric component with a metal clip, showing detail (no text or symbols visible)
Unsnap and remove the webbing from the back leg frame buckle.
Continued on next page
natural_image
Close-up of hands adjusting a metallic mechanical component with screws, no visible text or symbols
PART TWO
Removing the fabric to wash
Cómo quitar la tela para lavarla / Retirer le tissu pour le laver

Remove Fabric from frame.
Quite la tela del marco.
natural_image
Close-up of a person adjusting a dark gray backpack on a bicycle (no visible text or symbols)
Remove back support by first pushing the shoulder harness buckles back through the buckle slots.
natural_image
Close-up of hands installing a white card on a dark backpack (no text or symbols visible)
To wash the canopy, remove one of the ratchets with a Philips screwdriver. Warning: keep the screws close by and out of reach of children.
natural_image
Close-up of a hand using a black tool to lift a green fabric component, no visible text or symbols
Remove canopy frame by sliding it out of the fabric.
natural_image
Close-up of a hand holding a small metallic tool over a green fabric or material (no text or symbols visible)
Cleaning instructions
Machine wash seat fabric, canopy fabric and bumper bar fabric using cold water on a delicate cycle. Do not machine-dry. Do not iron. Only air-dry. To attach the fabric, reverse the steps above.
Additional accessories (not included)
natural_image
Green foam roller pad with visible seam details (no text or symbols)Seat Liners
natural_image
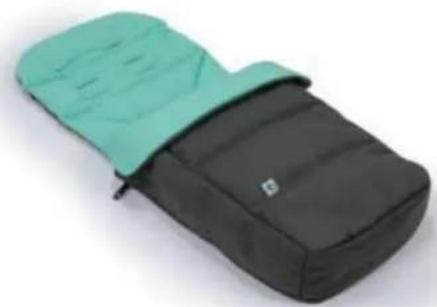
Black and teal backpack with a white logo on the side (no text or symbols visible)Footmuff & Liner

natural_image
Close-up of a black leather bag with a zipper and strap, partially open to a beige bag (no visible text or symbols)Parent Pack

natural_image
Close-up of a bumblecide backpack with visible branding and usage straps (no text or symbols on the backpack itself)Snack Pack
natural_image
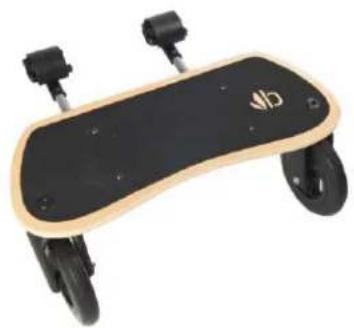
Black and gold-colored outdoor skateboard with wheels and adjustable legs (no text or symbols visible)Mini Board
natural_image
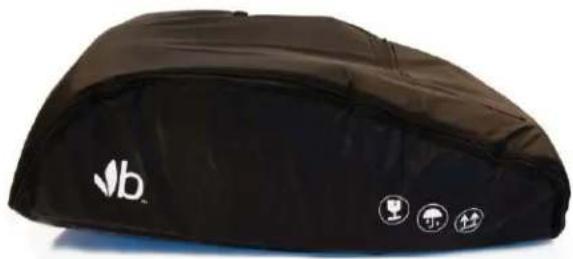
Black and white photo of a branded cushion device with logo and icons (no readable text or symbols)Travel Bag
natural_image
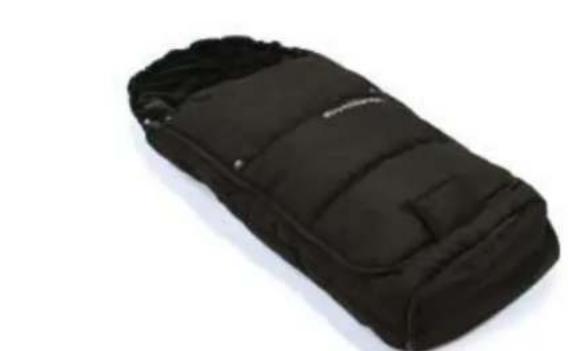
Black compact car case with visible seat and side panels (no text or symbols)Winter Footmuff
natural_image
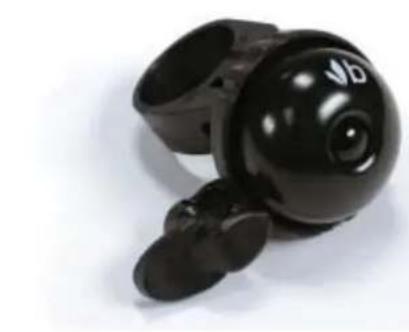
Black electronic device with a spherical head and earbuds, no visible text or symbolsBell
natural_image
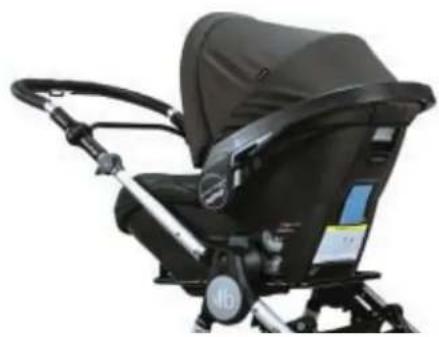
Black baby stroller with black seat and silver handle, no visible text or symbolsCar Seat Adapters
natural_image
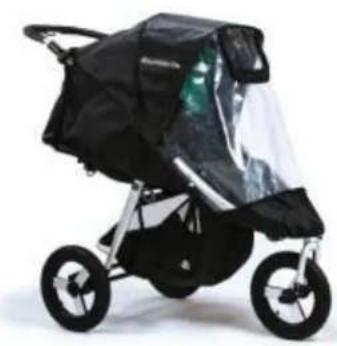
Black baby stroller with transparent hood and black body, no visible text or symbolsNon-PVC Rain Cover
For more information visit us at www.bumbleride.com
Warranty & Safety Standard
STROLLER
This product is tested in compliance with ASTM F833, SOR/85-379 and EN 1888 safety standards.
Your Bumbleride stroller frame comes with a 3 year warranty and a lifetime of friendly customer service to ensure that you will love your Bumbleride for years to come. The frame of your Bumbleride is guaranteed to be free from manufacturer defects for a period of 3 years from the date of purchase. The fabric components, tires and inner tubes are guaranteed to be free from manufacturer defects for a period of 1 year from the date of purchase. Damage due to wear and tear will be repaired or replaced at a reasonable cost.
The warranty card must be returned, or online registration completed in order to activate the warranty period. The warranty covers consumers who have purchased their Bumbleride within the U.S. and Canada.
International shipping for any replacement part or repair is to be covered by the consumer.
This warranty does not cover damage caused by normal wear and tear, neglect, accidents, lack of maintenance or damage caused by parts not manufactured by Bumbleride. This warranty covers Bumbleride products purchased from authorized Bumbleride dealers only. A list of authorized dealers can be found by visiting our Dealer Locator online at: www.bumbleride.com
All warranty claims must be made directly to the authorized Bumbleride dealer from whom the product was purchased or by contacting Bumbleride Customer Care (info@bumbleride.com or 1-800-530-3930).
Costs associated with shipping and handling are the responsibility of the customer. Upon receipt of the product, Bumbleride or its authorized repair center, will arrange for inspection of the item. If the problem is due to defective parts or defective workmanship on behalf of Bumbleride, Bumbleride will repair or replace the product at Bumbleride's option. If the product is not covered under the original warranty, the customer will be responsible for all expenses associated with the service provided.
Bumbleride Inc.
2345 Kettner Blvd.
San Diego, CA 92101
www.bumbleride.com
info@bumbleride.com
1-800-530-3930

WARNING - STROLLER
The following are important safety instructions. Save this operating manual for future use. Read these instructions carefully before use and keep them for future reference. Your child's safety may be affected if you do not follow these instructions. Always ensure that children are a safe distance away when opening and closing the stroller. Learn more by visiting us at www.bumbleride.com.
- Never leave your child unattended.
- Avoid serious injury from falling or sliding out. Always use the 5-point safety harness.
- Any load attached to the handle aff ects the stability of the stroller.
- Ensure that all the locking devices are engaged before use.
• Always use the restraint system.
• Always use the crotch strap in combination with the waist belt. - Check that the stroller body or seat unit or car seat attachment devices are all correctly engaged before use.
• Always use the restraint system.
• To avoid serious injury ensure that your child is kept away when unfolding and folding this product. - Do not let your child play with this product.
-
Care must be taken when folding and unfolding this product to prevent fi nger entrapment.
-
This vehicle is intended for children from infancy to 55 lbs/25 kg or 40"/120cm.
• Always use the brakes when not holding the stroller. - Excess weight may cause hazardous or unstable conditions to exist. Never allow more than one child per seat of the stroller. Never leave children in stroller when using stairs or escalators.
- Child may slip into leg openings and strangle. Never use in reclined carriage position unless the safety harness is used, the footrest is raised and the footrest sidewalls are attached. (Read instructions before using this product!)
- Do not leave the stroller exposed to heat for long periods of time.
- Do not fold stroller when wet.
- Parcels and/or accessory items placed on the stroller may cause it to become unstable. Maximum weight in cargo basket 10lbs (5.55kg)
bumbleride
the ride of your ife.
Bumbleride Inc.
2345 Kettner Blvd.
San Diego, CA 92101
www.bumbleride.com
info@bumbleride.com
1-800-530-3930