Mistral - Pan Profile - Free user manual and instructions
Find the device manual for free Mistral Profile in PDF.
Frequently Asked Questions - Mistral Profile
User questions about Mistral Profile
0 question about this device. Answer the ones you know or ask your own.
Ask a new question about this device
Download the instructions for your Pan in PDF format for free! Find your manual Mistral - Profile and take your electronic device back in hand. On this page are published all the documents necessary for the use of your device. Mistral by Profile.
USER MANUAL Mistral Profile
READ ALL INSTRUCTIONS CAREFULLY BEFORE USING THIS UNIT. KEEP THE MANUAL IN A SAFE PLACE FOR LATER USE.
- THIS DEVICE SHOULD ONLY BE USED AS DESCRIBED IN THIS MANUAL.
- THIS DEVICE CAN BE USED BY CHILDREN AGED 8 AND ABOVE AND BY PERSONS WITH PHYSICAL, SENSORY OR INTELLECTUAL DISABILITIES OR WHO LACK EXPERIENCE OR KNOWLEDGE IF THEY ARE SUPERVISED OR HAVE RECEIVED INSTRUCTIONS ABOUT THE SAFE USE OF THE DEVICE AND THEY UNDERSTAND THE HAZARDS INVOLVED. CHILDREN SHOULD NOT BE ALLOWED TO PLAY WITH THE DEVICE.
- CHILDREN YOUNGER THAN 3 SHOULD BE KEPT AT A DISTANCE FROM THE DEVICE UNLESS THEY UNDER CONSTANT SUPERVISION. CHILDREN AGED BETWEEN 3 AND 8 MAY ONLY SWITCH THE UNIT ON OR OFF IF IT HAS BEEN PLACED OR INSTALLED IN THE APPROPRIATE NORMAL OPERATING POSITION AND IF THEY ARE UNDER SUPERVISION OR HAVE RECEIVED INSTRUCTIONS ON USING THE DEVICE IN A SAFE MANNER AND UNDERSTAND THE HAZARDS INVOLVED. CHILDREN AGED BETWEEN 3 AND 8 SHOULD NOT CONNECT THE DEVICE TO THE WALL SOCKET, ADJUST OR CLEAN IT OR PERFORM USER MAINTENANCE.
- CAUTION: SOME PARTS OF THIS PRODUCT CAN BECOME EXTREMELY HOT AND CAUSE BURNS. SPECIAL ATTENTION IS REQUIRED AROUND CHILDREN AND OTHER VULNERABLE PERSONS.
- NEVER PLACE THIS DEVICE IMMEDIATELY BENEATH A WALL SOCKET.
- DO NOT USE THIS HEATER IN THE IMMEDIATE VICINITY OF A BATH, SHOWER OR SWIMMING POOL.
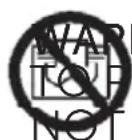
NING:DO NOT COVER
TO PREVENT OVERHEATING, THE HEATER SHOULD NOT BE COVERED IN ANY WAY. THIS IS INDICATED BY THE SYMBOL. COVERING THE HEATER CAN LEAD TO OVERHEATING, FIRE AND ELECTRIC SHOCKS. ENSURE THAT THE AIR INLETS AND EXHAUSTS ARE ALWAYS FREE.
- THE HEATER IS SOLELY INTENDED FOR INDOOR USE AND NOT FOR OUTDOOR OR COMMERCIAL USE.
- NEVER USE THE HEATER NEAR TO FLAMMABLE GASES OR OTHER SUBSTANCES SUCH AS SOLVENTS, VARNISH, PAINT OR GLUE. PARTS OF THE HEATER MAY BECOME VERY HOT AND/OR EMIT SPARKS.
- KEEP FLAMMABLE MATERIALS AT LEAST 1 M FROM THE HEATER. AVOID BURNS AND DO NOT ALLOW EXPOSED SKIN TO HAVE CONTACT WITH HOT SURFACES.
- IF THE POWER CORD IS DAMAGED, THIS SHOULD BE REPLACED BY THE MANUFACTURER, A MAINTENANCE TECHNICIAN OR A SIMILARLY QUALIFIED PERSON TO AVOID RISKS.
- NEVER TOUCH THE HEATER WITH WET HANDS.
- CHECK THE HEATER FOR ANY OBSTRUCTIONS. IF YOU FIND OBSTRUCTIONS, SWITCH OFF THE HEATER USING THE ON-OFF SWITCH ON THE CONTROL PANEL. ALLOW THE HEATER TO FULLY COOL DOWN AND REMOVE THE OBSTRUCTION. WAIT AT LEAST 10 MINUTES BEFORE YOU SWITCH ON THE HEATER AGAIN AS DESCRIBED IN THE USER GUIDE.
CE
THIS PRODUCT IS SOLELY SUITABLE FOR WELL INSULATED PLACES OR OCCASIONAL USE.
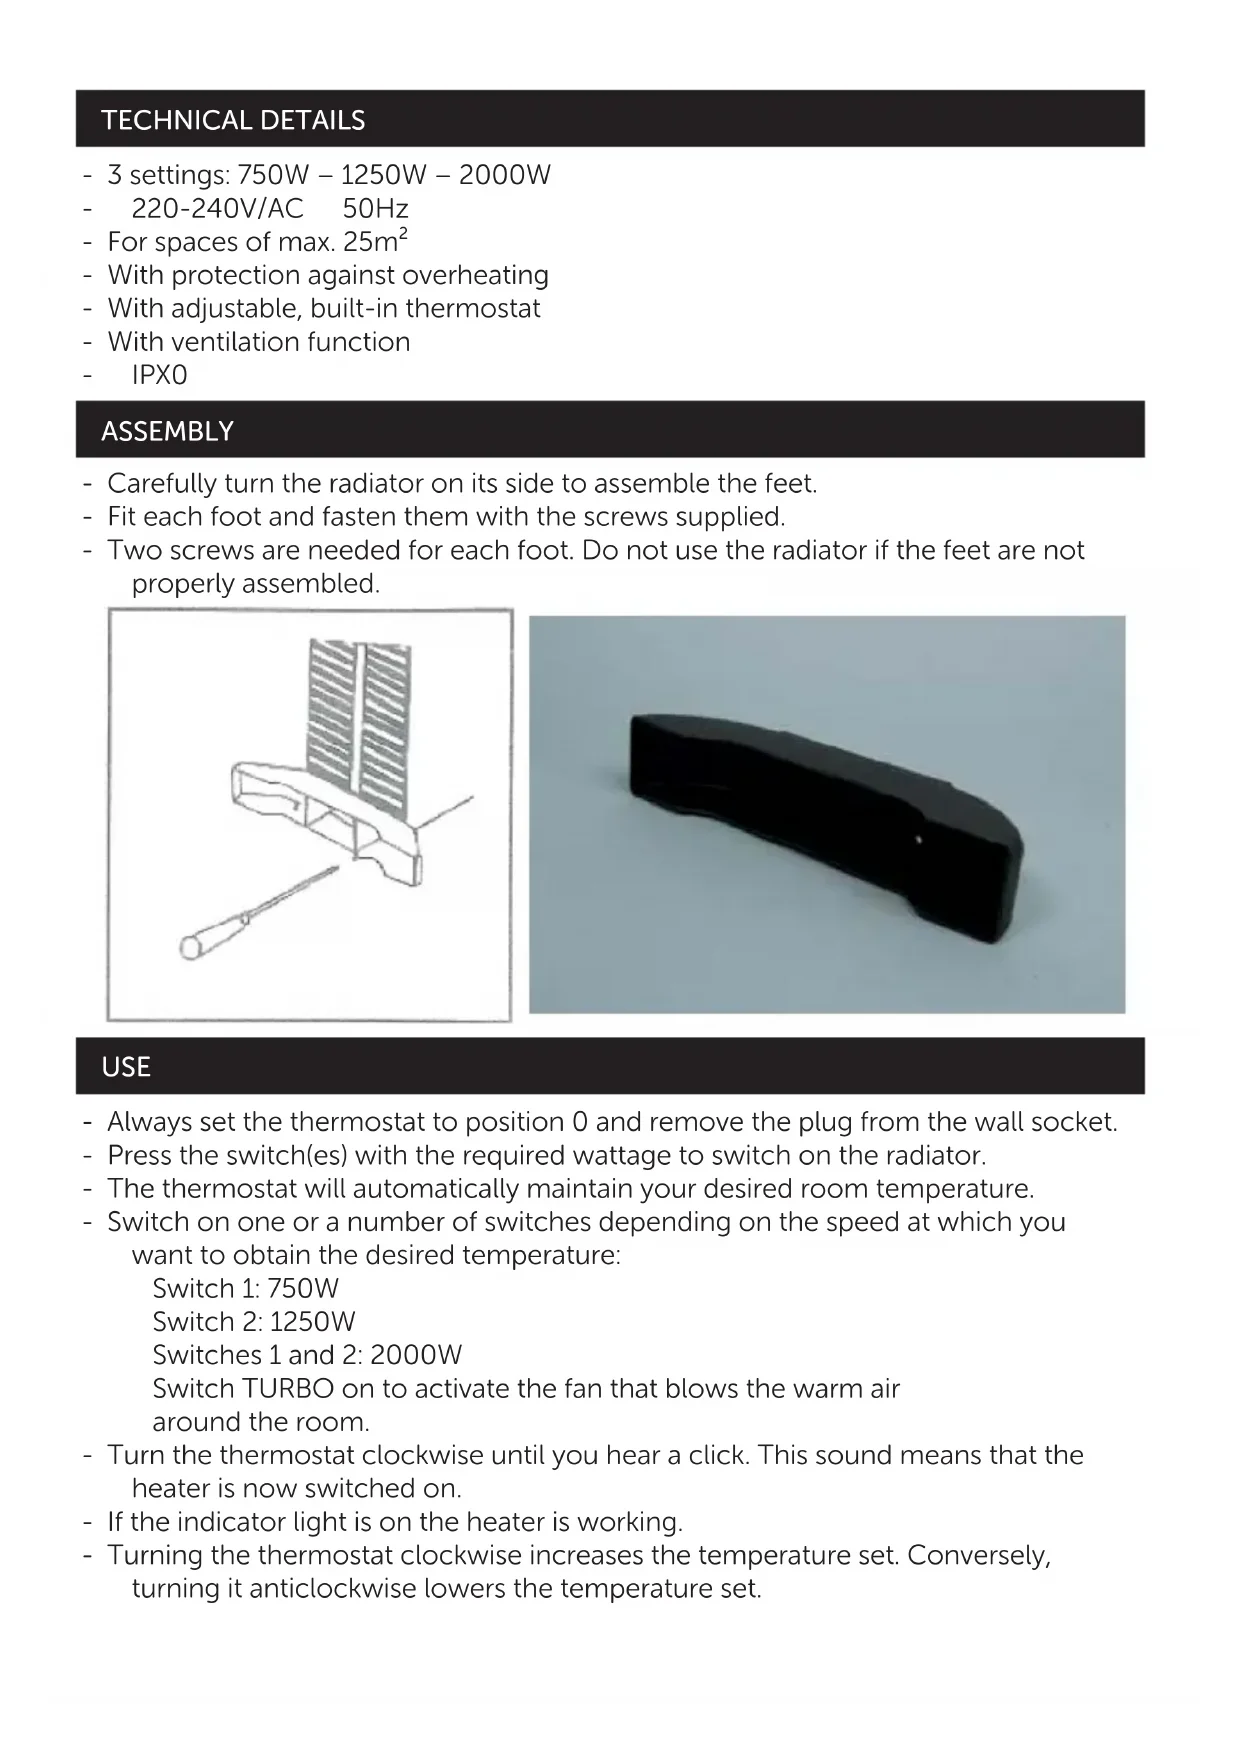
TECHNICAL DETAILS
- 3 settings: 750W - 1250W - 2000W
- 220-240V/AC 50Hz
- For spaces of max. 25m^2
- With protection against overheating
- With adjustable, built-in thermostat
- With ventilation function
- IPX0
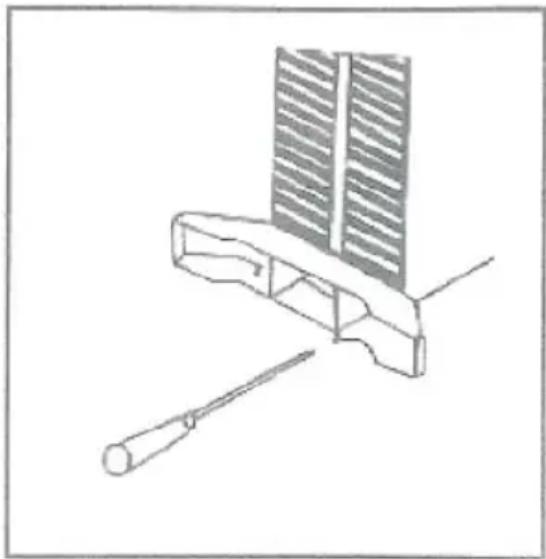
ASSEMBLY
- Carefully turn the radiator on its side to assemble the feet.
- Fit each foot and fasten them with the screws supplied.
- Two screws are needed for each foot. Do not use the radiator if the feet are not properly assembled.
USE
- Always set the thermostat to position 0 and remove the plug from the wall socket.
- Press the switch(es) with the required wattage to switch on the radiator.
- The thermostat will automatically maintain your desired room temperature.
- Switch on one or a number of switches depending on the speed at which you want to obtain the desired temperature:
Switch 1: 750W
Switch 2:1250W
Switches 1 and 2: 2000W
Switch TURBO on to activate the fan that blows the warm air around the room.
- Turn the thermostat clockwise until you hear a click. This sound means that the heater is now switched on.
- If the indicator light is on the heater is working.
-
Turning the thermostat clockwise increases the temperature set. Conversely, turning it anticlockwise lowers the temperature set.
-
The thermostat automatically switches the heating on and off when the set temperature has been reached.
NOTE:
- Allow the radiator to fully cool down before moving it and always use the handle for this purpose.
- Protection against overheating: if this is activated the radiator switches itself off. Then switch the radiator off and pull the plug from the wall socket. Allow it to cool down and remove any hindrances before using the radiator again.
CLEANING AND MAINTENANCE
We recommend that you clean the unit at least twice a year (or more frequently if you see it needs cleaning) with a vacuum cleaner.
- Switch the unit off and remove the plug from the wall socket.
- Leave the device to cool for at least 20 minutes.
- Use a vacuum cleaner to remove dust and dirt from the grills and the casing.
Keep the box for storage during periods you are not using the unit. When the unit is stored, it should also be protected against dirt and dust.
DAMAGE
Extra NV can under no circumstances whatsoever be held responsible for damage of whatever nature if the unit was not correctly installed according to the specified installation instructions, nor for damage as a result of unforeseen circumstances such as natural disasters, lightning strike, etc. Any resulting costs are consequently at the expense of the buyer alone and are not covered by the conditions of the warranty.
DISPOSAL AND RECYCLING
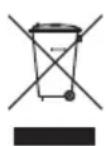
This device complies with EU Directive 2012/19/EU concerning recycling at the end of working life of products. The product must not be disposed of together with household garbage. Please obtain information about the manner in which electrical and electronic products are collected separately in your area.
INFORMATION REQUIREMENTS FOR ELECTRIC LOCAL SPACE HEATERS
| Item Symbol | Value Unit | Item | Unit | |||
| Heat output | Type of heat input, for electric storage local space heaters only (select one) | |||||
| Nominal heat output | Pnom | 2.0 | kW | Manual heat charge control, with integrated thermostat | no | |
| Minimum heat output (indicative) | Pmin | 0.75 | kW | Manual heat charge control with room and/or outdoor temperature feedback | no | |
| Maximum continuous heat output | Pmax,c | 2.0 | kW | Electronic heat charge control with room and/or outdoor temperature feedback | no | |
| Auxiliary electricity consumption Fan assisted heat output | no | |||||
| At nominal heat output | eI max | N.A. | kW | Type of heat output/room temperature control (select one) | ||
| At minimum heat output | eI min | N.A. | kW | Single stage heat output and no room temperature control | no | |
| In standby mode | eI SB | N.A. | kW | Two or more manual stages, no room temperature control | no | |
| With mechanical thermostat room temperature control | yes | |||||
| With electronic room temperature control | no | |||||
| Electronic room temperature control plus day timer | no | |||||
| Electronic room temperature control plus week timer | no | |||||
| Other control options (multiple selections possible) | ||||||
| Room temperature control, with presence detection | no | |||||
| Room temperature control, with open window detection | no | |||||
| With distance control option | no | |||||
| With adaptive start control | no | |||||
| With working time limitation | no | |||||
| With black bulb sensor | no | |||||
| Contact details | ELTRA NV Pachtgoedstraat 2 - Indzone C TTS, 9140 TEMSE | |||||