
KH 2285 - Alarm Clock EBENCH - Free user manual and instructions
Find the device manual for free KH 2285 EBENCH in PDF.
| Product type | Alarm clock radio |
| Brand | EBENCH |
| Model | KH 2285 |
| Mains power supply | 220-230 V ~ 50 Hz |
| Backup battery | 9 V (type 6LR61) |
| Display | Red LED |
| Alarm | Buzzer or radio |
| Sleep function | Yes, adjustable up to 1 h 59 min |
| Alarm repeat | Yes, approximately 9 minutes |
| Automatic alarm stop | After 1 h 59 min |
| Radio bands | FM and MW (AM) |
| FM antenna | Wired unfoldable |
| MW antenna | Built-in ferrite |
| Volume control | Rotary |
| Function switch | OFF/ON/AUTO/BUZZER |
| Maintenance | Soft cloth, unplugged |
| Safety instructions | Included (do not expose to water, do not open) |
| Backup battery | 9 V (replace once a year) |
| Compliance | CE (Low Voltage and EMC directives) |
| User manual available | 75 pages, multilingual |
Frequently Asked Questions - KH 2285 EBENCH
User questions about KH 2285 EBENCH
0 question about this device. Answer the ones you know or ask your own.
Ask a new question about this device
Download the instructions for your Alarm Clock in PDF format for free! Find your manual KH 2285 - EBENCH and take your electronic device back in hand. On this page are published all the documents necessary for the use of your device. KH 2285 by EBENCH.
USER MANUAL KH 2285 EBENCH
natural_image
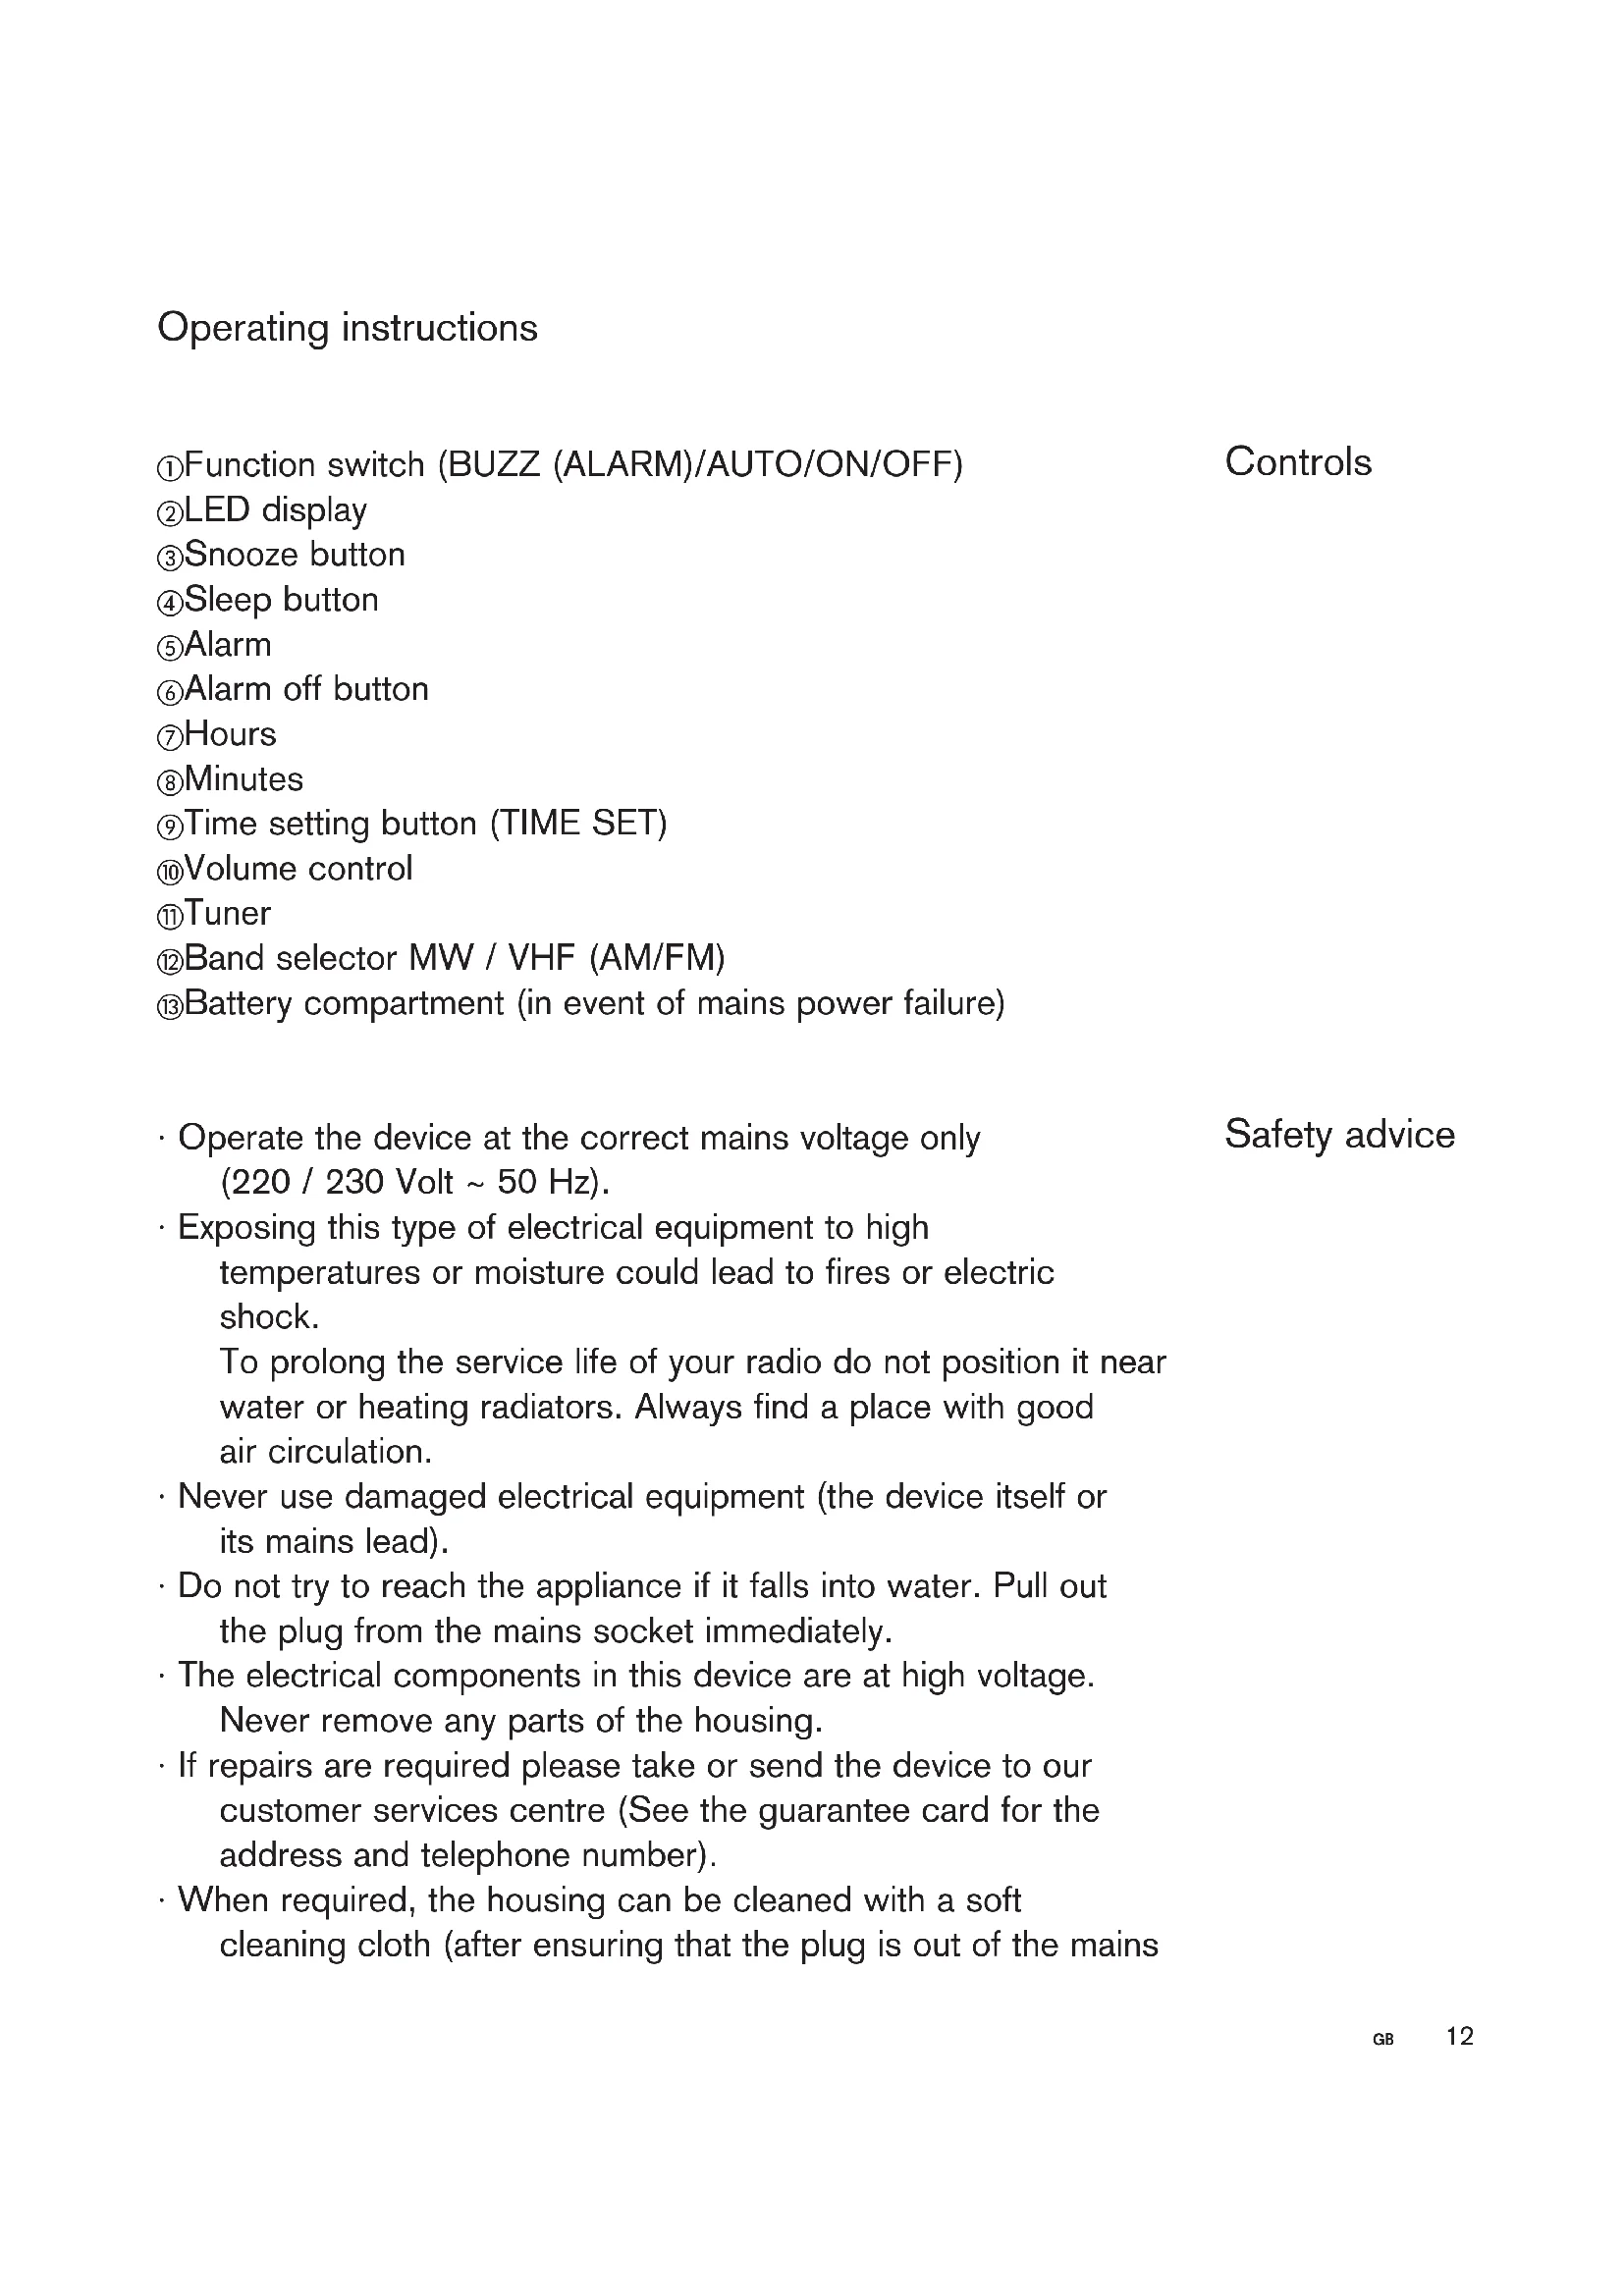
White digital alarm clock with red display showing 12:00 (no visible text or symbols beyond clock face)KH 2284
natural_image
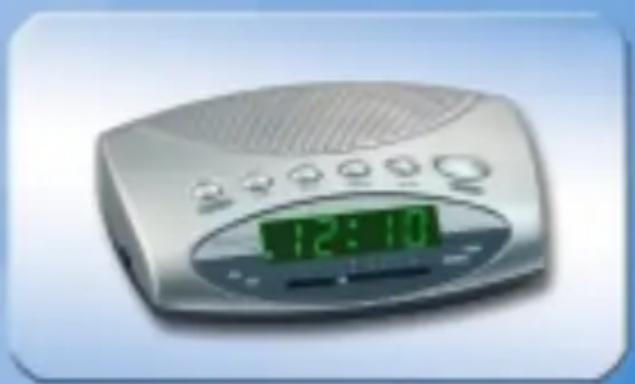
Digital alarm device with green display showing 12:10 (no visible text or symbols beyond clock and buttons)KH 2285
natural_image
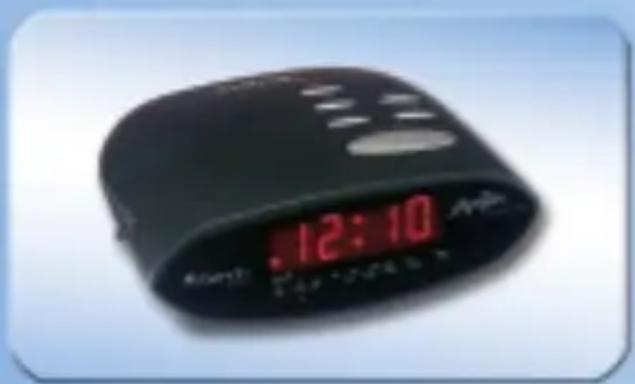
Black digital alarm clock with red display showing 12:10 (no visible text or symbols beyond clock and numbers)KH 2286

natural_image
Black digital alarm clock with red display showing 12:22 (no visible text or symbols beyond clock face)KH 2287
GB Operating instructions and safety advices Page 11
KH 2285

⑦
KH 2286
KH 2287
Bedienungsanleitung
Operating instructions
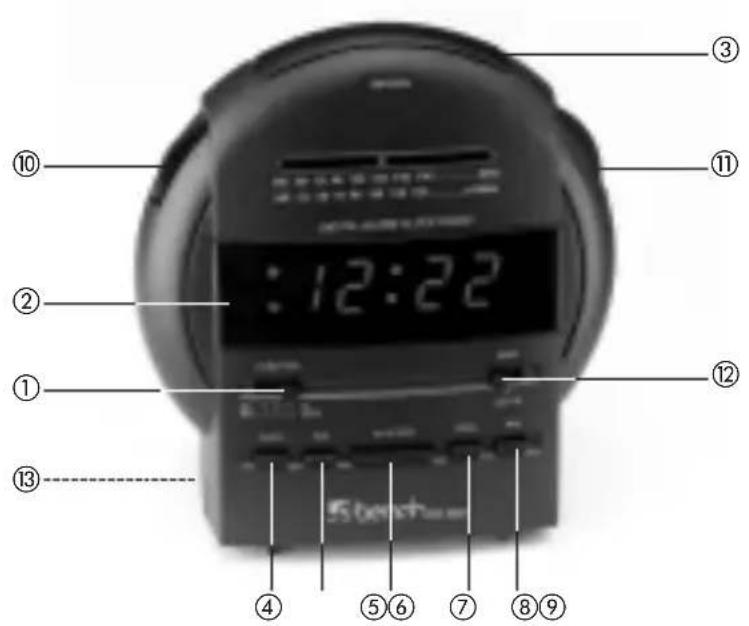
①Function switch (BUZZ (ALARM)/AUTO/ON/OFF) Controls
②LED display
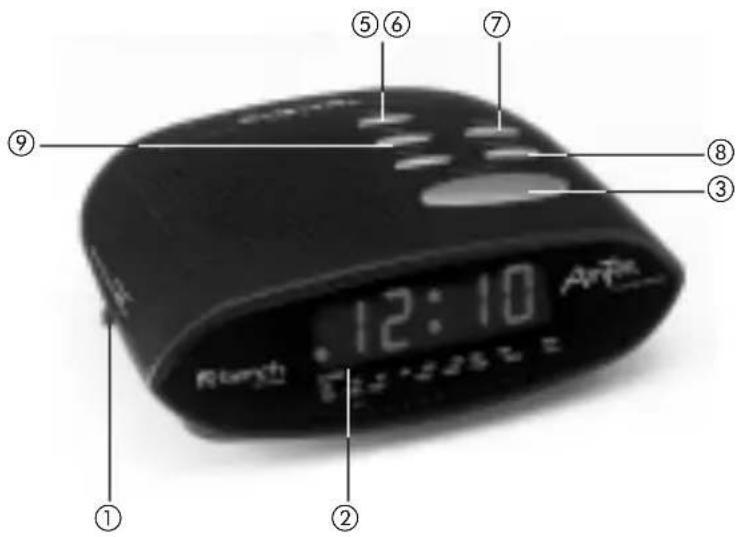
③Snooze button
④Sleep button
⑤Alarm
⑥Alarm off button
⑦Hours
⑧Minutes
⑨Time setting button (TIME SET)
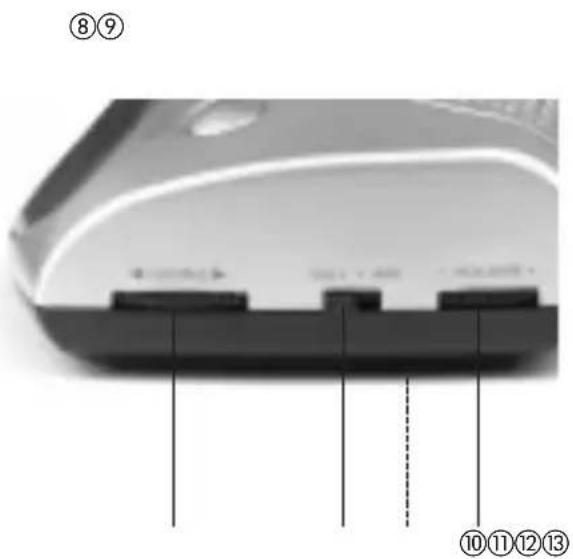
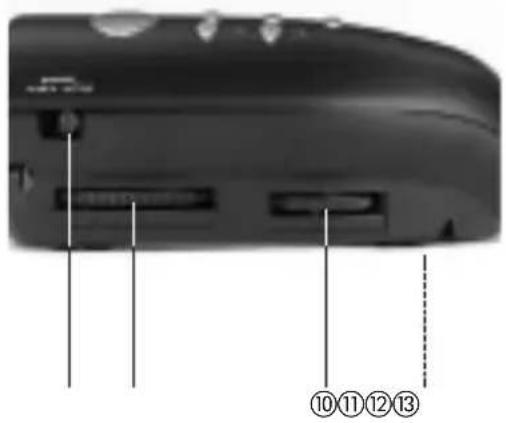
⑩Volume control
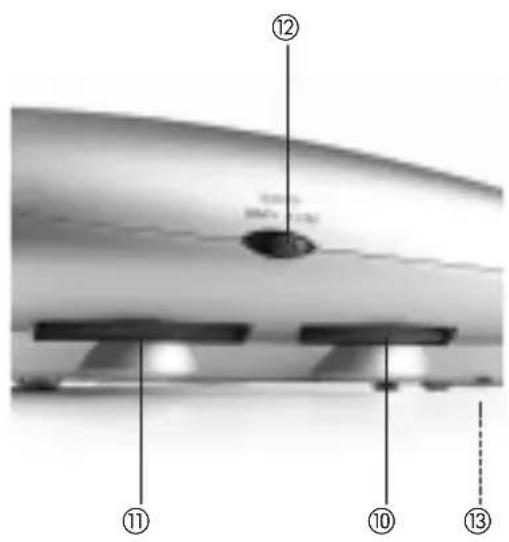
⑪Tuner
⑫Band selector MW / VHF (AM/FM)
⑬Battery compartment (in event of mains power failure)
· Operate the device at the correct mains voltage only Safety advice (220 / 230 Volt \~ 50 Hz).
- Exposing this type of electrical equipment to high temperatures or moisture could lead to fires or electric shock. To prolong the service life of your radio do not position it near water or heating radiators. Always find a place with good air circulation.
- Never use damaged electrical equipment (the device itself or its mains lead).
- Do not try to reach the appliance if it falls into water. Pull out the plug from the mains socket immediately.
- The electrical components in this device are at high voltage. Never remove any parts of the housing.
- If repairs are required please take or send the device to our customer services centre (See the guarantee card for the address and telephone number).
- When required, the housing can be cleaned with a soft cleaning cloth (after ensuring that the plug is out of the mains
socket). Never use cleaning agents as they could damage the housing.
Connecting to mains Insert the plug into a mains socket (make sure the mains voltage matches that of the device).
Radio reception Switch on the radio by moving the function switch ⑨ into the ON position.
Set the band selector switch to the required position (VHF or MW) ⑫. Set the volume using the volume control ⑩.
Set the radio to the VHF or medium wave frequency of your choice using the tuner ⑪.
Aerials FM (VHF): Unwind and position the wire aerial for best reception of VHF.
AM /MW: The radio has a sensitive ferrite aerial.
Setting the time Press and hold down the TIME button ⑨ (TIME / TIME-SET) whilst pressing the HOURS ⑦ or MINUTES ⑧ button until you see the correct time in the display.
Setting the alarm time Press the ALARM ⑤ and HOURS ⑦ or MINUTES ⑧ button until the required alarm time appears in the display.
Setting the 1 First set the required alarm time as explained above.
2 If you wish to be woken by the buzzer set the FUNCTION SWITCH ① to BUZZ (ALARM). The activated alarm mode is then shown in the display.
- If you wish to be woken by the radio, set the FUNCTION
SWITCH to ON and select the desired station/frequency and the volume ⑩.
3 Then set the FUNCTION SWITCH ① to AUTO. The activated alarm mode is then shown in the display.
4 Then set the FUNCTION SWITCH ① to RADIO. The activated alarm mode is then shown in the display.
The appropriate alarm sounds when the alarm time is reached. The alarm sound switches off automatically after 1 hour 59 minutes.
The alarm sound can be temporarily interrupted by pressing the SNOOZE button ③. After approximately 9 minutes the alarm sound automatically switches itself on again. This process can be repeated for a maximum of 1 hour 59 minutes.
You can cut short the alarm period by setting the FUNCTION SWITCH ① to OFF.
After the alarm is switched off, if you set the FUNCTION SWITCH ① to AUTO again the alarm will sound on the next day at the same time.
Automatic 24 hour alarm
This setting allows you to go to sleep whilst listening to the radio. With the FUNCTION SWITCH ① in the AUTO or OFF position the radio plays for a maximum of 1 hour 59 minutes.
Going to sleep with the sleep function
1 Press the Sleep button ④ to set the time for which the radio will play. The display shows 0.:59
2 If you wish the radio to stop playing earlier just press and hold down the Sleep button ④ whilst pressing the MINUTES ⑧ button until the desired playing time is displayed.
3 If you wish the playing time to be extended to 1:59, press and hold down the Sleep button ④ whilst pressing the HOURS ⑦ button.
4 To switch off the Sleep function ① or to set the sleep time to press the SNOOZE button ③.
NOTE: Pressing the Sleep button ① again after setting the sleep time will automatically reset the sleep time to 0. Press the SNOOZE ③ button to switch off the Sleep function.
Mains power failure
To guard against losing your settings in the event of a mains power failure insert a 9-volt battery into the battery compartment. The battery ensures that the radio alarm clock will function in emergency mode even during a mains power failure. In these circumstances the LED display ② will not be illuminated. Once mains power is restored the correct time will be automatically displayed again.
Note: The alarm, radio and LED ② display do not function during battery operation.
- Insert the battery into the battery compartment (see Fig. 13).
- Replace the battery annually.
We, Kompernaß Handelsgesellschaft mbH, Burgstr. 21, D-44867 Bochum, Germany, hereby declare that this product conforms with the following EC regulations:
Statement of conformity
EC low voltage regulations, Electromagnetic compatibility, Applicable harmonised standards.
Type/Description: Radio alarm clock KH 2284, KH 2285, KH 2286, KH 2287
Bochum, 31.05.2003

Hans Kompernaß
- Managing Director -
Mode d'emploi


Brand : EBENCH
Model : KH 2285
Category : Alarm Clock