Flexa BHS 4200 - Aspirateur BOSCH - Free user manual and instructions
Find the device manual for free Flexa BHS 4200 BOSCH in PDF.

Brand : BOSCH
Model : Flexa BHS 4200
Category : Aspirateur
Download the instructions for your Aspirateur in PDF format for free! Find your manual Flexa BHS 4200 - BOSCH and take your electronic device back in hand. On this page are published all the documents necessary for the use of your device. Flexa BHS 4200 by BOSCH.
USER MANUAL Flexa BHS 4200 BOSCH
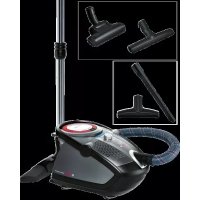
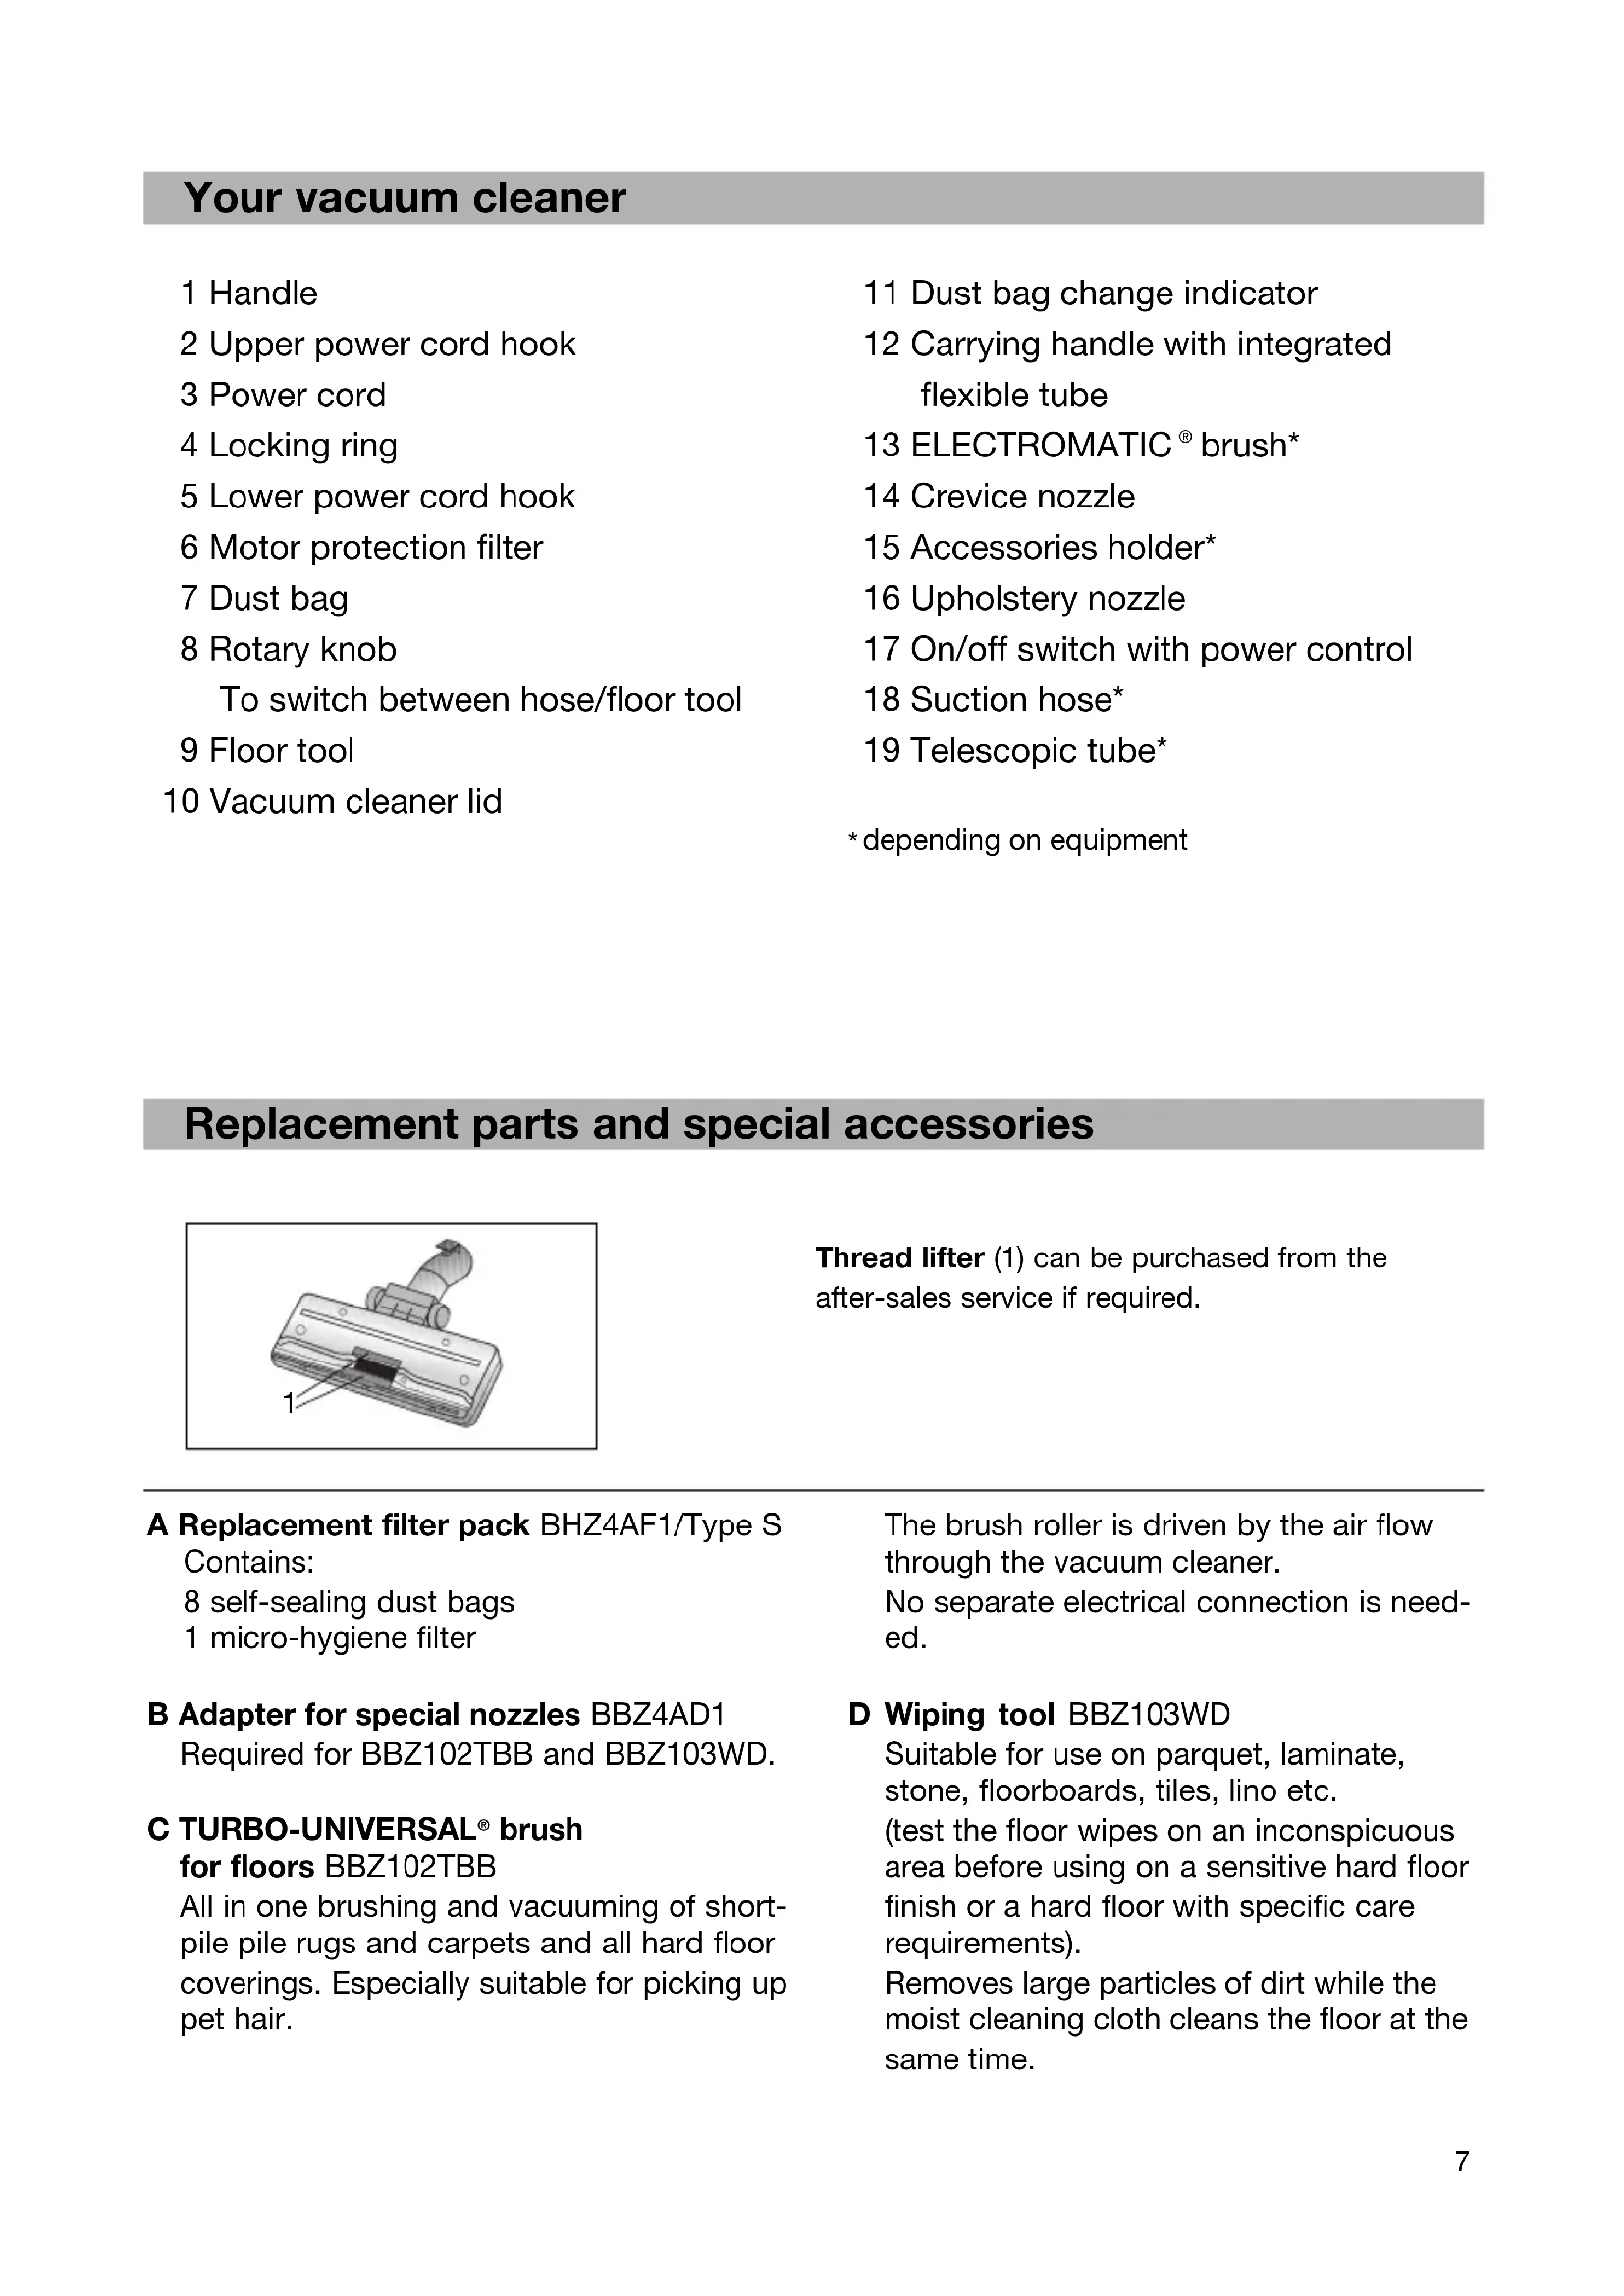
brush* 14 Crevice nozzle 15 Accessories holder* 16 Upholstery nozzle 17 On/off switch with power control 18 Suction hose* 19 Telescopic tube*
depending on equipment A Replacement filter pack BHZ4AF1/Type S Contains: 8 self-sealing dust bags 1 micro-hygiene filter B Adapter for special nozzles BBZ4AD1 Required for BBZ102TBB and BBZ103WD. C TURBO-UNIVERSAL
brush for floors BBZ102TBB All in one brushing and vacuuming of short- pile pile rugs and carpets and all hard floor coverings. Especially suitable for picking up pet hair. Thread lifter (1) can be purchased from the after-sales service if required. The brush roller is driven by the air flow through the vacuum cleaner. No separate electrical connection is need- ed. D Wiping tool BBZ103WD Suitable for use on parquet, laminate, stone, floorboards, tiles, lino etc. (test the floor wipes on an inconspicuous area before using on a sensitive hard floor finish or a hard floor with specific care requirements). Removes large particles of dirt while the moist cleaning cloth cleans the floor at the same time.
Please keep this instruction manual. When passing the vacuum cleaner on to a third party, please also pass on this instruction manual. Intended use This vacuum cleaner is intended for domestic use only, not for commercial use. This vacuum cleaner should only be used in accordance with the instructions in this manual. The manufacturer will not accept any responsibility for damage caused by improper use or incorrect operation. Therefore, please note the following points. The vacuum cleaner must only be operated with:
Manufacturer’s replacement parts, accessories and optional accessories The vacuum cleaner is not to be used for:
Vacuuming persons or animals
Vacuuming up: - Insects and spiders - Hazardous, sharp-edged, hot or burning substances - Damp or liquid substances - Highly flammable or explosive substances and gases. Safety information This vacuum cleaner complies with the recognised rules of technology and the relevant safety regulations. We confirm compliance with the following European directives: 89/336/EEC (amended by Directives 91/263/EEC, 92/31/EEC and 93/68/EEC). 73/23/EEC (amended by Directive 93/68/EEC).
Always observe the information on the rating plate when using the vacuum cleaner and connecting to the power supply.
Never use the vacuum cleaner without a dust bag fitted. => This can damage the vacuum cleaner.
Only allow children to use the vacuum cleaner under strict supervision.
Keep the vacuum cleaner away from the face when using tools and tubes. => Risk of injury.
Never carry the vacuum cleaner by the power cord.
Fully unwind the power cord when using the vacuum cleaner continuously for several hours.
When disconnecting the appliance from the mains, pull the plug, not the power cord.
Do not pull the power cord around sharp corners or allow it to become trapped.
Unplug the power cord from the mains before carrying out any work on the vacuum cleaner or its accessories.
Do not use the vacuum cleaner if it is damaged. Unplug the power cord from the mains if a fault is detected.
personnel are permitted to carry out repairs on the vacuum cleaner and fit replacement parts.
The vacuum cleaner should be protected from external weather conditions, moisture and sources of heat.
Switch off the vacuum cleaner when it is not in use.
At the end of its life, the vacuum cleaner should be disposed of in an appropriate manner.
For safety, the vacuum cleaner is fitted with a temperature safety switch, which automatically switches off the vacuum cleaner if it is blocked and overheating. Unplug the power cord from the mains and make sure that the nozzle and suction pipe are not blocked. Also check whether the dust bag needs changing. Having cleared the blockage, leave the vacuum cleaner to cool down for at least one hour. It can then be switched back on again. Disposal information
Packaging The packaging is designed to protect the vacuum cleaner from being damaged during transportation. It is made of environment-friendly materials and can be recycled. Dispose of packaging that is no longer required at an appropriate recycling point.
Used vacuum cleaners Old appliances still contain many recyclable materials. Therefore, please take used appliances to your retailer or recycling centre so that they can be recycled. For current disposal methods, please enquire at your appliance dealership or local council.
Please note Only connect the appliance to a socket that is protected by at least a 16 amp fuse. If a fuse is tripped when you switch on the vacuum cleaner, this may be because other electrical appliances which have a high current draw are connected to the same power circuit. Innenteil 206 761 A 16.08.2006 12:22 Uhr Seite 910
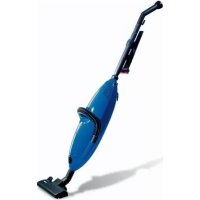
Fold out picture pages. Setting up Version A* Engage the handle in the suction hose/telescopic tube. To remove the handle, press the notch button and pull the handle out of the suction hose/telescopic tube. Turn the locking ring on the vacuum cleaner to position and insert the suction hose/telescopic tube in the opening. Lock the suction hose/telescopic tube in place by turning the ring to position
To remove the suction hose / telescopic tube, move the ring back to position and pull out the suction hose/telescopic tube. Connect the floor tool to the vacuum cleaner. Version B* Turn the locking ring on the vacuum cleaner to position and insert the handle in the opening. Lock the handle in place by turning the ring to position . To remove the handle, move the ring back to position and pull out the handle. Fit the suction hose/telescopic tube to the vacuum cleaner. Connect the floor tool to the suction hose/telescopic tube. ELECTROMATIC
brush Your vacuum cleaner is equipped with an ELECTROMATIC
brush. For notes on use and maintenance, please refer to the accompanying instruction manual. Figure Press the adjusting sleeve in the direction of the arrow and adjust the telescopic tube to the length required. Figure Release the lower power cord hook by turning it and remove the cord from the upper power cord hook. Connect the plug to the mains socket. Figure Turn the vacuum cleaner on/off at the switch. Figure Adjust the suction setting by turning the rotary control. Vacuuming Figure Adjusting the floor tool: Rugs and carpets => Hard surfaces => Vacuum using flexible tube Figure a) Switch off the vacuum cleaner. b) Press the rotary knob in the direction of the arrow to release it and set it to the flexible tube position. c) Pull the hose adapter out of the holder in the direction of the arrow.
Figure Fit an accessory to either the flexible tube or the suction hose/telescopic tube. a) Crevice nozzle For cleaning crevices and corners. b) Upholstery nozzle For cleaning upholstered furniture, curtains, etc. Figure a) Switch off the vacuum cleaner. b) Insert the hose adapter back into the holder. c) Press the rotary knob to release it and turn it back to the floor tool position. When the work is done Figure Unplug the vacuum cleaner. Wind the cord around the power cord hooks at the rear of the vacuum cleaner. Figure a) The vacuum cleaner can be hung by the handle for storage. b) The vacuum cleaner can be transported by the carrying handle. Changing the dust bag Replacing the dust bag It is necessary to change the dust bag if the dust bag change indicator appears full when the nozzle is lifted from the floor.
Figure Open the lid in the direction of the arrow, lift it away from the vacuum cleaner and put it to one side. Figure Seal the dust bag by pulling the sealing tab, remove the dust bag and insert a new one.
Caution: The lid only closes with a dust bag inserted. After using the vacuum cleaner for fine dust particles (such as plaster or cement), clean the micro filter and replace it if necessary. If the dust bag change indicator still appears full following the dust bag change, it may be because the rotary knob is blocked. Figure a) Press the rotary knob to release it and turn it to the position of the arrow. Remove the rotary knob and shake it b) Refit the rotary knob and, while pressing it down, turn it back to the vacuum position required. Replacing the micro-hygiene filter Replacement is required:Each time you need to open the replacement filter pack. Figure
Pull out the filter holder and open it.
Dispose of the micro-hygiene filter and fit a new micro-hygiene filter.
Insert the filter holder back into the vacuum cleaner and close the lid
Replacing the HEPA filter If your vacuum cleaner is equipped with a HEPA filter, this should be replaced once a year. Figure
Remove the old HEPA filter from the appliance
Insert the new HEPA filter into the vacuum cleaner and close the lid. Care Always switch the vacuum cleaner off and disconnect the power cord from the mains before cleaning the vacuum cleaner. The vacuum cleaner and plastic accessories can be cleaned with a commercial plastics cleaner.
Do not use abrasive, glass or all- purpose cleaners. Never immerse the vacuum cleaner in water. The dust compartment can, if necessary, be cleaned with a second vacuum cleaner or simply wiped with a dry cloth or a duster. Subject to technical changes.