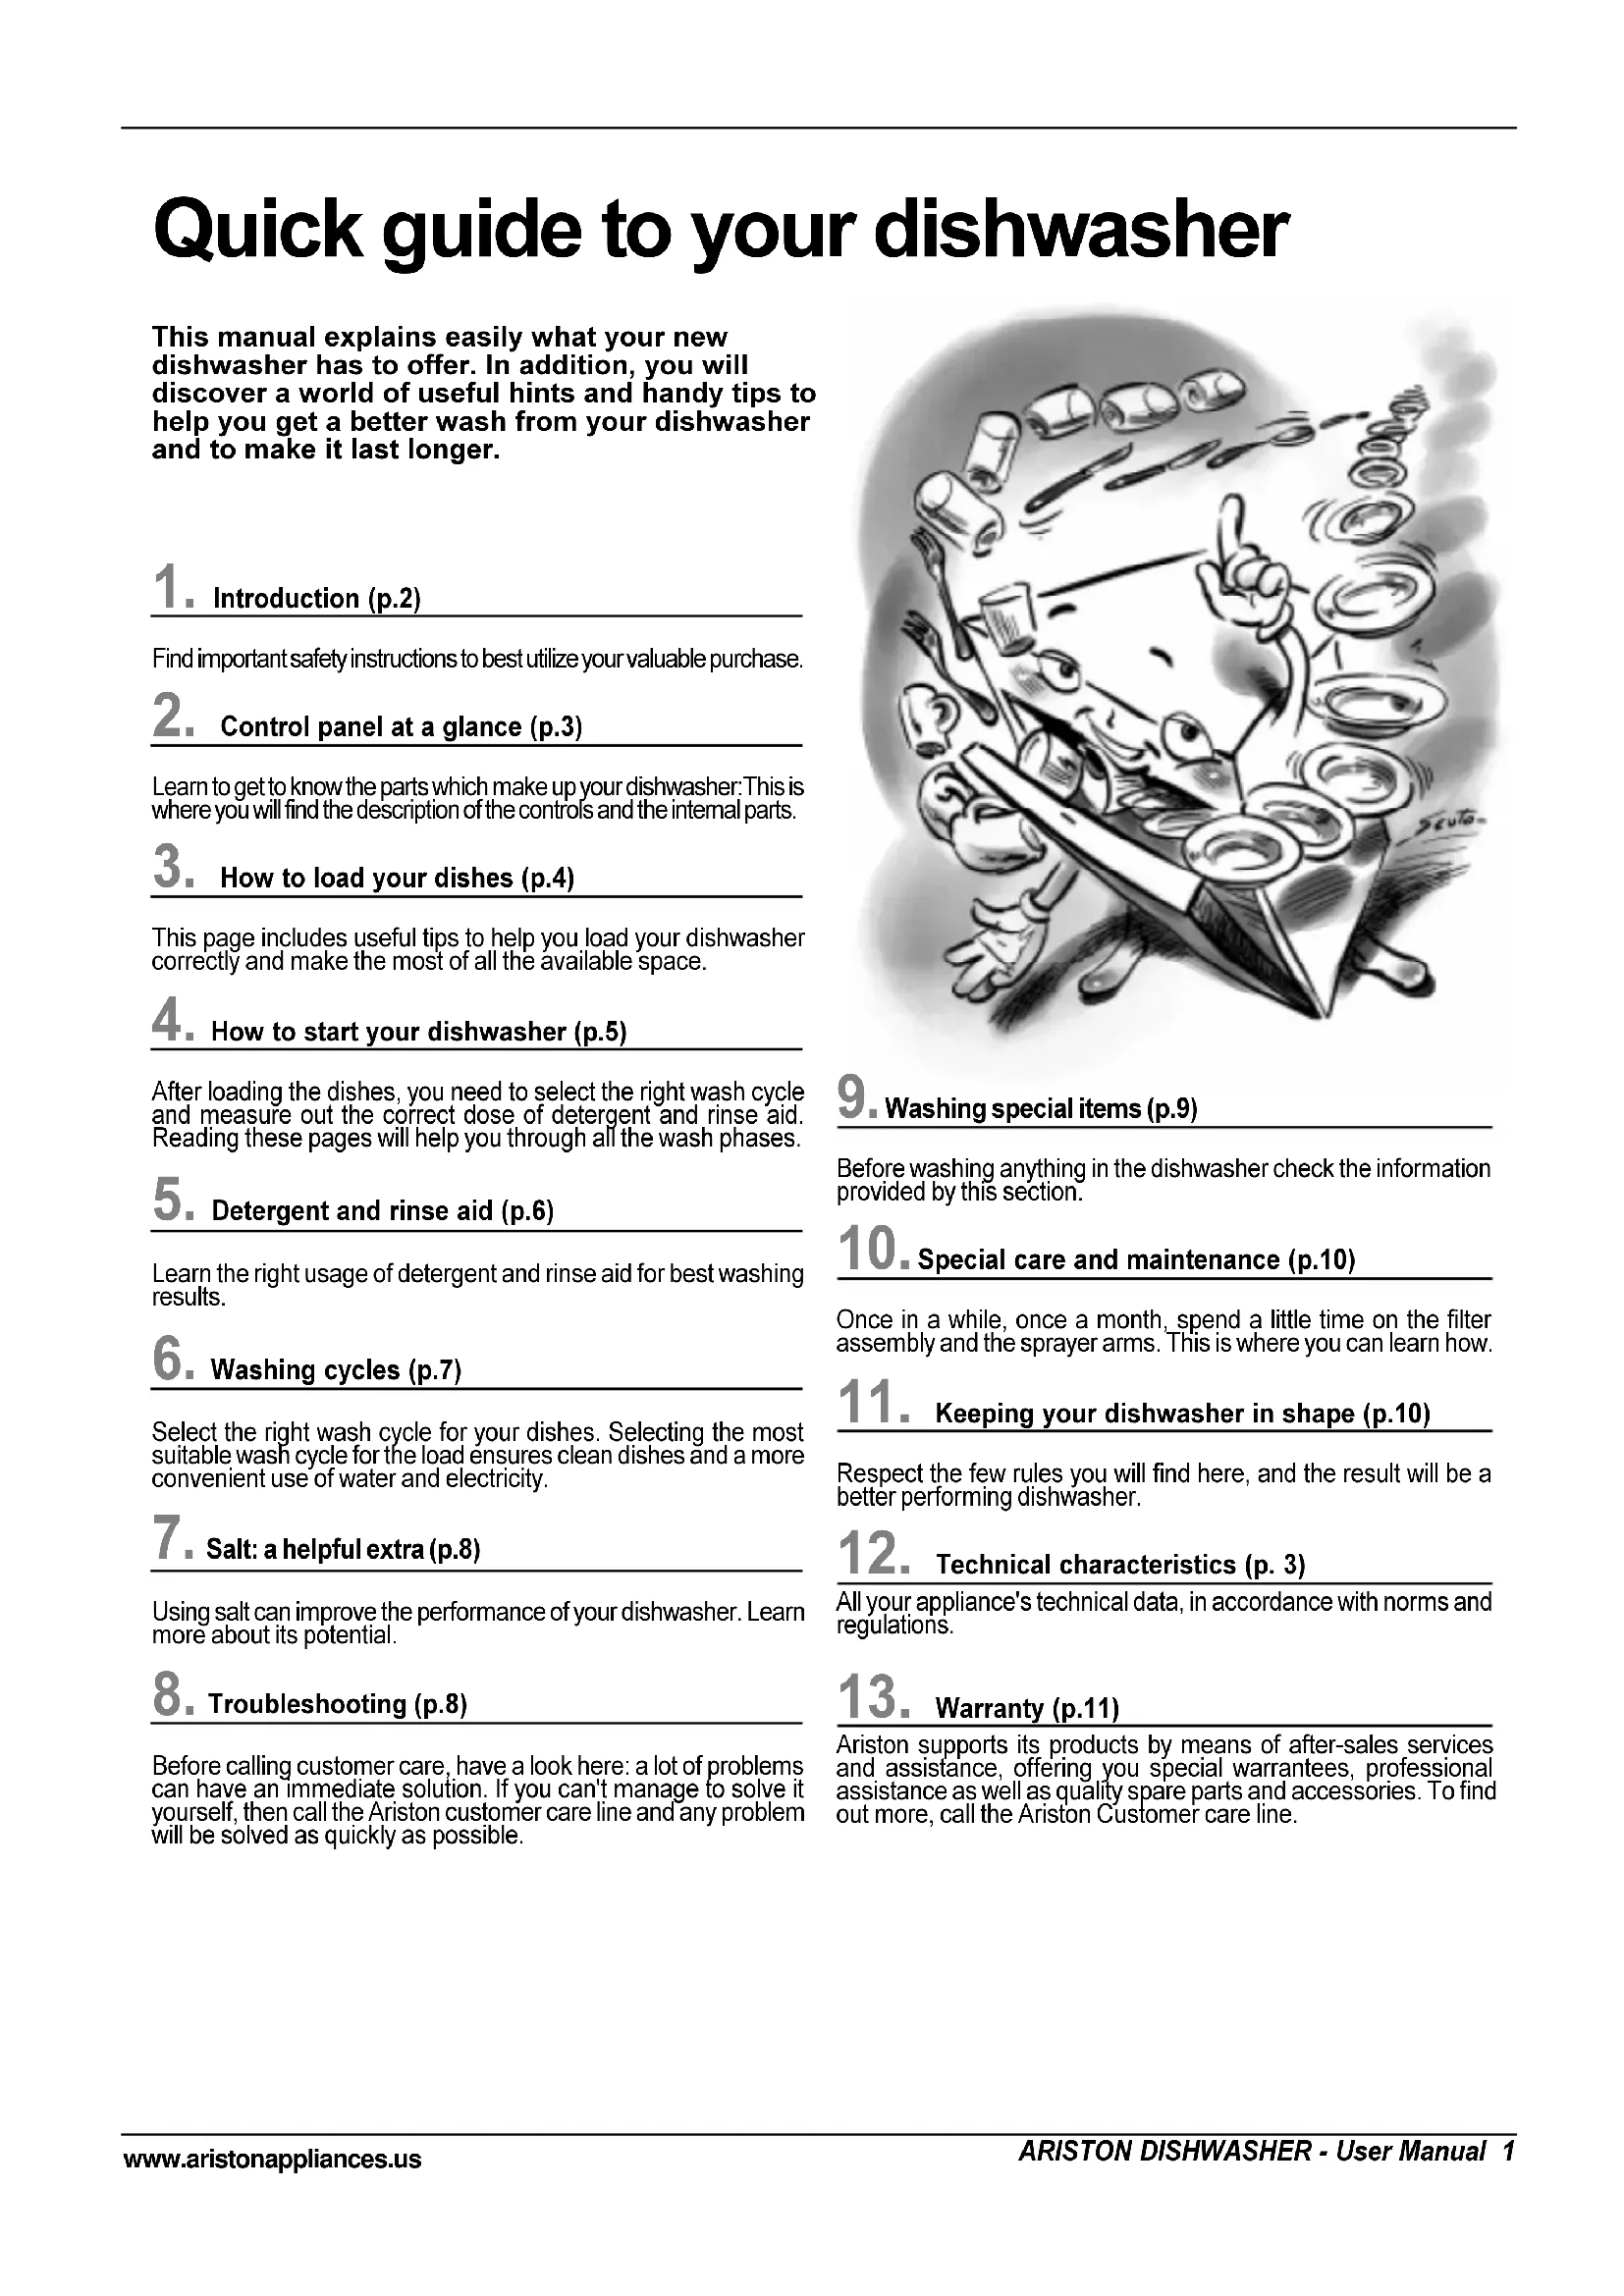
LI640 - Dishwasher Ariston Thermo - Free user manual and instructions

Find the device manual for free LI640 Ariston Thermo in PDF.

📄 31 pages English EN 💬 AI Question
Notice Ariston Thermo LI640 - page 2
View the manual : Français FR English EN Español ES
Manual assistant
Powered by ChatGPT
Waiting for your message
Product information

Brand : Ariston Thermo

Model : LI640

Category : Dishwasher

Download the instructions for your Dishwasher in PDF format for free! Find your manual LI640 - Ariston Thermo and take your electronic device back in hand. On this page are published all the documents necessary for the use of your device. LI640 by Ariston Thermo.

USER MANUAL LI640 Ariston Thermo

Find important safety instructions to best utilize your valuable purchase.

2. Control panel at a glance (p.3)

Learn to get to know the parts which make up your dishwasher:This is where you will find the description of the controls and the internal parts.

3. How to load your dishes (p.4)

This page includes useful tips to help you load your dishwasher correctly and make the most of all the available space.

4. How to start your dishwasher (p.5)

After loading the dishes, you need to select the right wash cycle and measure out the correct dose of detergent and rinse aid. Reading these pages will help you through all the wash phases.

5. Detergent and rinse aid (p.6)

Learn the right usage of detergent and rinse aid for best washing results.

6. Washing cycles (p.7)

Select the right wash cycle for your dishes. Selecting the most suitable wash cycle for the load ensures clean dishes and a more convenient use of water and electricity.

7. Salt: a helpful extra (p.8)

Using salt can improve the performance of your dishwasher. Learn more about its potential.

Troubleshooting (p.8) Before calling customer care, have a look here: a lot of problems can have an immediate solution. If you can't manage to solve it yourself, then call the Ariston customer care line and any problem will be solved as quickly as possible.

9. Washing special items (p.9)

Before washing anything in the dishwasher check the information provided by this section.

10. Special care and maintenance (p.10)

Once in a while, once a month, spend a little time on the filter assembly and the sprayer arms. This is where you can learn how.

11. Keeping your dishwasher in shape (p.10)

Respect the few rules you will find here, and the result will be a better performing dishwasher.

12. Technical characteristics (p. 3)

All your appliance's technical data, in accordance with norms and regulations.

Ariston supports its products by means of after-sales services and assistance, offering you special warrantees, professional assistance as well as quality spare parts and accessories. To find out more, call the Ariston Customer care line. This manual explains easily what your new dishwasher has to offer. In addition, you will discover a world of useful hints and handy tips to help you get a better wash from your dishwasher and to make it last longer.2 ARISTON DISHWASHER - User Manual www.aristonappliances.us Important Safety Instructions Introduction Read through thisguide before usingyour new dishwasherRead and obey allsafety messages.For Your RecordsWrite model and serialnumbers here.You can find them onthe front of the machineand inside of the dooropening. Model #: ................................................ Serial #: ................................................. Save these instructions Your safety and that of your childrenRead all instructions before using your newdishwasher. Ariston dishwashers are providing twomanuals:one Installation Instruction manual andone Care and Use manual. Read them carefullyand save them for future references.Use the dishwasher only for household use andfor its intended function.Use only detergents or wetting agentsrecommended for use in a dishwasher and keepthem out of the reach of children.When loading items to be washed:a) locate sharp items so that they are not likelyto damage the door seal; andb) load sharp knives with the handles up to reduce the risk of cut-type injuries.Do not wash plastic items unless they are markeddishwasher safe or the equivalent. For plasticitems not so marked check the manufacturersrecommendations.Do not operate your dishwasher unless allenclosure panels are properly in place.Do not tamper with controls.Do not abuse, sit on, or stand on the door or dishrack of the dishwasher.WARNING -When using your dishwasher follow basic precautions including the following:Do not allow children to play in or on the dishwasherto avoid risk of injury.Under certain conditions, hydrogen gas may beproduced in a hot water system that has not beenused for two weeks or more. HYDROGEN GAS ISEXPLOSIVE. If the hot water system has not beenused for such a period, before using the dishwasherturn on all hot water faucets and let the water flowfrom each for several minutes. This will release anyaccumulated hydrogen gas. As the gas is flammable,do not smoke or use an open flame during this time.Remove the door to the washing compartment whenremoving an old dishwasher from service ordiscarding it.Dishwashers must be electrically grounded. Read theInstallation Instructions for details.Do not run the dishwasher while you are out of home.A qualified technician should do all repair work.Do not touch the heating element during orimmediately after useCongratulations on the purchase of your new Dishwasher. Please spend a few moments readingthe User Manual. This will show you ways to best utilize your valuable purchase.ARISTON DISHWASHER - User Manual 3 www.aristonappliances.us Control panel at a glance How is it made? E. Upper rackF. Top spray armG. Rack height adjusterH. Lower rackI. Bottom spray armJ. Salt container capK. 4 piece filterL. Detergent and rinse aiddispenser Technical Characteristics Get to know the parts which make up your dishwasher. Let's open up your dishwasher together This dishwasher conformsto the following Standardsfor U.S.A and Canada: UL 749 ANSI/AHAM DW-1- A. ON-OFF ButtonPress this button toswitch the appliance on.B. ON-OFF Indicator lightThis light informs you thatthe dishwasher is on.C. Handle for opening doormodels with door onlyE. Extra drying buttonPress this button forimproved drying.P. Cycle select buttonEach time this button ispressed, one of the cycleindicator lights M willcome on in sequence.M.Cycle indicator lightThis light informs youwhich cycle you haveselected or the one inprogress.

with the pre-installed filler strips4 ARISTON DISHWASHER - User Manual www.aristonappliances.us How to load your dishes First. Before placing the dishes in the racks, remove the largest scraps of food left over on your plates, you will thus avoid blocking the filter, which would reduce the efficiency of the wash.If the saucepans and frying pans are very dirty, allow them to soak before being washed. To make it easier to load your dishes, pull the racks out. What goes into the lower rack? We recommend you place the most difficult dishes to wash into the lower rack: saucepans, lids, soup bowls and plates (a load example is shown in the photo). Serving dishes and large lids: place them on the sides of the rack. Saucepans, salad bowls: must always be placed upside down Very deep dishes: place them obliquely, thus allowing water to run down them and cleaning them better The cutlery basket can be split up by pulling out the handle. When you only have little cutlery to wash, you can use just half the basket; save space for other crockery or place the other half of the basket in the upper rack instead (see figures A and B). This basket is equipped with two removable grids: insert the cutlery one by one into the slots.

knives and utensils with sharp blades or tips should be positioned with the sharp parts at the bottom. Position all cutlery items so that they don't touch. What goes into the upper rack? Place delicate and lightweight dishes in the upper rack: glasses, tea cups and coffee cups, saucers - but plates too - shallow salad bowls, slightly dirty frying pans and shallow pans (the photo illustrates a few examples). Position lightweight dishes in such a way as to avoid their being moved by the spray of water. After loading the dishes, remember to check that the blades on the sprayer arms can turn freely without knocking against any dishes. How to adjust the top rack. The upper rack can be set in high or low position to enable you to organize your dishes effortlessly. lower rackupper rack How to use our racks Open the rail stop flaps and pull the rackout completely. Now place it in high or lowposition, then slide it along the guide railsuntil the front wheels also go in. Nowclose the rail stop flaps. Follow thesequence of actions illustrated in figure"F".

Before washing, a few small steps can help you get a better wash and keep your dishwasher performing to its best. Remove the largest scraps of food left over on your plates, soak saucepans and frying pans with tough baked on food. After loading your dishes, make sure the blades on the sprayer arm turn well.Do not place glasses and cups on top of one another, and make sure the dishes are not touching.ARISTON DISHWASHER - User Manual 5 www.aristonappliances.us You have loaded your dishes and you now have to set the wash cycle. It takes just one minute to learn how Starting the dishwasher Ready, steady, go! You can cancel the wash cycle in progress, if it has only just started. Make sure the wash cycle has ended before removing the dishes! Selecting the wash cycle. Select the wash cycle by pressing button "P". Each time this button is pressed, one of the indicator lights "M" will come on in sequence, select the wash cycle you deem most suitable for the type of dishes to wash (take a look at page 7, where you will find the wash cycle table). Close the appliance door and after a few seconds, you will hear a short beep: the wash cycle has begun. Modifying a wash cycle in progress. If you have chosen the wrong cycle, not to worry! You can modify the wash cycle in progress, if it has only just started. Open the appliance door carefully to avoid any hot water splashes, then keep button "P" pressed for approximately 5 seconds, until you hear a short beep. Indicator light "M" will come off and at this point, all the settings will have been cancelled. You are now free to re-set the correct wash cycle. You've left out a dish? Well, it happens to everyone. Interrupt the wash cycle by opening the appliance door with the utmost care, as usual, then insert the dish you had forgotten. When you shut the appliance door, the cycle will start up from where you interrupted it. Finished? The end of the wash cycle is indicated by a double beep and the flashing of the wash cycle indicator light "M". Open the dishwasher door, press the ON-OFF button as well, thus cutting off the electricity supply to the appliance. if accessible turn off the water tap. Wait a few minutes before unloading the dishes: they are very hot! If you wait a little while, they dry better thanks to the steam. Empty the lower rack first. There's been a power failure? Have you opened the dishwasher door? The wash cycle stops and then restarts when the electricity comes back on or when you shut the door. Everything is under control! After performing all the operations described in the previous paragraphs, if accessible turn the water tap on, open the appliance door and press on-off button "A": indicator light "B" comes on. Your appliance is now on and awaiting instructions. If opening the door soon after the end of the program, or during it, stand away from the Dishwasher, to avoid possible injury from hot steam. Do you want extra drying? Press button "E" before you start the selected wash cycle. A long beep will tell you that you have selected extra drying and the wash cycle will last longer in order to provide you with drier dishes.6 ARISTON DISHWASHER - User Manual www.aristonappliances.us Detergent and rinse aid Rinse Aid. Rinse Aid makes dishes sparkle and improves the drying. The rinse aid container is situated on the inside of the appliance door; you should refill it when you see the container is empty by means of indicator eye D. Loading the rinse aid. To open the dispenser, turn cap C anticlockwise. Take care when you pour in the rinse aid to avoid it overflowing. You can adjust the amount of rinse aid used by the dishwasher: regulate the adjuster F which you will find under lid

Only use specific dishwasher detergents. Pour the detergent into the dispenser on the inside of the door. Before the wash cycle starts! The detergent Loading the detergent To open lid A, press button B. The detergent should be poured into the two containers C and D up to the rim. Now you can close the lid: press it down until you hear it click. If you prefer to use the detergent in tablets, place one of these in container "D". Now you can close the lid: press it down until you hear it click. It won't close! Check whether there is any detergent residue on the edges of the dispenser. It is due to this residue that the lid won't close. Get rid of it and you'll see that it closes. You can choose from six differentpositions. It is normally set to 4. Using too much detergent does not provide a better wash or cleaner dishes. Use only a proportional amount to the size of the wash. Keep your dishwasher detergent and rinse aid in a cool and dry place. Proper dosage of the rinse aid improves drying. If drops of water remain on the dishes or spotting occurs, turn the dosage adjuster to a higher setting. If, on the other hand, the dishes have white streaks, then turn the dosage adjuster down to a lower setting. WARNING! Detergent is corrosive! Take care to keep it out of reach of children

BARISTON DISHWASHER - User Manual 7 www.aristonappliances.us A wash cycle for every degree of soil Select the right wash cycle Salt, rinse aid, the right amount of detergent and the correct wash cycle: this is theformula to get the best results and to keep your dishwasher in shapeSelect the right washcycle for your dishes.Selecting the mostsuitable wash cycle for theload ensures clean dishesand a more convenientuse of water andelectricity. Dishwasher washing guarantees your dishes will be cleaned in a sanitized setting for safer, cleaner results. To optimise consumption levels, try to use the dishwasher with a full load only.If it takes some time to fill up your dishwasher, use the soak cycle to avoidthe formation of bad odours and caked-on food.&\FOH &\FOHVHOHFWLRQLQVWUXFWLRQV&\FOHGHVFULSWLRQ 'HWHUJHQWIRUSUHZDVK ZDVK 5LQVH $LG :DVKF\FOHGXUDWLRQWROHUDQFH

,QWHQVLYH :D V K Very dirty dishes andpans (not to be usedfor delicate items)Pre-wash with hot water at 95°FWash at 140°F2 cold rinsesHot rinse at 149°FDrying R] J

5HJXODU :DVK Cycle for normallydirty pans and dishes.Standard daily cycle.Wash at 122°FCold rinseHot rinse at 153°FDryingR] J

6RDN Rinsing cycle usedwhile awaiting moredishes to be loadedfrom the next meal.Short cold wash to prevent foodfrom drying onto the dishes

(FR :DVK Environmentally-frien-dly cycle, with lowenergy consumptionlevels, suitable fornormally dirty pansand dishes.2 Cold pre-washesExtended wash at 113°FHot rinse at 149°FDrying R] J

8 ARISTON DISHWASHER - User Manual www.aristonappliances.us The dishwasher won't start ■ Is the water supply tap turned on? ■ Is the water supply tapconnected to the hoseproperly?■ Has the water in your homebeen cut off?■ Is the pressure of the watersupply sufficient?■ Is the hose bent?■ Is the filter on the water supplyhose blocked?■ Is the dishwasher door open? The dishes are not clean. ■ Have you put the right amountof detergent into thedispenser?■ Is the wash cycle suitable forthe dishes you have placedinside the appliance?■ Are the filter and microfilterclean?■ Can the sprayer arms turnfreely?The dishwasher won't drain.■ Is the drain hose bent? Limescale deposits or a white film form on the dishes. ■ Is the lid on the salt containerclosed properly?■ Is the rinse aid dosagecorrect? Error messages. Your dishwasher is equipped witha safety system which is able todetect any operating problems.These anomalies are reported byone or two wash cycle indicatorlights "M" will flash rapidly.Take a note of which lights areflashing, turn the appliance offand call for technical assistance. Tap off alarm If you have forgotten to turn thewater tap on, your appliance willremind you of this by sounding afew short beeps for a fewminutes.Turn the tap on and yourappliance will start up again aftera few minutes.If you were nothome when these beeps aresounded,the appliance will beblocked automatically the 2ndand 3rd light from the right willflash rapidly.Turn the applianceoff at the ON-OFF button, turnon the water tap and waitapproximately 20 seconds beforeturning the appliance back on; theselected wash cycle will start upagain.Clogged filter alarmIf the appliance is blocked and the2nd and the 4th light from the rightflash rapidly, this means the filteris clogged by large particles offood residue. Turn the applianceoff, clean the filter thoroughly andreposition it in its seat asillustrated on page 10. Then turnit back on. The selected washcycle will start up again.Water load solenoid valvemalfunction alarm.If the 3rd light from the rightflashes rapidly, turn thedishwasher off and back onagain after one minute. If thealarm persists, first turn off thewater tap to avoid any floodingand then cut off the electricitysupply and call for technicalassistance. You have checked everything, but the dishwasher still doesn't work and the problem persists? Call the Ariston Customer Care(1-888-426-0825) and rememberto mention: the type of malfunction the model mark (Mod.) andthe serial number (S/N.)indicated on the rating platelocated on the inner door, toone side. Never without salt Loading the salt. You can use special watersoftening salt or normal rock salt.The salt container is situatedunderneath the lower rack, fill itup as follows:1. Pull out the lower rackcompletely, unscrew andremove the container cap2. Is it the first time you load thesalt? First fill the container upwith water (you won't have todo this again next time)3. Put the dishwasher funnel onthe hole and pour inapproximately 70 oz. of salt.It is normal that some watercomes out of the container.4. Screw the cap back in placecarefully. Water in your home When should I load the salt? The salt container should be filledafter about every 30 cycles. Intelligent salt. Your dishwasher can adjust itssalt consumption according to thehardness of the water in yourhome. This way, you can optimiseand customise your dishwasher'ssalt consumption (not too much,nor too little).To adjust salt consumption, do asfollows:

1. Unscrew the salt container

cap 2. There is an arrow on the neckof the container (see figure):if necessary, turn the arrowanti-clockwise from the "-"setting to the "+" setting.Select the arrow positiondepending on the waterhardness, referring to the tableprovided. Water hardness varies according to where you live. If the water in your home is hard you have the possibility to add salt in order to soften your water. The softer the water the better will be your washing and drying results. Water HardnessClarkedegrees°fH mmol/lSelectorposition Salt consum-ption(Oz/cycle)Auto- nomy (cycles\70oz.)0 - 14 0 - 17 0 -1,7 / 0 /14 - 36 18 - 44 1,8 - 4,4 "-" 0.7 60

36 - 71 45 - 89 4,5 - 8,9 MED 1.4 40

>71 > 89 > 8,9 "+" 2.1 25 NOTE: if you dont find special water softening salt you can also use normal rock salt. If you have a problem, read this Your dishwasher may not work or not function properly. In many cases, these are problems which can be solved without having to call for a technician. Before calling the customer care center, always check the points below. Troubleshooting If you dont know your water hardness ask your local water supplier.ARISTON DISHWASHER - User Manual 9 www.aristonappliances.us Washing special items If you have any doubts about washing particular items check with the manufacturer to see if they are dishwasher safe.

0DWHULDO 'LVKZDVKHUVDIH &RPPHQWV

$OXPLQLXP Yes, with caution Anodized Aluminium may fade or darken by high water temperatures and detergents. %RWWOHVDQG&DQV No Lables could loosen and clog the spray arms or pump and reduce washing performance. &DVW,URQ

Seasoning will be removed and the iron will rust. &KLQD6WRQHZDUH Yes, with caution Always check manufacturer’s recommendations before washing. Antiques and hand painted china with a pattern on top or with gold leaf decoration may fade. &RSSHU Yes, with caution Do not wash copper in the same load as siver of silver plate because the silver items could discolor. &U\VWDO

Yes Certain types of lead crystal may etch if machine washed. Check with the manufacturer’s reommendations. Wash with special program at low temperature. Make sure crystal dishware is loaded securely and will not fall over or knock against other dishwasher while being washed. 'LVSRVDEOH3ODVWLFV No Cannot withstand machine washing. *ODVV Yes Exception: Milk glass may yellow. ,URQ

Iron will rust. .QLYHV No Wood handles may wrap, crack, or loosen. Plastic handles may discolor. Check manufacturer’s washing instructions. 1RQGLVKZDUHLWHPV No Use ONLY standard household dishware. Never wash items such as electronic air cleaners, air filters of any kind, paint brushes, etc. 1RQVWLFNFRDWLQJV Yes If marked dishwasher safe. After washing apply a light coating of vegetable oil to maintain non-stick quality. 6WDLQOHVV6WHDO 6LOYHUDQG6LOYHU 3ODWHV Yes, with caution Exceptions: Old silverware and silverware decorated with an oxidising agent. Hot water can loosen the handles on old silverware and wear off the decoratinos on the other. Never let silverware come into contact with other metals: you will thus avoid stains and blackening. Silver plates and serving dishes should be washed immediately after use, specially if they have contained salt, eggs, olives, mustard, vinegar, fruit juices and cooked vegetables. 3HZWHU%UDVV %URQ]H

Pewter will tarnish. 7LQ

Tin will rust. :RRG No Unless marked dishwasher safe by the manufacturer. Wood can wrap, crack or lose shape with any kind of washing.10 ARISTON DISHWASHER - User Manual www.aristonappliances.us Once in a while, once a month, spend a little time on the filter assembly and the sprayer arms. Keep your dishwasher in shape After every wash. When the wash cycle has ended, always remenber to leave the appliance door ajar. This way, moisture and bad odours will not be trapped inside. Unplug the appliance. Before carrying out any cleaning or maintenance on the dishwasher, always remove the plug from the electricity socket. Do not run risks. No solvents! No abrasives! To clean the exterior and rubber parts of your appliance, do not use solvents or abrasive cleaning products. Use a cloth dampened with lukewarm soapy water only. If there are any stains on the surface of the appliance interior, use a cloth dampened with water and a little white vinegar, or a cleaning product specifically made for dishwashers. Going on holiday? When you go away for an extended period of time, we recommend you do the following: run a cycle with the dishwasher empty turn off the water inlet tap. leave the appliance door ajar This will help the seals last longer and prevent unpleasant odours from forming inside the appliance. Moving the appliance. Should the appliance have to be moved, try to keep it in a vertical position. If absolutely necessary, it can be positioned on its back. The seals. One of the factors that cause unpleasant odours to form inside the dishwasher is food that remains trapped in the seals. Periodic cleaning using a damp sponge will prevent this from occurring. Do not worry about removing every single bit of food residue from your dishes, but do get rid of bones, peel and rind and any other left-overs before placing them in the racks. Empty out all glasses and cups. Care and maintenance Respecting these few rules ensures you will always have a reliable work companion by your side. Filter assembly If you want consistent good results from your dishwasher, you need to clean the filter assembly. Food particles are removed from the wash water, when the water is recirculated during the cycle filtering the water 100%. For this reason, it is a good idea to remove the larger food particles trapped inside the cup C and the semi- circular filter A after each wash; pull the cup handle upwards to remove them. Just rinse them under running water. The entire filter assembly should be cleaned thoroughly once a month: cup C + semi-circular filter A + cylindrical filter B. Rotate filter B anticlockwise to remove it. For cleaning, use a non metallic brush. Reassemble the filter parts (as shown in the figure) and reinsert the whole assembly into the Cleaning and special maintenance Cleaning the sprayer arms. Food residue may become encrusted onto the sprayer arms and block the holes where water comes out. Check the sprayer arms regularly and clean them once in a while (letters F and I How is it made?). dishwasher. Position it into its housing and press downwards. Never use the dishwasher without the filter in place. Improper replacement of the filters may reduce the efficiency of the wash and even damage your dishwasher.