FX400 Twn - Baby monitors BRONDI - Free user manual and instructions
Find the device manual for free FX400 Twn BRONDI in PDF.



User questions about FX400 Twn BRONDI
0 question about this device. Answer the ones you know or ask your own.
Ask a new question about this device
Download the instructions for your Baby monitors in PDF format for free! Find your manual FX400 Twn - BRONDI and take your electronic device back in hand. On this page are published all the documents necessary for the use of your device. FX400 Twn by BRONDI.
USER MANUAL FX400 Twn BRONDI
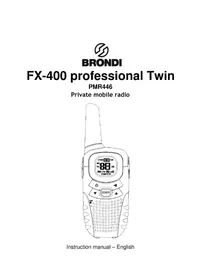
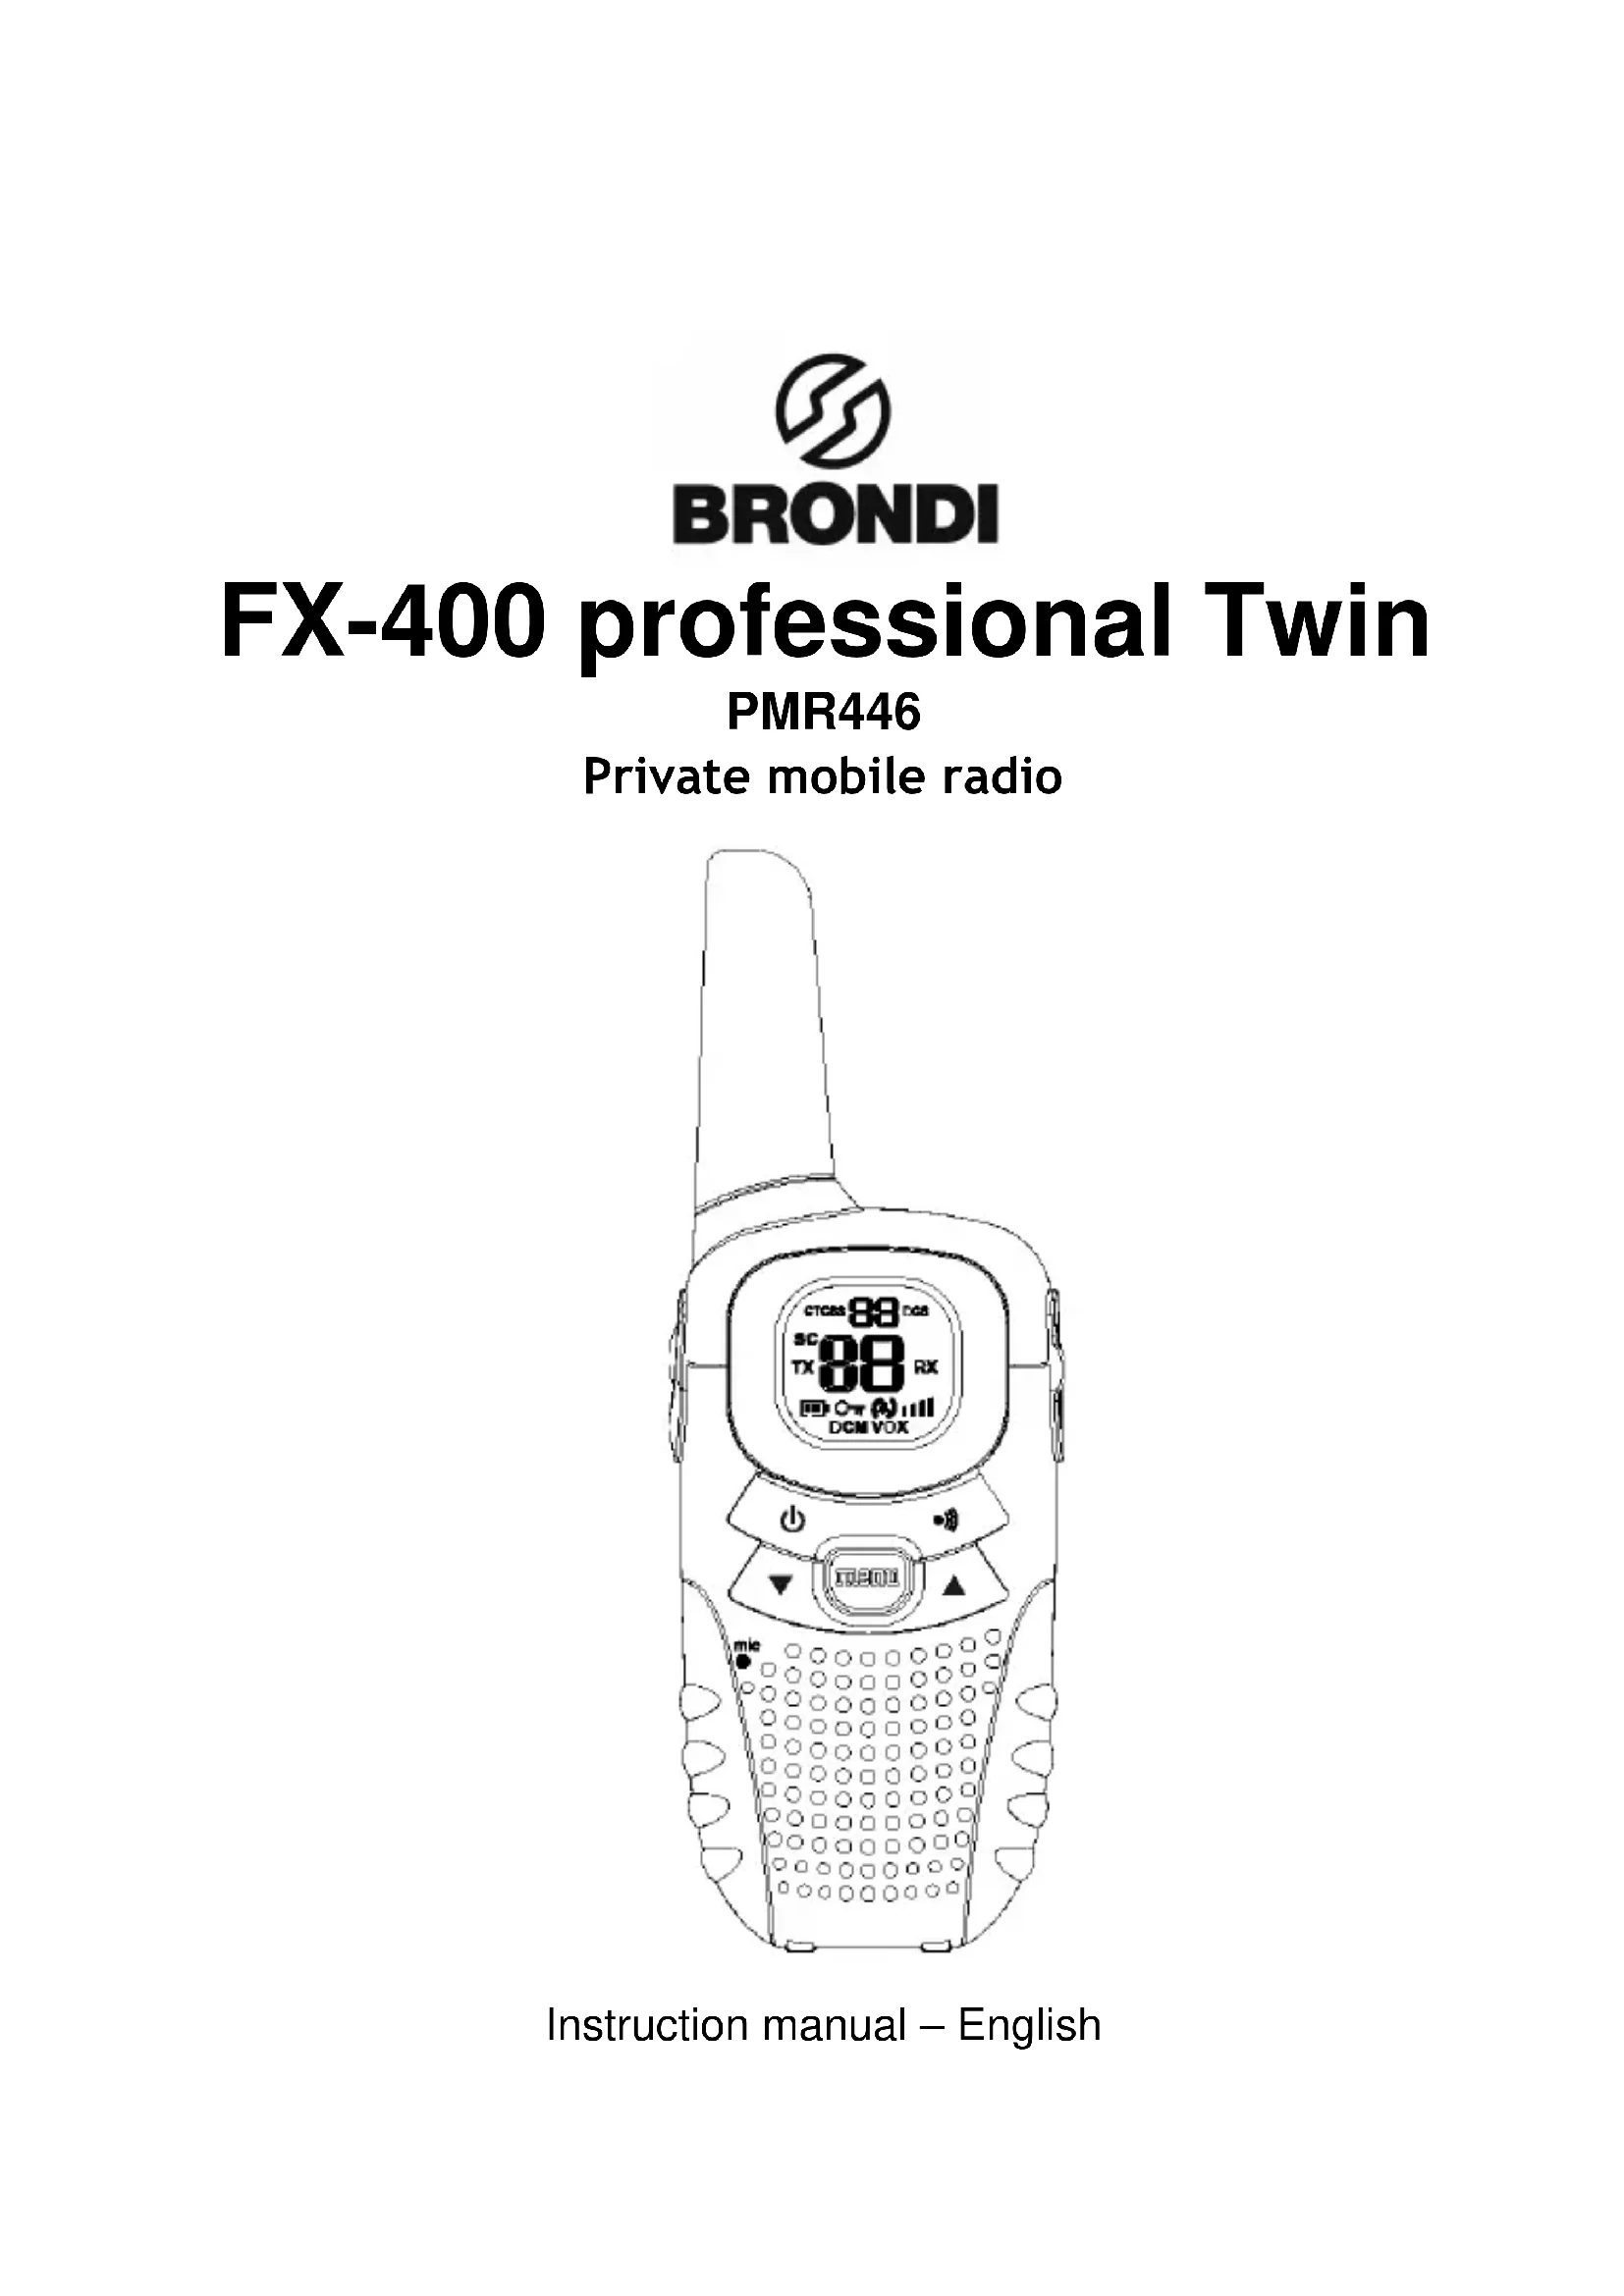
FX-400 professional Twin
PMR446
Private mobile radio
text_image
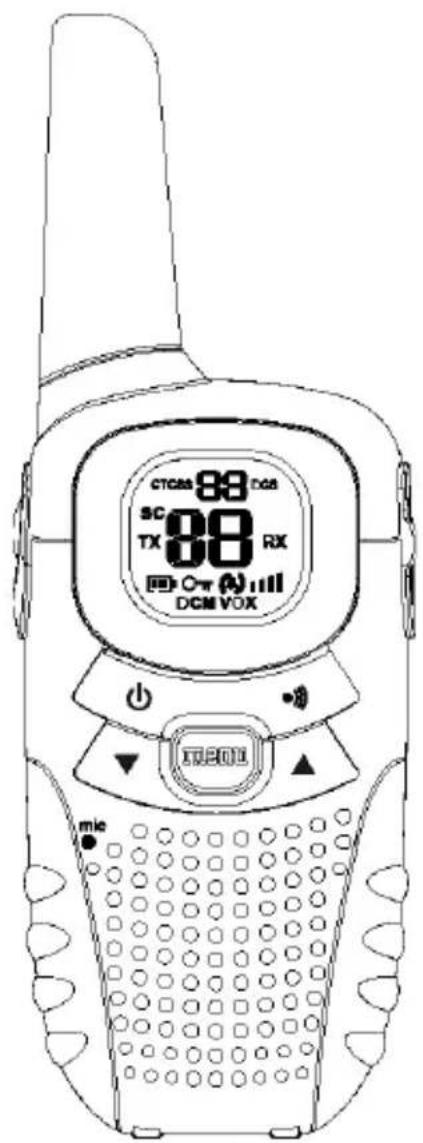
CTCAS 88 dB SC 88 RX TX DCM VOX 02010 mieInstruction manual – English
text_image
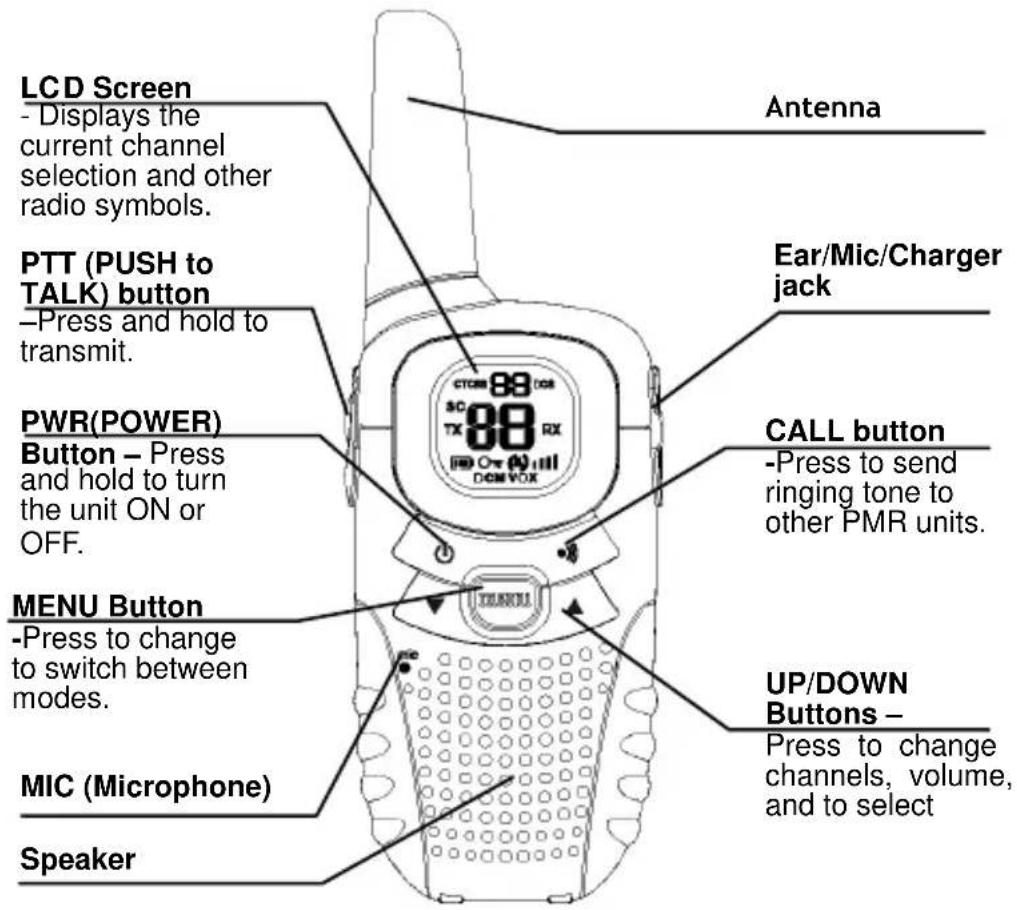
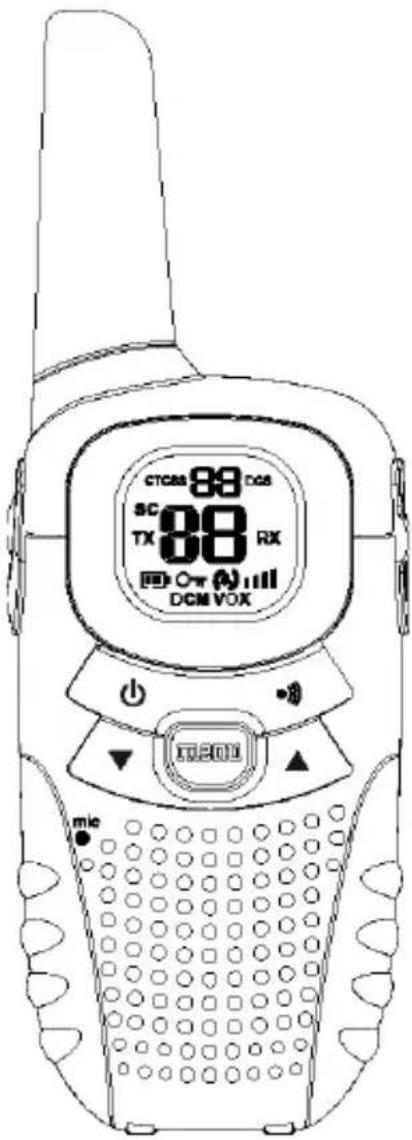
LCD Screen - Displays the current channel selection and other radio symbols. PTT (PUSH to TALK) button -Press and hold to transmit. PWR(POWER) Button - Press and hold to turn the unit ON or OFF. MENU Button -Press to change to switch between modes. MIC (Microphone) Speaker Antenna Ear/Mic/Charger jack CALL button -Press to send ringing tone to other PMR units. UP/DOWN Buttons - Press to change channels, volume, and to select1. LCD Screen
text_image
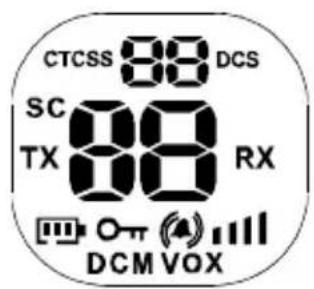
CTCSS 88 DCS SC 88 RX TX DCM VOX| 8 | Channel Number. Changes from 1 to 8 as selected by the user. |
| 38 | CTCSS Code. Changes from 1 to 38 as selected by the user. |
| Displays the Battery change level. When the bars are reduced, the battery needs recharging. | |
| TX | Displayed when transmitting a signal. |
| RX | Displayed when receiving a signal. |
| DCM | Displayed when the Dual Watch function is turned ON. |
| VOX | Displayed when the VOX feature is enabled. |
| SC | Displays when the PMR is scanning all channels. |
| ON | Displayed when the Key Lock feature is activated. |
| Displays the current Speaker volume level. | |
| Displays when the call signal is ON. | |
| Displays when the vibrator function is activated. |
2. Installation
2.1 Removing the Belt Clip
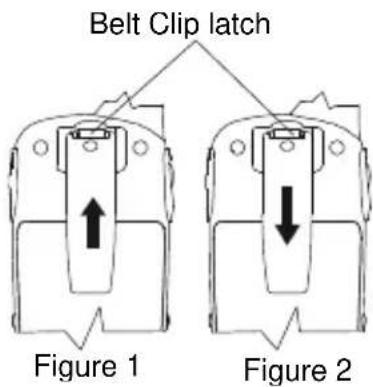
a. Pull the Belt Clip latch forward(away from the FX-400)
b. While pulling the Belt Clip latch, push up the Belt Clip as shown in Figure1.
2.2 Installing the Belt Clip
a. Slide the Belt Clip into the slot as shown in Figure2.
b. A "click" indicates the Belt Clip is locked into position.
text_image
Belt Clip latch Figure 1 Figure 22.3 Installing the Batteries
Figure 3
natural_image
Line drawing of a mobile phone casing with buttons and a small leaf (no text or symbols)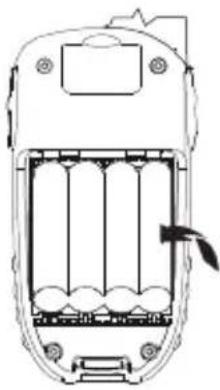
natural_image
Diagram of a mobile phone casing showing internal battery compartments and a lightning bolt (no text or symbols)Figure 4
natural_image
Line drawing of a mobile phone casing with an upward arrow and a scroll wheel (no text or symbols)Caution: Observe the proper battery polarity orientation when installing batteries. Incorrect positioning can damage both the batteries and the unit.
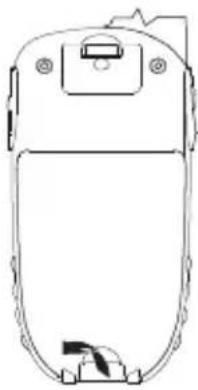
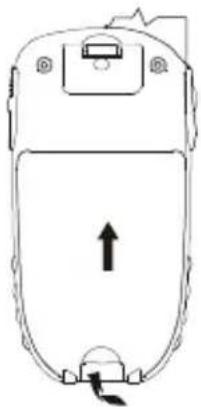
a. Pull up the battery cover latch, Lift up Battery Compartment Cover.
b. Install the rechargeable batteries by following the orientation as shown in Figure 3 (the arrow is showing and pointing upward.)
c. Replace the Battery Compartment Cover. See Figure 4.
Important
Read these Safety Warnings before you charge the batteries.
When placing the FX-400 in the charger, use only the rechargeable batteries supplied with the FX-400.
Don't try to recharge non-rechargeable batteries.
Make sure the battery compartment cover is securely locked in place when you are charging the batteries.
Dispose of used batteries safely and in a way that will not harm the environment- never try to burn them or put them anywhere, they could get burnt or punctured.
Don't leave dead batteries in your FX-400 units.
They might leak if you do.
2.4 Charging the batteries using direct charger
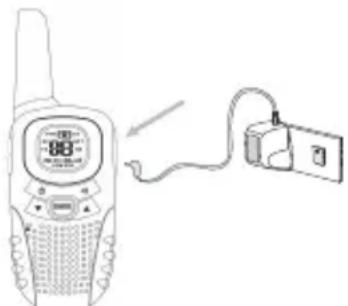
a. Lift up the Mic/Ear/Charger cover, insert the round connector at the side of the unit.
b. Plug in the mains adaptor into a 240V AC, 50Hz main socket with the switch on the socket set to OFF.
c. Switch ON the main socket.
d. It takes about 10 hours to fully recharge the batteries if they are completely run down. New batteries take up to 14 hours to fully charge.
natural_image
Line drawing of a walkie-talkie connected to a power cord (no text or symbols)2.5 Charging the batteries using Desktop charger
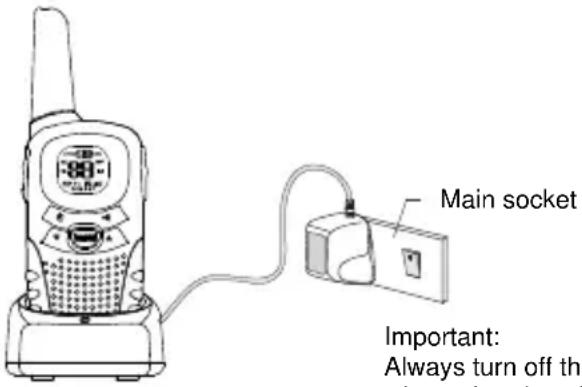
a. Insert the small plug on the end of the mains adaptor into the Power-in Connection Jack at the back of the desktop charger.
b. Plug the mains adaptor into a 240V AC, 50Hz main socket with the switch on the socket set to OFF.
c. Switch ON the main socket.
The FX-400 must be charged using the mains adaptor provided. Using any other adaptor will result in non-compliance with EN60065 and will invalidate any approvals & warranty.
d. Place the FX-400 units in the charge cradle in an upright position and facing outward. The Charge LED indicators will light up.
e. It takes about 10 hours to fully recharge the batteries if they are completely run down. New batteries take up to 14 hours to fully charge.
text_image
Main socket Important: Always turn off theImportant:
Always turn off the PMR units when charging. This will shorten the charging time.
Insert the round connector of the 9.0V DC/200mA adaptor into the charge jack.
Plug the mains adaptor into a 230V AC, 50Hz main socket with the switch on the socket set to OFF.
Then switch ON the main socket.
Note:
During PMR direct charging mode, the unit transmit and receive is disabled.
2.6 Charging the Batteries using Car charger
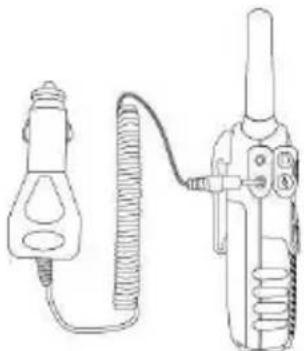
f. Lift up the Mic/Ear/Charger cover, insert the round connector at the side of the unit.
g. Plug in the Car charger on your car cigarette lighter jack and the battery bar indicator will scroll.
h. It takes about 10 hours to fully recharge the batteries if they are completely run down. New batteries take up to 14 hours to fully charge.
natural_image
Line drawing of a handheld device with coiled cable and two connected probes (no text or symbols)Battery meter
The battery meter is located in the left corner of the LCD Screen. It appears like a battery with three bars inside. These indicate the amount of power available. When the battery level reaches it minimum level in PMR on mode, unit will emit two beep tones and automatically the power will turn off.
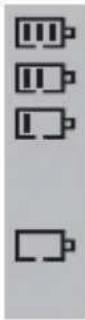
The FX-400 can detect the battery charge in 4 levels;
Battery charge at high level.
Battery charge at medium level.
Battery charge at low level. At this level
Important: Charge the unit for 10-14 hours.
Battery charge at very low level. When the battery level reach it minimum level in FX-400 on mode, unit will emit two beep tones and automatically the power will turn off.
Important: Charge the unit for 10-14 hours.
Battery life
The FX-400 has a built in power saver feature to make the batteries last longer. But when you are not using the units, turn them OFF to conserve battery power.
3. Operation
3.1 Transmitting range
The talk range depends on the environmental and terrain. It should be longest (up to about 8km) in wide open spaces, without obstructions such as hills or buildings. Don't try to use two PMR units which are less than 1.5m (5feet) apart. If you do, you may experience interference.
Important safety warning
To reduce radio frequency exposure when you are using your FX-400, hold the unit at least 5cm (2 inches) away from your face.
Never use your FX-400 outdoors during a thunderstorm.
Don't use the FX-400 in the rain.
If your FX-400 ever gets wet, turn it off and remove the battery. Dry the battery compartment and leave the cover off for a few hours. Don't use the unit until it is completely dry.
Keep the FX-400 out of the reach of babies and young children.
3.2 Turning the Unit ON/OFF
To Turn ON;

a. Press and hold the POWER button until the LCD Screen turns ON and displays the current channel.
To switch OFF;
b. Press and hold the POWER button until the LCD screen turns blank. You can hear a musical tone each time to confirm.
3.3 Adjusting the Speaker volume
The volume level is shown by vertical bars the LCD screen. You can change the volume while using your FX-400, or while the unit is idle (switched on but not in use).
press the UP button to increase, or press the DOWN button to decrease the speaker volume.
3.4 Changing Channels
The FX-400 has 8 available channels, to communicate with other FX-400 users within a range, you must all have your FX-400 tuned in to the same channel.
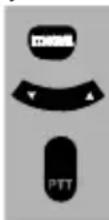
a. Press the MENU button once, the current channel number flashes on the LCD Screen.
b. Press the UP or DOWN button to select the desired channel
c. The channel changes from 1 to 8, or vice versa.
d. Press the PTT button to confirm the channel setting.
Note: Refer to the "Channel Table" section of this Owner's Manual for detailed frequency listing.
3.4.1 Setting the CTCSS sub-channel
Each channel also has 38 sub-channels to let you set up group of users within the same channel for more private communication. If you have set the sub-channel, you can only communicate with other PMR users turned to the same channel and sub-channel.
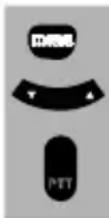
a. Press the MENU button twice, the current CTCSS sub-channel number flashes on the LCD Screen.
b. Press the UP or DOWN button to select one of the 38 CTCSS sub-channels.
c. Press the PTT button to confirm the sub-channel setting.
To turn the sub-channel function off, simply set the sub-channel to 0 (zero). You can communicate with any FX-400 user set to the same channel who also turns off the sub-channel operation (or whose FX-400 unit does not have the feature).
3.4.2 SETTING THE DCS ADVANCED DIGITAL CODE.
Each channel also has 83 digital codes to let you set up group of users for more secured private communication.
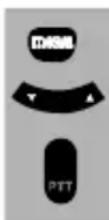
a. Press the menu button 3 times. DCS code flashes on the LCD screen.
b. Press the UP or DOWN button to select the desired DCS code.
c. Press PTT button to confirm the DCS setting.
Note: Once you set the DCS code, CTCSS will automatically set to off mode or vise versa.
Transmitting and Receiving
The FX-400 transmission is "one way-at-a-time." While you are speaking, you can not
• receive a transmission.
The FX-400 is an open-license band. Always identity yourself when transmitting on the
- same channel.
3.4.3 Transmitting (sending a speech)
The unit is continuously in the Receive mode when the unit is turned ON and not transmitting. When a signal is received on the current channel, "RX" will be displayed on the LCD Screen and the receiver LED lights up.
Transmitting (sending a speech)

a. Press and hold the PTT (push to talk) button to transmit your voice. "TX" will be displayed on the LCD Screen.
b. Hold the unit in a vertical position with the MIC (Microphone) 5 cm away from the mouth. While holding the PTT button, speak into the MIC (microphone) in a normal tone of voice.
c. Release the PTT button when you have finished transmitting.
3.4.4 Monitor
You can use the Monitor feature to check for weak signals on the current channel.
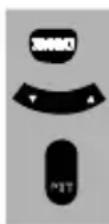
a. Press the MENU and DOWN buttons at the same time, "RX" will be displayed on the LCD Screen. Your FX-400 will pick up signals on the current channel, including background noise.
b. Press the PTT button to stop the channel monitoring.
3.5 Setting the VOX (Voice Activated) Sensitivity
In VOX mode, the FX-400 will transmit a signal only when it is activated by your voice or other sounds around you. The unit will transmit further for 2 seconds even if you stop talking.
The level of VOX sensitivity is shown by a number on the LCD Screen. At the highest level, the units will pick up softer noise (including background noise); at the lowest level, it will pick up only quite loud noise.
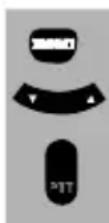
a. Press the MENU button 4 times, "VOX" will be displayed and "OF" flashes on the LCD Screen.
b. Press the UP button to set the VOX sensitivity level (the maximum level is "3"). To deactivate the VOX function, press the DOWN button until "OF" appears on the LCD Screen.
c. Press the PTT button to confirm your setting. "VOX" will steadily appear on the LCD Screen as along as the VOX feature is activated.
VOX operation is not recommended if the FX-400 will be used in a noisy or windy environment.
3.6 Activating the auto Channel and sub-channel Scan
Channel scan perform searches for active signals in an endless loop for all 8 channels, 38 CTCSS codes and all 83 DCS codes.
text_image
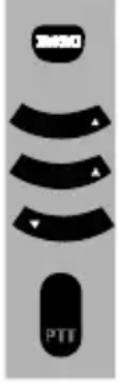
USB0 PTTa. Press the MENU button 5 times
b. Press the UP or DOWN button to begin scanning channels when an active signal is detected, channel scan pauses on the active channel.
c. Press the MENU button again, CTCSS flashes on the LCD screen press the UP or DOWN button to begin scanning CTCSS 1-38.
d. Press the MENU button again, DCS flashes on the LCD screen. Press the UP or DOWN button to begin scanning DCS code 1-83.
e. Press the PTT button to confirm your setting.
3.7 Vibrator and Call alert
Your FX-400 can alert you to incoming signal by emitting an audible call tone and vibration signal.
3.8 Call-Ring tone

You can send a Call-ring tone to other PMR users to give an alert that you want to communicate with them.
Press the CALL button
Yu will hear a ring tone for about two seconds; "TX" appears on the LCD Screen. Any other units within the transmitting range and turned to the same channel and sub-channel (if applicable) will hear the Call-ring tone.
3.9 Selecting a Call-Ring tone
The FX-400 is equipped with 5 different types of Call-Ring tones.
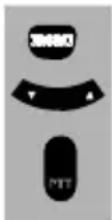
a. Press the MENU button 8 times, the LCD Screen will display Call Icon and blinking.
b. Press the UP or DOWN button to select the desired Call-ring tone. A respective Call- Ring tone sound will be played when changing from one tone to another.
c. Press the PTT button to confirm your setting.
3.10 Activating the Vibrator mode
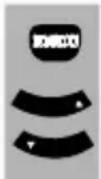
a. Press the MENU button 9 times; "01" flashes on the LCD Screen.
b. Press the UP OR DUWN button to activate the vibrator function.
3.11 Setting the Roger Beep
The Roger Beep is a tone which is automatically transmitted whenever the PTT button is released. This alerts the receiving party to inform that you have intentionally ended the transmission, and you are now in receive mode.
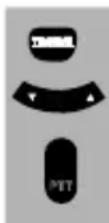
a. Press the MENU button 10 times, "ON" flashes on the LCD Screen.
b. Press the UP or DOWN button (“ON” will be displayed on the LCD screen) or deactivate (“OFF” will be displayed on the LCD screen)
c. Press the PTT button to confirm your setting.
3.12 Setting the Key Tone ON or OFF
This feature allows the FX-400 to emit a confirmation tone after pressing each button.
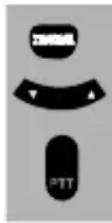
a. Press the MENU button 11 times, "ON" flashes on the LCD Screen.
b. Press the UP or DOWN button (“ON” will be displayed on the LCD screen) or deactivate (“OFF” will be displayed on the LCD screen) the key tone feature.
c. Press the PTT button to confirm your setting.
3.13 Setting the Dual Watch Mode
Your FX-400 is capable of monitoring two channels, the current and another (dual watch) channel. If the unit detects a signal on either channel, it will stop and receive the signal.
text_image
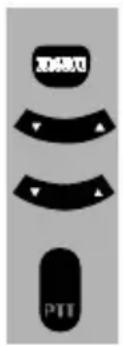
PTTa. Press the MENU button 12 times, "DCM" will be displayed while "OF" flashes on the LCD Screen.
b. Press the UP or DOWN button to select the Dual Watch channel (1-8, except the current channel).
c. Press the MENU button to change the CTCSS code.
d. Press the UP or DOWN button to select the desired CTCSS code (1-38)
e. Press the MENU button to change the DCS code.
f. Press the PTT button to confirm your setting.
g. Press the PTT button to exit.
4. Auxiliary Features
4.1 Key Lock

The Key Lock feature allows user to disable the UP, DOWN and MENU buttons so that the FX-400 settings could not be changed accidentally.
a. To activate the Key Lock feature, press and hold the MENU button until "On" appears on the LCD Screen.
b. To deactivate the key Lock feature, press and hold the MENU button until "On" disappears on the LCD Screen.
The PTT and POWER buttons will remain functional even if the Key Lock feature is activated.
4.2 LCD Screen Back Light
Every time a button is pressed (except PTT and CALL button), the LCD Screen back light will illuminate for 5 seconds.
4.3 Microphone/Earphone/Charge Jack
The FX-400 is equipped with an auxiliary such as Mic/earphone, and charge jack which is located at the opposite side of the PTT button.
4.4 Shoulder Mic
The FX-400 is designed and capable to use the Shoulder Mic accessory. To activate this kind of accessory.
a. Insert the round connector in the FX-400 Mic/Earphone/Charge jack. (Be sure your FX-400 is turn on and have the same channel with other PMR).
b. Press and hold the PTT button on the right side while speaking. To stop conversation release the PTT button and you are now in receive mode.
5. Specifications
| Channels Available 8 Channels | |
| CTCSS Sub-channel 38 for each Channel | |
| DCS Sub-channel 83 for each channel | |
| Output Power (TX) 0.5 W | |
| Range Up to 8 Km. |
6. Channel Frequency Table
| Channel Frequency (MHz) Channel Frequency (MHz) | ||||||
| 1 | 446.00625 | 5 | 446.05625 | |||
| 2 | 446.01875 | 6 | 446.06875 | |||
| 3 | 446.03125 | 7 | 446.08125 | |||
| 4 | 446.04375 | 8 | 446.09375 | |||
7. Safety

CAUTION
Damaged Antenna
Do not use any FX-400 that has a damaged antenna. If a damaged antenna comes in contact with the skin, a minor burn may result.
Batteries
All batteries can cause property damage and/or bodily injury such as burns if conductive material such as jewelry, keys, or beaded chains touches exposed terminals. The material may complete an electrical circuit (short circuit) and become quite hot. Exercise care in handling any charged battery, particularly when placing it inside a pocket, purse, or other container with metal objects.

WARNING
For Vehicles with an Air Bag
Do not place your FX-400 in the area over an air bag or in the air bag deployment area. Air bags inflate with great force. If a FX-400 is placed in the air bag deployment area and the air bag inflates, the FX-400 may be propelled with great force and cause serious injury to the occupants of the vehicle.
Potentially Explosive Atmospheres
Turn your FX-400 OFF when in any area with a potentially explosive atmosphere, unless it is a type especially qualified for such use (for example, Factory Mutual Approved). Sparks in such areas could cause an explosion or fire resulting in injury or even death.
Batteries
Do not replace or charge batteries in a potentially explosive atmosphere. Contact sparking may occur while installing or removing batteries and cause an explosion.
Blasting Caps and Areas
To avoid possible interference with blasting operations, turn your FX-400 OFF near electrical
blasting caps or in a “blasting area” or in areas posted: “Turn off the two way radio.” Obey all signs and instructions.
NOTE: Areas with potentially explosive atmospheres are often, but not always clearly marked. They include fueling areas such as below deck on boats; fuel or chemical transfer or storage facilities; areas where the air contains chemicals or particles, such as grain, dust, or metal powders; and any other area where you would normally be advised to turn off your vehicle engine.
8. Cleaning and Care
To clean your FX-400, use a soft cloth dampened with water. Do not use cleaners or solvent, which may cause damage that may not be covered by guarantee.
9. CE CONFORMITY DECLARATION
Brondi S.p.A., with registered offi ce in Via B. Gozzoli n. 60-00142 Roma and operating premises in Via Guido Rossa 3 – 10024 Moncalieri (TO), declares that the FX-400 twin handset conforms to the following standards:
EN300296-2 v.1.1.1 (2001-03), EN301489-5 v1.3.1 (2002-08), EN60065 :2002.
It satisfies the requirements of European Directive 1999/5/CE regarding radio and telecommunications terminal equipment. The conformity to said requirements is expressed with the

Product conforming to Directive 89/336/CEE regarding electromagnetic compatibility and also conforming to Directive 73/23/CEE (low voltage) regarding safety standards.
You can request the complete original Declaration of Conformity by sending an email to info@brondi.it

text_image
BRONDIAZIENDA CON SISTEMA DI GESTIONE PER LA QUALITÀ CERTIFICATO DA DNV = UNI EN ISO 9001:2000 =
BRONDI S.p.A.
www.brondi.it
info@brondi.it
Version: 1 -16 May 2008
CE

Waste electrical products must not be disposed of with household waste. This equipment should be taken to your local recycling center for safe treatment

BRONDI
FX-400 Twin
PMR446
Private mobile radio
text_image
CTCAS 88 DCS SC 88 RX TX 回 OTR A1 DCM VOX mienatural_image
Diagram of two mechanical components with directional arrows indicating movement or force (no text or symbols)Figura 1
Figura 2
natural_image
Line drawing of a walkie-talkie connected to a power cord (no text or symbols)natural_image
Line drawing of a handheld device connected to a vertical stand, showing tubing and control knobs (no text or symbols)Metro de Batería
text_image
mets metsVersion: 1 -16 May 2008
CE

Waste electrical products must not be disposed of with household waste. This equipment should be taken to your local recycling center for safe treatment

BRONDI
FX-400 Twin
PMR446
Radio mobile privée
text_image
CTCM 88 DCA AC 88 RX TX DCM VOX micnatural_image
Diagram of two mechanical components with directional arrows indicating movement or force (no text or symbols)Figure 1
Figure 2
natural_image
Three line drawings of an open mobile phone case showing internal battery structure and directional arrows (no text or symbols)Figure 4
natural_image
Line drawing of a walkie-talkie connected to a power cord (no text or symbols)natural_image
Line drawing of a handheld device with coiled cable and two connected devices (no text or symbols)Mesure de batterie
Version: 1 -16-May 2007
CE

Waste electrical products must not be disposed of with household waste. This equipment should be taken to your local recycling center for safe treatment

BRONDI
FX-400 Twin
PMR446
Private Mobile Radio
text_image
CTCMS 88 DCS SC 88 RX TX FD A DCM VOX TDSU11 mienatural_image
Line drawing of a handheld device connected to a cylindrical cable, with no visible text or symbols.Batteriemesser
| Kanal | Frequenz- (MHz) | Kanal | Frequenz- (MHz) |
| 1 446.00625 5 446.05625 | |||
| 2 446.01875 6 446.06875 | |||
| 3 446.03125 7 446.08125 | |||
| 4 446.04375 8 446.09375 |
Version: 1 -16 May 2008
CE

Waste electrical products must not be disposed of with household waste. This equipment should be taken to your local recycling center for safe treatment
