BEND&GO - Blender MOULINEX - Free user manual and instructions
Find the device manual for free BEND&GO MOULINEX in PDF.
Download the instructions for your Blender in PDF format for free! Find your manual BEND&GO - MOULINEX and take your electronic device back in hand. On this page are published all the documents necessary for the use of your device. BEND&GO by MOULINEX.
USER MANUAL BEND&GO MOULINEX
ML M LM MAX MA AX A X —750 —75 —7 0— —
ML M ML MAX MA AX A X
—750— — —500— — —250— —
ML M LM MAX MA AX A X
—75 —75 —7 50 0— 0 — —
240 g wortelen + 360 g water
CAUTION: the safety precautions are part of the appliance. Read them carefully before using your new appliance for the first time. Keep them in a place where you can find and refer to them later on.
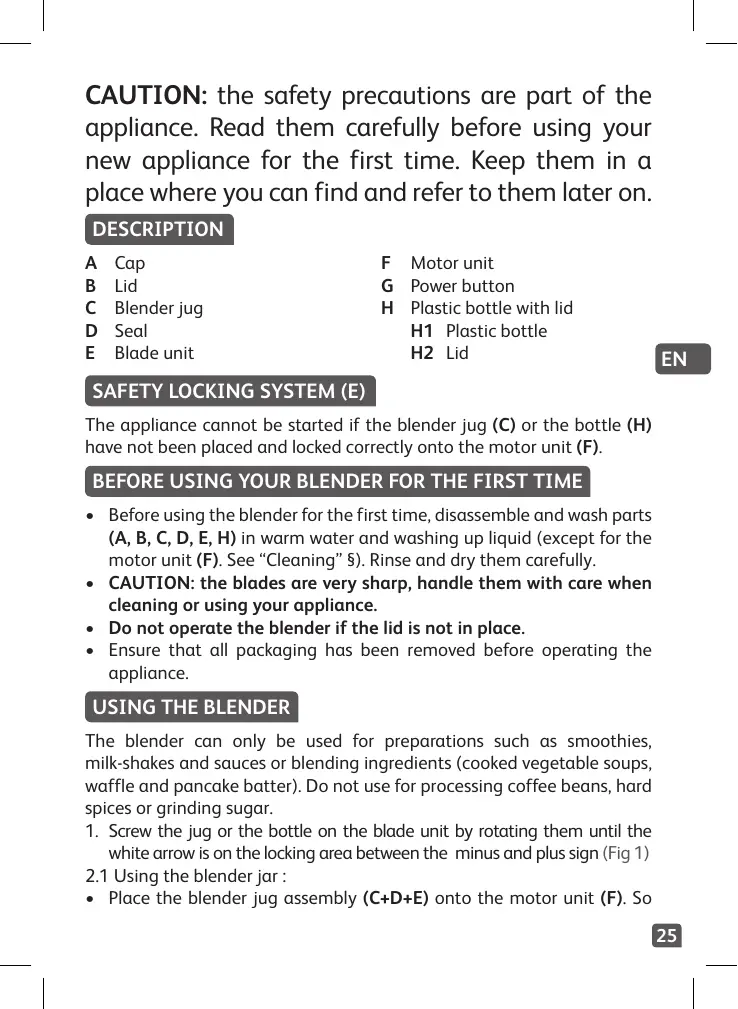
DESCRIPTION A B C D E F Motor unit
G Power button H Plastic bottle with lid H1 Plastic bottle H2 Lid
EN SAFETY LOCKING SYSTEM (E)
The appliance cannot be started if the blender jug (C) or the bottle (H) have not been placed and locked correctly onto the motor unit (F).
BEFORE USING YOUR BLENDER FOR THE FIRST TIME
• Before using the blender for the first time, disassemble and wash parts (A, B, C, D, E, H) in warm water and washing up liquid (except for the motor unit (F). See “Cleaning” §). Rinse and dry them carefully. • CAUTION: the blades are very sharp, handle them with care when cleaning or using your appliance. • Do not operate the blender if the lid is not in place. • Ensure that all packaging has been removed before operating the appliance.
USING THE BLENDER The blender can only be used for preparations such as smoothies, milk-shakes and sauces or blending ingredients (cooked vegetable soups, waffle and pancake batter). Do not use for processing coffee beans, hard spices or grinding sugar.
1. Screw the jug or the bottle on the blade unit by rotating them until the white arrow is on the locking area between the minus and plus sign (Fig 1) 2.1 Using the blender jar : • Place the blender jug assembly (C+D+E) onto the motor unit (F). So 25
that the arrow matches with the open lock. Turn the jug clockwise until the arrow matches with the closed lock. (Fig. 2+3).
• Place the ingredients in the blender jug (C) (Fig. 4). • Lock the lid (B) onto the blender jug (C) (Fig. 5). • Fit the cap (A) into the opening in the lid (B) and turn it to lock it into place. (Fig. 6). 2.2 Using the bottle : • Caution : Do not blend hot liquids higher than 70°C • Place the ingredients in the bottle (H1). • Close the bottle with the blade assembly (D+E) by screwing them together until the white arrow is on the locking area between the minus and plus sign (Fig. 7). • Place the bottle (H+D+E) onto the motor unit (F) so that the arrow matches with the open lock, then turn the bottle until the arrow matches with the closed lock. (Fig. 8) 3. Never add or process liquids or ingredients that have a temperature higher than 70°C. Instead cool them slightly first. The blender jug (C) and plastic bottle (H1) have a 750ml MAX capacity. Do not fill it with food or liquids past the MAX mark. Refer to the table below for recipe quantities. 4. Plug in the appliance and switch it on by pressing the button. Press and hold the button until blending is complete. Blending stops once the button is released. To pulse food, repeatedly operate the appliance in short bursts. The blender will not operate if the blender jug or bottle are not correctly locked. 5. Hold the appliance firmly with one hand during operation. Do not run for more than 2 minutes. 6. After using the bottle : Once you have finished blending, turn the blender bottle upright so that the blade unit (D+E) is at the top and then unscrew it from the bottle (H) (Fig.9). Then place the bottle lid on to the blender bottle and screw into place. (Fig.10). The blender bottle is ready to drink from or take with you.
140 g carrots + 60 g celeriac + 60 g banana +
330 ml orange juice + 2 ice cubes
150 g green apple + 250 ml apple juice + 5 ice cubes
240 g cooked carrots and 360 ml water or stock
• To add ingredients while the blender is in use, insert them through the feeder hole in the lid (B). • Cut the ingredients into small pieces (approx. 15mm x 15mm) before putting them in the blender jug (C). Do not process a large quantity of EN ingredients at the same time. • Do not use the appliance for mashing or grinding heavy foods (e.g., potatoes or meats) or to stir thick mixtures (e.g., dough). CAUTION : If ingredients remain stuck to the blades, unplug the appliance and remove them with a spatula. The appliance will not operate unless the blender jug (C) or the bottle (H) is correctly locked on to the blade assembly and both parts are locked into place on the base.
Handle the blades (D) with care as they are very sharp. Wipe the motor unit (F) down with a damp cloth. Dry carefully. Never immerse the motor unit (F) in water or under running water. Never clean the motor unit in the dishwasher For easy cleaning, always wash the removable parts in warm water and washing up liquid immediately after use. • The blender jug (C), the lid (B), the cap (A) and the plastic bottle with lid (H) may be cleaned in the dishwasher in the upper tray, only using the “ECO” or “SLIGHTLY SOILED” program.