
HMGV28GDFB - Combined refrigerator HOOVER - Free user manual and instructions
Find the device manual for free HMGV28GDFB HOOVER in PDF.

| Product type | Fridge freezer |
| Brand | HOOVER |
| Model | HMGV28GDFB |
| Dimensions (H x W x D) | 185 x 60 x 65 cm |
| Net weight | 70 kg |
| Total volume | 280 L |
| Fridge volume | 200 L |
| Freezer volume | 80 L |
| Climate class | N-ST |
| Energy class | A+ |
| Annual energy consumption | 280 kWh |
| Power supply voltage | 220-240 V ~ 50 Hz |
| Rated current | 1.2 A |
| Refrigerant | R600a |
| Noise level | 40 dB(A) |
| Functions | Adjustable thermostat, interior lighting, glass shelves, vegetable drawer, meat compartment, door bins, freezer compartment with drawers |
| Defrost | Automatic for fridge, manual for freezer |
| Door reversal | Possible (see manual) |
| Maintenance and cleaning | Clean the interior with a soft cloth and soapy water. Defrost the freezer if the frost layer exceeds 5 mm. Clean the condenser every 6 months. |
| Safety | Automatic shut-off in case of overheating, magnetic door closure, ergonomic handle |
| Spare parts and repairability | Parts available for 7 years after end of sale. Repair possible by an approved technician. |
Frequently Asked Questions - HMGV28GDFB HOOVER
User questions about HMGV28GDFB HOOVER
0 question about this device. Answer the ones you know or ask your own.
Ask a new question about this device
Download the instructions for your Combined refrigerator in PDF format for free! Find your manual HMGV28GDFB - HOOVER and take your electronic device back in hand. On this page are published all the documents necessary for the use of your device. HMGV28GDFB by HOOVER.
USER MANUAL HMGV28GDFB HOOVER
Installation Instruction
Please Read the Manual Carefully Before Installation
Please Note
Electrical connection
The oven is fitted with a plug and must be only connected to a properly installed earthed socket. In accordance with the appropriate regulations, the socket must only be installed and the connecting cable must only be replaced by a qualified electrician.
If the plug is no longer accessible following installation and all-pole isolating switch must be present on the installation side with a contact gap at least 3mm.
The built-in cabinet shall not have a rear wall behind the appliance.
Minimum installation height is 85cm.
Do not cover ventilation slots and air intake points.
A. Built-in furniture
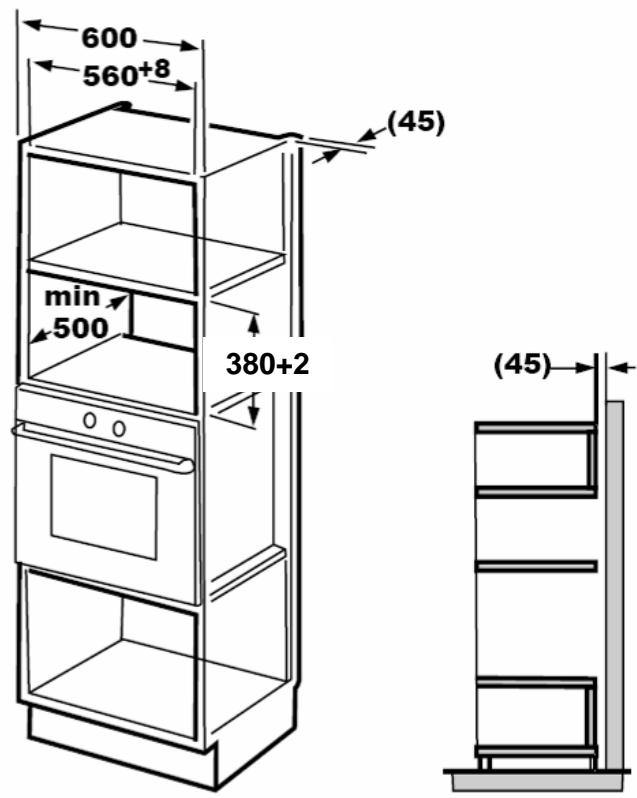
B. Prepare the Cabinet.
1
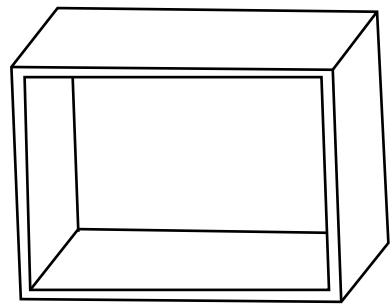
natural_image
Simple line drawing of a 3D rectangular box (no text or symbols)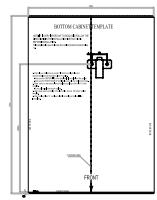
- Put the BOTTOM CABINET TEMPLATE on the bottom plane of cabinet. And make the center line of the template coincides with the bottom of cabinet.
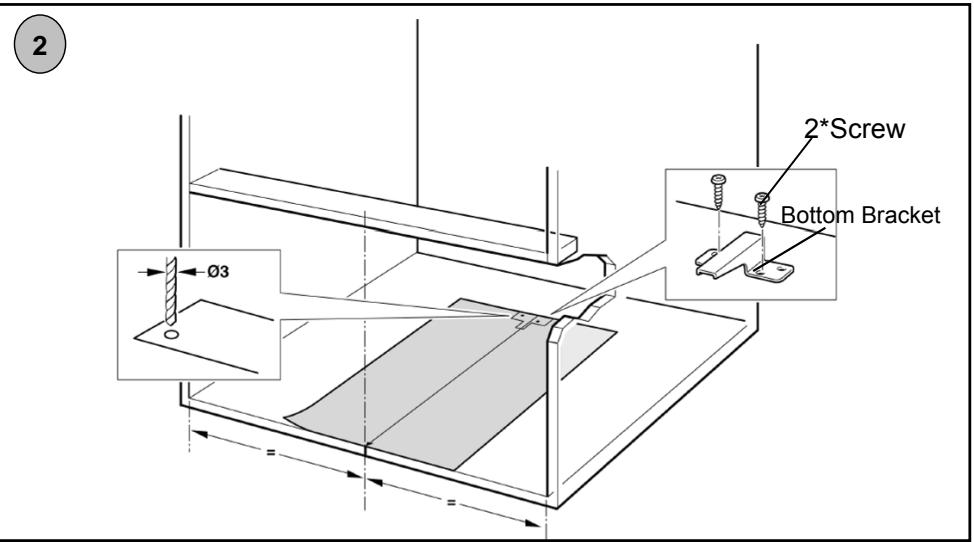
- Fix the BOTTOM BRACKET with two SCREWS. And remove the BOTTOM CABINET TEMPLATE.
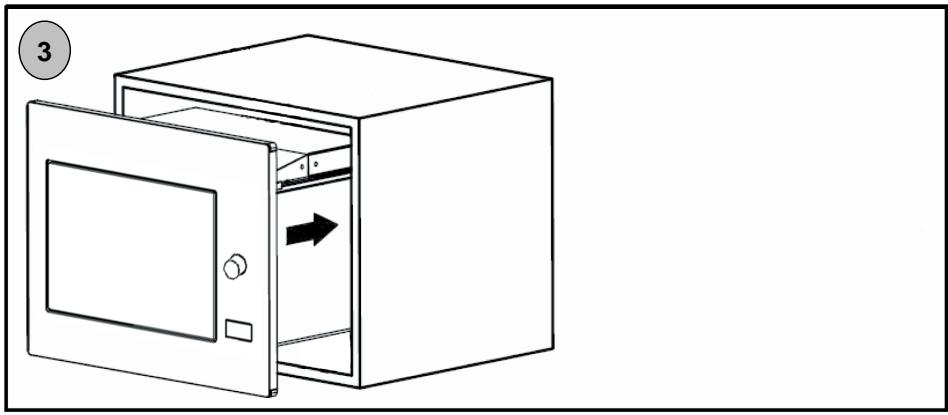
C. Install the oven.
natural_image
Line drawing of a closed storage cabinet with an open door and directional arrow indicating flow (no text or symbols)3. Install the oven into the cabinet.
- Do not trap or kink the power cord.
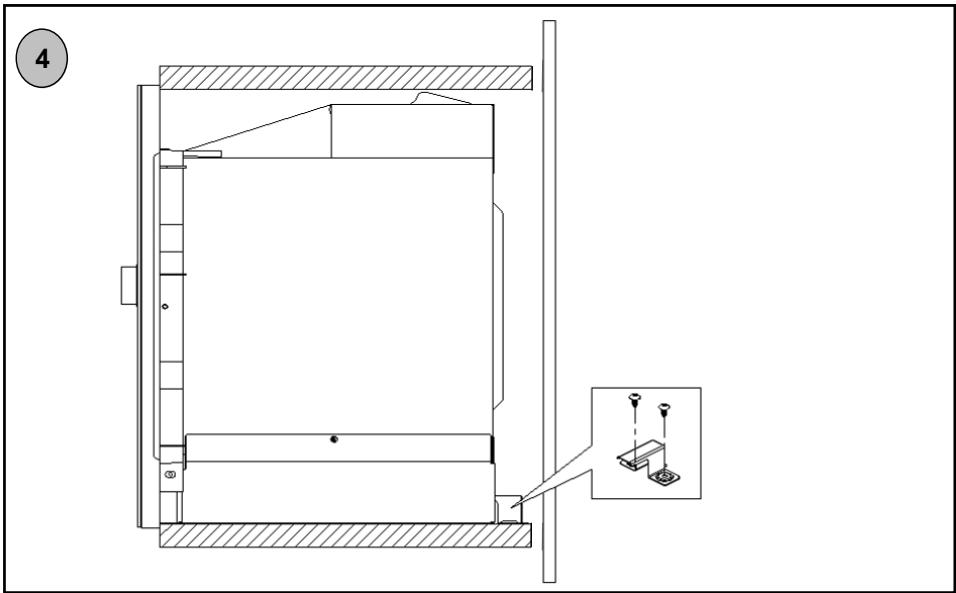
4. Bottom Bracket is just installed against the back shell of the oven.
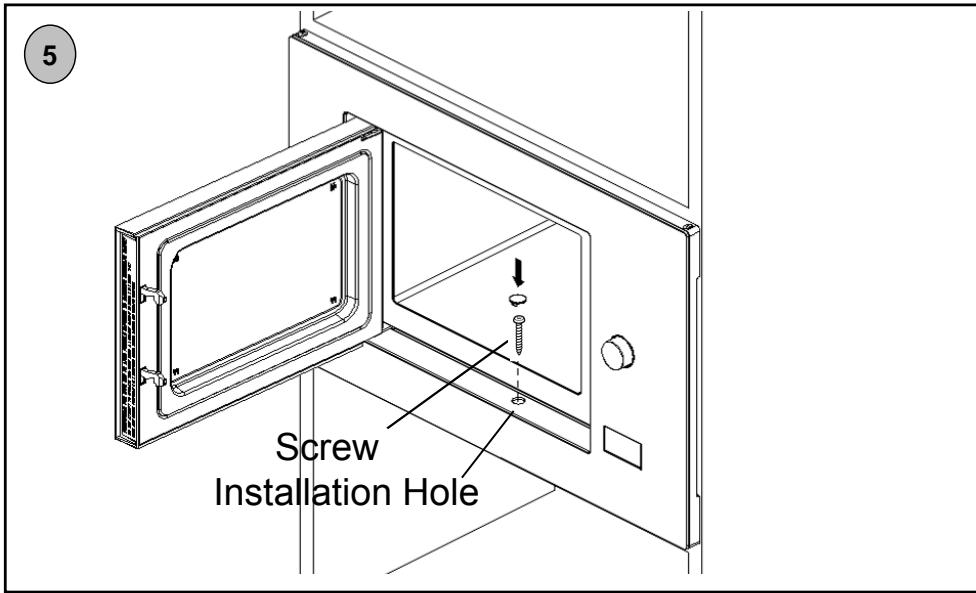
- Open the door; fix the oven to the cabinet with SCREW at the INSTALLATION HOLE of TRIM KIT. Then fix the TRIM-KIT PLASTIC COVER to the INSTALLATION HOLE.
natural_image
Line drawing of a closed storage cabinet with an open door and internal door, showing a right vent (no text or symbols)natural_image
Simple line drawing of a 3D rectangular box with no text or symbols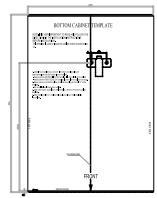
natural_image
Line drawing of a closed storage cabinet with an open door and directional arrow indicating internal movement (no text or symbols)natural_image
Empty white square with a red border (no text or symbols)Brand : HOOVER
Model : HMGV28GDFB
Category : Combined refrigerator