
COLOREDGE CG232W - Professional Monitor EIZO - Free user manual and instructions
Find the device manual for free COLOREDGE CG232W EIZO in PDF.
Download the instructions for your Professional Monitor in PDF format for free! Find your manual COLOREDGE CG232W - EIZO and take your electronic device back in hand. On this page are published all the documents necessary for the use of your device. COLOREDGE CG232W by EIZO.
USER MANUAL COLOREDGE CG232W EIZO
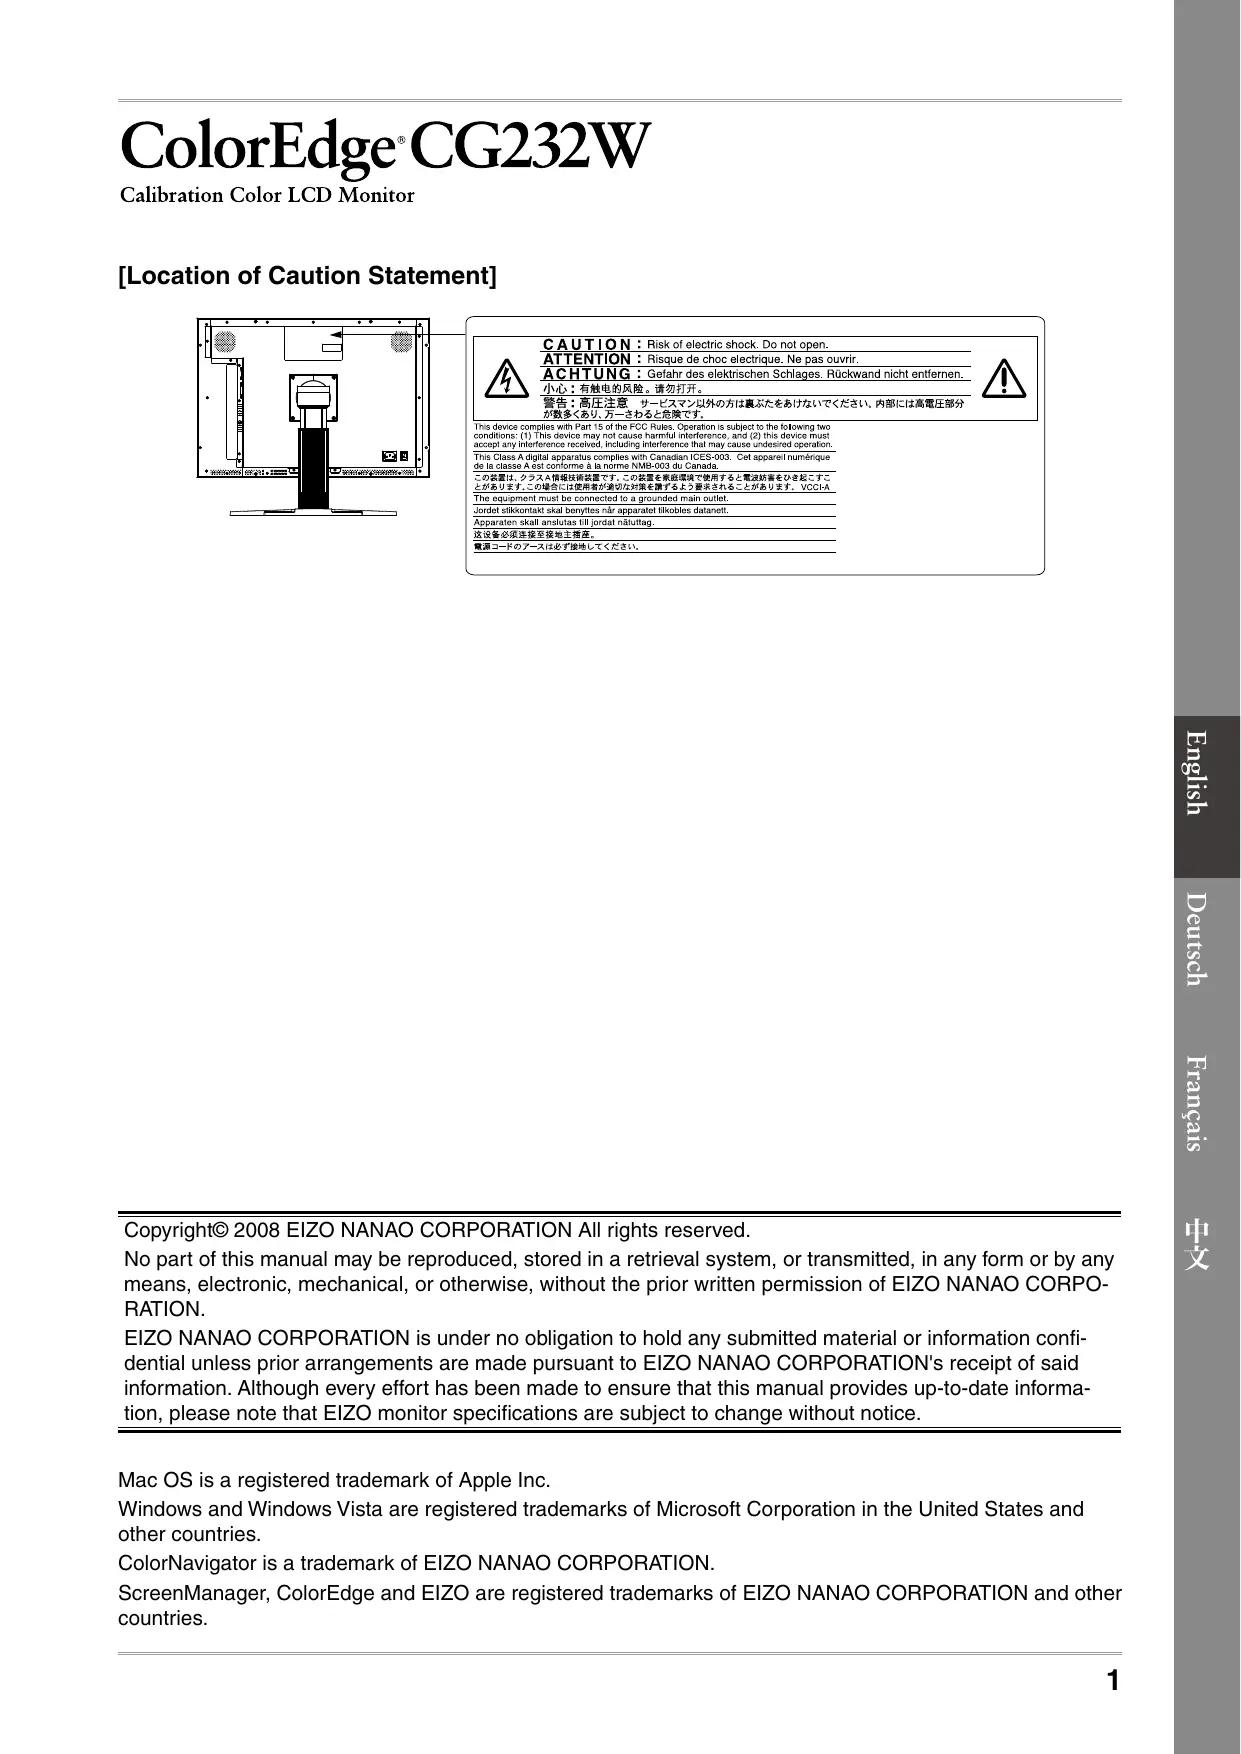
SEUL] Copyright© 2008 EIZO NANAO CORPORATION All rights reserved. No part of this manual may be reproduced, stored in a retrieval system, or transmitted, in any form or by any means, electronic, mechanical, or otherwise, without the prior written permission of E1ZO NANAO CORPO- RATION. EIZO NANAO CORPORATION is under no obligation to hold any submitted material or information confi- dential unless prior arrangements are made pursuant to EIZO NANAO CORPORATION's receipt of said information. Although every effort has been made to ensure that this manual provides up-to-date informa- tion, please note that EIZO monitor specifications are subject to change without notice.
Mac OS is a registered trademark of Apple Inc. Windows and Windows Vista are registered trademarks of Microsoft Corporation in the United States and other countries. ColorNavigator is a trademark of EIZO NANAO CORPORATION. ScreenManager, ColorEdge and EIZO are registered trademarks of EIZO NANAO CORPORATION and other countries.
Checking Package Contents Check that all the following items are included in the packaging box. If any items are missing or damaged, contact your local dealer. + Please keep the packaging box and materials for future movement or transport of the monitor. a Monitor a ElZO LCD Utility Disk (CD-ROM) a Power Cord - Calibration software ColorNavigator LD qu - Screen Adjustment Utility (Windows) - Screen adjustment pattern files (Windows) a Signal Cable: FD-C39 - Users Manuals (PDF format) = F Setup Manual (this manual) PRECAUTIONS a Analog signal cable: MD-C87 ColorNavigator Quick Reference Limited Warranty o ElZO USB Cable: MD-C93 ECC Adjustment Certificate Recycling Information Cleaning kit “ScreenCleaner” Mounting Screws (M4 x 12, 4 pcs.) DO0C00000
Controls and Functions
[> ]: Displays information on input signal. El 6_|Power button [Turns the power on or off. » are = Fou n A 7 |Power indicator Indicates monitor's operation status. &
Blue: Operating Flashing blue (2 times for each): When the timer is set for ColorNavigator, notifies that a recalibration is required (for CAL mode). Orange: Power saving Off: Power off 8 |D-SUB / DVI Input Left: Signal 1 (D-Sub mini 15-pin connector) / Right: Signal 2 (DVI-D connector) pr signal connectors 9_|SDI Signal Input Left : BNC input (SDI-2) connector / Right : BNC output (SDI-2) connector X 10 [Output connectors Left : BNC input (SDI-1) connector / Right : BNC output (SDI-1) connector 11 [USB port (Up) Connects the USB cable to use the software that needs USB connection, or to use USB Hub function. 12 [USB port (Down) Connects a peripheral USB device. 13 [Power connector Connects the power cord. 14 [Stand Used to adjust the height and angle of the monitor screen. 15 [Cable holder Covers the monitor cables. *_ ScreenManager © is an ElZO's nickname of the Adjustment menu. (For how to use ScreenManager, refer to the Users Manual on the EIZO LCD Utility Disk (CD-ROM).)
Connecting Cables + Check that the monitor and the PC are powered off. + When replacing the current monitor with a CG232W monitor, be sure to change the PC settings for resolution and vertical frequency to those which are available for the CG232W monitor referring to the resolution table (back of cover page) before connecting the PC. + When connecting two PCs to the monitor, refer to the User’s Manual on the EIZO LCD Utility Disk (CD-ROM). 1 Connect the monitor to the PC with a signal cable that matches the connectors. (DVI-D/D-SUB) After connecting the cable connectors, tighten the screws of the connectors to secure the coupling. Connectors on the PC DVI connector Signal cable FD-C39 (supplied) D-Sub mini 15-pin connector —S _, D = il Hors Analog connection Connectors on the monitor DVI-D connector Le) Signal cable MD-C87 (supplied)
D-Sub mini 15-pin connector (æ) 2 To use the SDI input signal, connect the BNC cable to the SDI input signal con- nector and PC, or other video editing equipment. The BNC cable is not included with this product. Please purchase it separately.
Connectors on the Cable Connector on a PC or other monitor video editing equipment BNC connector BNC cable BNC connector
3 Connects the USB cable to use the software that needs USB connection, or to use USB Hub function. Connect to the monitor
Connect to the PC 4 Plug the power cord into a power outlet and the power connector on the monitor. Press [e ]to turn on the monitor. The monitor’s Power indicator lights up blue. 6 Turnonthe PC. The screen image appears. If an image does not appear, refer to “No-Picture Problem” for additional advice. + Turn off the monitor and PC after using them. + For the maximum power saving, it is recommended that the Power button be turned off. Turning off the main power switch, or unplugging the power cord completely shuts off the power supply to the monitor. ysISu 4 7 When using analog input signals, perform the Auto Adjustment function. When analog signals are input, the Auto Adjustment function enables the automatic adjustment of clock, phase, screen position, and resolution. For details of the Auto Adjustment function, refer to the User’s Manual on the EIZO LCD Utility Disk (CD-ROM). The Auto Adjustment function is not necessary when digital signals are input because images are displayed correctly based on the preset data of the monitor.
Adjusting Screen Height and Angle Hold left and right edge of the monitor with both hands, and adjust the screen height, tilt and swivel of the screen to the best condition for working. SEUL]
Showing Button Guide Pressing any of the buttons on the front (except the Power button) shows the name of each button at the bottom of the screen. 1 Press any button on the front (excep 2 The button guide appears directly above the buttons for 3 seconds. UI/
Due spi MODE || ENTER < V VAN D (Ô) = + The button guide will continue to appear while the Adjustment menu or Color Mode menu is showing. Selecting Display Mode Changing the color mode allows you to set the appropriate display mode easily. Color Mode Custom Available for the color settings according to your preference. SRGB Suitable for color matching with SRGB compatible peripherals. Suitable for reproducing the color gamut and gamma as set forth by EBU (European EBU : . Broadcasting Union) standards. Suitable for reproducing the color gamut and gamma as set forth by the ITU-R Rec. 709 Rec709 standard. SMPTE-C Suitable for reproducing the color gamut and gamma as set forth by SMPTE-C standards. DCI Suitable for reproducing the color gamut and gamma as set forth by DCI standards. CAL Displays the screen adjusted by calibration software.
Color Mode Menu The Color Mode menu appears. 2 Press displayed. Displays the again while the Color Mode menu is current mode Each time you press the button, the mode is switched to the other mode. (Refer to the Color Mode table.) ZT Press at the desired mode. The selected mode is set.
Installing ColorNavigator + For details regarding the calibration procedure, refer to the ColorNavigator User’s Manual on the CD-ROM. MacOS X 1 Insert the “EIZO LCD Utility Disk” to the CD-ROM drive. The “EIZO LCD Utility Disk” icon appears on the desktop. Double click the icon to open the window. 2 Double click “ColorNavigator” folder on the window. 3 Double click “ColorNavigator.pkg” icon on the window The ColorNavigator installer starts up. Æ Install the software. Follow the instructions to install the software. ysISu 4 Windows 1 Insert the “EIZO LCD Utility Disk” to the CD-ROM drive. The start menu opens. Click “Software” tab.
Double click the “Launcher.exe” icon if the menu does not open automatically If your OS is Windows Vista, the “User Account Control” dialog may appear when you double click “Launcher.exe”. Click [Continue] to open the menu. 2 Click “ColorNavigator” on the menu. The other dialog appears. SEUL] 3 Click “Install” on the menu. The ColorNavigator installer starts up.
“Hardware Installation” (Windows XP) / “Windows Security” (Windows Vista) dialog may ap- pear several times when you install the driver software. Click [Continue Anyway] (Windows XP) / [Install this driver software anyway] (Windows Vista) to install the driver software. Continue the installation of the driver software until the dialog disappears. Æ Install the software. Follow the instructions to install the software.
Performing Advanced Settings/Adjustments Advanced adjustments for the screen or color and various settings are available using the Adjustment menu. For details of each adjustment function, refer to the Users Manual on the EIZO LCD Utility Disk (CD-ROM). No-Picture Problem If no picture is displayed on the monitor even after the following remedial action is taken, contact your local dealer. Adjustment menu ScreenManagere Symptom Status Possible cause and remedy No picture Power indicator does not light. + Check whether the power cord is connected cor- rectly. If the problem persists, turn on the main power, and then turn it on again a few minutes later. < Turn the main power switch on. «Press Power indicator is lighting blue. + Set each adjusting value in [Brightness] and [Gain] to higher level. Power indicator is lighting orange. + Switch the input signal with EA or[ = + Operate the mouse or keyboard. + Check whether the PC is turned on. + Check whether the signal cable is connected properly. The message appears. This message appears when no signal is input. SDI-1 No Signal At SDI signal input At analog signal input + The message shown left may appear, because some PCs do not output the signal soon after power-on. + Check whether the PC is turned on. + Check whether the signal cable is connected properly. - Switch the input signal witl The message shows that the input signal is out of the specied frequency range. (Such signal frequency is displayed in red.) Example: DUI fD:165.0MHz fH: 75.0kHz fU: 60.0Hz + Check whether the signal setting of your PC matches the resolution and the vertical frequency settings for the monitor. + Reboot the PC. + Select an appropriate display mode using the graphics board's utility. Refer to the manual of the graphics board for details. fD: Dot Clock (Displayed only when the digital signal inputs) fH: Horizontal Frequency fV: Vertical Frequency
RER, 2 EAP HNOPRRRRER ENT REN, PIRE
APE RAP BNC FEB. TER.
Êr MIE BNC FR BNC Æ£ÿ BNC RS O EE Oo