
B&W DS6 - Speaker B&W - Free user manual and instructions
Find the device manual for free B&W DS6 B&W in PDF.

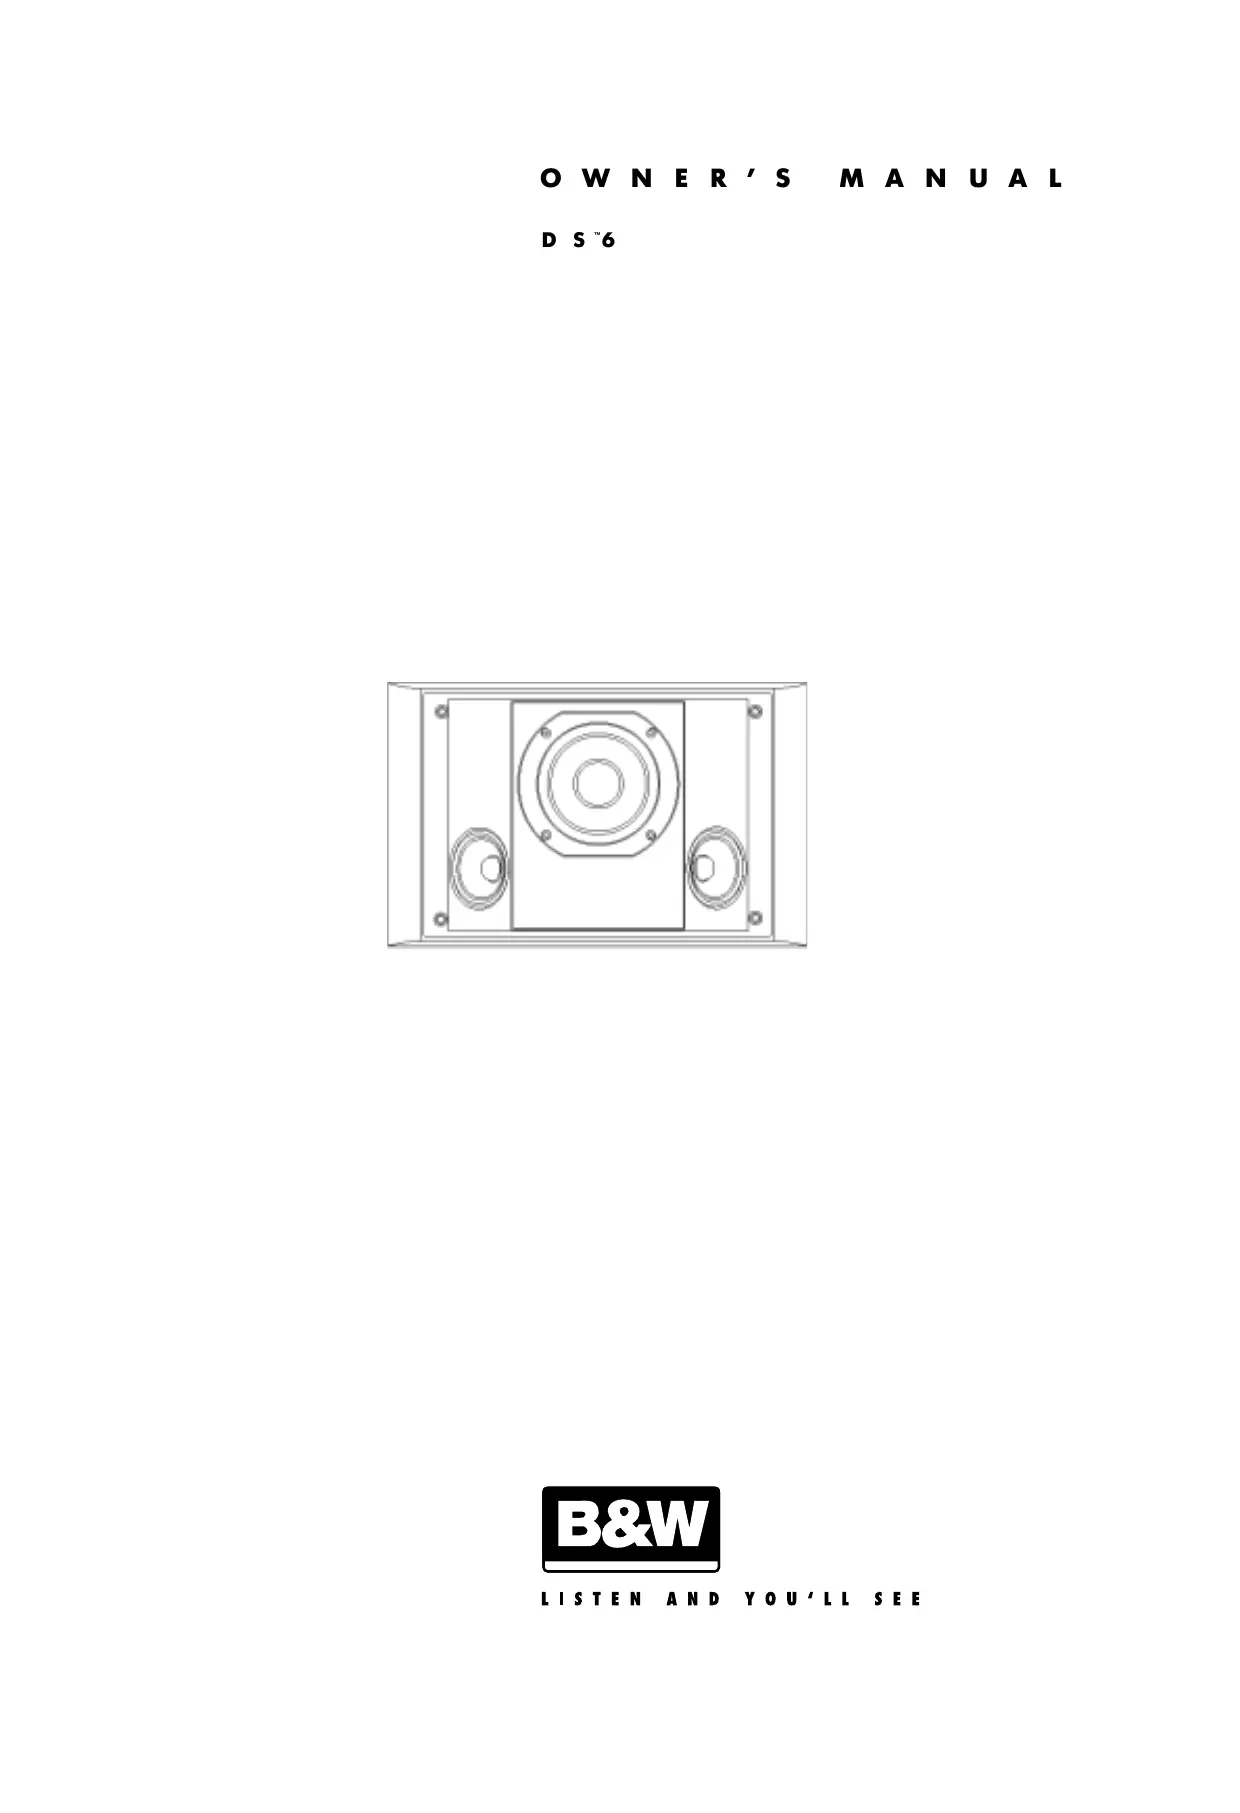


| Product type | Dipolar surround sound speaker |
| Brand | B&W |
| Model | DS6 |
| Category | Rear surround speaker |
| Drivers | 1 x braided Kevlar® mid-woofer + 2 x cellulose mid-tweeter |
| Diffusion principle | Dipolar: front and rear emission in phase opposition |
| Certification | Lucasfilm Home THX Audio |
| Mounting | Wall mounting (hole at back) or on supplied stand |
| Recommended placement | On side walls, slightly above ear level, ≥50 cm from ceiling and ≥1 m from rear wall |
| Minimum distance from a screen | 50 cm (magnetic field) |
| Connectivity | Red (+) and black (-) terminals; cable routing holes |
| Cabinet finish | Black or white satin (paintable) |
| Front grille | Removable, dust with clothes brush |
| Surface maintenance | Simple dusting; spray onto cloth, not directly |
| Amplifier compatibility | Check for absence of polarity inversion; THX amplifiers guaranteed non-inverting |
Frequently Asked Questions - B&W DS6 B&W
User questions about B&W DS6 B&W
0 question about this device. Answer the ones you know or ask your own.
Ask a new question about this device
Download the instructions for your Speaker in PDF format for free! Find your manual B&W DS6 - B&W and take your electronic device back in hand. On this page are published all the documents necessary for the use of your device. B&W DS6 by B&W.
USER MANUAL B&W DS6 B&W
Thank you for purchasing the B&W DS6 Surround Channel speaker.
Since its foundation in 1966, the continuing philosophy of B&W has been the quest for perfect sound reproduction. Inspired by the company's founder, the late John Bowers, this quest has entailed not only high investment in audio technology and innovation but also an abiding appreciation of music and the demands of film sound to ensure that the technology is put to maximum effect.
It is also our policy to make sure the advanced features pioneered on one product are incorporated into others we manufacture.
The DS6 incorporates a woven Kevlar® cone bass/midrange drive unit for lowest coloration and maximum definition. It also has two paper midrange/high-frequency units to ensure dipolar dispersion and maintain dynamics to high sound levels. Kevlar® cones were originally developed for the acclaimed B&W 800 Series systems and go towards the realisation of fine transducers.
However, no matter how good the speakers themselves, they must work well into the listening room and time spent on the installation process will reap the reward of many hours listening pleasure. Please read through this manual fully. It will help you optimise the performance of your system.
B&W distribute to over 50 countries world-wide and maintain a network of dedicated distributors who will be able to help should you have any problems your dealer cannot resolve.
UNPACKING (figure 1)
Fold the top carton flaps right back and invert the carton and contents.
Lift the carton clear of the contents.
Remove the inner packing from the product.
Check in the carton for two DS6 shelf stands
We suggest you retain the packaging for future use.
CONNECTIONS (figure 2)
All connections should be made with the equipment turned off.
To ensure the correct dipolar soundfield, the speakers are handed left and right. When each speaker is positioned at the correct side of the room, the positive terminal (coloured red) is nearer the screen.
Connect the red (+ve) terminal to the positive terminal of the amplifier and the black (-ve) to the negative (figure 2). Failure to observe correct polarity will result in ill-defined panning of sounds and strange phase effects. Slots are provided in the cabinet back for leading out surface cable.
When choosing cable, keep the total electrical impedance (out and back) below the maximum recommended in the specification. Ask your dealer for advice, as the optimum cable will depend on the length required.
NOTE: Certain power amplifiers cause a polarity reversal between input and output. Ensure the polarity convention for all the amplifiers you use is consistent, if ill-defined sound panning and strange phase and frequency effects are to be avoided. Amplifiers carrying the Lucasfilm THX symbol are required to be non-inverting.
POSITIONING (figure 3)
These surround speakers conform to the specifications of Lucasfilm's Home THX audio system and differ from most conventional speakers in that they have a dipolar radiation pattern.
The sound is projected mainly backwards and forwards - with drive units mounted on opposite sides of the cabinet. Sound radiated in one direction has the reverse polarity to that radiated in the opposite direction. In a plane at right angles to these two lobes, the sound is substantially cancelled out. This is the so called null plane.
The speakers are used with the null plane directed towards the listeners, who therefore hear very little direct sound. Most of the sound they hear has been reflected off the surfaces of the room and is diffuse in nature. This gives the enveloping and atmospheric sound field that is necessary for good Home THX and Dolby Pro Logic reproduction.
The speakers should ideally be mounted on or close to the side (walls of the room and in line with the centre row of listeners. Keep the speakers a least 0.5m (20in) from the ceiling and over 1m (40in) clear of the rear walls. For the best atmospheric effect mount the speakers above the head of the listeners. As with all speakers some experimentation will reward the listeners with the optimum performance.
A "Keyhole" mounting slot is provided in the rear baffle of the DS6 to facilitate wall mounting. A shelf stand is also provided where wall mounting would prove difficult.
NOTE: The DS6 produces a static magnetic field that extends outside the cabinet boundary. As such The DS6 should not be placed within 0.5m (20in) of equipment that may be affected by such a field, e.g. Cathode Ray Tubes in TVs and Personal Computers.
FINE TUNING
Before fine tuning the installation, double check the polarity and security of the connections.
For greatest realism in home theatre installations it is important both to match the acoustic image to the size of the screen and to balance the relative levels all the speakers.
For smaller screens, place the left and right front speakers closer together than you might in an audio only installation.
Adjust the levels of the left, centre and right speakers to give a balanced sound as images pan across the screen. Adjust the level of the surround speakers so that, except on special sounds panning between front and rear, your attention is not unduly attracted to them. Move your head from side to side and sit in all likely listening positions when deciding on the optimum levels.
Consult your decoder manual for further information on how to set the levels.
CUSTOMISING
The DS6 cabinet is available in a pre-finished black or a soft white. The white is a primer paint finish, ready if necessary to be re-finished to match your own decor.
Before attempting to decorate the cabinet, you should protect both the grille and the drive units. This can be effectively achieved by removing the grille, enclosing it in a plastic bag and refitting it so that the bag is held tightly in place all around the grille and drive unit area.
You should not attempt to re-finish the area around the drive units.
AFTERCARE
The cabinet finish normally only requires dusting. If you wish to use an aerosol cleaner, remove the grille first by gently pulling it away from the cabinet. Spray onto the cleaning cloth, not directly onto the cabinet. The grille fabric may be cleaned with a normal clothes brush after removing the grille from the cabinet. Avoid touching the drive units, as damage may result.

EINLEITUNG
AUSPACKEN (figure 1)
INSTALLATION (Figure 3)
DESCRIPTION: 2-way 2nd-order closed-box dipole surround system
DRIVEUNITS:1x120mm(5in)diaKevlar®bass
2x 80mm (3in) dia paper midrange/high-frequency
FREQUENCY RANGE: -6dB at 63Hz and 12.5kHz
FREQUENCY RESPONSE: 85Hz - 8kHz ±3dB power averaged over front hemisphere
DISPERSION: Horizontal: Figure-of-eight dipolar 250Hz - 12kHz
SENSITIVITY: 85dB spl (2.83V, 1m)
HARMONIC DISTORTION: 2nd & 3rd harmonics < 1% 85Hz - 20kHz (90dB spl, 1m)
NOMINAL IMPEDANCE: 8Ω (minimum 3.5Ω)
CROSSOVER FREQUENCY:250Hz
RECOMMENDED AMPLIFIER POWER: 30W-100W continuous into 8 on unclipped programme.
MAX. RECOMMENDED CABLE IMPEDANCE: 0.2Ω
DIMENSIONS:Height:248mm(9.8in) Width:380mm(15in) Depth:153mm(6in)
NET WEIGHT: 5.9kg (13 lb)
FINISHES: Black cabinet with a black cloth grille
White cabinet with a white cloth grille

LISTEN AND YOU'LL SEE
Brand : B&W
Model : B&W DS6
Category : Speaker