
CTPE248 - Wine aerator LA SOMMELIERE - Free user manual and instructions
Find the device manual for free CTPE248 LA SOMMELIERE in PDF.

| Product type | Wine aerator / Electronic wine cellar |
| Brand | LA SOMMELIERE |
| Model | CTPE248 |
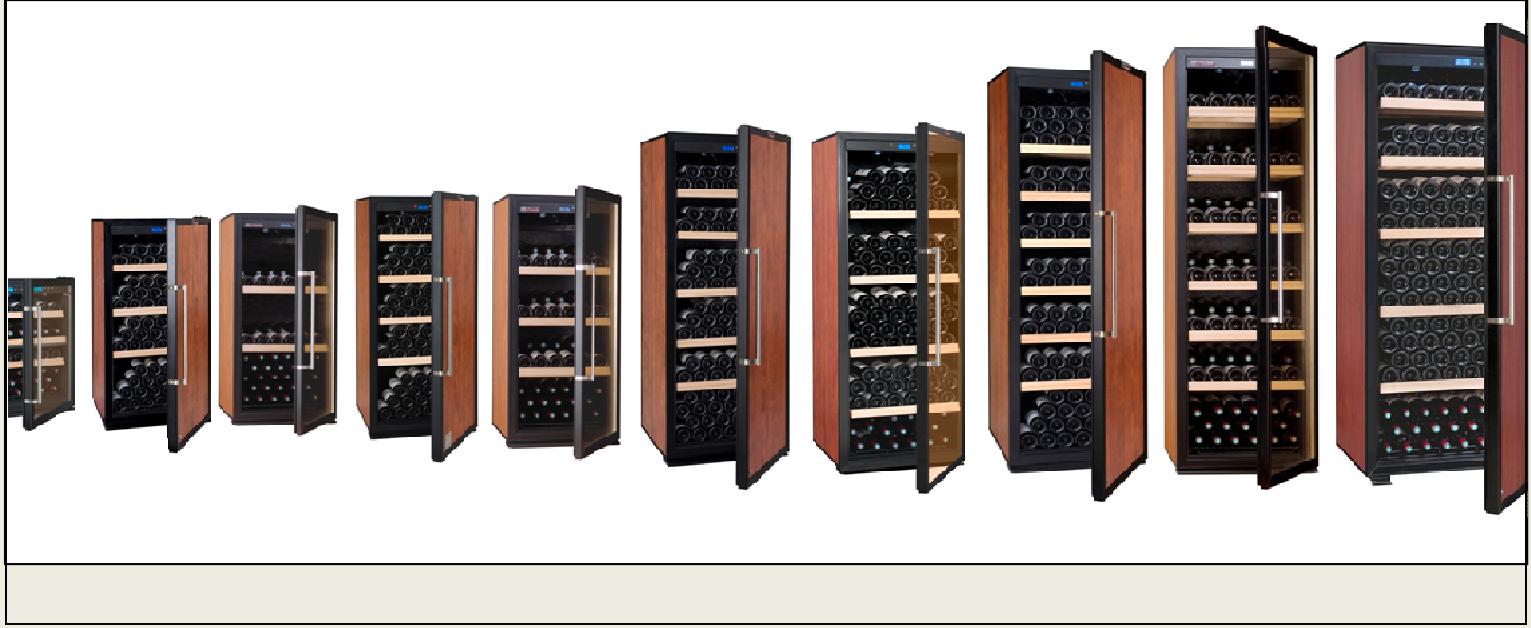
| Capacity | 248 bottles (420 L) |
| Energy class | E |
| Annual consumption | 386 kWh |
| Ambient temperature range | 10 °C to 38 °C (SN-ST class) |
| Noise level | 41 dB(A) |
| Refrigeration type | Compressor with hot/cold circuit |
| Display | Digital with touch control |
| Lighting | Interior LED (3 modes: L0, L1, L2) |
| Activated carbon filter | Yes, 1 year lifespan, replacement recommended |
| Shelves | Wooden, adjustable with front/rear supports |
| Door | With handle, reversible (not built-in) |
| Adjustable feet | Yes, front |
| Alarms | Door open, abnormal temperature, low humidity, filter end of life |
| Safety | Child lock, key (depending on model) |
| Power supply | 220-240 V ~ 50 Hz (standard estimate) |
| Net weight | Approximately 75 kg (estimate for 248 bottles) |
| Dimensions (H x W x D) | Approximately 150 x 60 x 100 cm (estimate) |
Frequently Asked Questions - CTPE248 LA SOMMELIERE
User questions about CTPE248 LA SOMMELIERE
0 question about this device. Answer the ones you know or ask your own.
Ask a new question about this device
Download the instructions for your Wine aerator in PDF format for free! Find your manual CTPE248 - LA SOMMELIERE and take your electronic device back in hand. On this page are published all the documents necessary for the use of your device. CTPE248 by LA SOMMELIERE.
USER MANUAL CTPE248 LA SOMMELIERE
This appliance is only for wine and beverage storage
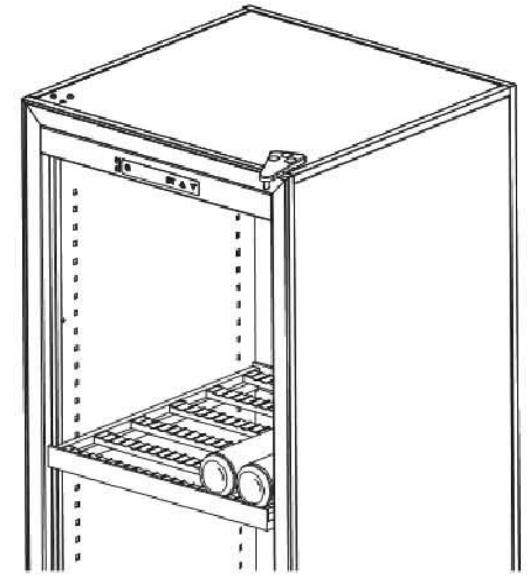
1.DESCRIPTION DE VOTRE CAVE A VIN

Note: If your product is without lock, there is no closing clip(8).
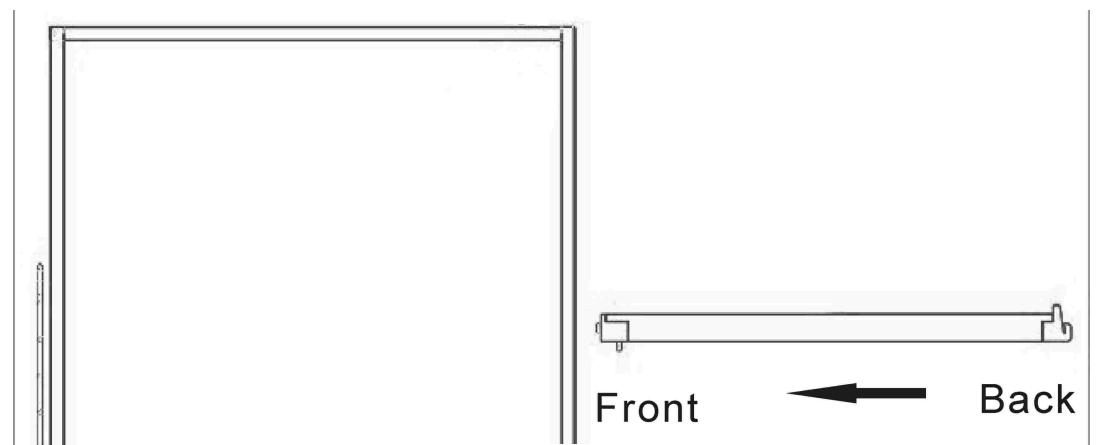
2. PLACE YOUR CABINET
(1) When moving your wine cabinet, do not incline it more than 45^ , and always toward side where the power lead is located.
(2) In order to reduce the working time and save power, place your cabinet at where the temperature is between 5^ 32^ , and there should be space to allow air to flow around the cabinet, so the heat produced by condenser can be eliminated in time. Leaving a space of at least 8cm between the wall and the back of your wine cabinet and 5cm on the sides and at the top. Please keep your wine cabinet away from other domestic appliances like fridge, electric welding machine to avoid interference.
(3) Away from heat source.
(4) Place at proper humidity location. Not too wet (wash room, utility room, etc.). Never place your wine cabinet in a location liable to flooding.
(5) Be on a flat solid floor. Gently incline the wine cabinet backwards in order to adjust the front feet (screw adjustment) so that your wine cabinet stands at perfect level.
3. INSTALLING YOUR WINE CABINET
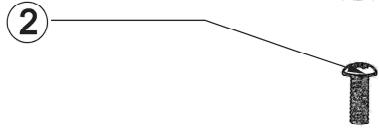
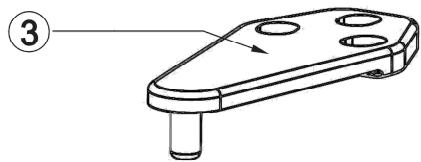
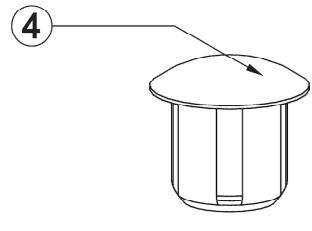
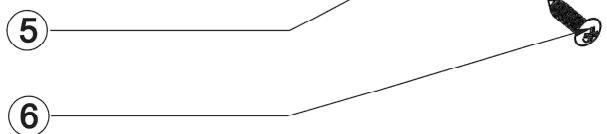
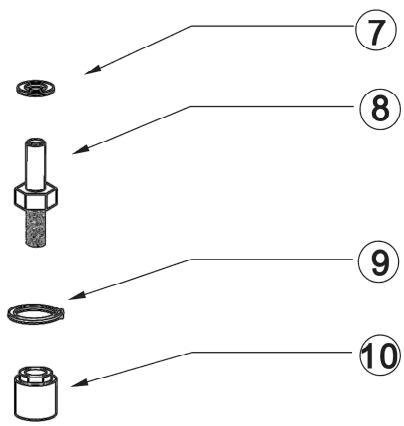
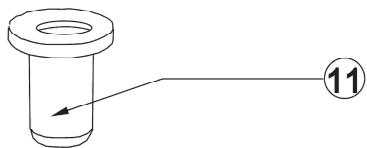
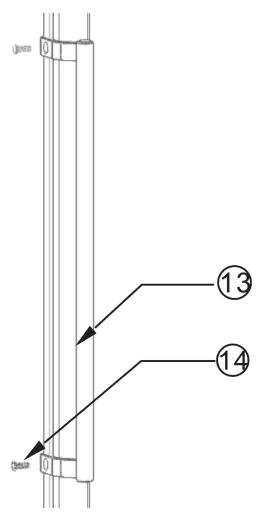
3.1 Summary of parts
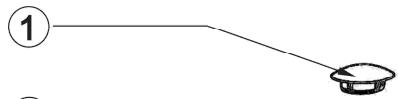

-
Grommet
-
Screw
-
Top hinge
4.Grommet
-
Closing clip
-
Phillips screw
-
Washer
-
Door pivot guide
-
Washer
-
Hinge nut 11. Pivot
-
Grommet
-
Handle of door
-
Chamfer head screw
3.2 Installing the drip tray
The drip tray is already installed. If it doesn't, install the drip tray on the compressor support at the back of the cabinet, locating it under the small pipe protruding from the housing, the lower part of the tank being placed under this pipe. See diagram below:
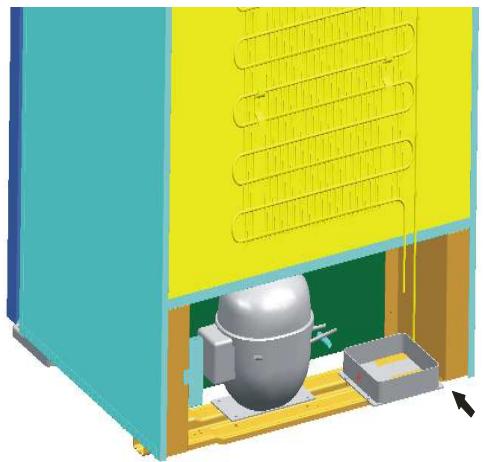
Installing the drip tray
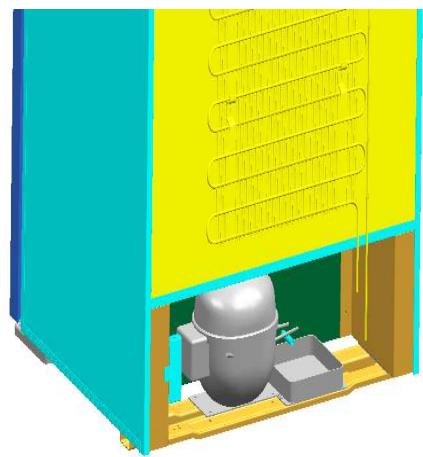
3.3 Installing the carbon filter
The carbon filter is already installed. If it doesn't, install the carbon filter, which you will find inside your cabinets, by placing it in the air circulation hole located on the top inside the cabinet. The carbon filter can be used for one year, please change it thereafter. Contact your local distributor for new carbon filter. Please remove the used carbon filter before inserting the new one.
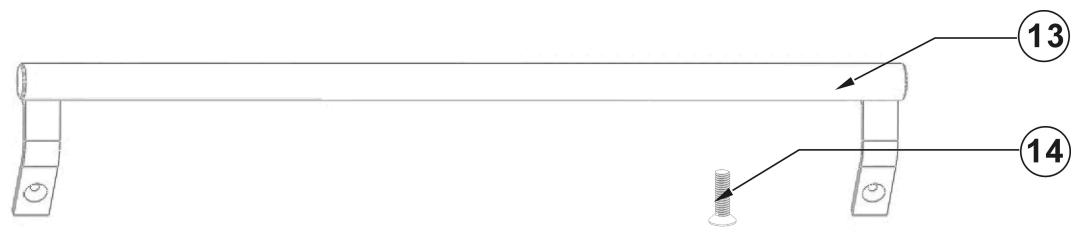
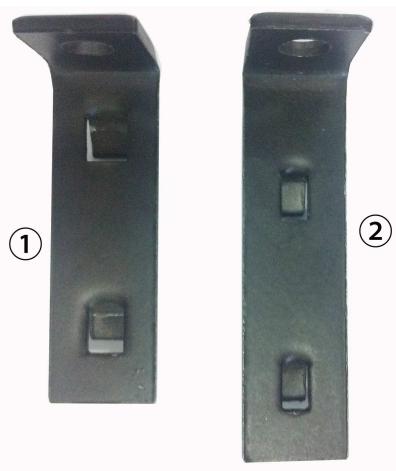
3.4 Installing the handle of door
You can find a handle and two chamfer head screws in your accessories box .Following a diagram below you can fix the handle on the door.

Installing the handle of door
3.5 Installing the shelves
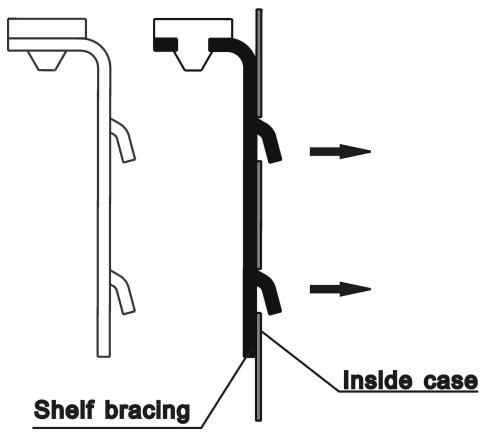
3.5.1 Installing the shelf bracing
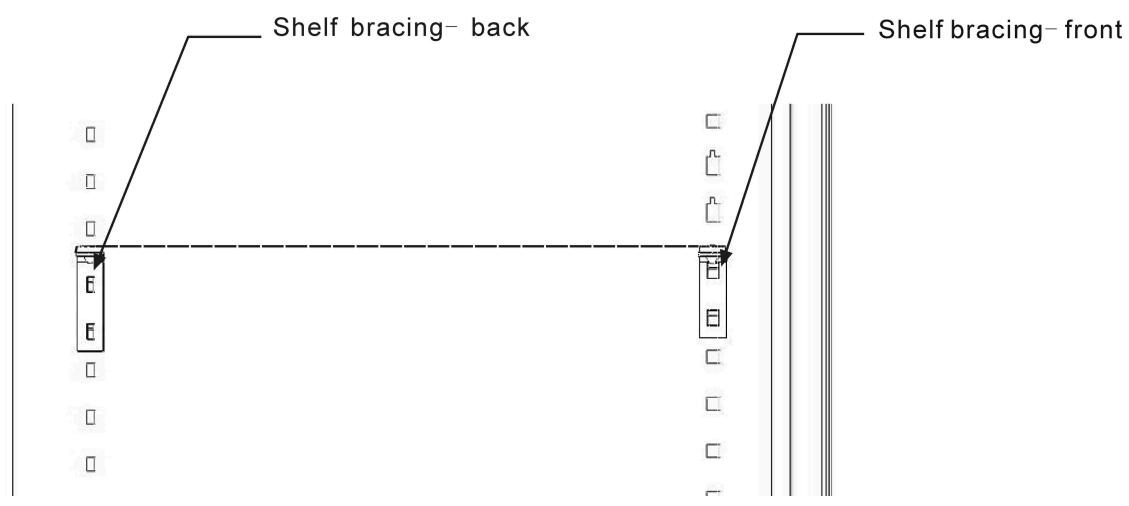
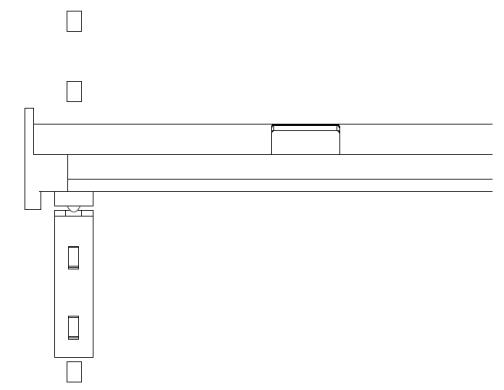
Shelf bracing should be installed before placing the shelves, the process see diagram below. Putting the shelf bracing hook in the hole inside the case and press down, this allows the shelf bracing to be hitched firmly inside the case. There are front and back shelf bracings, the longer one is back shelf bracing, should be fixed with the hook on the back inside the case; another type is front shelf bracing, should be fixed with the hook on the front inside the case. The two shelf bracings should be at the same level to keep the shelf stay at a perfect position.
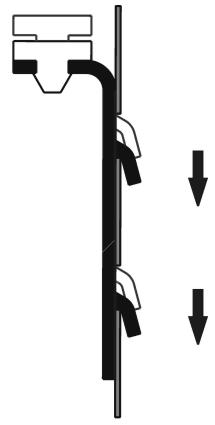
Two dumpy wires in front of the shelf should lock the shelf on the shelf bracing
- Front
- Back
3.5.3 Installing the wooden shelf
See diagram below to install your wooden shelf. Put the shelf on the shelf bracing with the front going first. Make sure the wooden pin should be after the back shelf bracing hook. See diagram below.
Wooden shelf installing layout
3.6 The installation of the wall separate screws
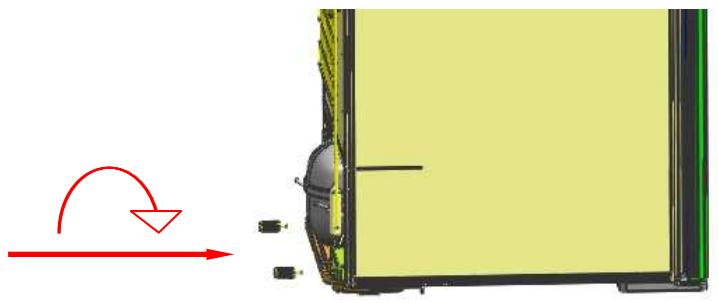
When the back side of wine cellar placed against the wall, should need to install the wall separate screws. As shown, the wall separate screws were installed in the flange on both sides of compressors pallet.
4.1 Control and adjustment
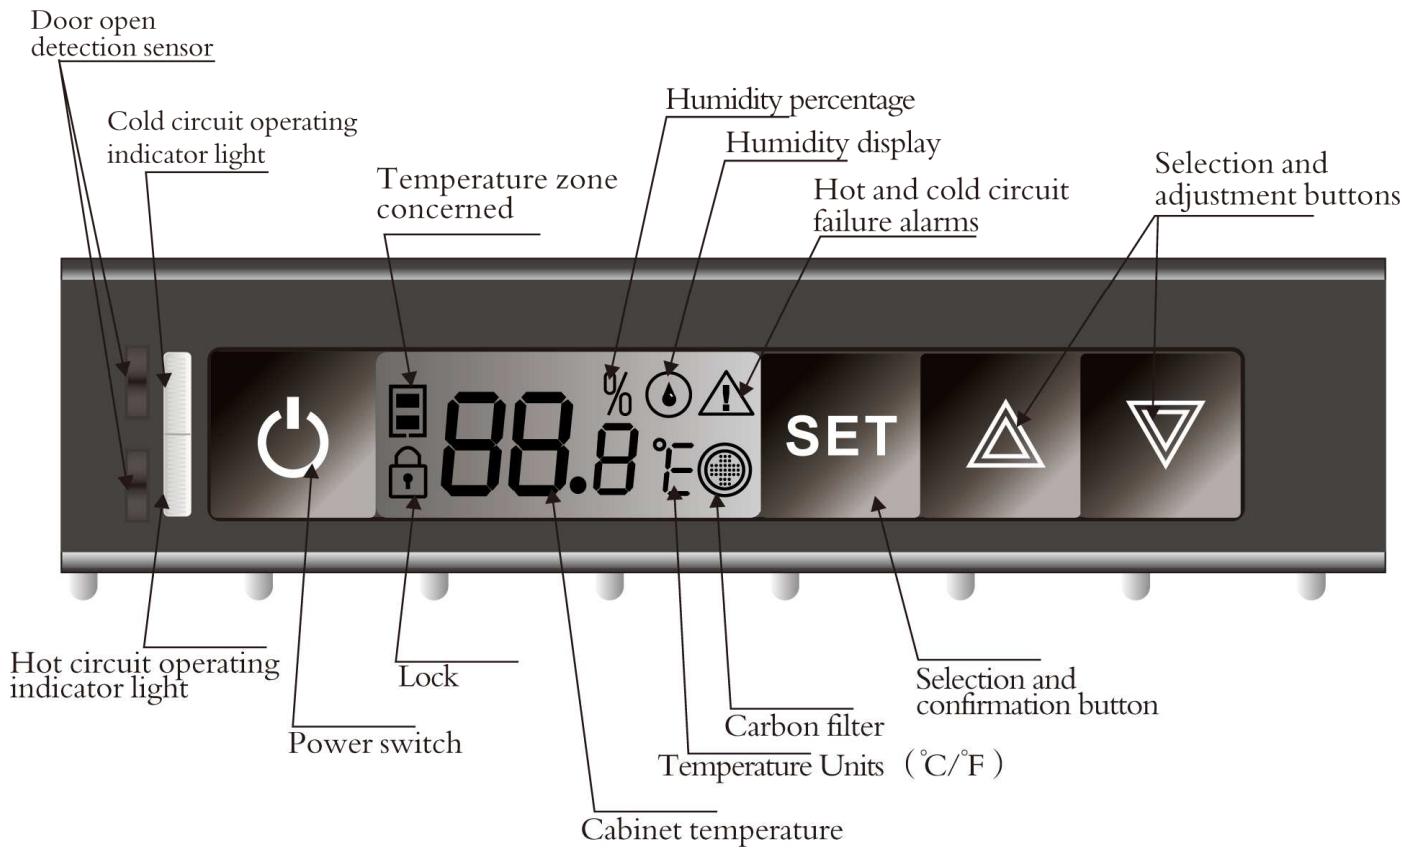
4.1.1 Control panel description
4.1.2 Temperature setting
| No. | Status | Function | Control process | LCD display | Remark |
| 1 | Lock | Unlock | Press “SET” and hold for 3 seconds | Lock symbol “” turns off | When lock symbol is on, “SET” / “△” / “▽” do not respond for pressing |
| 2 | Unlock | Enter temperature setting | Press “SET”, and enter temperature setting | Temperature symbol flashing | |
| 3 | Temperature setting | Press “△” to increase temperature, and press “▽” to decrease temperature | Temperature symbol's digit change | ||
| 4 | Temperature setting | Press “SET” after finished setting | Display current cabinet temperature | Safe temperature setting and exit temperature setting function | |
| 5 | Changing between: “℃” and “℉” | Press and hold “SET” for 5 seconds | Temperature symbol change | ||
| 6 | Carbon filter | Press and hold “△” for 5 seconds to check filter remain life | |||
| Press and hold “△” for 5 seconds, and press “SET” to restart counting for 365 days | |||||
| 7 | Light mode switching | Press and hold “▽” for 5 seconds to enter light switching mode | LO, LI, L2 | LO: light on when door open L1: Light on always L2: light off always | |
| 8 | Humidity display | Press “△” and “▽” at | Temperature display change to | ||
| same time | humidity display | ||||
| 9 | Temperature fine-tuning | Press “SET” enter temperature setting, and press and hold “△” & “▽” at same time for more than 3 seconds, then press “△”for increasing temperature by 0.2°C or press“▽” for decreasing temperature by 0.2°C | |||
| 10 | Stand by mode | Press and hold “◎” for more than 5 seconds | Wine cooler turn off | Display lighting turn off and indicate 5b | |
| 11 | Wake up stand by mode | Press “◎” | |||
| 12 | Factory reset | Press and hold “SET”/“△” /“▽” for more than 5 seconds |
4.1.3 Alarm explanations
"Door open" alarm will flash when the door is opened for 1 minute and 2 minutes, the buzzer will ring five times per 1 minute, the LCD display will flash until the door is closed. When the door is opened for 3 minutes, the buzzer will ring 1 minute, the LCD will flash until the door is closed.
"Invalidation of carbon filter" alarm: When the carbon filter is disabled, "” will flash. Change the carbon filter and press “△” for 5 seconds, the LCD will display 36 s when pressing “SET”, then pressing “SET” again to confirm the setting.
4.1.4 Humidity alarm
When the relative humidity is less than 50% or more than 90% , and last for 24 hours, the display symbol “ ” will flash. The symbol should stop flashing until the humidity recovers to more than 50% or less than 90% .

4.1.5 Heater failure alarm
When the sensor detects that the temperature is deviated 4^ for 24 hours, “ ” will flash and buzzer will ring, pressing “ ” or “ ”, the buzzer stops, but “ ” keeps flashing until deviate less than 4^ .
4.1.6 Abnormal temperature alarm
- When the cabinet temperature is higher than 32^ , LCD display will show “HH”, if the status lasts for 3 hours, LCD and backlight will flash, buzzer will alarm. When pressing “ ” or “ ”, buzzer will not alarm and backlight will not flash. Only LCD flashes and shows “HH”, until temperature is normal.
- When the cabinet temperature is lower than 0^ , LCD display will show “ ”, if the status lasts for 3 hours, LCD and backlight will flash, buzzer will alarm. When pressing “ ” or “ ”, buzzer will not alarm and backlight will not flash. Only LCD flashes and shows “ ”, until temperature is normal.
4.1.7 Fault display
| Fault | LCD display code |
| Temperature sensor open circuit | EO |
| Temperature sensor short circuit | EI |
4.1.8 Winter position: How does it work?
-
When the setting temperature is lower than the internal temperature of the cabinet, the machine will start to work and refrigeration. The cold circuit operating indicator light will be on (green color).
-
When the setting temperature is higher than the internal temperature of the cabinet, the machine will stop working and stop the cooling, heating wire will begin to work to maintain cabinet temperature equilibrium. Machine's work or stop without any environmental temperature. The hot circuit operating
indicator light will be on(red color).
5. Attention
(1) After unpacking your cabinet, take the discarded packaging, the majority of which is recyclable, to a refuse collection point.
(2) Do not wipe the back of wine cabinet with wet cloth.
(3) Do not place electric appliance or food on top of the cabinet.
(4) Not for outdoor use.
(5) Clean the dust on the rear condenser at least twice a year.
(6) The compressor start working 3 minutes after switching on the power. If the compressor does not start immediately, it does not mean faulty.
(7) Switch off the power and take out the power lead before moving the wine cabinet. Take out all bottles before moving.
(8) Do not keep the door open any longer than necessary.
(9) Do not allow children to climb, sit on, stand on or hang from the shelves of the wine cabinet. They could damage the wine cabinet and cause themselves serious injury.
(10) Take care to keep keys out of reach of children in order to avoid them locking themselves in the cabinet.
(11)Do not try to repair any damaged wire or electric components. Contact your distributor or service agent.
(12) This product is for free standing only
6. Simple problem analyses
| Problem | Problem analyses | Resolve method |
| Compressor not working | Power not connected | Check the power |
| Power lead or wire damaged | Contact distributor or service agent | |
| Fuse broken | Change fuse | |
| Internal circuit fault | Contact distributor or service agent | |
| Power supply off | Check if power cut | |
| In heating process | Common phenomena. When the temperature inside cabinet is lower than that you set, the cabinet will be heated automatically | |
| Compressor noisy or frequently on or off | Power supply not stable | Switch off the power, restart 3 minutes later |
| Cabinet not on flat floor | Adjust front feet until perfect level | |
| Not cold enough | Temperature set too high | Check temperature, reset it |
| Door open too long or too often | Only open when necessary | |
| Door seal damaged | Contact your distributor or service agent | |
| LED do not light | Electric circuit problem | Contact your distributor or service agent |
| LED damaged | Contact your distributor or service agent | |
| Can not close door properly | Cabinet not on level | Adjust front feet until perfect level |
| Door installation incorrect after change hanging side | See Alternative hanging of door and install it correctly | |
| Shelf extend out of the case | Put the shelf back to right position |
Setting temperature and measured temperature may be different (2 or 3^ ). This is normal, the reason can be temperature sensor position or external conditions
CE
La Sommelière Int.
- 1.DESCRIPTION DE VOTRE CAVE A VIN
- PLACE YOUR CABINET
- INSTALLING YOUR WINE CABINET
- Summary of parts
- Installing the drip tray
- Installing the carbon filter
- Installing the handle of door
- Installing the shelves
- Installing the shelf bracing
- Installing the wooden shelf
- The installation of the wall separate screws
- Control and adjustment
- Control panel description
- Temperature setting
- Alarm explanations
- Humidity alarm
- Heater failure alarm
- Abnormal temperature alarm
- Fault display
- Winter position: How does it work?
- Attention
- Simple problem analyses
Brand : LA SOMMELIERE
Model : CTPE248
Category : Wine aerator