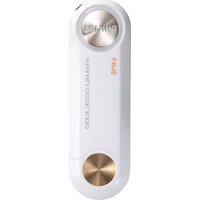
Key 004 - Mp3 player PHILIPS - Free user manual and instructions
Find the device manual for free Key 004 PHILIPS in PDF.


| Product Type | Mp3 Player |
| Brand | Philips |
| Model | Key 004 |
| Dimensions | 90 x 40 x 12 mm |
| Weight | Approx. 50 g |
| Power Source | Built-in rechargeable battery (Li-ion) |
| Charging | Via USB 2.0 port |
| Display | Monochrome LCD screen |
| Storage Capacity | Internal flash memory, expandable via microSD card (not included) |
| Supported Audio Formats | MP3, WMA, WAV |
| Battery Life | Up to 15 hours of playback |
| Interface | Physical buttons |
| Connectivity | USB 2.0 for data transfer and charging |
| Additional Features | FM radio, voice recording, playback control |
| Cleaning | Wipe with a soft, dry cloth; do not use liquids |
| Safety | Keep away from water, heat sources, and magnetic fields |
| Spare Parts & Repairability | Non-user replaceable battery; contact authorized service center for repairs |
Frequently Asked Questions - Key 004 PHILIPS
User questions about Key 004 PHILIPS
0 question about this device. Answer the ones you know or ask your own.
Ask a new question about this device
Download the instructions for your Mp3 player in PDF format for free! Find your manual Key 004 - PHILIPS and take your electronic device back in hand. On this page are published all the documents necessary for the use of your device. Key 004 by PHILIPS.
USER MANUAL Key 004 PHILIPS
Safety & maintenance 4-5
Controls 6-9
About KEY audio 9
Supplied accessories 9
Installation
Minimum computer system requirements 10
Software installation 11-12
Power supply
Charging the built-in battery via USB (connecting the player to your computer) 13
AAA battery back-up 14
General operation
Switching on/ off 15-16
Playback and pause ▶II.... 15
Adjusting volume +, - 15
Selecting a different track ◀◀ , ▶▶ 15
Auto power down 16
Transferring data 17-21
Updating software 21
Upgrading your device 21
Troubleshooting 22-24
Technical data 25
Thank you for buying this Philips wearable digital audio player.To get started, follow the steps as shown.
1 Charge
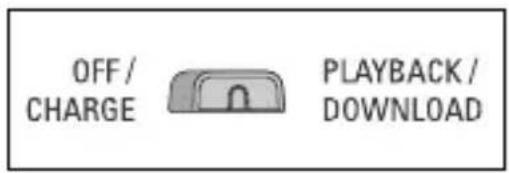
- Charge up your player (5 hours) before using it. Adjust the function switch on the player to OFF/CHARGE. Switch on your computer. Detach the USB cover and connect the player to your computer's USB port. (Windows 98 users, please install required drivers first *) While charging, the indicator on your player lights up green.
OFF / CHARGE
PLAYBACK/ DOWNLOAD
2 Download
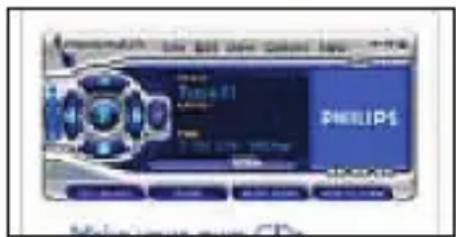
- Adjust the function switch to PLAYBACK/ DOWNLOAD. Connect the player to your computer's USB port. To transfer MP3 or WMA files from your computer to the player simply drag and drop in Windows Explorer. Alterna MUSICMATCH Jukebox to transfer your files. To install this program, insert the by-packed CD-ROM into your computer's CD-ROM drive. The installation menu is automatically launched for first-time application users.
3 Play
- Make sure the function switch is in the PLAYBACK/ DOWNLOAD position. To listen to your music, connect the remote control & headphones to your player and press ▶II

Find more information on the by-packed CD-ROM or visit
www.philips.com/support
*CAUTION! Windows 98 users:
To avoid problems with playback, do not connect the player to the USB port until after you complete step 2: Download.
Safety & satisfaction
- To enjoy your Philips product, please read and operate the set according to the instructions inside our user manual (on the CD-ROM.)
- Child safety: The remote control neckstrap (included with KEY004, KEY006 models only) is not a toy. Special care should be taken if handled by young children. Avoid placing the neckstrap around the neck of a child to prevent strangulation!
Take care when using headphones
- Hearing safety: listen at a moderate volume. Using headphones at high volume can impair your hearing.
- Traffic safety: do not use while driving or cycling as you may cause an accident
CAUTION!
To avoid damage or malfunction:
- Do not twist or bend the remote control neckstrap as this is a precision electronic accessory.
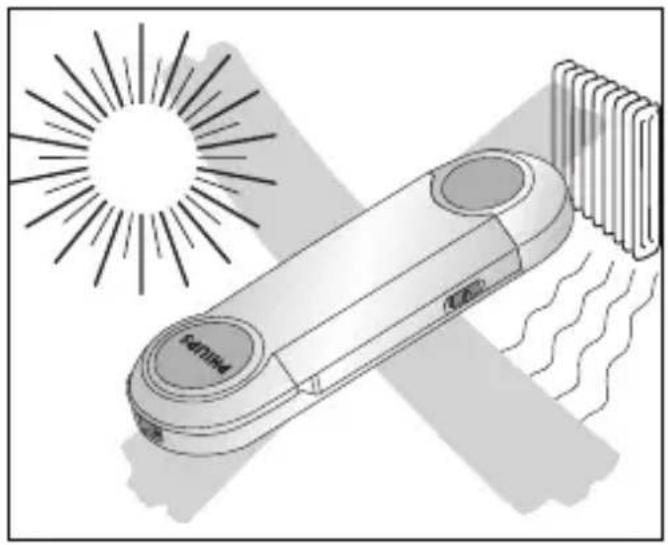
- do not expose to excessive heat caused by heating equipment or direct sunlight.
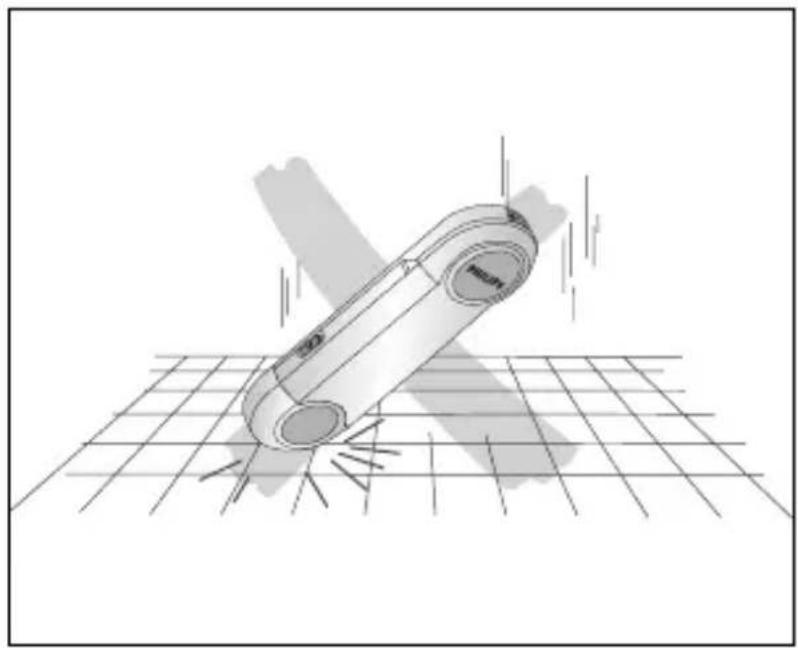
- do not drop your player or allow objects to fall on it. Strong shocks and vibrations may cause malfunction.
- this product is not waterproof: do not allow your player or remote control neck strap to be submersed in water, and avoid exposing the USB socket to water. Water entering the player may cause major damage.
- do not use any cleaning agents containing alcohol, ammonia, benzene, or abrasives as these may harm the player and neck strap. To clean, use a soft damp cloth.
- active mobile phones & strong magnetic fields in the vicinity may cause interference.
- the supplied software CD-ROM is not an audio CD. Playing CD-ROMs on audio equipment may damage your audio equipment!
Safety & maintenance

Environmental information
We have reduced the packaging to its minimum and made it easy to separate into mono materials: PET, paper and aluminum foil.
Your player consists of material which can be recycled if disassembled by a specialized company. Please observe the local regulations to dispose of packaging, and old equipment.
Controls

Safety & satisfaction
To enjoy your Philips product, please read and operate the set according to the instructions inside our user manual.
![graph TD A["Neck strap"] --> B["Remote control neck strap supplied with key004 & key006"] B --> C["Wire remote supplied with key003 & key005"] C --> D["Device with 2.5mm cable"]](/content/2026/07/1494591/images/dea1118c9d0f76f26e0468d5c4443b1f909700b8ec8b0f97f688bf710f01963d.jpg)
Controls
1 metal pin
you can thread and attach a neck or wrist strap (optional) here.
2 remote control jack
Insert your remote control plug here and then connect your headphones to your remote control
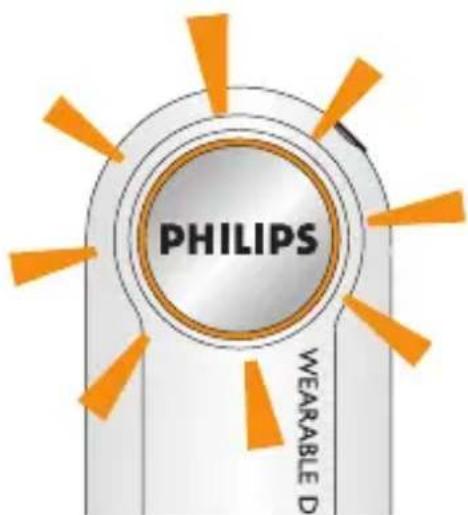
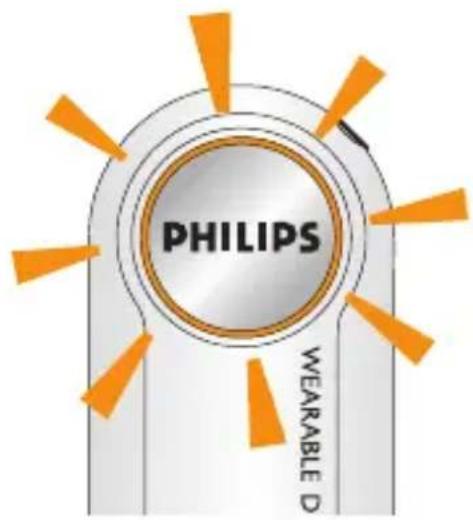
3 indicator
lights up/ blinks according to different functions:
green: during charging the built-in battery
orange: power on/ off and during file transfer.
4 USB port
- Connect the audio player's USB port to your computer's USB port to charge the player or transfer data.
- For back-up power supply, connect the supplied battery box here, loaded with a fresh AAA alkaline battery.
5 USB cover
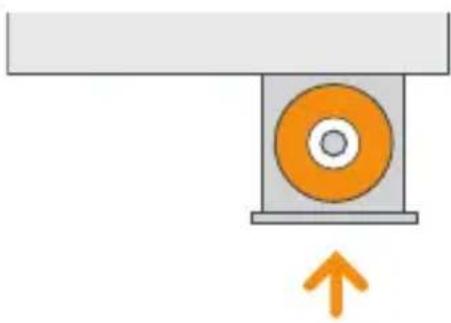
detach the protective USB cover to reveal the player's USB port.
Adjust the switch to select function:
OFF / CHARGE charges the built-in battery when connected to USB port of your computer.
Note: playback is not possible in this position.
PLAYBACK / DOWNLOAD
– ready to download data when connected to USB port of your computer
– ready to start playback of MP3/ WMA files
The model and production numbers can be found next to the USB port (please remove the USB cover to see)
Remote control
▶I starts, pauses playback and to switch off the player
◀◀ , ▶▶iskips to the previous/ next track
-, + decreases/ increases the volume
Supplied accessories
Make sure these items are in the package. If any item is missing, please contact your dealer:
1x CD-ROM (installation software & user manual)
1x Quick start guide
1 x earphone, HE570
1 x AAA battery box AY3381 or AY3382 (AAA battery not included)
1x 5-key wire remote control AY3782 or AY3784 (KEY003 and KEY005 models only)
1x neck strap remote control AY3783 or AY3780 (KEY004 and KEY006 models only)
1 x Safety & Warranty booklet
About KEY audio
KEY003/004/005/006 is a solid state, wearable digital audio player:
- plays MP3, W MA (W indows Media Audio) and future digital audio formats files e.g. digitized and compressed CD tracks, tape tracks, audio books, newspapers, sound effects, etc., that are encoded into format MP3 or W MA.
– downloads MP3 or WMA without DRM(Digital Rights Management).
- software upgradeable
- can transfer files and other data using Windows File Manager or Windows Explorer, when the player is connected via USB to your computer
– directly powered through your computer during file transfer to the player.
Minimum computer system requirements
Windows system requirements
- Pentium® MMX 166MHZ processor or better
- USB port with Windows 98 / Me / 2000 / XP
- 96MB RAM
- 50MB hard disk space
- CD-ROM drive
– video display card
For Win98 users only:
- WHEN CONNECTING THE PLAYER FOR THE VERY FIRST TIME TO DOWNLOAD, MAKE SURE YOU ONLY DO SO AFTER YOU HAVE INSERTED THE SUPPLIED CD-ROM INTO THE CD-ROM DRIVE FOR INSTALLATION OF THE REQUIRED DRIVERS.
CAUTION!
Computers that were upgraded from Windows 95 may not have USB compatibility!
Software installation
1 Insert the supplied CD-ROM into your CD-ROM drive.
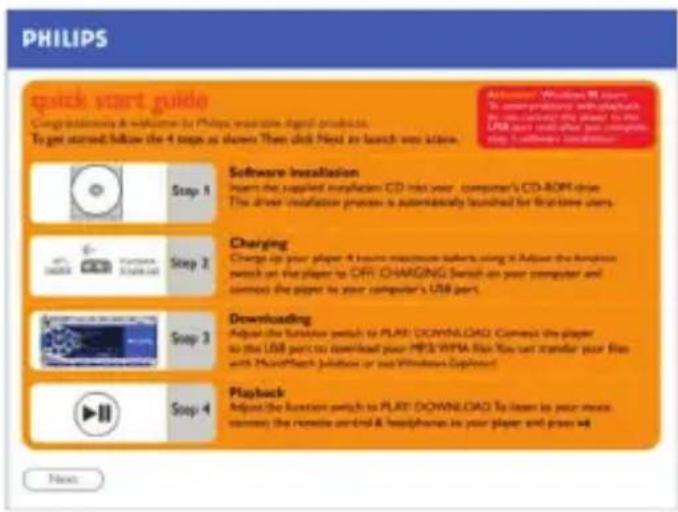
2 The quick start guide screen appears. Follow the screen instructions.
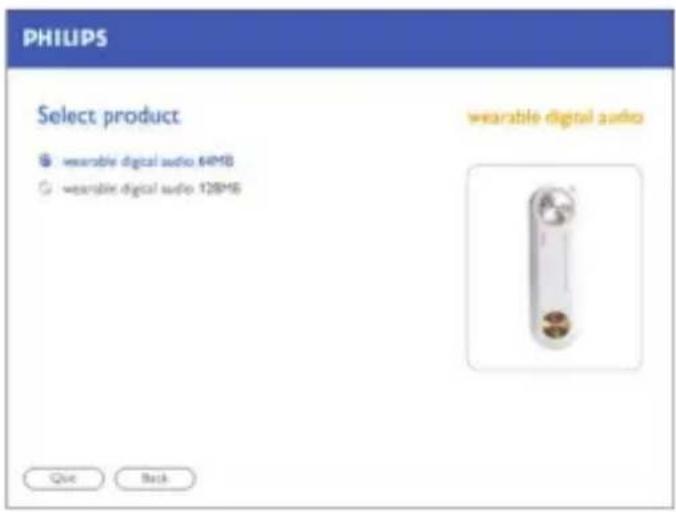
3 Select your product to start installation.

TIP:
- The installation process is automatically launched for first-time application users.
- Please follow all the screen instructions to guide you through and confirm installation. This will install the necessary PC applications, e.g. formatter.
Software installation
4 Select and install the MUSICMATCH Jukebox or plug-in. Follow all the screen instructions to complete installation.
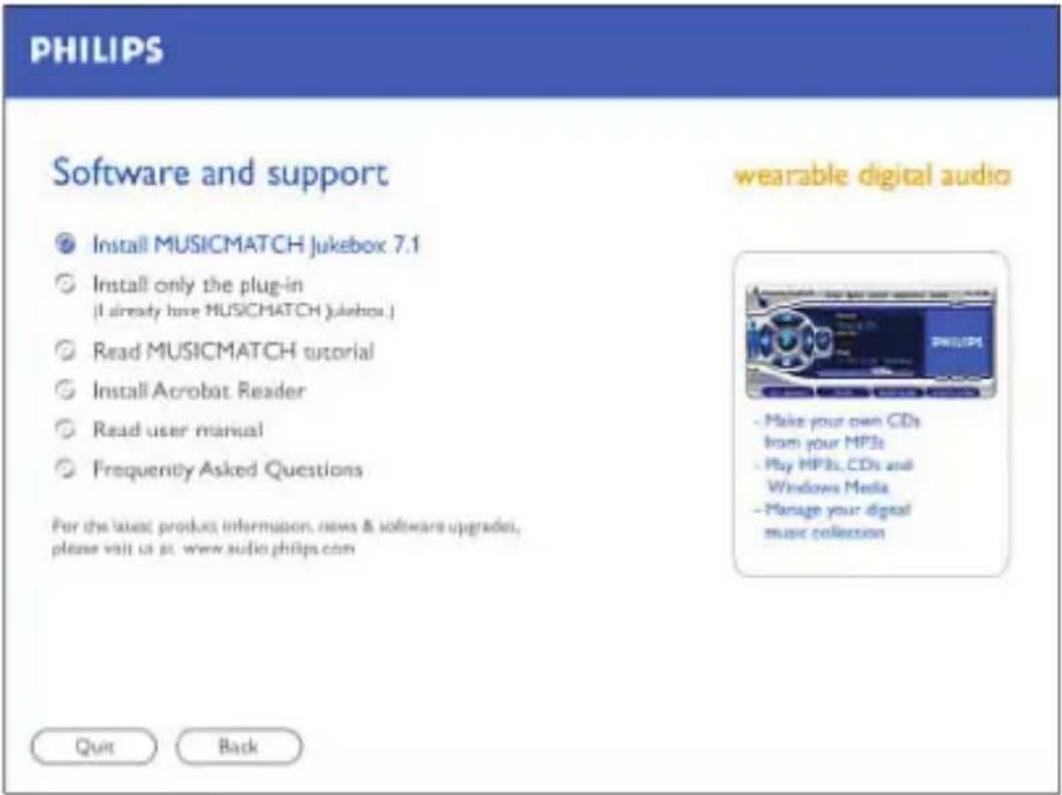
5 For further details and instructions on using MUSICMATCH Jukebox, click Read MUSICMATCH tutorial.
Preparing your KEY player
Your player is powered by a built-in rechargeable battery (NiMH), which you can charge direct from your computer.

TIP:
- When you use the player for the very first time, fully charge up the built-in battery first! (See next chapter)
- For speed and as a convenient power back-up, you can also use the supplied AAA battery box.
Charging the built-in battery via USB
1 Detach the USB cover.
2 Turn on your Computer.
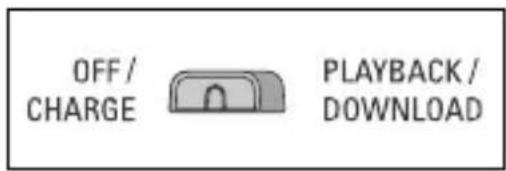
3 Check that you have adjusted the function switch to the OFF/CHARGE position.
4 Connect the player's USB port to the USB port of your computer.
→Charging starts immediately. While charging the indicator lights up green.
→Make sure you leave your PC switched on during charging.
→When the battery is fully charged (approx. 5 hours), the green indicator goes out.
5 Unplug the player and replace the USB cover.


TIP:
- OFF / CHARGE: During battery charging, you cannot playback music on the player. The normal functions on the remote control are also disabled.
- When you detach the USB cover, keep it in a safe place.
• To avoid damaging the USB port, always fit the USB cover back on the player when not connecting to your computer or the battery box.
AAA battery
AAA alkaline battery box
When on the move, the AAA alkaline battery box can help increase playtime. It acts as a back-up to using the built-in rechargeable battery.
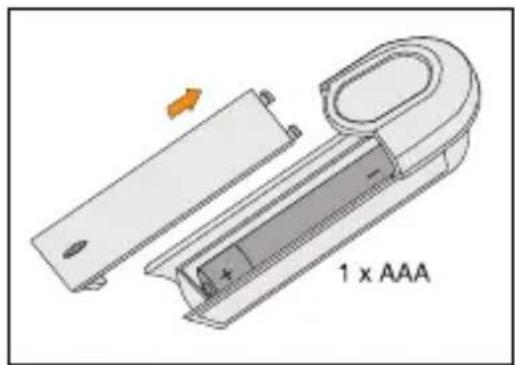
1 Open the battery door. Insert a fresh AAA alkaline battery as shown with the correct polarity.
2 Replace the battery door.
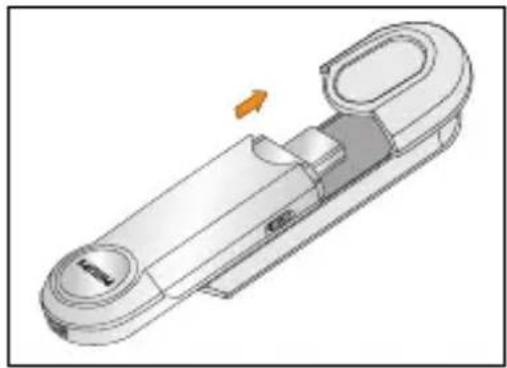
3 Detach the USB cover on the player.
4 Slide the battery box securely to the USB port on the player as shown.
Batteries contain chemical substances, so they should be disposed of properly.

TIP:
- If you already have charged the built-in battery on your player and you attach the AAA battery box, the AAA battery power will be used first.
- When you detach the USB cover, keep it in a safe place.
- To avoid damaging the USB port, always replace the USB cover when not connecting to your computer or the battery box.
- Remove the AAA battery if battery drained or if you don't use the player for more than 2 weeks.
- The battery box is not a charger! Neither the audio player's built-in rechargeable battery nor AAA batteries can be charged by the battery box.
- Do not attempt to connect the battery box to the USB port on your computer as this may damage connections.
Indication of empty battery
When the built-in / AAA battery power level is almost empty, the player beeps at intervals before it automatically switches off.
Switching on, playback ▶IL..
To playback your music files on the player, download the files as .MP3 or .WMA files on the root directory of the player. Your KEY player can only playback files stored in this way. (See page 18-21)
1 Connect the remote control and headphones to the player as shown on page 7.
2 Check that you have adjusted the function switch to the PLAYBACK/ DOWNLOAD position.
3 Press and hold ▶II for more than 2 seconds to turn on the player.
→The indicator lights up orange briefly and playback starts from the last song played when you switched off the player.

TIP:
- If the function switch is in the OFFI CHARGE position, you won't be able to playback music!
- If no MP3/ WMA files are stored in the player, the player beeps and the indicator flashes orange before switching off.
Adjusting the volume
- Press repeatedly or press and hold on:
- to increase volume
- to decrease volume
Pause, ▶II
1 During playback, press ▶II briefly to pause.
2 Press ▶II briefly again to resume playback.
→The indicator flashes orange slowly during pause.
Selecting a different track, ◀◀ , ▶▶
• During playback, press once or more on:
◀◀ to skip to previous track(s)
▶▶ to skip to track(s) forward
Switching off
- During playback, press and hold ▶for more than 2 seconds to turn off.
→The indicator lights up orange briefly before switching off. The Flash memory in the player stores the last song played and the volume setting.

TIP:
Current volume level and track number will not be memorised if:
- you switch off the player by using the function switch to the OFF/CHARGE position.
- you delete the SETTINGS.DAT system file from your Removable Disk folder.
However, you can easily restore the memory. Turn on the player and use the ▶ button to switch off your player.
Auto power down
If you activate pause for longer than 30 seconds, your player automatically powers down to help save energy.
CAUTION! Windows 98 users only
WHEN CONNECTING THE PLAYER FOR THE VERY FIRST TIME TO DOWNLOAD, MAKE SURE YOU ONLY DO SO AFTER YOU HAVE INSERTED THE SUPPLIED CDROM INTO THE CDROM DRIVE FOR INSTALLATION OF THE REQUIRED DRIVERS.
When you connect the player to your computer via the USB port, your computer operating system will recognize the player as a removable USB Mass Storage Device (MSD). The player is detected and automatically located as a folder named Removable Disk/Device (e.g. D drive).
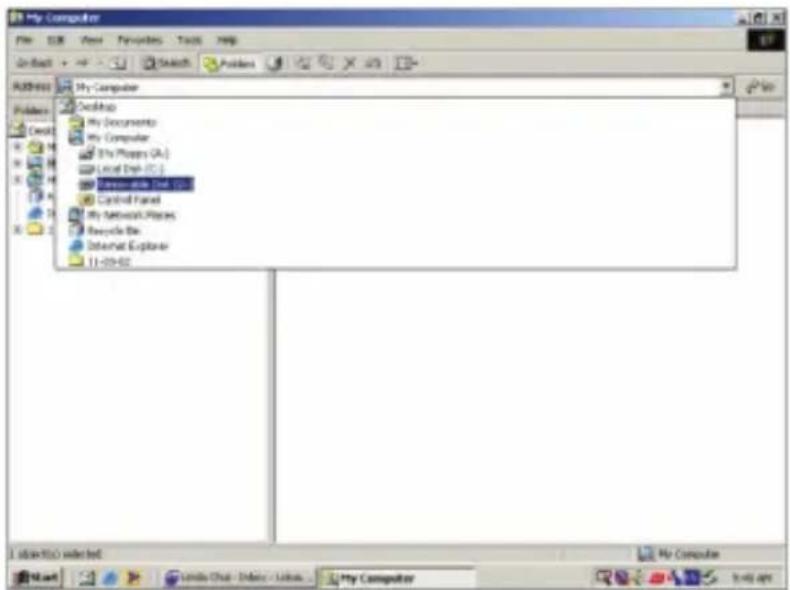
Once you have transferred the files to your computer, you can use normal file operations to e.g. copy, delete, rename your files. This means you can listen to your favorite music on the move and also use the player to conveniently carry your work or data files such as Word documents, Powerpoint presentations, PDFs, etc.
Transferring data
Transferring audio files
To playback your music files on the player, download the files as .MP3 or .W MA files on the root directory of the player. Your KEY player can only playback files stored in this way.
Any music files downloaded as albums or folders to your player are treated as data files and cannot be played.
1 Detach the USB cover.
2 Check that you have adjusted the function switch to the PLAYBACK/ DOWNLOAD position.
3 Connect the player's USB port to the USB port of your computer.
→The indicator lights up orange.
Using MUSICMATCH Jukebox to handle your MP3 files:
If you like, check out the MUSICMATCH Jukebox Tutorial and software on the supplied CD-ROM to create playlists and manage your MP3 files.
Using Windows File Manager or Windows Explorer to handle your MP3 and other files:
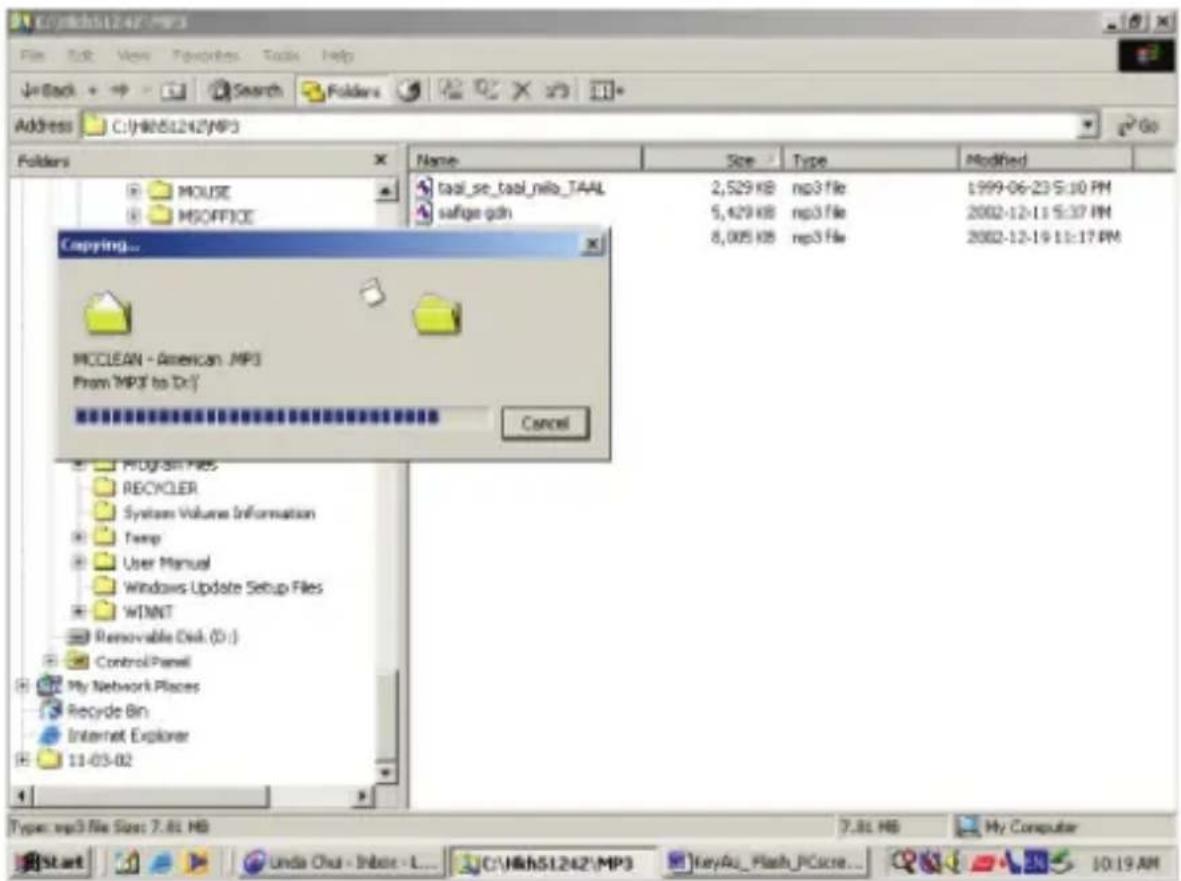
1 Launch W indows File Manager or W indows Explorer to access your MP3/ WMA files etc.
2 Select the files you want to transfer (by copying / drag and drop to or from your Removable Disk folder.)
→During file transfer, the indicator blinks orange.
Transferring data
3 When you have finished transferring your files, check the orange indicator has stopped flashing and remains lit.
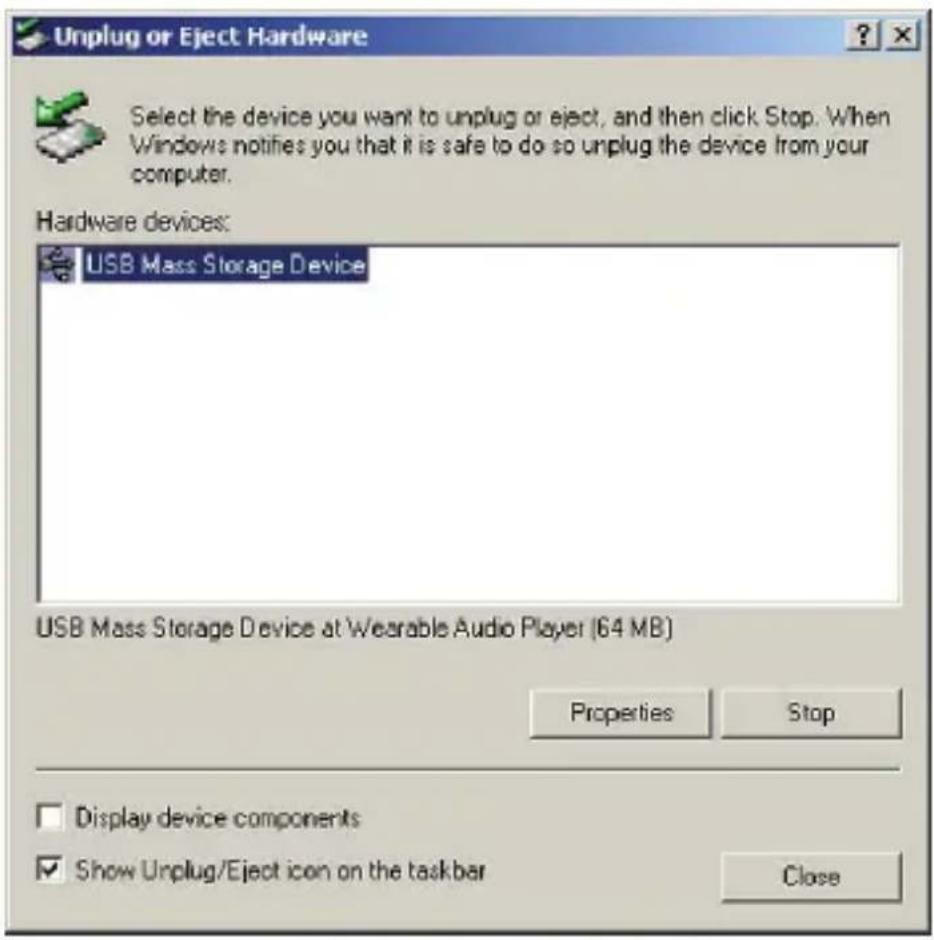
4 Click the 📋 Unplug or Eject Hardware icon at the bottom of the screen.
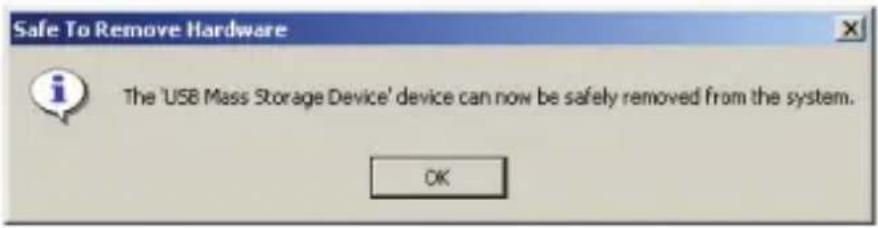
5 When the Safe to Remove Hardware dialogue box appears, click OK.

TIP:
- Playback / downloading is not possible if the function switch is in the OFF/ CHARGE position!
• Always follow the screen instructions for safe and proper removal when you unplug your player after file transfer AND make sure the orange indicator has stopped blinking completely. This helps prevent loss or corruption of data. - To free up memory space on your player for new songs, transfer less recent files from your player to your computer.
Updating software*
You can get the latest available version of MUSICMATCH Jukebox.
1 Click Options → Update Software → Continue.
2 The update will add files to your computer, then automatically restart MUSICMATCH Jukebox for you.
Note
- requires an active Internet connection.
Upgrading your device
For the latest FAQ, product information, news & software upgrades, visit: http://www.philips.com/support http://www.audio.philips.com
WARNING!
Do not dismantle the unit as there is a risk of electric shock! Under no circumstances should you try to repair the set yourself, as this will invalidate the warranty.
If a fault occurs, first check the points listed below before taking the set for repair.
If you are unable to solve a problem by following these hints, consult your dealer or service center.
Sound skips during playback on my KEY player
- Compression level of your WMA or MP3 files may be different from the supported format of your player. Please see page 25 for details.
- Use a lower compression level to record your file into MP3 format.
– Data corrupted during file transfer.
- Repeat file transfer and follow all screen instructions properly. Make sure you only unplug the player when the orange indicator stops blinking!
USB does not seem to work
- Connections loose/ incorrect.
- Check player is securely connected and connections to your computer are correct.
- Wrong Windows version.
- Your computer must be equipped with Windows 98 or better (see page 10).
- USB driver not installed.
- For Windows 98 users only, check you have installed the USB driver provided from the installation CD-ROM (See page 10-11).
– Electrostatic discharge.
- Adjust the function switch to OFF/CHARGE position, and then adjust to the PLAYBACK/DOWNLOAD position to reset the player.
There are no files stored in my player. How come the memory is less than 64MB or 128MB?
- The player uses some of the memory in the device for the software and settings.
Malfunction. No sound, power or reaction to controls. What's wrong?
- Battery power weak/ AAA battery incorrectly inserted.
- Charge the player via the USB or if you want to use the AAA battery box, correctly insert a fresh battery (see page 13-14).
- Headphones not properly connected.
- Check both the headphone and remote control are correctly and securely connected to the player. (see page 7)
- Adjust the volume.
– Electrostatic discharge.
- Adjust the function switch to OFF/ CHARGE position, and then back to the PLAYBACK/ DOWNLOAD position to reset the player.
- Corrupted file/ track.
- Clear all tracks from the device memory. Click from your PC task bar: Start → Programs → Philips Key Ring Wearable Audio player (xxxMB) → Format. In the Key Ring Format dialogue box, uncheck the Quick Format option and then click Start to start the format application.
- If there is still no response from the above tips, the Flash memory may have been corrupted.
- Please check out the following steps to recover your player.
To recover the device, try the following:
1 Check that you have adjusted the function switch to the OFF/CHARGE position and the remote control is connected.
2 Detach the USB cover and connect the player's USB port to the USB port of your computer.
Troubleshooting
→The indicator lights up green.
3 On the remote, press and hold ▶ Continue holding. At the same time, adjust the function switch to PLAYBACK/ DOWNLOAD.
→The green light goes out.
4 Hold ▶for another 5 seconds.
On your PC:
5 Click on the START icon to select the following: Programs → Philips Key Ring Wearable Audio player (xxxMB) → Recovery. This takes you to the Key Ring Recovery dialogue window.
6 Uncheck Quick download (from the Download options box).
7 Click the START command in Quick download to start the recovery application.
8 Once the recovery process is complete, click on the Unplug or Eject Hardware icon on the information bar at the bottom of the screen.
9 Follow the screen instructions until you reach the safety message, Safe to Remove Hardware.
10 Click OK, then unplug the player from the USB port.

TIP:
• In Win98, there is no Unplug or Eject Hardware icon.
- To avoid loss of data, make sure you only unplug the player when the orange indicator stops blinking!
For the latest FAQ, product information, news & software upgrades, visit: http://www.philips.com/support http://www.audio.philips.com
LED indicator orange, green
Built-in battery rechargeable NiMH (via USB)
PC interface USB 1.1
Internal memory capacity
for KEY003, KEY004 models 64MB
for KEY005, KEY006 models 128MB
* full memory capacity may not be available as some memory will be reserved for the device.
Supported format
MP3 8Kbps-320Kbps
WMA 5Kbps-160Kbps
Case material magnesium player body,
plastic USB cover
Dimensions 86 mm × 27mm × 14.5mm
Weight 35.5g
Battery playtime
6.5 hours using built-in rechargeable battery
(fully charged)
10 hours
using 1 x AAA alkaline battery
PHILIPS reserves the right to make design and specification changes for product improvement without prior notice.
Meet Philips at the Internet http://www.philips.com http://www.audio.philips.com

KEY003
KEY004
KEY005
KEY006

- INSTALLATION
- POWER SUPPLY
- GENERAL OPERATION
- 1 CHARGE
- 2 DOWNLOAD
- 3 PLAY
- WWW.PHILIPS.COM/SUPPORT
- SAFETY & SATISFACTION
- TAKE CARE WHEN USING HEADPHONES
- CAUTION
- TO AVOID DAMAGE OR MALFUNCTION
- SAFETY & MAINTENANCE
- ENVIRONMENTAL INFORMATION
- CONTROLS
- 1 METAL PIN
- 2 REMOTE CONTROL JACK
- 3 INDICATOR
- 4 USB PORT
- 5 USB COVER
- PLAYBACK / DOWNLOAD
- REMOTE CONTROL
- SUPPLIED ACCESSORIES
- ABOUT KEY AUDIO
- MINIMUM COMPUTER SYSTEM REQUIREMENTS
- WINDOWS SYSTEM REQUIREMENTS
- FOR WIN98 USERS ONLY
- SOFTWARE INSTALLATION
- TIP
- PREPARING YOUR KEY PLAYER
- CHARGING THE BUILT-IN BATTERY VIA USB
- AAA BATTERY
- AAA ALKALINE BATTERY BOX
- INDICATION OF EMPTY BATTERY
- SWITCHING ON, PLAYBACK ▶IL
- ADJUSTING THE VOLUME
- PAUSE, ▶II
- SELECTING A DIFFERENT TRACK, ◀◀
- SWITCHING OFF
- AUTO POWER DOWN
- CAUTION! WINDOWS 98 USERS ONLY
- TRANSFERRING DATA
- TRANSFERRING AUDIO FILES
- USING MUSICMATCH JUKEBOX TO HANDLE YOUR MP3 FILES
- USING WINDOWS FILE MANAGER OR WINDOWS EXPLORER TO HANDLE YOUR MP3 AND OTHER FILES
- UPDATING SOFTWARE
- UPGRADING YOUR DEVICE
- WARNING
- SOUND SKIPS DURING PLAYBACK ON MY KEY PLAYER
- USB DOES NOT SEEM TO WORK
- THERE ARE NO FILES STORED IN MY PLAYER. HOW COME THE MEMORY IS LESS THAN 64MB OR 128MB
- MALFUNCTION. NO SOUND, POWER OR REACTION TO CONTROLS. WHAT'S WRONG
- TO RECOVER THE DEVICE, TRY THE FOLLOWING
- TROUBLESHOOTING
- ON YOUR PC
- INTERNAL MEMORY CAPACITY
- SUPPORTED FORMAT
- BATTERY PLAYTIME
- MEET PHILIPS AT THE INTERNET HTTP://WWW.PHILIPS.COM HTTP://WWW.AUDIO.PHILIPS.COM
Brand : PHILIPS
Model : Key 004
Category : Mp3 player