
NLJ100 - Musical night light LEXIBOOK - Free user manual and instructions
Find the device manual for free NLJ100 LEXIBOOK in PDF.
| Product Type | Interactive musical nightlight |
| Brand | LEXIBOOK |
| Model | NLJ100 |
| Power supply | 4 alkaline C/LR-14 1.5V batteries (not included) |
| Main functions | Lullaby (classical and ethnic), light projector, secret light mirror, magic button |
| Lullaby timer | 5, 10 or 15 minutes |
| Projector | With or without timer, permanent or timed mode |
| Volume control | Knob on top |
| Magic button | Activates light mirror and fun sound |
| Included accessories | 2 fixing straps, instructions |
| Maintenance | Slightly damp cloth, avoid detergents, moisture, heat, sun |
| Safety | Remove straps if not fixed, respect battery polarity, do not mix batteries, remove if prolonged unused |
| Warranty | 2 years |
| Customer service | 0892 23 27 26 (€0.34 incl. VAT/min) |
| Manufacturing | Designed in Europe, made in China |
Frequently Asked Questions - NLJ100 LEXIBOOK
User questions about NLJ100 LEXIBOOK
0 question about this device. Answer the ones you know or ask your own.
Ask a new question about this device
Download the instructions for your Musical night light in PDF format for free! Find your manual NLJ100 - LEXIBOOK and take your electronic device back in hand. On this page are published all the documents necessary for the use of your device. NLJ100 by LEXIBOOK.
USER MANUAL NLJ100 LEXIBOOK
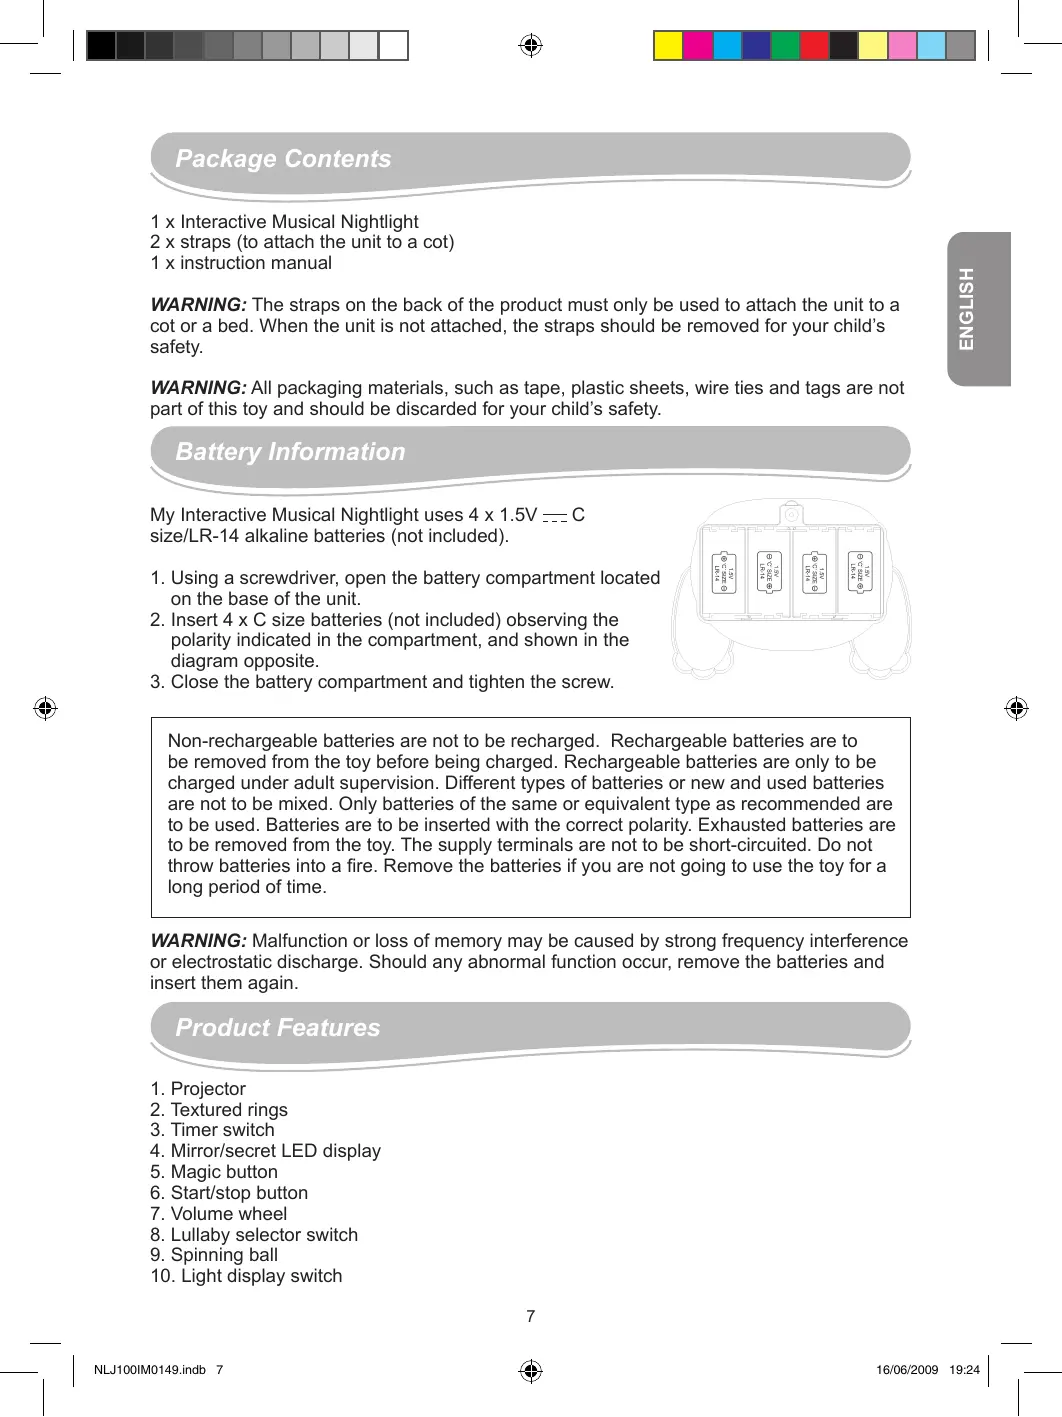
1 x Interactive Musical Nightlight
2 x straps (to attach the unit to a cot)
1 x instruction manual
WARNING: The straps on the back of the product must only be used to attach the unit to a cot or a bed. When the unit is not attached, the straps should be removed for your child's safety.
WARNING: All packaging materials, such as tape, plastic sheets, wire ties and tags are not part of this toy and should be discarded for your child's safety.
Battery Information
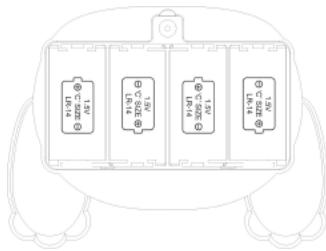
My Interactive Musical Nightlight uses 4 × 1.5V = -C size/LR-14 alkaline batteries (not included).
- Using a screwdriver, open the battery compartment located on the base of the unit.
- Insert 4 × C size batteries (not included) observing the polarity indicated in the compartment, and shown in the diagram opposite.
- Close the battery compartment and tighten the screw.
Non-rechargeable batteries are not to be recharged. Rechargeable batteries are to be removed from the toy before being charged. Rechargeable batteries are only to be charged under adult supervision. Different types of batteries or new and used batteries are not to be mixed. Only batteries of the same or equivalent type as recommended are to be used. Batteries are to be inserted with the correct polarity. Exhausted batteries are to be removed from the toy. The supply terminals are not to be short-circuited. Do not throw batteries into a fire. Remove the batteries if you are not going to use the toy for a long period of time.
WARNING: Malfunction or loss of memory may be caused by strong frequency interference or electrostatic discharge. Should any abnormal function occur, remove the batteries and insert them again.
Product Features
- Projector
- Textured rings
- Timer switch
- Mirror/secret LED display
- Magic button
- Start/stop button
- Volume wheel
- Lullaby selector switch
- Spinning ball
- Light display switch
Lullaby Mode

located on top of the unit to select:
- Use the lullaby switch located on top of the unit to select:
: "Lullaby mode OFF".
1J: "Ethnic" lullaby.
: "Classical" lullaby.

on the left-hand side of the unit to determine how long the lullaby plays:
2. Use the timer switch on the left-hand side of the unit to determine how long the lullaby plays: 5, 10 or 15 minutes.
3. Press the start/stop button to start playing the lullaby. Press the button once again to stop the music.
4. Use the volume wheel on top of the unit to adjust the volume of the music.
NOTE: During playback, you can switch between "classical" and "ethnic" lullabies without resetting the timer.
Projector Mode
- Use the light display switch on the right-hand side of the unit to choose from three settings:
: "Projector OFF". - : "Projector with timer".
-
“Projector permanently ON”
-
When the light display switch is on the "Projector with timer" position, use the timer switch on the left-hand side of the unit to set a timed playback. Then press the start/stop button once to light up the projector. Press the same button again to switch it off.
- To use the projector without the music, turn the lullaby switch on top of the unit to "OFF" position
Using Lullaby and Projector together
To use the lullaby and projector together:
- Set the timer switch to the desired timed playback.
- Turn the lullaby switch to 1 or 2.
- Set the lighting display switch to the "Projector with timer" position to play the selected lullaby and light projector for the selected time period.
- Or set the lighting display switch to the "Projector permanently ON" position to play the selected lullaby for the selected time period and keep the light projector switched on permanently.
- When you have finished your setting, press the start/stop butto to start the music and the light show.
Magic button
Press the Magic button

at any time to light up the mirror and play a funny sound.
Maintenance and Warranty
Use only a soft, slightly damp cloth to clean the unit. Do not use detergent. Do not expose the unit to direct sunlight or any other heat source. Do not immerse the unit in water. Do not dismantle or drop the unit. Do not try to twist or bend the unit.
NOTE: Please keep this instruction manual, it contains important information.
This product is covered by our two-year warranty.
For any claim under the warranty or after-sale service, please contact your distributor and present a valid proof of purchase. Our warranty covers any manufacturing material and workmanship defect, with the exception of any deterioration arising from the non-observance of the instruction manual or from any careless action implemented on this item (such as dismantling, exposition to heat and humidity, etc.). It is recommended to keep the packaging for any further reference.
In a bid to keep improving our services, we could implement modification on the colours and the details of the product shown on the packaging.
Reference: NLJ100
Designed and developed in Europe – Made in China
©2009 LEXIBOOK®
Lexibook UK Ltd.
Unit 10 Petersfield Industrial Estate,
Bedford Road, Petersfield,
Hampshire, GU32 3QA,
United Kingdom.
Helpline: 0808 1003015.
www.lexibook.com