
TAB 10 3G Q - Tablet Trevi - Free user manual and instructions
Find the device manual for free TAB 10 3G Q Trevi in PDF.


| Product type | Touchscreen tablet |
| Brand | Trevi |
| Model | TAB 10 3G Q |
| Screen size | 10.1 inches (25.7 cm) |
| Screen resolution | 1024 x 600 pixels |
| Operating system | Android 10 |
| Processor | Quad-core 1.3 GHz |
| RAM memory | 1 GB |
| Internal storage | 16 GB |
| Expandable storage | Yes, via microSD card up to 32 GB |
| Mobile connectivity | 3G (SIM card) |
| Wireless connectivity | Wi-Fi 802.11 b/g/n, Bluetooth 4.0 |
| Front camera | 0.3 megapixels (VGA) |
| Rear camera | 2 megapixels |
| Battery | Lithium-ion 4000 mAh |
| Estimated battery life | 4 to 6 hours |
| Power supply | AC adapter 5V/2A |
| Dimensions | 240 x 150 x 10 mm (approx.) |
| Weight | 600 g (approx.) |
| Care and cleaning | Soft dry cloth, avoid abrasive products |
| Security | Lock by PIN code, pattern or password |
| Spare parts and repairability | Parts not specified by the manufacturer |
| Main functions | Web browsing, multimedia playback, applications, 3G phone calls |
Frequently Asked Questions - TAB 10 3G Q Trevi
User questions about TAB 10 3G Q Trevi
0 question about this device. Answer the ones you know or ask your own.
Ask a new question about this device
Download the instructions for your Tablet in PDF format for free! Find your manual TAB 10 3G Q - Trevi and take your electronic device back in hand. On this page are published all the documents necessary for the use of your device. TAB 10 3G Q by Trevi.
USER MANUAL TAB 10 3G Q Trevi
natural_image
Abstract digital illustration with globe, network lines, and binary code (no readable text or symbols)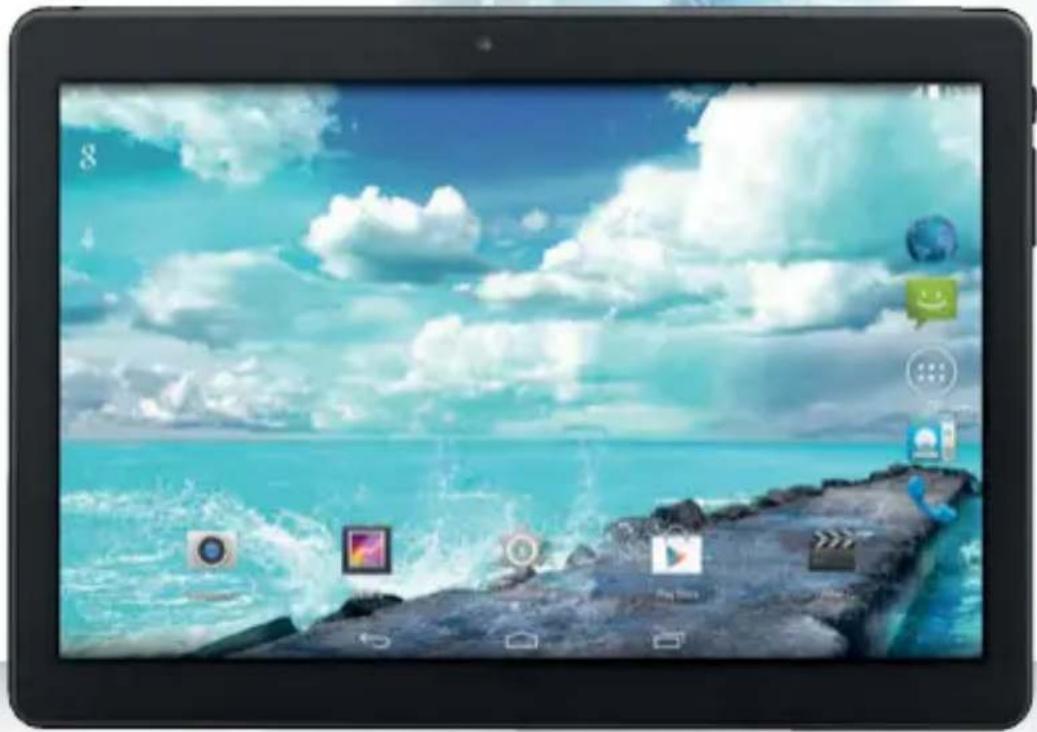
natural_image
Tablet displaying a digital scene with ocean waves, floating icons, and UI elements (no readable text or symbols)Tab10 ^3G Q
TO SET YOUR LANGUAGE DEVICE
- Swicth on the appliance
- Go to the page with all applications
- Select the "IMPOSTAZIONI" icon
- Scroll through the list and select the icon A - LINGUA
- Select "LINGUA" and find their own language from those available.
* For information and updates of this product: www.trevi.it
POUR CONFIGURER LANGUE DE VOTRE APPAREIL:


natural_image
Simple line drawing of a finger pointing at a horizontal bar (no text or symbols)natural_image
Clear blue lake with distant hills and small boats on calm water under a clear sky (no text or symbols visible)

natural_image
Scenic view of a calm lake with distant hills under a clear blue sky (no text or symbols visible)natural_image
Four-panel collage showing coastal landscapes with green vegetation, water, and natural terrain (no visible text or symbols)natural_image
Grid of 16 colorful and nature-themed images including peacock, apple, dog, and rainbow (no text or symbols)Wi-Fi
Thank you for purchasing this tablet. It brings you much convenience for your business (supports Word, Excel, send & receive e-mails...) and entertainment (supports game, chatting, movie playback, eBooks...). Running on Android 5.1, with a 1.3GHz processor and highly responsive capacitive touch screen, it brings you wonderful user experience. Before beginning, please refer to this user manual carefully.
IMPORTANT NOTICES
1) Keep this device away from strong magnetic field to avoid any damages
(2) Do not rub this device with any hard objects and never clean this device with any chemicals or detergents or acids or it could cause damages on surfaces.
3) Humidity or liquid may enter this device and causes permanent damages to the hardware inside. Do not place this device in any humid environment or under the rain.
4) It is recommended that volume level of the earphones should be adjusted to an appropriate level to avoid damages to your hearings due to high volume.
5) Do not cut off the power abruptly during software update, software download, or during this device is under any kind of operation or it may cause data lost and system error.
6) Over-voltage, power cable strain, bending or squeezing by heavy objects must be avoided to prevent this device from overheating or fire disaster.
7) To eliminate the risk of electric shock, do not connect the power plug with wet hands.
8) Some movies, music and pictures are under protections of copyrights, any unauthorized usages are deemed as infringements to the laws of copyrights.
9) The performance of the WIFI reception of this device could be influenced by the wireless equipments and networks in the surrounding areas.
10) Any wireless equipment will influence the flight of an airplane, please consult the airline company if you want to use this device on the airplane.
11) Do not use this device anywhere near any blasting operations.
12) Only qualified maintenance personnel is allowed to dismantle this device.
13) Please comply with any related restrictions and rules when using this device.
14) Only use this device with its original accessories and battery.
15) Do not use any incompatible accessories on this device.
16) This device is not waterproof, please keep it dry all the time.
17) For the sake of data safety, please back up the important data anytime on a timely basis.
18) When connecting this device with other equipments, please follow instructions on this user's manual.
19) Please consult the after-sales service in your area for any technical problems.
GETTING READY TO USE THE DEVICE
What's inside box
In the package are
- Tablet PC
- USB Power charger
- USB cable
- User manual
PRODUCT APPEARANCE

- Frontal Camera.
- 3.5mm headphone jack.
- On/Off key and lock/unlock Display: To turn On turn Off the unit and lock /unlock the display.
- Adjustment buttons Volume +/- .
- Reset.
-
Micro USB: to connect your device to PC. DC Socket: connect the adapter 5V.
-
Slot SIM1.
- Slot SIM2.
- TF Card slot.
- Rear Camera.
- Speakers.
- Microphone.
QUICK GUIDE
Power on / Power off
Long press button (3) for 4 seconds to power on the device.
It will take about a few minutes to boot the system. Unlock the screen by sliding up.

To power off the device:
Long press button (3) for 2 seconds, the screen will show the power off options: "Power off" or "Reboot". Tap "Power off" to turn off the unit or tap the display to exit to previous operation.

Note
When the device is low battery, it will alert continuously and will shut down automatically when battery has completely run out. The device cannot be powered on if the battery is empty, please recharge the battery at least one minute before restart the device.
Standby and Lock screen
Press button (3) shortly to turn the device to standby mode. Under standby mode, the screen is blackout and volume is muted. Press button (3) shortly again to reactivate the device. The device will then turn to Lock screen while the primary operation of the device will continue.
Unlock the screen by sliding 🔒 to the right to resume to status before power saving.
Note
The primary operation of the device under standby mode will pause operation of the device under Lock screen mode will continue, only the screen is locked.
The desktop status bar and shortcut menu and the definition of the icons

| Icon Function | |
| Back – Tap it to go to the previous screen | |
| Home page - Tap it to return to the desktop | |
| Tap it to check the latest files that you browsed | |
| The USB icon appears only when the device is connected to a USB device successfully. | |
| The micro SD card icon appears only when a micro SD is inserted into the device. | |
| 5:11 | The current system time |
| The WIFI signal indicator appears only when the device is connected to a WIFI network. | |
| The 3G signal indicator appears only when the device is connected to 3G signal. | |
| The battery icon shows the remaining battery level or to indicate battery recharging status. | |
| Applications – Tap it go to Application menu |
Orientation Sensor Setting
The device contains a sensor that will automatically change the orientation of screen by 90 degree as you rotate the tablet. The sensor works the best when the tablet is rotated perpendicular to the ground.
The Orientation sensor can be activated or deactivated in the Setting menu: Accessibility - Auto-rotate screen. Moves the switch if you want to activate or deactivate this function.
Battery management and recharging
a. Recharge the battery about 6 hours to make sure the battery is fully charged at the - first time.
b. Plug in the power charger provided in the accessory pack to the DC-5V (Micro USB) located on the up side of the device and connect the power charger to a proper power socket. Once the power is connected, the battery recharging icon will appear on the status bar which indicating that the device is under recharging. When the power recharging icon will turn to blue entirely when the battery is fully recharged and you can disconnect the power charger from the device.
Note
In order to keep the battery in the best condition, please pay attention to the below:
- Don't recharge the device under high temperature.
- Don't release the power of the battery, you can charge the battery when there is still power in the battery. It is not necessary to wait the battery to completely run out before recharging.
- To maintain the battery with a long life span, keep recharging the battery once every two weeks in the case if you don't use the device for a long time.
To install an Application from Play Store:
- Select the "SETTINGS" and then the command "ACCESSIBILITY."
- Locate the command "GOOGLE APPLICATION" and activate its switch on the right (from gray to green).
- In the application's page, you will see the "PLAY STORE" icon.
- Select the Play Store icon and search the application desired after you create an account on Google's GMAIL.
WI-FI network settings
From desktop, Tap to enter setting menu and slide WI-FI function to ON and tap the desired WI-FI network and enter the wireless network setting page.

Enter the password and tap "Connect" or tap "Cancel" to exit to previous screen.
Bluetooth setting
From desktop, Tap 📋 to enter setting menu and slide Bluetooth function to ON. It will be search the available Bluetooth device automatically, then choose and touch available Bluetooth device to pair, after pair successfully, it will appear:

It will be appear below after tap you can select and setting it as below:

Phone
From desktop, tap , it will be appear below, dial phone number then tap to make a call.


After tap , it will be appear the contact list as below:
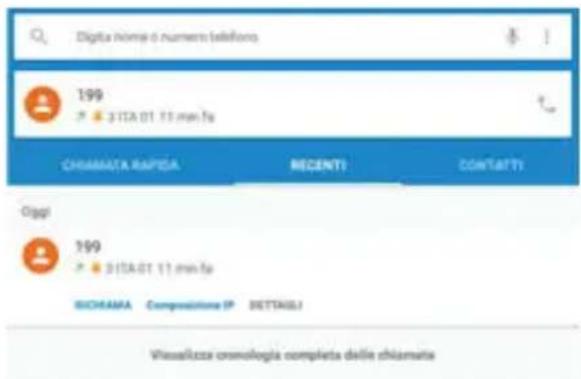
Tap to search contacts, Tap to add contacts
Note
- Please power off the device first before insert the SIM card, then power on the device it again.
From desktop, tap ☐, to edit new message as below:
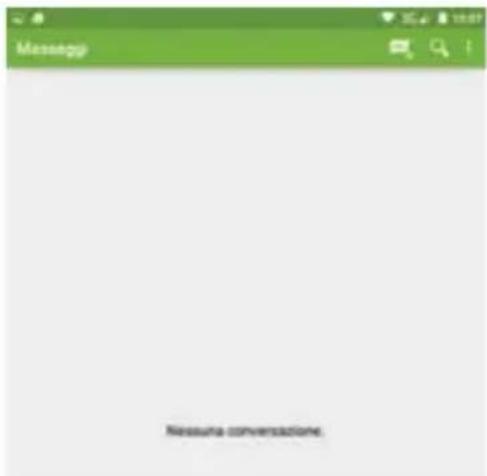
To install an APK file
This device supports third part Application Program .APK files.
From desktop, Tap 📋 to enter application menu and tap “File manager” to enter a list of file and tap on the desire APK file to install the APK directly.
To uninstall an APK file
From desktop, Tap to enter setting menu and tap "Apps" to enter a list of installed application. Tap the desired APK file and tap "Uninstall" to confirm.

FM Radio
From desktop, tap it will be appear below, tap or to select desired channel.

- To return to the previous station.
- To manually back.
-
Store the station as a favorite.
-
To manually move forward.
- To go to the next radio station.
-
To turn off the radio.
-
List stored radio channels.
-
Select Headphones / speaker.
-
Start recording / Recordings saved.
Note
You need to insert earphone as antenna when using FM Radio.
Camera
This device has a built-in 0.3 MPISEL front camera and a built-in 2.0 MPISEL rear camera for photo and video.
—From desktop, Tap to enter application menu and tap to enter camera mode.


- Speed Dial to the "Capture Mode".
- To change the general settings, camera settings and those of thecamera.
- Command to the camera function.
- Shutter button, camera function.
- To switch to the front camera and from Rear to front.
- Preview Video/Image taken.
Use the device a multi media player
Audio playback:
From desktop, tap 📄 to enter Application menu. Tap 📄 to enter audio playback mode. Only music files stored in the device will be shown in the file list. You can classify the music file list by: ARTISTS, ALBUMS, SONGS, PLAYLISTS and NOW PLAYING by selecting the appropriate option.
Tap a song to start playback. On playback interface, you can tap on the function bar to adjust the playback time, backward/previous, forward/next, play, pause, shuffle, repeat setting, etc.

From desktop, tap 📋 to enter Application menu. Tap 📋 to enter video/pictures mode. Only videos files, photo files stored in the device and videos/photos taken from the built-in camera will be shown in the file list.

natural_image
Four-panel collage showing coastal landscapes, a military scene with soldiers, and a river valley with green vegetation (no visible text or symbols)Tap on “MOVIES” to enter a list of preview videos. Tap any video file to enter the playback screen and tap on the play icon to start playback.
You can adjust the playback time by sliding the time bar, or adjust the volume by tapping or . Tap for previous, play, next.
Tap → to go to the previous screen. Tap → to enter the sub-menu for subtitles, audio and screen ratio settings for the videos or movies.
Photo browsing:
From desktop, tap 📷 to enter Application menu. Tap 📷 to enter video/ photo mode. Only videos files, photo files stored in the device and videos/photos taken from the built-in camera will be shown in the file list.
Tap on "GALLERY" to enter a thumbnail of photos.

natural_image
Grid of 20 colorful and nature-themed images including peacock, ladybug, apple, cherries, dog, kiwi, candy, and flowers (no text or symbols)- Press on the thumbnail of a photo to access a full-sized version.
- Get a closer look at a photo by double tapping the screen. Two taps will magnify the image. Another two taps will return to the original view.
- A tap on the screen, a thumbnail of photos will appear and you can tap on any photo to move from one photo to another.
- Enlarge an image by touching the image with two fingers and spreading them toward the edges of the screen. Pinch the image back to original size by bringing your index finger and thumb together.
- See an image in widescreen perspective by turning the device on its side. The device automatically rotates a photo as you move the device and spreads the edges to comply with the view screen's orientation (this function is only valid after Auto-rotate screen is activated from Setting - Display - Auto-rotate screen).
Set OSD Language
You can set the display language of the device from the list of available language provided in the device.
Go to desktop - Setting - Language & Input
Tap on “Language” to enter a list of OSD language options and tap on the desired language and it will be set instantly.
Set Keyboard
You can select a keyboard input method from Setting.
Go to desktop - Setting - Language & Input
Select from the list of Keyboard & Input methods.
Any keyboard input method APKS installed in the device can be also find from this list of Keyboard & Input methods.
Set Date and Time
You can set system date and time from Setting.
Go to desktop - Setting - Date & time
You can setup Automatic date & time, Automatic time zone, Set date, Set time, Select time zone, Use 24-hour format, and Select date format.
About the Device
You can get a quick view on the device status such as firmware version, model no., Android OS version, Software updates, etc from:
Setting - About tablet
Troubleshooting
Can not turn on the device?
- You may not be able to turn on the device when the battery is below the critical level. Recharge the battery for a few minutes and try to turn it on again.
- Check if the power charger is connected properly and firmly.
The battery working time is too short?
- The duration of the lithium battery varies with environmental temperature changes and the service conditions. If the environment temperature is too low or too high, the duration of the battery will be affected. It is recommended to use this device at normal temperature.
- Battery consumption varies depending on if the brightness and on time of the screen, the volume level of the loudspeaker as well as the operation status of the central processo (CPU). To save battery, please refer to Power saving mode section of this menu.
No sound from earphone?
- Check if the volume setting is adjusted to 0.
- Check whether the audio file is damaged and try to play other audio files to confirm. In the case if the audio file is damaged, it may cause severe noise or staccato.
Can not copy files?
- Check if the device is connected to the computer properly.
- Check if the USB cable is working.
- Check whether the memory capacity available is enough for storage of the copying files.
The device is dead?
- Please try to reset the device by following procedure: Long press the Reset button until the player power off, then you can turn on the player again.
Information Note on the Removal and Disposal of Batteries
Warning: Only high-qualified personnel should perform this operation!
Battery Removal
The appliance should not be plugged to the mains socket when performing this operation!
- Remove the rear part of the appliance;
- Select the battery;
- Disconnect and remove the battery.
Used batteries should not be disposed of with household waste or thrown into fire or water.
Used batteries should be recycled or disposed of in separate waste collection centres.

Important information for correct disposal of the product.
The symbol on the equipment indicates that the waste must be subject to “separate collection” so the product must not be disposed of as urban waste.
The user should return the product to special “collection centers” provided by local government, or deliver it to the retailer against the purchase of a new product.
Separate collection of waste and subsequent processing operations, recovery and disposal will help the production of equipment with recycled materials and reduce the negative effects on the environment and health caused by improper handling of waste.
Improper disposal of the product involves the application of administrative penalties.
TREVI pursues a policy of continuous research and development, the products may show different characteristics from those described.
TECHNICAL SPECIFICATIONS
| DISPLAY | 10.1-inch LCD, IPS, Capacitive |
| RESOLUTION | 1280X 800 |
| CPU | QUAD CORE MTK MT8312, 1.3GHz |
| RAM | 1GB |
| OPERATIVE SISTEM | Android 5.1 |
| MEMORY | 8 GB |
| WIRELESS NETWORK | IEEE (802.11 b/g/n) |
| 3G, GSM | GSM850/900/1800/1900; WCDMA900/2100 |
| AUDIO FORMAT | MP3, MP2, AAC, FLAC, APE, WAV |
| VIDEO FORMAT | AVI, 3GP, MP4, MPEG, FLV, MKV, MPG |
| PICTURE FORMAT | JPEG, BMP, PNG |
BIENVENUE
TELEPHONE
FM Radio
natural_image
Four-panel collage showing coastal landscapes with green vegetation, water bodies, and natural scenes (no visible text or symbols)natural_image
Grid of 20 colorful and nature-themed collage images including peacock, apple, bee, dog, apple, apple, cherries, kiwi, candy, and candy (no text or symbols)Telefon
FM-radio
natural_image
Four-panel collage showing coastal landscapes, a military-style map, and a river landscape with no visible text or symbols.natural_image
Grid of 16 colorful and nature-themed images including animals, plants, flowers, cherries, kiwiffruits, and candy (no text or symbols)DISPLAY 10.1-inch LCD, IPS, Capacitive
RESOLUTIE 1280X 800
CPU QUAD CORE MTK MT8312, 1.3GHz
RAM 1GB
OPERATIVE SISTEM ...... Android 5.1
ERINNERUNG 8 GB
DRAHTLOSES NETZWERK IEEE (802.11 b/g/n)
3G, GSM ...... GSM850/900/1800/1900; WCDMA900/2100
AUDIO FORMAT ...... MP3, MP2, AAC, FLAC, APE, WAV
VIDEO FORMAT ......AVI, 3GP, MP4, MPEG, FLV, MKV, MPG
PICTURE FORMAT ...... JPEG, BMP, PNG
BIENVENIDOS
Notas
natural_image
Computer desktop wallpaper showing a beach scene with waves crashing against a turquoise sky and clouds, no readable text or symbols.Teléfono
natural_image
Four-panel collage showing coastal landscapes, military personnel in combat gear, and a river scene (no visible text or symbols)natural_image
Grid of 16 colorful and nature-themed images including peacock, apple, ladybug, cherries, kiwi, and animals (no text or symbols)Precautions for correct disposal of the product.
The symbol shown on the equipment indicates that waste must be disposed of in “separate collection” and so the product must not be disposed of together with urban waste.
The user must take the product to special “separate waste collection centres” provided by local government, or deliver it to the retailer against the purchase of a new product.
Separate collection of waste and subsequent treatment, recycling and disposal operations promotes the production of equipment with recycled materials and limits negative effects on the environment and on health caused by improper handling of waste.
Illegal disposal of the product leads to the enforcement of administrative penalties.

natural_image
Abstract digital interface with blurred background elements including charts and a stylized 'A' logo (no readable text or symbols)Tab10 ^3G
natural_image
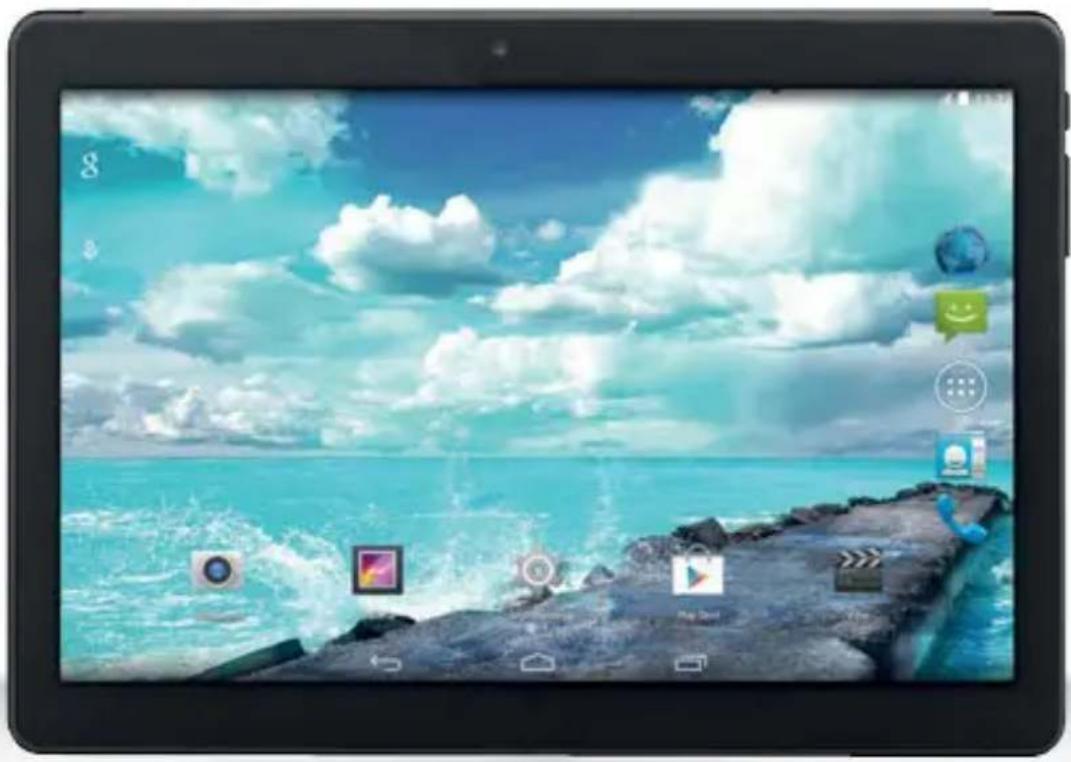
Tablet displaying a digital workspace with ocean waves, ice formations, and app icons on the right (no readable text or symbols)
Trevi S.p.A.
Strada Consolare Rimini-San Marino, 62
47924 RIMINI (RN) Italy
Tel. 0541/756420 - Fax 0541/756430
www.trevi.it - E-mail: info@trevi.it
CE0700!


Made In China


- Tab10 3G Q
- TO SET YOUR LANGUAGE DEVICE
- POUR CONFIGURER LANGUE DE VOTRE APPAREIL:
- Wi-Fi
- IMPORTANT NOTICES
- GETTING READY TO USE THE DEVICE
- QUICK GUIDE
- Power on / Power off
- To power off the device:
- Note
- Standby and Lock screen
- Orientation Sensor Setting
- Battery management and recharging
- To install an Application from Play Store:
- WI-FI network settings
- Bluetooth setting
- Phone
- To install an APK file
- To uninstall an APK file
- FM Radio
- Camera
- Use the device a multi media player
- Audio playback:
- Photo browsing:
- Set OSD Language
- Set Keyboard
- Set Date and Time
- About the Device
- Troubleshooting
- Information Note on the Removal and Disposal of Batteries
- Warning: Only high-qualified personnel should perform this operation!
- Battery Removal
- Important information for correct disposal of the product.
- TECHNICAL SPECIFICATIONS
- BIENVENUE
- TELEPHONE
- Telefon
- FM-radio
- BIENVENIDOS
- Notas
- Teléfono
- Precautions for correct disposal of the product.
- Tab10 3G
Brand : Trevi
Model : TAB 10 3G Q
Category : Tablet