
PresentAir Pro - Wireless pointer KENSINGTON - Free user manual and instructions
Find the device manual for free PresentAir Pro KENSINGTON in PDF.


| Product type | Wireless presentation pointer |
| Brand | Kensington |
| Model | PresentAir Pro |
| Dimensions (L x W x H) | 12 x 3 x 2 cm |
| Weight | 35 g (without batteries) |
| Power supply | 2 AAA batteries (not included) |
| Battery life | Up to 20 hours of continuous use |
| Range | Up to 30 meters |
| Connectivity | RF 2.4 GHz with nano USB receiver |
| Main functions | Red laser pointer, slide forward/backward, presentation pointer, virtual presenter |
| Buttons | Laser button, next/previous button, mouse button |
| Laser safety | Class II laser, < 1 mW, 650 nm |
| Care and cleaning | Wipe with a soft, dry cloth. Do not use chemicals. |
| Repairability | User-replaceable batteries. Replaceable receiver. |
| Spare parts | AAA batteries, USB receiver (ref. K33335) |
| Package contents | PresentAir Pro pointer, USB receiver, 2 AAA batteries, user manual |
Frequently Asked Questions - PresentAir Pro KENSINGTON
User questions about PresentAir Pro KENSINGTON
0 question about this device. Answer the ones you know or ask your own.
Ask a new question about this device
Download the instructions for your Wireless pointer in PDF format for free! Find your manual PresentAir Pro - KENSINGTON and take your electronic device back in hand. On this page are published all the documents necessary for the use of your device. PresentAir Pro by KENSINGTON.
USER MANUAL PresentAir Pro KENSINGTON
Register New Product Now To Activate Warranty!
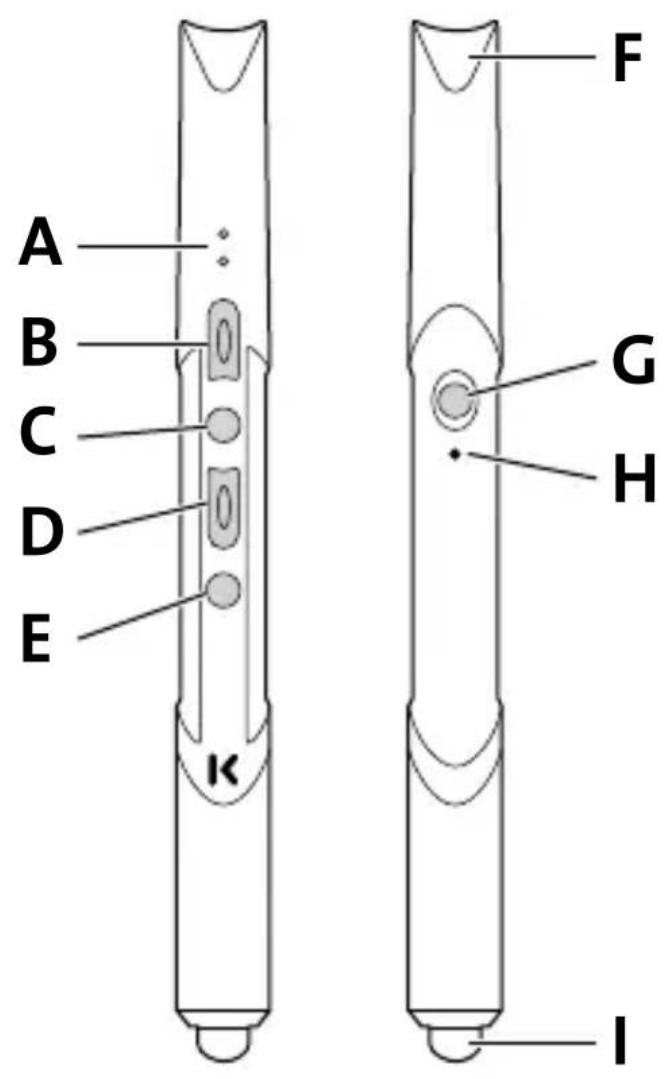
A Dual LEDs
B Up Button
C Middle Button
D Down Button
E Laser Button
F Laser
G Mode Button
H Reset Button
I Stylus
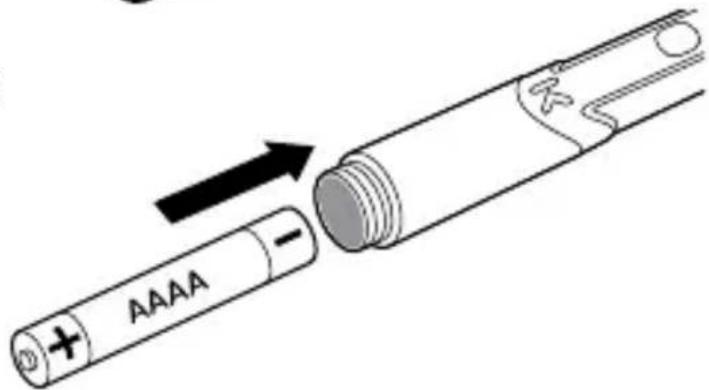
Getting Started
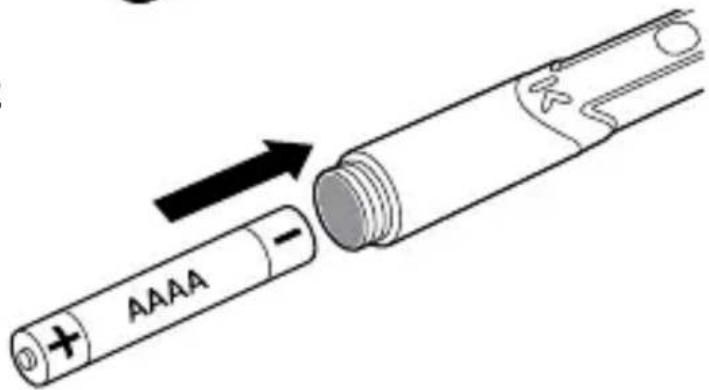
1
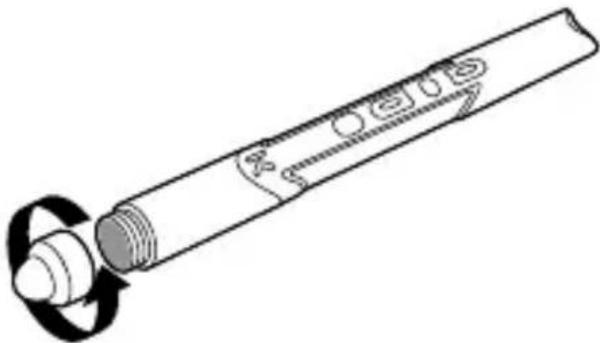
2
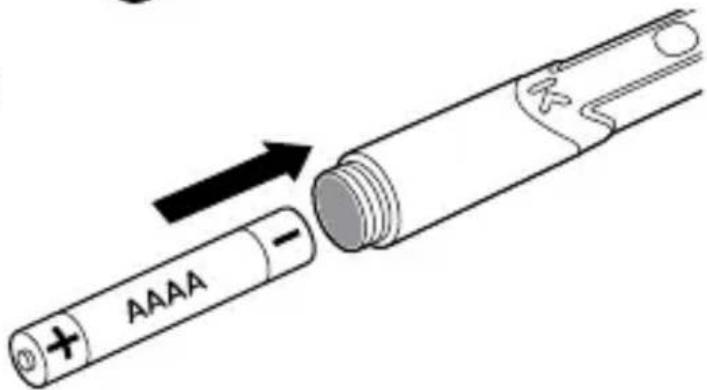
3
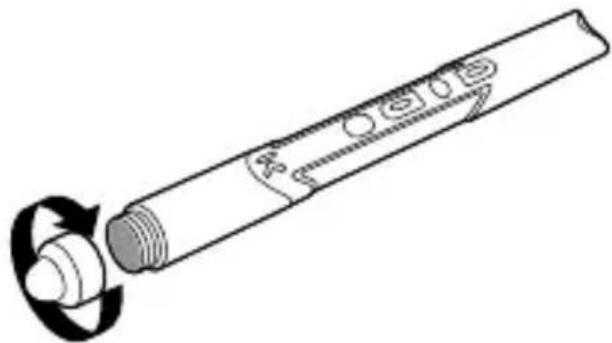
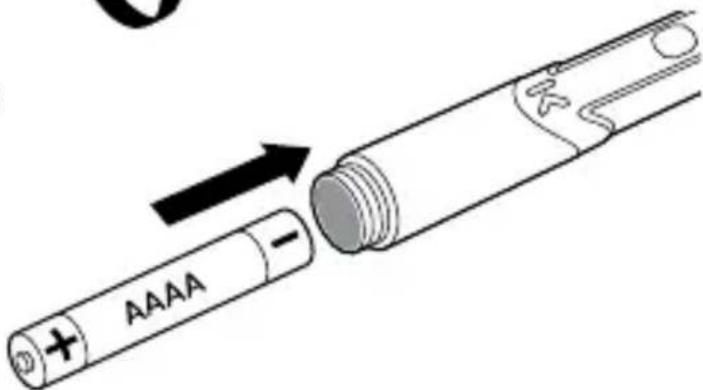
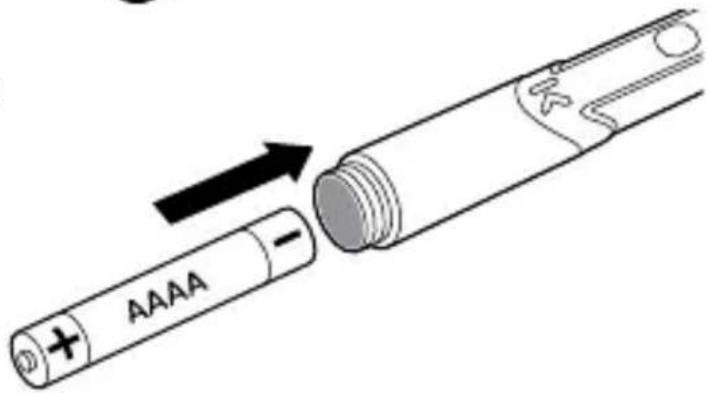
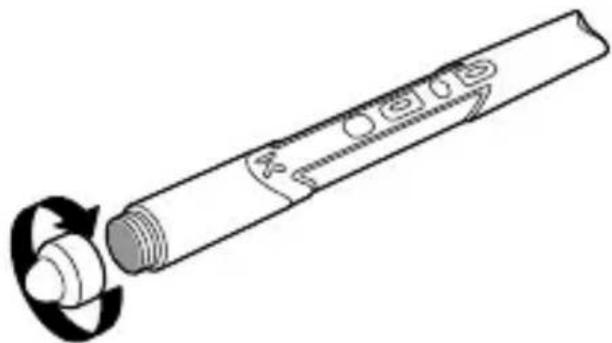
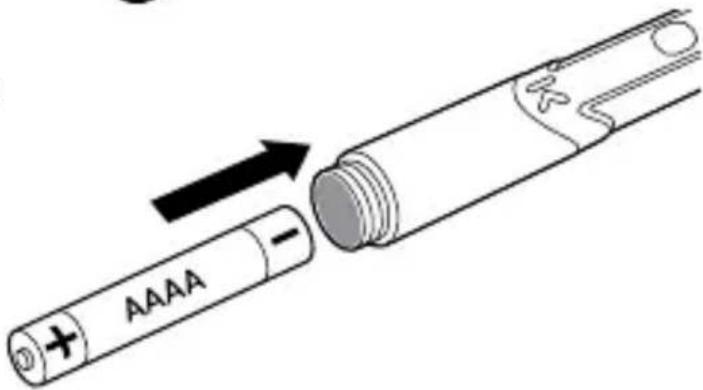
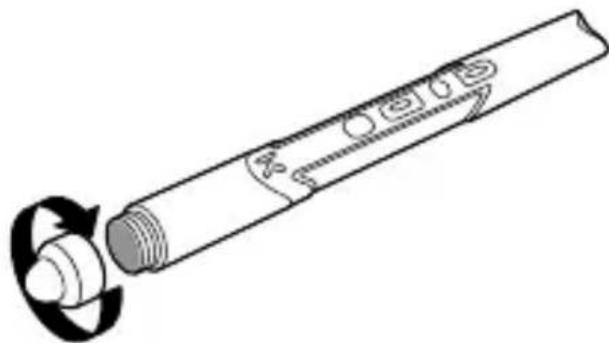
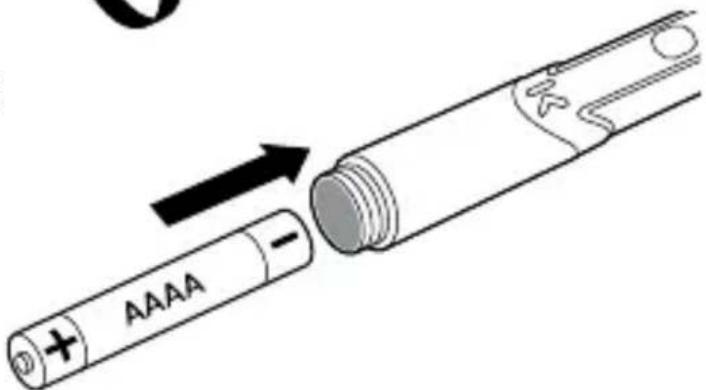
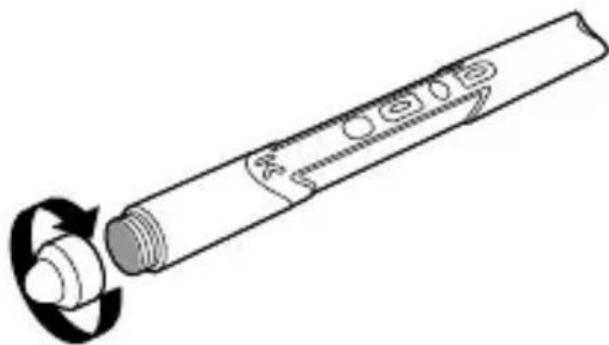
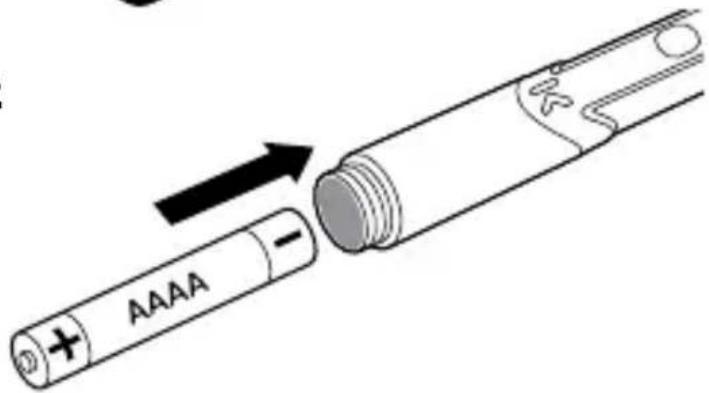
Power and Battery
- PresentAir™ Pro will automatically turn off if it's left on and not being used. Press the Mode Button or Laser Button to wake up PresentAir Pro.
- Press the Mode Button for 5 seconds when PresentAir Pro is active and it will turn off.
• Under normal use the battery can last about 6 months.
Power On/Off
1 From On State—To Turn Power Off
Press and hold the Mode Button. The PresentAir Pro red LED blinks rapidly. Release button, and the power turns off.
2a From Off State—To Turn Power On
Press the Mode Button for 1 second and release. The green LED blinks, the power turns on, then the LED turns off.
OR
2b From Off State—To Pair Device
Press and hold the Mode Button from 3 to 6 seconds. The green LED blinks, then the blue LED blinks slowly and PresentAir Pro enters pairing mode. Release button, it stays in pairing mode for 3 minutes or until paired to a device.
Pairing
A compatible Bluetooth 4.0 device is required for pairing. Be sure the Bluetooth wireless is active, on and ready to connect on the device you are trying to pair with the PresentAir Pro. Follow the Bluetooth pairing instructions provided by the device manufacturer to successfully connect with your PresentAir Pro. PresentAir Pro appears as an Input device for pairing.
NOTE: if you currently have one mobile device paired with PresentAir Pro and want to pair with a new mobile device, un-pair PresentAir Pro from the current mobile device first.
Windows 8 Users: Ensure your Windows Bluetooth power management is not set to turn off your Bluetooth Wireless (found in Device Manager > Bluetooth > 'Radio Adapter' Properties > Power Management).
If you experience problems pairing or using PresentAir Pro, additional instructions and solutions with illustrations are found in the online guide at: www.kensington.com
On-Screen Keyboard
PresentAir Pro acts as a keyboard device, to enable the on-screen keyboard on your device:
Windows® 8: Tap the virtual keyboard icon 📄m the toolbar at the bottom of your desktop screen.
Android™: Turn off PresentAir Pro; or on some Android devices, from the Settings 🎨 screen, tap Controls/General, then Language and input. Select Onscreen keyboard.
iOS: Press the Mode Button.
Mode Switching
PresentAir Pro has two default modes and one custom mode configurable via the PresenterWorks™ app.
Switching Modes: Press the Mode Button and the Up, or Middle, or Down button at the same time to switch between Presenter, Media, or Custom mode respectively. The LED will change color, indicating the mode currently selected. Switching the mode changes the button functionality as shown in the chart below:
| Button | Presenter Mode (LED = Orange) | Media Mode (LED = Blue) | Custom Mode (LED = Green) |
| Up Button | Next slide | Next track Select | text right |
| Middle Button | Black screen | Play/Pause Copy | text |
| Down Button | Previous slide | Previous track | Select text left |
| Laser Button | Turn on Laser | Turn on Laser | Turn on Laser |
Optional: Download and install PresenterWorks™ app

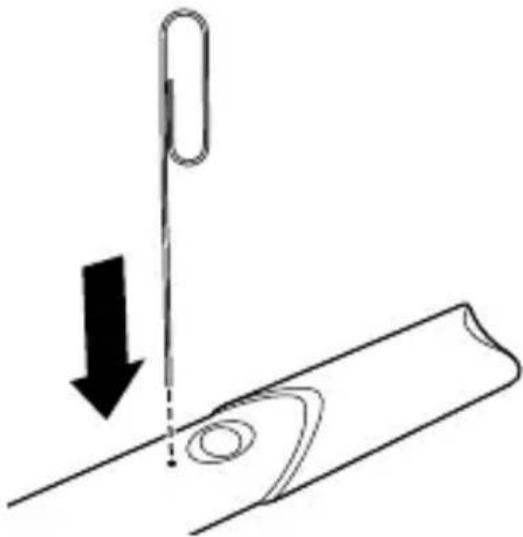
Hardware Reset
If the device stops functioning properly or has become unresponsive, performs a hardware reset by pressing the reset button using a small paperclip. The LED indicator will blink green during reset.
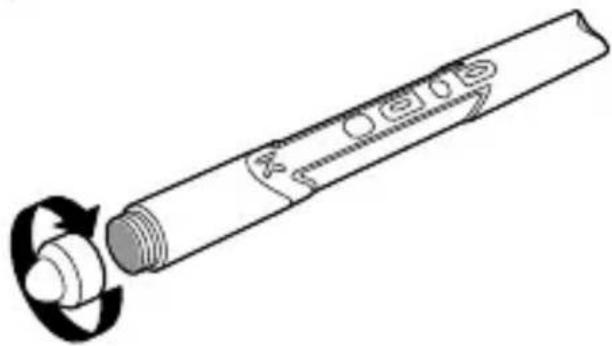
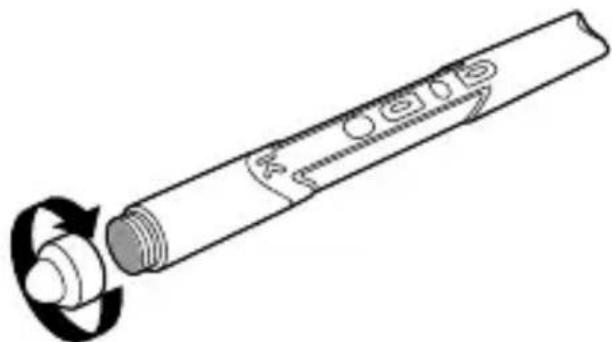
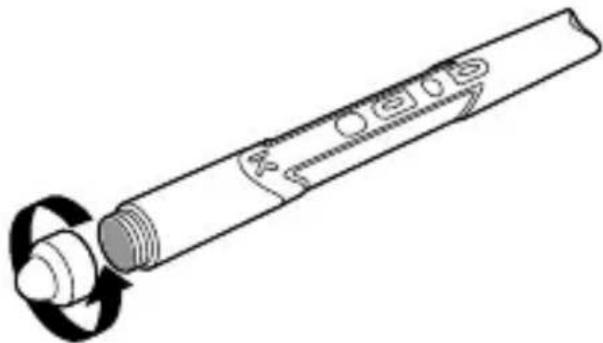
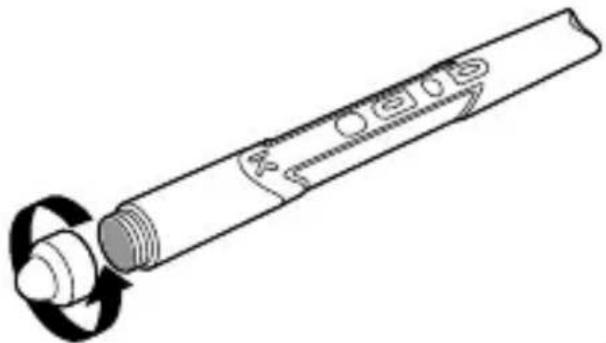
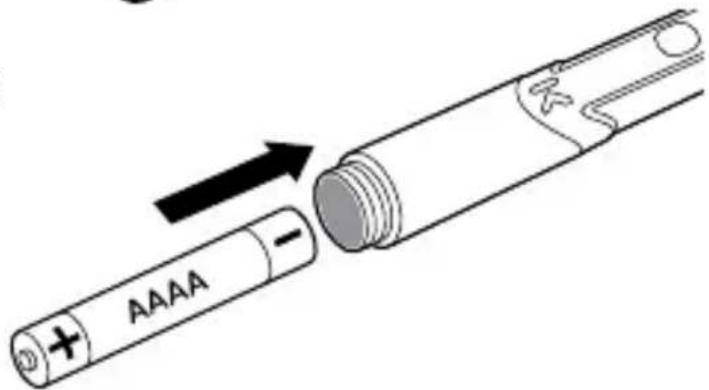
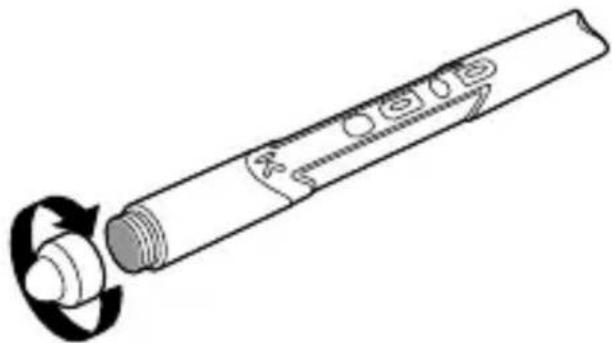
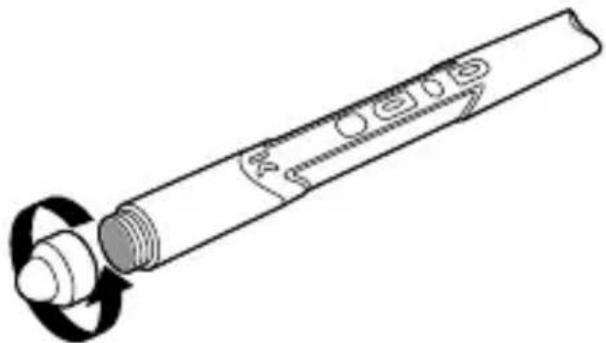
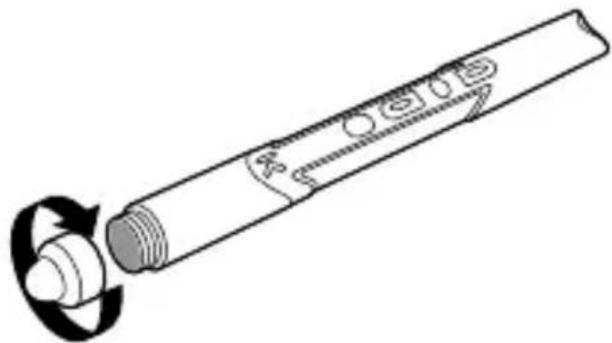
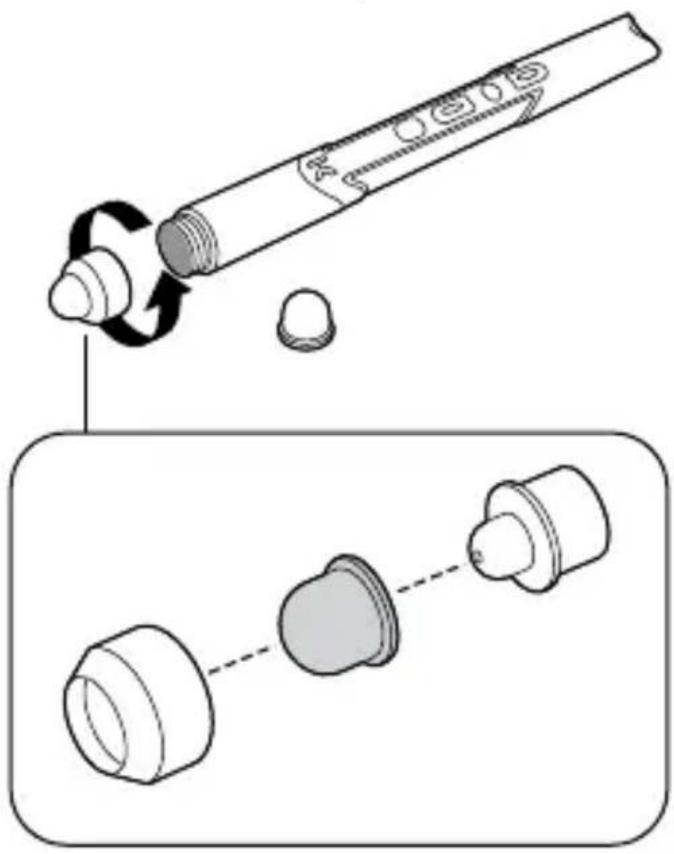
Stylus Tip Replacement
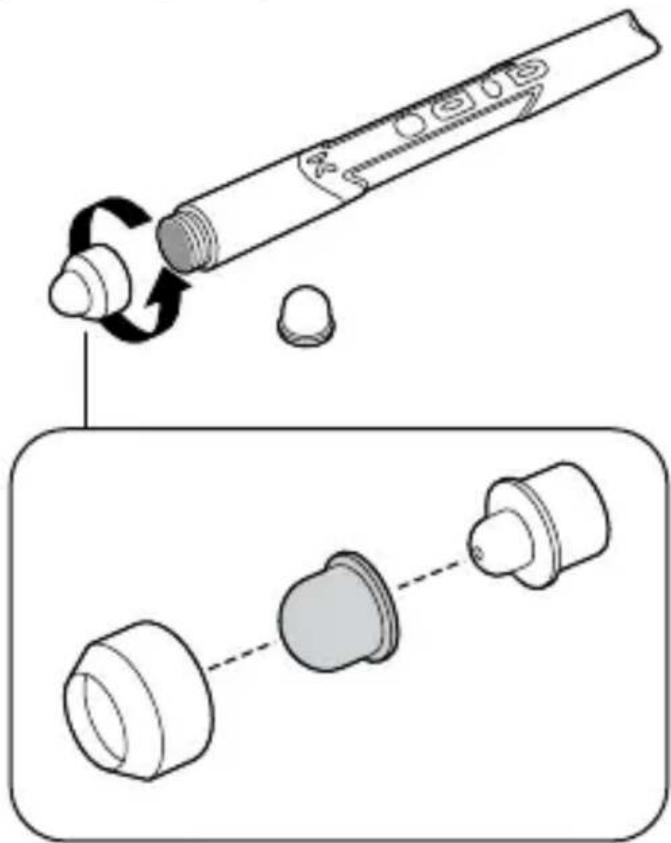
Need More?
For additional instructions and disclosures, see the full Instruction Guide online at: www.support.kensington.com
Technical Support
Technical support is available to all registered users of Kensington products.
Web Support
You may find the answer to your problem in the Frequently Asked Questions (FAQ) section of the Support area on the Kensington Website:
www.support.kensington.com.
Telephone Support
There is no charge for technical support except long-distance charges where applicable. Please visit www.kensington.com for telephone support hours.
U.S. 800-535-4242 or 650-572-2700
Canada 800-268-3447
Please note the following when calling support:
- Call from a phone where you have access to your device.
- Be prepared to provide the following information:
– Name, address, and telephone number
– Name of the Kensington product
- Make and model of your computer
- System software and version
- Symptoms of the problem and what led to the m
CLASS 2 LASER SAFETY STATEMENT

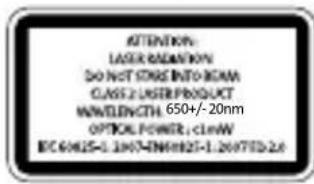
This laser device complies with International Standard IEC/EN 60825-1: ED 2. 2007, Class 2 Laser Product and also complies with 21 CFR 1040.10 and 1040.11, except for deviations pursuant to laser Notice No. 50, dated June 24, 2007:
- Emission of a parallel beam of visible light;
- Maximum Power of 1 milliwatt CW, wavelength range 650±20 nanometers;
- Operating temp between 0° C ( 32° F) to 40° C ( 104° F).
- Do not disassemble the device
- Do not use the device outside of its specified operating temperature range. If the device is exposed to an environment outside of its prescribed operation, turn off the device and allow the temperature to stabilize within the specified operating range before using the device.
FEDERAL COMMUNICATION COMMISSION INTERFERENCE STATEMENT
This device complies with Part 15 of the FCC Rules. Operation is subject to the following two conditions: (1) This device may not cause harmful interference, and (2) This device must accept any interference received, including interference that may cause undesired operation.
FCC RF RADIATED EXPOSURE STATEMENT
This device has been evaluated to meet general RF exposure requirements. The device can be used in portable exposure conditions without RF restrictions. Modifications: Modifications not expressly approved by Kensington may void the user's authority to operate the device under FCC regulations and must not be made.
Shielded Cables: In order to meet FCC requirements, all connections to equipment using a Kensington input device should be made using only the shielded cables.
IC STATEMENT
This device has been tested and found to comply with the limits specified in RSS-210. Operation is subject to the following two conditions: (1) This device may not cause interference, and (2) This device must accept any interference, including interference that may cause undesired operation of the device.
IC RF EXPOSURE STATEMENT
This equipment complies with IC radiation exposure limits set forth for an uncontrolled environment. The device can be used in portable exposure conditions without RF restrictions.
CE DECLARATION OF CONFORMITY
Kensington declares that this wireless product model is in compliance with the essential requirements and other relevant provisions of R&TTE directive (1995/5/EC) and other applicable EC directives.
For Europe, a copy of the Declaration of Conformity for this product may be obtained by clicking on the Compliance Documentation' link at
www.support.kensington.com
INFORMATION FOR EU MEMBER-STATES ONLY

The use of the symbol indicates that this product may not be treated as household waste. By ensuring this product is disposed of correctly, you will help prevent potential negative consequences for the environment and human health, which could otherwise be caused by inappropriate waste handling of this product. For more detailed information about recycling of this product, please contact your local city office, your household waste disposal service, or the shop where you purchased the product.
Kensington and the ACCO name and design are registered trademarks of ACCO Brands. The Kensington Promise is a service mark of ACCO Brands. PresentAir and PresenterWorks are trademarks of ACCO Brands. All other registered and unregistered trademarks are the property of their respective owners.
© 2015 Kensington Computer Products Group, a division of ACCO Brands USA LLC. Any unauthorized copying, duplicating, or other reproduction of the contents hereof is prohibited without written consent from Kensington Computer Products Group. All rights reserved. 04/15
Français
Composants
2
3
Assistance technique
www.support.kensington.com.
2
3
A Dubbele LED's
B Knop Omhoog
C Middelste knop
D Knop Omlaag
E Laserknop
F Laser
G Modusknop
H Resetknop
I Stylus
Alan de slag
1
2
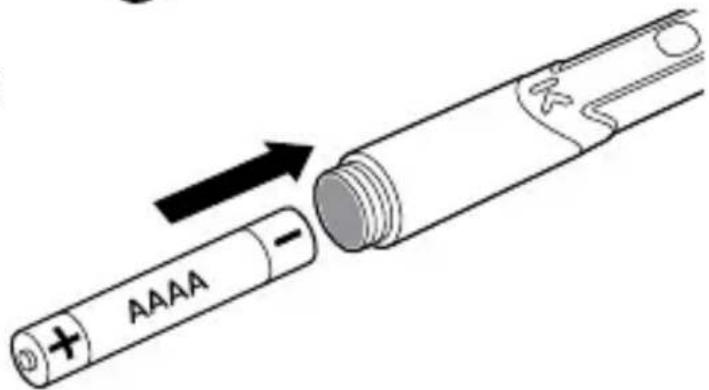
3
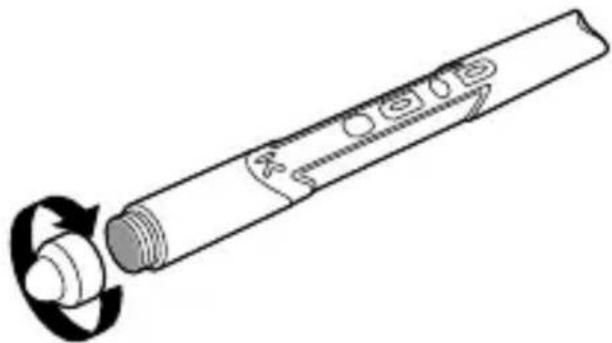
Voeding en batterij
Hardware resetten
www.support.kensington.com.
Telefonische ondersteuning
2
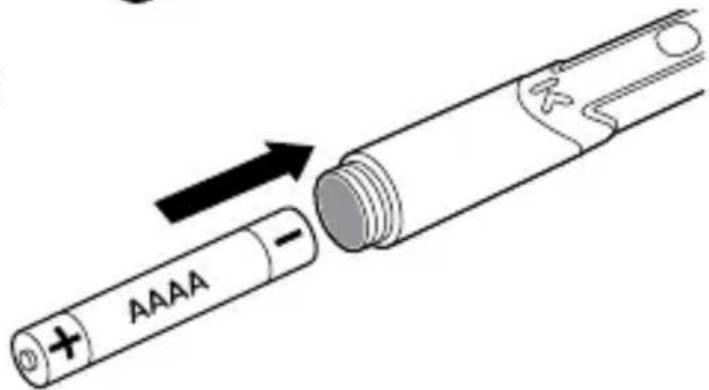
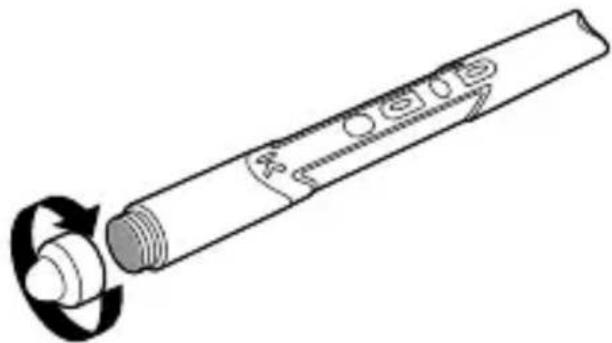
3
www.support.kensington.com.
Supporto telefonico
A LED duals
B Botón Arriba
C Botón Medio
D Botón Abajo
E Botón Láser
F Láser
G Botón Modo
H Botón Restablecer
I Lápices ópticos
Introducción
1
2
3
Download from Windows Store
Download on the App Store
ANDROID APP ON Google play
Más información
www.support.kensington.com.
A Két LED-es
B „Fel“ gomb
C „Középső” gomb
D „Le“ gomb
E „Lézer“ gomb
F Lézer
G „Üzemmód” gomb
H „Alaphelyzet“ gomb
I Stylus
Az első lépések
1
2
3
A Dva indikátory LED
B Tlačítko Nahoru
2
3
Napájení a baterie
Resetování hardwaru
www.support.kensington.com.
Podpora po telefonu
2
3

Zasilanie i bateria
Więcej informacji?
www.support.kensington.com.
2
3
Питание и батарея
Аппаратный сброс
www.support.kensington.com.
© 2015 Kensington Computer Products Group,
2
3
Corrente e bateria
Necessita de mais?
www.support.kensington.com.
Apoio Telefónico
استبideal طرف القلم
.Kensington Computer Products Group
Kensington Computer Products Group A Division of ACCO Brands
1500 Fashion Island Blvd, 3rd Floor San Mateo, CA 94404
ACCO Brands Europe
A Division of ACCO Brands Europe Oxford House, Oxford Road Aylesbury, Buckinghamshire, HP21 8SZ United Kingdom
ACCO Brands Canada Inc
7381 Bramalea Rd Mississauga, ON L5S 1C4
ACCO Australia
Level 2, 8 Lord St Botany NSW 2019 Australia
Designed in California, U.S.A. by Kensington Made in China Patents Pending www.kensington.com

- GETTING STARTED
- POWER AND BATTERY
- POWER ON/OFF
- 1 FROM ON STATE—TO TURN POWER OFF
- 2A FROM OFF STATE—TO TURN POWER ON
- OR
- 2B FROM OFF STATE—TO PAIR DEVICE
- PAIRING
- ON-SCREEN KEYBOARD
- MODE SWITCHING
- OPTIONAL: DOWNLOAD AND INSTALL PRESENTERWORKS™ APP
- HARDWARE RESET
- NEED MORE
- TECHNICAL SUPPORT
- WEB SUPPORT
- TELEPHONE SUPPORT
- CLASS 2 LASER SAFETY STATEMENT
- FEDERAL COMMUNICATION COMMISSION INTERFERENCE STATEMENT
- FCC RF RADIATED EXPOSURE STATEMENT
- IC STATEMENT
- IC RF EXPOSURE STATEMENT
- CE DECLARATION OF CONFORMITY
- INFORMATION FOR EU MEMBER-STATES ONLY
- FRANÇAIS
- ASSISTANCE TECHNIQUE
- ALAN DE SLAG
- VOEDING EN BATTERIJ
- HARDWARE RESETTEN
- TELEFONISCHE ONDERSTEUNING
- SUPPORTO TELEFONICO
- INTRODUCCIÓN
- MÁS INFORMACIÓN
- AZ ELSŐ LÉPÉSEK
- NAPÁJENÍ A BATERIE
- RESETOVÁNÍ HARDWARU
- PODPORA PO TELEFONU
- ZASILANIE I BATERIA
- WIĘCEJ INFORMACJI
- ПИТАНИЕ И БАТАРЕЯ
- АППАРАТНЫЙ СБРОС
- CORRENTE E BATERIA
- NECESSITA DE MAIS
- APOIO TELEFÓNICO
- KENSINGTON COMPUTER PRODUCTS GROUP A DIVISION OF ACCO BRANDS
- ACCO BRANDS EUROPE
- ACCO BRANDS CANADA INC
- ACCO AUSTRALIA
Brand : KENSINGTON
Model : PresentAir Pro
Category : Wireless pointer