CL-471MT - Alarm clock radio MT Logic - Free user manual and instructions
Find the device manual for free CL-471MT MT Logic in PDF.

User questions about CL-471MT MT Logic
0 question about this device. Answer the ones you know or ask your own.
Ask a new question about this device
Download the instructions for your Alarm clock radio in PDF format for free! Find your manual CL-471MT - MT Logic and take your electronic device back in hand. On this page are published all the documents necessary for the use of your device. CL-471MT by MT Logic.
USER MANUAL CL-471MT MT Logic
text_image
30W 1.22.80°text_image
L. 22.80°text_image
24H 22.8°Ctext_image
12:00 22.8°Ctext_image
12:00 22.8°Ctext_image
MON YUN WED THU FND BAY 12:00 8L.2text_image
KON 1.32.80°Ctext_image
Diagram showing a hand interacting with a digital display device, emitting signal waves above it.text_image
7:30 22.3dtext_image
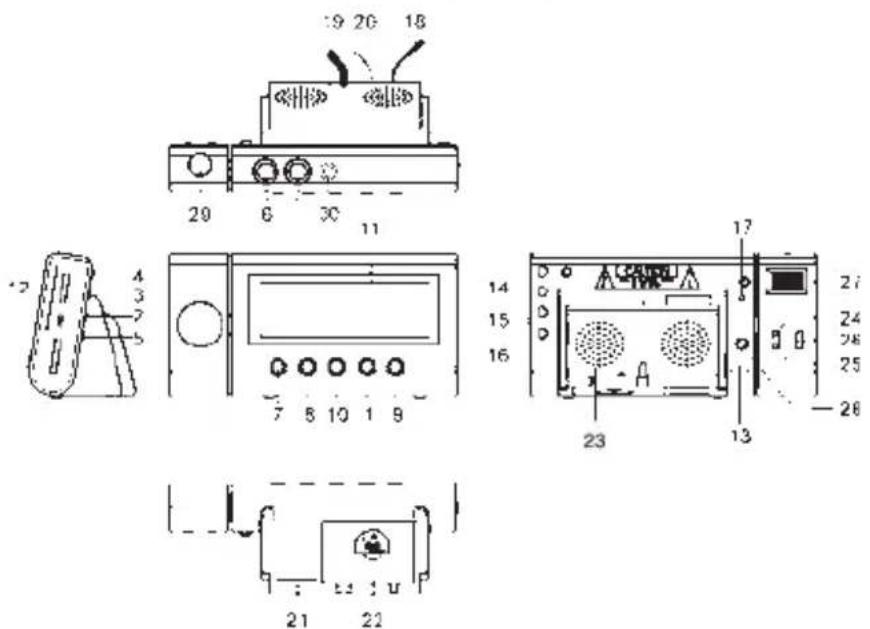
Technical diagram of electronic device components with numbered labels and component numbers- MODE SET BUTTON
- ALARM SET BUTTON
- ALARM 1 BUZZER / RADIO SELECT BUTTON
- ALARM 2 BUZZER / RADIO SELECT BUTTON
- °C / °F BUTTON
- INFRARED SENSOR
- SET BUTTON
- ▷SET BUTTON
- ON/OFF (ALARM OFF) BUTTON
- SNOOZE / SLEEP BUTTON
- LED DISPLAY
- DIAL SCALE AND POINTER
- AUDIO IN JACK
- VOLUME CONTROL
- WAVE BAND
- TUNING CONTROL
- RESET BUTTON
- TEMPERATURE SENSOR (IN DOOR)
- AC POWER CORD
- FM ANTENNA WIRE
- RATING LABEL
- BATTERY COMPARTMENT
-
SPEAKER
-
MINUTE BUTTON FOR PROJECTION UNIT
- HOUR BUTTON FOR PROJECTION UNIT
- TIME SET BUTTON FOR PROJECTION UNIT
- FOCUS ADJUSTMENT FOR PROJECTION UNIT
- PROJECTION ON/OFF BUTTON
- PROJECTION UNIT
- AUTO DIMMER SENSOR
POWER CONNECTION
Plug the AC power cord to a household outlet AC source. This unit is equipped with a battery back up system, it requires a 3 x 3Volt CR2025 Flat Lithium battery (Not included). Insert the battery in the battery compartment, making certain that the positive and negative (+ and -) battery terminals are attached to the corresponding terminals on the plate in the battery compartment. If an AC power failure occurs, the clock automatically switches to the battery power supply, the clock and timer memory continue running. When the AC power resumes, the clock switches back to AC again.
GETTING STARTED
Press the reset button (17) locates on the back of unit after AC plug in.
- The unit will display full segment for 2 seconds, then it will enter the normal mode.
- Display will lighten up.
1. TIME AND CALENDAR SETTING
A. Setting Time and Calendar – Press Mode Set button (1) in normal mode and keep depress over 2 second to enter Time Set mode, after enter the setting mode, press Mode Set button (1) to change the mode cycle as follows :
CAUTION Make sure the radio isn't activated, you can check this by turning the volume knob to the highest position. It's not possible to adjust the time when the radio is activated.
Normal → Year → Month → Day → 12/24H → RTC Hour → RTC Min → Normal
Action (during data adjustment) :
- Press ◀button (7) to adjust data backward
- Press ▶button (8) to adjust data forward
- Keep depress or button for 2 second to enable auto forward
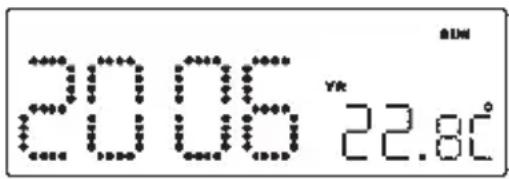
a. Year Set Mode
Initial Value : 2006
Year Range : 2000 to 2099

text_image
2005 YR 22.80°Display Show Year Set Mode
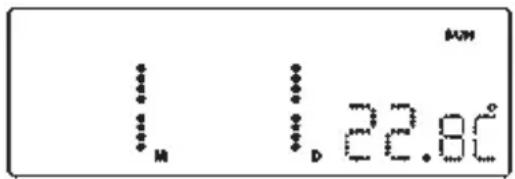
b. Month Set Mode
text_image
1.22.80℃Display Show Month Set Mode
c. Day Set Mode

text_image
1.22.81Display Show Day Set Mode
Remark : Weekday will recalculate when year, month or day is adjusted
d. 12/24H Set Mode
text_image
12H 22.8°CDisplay Show 12/24H Set Mode
(Select 12H)

text_image
24 H 22.8°CDisplay Show 12/24H Set Mode
(Select 24H)
e. RTC Hour Set Mode
text_image
2:00 32.82Display Show Hour Set Mode
f. RTC Min Set Mode
text_image
12:00 22.81Display Show Min Set Mode
Remark : Second will reset for every minute adjustment
B. Setting Alarm 1 and Alarm 2 - Press Alarm set button (2) during normal mode and keep depress over 2 second to enter alarm set mode, after enter the setting mode, press Alarm set button (2) to change the mode cycle as follows :
CAUTION Make sure the radio isn't activated, you can check this by turning the volume knob to the highest position. It's not possible to adjust the alarm when the radio is activated.
When you doesn't use buzzer 2 it's better to set this on the same time as buzzer 1, so you won't be awakened on the wrong time.
Normal → AL1 Hour → AL1 Min → AL1 Weekend Alarm → AL2 Hour → AL2 Min → AL2 Weekend Alarm → Normal
Action (during data adjustment) :
- Press ◀button (7) to adjust data backward
- Press ▶button (8) to adjust data forward
- Keep depress
button for 2 second to enable auto forward

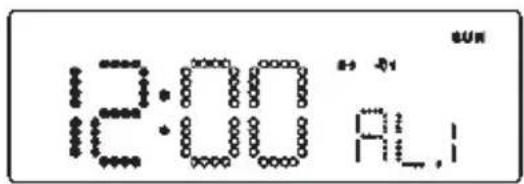
text_image
12:00 R_!Display Show Setting Alarm 1 Hour
text_image
12:00 9:1Display Show Setting Alarm 1 Min
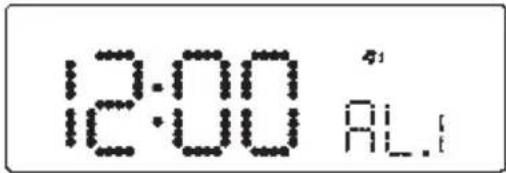
text_image
12:00 AL.Display Show Setting Alarm 1 Weekend Alarm – Mon to Fri
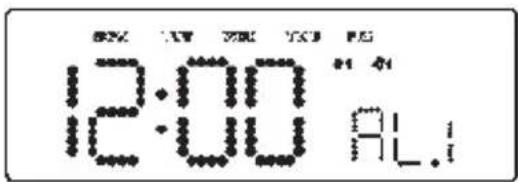
text_image
12:00 RLDisplay Show Setting Alarm 1 Weekend Alarm – Mon to Sun

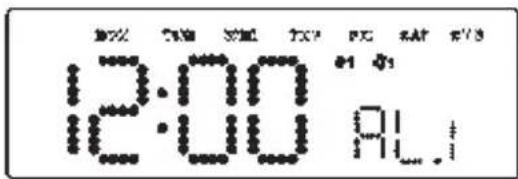
text_image
12:00 ALIDisplay Show Setting Alarm 1 Weekend Alarm – Mon to Sat

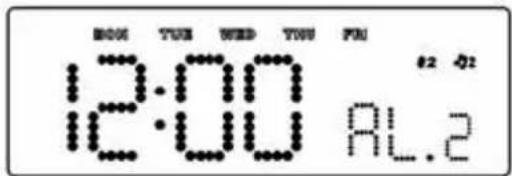
text_image
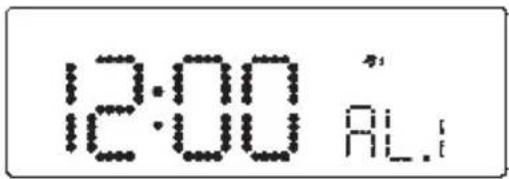
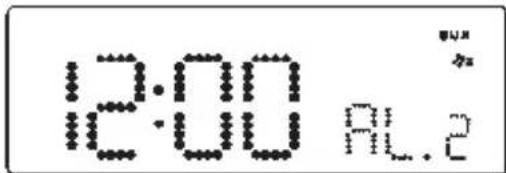
12:00 AL.2Display Show Setting Alarm 2 Hour

text_image
12:00 AL.2Display Show Setting Alarm 2 Min
text_image
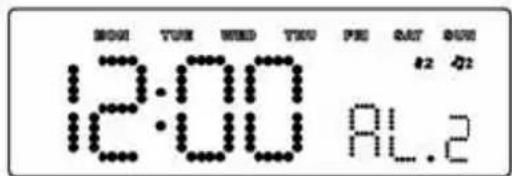
12:00 8L.2Display Show Setting Alarm 2 Weekend Alarm – Mon to Fri
text_image
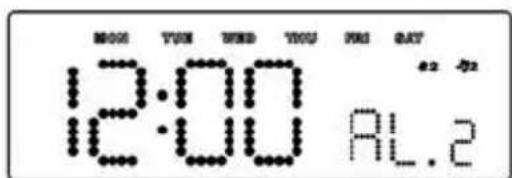
MON TUE WIND THU PIS OUT DUN 12:00 AL.2Display Show Setting Alarm 2 Weekend Alarm – Mon to Sun
text_image
MOO YOU WED YOU YES QAY 12:00 RL.2Display Show Setting Alarm 2 Weekend Alarm – Mon to Sat
2. SETTING ALARM OUTPUT AND ALARM ON/OFF
A. Change the alarm Output
Press AL1 (3) / AL 2 (4) button to Music Position to select wake up by Radio, set to Buzzer Position to select wake up by Buzzer, set to Alarm Off position to disable all alarm.

text_image
12:00 SOM ALIDisplay Show Alarm 1 wake up by Buzzer
text_image
12:00 AL.Display Show Alarm 1 wake up by Radio
text_image
12:00 AL.2Display Show Alarm 2 wake up by Buzzer

text_image
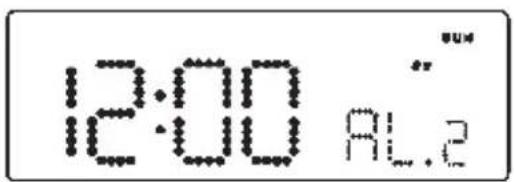
12:00 8L.2Display Show Alarm 2 wake up by Radio
B. Buzzer Pattern
1st 8 second output 1 beep, 2nd 8 second output 2 beep, 3rd 8 second output 4 beep, after that continue output beep tone, the same pattern repeat at next minute again.
3. ALARM DURATION AND SNOOZE FUNCTION
Alarm Duration – Buzzer Alarm or Radio Alarm will continue output for 30 minutes if no key press, then it will stop automatically and wait for same alarm time on next day.
Action for Snooze :
- During alarming, press SNOOZE button (10) will enable snooze function, Buzzer Alarm or Radio Alarm will stop.
- Snooze Interval is 9 minute (not include second offset)
- Snooze will continue unless press On/Off (Alarm Off) button (9) to Alarm Off or Buzzer Alarm or Radio Alarm stop automatically after 30 minutes
4. CHANGE DISPLAY CONTENT
Press ▶ button (8) during normal can switch to display year, after 5 second timeout and return back to display date and month.
text_image
20.05 YR 22.8°CDisplay Show Year
5. CHANGE DISPLAY CONTENT
Press <button (7) during normal can switch to display Month and day, after 5 second timeout and return back to display time.
text_image
M D 22.80° PM
Display Show Month and Day
6. SLEEP FUNCTION
During Radio on mode, press Snooze/Sleep button (10) to turn on Sleep mode, the Sleep time will keep flashing by 5 second, within 5 second and press Sleep button can change the duration from 90 min – 10 min. Press button (9) to cancel sleep function.
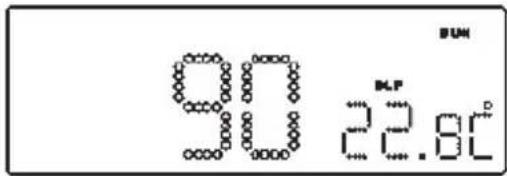
text_image
90 22.8℃ BUNDisplay Show Setting Sleep Duration
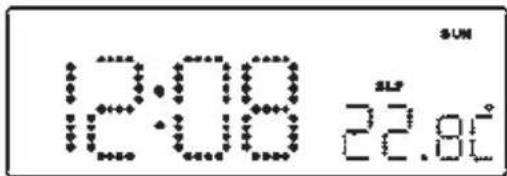
text_image
12:09 22.81° SUNDisplay Show Under Sleep Mode
(Radio Now Turn On)
DST – Daylight Saving Time
Press ◀ button (7) and hold for 3 seconds to toggle on and off DST Function

text_image
1:00 2:28Display Show turn DST icon On
7. THERMOMETER FUNCTION
Remark :
Temperature Range for Indoor : 0 to + 50°C or 32 to 122°F
RADIO OPERATION
- Press the on/off button (9) to turn radio on
- Select MW or FM band using the wave band switch (15)
- Select the Station using the tuning control (16)
- Turn the volume control (14) to adjust volume as required
- Press the on/off button (9) to turn radio off.
Note :
- The MW band use an internal directional aerial. Rotate the radio for best reception.
- Ensure that the FM cord antenna (20) is completely unrolled and extended for best FM reception.
RESET
- The reset button (17) is located on the back of unit. Use a ballpoint pen to press it whenever you change the batteries, or unit is not performing as expected. This will return all settings to default value, and you will lose any stored data (alarm and clock settings).
CAUTION
- No naked flame sources, such as lighted candles, should be placed on the apparatus.
- Do not place the unit in closed bookcases or racks without proper ventilation.
- To prevent fire or shock hazard, do not expose unit to rain or any type of moisture.
- The unit should not be exposed to direct sunlight, very high or low temperature, moisture, vibrations or placed in a dusty environment.
- Do not use abrasive, benzene, thinner or other solvents to clean the surfaces of the unit. To clean, wipe it will mild non-abrasive detergent solution and clean soft cloth.
- Never attempt to insert wires, pins or other such objects into the vents or opening of the unit.
- Do not place the unit near the light on table lamp. The light will affect the reception of the infrared sensor function.
WARNING : To reduce the risk of fire or electric shock do not expose this appliance to rain or moisture.
NOTE : Do not connect FM antenna to outside antenna.
Dripping warning : "The product shall not be exposed to dripping or splashing and that no objects filled with liquids, such as vases, shall be placed on the product."
Ventilation warning : "The normal ventilation of the product shall not be impeded for intended use."
Disconnect device warning : Main plug is used as the connection, so it should always remain ready operate.
INFRARED SENSOR FUNCTION
- The radio Off mode, infrared display alarm 1 and alarm 2 time
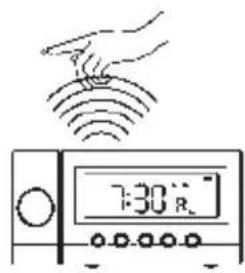
text_image
7:30 R- Hand on top of sensor (6) within 1 second to show the alarm 1 time.

text_image
Diagram showing a hand interacting with a digital timer displaying time and signal waves, likely for smart home or radio system testing.- Hand on top of sensor (6) within 1 second to show the alarm 2 time.
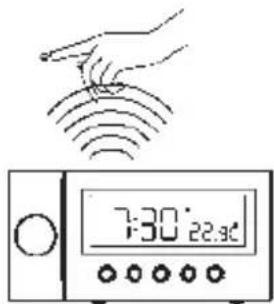
- The radio On mode, use the infrared sensor to turn sleep function on

text_image
30.22s- Hand on top of sensor (6) within 2 seconds to turn the sleep on, the word "Slp" showing on the LED display. Sleep time from 10-90 minutes. (Refer to page 9 for require sleep time adjustment). Press (9) to cancel sleep function.
- The alarm On mode, use the infrared sensor to turn snooze function on
text_image
7:30 22:30- Hand on top of sensor (6) within 1 second snooze off for 9 minutes.
THE LED DIGITAL CLOCK AND THE PROJECTION CLOCK MUST BE SET SEPARATELY
TIME SETTING FOR PROJECTION UNIT
- To preset the HOURS, press simultaneously the HOUR Button (25) and the TIME button (26). Keep them pressed until the hour digits to be preset are displayed.
- To preset the MINUTES, press simultaneously the MINUTE button (24) and TIME button (26). Keep them pressed until the minute digits to be preset are displayed.
- Focus setting: Adjust the projection clock brightness/focus by turning the brightness/focus adjustment wheel (27) until the projected time is clearly shown on the ceiling or wall.
NOTE: PROJECTS TIME IMAGE ON THE CEILING OR WALL OF A DARKENED ROOM.
MAXIMUN PROJECTION DISTANCE IS 3-9 FEET.
Instructions on environment protection

Do not dispose of this product in the usual household garbage at the end of its life cycle; hand it over at a collection point for the recycling of electrical and electronic appliances. The symbol on the product, the instructions for use or the packing will inform about the methods for disposal.
The materials are recyclable as mentioned in its marking. By recycling, material recycling or other forms of re-utilization of old appliances, you are making an important contribution to protect our environment.
Please inquire at the community administration for the authorized disposal location.
DEUTSCH
text_image
12H 22.8°Ctext_image
24 H 22.80°Ctext_image
2:00 52.82°text_image
12:00"8L;text_image
12:00 R Suntext_image
12:00 41 30MAlarm 1 mit Buzzer
text_image
12:00 AL.Alarm 1 mit Radio

text_image
12:00 AL.2Alarm 2 mit Buzzer
text_image
12:00 8L.2Alarm 2 mit Radio
B. Summertöne
text_image
22 M 1.22.80°text_image
90 22.8°C BUNtext_image
12:08 22.81°text_image
Diagram showing a hand interacting with a digital device displaying time, signal waves, and battery status.text_image
7:30'22.94text_image
Technical diagram of electronic device components with numbered labels and component numbers- BOUTON FONCTION "REGLAGES" ("SET")
- BOUTON FONCTION "ALARME"
- SELECTEUR ALARME 1 -BUZZER/RADIO
- SELECTEUR ALARME 2 -BUZZER/RADIO
- SELECTEUR AFFICHEUR TEMPERATURE °C/F°
- CAPTEUR INFRAROUGE
- TOUCHE RECHERCHE ARRIERE
- TOUCHE RECHERCHE AVANT ▷□
- TOUCHE MARCHE/ARRET (Mode alarme"OFF")
- TOUCHE FONCTION SNOOZE/SLEEP
- AFFICHEUR LED
- ECHELLE GRADUEE FM
- PRISE ENTREE AUDIO
- BOUTON VOLUME
- SELECTEUR DE BANDE
- BOUTON RECHERCHE DES STATIONS
- BOUTON "RESET" (REMISE A ZERO)
- CAPTEUR TEMPERATURE
- CORDON ALIMENTATION
- FIL ANTENNE FM
- PLAQUE ARRIERE
- TRAPPE PILE
-
HAUT PARLEUR
-
BOUTON REGLAGE "MINUTES" (projection)
- BOUTON REGLAGE "HEURES" (projection)
- BOUTON REGLAGE HORLOGE (projection)
- BOUTON MISE AU POINT DE LA PROJECTION
- BOUTON ACTIVATION/DESACTIVATION ("ON/OFF") DE LA PROJECTION
- PROJECTEUR
- CAPTEUR INTENSITE