RVCNS-74F - Caméra arrière CRUX - Free user manual and instructions
Find the device manual for free RVCNS-74F CRUX in PDF.

User questions about RVCNS-74F CRUX
0 question about this device. Answer the ones you know or ask your own.
Ask a new question about this device
Download the instructions for your Caméra arrière in PDF format for free! Find your manual RVCNS-74F - CRUX and take your electronic device back in hand. On this page are published all the documents necessary for the use of your device. RVCNS-74F by CRUX.
USER MANUAL RVCNS-74F CRUX
- Allows the integration of an aftermarket backup camera to the factory radio.
- Plug and play wiring for easy installation.
PARTS INCLUDED:
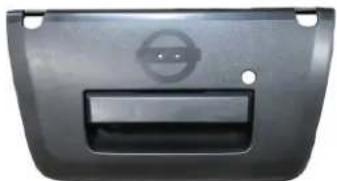
natural_image
Exterior view of a black plastic car door with a circular logo and rectangular opening (no text or symbols visible)
natural_image
Coiled black cable with multicolored wires and a yellow connector (no text or symbols visible)
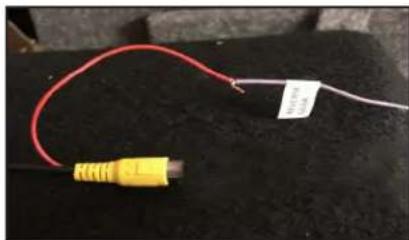
natural_image
Coiled black cable with red and yellow connectors, no visible text or symbolsFrontier Tailgate Handle Camera RVCNS-74F T-Harness 26' Extension Cable
INSTALLATION DIAGRAM:

text_image
32 Pin (Female) To Radio Reverse Gold 32 Pin (Male) To Vehicle Harness GREEN Wire Parking Guide Lines (cut to remove parking lines) WHITE Wire (not used, leave connected) +12V Red (tap to +12V Backup Light wire) Ground - Black (tap to Backup Light ground wire)INSTALLATION INSTRUCTIONS:
RVCNS-74F Installation at the Radio:
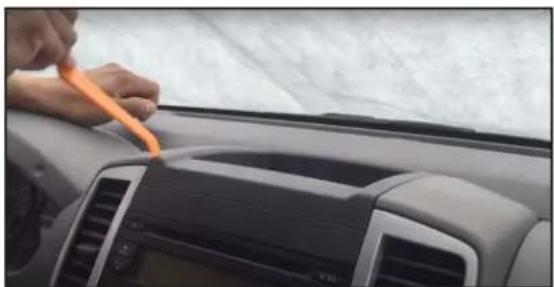
natural_image
Close-up of hands cleaning a car dashboard with orange tool (no visible text or symbols)- Remove the dash panel above the radio using a pry tool.
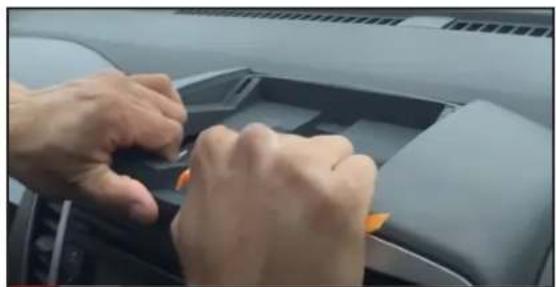
natural_image
Close-up of hands working on a car interior with a handle and seat (no visible text or symbols)- Carefully pull out the radio trim bezel.
natural_image
Interior view of a car dashboard with a hand adjusting the orange stripe (no visible text or symbols)- Use the pry tool to pull put the corners of the radio trim bezel.

natural_image
Close-up of a hand inserting a small white plastic component into a metallic power supply unit (no visible text or symbols)- Unplug the factory radio connector and plug it into the RVCNS-74F t-harness.
Tailgate Handle Camera Installation:

natural_image
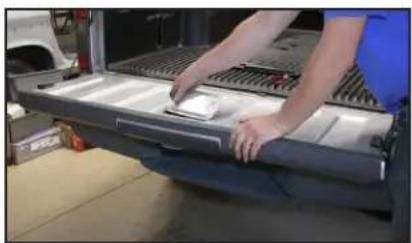
Person using a tool to press or inspect a metal grate (no visible text or symbols)- Remove the screws holding the tailgate liner.

natural_image
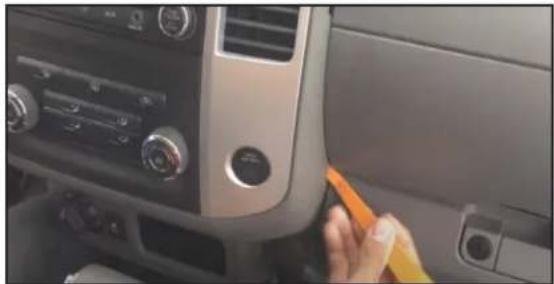
Close-up of a car's front bumper with a yellow circle highlighting a component (no visible text or symbols)- Use a pry tool and pull out 2 plastic rivets on both sides of the tailgate.

natural_image
Close-up of a hand adjusting a metal grating device on a workbench (no visible text or symbols)- Remove the tailgate liner.
natural_image
Person installing or adjusting a car door panel in a workshop (no visible text or symbols)- Remove the cover plate under the tailgate liner.
natural_image
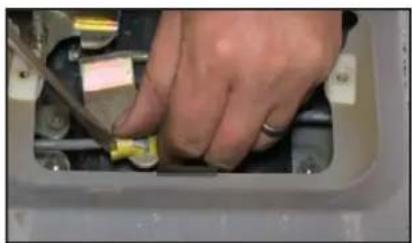
Close-up of a hand using a tool to adjust or install a component, no visible text or symbols- Use a screwdriver to remove the rod retaining clips.
natural_image
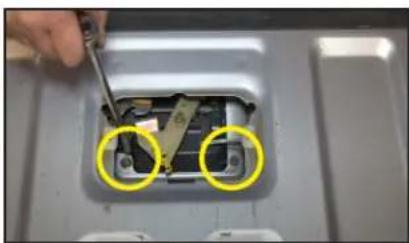
Close-up of a mechanical component being inserted with a wrench, showing two yellow circles highlighting the parts (no text or symbols visible)- Remove the two 10mm nuts securing the tailgate handle.

natural_image
Person adjusting a black rectangular object on a silver vehicle (no visible text or symbols)- Remove the factory tailgate handle assembly. Carefully remove the emblem.

natural_image
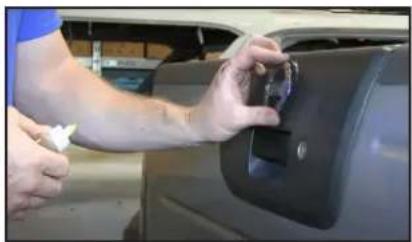
Person in blue shirt using a tool to adjust or install a car door panel (no visible text or symbols)- Install the new tailgate handle camera and run the cable towards the radio. Apply glue for the emblem.
natural_image
Person adjusting a car interior panel with a spray bottle (no visible text or symbols)- The emblem only goes one way. Press on it firmly and let the glue set.

natural_image
Close-up of a green plastic component with a coiled wire being inserted (no visible text or symbols)- Tap the Red wire on the extension cable to +12V on the reverse light. Tap the black wire to ground. See diagram on page 1.
natural_image
Close-up of a red and yellow cable with a white connector, placed on a black textured surface (no text or symbols visible)- Tap the Red wire on the Yellow RCA connector to the wire on the T-harness labeled "Reverse Gear". See diagram on page 1.
natural_image
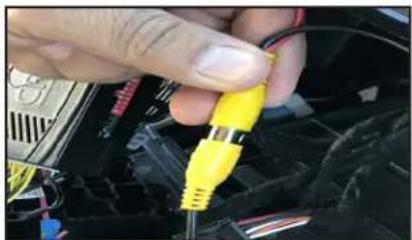
Close-up of a hand inserting a yellow audio jack into a microphone (no visible text or symbols)- Plug the male RCA from the extension cable to the femal RCA on the RVCNS-74F t-harness.

natural_image
Interior view of a car dashboard with digital displays and instrument gauges (no visible text or symbols)- Test the camera for functionality before re-installing the radio.
VEHICLE APPLICATIONS:
NISSAN
2013-2016
Frontier (with 4.3" screen)
NOTE: Not compatible in vehicles with Navigation system.
