ZDSB200S - Subwoofer PHOENIX GOLD - Free user manual and instructions
Find the device manual for free ZDSB200S PHOENIX GOLD in PDF.

User questions about ZDSB200S PHOENIX GOLD
0 question about this device. Answer the ones you know or ask your own.
Ask a new question about this device
Download the instructions for your Subwoofer in PDF format for free! Find your manual ZDSB200S - PHOENIX GOLD and take your electronic device back in hand. On this page are published all the documents necessary for the use of your device. ZDSB200S by PHOENIX GOLD.
USER MANUAL ZDSB200S PHOENIX GOLD
text_image
ZD series INTEGRATIONZDSB200S

natural_image
Top-down view of a black speaker fan with visible blades and mounting holes (no text or symbols)
natural_image
Top-down view of a black speaker fan with visible blades and central hub (no text or symbols)Installation Tools Required
Vehicle used for installation:\*
BMW 3-Series 2018 (F30)
Basic Sound System
*Some differences may occur between different car and year models.
T20 Screwdriver

natural_image
Black and white line drawing of a screwdriver with a star emblem on the handle (no text or symbols)10mm Wrench / Socket
T50 Ratchet Shaft

natural_image
Simple line drawing of a wrench tool (no text or symbols)Drill (3mm)
Pry Tool

natural_image
Abstract geometric shape with a black vertical line and gray curved bands (no text or symbols)
natural_image
Simple line drawing of a wrench with a circular head and stem (no text or symbols)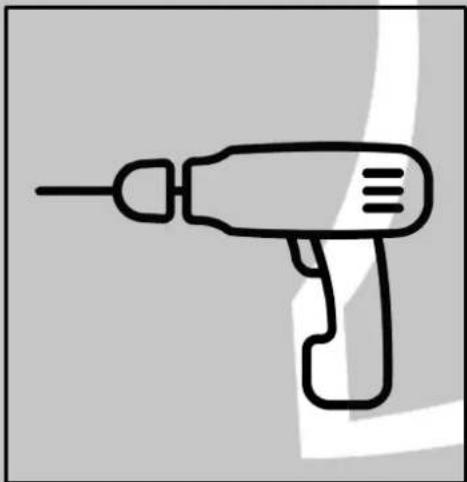
natural_image
Line drawing of a handheld electric drill (no text or symbols)ZDSB200S Installation 1
Tools required:

1x T50 Ratchet Shaft
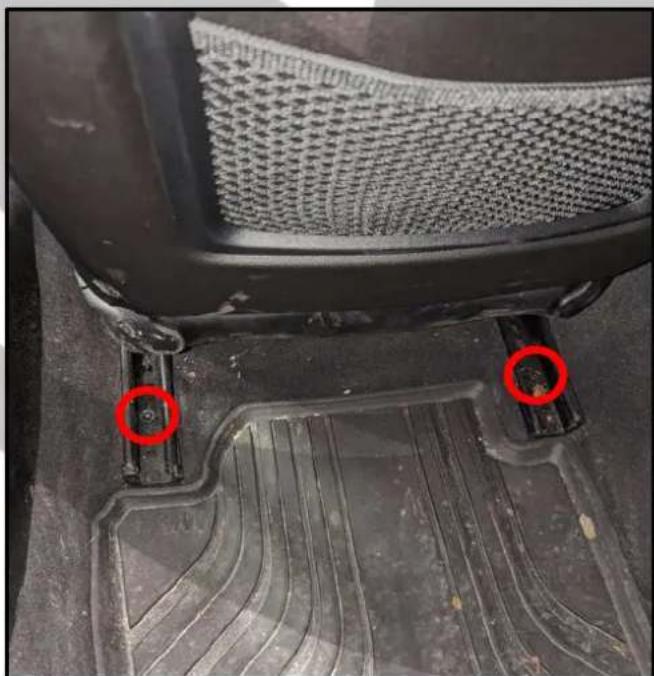
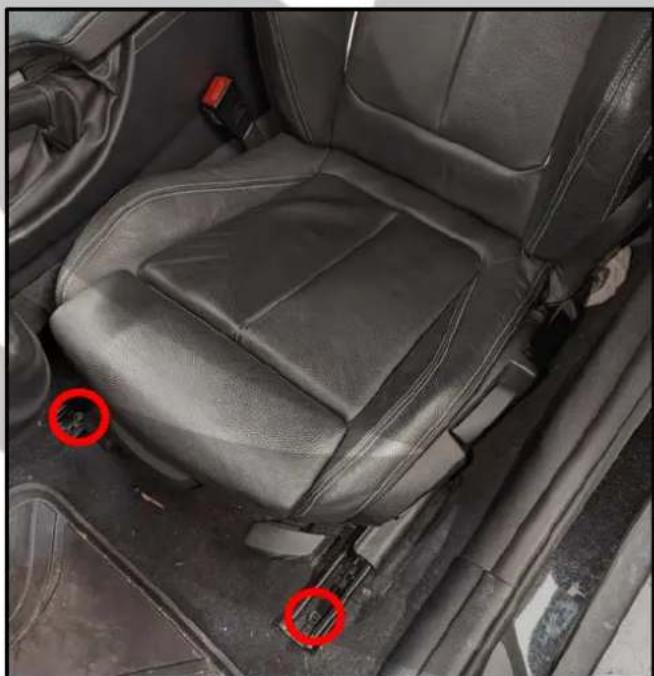
1. Unscrew the front seat bolts

natural_image
Interior view of a car seatbelt and dashboard area showing two red circular annotations highlighting specific areas (no text or symbols present)3. Unscrew the two bolts on the back
natural_image
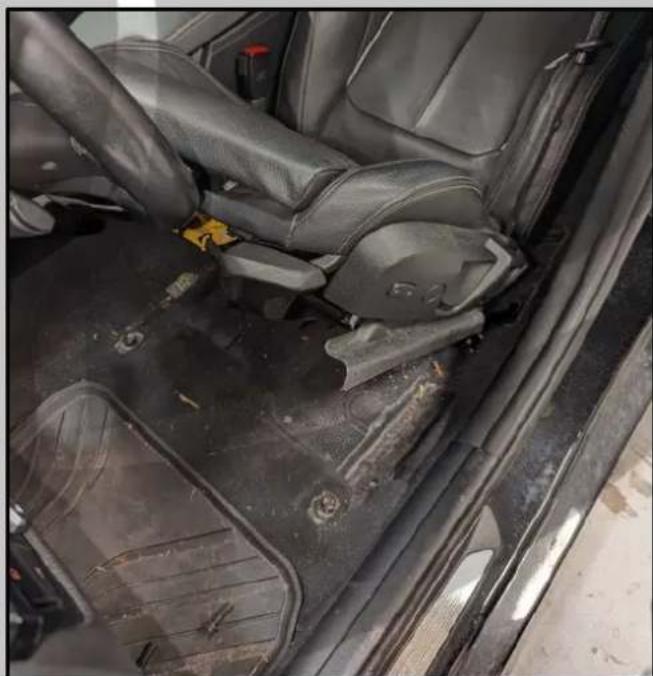
Close-up of a car's seat and footrest with two red circular markers highlighting the front and side (no text or symbols)2. Close-up on the bolt

natural_image
Close-up of a mechanical component with a red circle highlighting a circular feature, placed on a textured surface (no text or symbols visible)4. Tilt the chair back
natural_image
Interior view of a car showing the backrest seat, steering wheel, and dashboard (no visible text or symbols)ZDSB200S Installation 2
Tools required:

1x T20 Screwdriver
5. Unscrew the woofer grill

natural_image
Close-up of a damaged metal component with red circular annotations highlighting features (no readable text or symbols)natural_image
Close-up of a car's side panel showing red arrows pointing to the interior and body (no text or symbols visible)6. OEM Woofer

natural_image
Interior view of a car's seat with a speaker grille and connector (no readable text or symbols)8. Threshold removed
natural_image
Close-up of a car's side panel showing internal components and wiring (no visible text or symbols)ZDSB200S Installation 3
Tools required:

1x 10mm Wrench / Socket
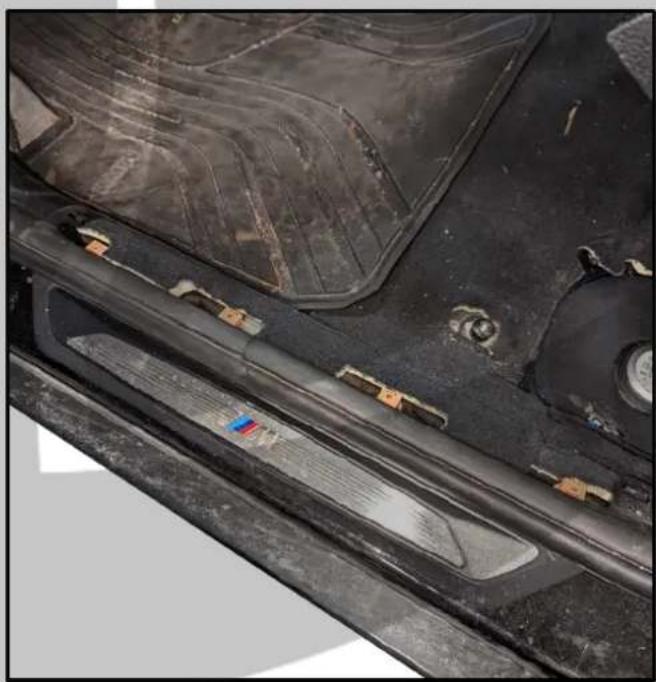
9. Lift up the carpet

text_image
188000 CAM PSB 4304 275 6-97 6513 9210147-0611. Bolts unscrewed
natural_image
Close-up of a mechanical component with visible mounting holes and textured surface (no text or symbols)10. Unscrew the two bolts

natural_image
Close-up of a mechanical component with two bolts and a red circle highlighting a detail (no readable text or symbols)natural_image
Close-up of a car engine component with visible wiring and mounting holes, no text or symbols present.ZDSB200S Installation 4
Tools required:

- Disconnect the speaker connector

natural_image
Close-up of a car's electrical connector with wires and a blue plastic component, no visible text or symbols- Remove the woofer from the plastic

natural_image
Top-down view of a black automotive disc housing with visible internal components and mounting brackets (no text or symbols)- Remove the woofer
natural_image
Close-up of a damaged car interior with exposed wiring and a blue connector (no visible text or symbols)- Use A LOT of force to remove it

natural_image
Close-up of a speaker grille with visible sound waves and a white tape, no text or symbols present.ZDSB200S Installation 5
Tools required:

text_image
1x Drill 3mm 1x PH2 Screwdriver- Pull it up all the way around

natural_image
Close-up of a mechanical component with visible internal structure and mounting bracket (no text or symbols)- Drill holes for the woofer
natural_image
Top-down view of a mechanical component with visible mounting holes and internal cavities (no text or symbols)- Woofer removed from the enclosure

natural_image
Close-up of a mechanical component with internal cavities and mounting holes (no visible text or symbols)- Screw the woofer in place

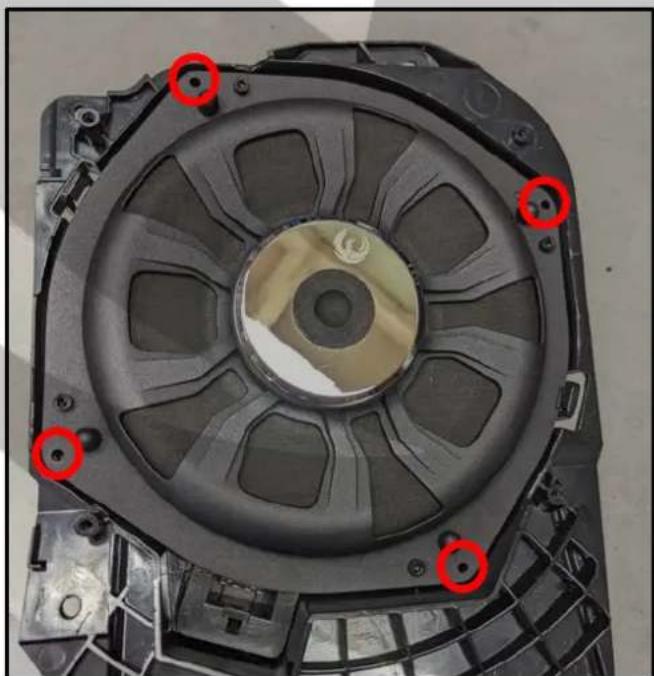
natural_image
Top-down view of a black plastic mechanical component with red circular annotations highlighting specific parts (no text or symbols present)ZDSB200S Installation 6
Tools required:

1x 10mm Wrench / Socket

1x T50 Ratchet Shaft
21. Mount the woofer in the car

natural_image
Close-up of a car's internal battery pack with visible wiring and components (no text or symbols)23. Screwed in place

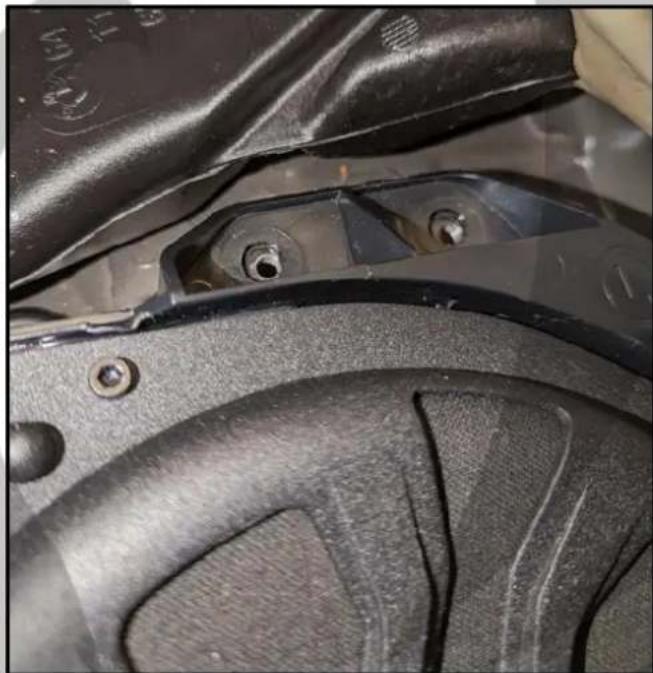
natural_image
Close-up of mechanical components with bolts and clamps (no visible text or symbols)22. Screw it in place
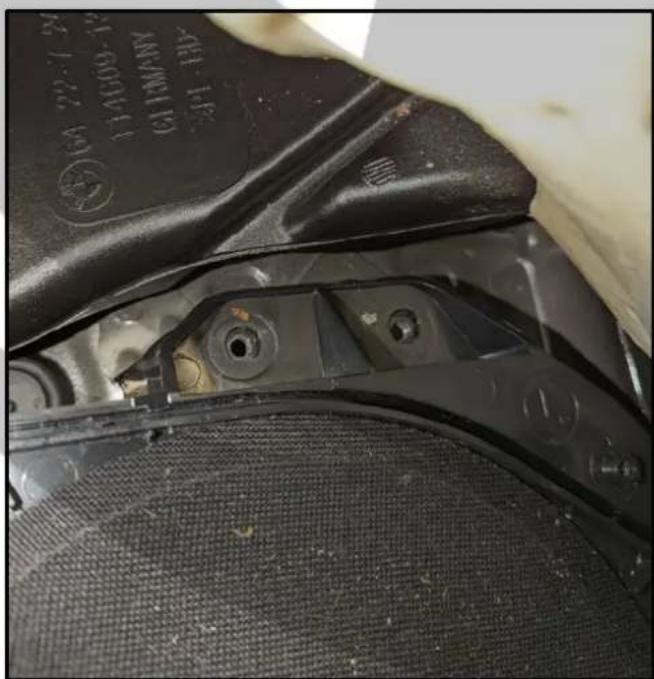
natural_image
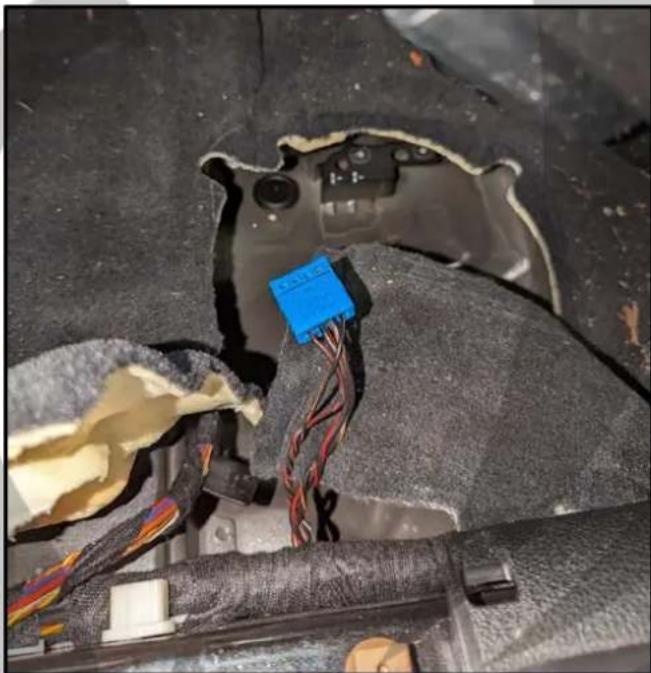
Close-up of a mechanical component with visible bolts and surfaces (no text or symbols)24. Connect the speaker connector
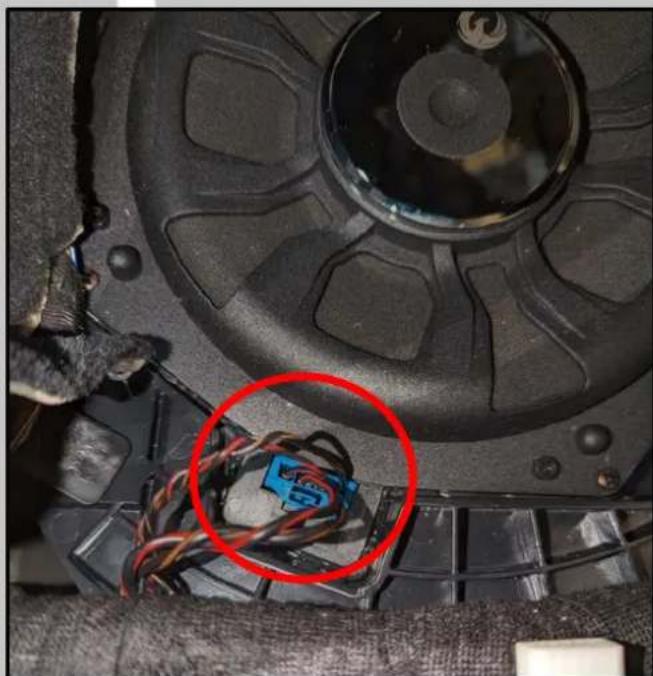
natural_image
Close-up of a mechanical component with wires and a blue plastic component, circled in red (no visible text or symbols)ZDSB200S Installation 7
Tools required:

1x T50 Ratchet Shaft

1x T20 Screwdriver
25. Screw back the woofer grill
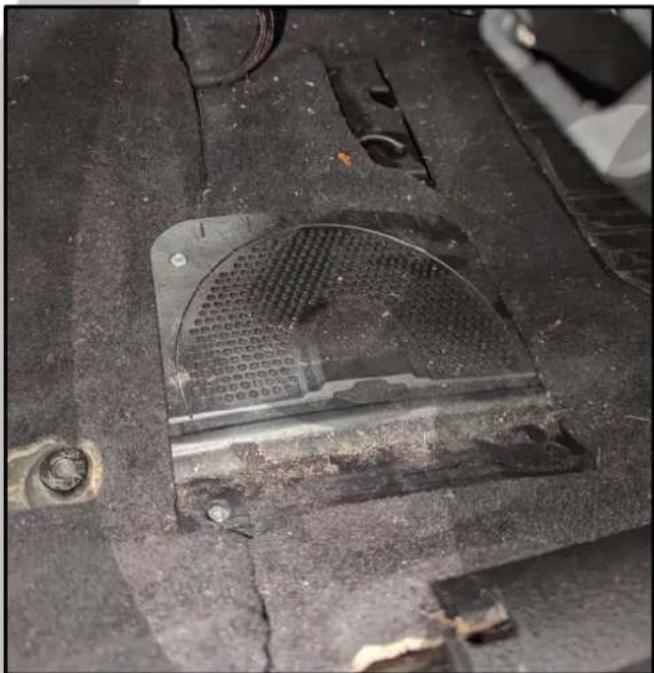
natural_image
Close-up of a damaged car interior with visible structural damage and debris (no text or symbols)27. Screw back the four chair bolts
natural_image
Interior view of a car seatbelt with red circular annotations highlighting specific areas (no text or symbols present)26. Put the chair back down

natural_image
Interior view of a car showing the seat, dashboard, and steering wheel (no text or symbols visible)28. Installation is now complete

natural_image
Stylized orange bird logo within a circular frame, no text or symbols presentOn Behalf of the Phoenix Gold team, Thank you for choosing us!
Your installation is complete and we hope that your new upgraded system will bring you joy and happiness for many years to come when listening to your favorite music. As always, our goal is bringing you The Gold Standard in Sound.