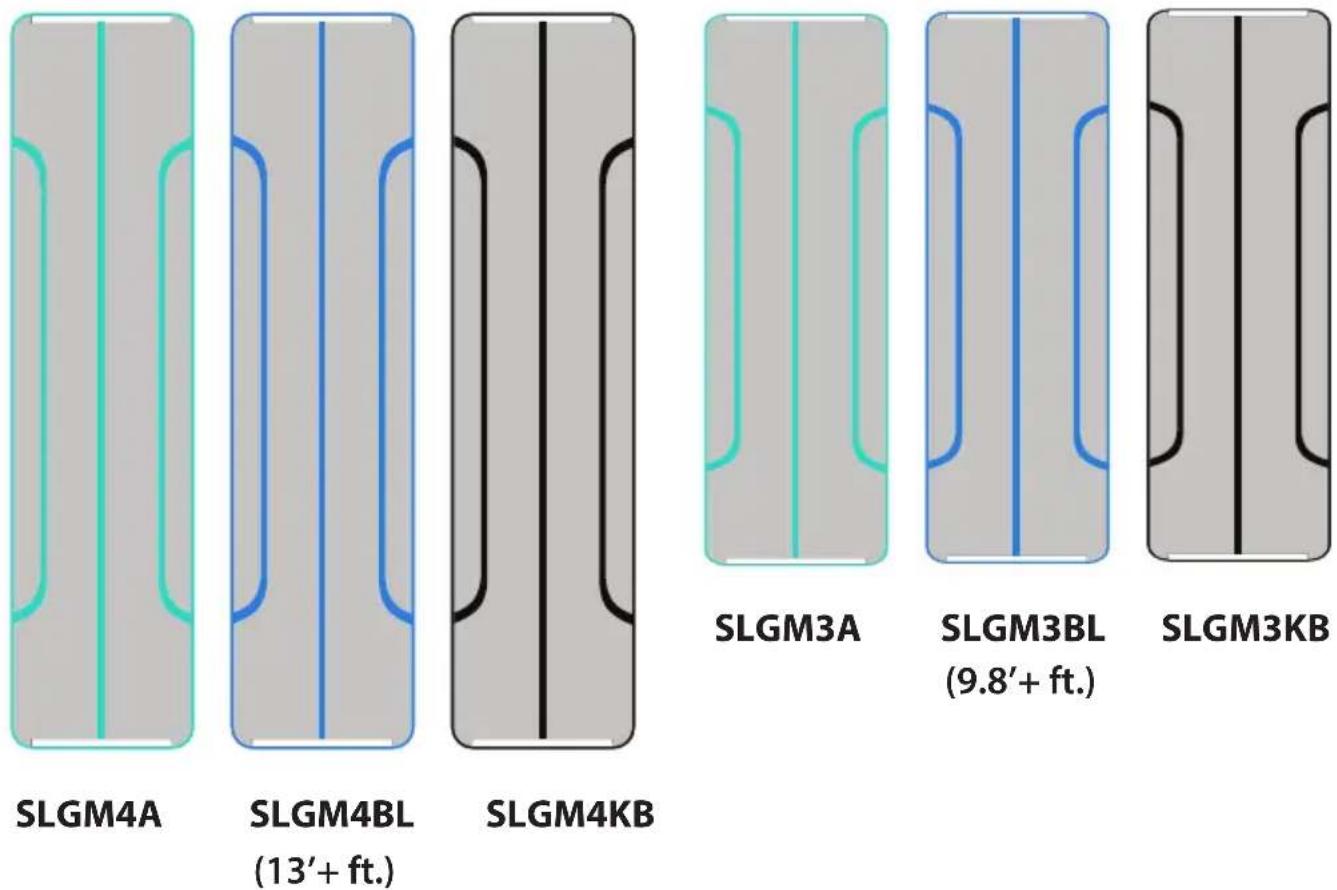
SLGM4A - Fitness Equipment SereneLife - Free user manual and instructions
Find the device manual for free SLGM4A SereneLife in PDF.

User questions about SLGM4A SereneLife
0 question about this device. Answer the ones you know or ask your own.
Ask a new question about this device
Download the instructions for your Fitness Equipment in PDF format for free! Find your manual SLGM4A - SereneLife and take your electronic device back in hand. On this page are published all the documents necessary for the use of your device. SLGM4A by SereneLife.
USER MANUAL SLGM4A SereneLife
natural_image
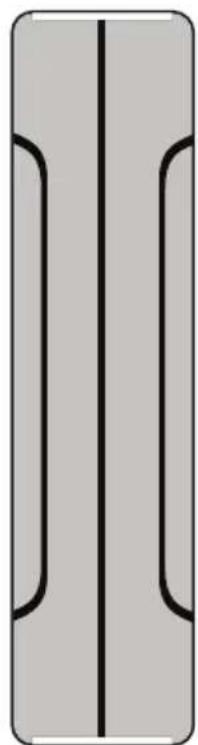
Pure diagram of a vertical rectangular shape with two horizontal cut lines, no text or symbols present.SLGM4A

natural_image
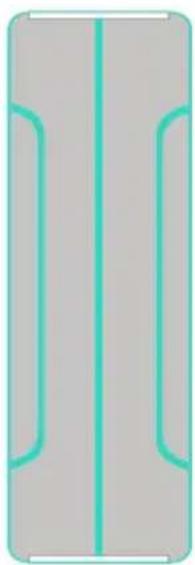
Pure diagram of a vertical line with two curved blue lines on a gray background, no text or symbols present.SLGM4BL
(13'+ft.)
natural_image
Pure diagram of a vertical rectangular shape with internal curved lines, no text or symbols present.SLGM4KB
natural_image
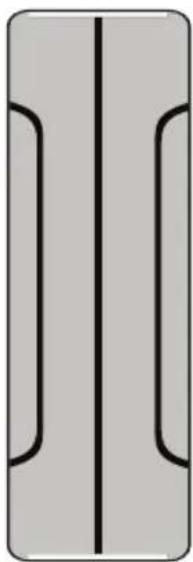
Pure diagram of a vertical rectangular shape with two side cutouts, no text or symbols present.SLGM3A

natural_image
Pure diagram of a vertical line with two curved blue lines on a gray background, no text or symbols present.SLGM3BL (9.8'+ft.)
natural_image
Pure diagram of a vertical rectangular shape with two side cutouts, no text or symbols present.SLGM3KB
SLGM4A - SLGM4BL - SLGM4KB
SLGM3A - SLGM3BL - SLGM3KB
Inflatable Training Air Mat
Gymnastics & Exercise Floor Tumble Mat
USER MANUAL
General Guidelines
- Please read the following instruction carefully and use the product accordingly.
- Please keep this manual and hand it over when you transfer the product.
- This summary may not include every detail of all variations and considered steps. Please contact us when further information and help are needed.
Follow the instructions in the user manual and use only Inflatable Training Air Mat for the prescribed purposes. The manufacturer disclaims any liability for damage to the product or from persons using the product arising from improper or irresponsible use of the product.
SECURITY
Safety instructions for this Inflatable Training Air Mat must be followed as otherwise personal and material damage may occur.
- This Inflatable Training Air Mat is for PRIVATE USE ONLY and must NOT be set up and used publicly or commercially.
- Inflatable Training Air Mat is NOT intended as landing mat, as the mattress has a resilient effect.
- Inflatable Training Air Mat is designed as a training equipment and can be used for gymnastic exercises, yoga exercises, extent.
- Allow only one person to stay on the mattress at a time for gymnastic exercises and the like.
- Keep the surrounding persons away from the mattress when in use.
• Always ensure that the air pressure in the mattress is sufficient (see overview in the manual).
• Always place the mattress on a flat and dry area, free of obstacles. NEVER place the mattress in water or on damp surfaces. - The mattress can slide if running, jumping or braking on it. This can cause injury to persons or objects. Therefore, avoid activities that cause the mattress to slide/move.
• Always set up the Inflatable Training Air Mat in the same area where you will be using it. When changing the location, do not drag the Inflatable Training Air Mat over the surface but carry it by the handles.
If the mattress is used indoors:
- Remove furniture and other objects that are near the mattress.
• Make sure there are no lamps and the like hanging directly over the mattress.
If the mattress is used outdoors:
• Always place the mattress in soft areas/surfaces with (grass, sand, etc.) around the mattress.
- Examine the area for sharp and hard objects and remove them before using the mattress.
- Avoid trees, hanging branches, electrical wires, cords, bushes, walls, fences, swimming pools and the like nearby.
- When installing in sand, place the mattress on a non-woven fabric or similar to avoid damaging the mattress.
- Only use the mattress when it is completely dry. Do not use the Inflatable Training Air Mat in the rain. While inflating the equipment, electrocution may occur and also the surface will be slippery which can cause injuries.
- Never leave the mattress in direct sunlight or at high temperatures. Always unpack the Inflatable Training Air Mat after use.
- The mattress becomes harder when exposed to heat, which might cause over pressure. if the mattress punctures. It is recommended to regulate the air pressure in the mattress to the minimum when not in use.
- The mattress loses equivalent pressure when the surrounding temperature drops, and must therefore regulate the pressure more often.
- Do not wear shoes while on an Inflatable Training Air Mat for they may damage the surface. Use any gym mat shoes or socks with rubber coating on the bottom.
• Empty the pockets for items before exercising on the mattress.
- Never wear sharp objects (jewelry, watches, keys, etc.) or near the mattress.
- Never land near the valve (approx. 20 cm). Landing near the valve opening can create overpressure and valve overload.
- If the mattress is to be moved, lift it in the handles. Avoid unnecessary wear: never drag the mattress over the floor/ground.
- Never use a faulty mattress. Make sure to repair the damage before re-using the mattress.
STORAGE AND CLEANING
• Always store the mattress in the supplied storage bag.
- Never pack a damp mattress together. Always leave the mattress dry before packing.
- The mattress can be cleaned with a damp cloth with water and a mild detergent.
NEVER use harsh cleaning agents on the mattress.
- Clean the mattress after each use to avoid bacterial formation.
INSTRUCTIONS
The mattress can be pumped up according to the purpose for which it is to be used. The following pressure scale is a recommendation and should be followed.
| Body Weight | Pressure |
| 20 - 30 kg 0.7 | - 0.8 bar |
| 30 - 60 kg 0.8 | - 1.0 bar |
| 60 - 90 kg 1.0 | - 1.4 bar |
| 90+ kg 1.4 | - 1.5 bar |
The hardness of the mattress is essential for comfort and for the quality of the workout to be performed on the mattress.

text_image
0.7 bar 0.8 bar 1.0 bar 1.4 bar- A hard mattress is recommended for experienced users
- A medium hard mattress provides more suspension and is for the easy-to-use user
- A soft mattress is recommended for beginners
The mattress should never be pressed down when used. There must be sufficient pressure in the mattress to keep the user free from the substrate. Always test the pressure on the mattress before use. Hop anyway, straight up when standing on the mattress, and notice if the feet pushes the mattress all the way down, then the substrate can be felt, then adjust the pressure on the mattress.
SETUP
-
Find a suitable surface to place the mattress on.
-
Make sure the surface is flat and free of sharp objects.
-
Fold out the mattress so it is in full length.
-
Place the mattress on the substrate so that the valve is easily accessible.
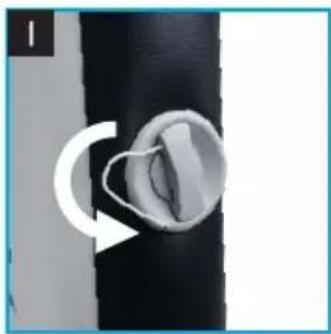
-
Screw the cap of the valve opening as shown in Fig.
-
Install the air pump as shown on picture 2.
NOTE: Always use a manual pump. NEVER use a compressor to pump up the mattress.
- Pump the mattress up to the desired air pressure. The air pump is equipped with BAR meter as shown in picture 3. See pressure scale in the manual.
NOTE: Never pump the mattress up to 1.5 bar.
-
Replace the cap on the valve opening.
-
If the pressure on the mattress is to be down-regulated, unscrew the cap from the valve opening and press the valve as shown in picture 4.
Screw the cap on the valve opening again after adjustment.
Your Training Air Mat is now ready for use. Enjoy!
natural_image
Close-up of a black cylindrical object with a circular inset showing a curved arrow, no visible text or symbols.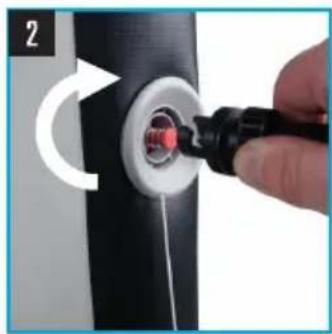
natural_image
Close-up of a hand inserting a red sensor into a black cylindrical device (no text or symbols visible)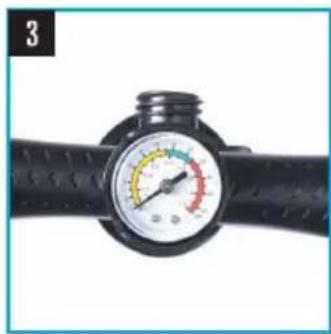
natural_image
Close-up of a black pressure gauge with color scale and adjustment knob (no text or symbols visible)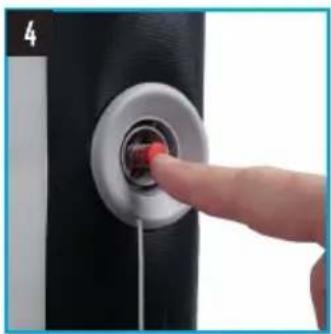
natural_image
Close-up of a hand pressing a button on a black wall, with no visible text or symbolsPACKING
Always have good patience when packing the mattress.
-
Remove all objects on the mattress.
-
Press the valve all the way in and release again so that the valve snaps into open position as shown in Figures 5 and 6. Press the valve in the bottom and release again to close the valve again.
-
Carefully press all air out of the matress and fold it together. Make sure to dry the dirt and dirt of the mattress as it folds.
- Pack older a damp mattress together.
- If the valve is loose, it can be tightened by attaching the valve handle to the valve and turn the valve clockwise as shown in Figure 7.
Be careful not to over-tighten the valve.

natural_image
Hand holding a white cylindrical device with red internal components, next to a black padlock icon (no text or symbols)
natural_image
Close-up of hands adjusting a mechanical component with an open padlock icon (no text or symbols visible)
natural_image
Hand holding a black door handle with a circular button, showing a curved arrow indicating rotation (no text or symbols)LAPPING
If the mattress is punctured it is important to be careful with the patch. Locate the hole in the mattress and clean an area at about 10 cm. in diameter around the hole.
a. Cut a round cloth with a diameter of min. 7 cm. The lid of the repair kit can be used as a template then part measures 7 cm. in diameter.
b. Cover the area around the hole with the paint tape.
c. Apply glue to the area. and use it with a small brush
d. Attach the tab and apply pressure to secure it, let the appliance dry for 24 hours.

text_image
a Lap Diameter 7 cm
natural_image
Circular diagram with segmented rectangular shapes, no text or symbols present
natural_image
Illustration of a green glue stick inside a circular frame with paper cutouts (no text or symbols)FOLDING GUIDE
- Place the mattress on a flat surface.
- Fold in both sides so that the mattress is approx. 40 cm wide.
- Fold a piece of approx. 55 cm. suitable with the lower handles NOT folded.
- Fold a piece of approx. 65 cm. so the fold ends at the upper handles.
- Fold a piece of approx. 25 cm. from the top.
- Fold the entire mattress together and pack it into the bag.

flowchart
graph TD
    A["1 ACTIVITY MAT"] --> B["2 IT"]
    B --> C["3 IT"]
    C --> D["4 IT"]
    D --> E["5 IT"]
    E --> F["6 Storage Box"]
TROUBLESHOOTING
| Problem | Cause | Solution |
| The mattress loses air | Puncture | Locate the hole and use the included repair kit to insert the hole |
| Temperature drop | Adjust the pressure in the mattress with the air pump | |
| The valve is stuck | press the valve to loosen it. Check the valve opening and remove any. dirt and dirt | |
| The mattress has become tough | Temperature Rise | Adjust the pressure in the mattress by pressing the valve |
SLGM4A - SLGM4BL - SLGM4KB - SLGM3A - SLGM3BL - SLGM3KB
Inflatable Training Air Mat
Gymnastics & Exercise Floor Tumble Mat
Features:
• Gym & Fitness Exercise Inflatable Floor Mat
• Comfortable & Bouncy Tumble Mat Design
• Lightweight, Portable Tumbling Air Mattress Style
• Used for Yoga, Gymnastics, Cheerleading, Martial Arts Training
• Waterproof Rated Design for Poolside Water Sport Activities
• Extra Wide Track Pad Cushion for Full Body Support
• Velcro Straps to Prevent Sliding on Carpet
- Convenient Handle Grips for Transport
• Durable, Thick Puncture-Resistant Material
• Stain-Resistant & Easy-to-Clean
• Includes Electric Air Pump
- Indoor & Outdoor Use
- Quick-Access Valve Cap for Inflating / Deflating
- Fun for All Ages: Great for Home Gyms & Children Playrooms
What's in the Box:
- Inflatable Air Mat
- Electric Air Pump
- Storage / Travel Bag
- Patch Repair kit
Technical Specs:
- Recommended Air Pressure: 2.4 PSI (0.1654 Bar) MAX
- Construction Material: Drop Stitch Layered, Reinforced PVC Polyester
• PVC thickness of each side: 0.8mm
• Maximum Weight Capacity: 250 lbs.
• Power Cable Length: 5.9' ft.
• Power Supply, Electric Air Pump: 120V - Deflated / Rolled-Up Air Mat Size (L x W x H): 7.9" x 7.9" x 39.4"-inches
- Total Inflated Air Mat Size (L x W x H): 118.0" x 39.4" x 4.0"-inches
Questions? Issues?
We are here to help!
Phone: (1) 718-535-1800
Email: support@pyleusa.com