7236CABINET - Computer accessory StarTech.com - Free user manual and instructions
Find the device manual for free 7236CABINET StarTech.com in PDF.

User questions about 7236CABINET StarTech.com
0 question about this device. Answer the ones you know or ask your own.
Ask a new question about this device
Download the instructions for your Computer accessory in PDF format for free! Find your manual 7236CABINET - StarTech.com and take your electronic device back in hand. On this page are published all the documents necessary for the use of your device. 7236CABINET by StarTech.com.
USER MANUAL 7236CABINET StarTech.com
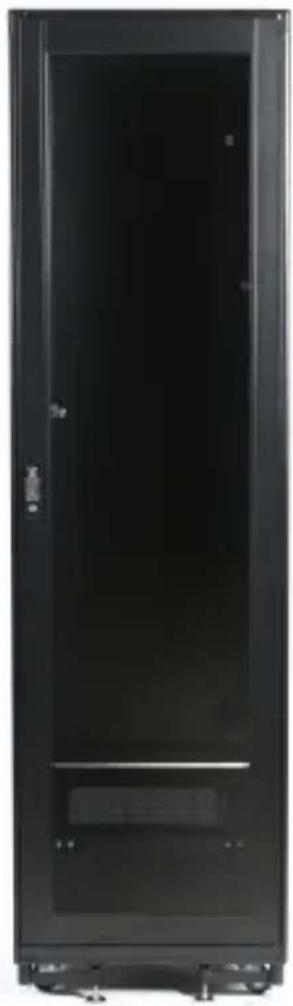
Black Standard Universal Server Rack Cabinet Shelf
7236CABINET
natural_image
Black server rack cabinet with visible door, ventilation slots, and mounting base (no text or labels)*actual product may vary from photos
For the most up-to-date information, please visit: www.startech.com
Use of Trademarks, Registered Trademarks, and other Protected Names and Symbols
This manual may make reference to trademarks, registered trademarks, and other protected names and/or symbols of third-party companies not related in any way to StarTech.com. Where they occur these references are for illustrative purposes only and do not represent an endorsement of a product or service by StarTech.com, or an endorsement of the product(s) to which this manual applies by the third-party company in question. Regardless of any direct acknowledgement elsewhere in the body of this document, StarTech.com hereby acknowledges that all trademarks, registered trademarks, service marks, and other protected names and/or symbols contained in this manual and related documents are the property of their respective holders.
Table of Contents
Introduction ....1
Package Contents....1
Installation 2
Shelves....3
Doors 4
Stabilizer Feet 5
Front Legs 5
Air filter 6
Technical Support 7
Warranty Information ....7
WARNING! To prevent bodily injury, please ensure that the rack is installed in a structurally sound environment with a level floor and that all hardware has been assembled securely, and checked for stability before loading equipment. When installing equipment into the rack, start from the bottom of the rack first and move upwards, keeping the heaviest equipment at the bottom to avoid a situation where the rack becomes top-heavy.
Introduction
The StarRack cabinet is a high quality, lockable, secure and dust-reduced environment for rackmount servers and network equipment. This sturdy, spacesaving unit is made from extruded aluminum for an appealing appearance. A standard lockable smoked plexiglass see-through front door and solid aluminum rear door provides quick access to equipment. The internal front and rear mounting rails are completely depth adjustable to fit virtually any piece of equipment. A standard roof-mounted triple motor AC fan unit and high-flow air filter below the rear door provide up to 300 CFM of bottom to top air flow through the cabinet, removing the heat produced by the enclosed equipment. In addition to the standard equipment that are options on most other cabinets, the StarRack cabinet also has a full compliment of optional accessories like fixed shelving, storage drawers, keyboard drawers, front panel spacer plates and slide-out shelves.
Package Contents
• Fixed Shelf for 7230CABINET
Installation
Although the StarRack cabinet itself comes fully assembled, you may have purchased accessory products that require some installation and assembly.
Posts
Depending on the size of the device you are mounting or the type of mounting brackets that are used, you may want to move the posts forward or back, or replace the cabinets posts. To do this, simply remove the front and back posts from the fixed rails by removing the screws which secure them to the rails. Move the nuts to the location where you would like the post to go. Align the holes on the posts with the nuts and secure the posts to the rails.

natural_image
Close-up of a white cabinet or shelf with metal clamps and a door, no visible text or symbols
natural_image
Close-up of a black door lock with a grid of buttons and a lock switch, next to a white panel with vertical slots (no visible text or symbols)-
For the posts you will need to insert the cage nuts, which are supplied, where you would like the device to go. To insert the cage nut press on either side of the nut. Insert the clamps into the hole and release the nut. Screw the device into place.
-
If your device has mounting brackets with hooks, just hook the bracket to the position where you want your device to go.

natural_image
Close-up of a hand holding a small mechanical component, possibly a switch or connector (no visible text or symbols)Shelves
Determine the type of shelf to be installed, Sliding or Fixed.
Fixed Shelf Sliding Shelf

natural_image
Close-up of a white shelf with metallic buttons and a small circular object on the side (no text or symbols visible)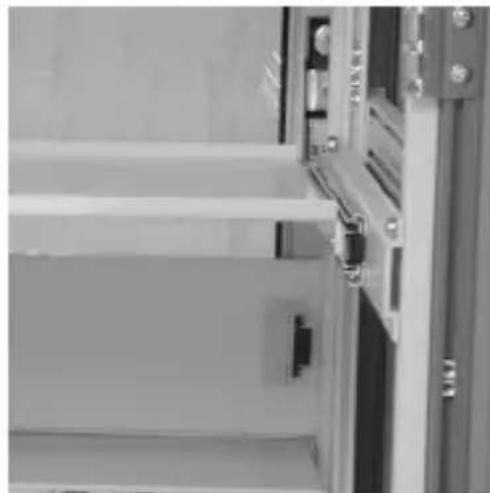
natural_image
Close-up of a metallic door or cabinet with visible metal clamps and mounting brackets (no text or symbols)Fixed
This type of shelf is secured to the front of the cabinet rails and does not move. For short shelves simply screw the shelves into place to the front posts of the cabinet. For deeper ones, determine the desired height that you want to install the shelf at. Slide the nuts to the desired location so that they line up with the holes in the shelf and fasten the shelf's brackets with the provided screws to the front of the post.
Sliding
Determine the desired height that you want to install the shelf at. Slide the nuts to the desired location so that they line up with the holes on the shelf's mounting bracket. You will want the slide rail apart in order to access the holes properly. To do this open the rail and push the black lever up. Holding the level up, pull the two pieces of the rail apart. Using the screws provided screw to the mounting brackets to the front and rear posts. The front of the shelf's brackets should be fit snugly against the front of the post.
Doors
There are 2 doors on each cabinet. Both the front and rear doors are removable. To remove them, pull down the top tab while holding the door with the other hand. The top should fall out of place. Pull up on the bottom tab and lift door out of the frame. The same method can be applied to the rear door.

natural_image
Close-up of a white door with black arrows pointing to the door panel, no visible text or symbolsThere maybe times when you would like the door to open to the other side. The front door can be changed to open to the other side. Remove the door and turn it so that the handle is on the other side. Insert the pegs into the holes and close the door.

natural_image
Interior view of a single electrical cabinet with open door (no text or symbols visible)Stabilizer Feet
Though each cabinet is equipped with wheels for easy movement, there may be times when you would prefer that the cabinet not be mobile. There are two adjustable legs on the back of the cabinet. To lower them use a wrench and turn them until the legs are lowered enough that the wheels are slightly off the ground.

natural_image
Close-up of a mechanical assembly with a metallic bolt and threaded shaft (no visible text or symbols)Front Legs
There are two leveler legs on the front of the cabinet. We suggest that they be used to ensure that the cabinet does not tip forward when a heavy drawer is pulled out. To do this, grab the end of the legs and pull them towards you.

natural_image
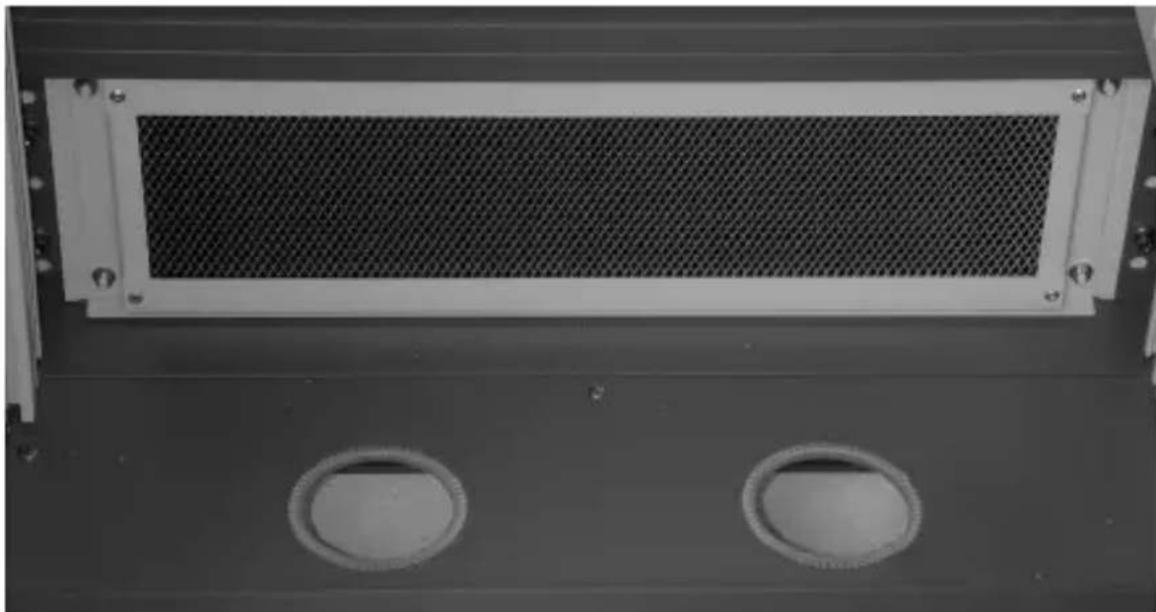
Close-up of a white robotic arm with four legs and feet, resting on a textured surface (no text or symbols visible)Air filter
At times you may find that the filter can get quite dirty. To clean it, unscrew the filter from the cabinet. Wash the filter with soap and water. Rinse well and set it aside to dry. When the foam is dry, return it to its original position in the cabinet.
natural_image
Close-up of a metallic mesh panel with two circular recessed holes on a dark surface (no text or symbols visible)Technical Support
StarTech.com's lifetime technical support is an integral part of our commitment to provide industry-leading solutions. If you ever need help with your product, visit www.startech.com/support and access our comprehensive selection of online tools, documentation, and downloads.
For the latest drivers/software, please visit www.startech.com/downloads
Warranty Information
This product is backed by a lifetime warranty.
In addition, StarTech.com warrants its products against defects in materials and workmanship for the periods noted, following the initial date of purchase. During this period, the products may be returned for repair, or replacement with equivalent products at our discretion. The warranty covers parts and labor costs only. StarTech.com does not warrant its products from defects or damages arising from misuse, abuse, alteration, or normal wear and tear.
Limitation of Liability
In no event shall the liability of StarTech.com Ltd. and StarTech.com USA LLP (or their officers, directors, employees or agents) for any damages (whether direct or indirect, special, punitive, incidental, consequential, or otherwise), loss of profits, loss of business, or any pecuniary loss, arising out of or related to the use of the product exceed the actual price paid for the product. Some states do not allow the exclusion or limitation of incidental or consequential damages. If such laws apply, the limitations or exclusions contained in this statement may not apply to you.
Hard-to-find made easy. At StarTech.com, that isn't a slogan. It's a promise.
StarTech.com is your one-stop source for every connectivity part you need. From the latest technology to legacy products — and all the parts that bridge the old and new — we can help you find the parts that connect your solutions.
We make it easy to locate the parts, and we quickly deliver them wherever they need to go. Just talk to one of our tech advisors or visit our website. You'll be connected to the products you need in no time.
Visit www.startech.com for complete information on all StarTech.com products and to access exclusive resources and time-saving tools.
StarTech.com is an ISO 9001 Registered manufacturer of connectivity and technology parts. StarTech.com was founded in 1985 and has operations in the United States, Canada, the United Kingdom and Taiwan servicing a worldwide market.