LM-1520R - Monitor TV One - Free user manual and instructions
Find the device manual for free LM-1520R TV One in PDF.

User questions about LM-1520R TV One
0 question about this device. Answer the ones you know or ask your own.
Ask a new question about this device
Download the instructions for your Monitor in PDF format for free! Find your manual LM-1520R - TV One and take your electronic device back in hand. On this page are published all the documents necessary for the use of your device. LM-1520R by TV One.
USER MANUAL LM-1520R TV One
natural_image
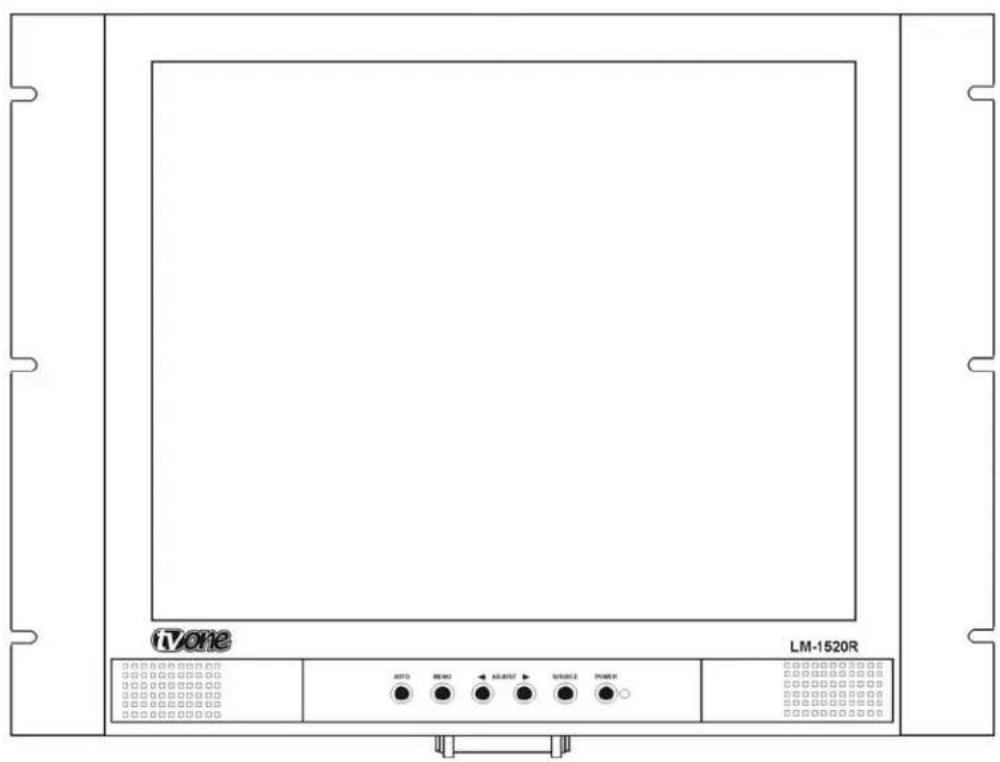
Front view of a black CRT monitor with control buttons and ventilation grilles (no visible text or symbols on the screen)Instruction Manual
LM-1520R and LM-1920R Color LCD Rackmount Monitors
Table of Contents
1.0 Introduction 2
2.0 Safety Instructions 3
3.0 Intellectual Property 3
4.0 Specifications 4
5.0 Checking Package Contents 5
6.0 Connecting the Hardware 5
7.0 Operating the Unit 9
8.0 Troubleshooting 12
9.0 Limited Warranty 13
10.0 Regulatory Compliance 14
11.0 Contact Information 14
1.0 INTRODUCTION
Thanks for purchasing this LM-1520R or LM-1920R LCD Monitor from TV One. The LM-1520R and LM-1920R LCD Monitors are designed to provide superior image displays under a variety of conditions and operate as either rack mount or desk top devices.
Our professional video conversion products have been serving the industry for over twenty years. TV One offers a full line of high quality Seamless Switchers, Video Scalers, Up/Down/Cross Converters, Analog-Digital Converters (SD/HD-SDI, HDMI, DVI), Format Converters, Standards Converters, TBC/Frame Synchronizers, Matrix Routing Switchers, Signal Distribution Amplifiers and Cat.5 Transmission Systems.
1.1 Liability Statement
Every effort has been made to ensure that this product is free of errors. TV One cannot be held liable for the use of this hardware or any direct or indirect consequential damages arising from its use. It is the responsibility of the user of the hardware to check that it is suitable for his/her requirements and that it is installed correctly. All rights reserved. No parts of this manual may be reproduced or transmitted by any form or means electronic or mechanical, including photocopying, recording or by any information storage or retrieval system without the written consent of the publisher.
TV One reserves the right to revise any of its hardware and software following its policy to modify and/or improve its products where necessary or desirable. This statement does not affect the legal rights of the user in any way.
All third party trademarks and copyrights are recognised. The TV One logo, AV Toolbox logo, TV One-task and CORIO are the registered Trademarks of TV One. All other trademarks are the property of their respective holders.
1.2 Features
The LM-1520R and LM-1920R Color LCD Monitors have many features that enable them to perform in a superior manner. Among those features you will find:
• High Resolution Computer Images Support
• VGA or DVI-D Inputs
• 3D Comb Filter & 3D De-interlacing
- 6500k or 9300k color temperature
- Stereo PC Audio Input
- Two Composite Video Inputs with Looping Outputs
- S-Video Input
- Stereo Line Audio In/Out
- Rack Mount or VESA Standard Mount
• Built-In Stereo Speakers
2.0 IMPORTANT SAFETY INSTRUCTIONS
To insure the best from this product, please read this manual carefully. Keep it in a safe place for future reference. To reduce the risk of electric shock, do not remove the cover from the unit. No user serviceable parts inside. Refer servicing to qualified personnel.
2.1 Power and Connections
This unit is not disconnected from the AC power source as long as it is connected to the wall outlet. The off state for this unit is called standby mode. In standby mode the unit is designed to consume a reduced quantity of power compared to normal operating modes. When not using the unit for a long period of time, insure that the AC power cord is disconnected from the wall outlet. The AC wall outlet should be installed near to the unit and be easily accessible. Do not plug in or attempt to operate an obviously damaged unit.
2.2 Water and Moisture
To reduce the risk of fire, do not expose the unit to rain, water or excessive moisture.
2.3 General Care
Do not force switches or external connections.
When moving the unit, disconnect the serial port connections first then the power cable and finally the interconnecting cables to other devices. Do not attempt to clean the unit with chemical solvents or aerosol cleaners, as this may damage the unit. Use a clean dry cloth.
2.4 Location
Installation of this unit should be in a cool dry place, away from sources of excessive heat, vibration, dust, moisture and cold.
2.5 Ventilation
Slots and openings in the sides of the unit are provided for ventilation. To insure reliable operation, avoid obstruction of these openings and insure the unit is installed in a well-ventilated area.
3.0 INTELLECTUAL PROPERTY
Some IC chips in this product include confidential and/or trade secret property. Therefore you may not copy, modify, adapt, translate, distribute, reverse engineer, reverse assemble, or decompile the contents thereof.
4.0 SPECIFICATIONS
LCD Panel LM-1920R LM-1520R
Display Size - Diagonal 48.2cm (19") 38.1cm (15")
Panel Resolution 1280x1024 1024x768
Contrast Ratio 800:1 500:1
Brightness 250 cd/m2 250 cd/m2
Left/Right View Angle 170° 140°
Up/Down View Angle 160° 125°
PC Input Range
Maximum Resolution 1280x1024 1024x768
Vertical Freq Range 60, 75Hz 60, 70, 75Hz
Horizontal Freq Range 31.5-80KHz 31.5-80KHz
Video Input Range NTSC/PAL NTSC/PAL
Vertical Frequency 60Hz/50Hz 60Hz/50Hz
Horizontal Frequency 15.75KHz/15.625Khz 15.75Khz/15.625KHz
Inputs
Composite Video 2x via Looping BNC Connectors
S-Video 1x via 4-Pin Mini-DIN Connector
Stereo Audio 2x via 3.5mm Mini-Stereo Jack
Computer 1x HD-15, 1x DVI-D
Computer Stereo Audio 1x via 3.5mm Mini-Stereo Jack
General
Aspect Ratio 5:4 4:3
Display Element Active Matrix TFT
Video Adjustments Brightness, Contrast, Color, Hue
Speakers Internal – Right & Left Channel
TV Standards NTSC/ PAL Auto-detect
Front Panel Controls
Left, Right Buttons Menu Navigation and Control
Audio Volume Decrease/Increase
Source Select Button Toggle thru inputs
Power Button On/Off Switch
Limited Warranty
Unit, except LCD Panel 3 Years Parts and Labor
LCD Panel Panel Manufacturer's Terms
Mechanical – In Rackmount
LM-1920R Size (H-W-D) 396x482x65mm (15.6"x19"x2.5")
Weight (Net) 6.6 kg (14.5 lbs)
Rackmount 9RU - Tilt Up/Down
LM-1520R Size (H-W-D) 355x482x63mm (14"x19"x2.5")
Weight (Net) 5.1 kg (11.2 lbs)
Rackmount 8 RU - Tilt Up/Down
SPECIFICATIONS – Continued
Mechanical – W/O Rackmount
LM-1920R Size (H-W-D) 396x425x58mm (15.6"x16.7"x2.3")
Weight (Net) 5.6 kg (12.3 lbs)
Wall Mount VESA Standard
LM-1520R Size (H-W-D) 355x390x57mm (14"x15.4"x2.3")
Weight (Net) 4.2 kg (9.2 lbs)
Wall Mount VESA Standard
Environmental
Operating Temperature 0^ to +50^ C ( +32^ to +122^ F)
Operating Humidity Up to 80%, Non-condensing
Storage Temperature -10^ to +60^ C ( +25^ to +140^ F)
Storage Humidity Up to 80%, Non-condensing
Power Requirement
AC Adaptor 90-240 VAC, 50\~60Hz
DC Voltage 12VDC@5A
Regulatory Approvals
Monitors FCC, CE, RoHS
Power Supplies UL, CUL, CE, PSE, GS, RoHS
Accessories Included
1x Operations Manual
1x Rackmount Ears Note: Rackmount Ears Provide Up/Down
10x Screws Tilting
5.0 CHECKING PACKAGE CONTENTS
Before attempting to use this unit, please check the packaging and make certain the following items are contained in the shipping carton:
• 1x LCD Color Monitor
• 1x AC Power Adapter and AC Cord
• 1x Instruction Manual
• 1x Set of Rack Mount Ears
- 1x Power Adapter Mounting Bracket
- 8x Rack Mount Screws
• 2x Screws for Adapter Bracket - 1x RCA audio cord
- 1x PC audio cord
- 1x VGA cord
Note: Please retain the original packing material should the need ever arise to return the unit. If you find any items are missing, contact your reseller or TV One immediately. Have the Model Number, Serial Number and Invoice available for reference when you call.
6.0 CONNECTING THE HARDWARE
Please study the panel drawings on the following pages and become familiar with the signal input, outputs, power requirements/inputs plus any controls present.
LM-1520R Front and Rear Drawings
text_image
iVone LM-1520R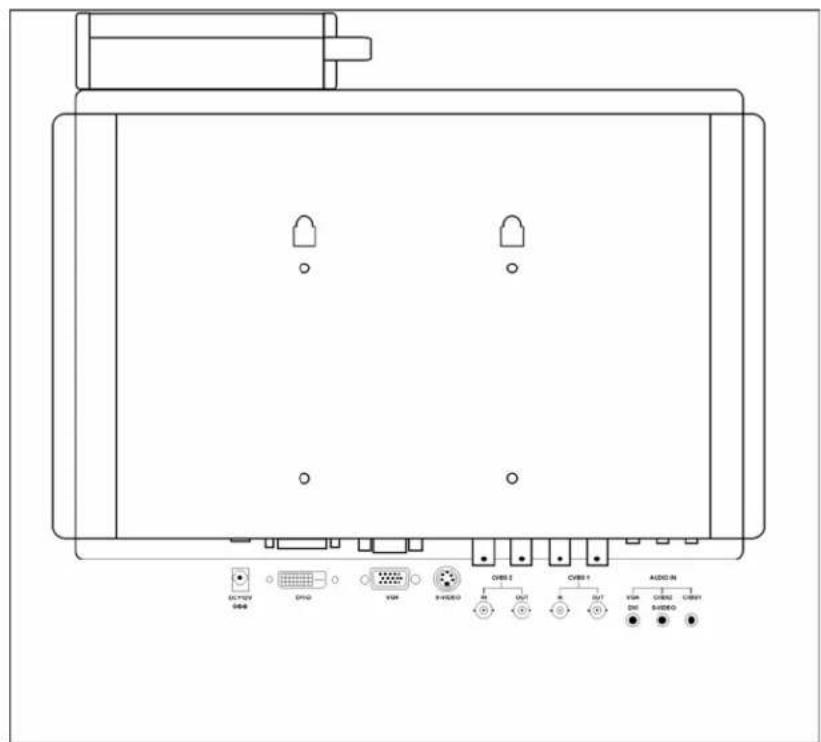
text_image
DC/FOX USB DVD VBR 9+VIDEO OBS 2 OUT AVT AVT AUDIO IN VBR DH 8+VIDEO OBS1 AVT AVT AUDIO IN VBR DH 8+VIDEO OBS1Connector Detail:

text_image
DC +12V DVI-D VGA S-VIDEO CVBS 2 IN OUT CVBS 1 IN OUT AUDIO IN VGA DVI CVBS2 S-VIDEO CVBS1Tilt Stand Detail

natural_image
Technical line drawing of a mechanical assembly with mounting bracket and central vertical rod (no text or symbols)Note:
Installation of the tilt stand is optional and may be omitted if the monitor is to be rack mounted or secured to a wall or other sturdy vertical object using the VESA mount.
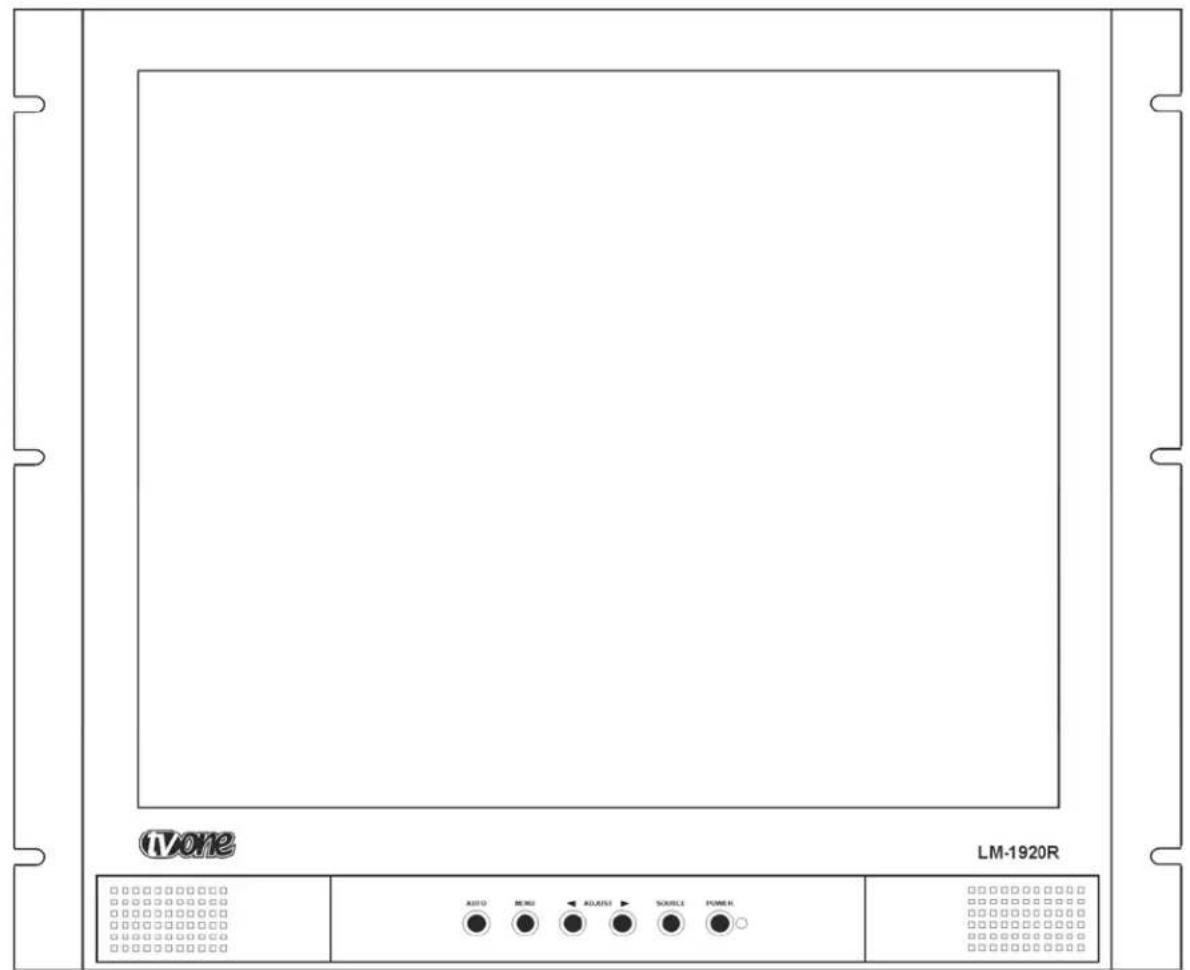
LM-1920R Monitor
text_image
IVone LM-1920R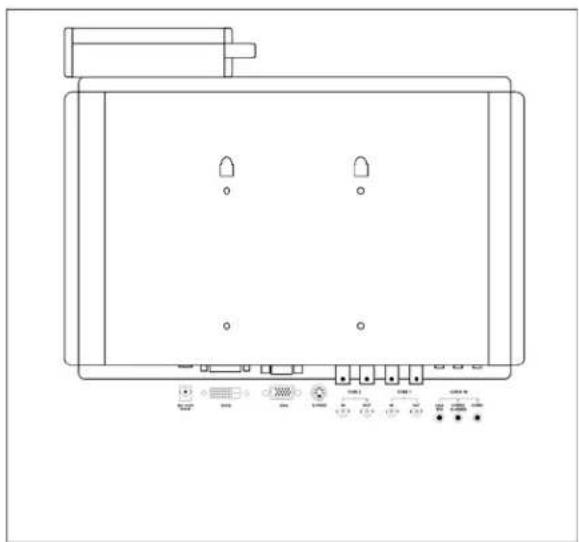
natural_image
Line drawing of a rectangular electronic device with four ports and indicator lights (no text or symbols)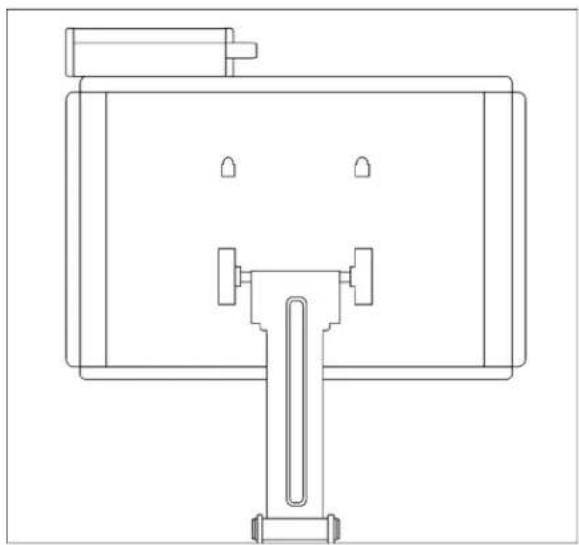
natural_image
Technical line drawing of a mechanical assembly with mounting bracket and support bracket (no text or symbols)An AC Adapter is included with each unit. Insert it into the holder located at the top, rear of the unit. Connect its DC cable to the connector labeled DC +12 and then connect the included AC cable to the AC Adapter. Connect all input cables to the unit and lastly connect the other end of the AC cable to the AC power source.
The LM-1520R and LM-1920R monitors are operated using front panel controls and an On Screen Display (OSD). The controls consist of a group of six buttons located on the lower center of the front panel. Please refer to illustration below and the discussion that follows.

text_image
AUTO MENU7.1 Menu Structure
There are four sub-menus that are used to make adjustments to the monitor via the On Screen Display (OSD) should monitor performance need improvement. Pressing the Menu button begins the selection process. Move the cursor using the adjust buttons and then press the menu button to select the desired sub-menu. Once in the sub-menu, use the adjust buttons to move to the desired activity and press the Menu button again to select the individual function you wish to change. Use the adjust buttons to actually make the change. When you are through making adjustments, press the menu key again to save the adjustment. Move back to the main menu and to another sub-menu via the Adjust buttons. After a period of time determined by the OSD Timeout parameter in the System Sub-menu, the OSD display will disappear.7.1.1. Sub Menu Structure
| IMAGE | PIP | SYSTEM | VGA |
| Brightness | < 55 > | ||
| Contrast | < 50 > | ||
| Color Temp | < 6500 > | ||
| Saturation | < 50 > | ||
| Hue | < 50 > | ||
| Scan Mode | < FULL > | ||
| Sharpness | < 10 > | ||
| 3D Filter | < ON > |
| IMAGE | PIP | SYSTEM | VGA |
| PIP Mode | < | None | > |
| PIP Source | < | CVBS2 | > |
| PIP H. Position | < | 0 | > |
| PIP V. Position | < | 0 | > |
| PIP Swap | > |
| IMAGE | PIP | SYSTEM | VGA |
| OSD Timeout | < | 30 | > |
| OSD H. Position | < | 0 | > |
| OSD V. Position | < | 0 | > |
| Mute | < | OFF | > |
| Channel Display | < | ON | > |
| Auto Source | < | OFF | > |
| Key Lock | < | OFF | > |
| Reset | > |
| IMAGE | PIP | SYSTEM | VGA |
| H Position | < 51 > | ||
| V Position | < 39 > | ||
| Phase | < 6 > | ||
| Clock | < 40 > | ||
| Auto Adjust | > |