
MYC3B - Mobile Phone SAGEM - Free user manual and instructions
Find the device manual for free MYC3B SAGEM in PDF.
Pick your language and provide your email: we'll send you a specifically translated version.
| Product Type | Mobile phone |
| Brand | SAGEM |
| Model | MYC3B |
| Dimensions (H x W x D) | 105 x 45 x 20 mm |
| Weight | 95 g |
| Display Type | Monochrome LCD |
| Screen Resolution | 128 x 64 pixels |
| Battery | Lithium-Ion 700 mAh |
| Standby Time | 200 hours |
| Talk Time | 5 hours |
| Main Features | Calls, SMS, Phonebook, Calendar, Calculator, Alarm |
| Connectivity | GSM 900/1800 MHz |
| Power Supply | Mains charger 5V, 500 mA |
| Maintenance and Cleaning | Clean with a soft, dry cloth |
| Security | PIN code and phone lock code |
| Spare Parts and Repairability | Removable battery and back cover |
| General Information | User manual available for download |
Frequently Asked Questions - MYC3B SAGEM
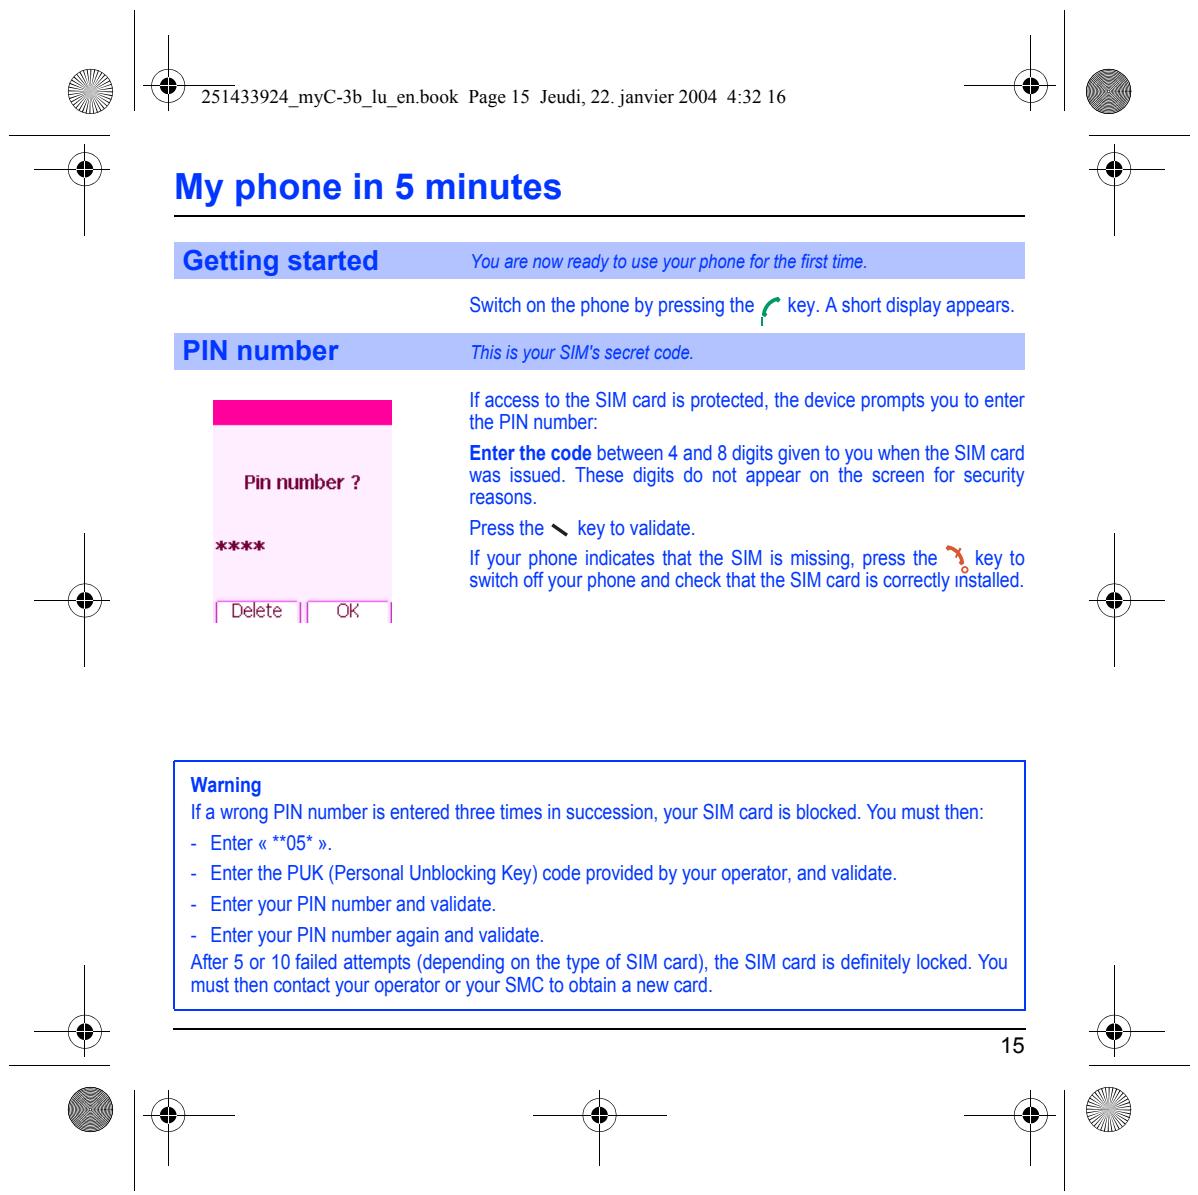
How to turn on and off the SAGEM MYC3B phone?
Press and hold the End/Power button located at the top of the keypad for 2 to 3 seconds until the SAGEM logo appears. To turn off, press and hold the same button until the screen turns off.
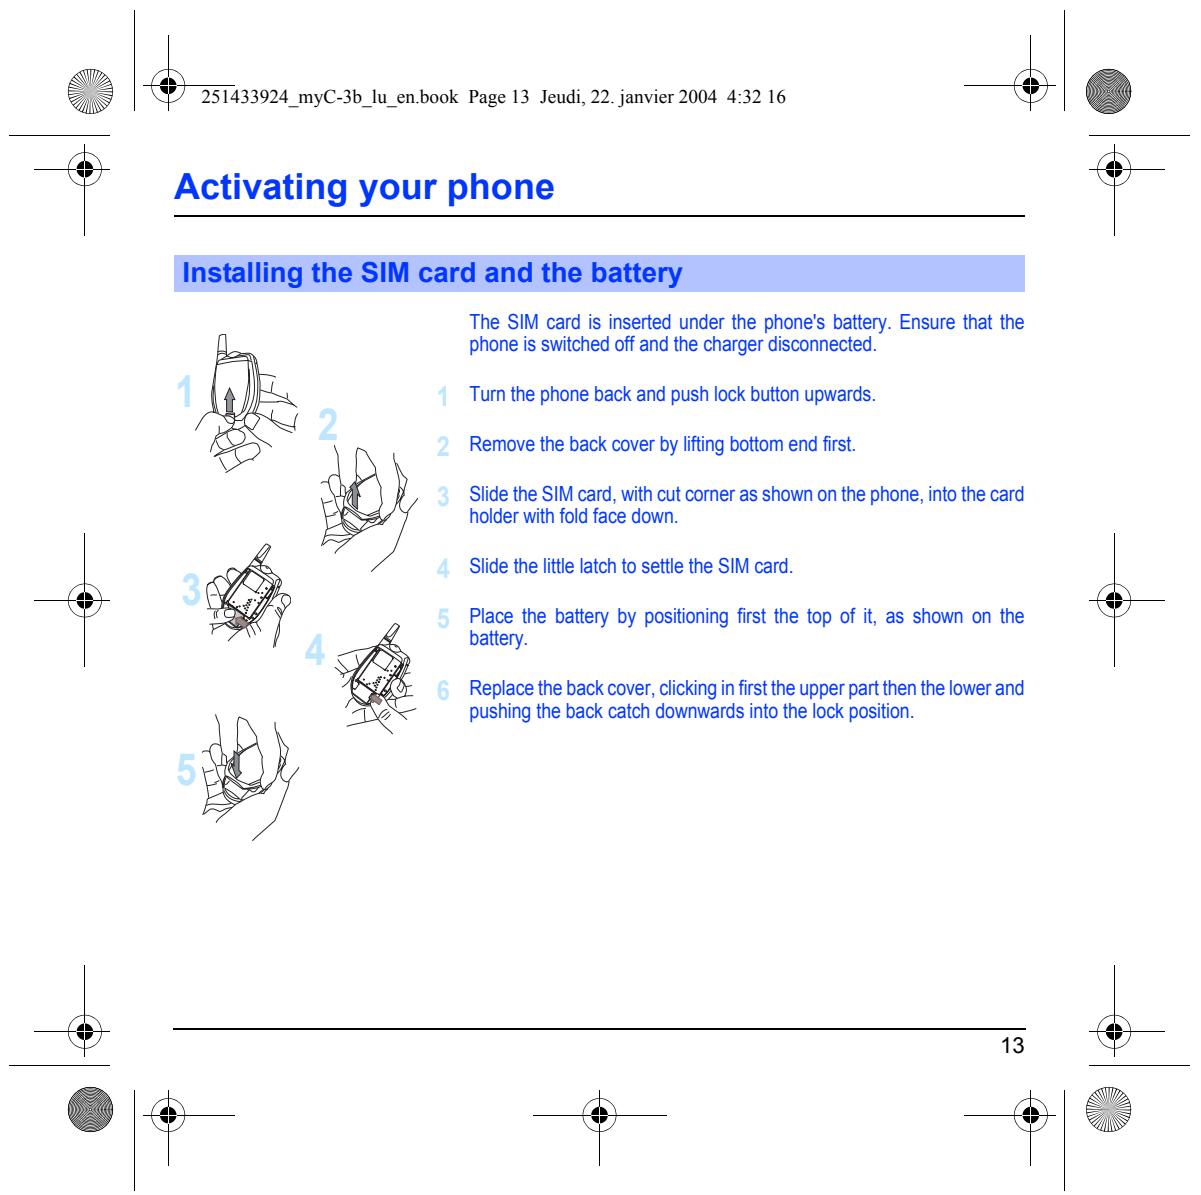
How to insert the SIM card?
Turn off the phone, remove the back cover, take out the battery. Insert the SIM card into the slot with the gold contacts facing down, then put the battery back and replace the cover.
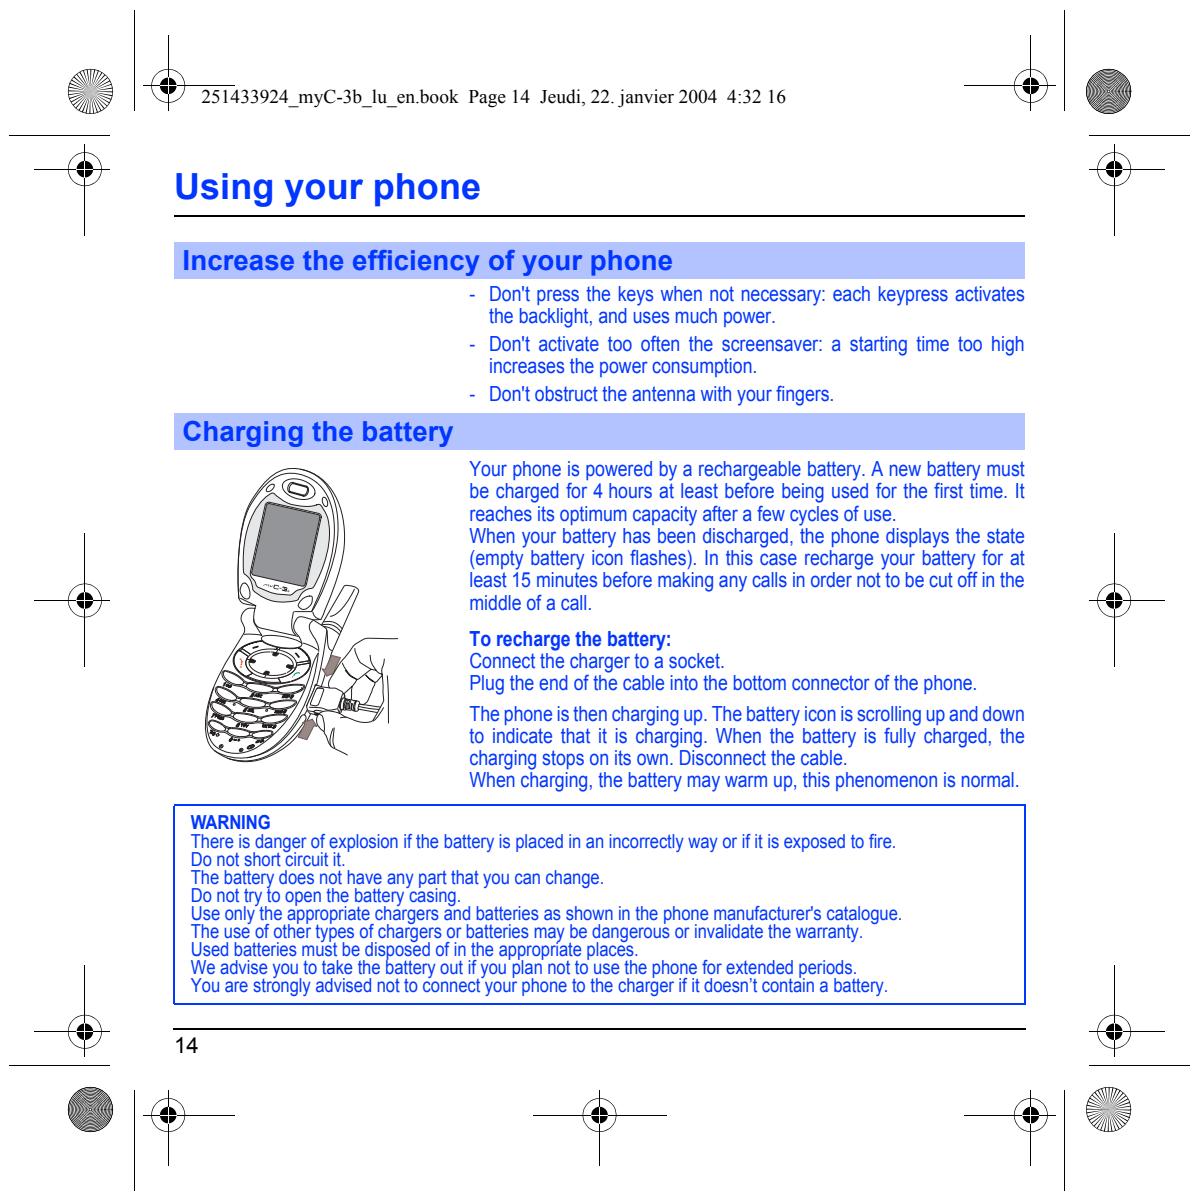
How to charge the battery?
Plug the supplied charger into a mains socket, then connect the small connector to the bottom of the phone. A charging indicator appears on the screen. Full charging takes about 2 hours.
How to adjust the ringtone volume?
In standby, press the side volume keys (+ and -) or go to the Ringtone menu > Volume and select the desired level with the navigation keys.
How to make a call?
Dial the number using the keypad, then press the Call key (green). To hang up, press the End key (red).
How to send an SMS?
Go to Messages > New message. Type the text using the keypad (multi-tap for letters), then press Options > Send. Enter the recipient's number and confirm.
How to add a contact to the phonebook?
Go to Phonebook > New contact. Enter the name and number using the keypad, then confirm with OK. The contact is saved.
How to set the alarm?
Go to Tools > Alarm. Choose Activate, set the time with the numeric keys, then confirm. To deactivate, repeat and select Deactivate.
How to change the menu language?
Go to Settings > Language. Select the desired language (French, English, etc.) with the navigation keys and confirm.
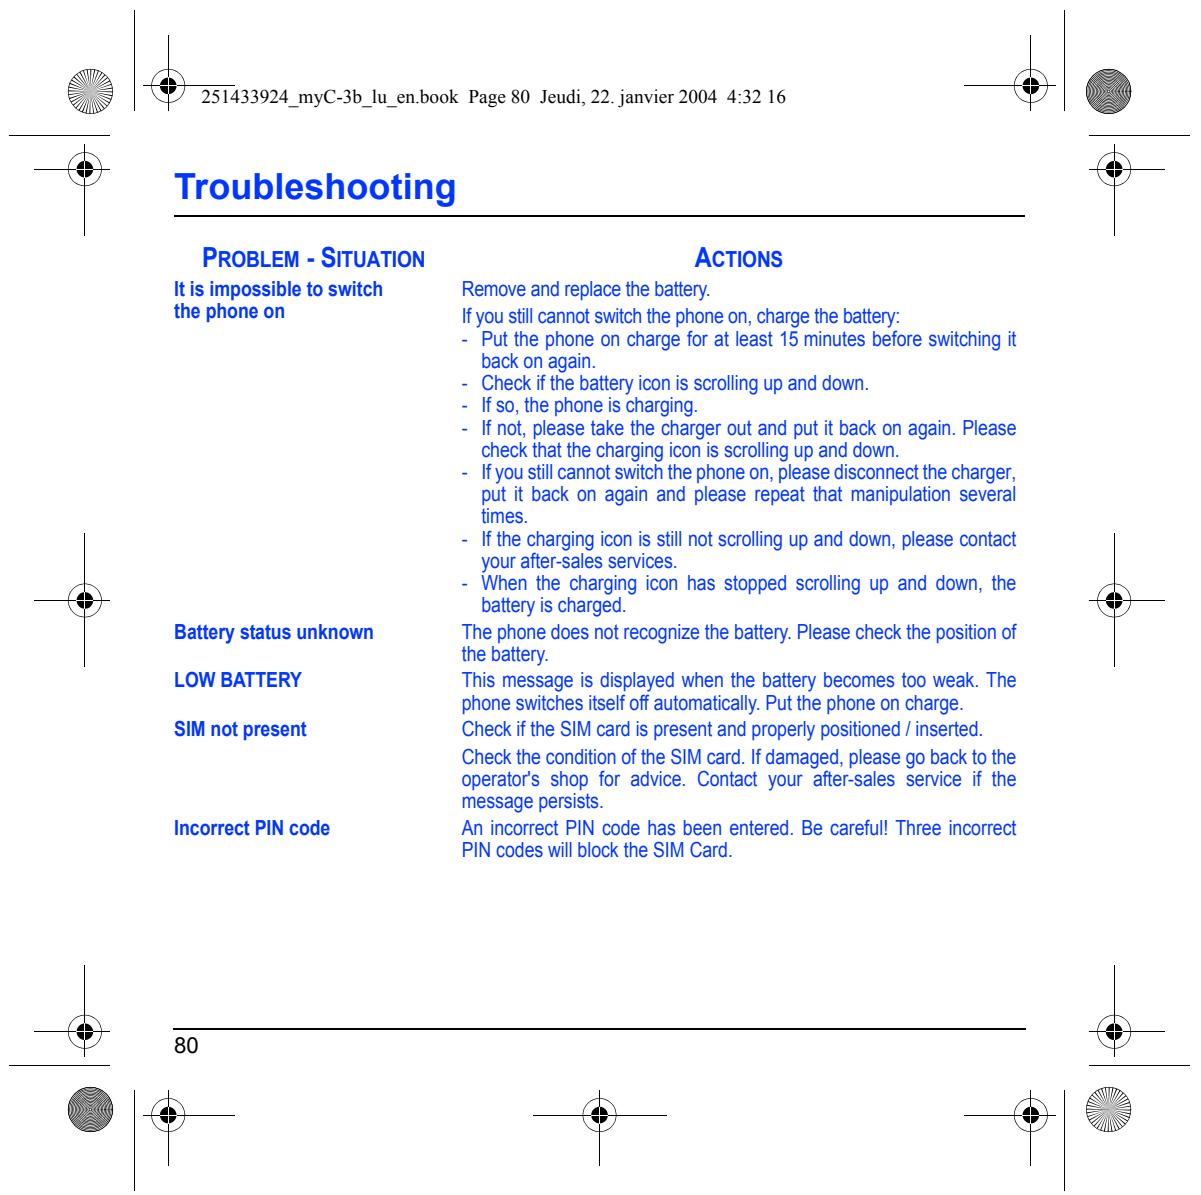
What to do if the phone doesn't turn on?
Check that the battery is correctly inserted and charged. Try plugging in the charger. If no display appears, remove the battery, wait a few seconds, then reinsert it and try again. If the problem persists, contact customer service.
User questions about MYC3B SAGEM
0 question about this device. Answer the ones you know or ask your own.
Ask a new question about this device
No questions yet. Be the first to ask one.
Download the instructions for your Mobile Phone in PDF format for free! Find your manual MYC3B - SAGEM and take your electronic device back in hand. On this page are published all the documents necessary for the use of your device. MYC3B by SAGEM.
USER MANUAL MYC3B SAGEM
| Contents | |
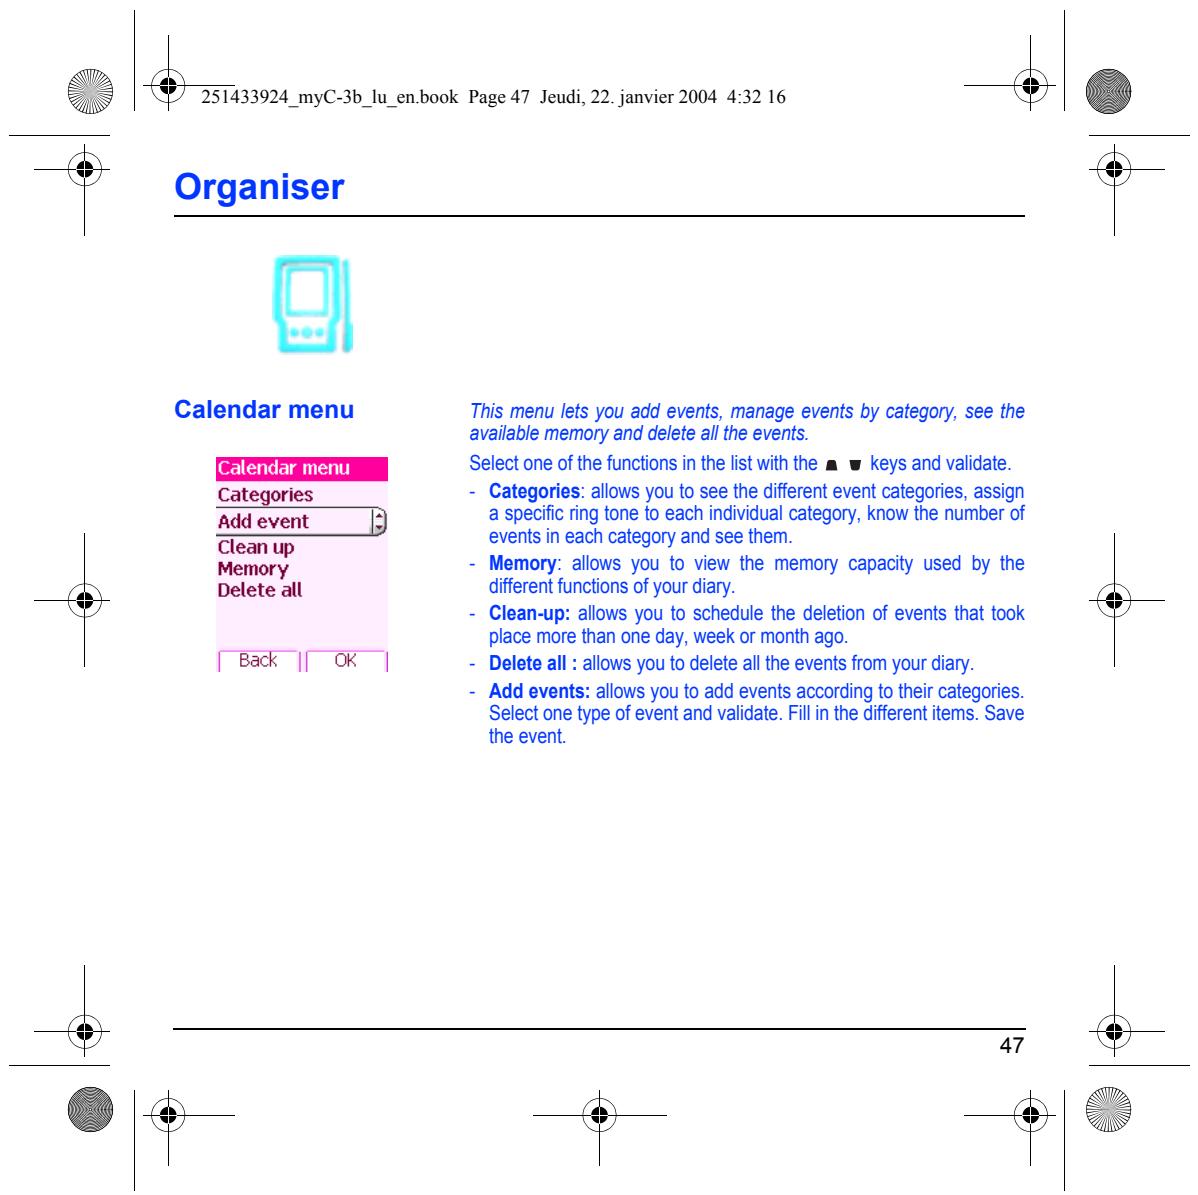
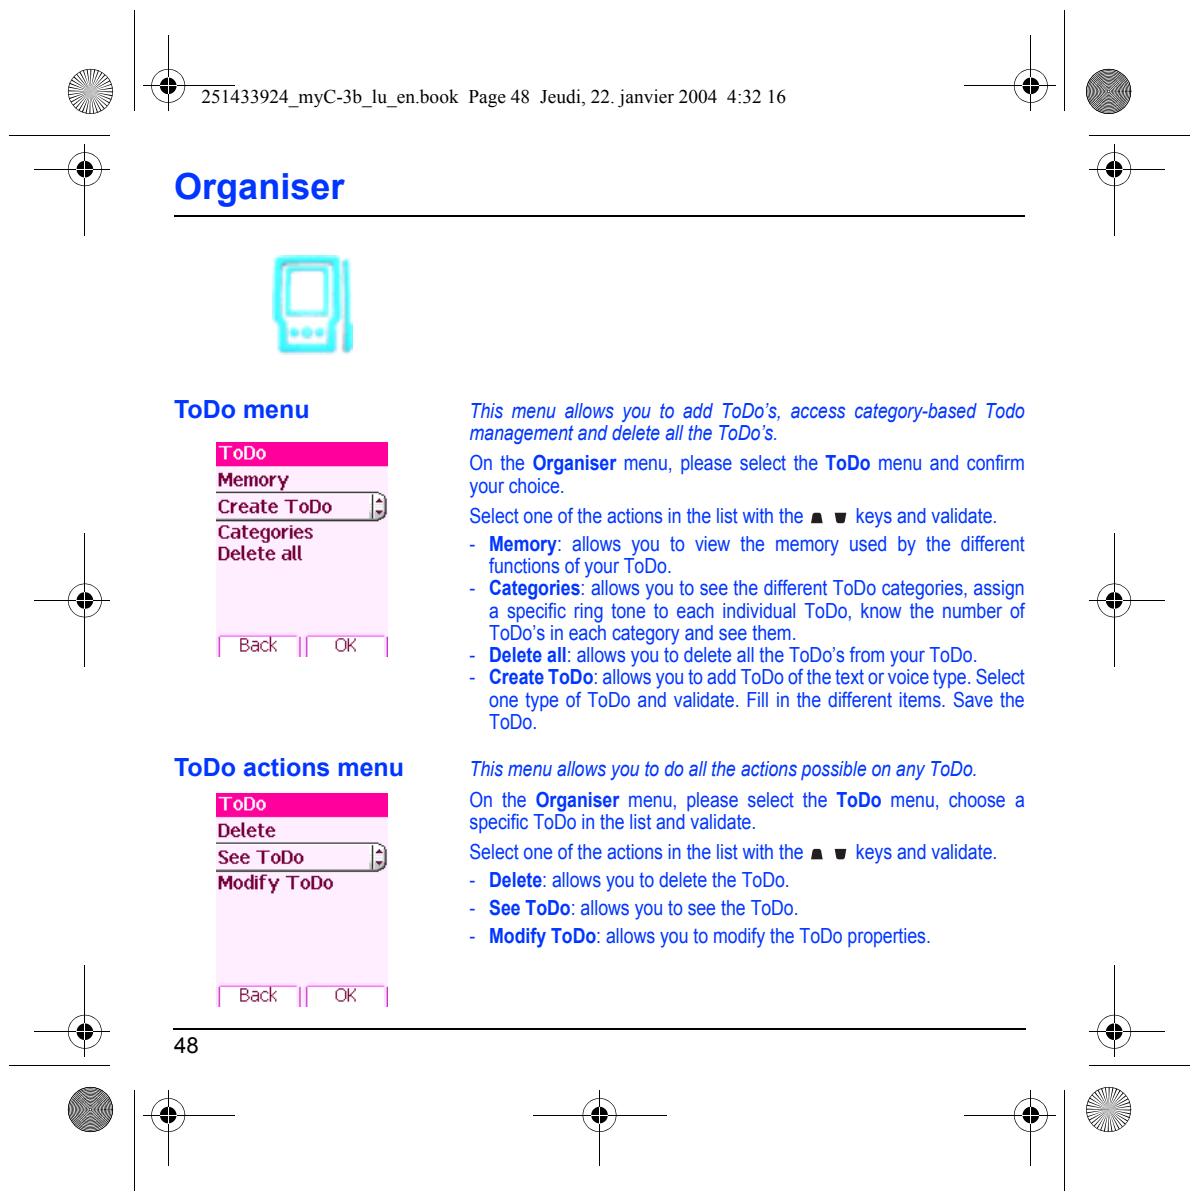
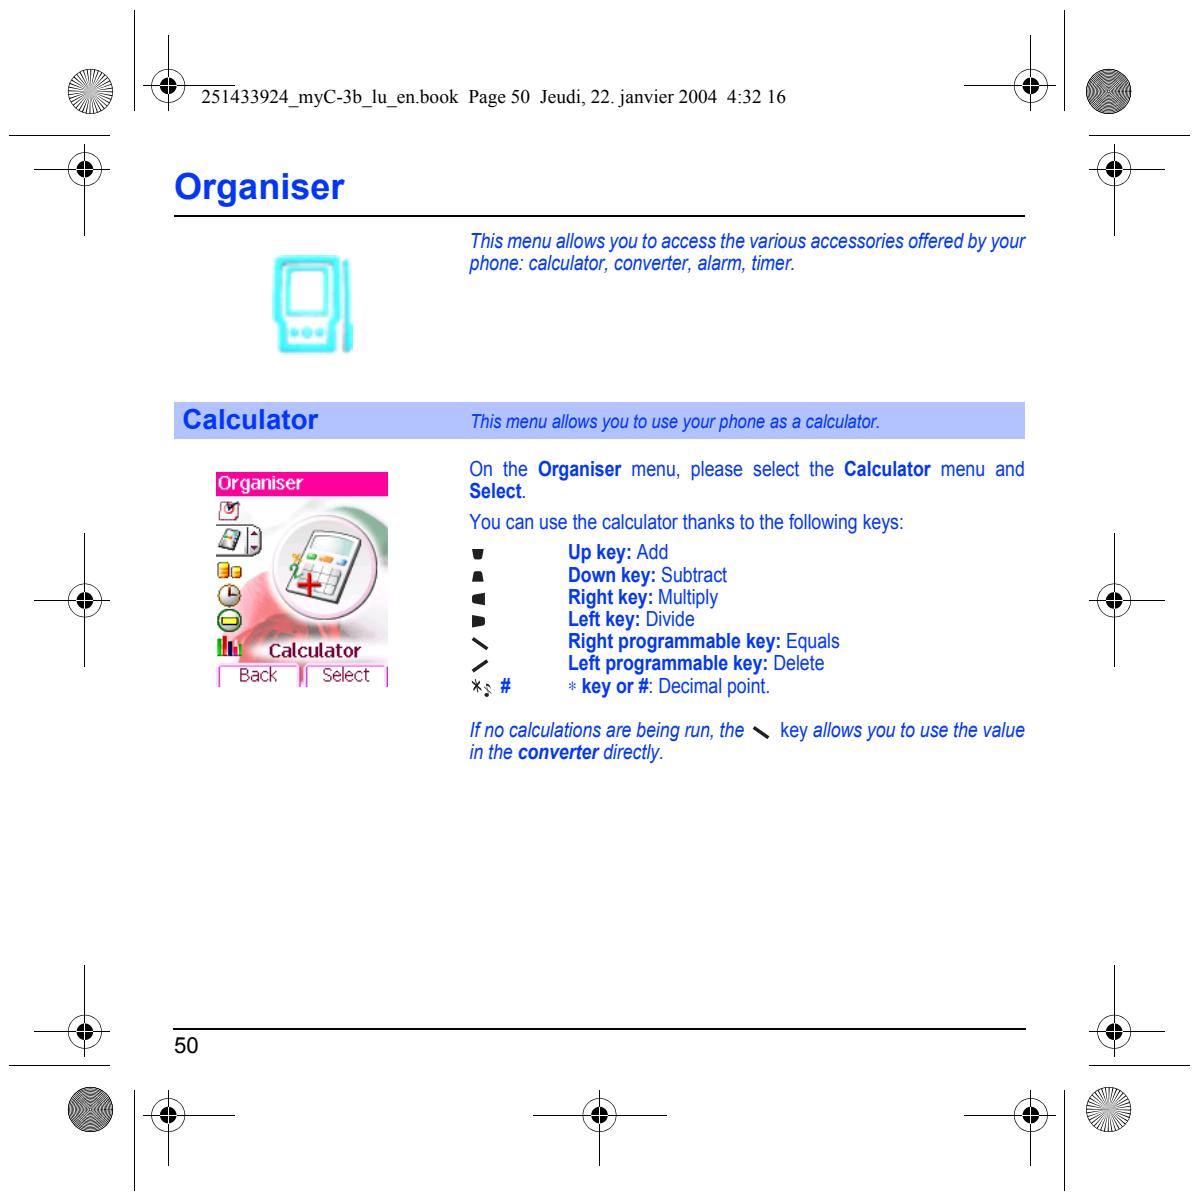
| Page 2 | MENUS |
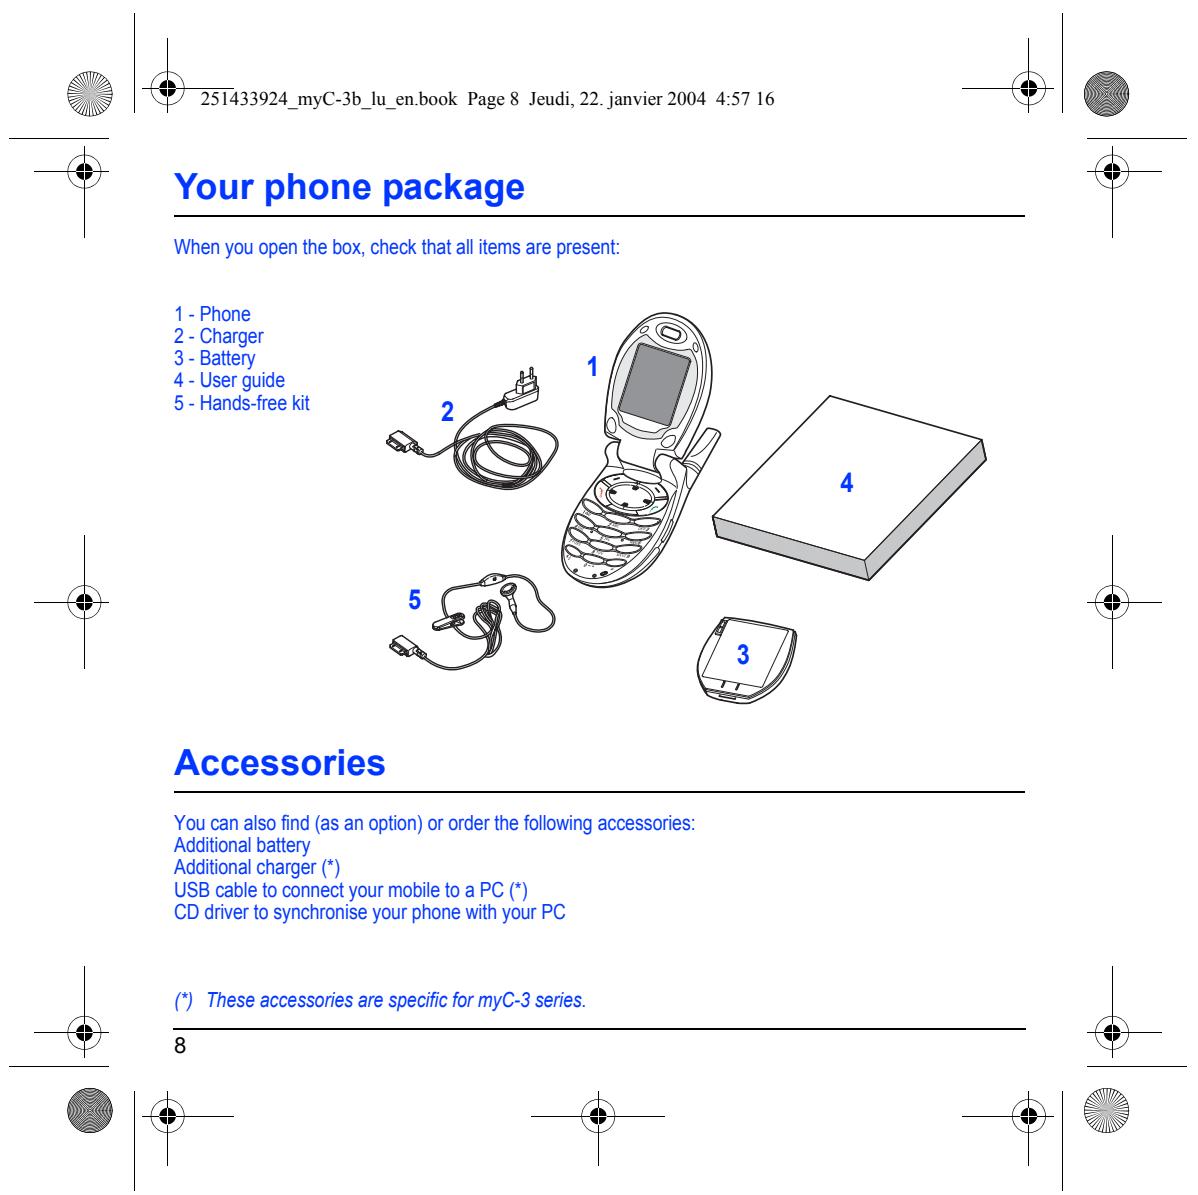
| Page 8 | YOUR PHONE PACKAGE - ACCESSORIES |
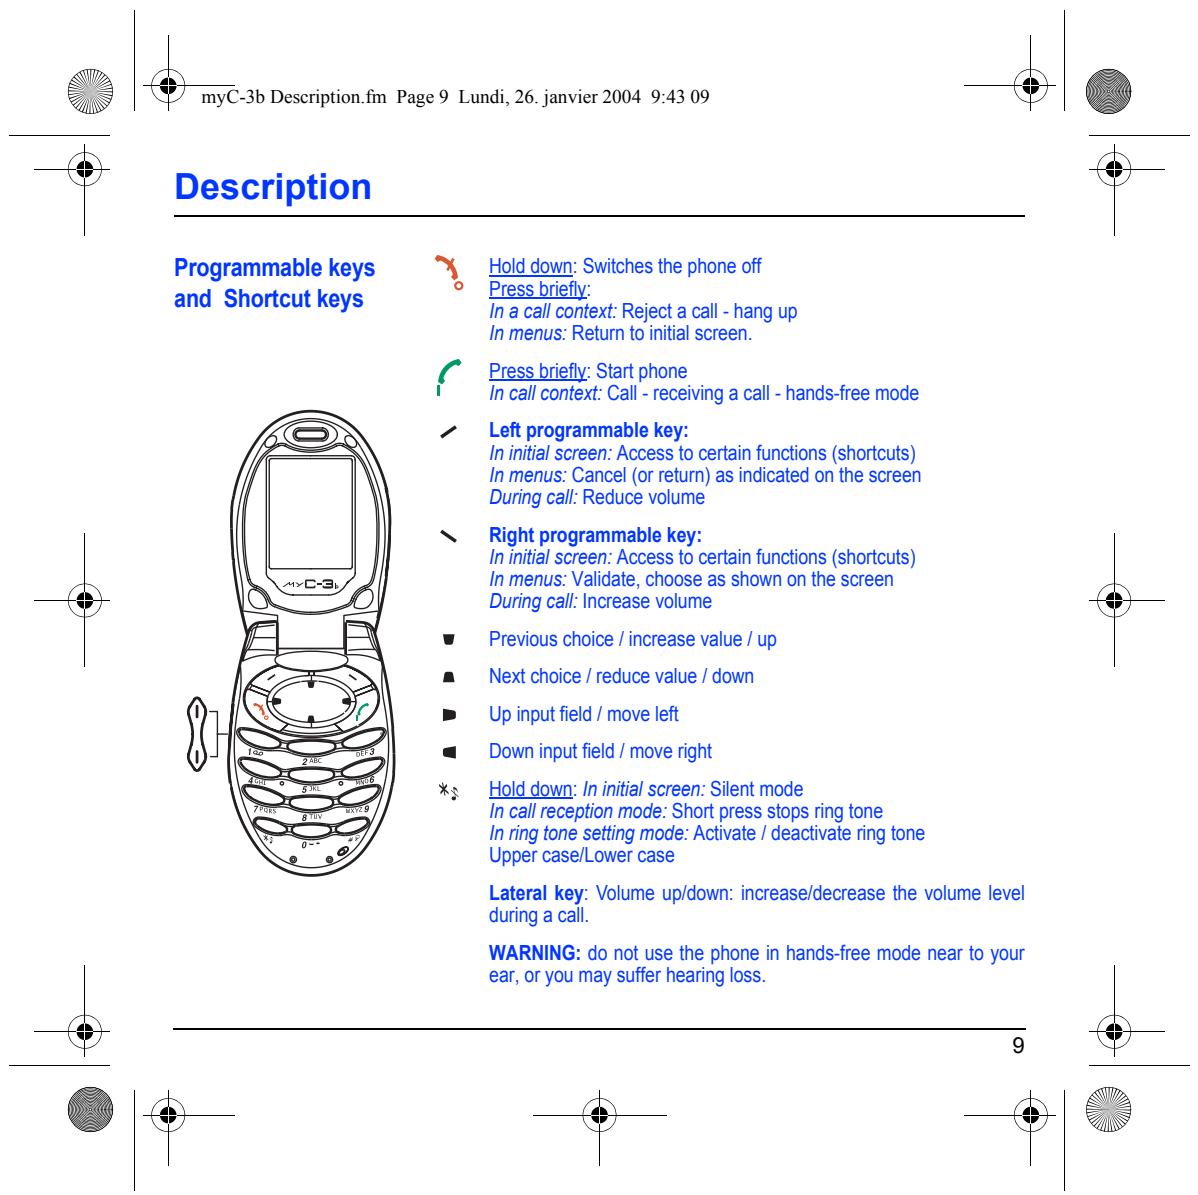
| Page 9 | DESCRIPTION Programmable keys and Shortcut keys |
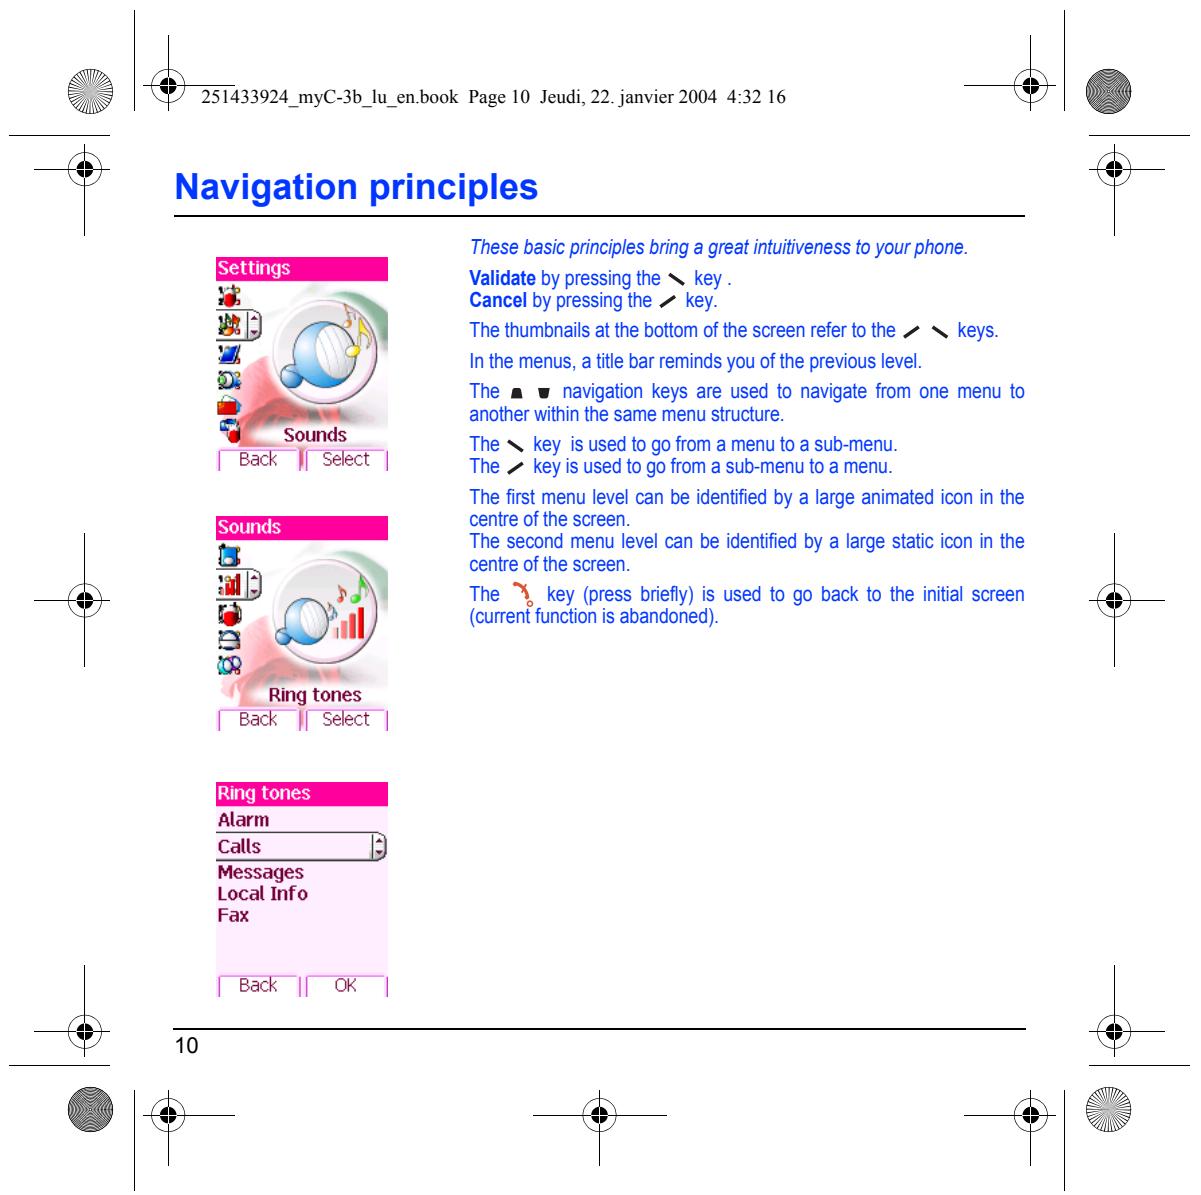
| Page 10 | NAVIGATION PRINCIPLES |
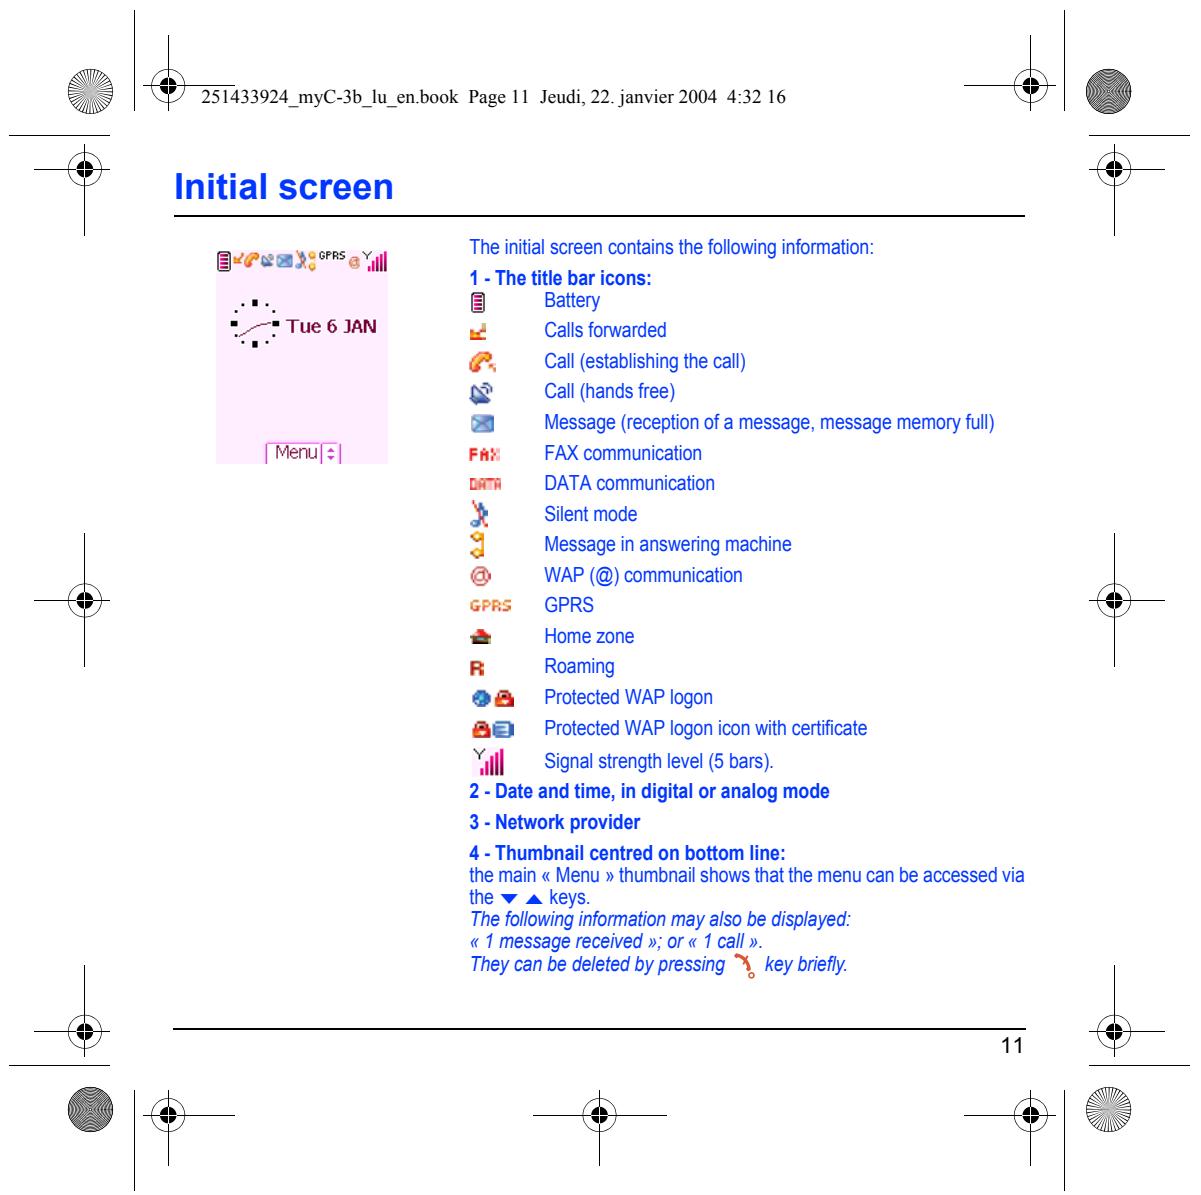
| Page 11 | INITIAL SCREEN |
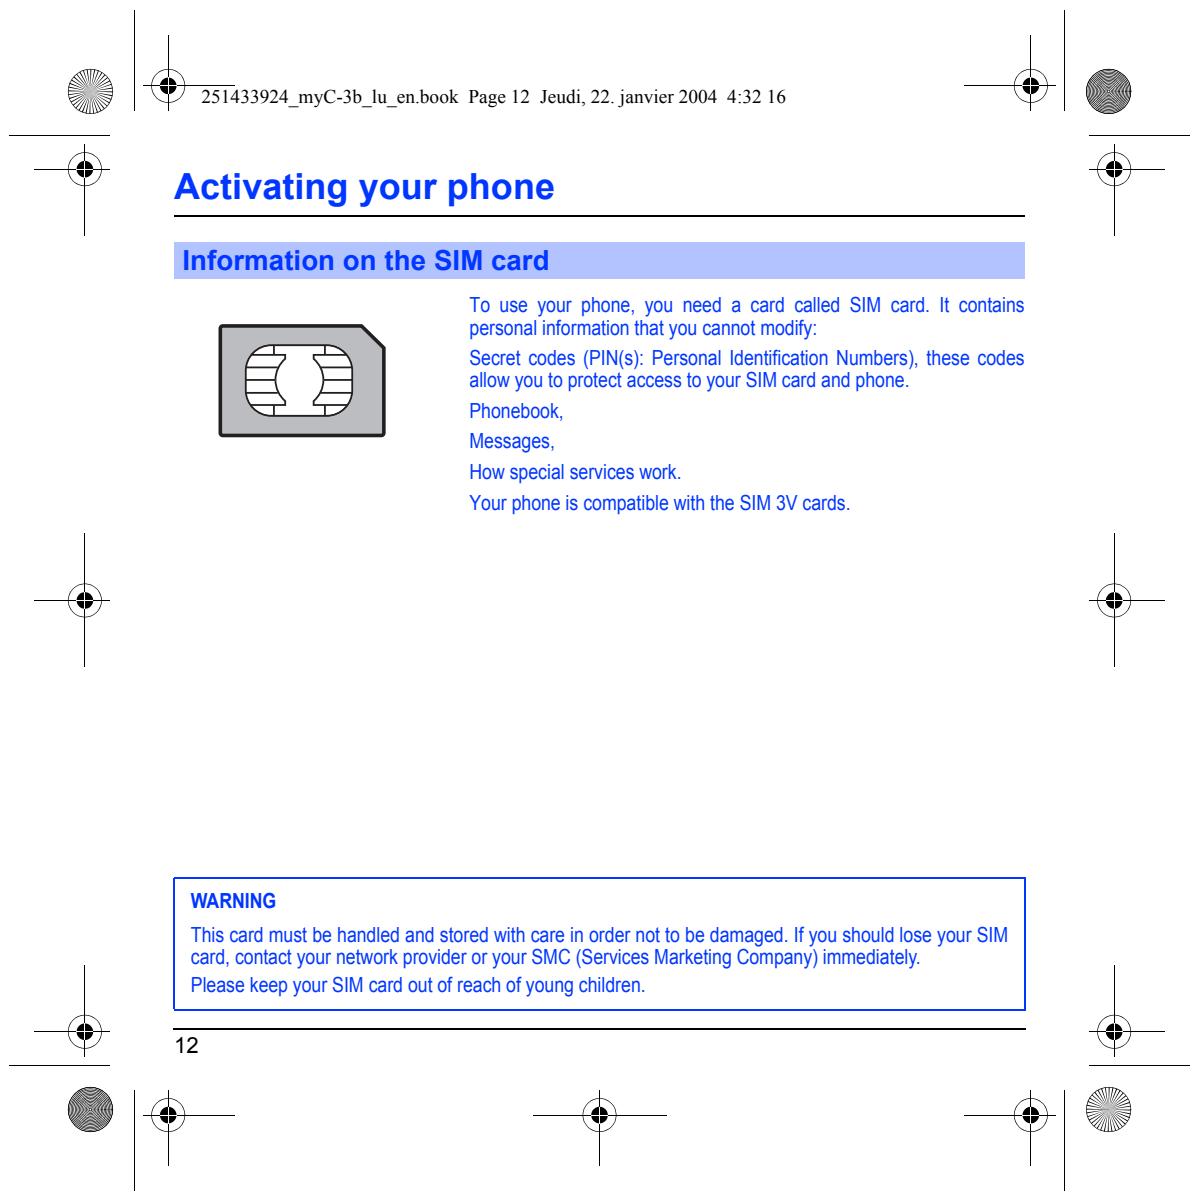
| Page 12 | ACTIVATING YOUR PHONE Information on the SIM card Installing the SIM card and the battery |
| Page 14 | USING YOUR PHONE Increase the efficiency of your phone Charging the battery |
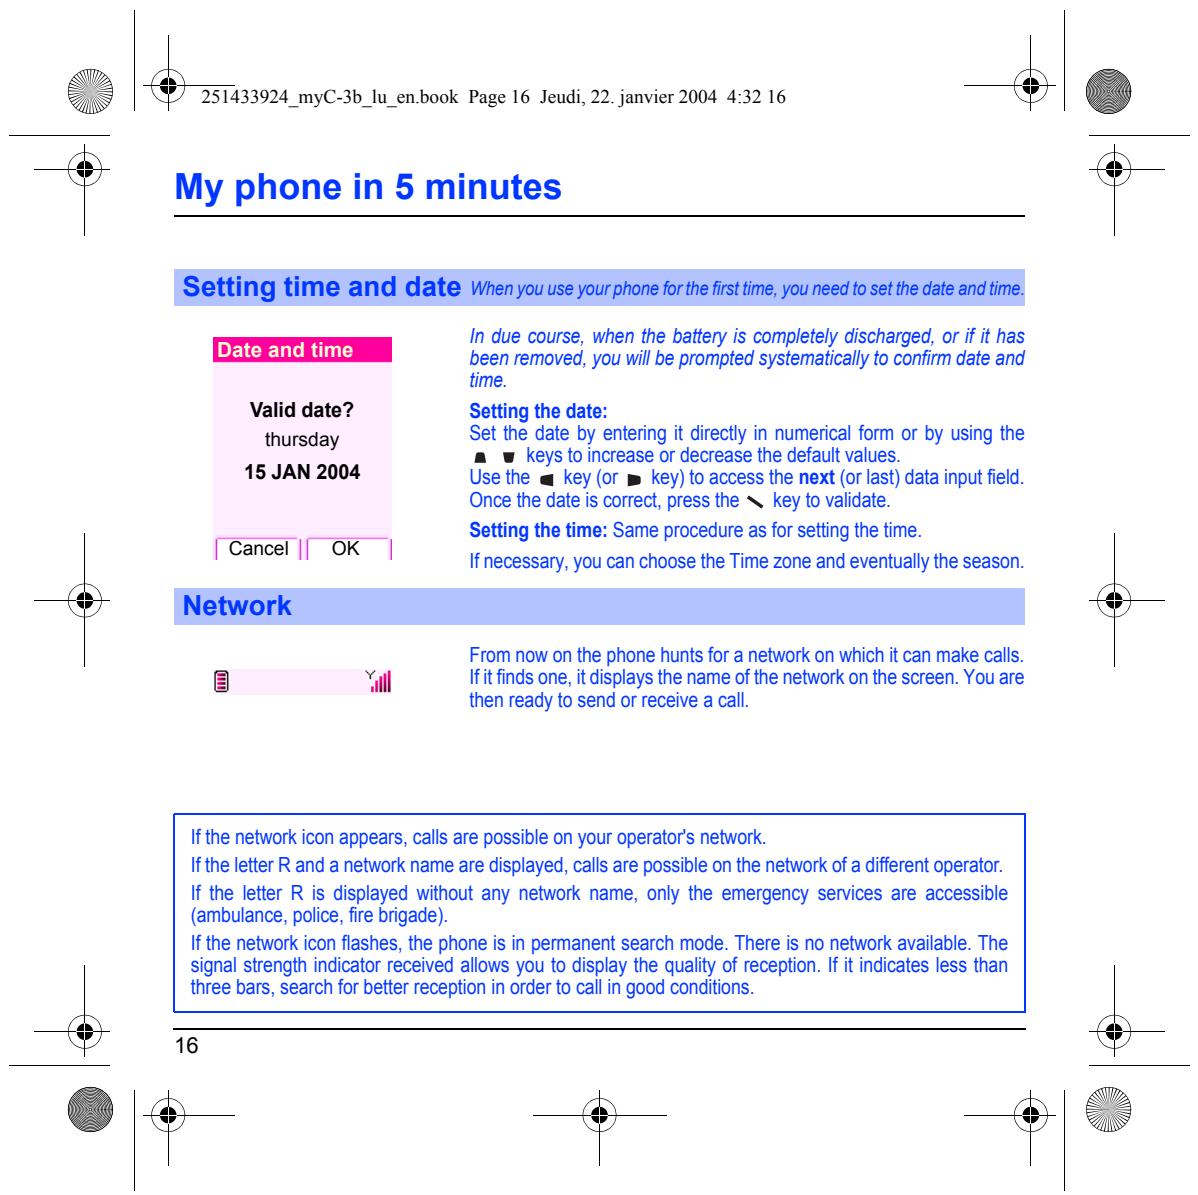
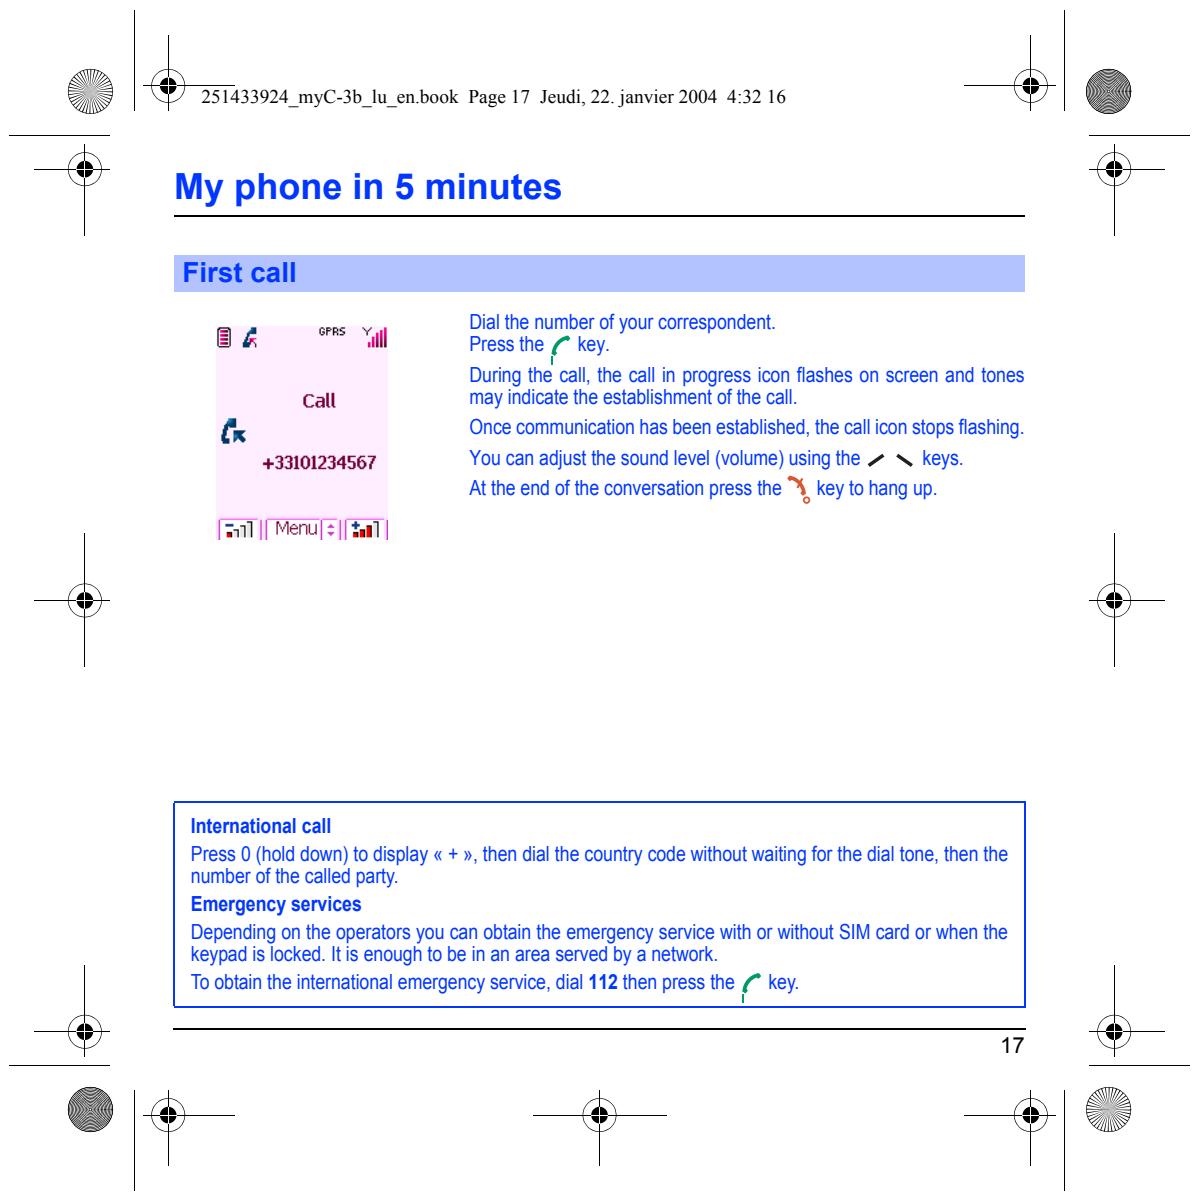
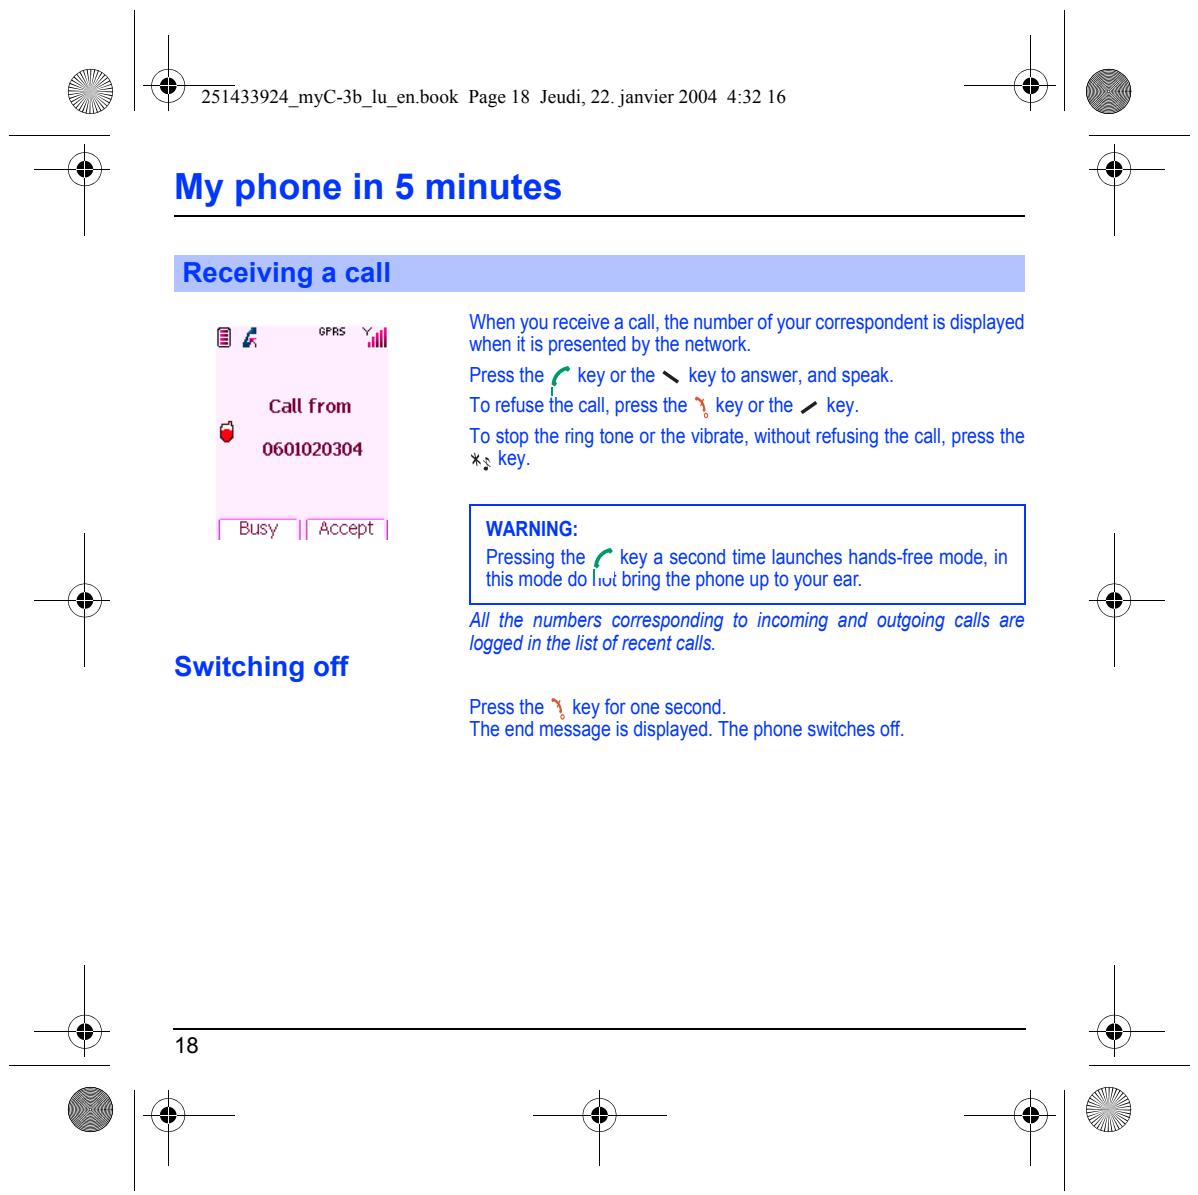
| Page 15 | MY PHONE IN 5 MINUTES Getting started PIN number Setting time and date Network First call Receiving a call Switching off |
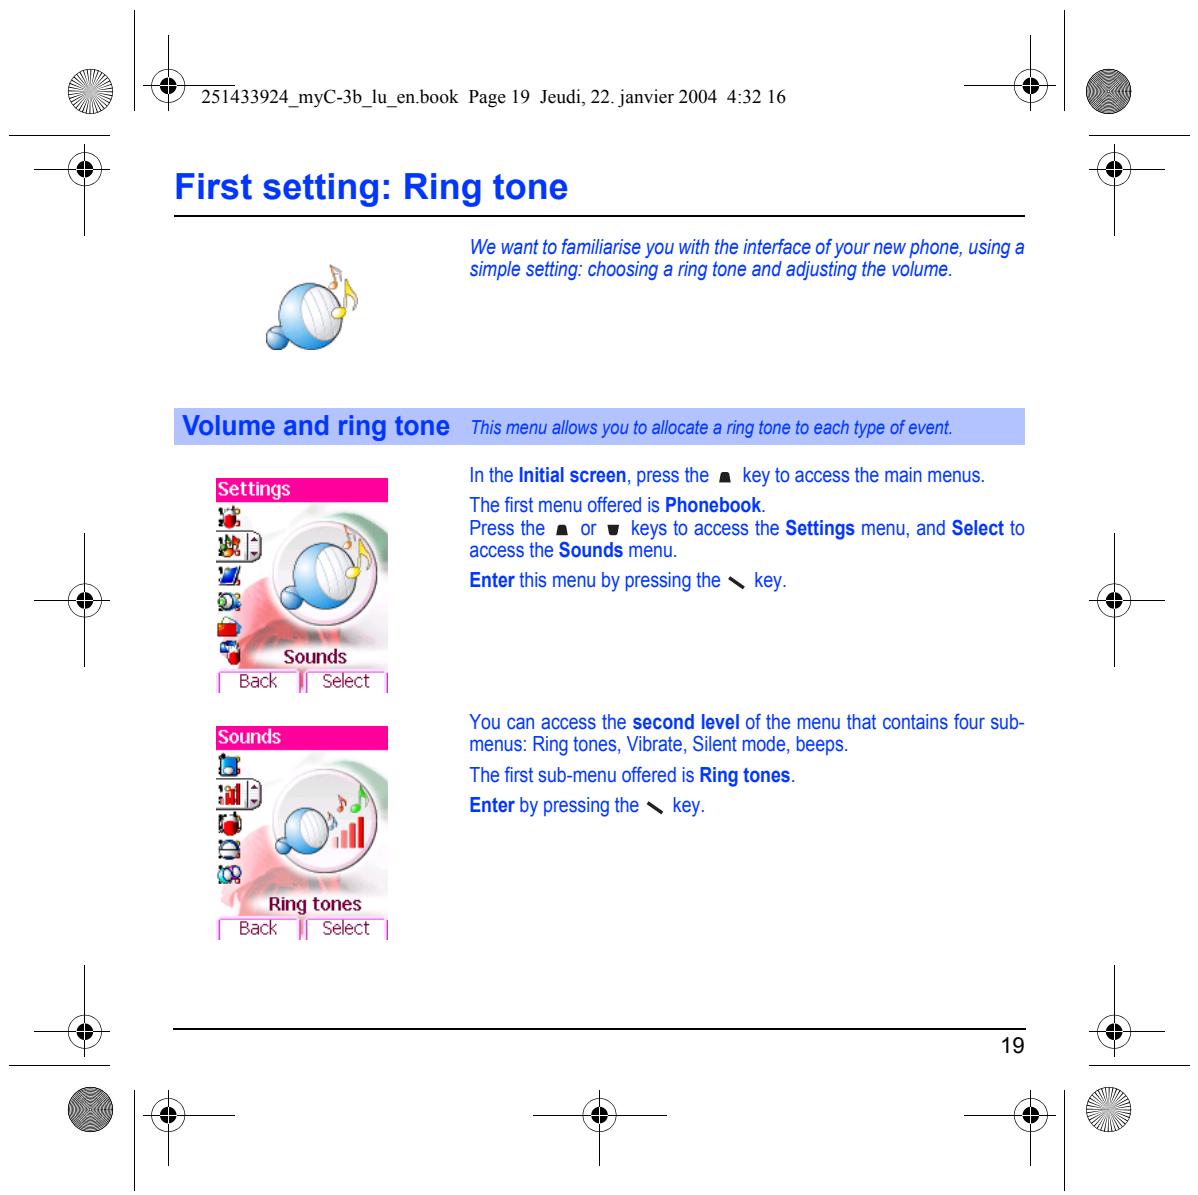
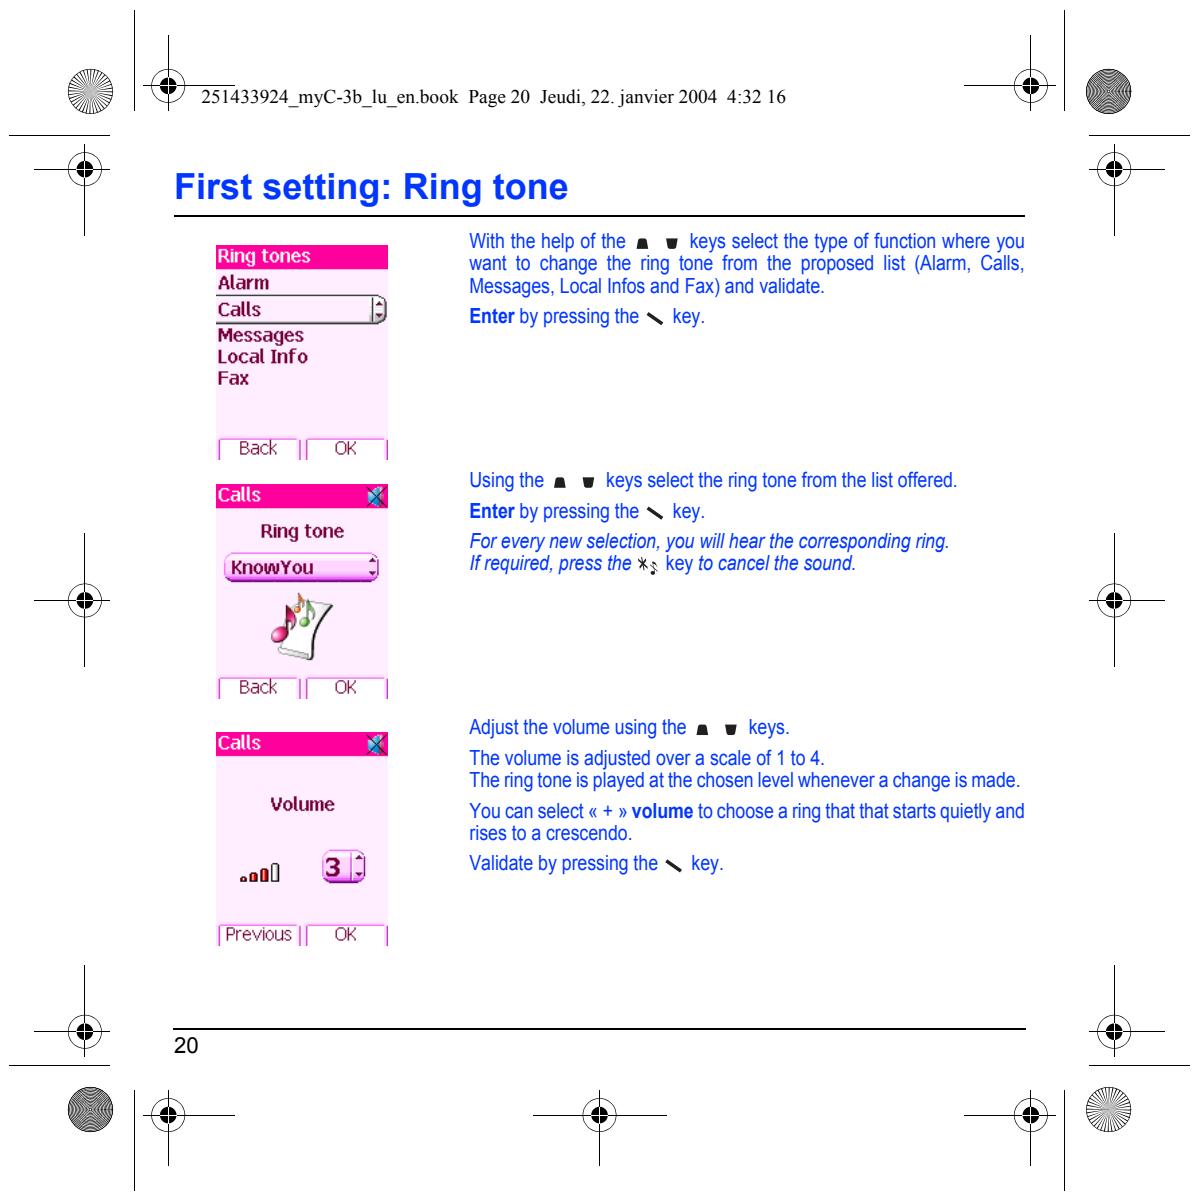
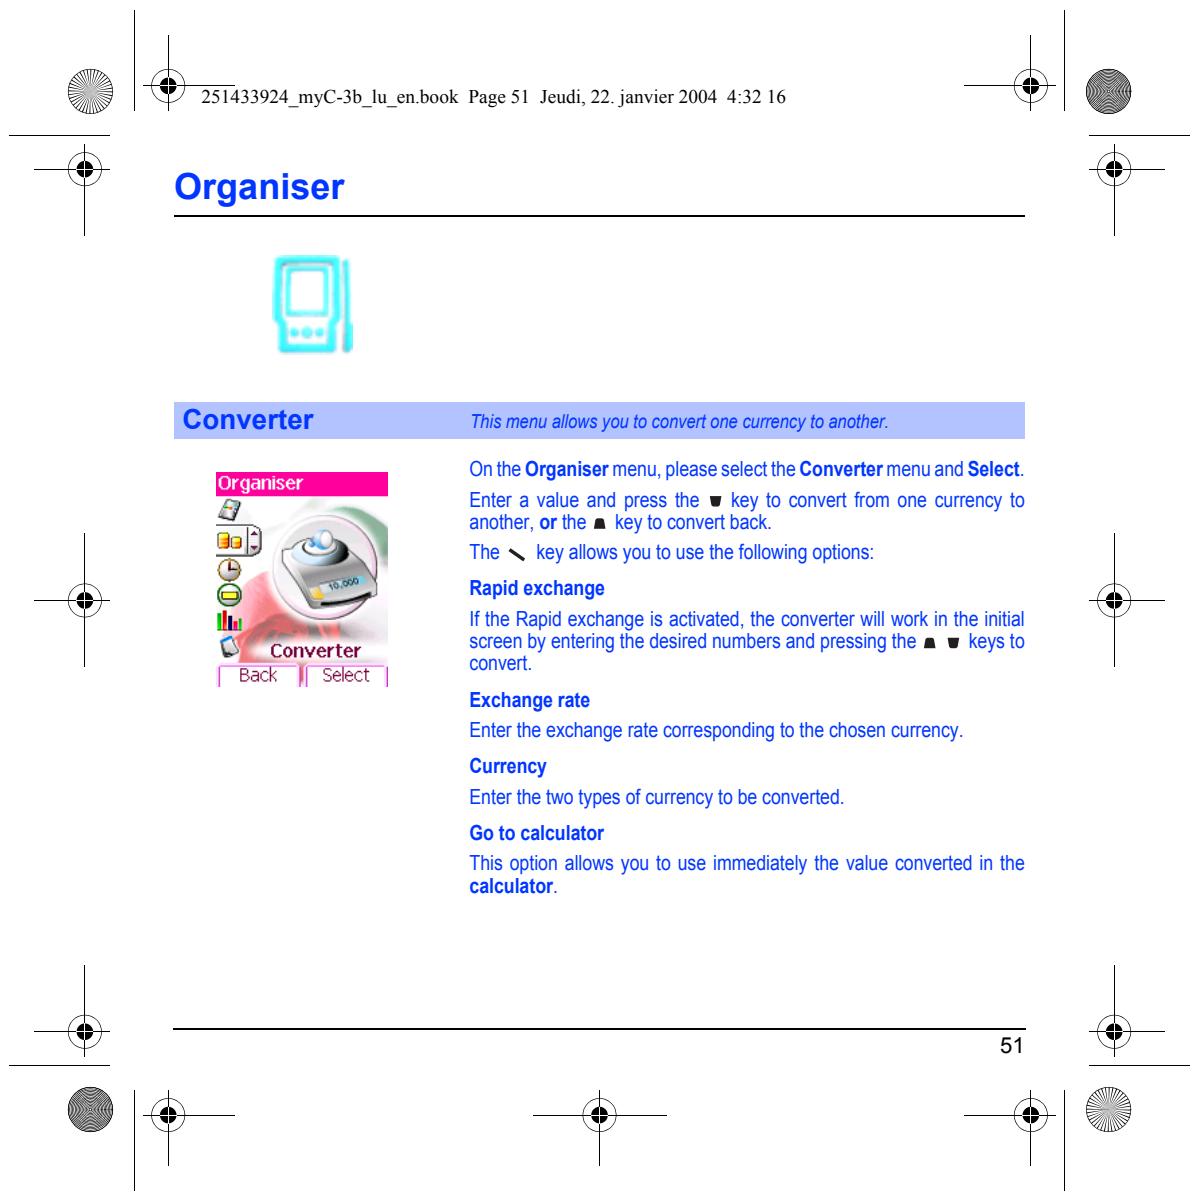
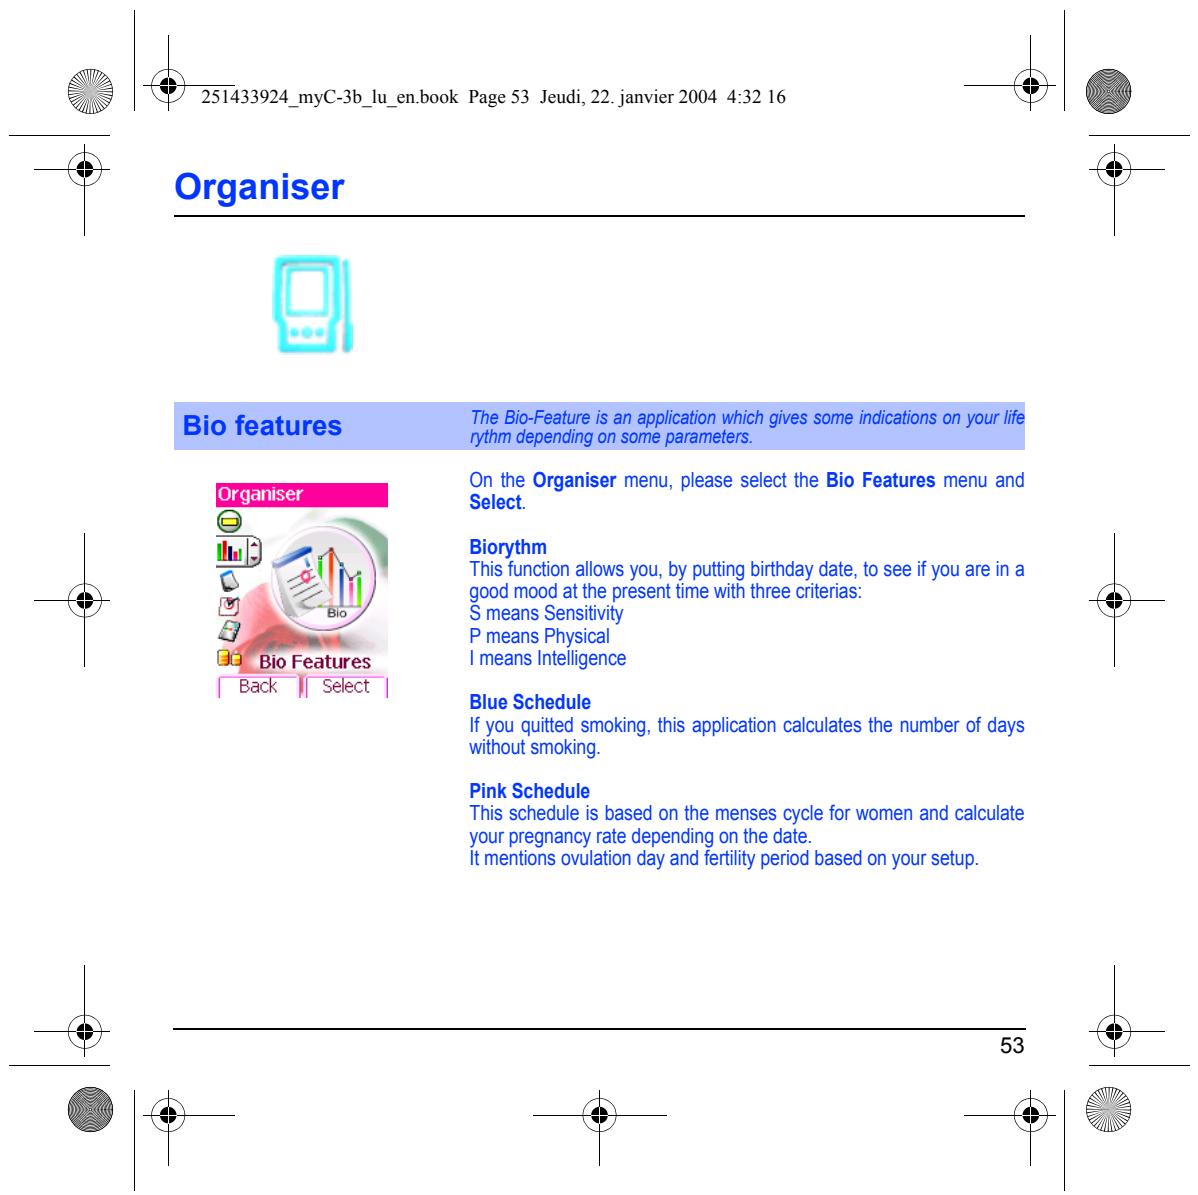
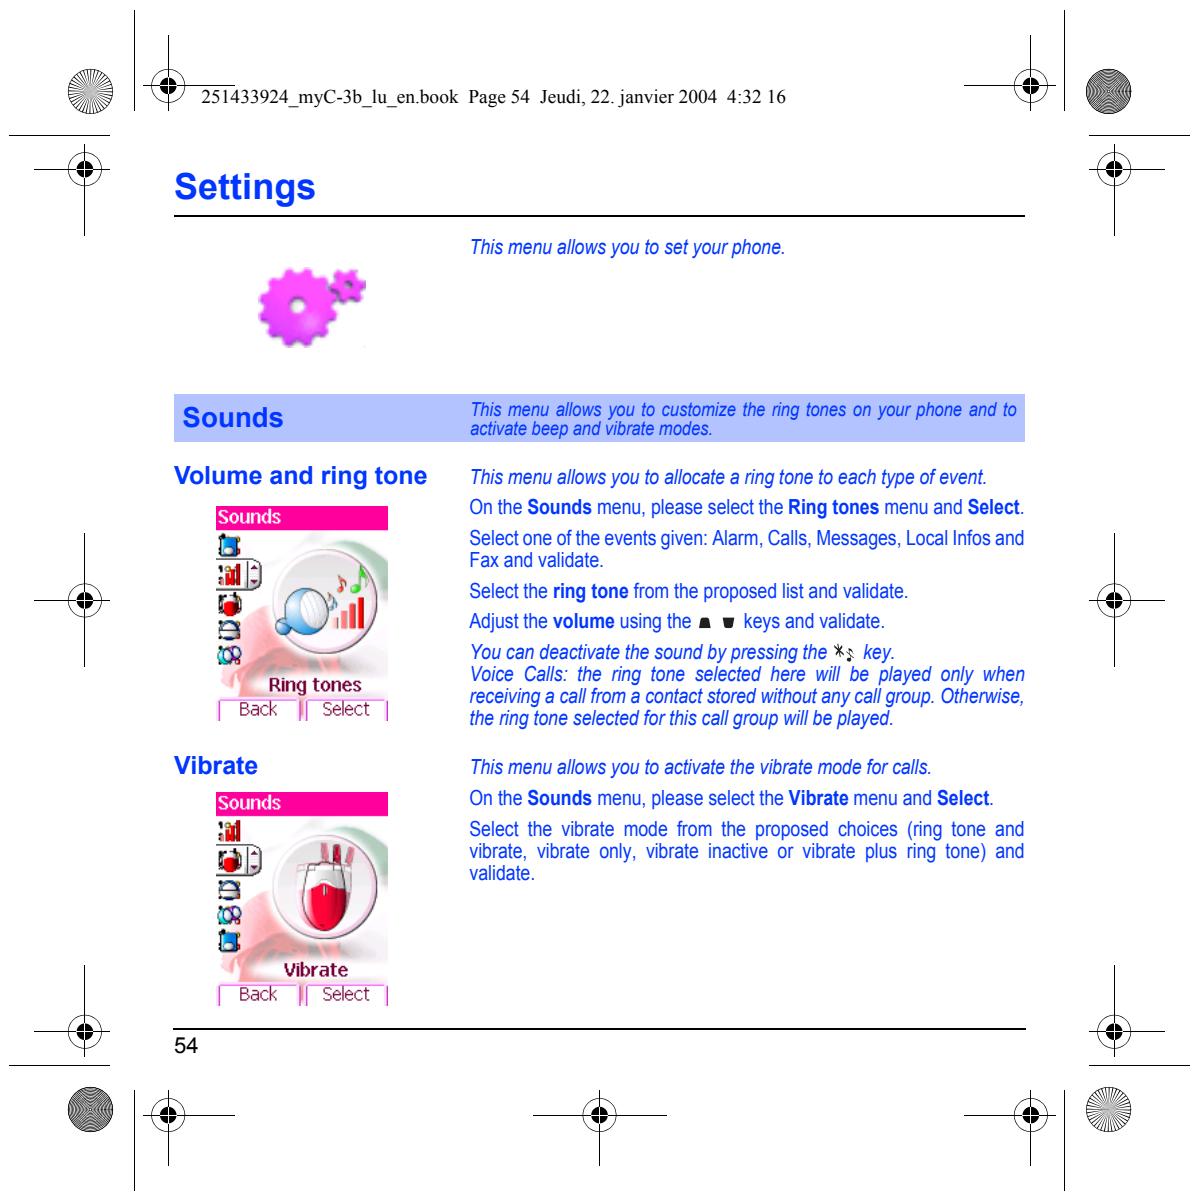
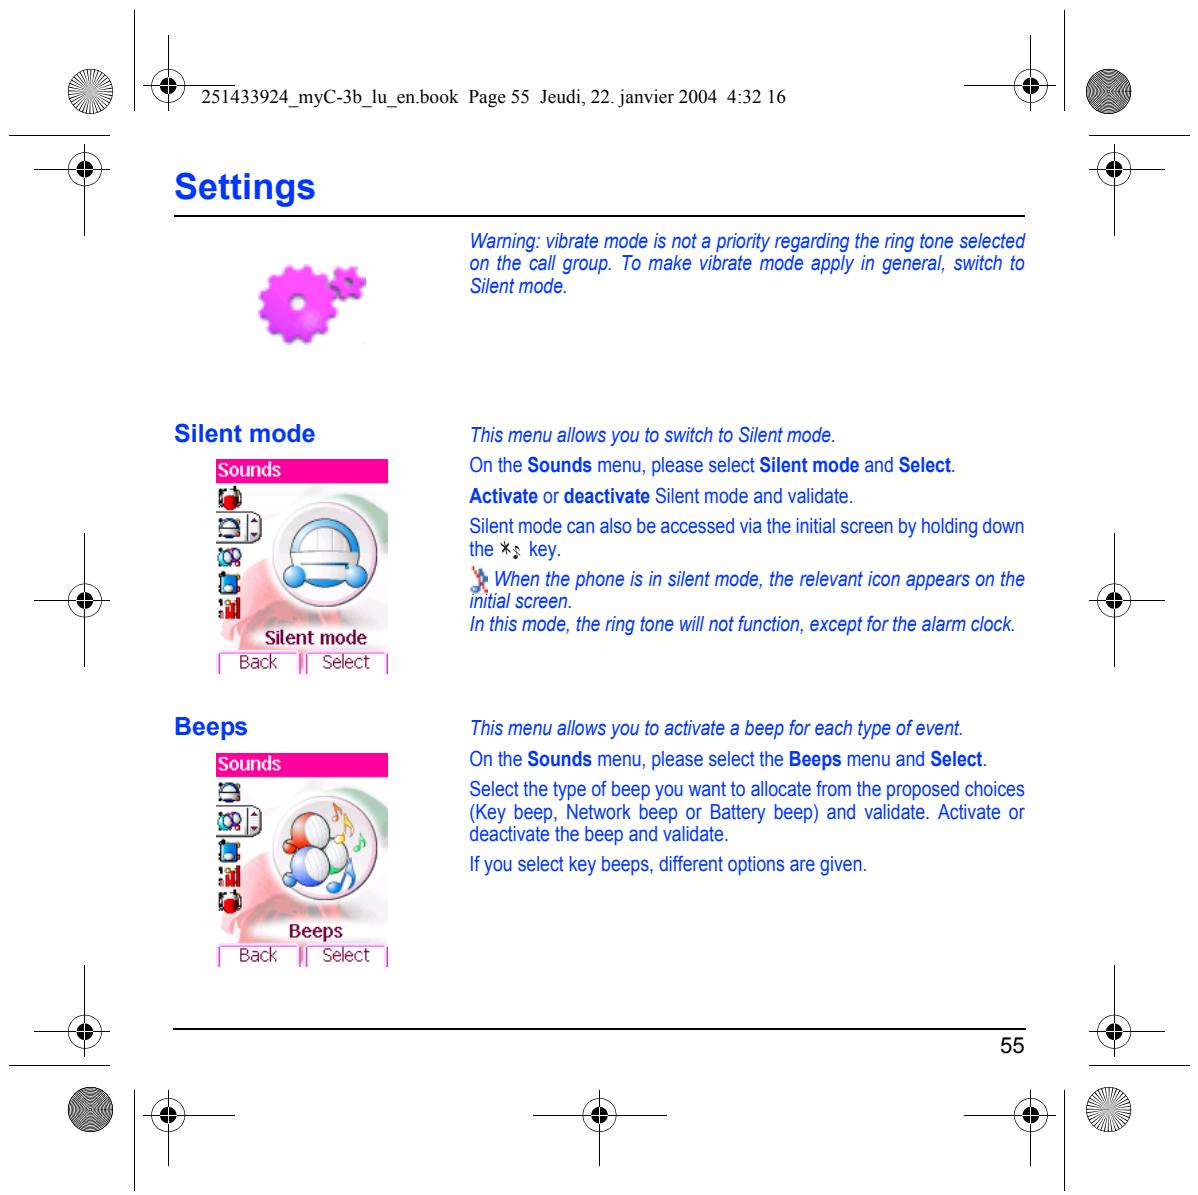
| Page 19 | FIRST SETTING: RING TONE Volume and ring tone |
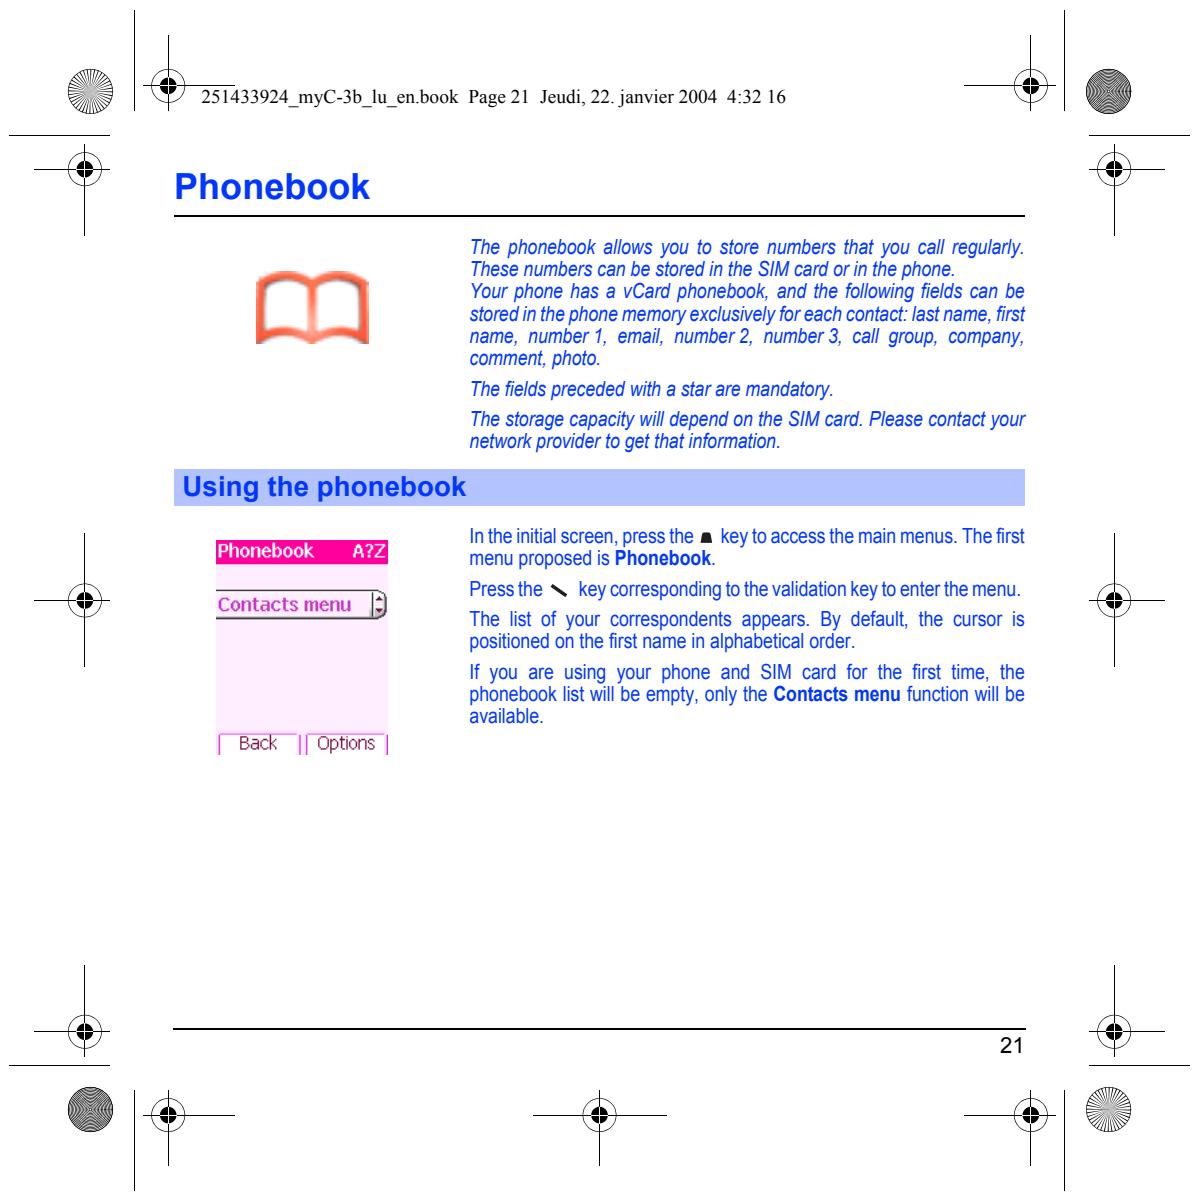
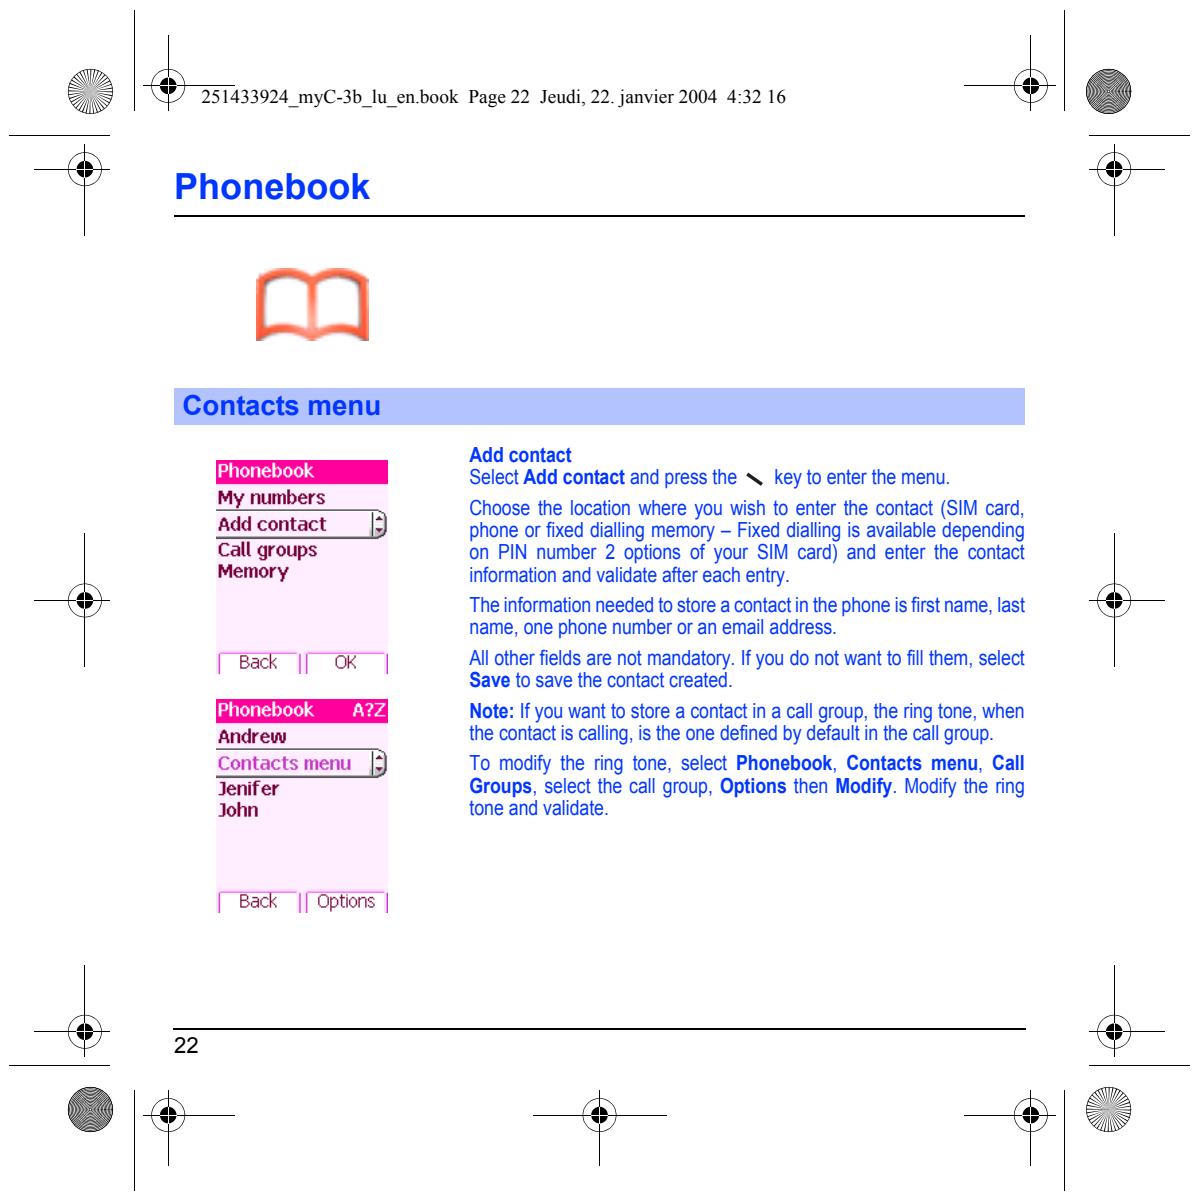
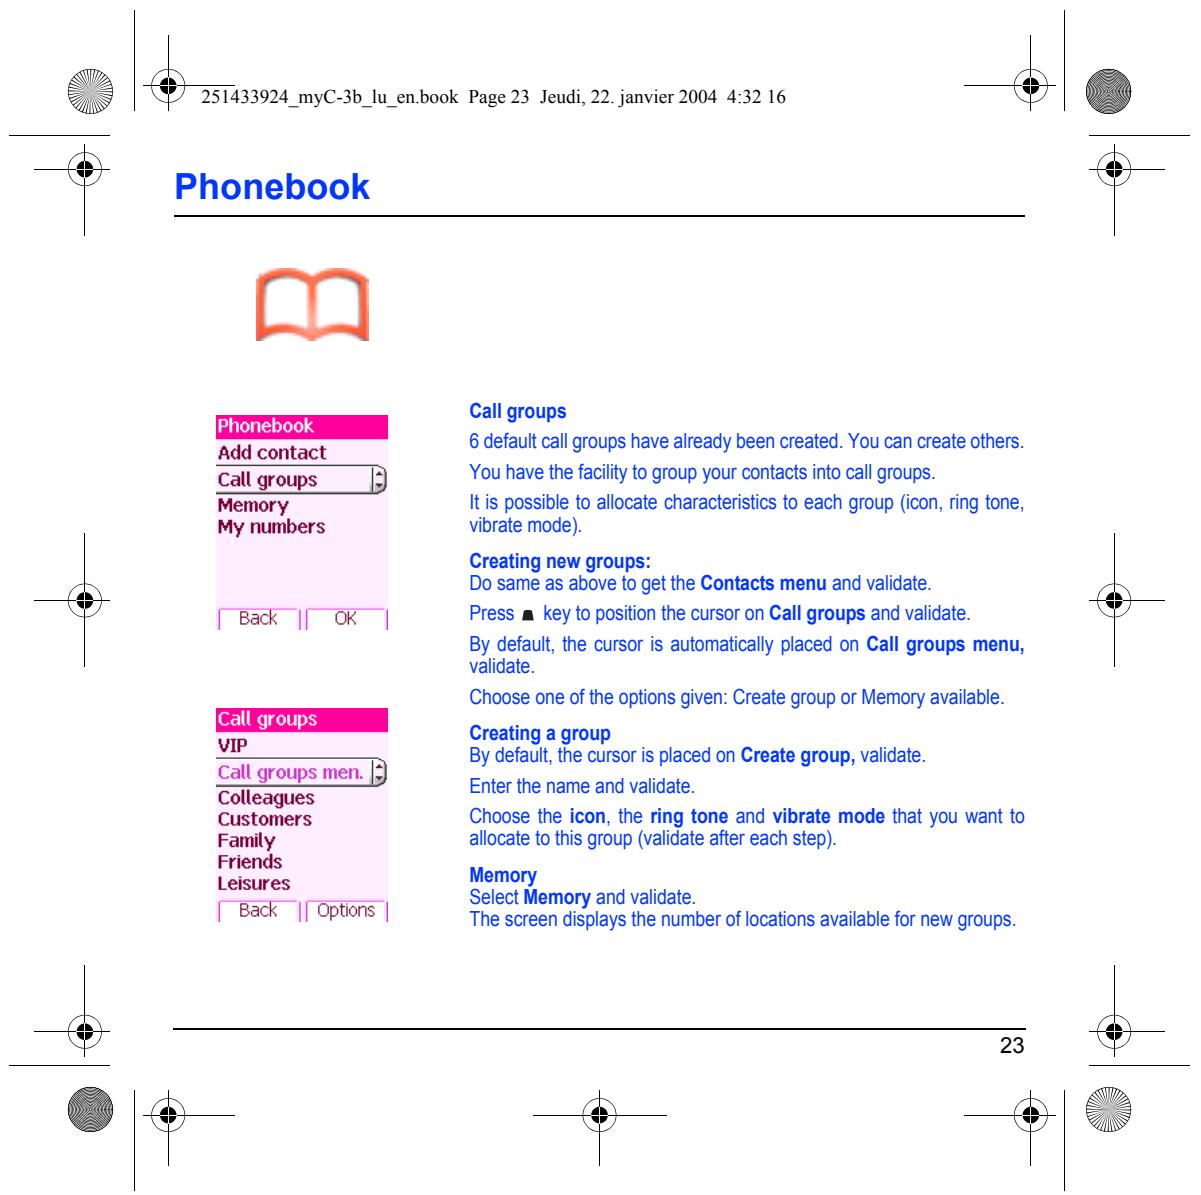
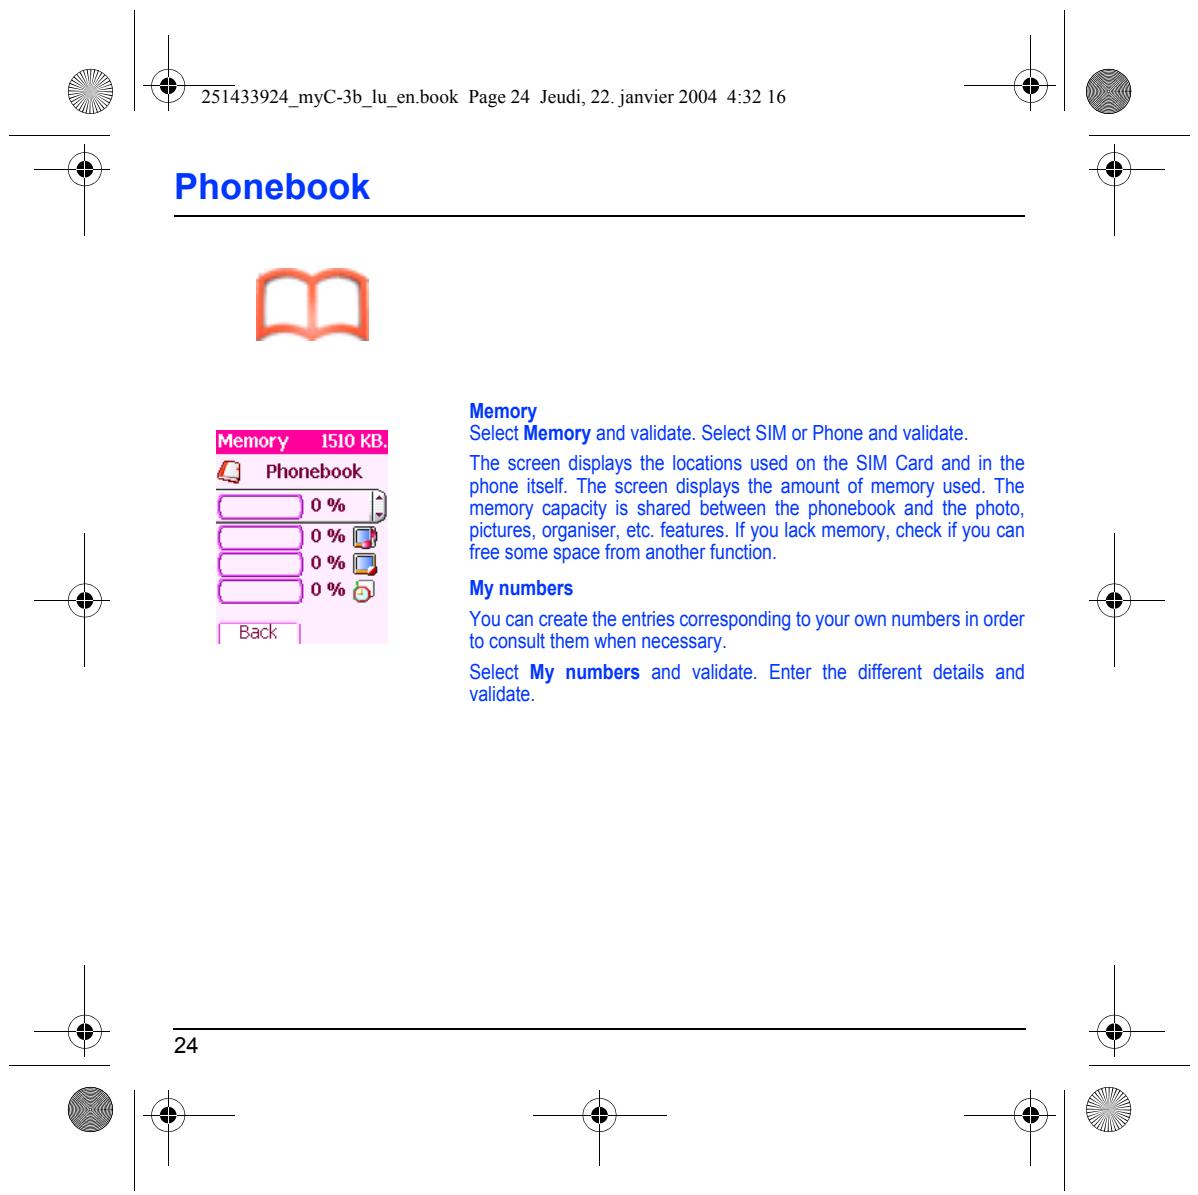
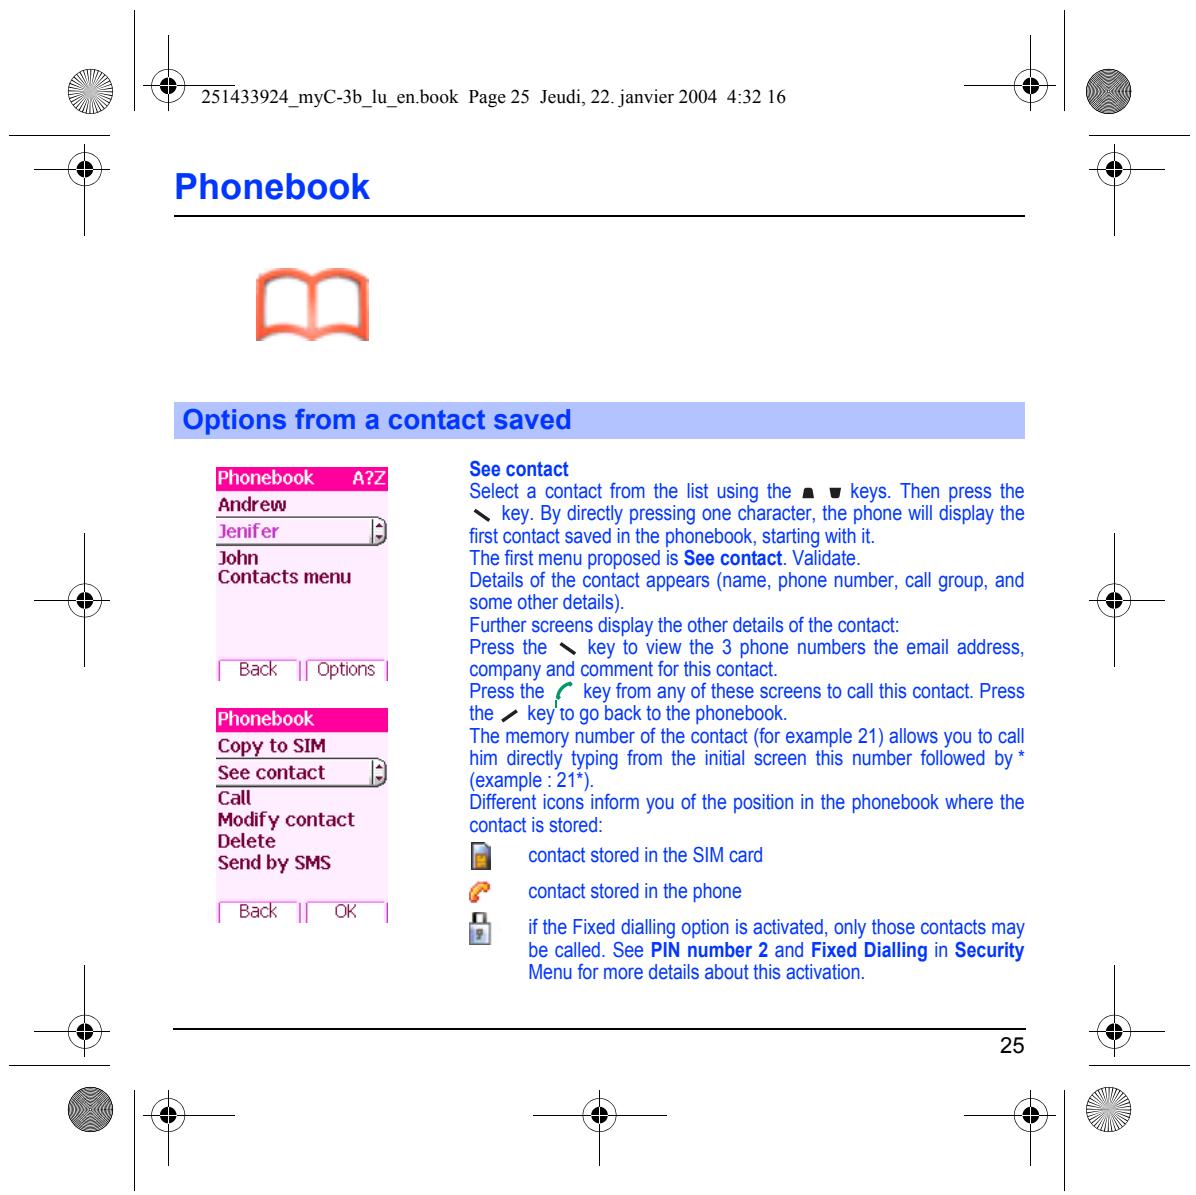
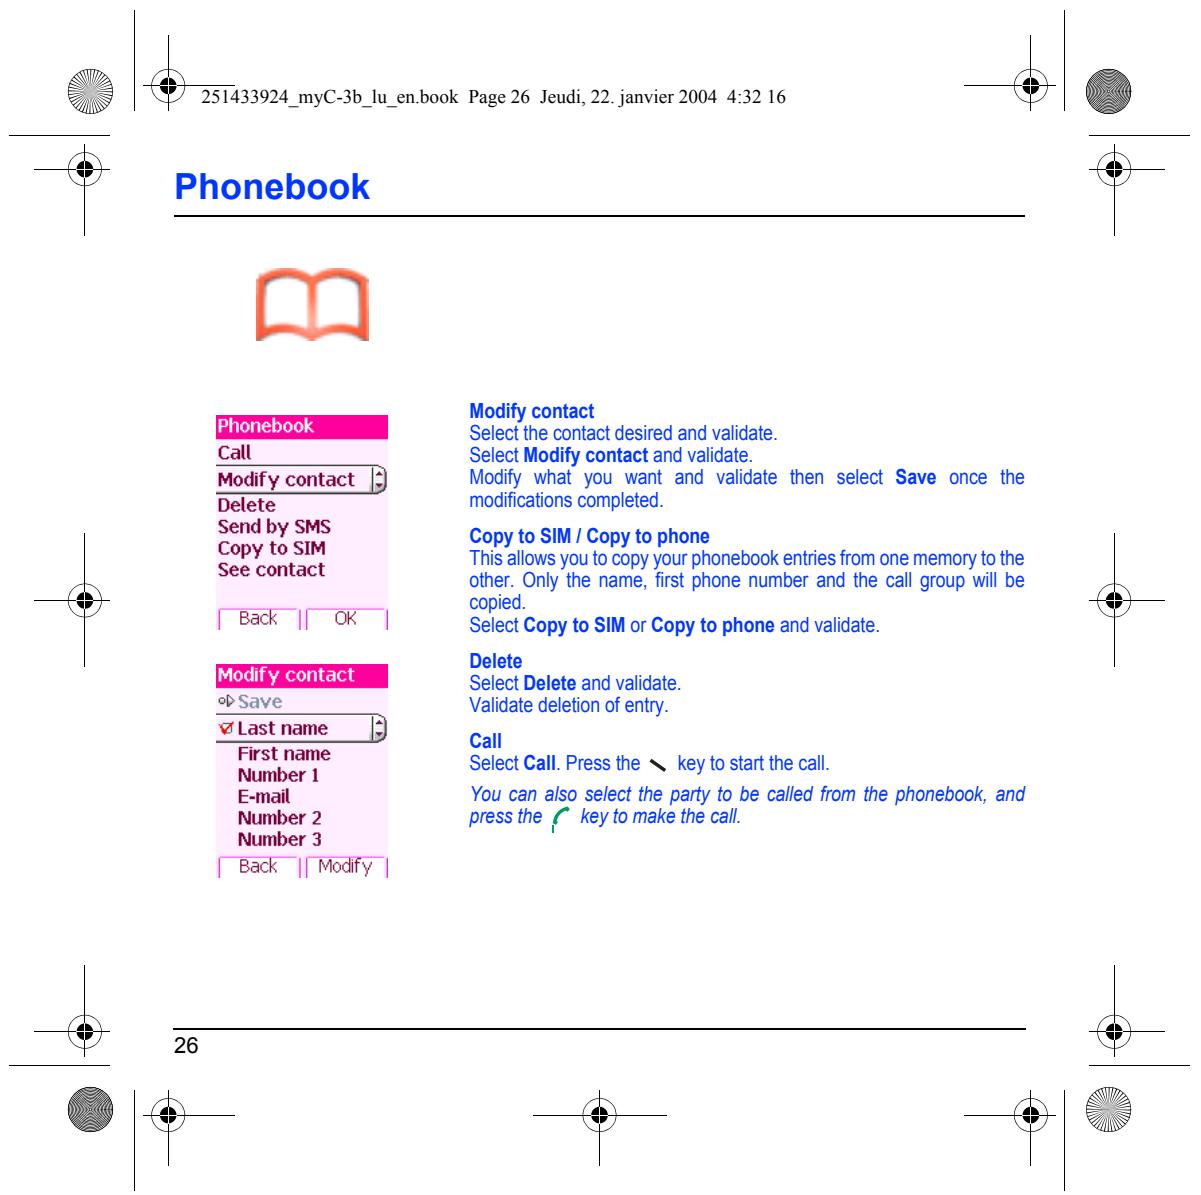
| Page 21 | PHONEBOOK Using the phonebook Contacts menu Options from a contact saved Sending a vCard Receiving a vCard |
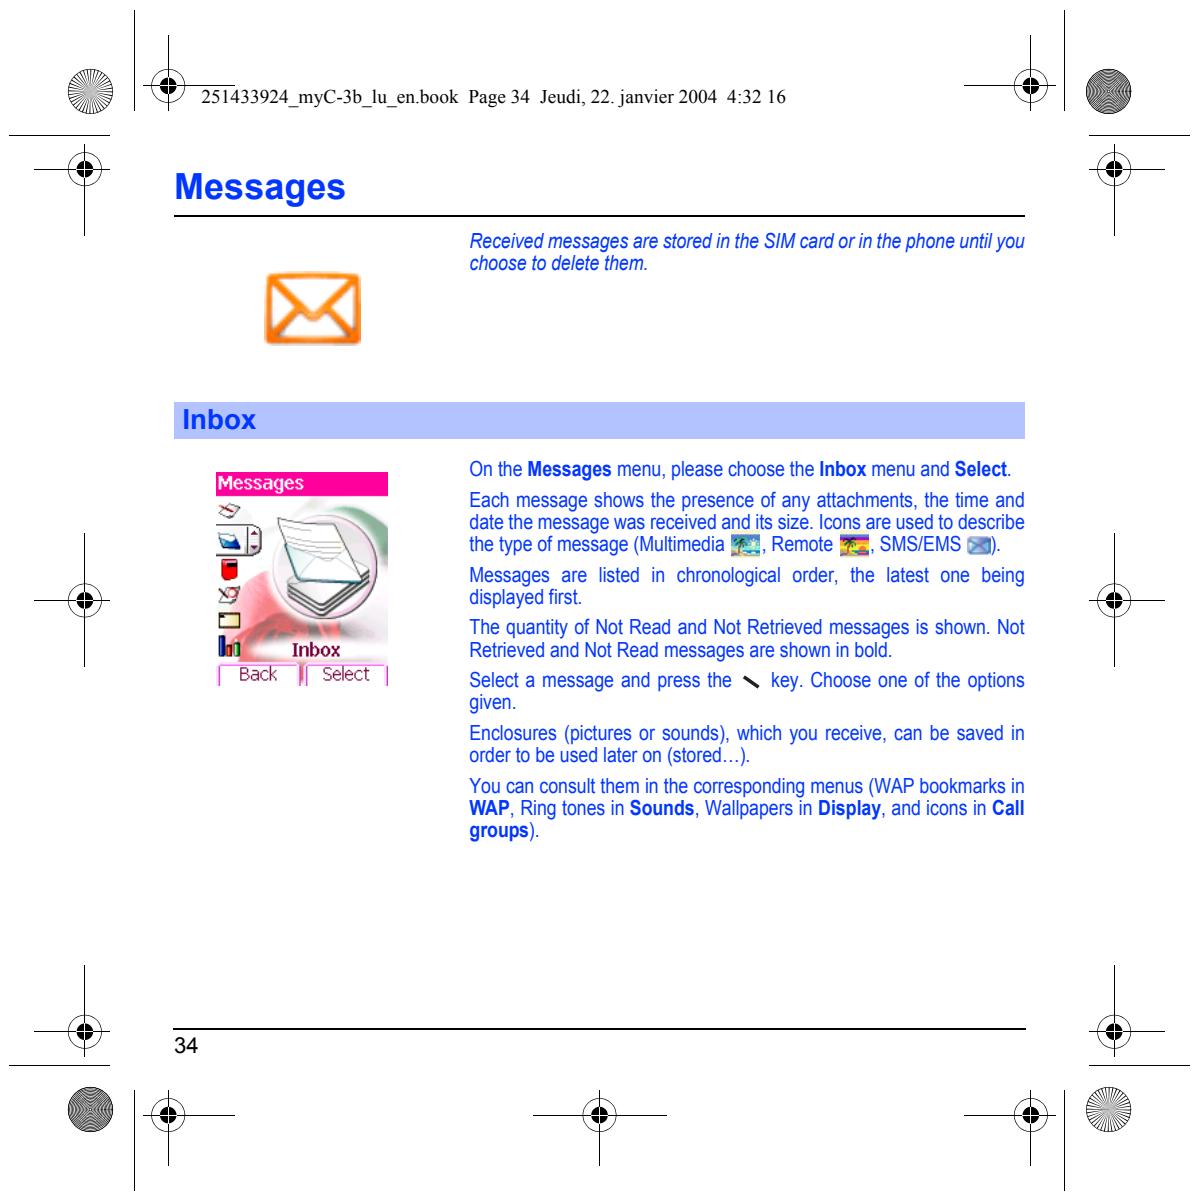
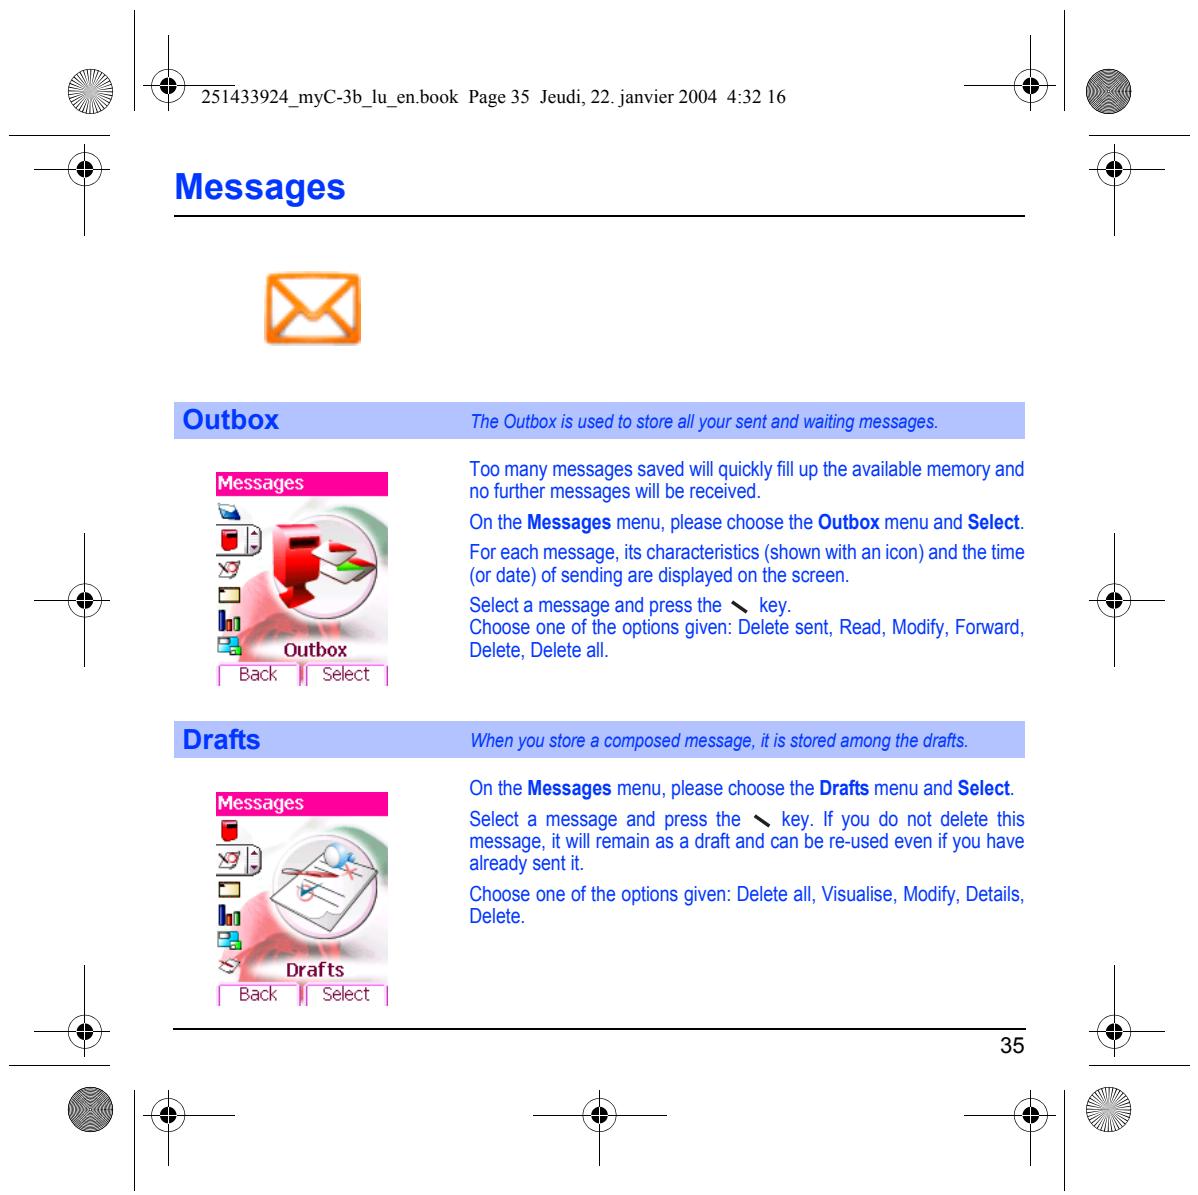
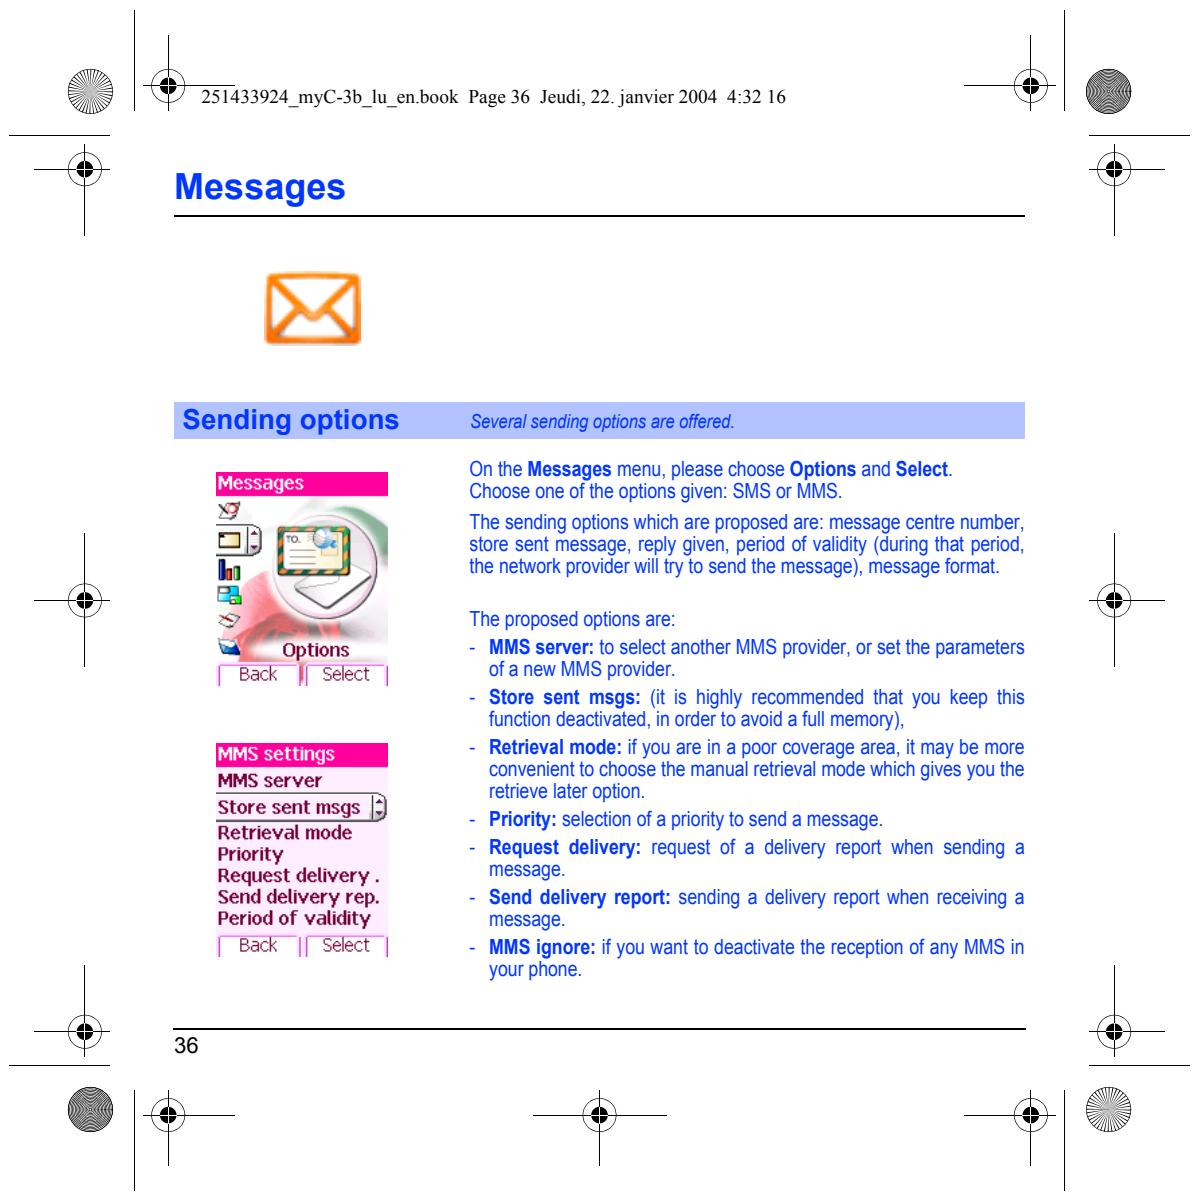
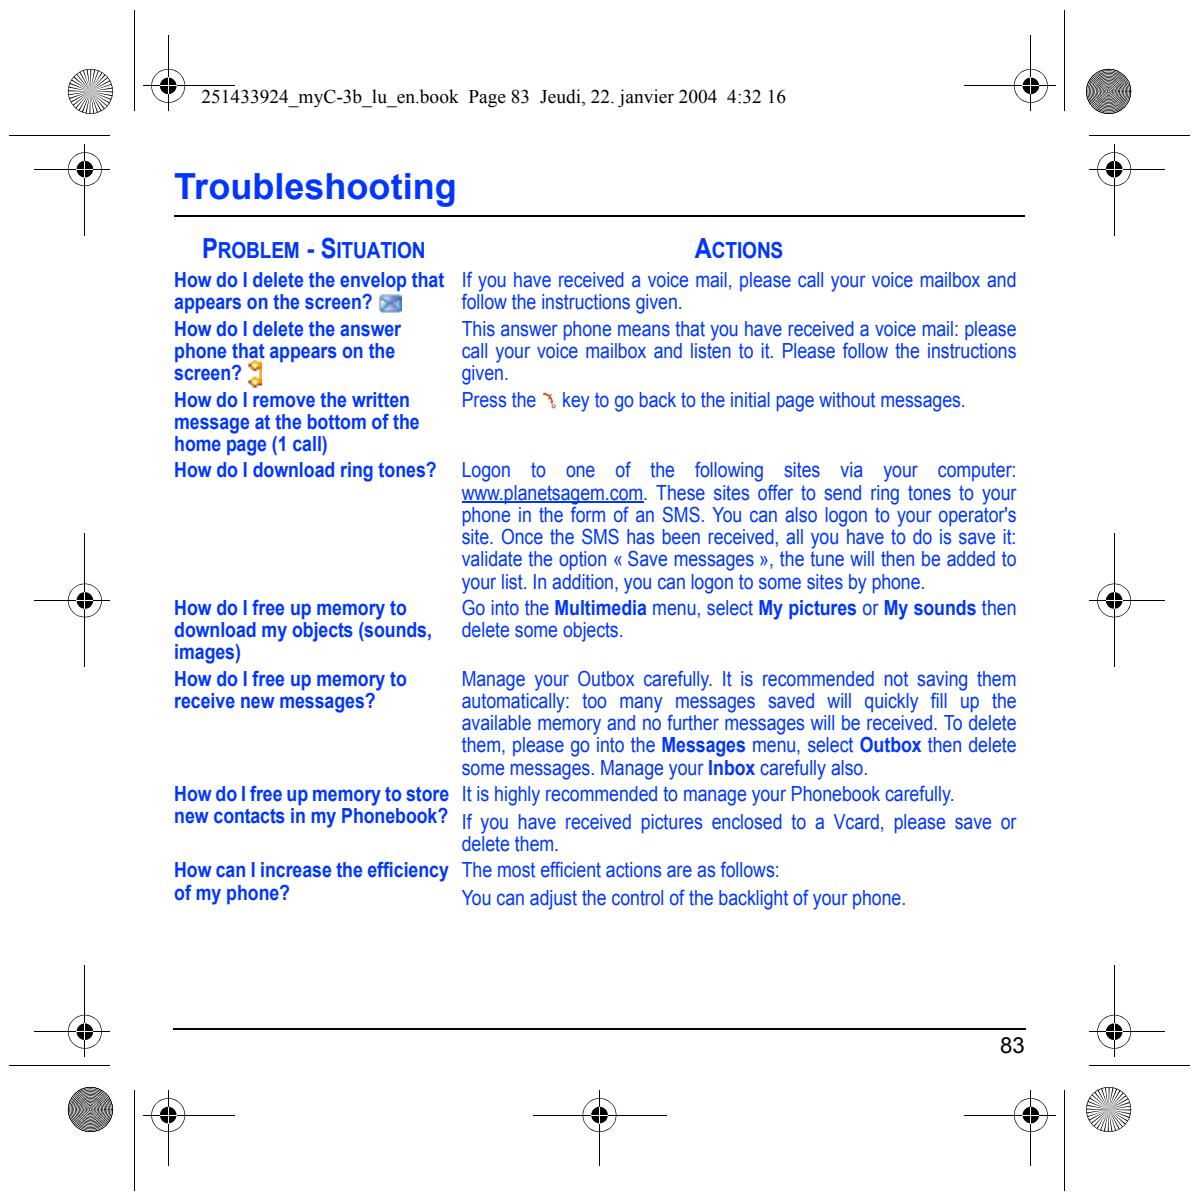
| Page 28 | MESSAGEs Compose SMS Compose MMS Receiving messages Inbox Outbox Drafts Sending options Memory Local information |
| Page 38 | MULTIMEDIA My Pictures My Sounds Memory |
| Page 40 | WAP The WAP Menu Configuring WAP parameters WAP Logging on Downloading sounds and images WAP Logging off GPRS |


| Troubleshooting | |
| PROBLEM - SITUATION | ACTIONS |
| SIM BLOCKED | You have entered three incorrect PIN codes. Enter your PUK code to unblock your SIM Card. You must enter: **05*PUK*PIN*PIN#. You must enter the PUK code (Personal Unblocking Key) given by your network provider. 10 errors will permanently block your SIM Card. You must then contact your network provider to get a new one. |
| SIM LOCKED | On network providers' request, the handset can only be used with some types of SIM cards. This message means that the SIM card you are using does not fit with the phone. Take the SIM card out, and switch it back on. If the message SIM not present appears on the screen, you will need to check its compatibility next to the place where you bought it. If not, please contact your after-sales service. |
| No call connection | Check that the number you have dialled is correct. If the letter R is displayed on the top right corner of the screen, without any network name displayed, only emergency services can be called. Check the status of your credit. Check that the SIM Card you are using offers the service you are requesting; check if its validity has not expired. Check and deactivate the outgoing calls restriction when necessary. The network could be saturated. Try later. If the problem persists, please contact your Technical Helpdesk. |
| No receiving calls | Try to make a call in order to check that the phone and the networks are operational. Check and deactivate the permanent call forwarding (permanent call forwarding icon displayed on the screen). Check and deactivate the incoming calls restriction when necessary. If the problem persists, please contact your Technical Helpdesk. |
| PROBLEM - SITUATION | ACTIONS |
| Quality reception when calling | Avoid placing your fingers on the top of the phone, where the aerial is integrated: the phone will have to use full strength to establish a quality transmission. |
| Impossible to send message | Check that the message centre number is correctly entered. To do so, please select the menu Messages, select Options, selectMsg centre n° and check the number entered. Please contact your network provider to get this number. |
| No answer phonebox | Check that the SIM card does offer this service. Program the call to be forwarded to answer phoneusing the information provided by the operator. Check that the SIM card used offers this service. Try to make a call to check that phone and network are operational. Check if the answer phone number is properly configured. To do so, go to the Settings / Calls menu, select Voicemail and check the number. Otherwise, enter your operator's answer phone centre number. |
| If answer phone icon flashing | Call the answer phone to make it disappear. |
| Wrong ring tone is played on call reception | Check the call group of the contact who has called: check the ring tone selected for this group. |
| Backlight does not work | Go into the Settings / Others menu, select the Energy saving menu and activate backlight. |
| In WAP context: SERVER NOT ANSWERING message | Switch off and then switch phone back on. |
| Logon to home page impossible | In the WAP menu, Clear the cache. |
| Operator name does not appear on screen | Go into the Settings menu, select Networks, then Selection. Wait until the operator appears, select it and validate. |
| How do I (un)lock the keypad? | Press the *key, then the key (validate). |
| How do I switch to silent mode? | Hold the * key down unless ring tone sounds, when a short touch is enough. |
| How do I activate zoom? | Can be activated only in SMS and WAP screens; hold down the # key. |
| Receiving messages | p33 | T |
| Sending options | p36 | |
| My Pictures | p38 | T9 p29 |
| My Sounds | p39 | Text p31, p32, p33 |
| N | Timer p52 | |
| Troubleshooting p80 | ||
| Navigation principles | p10 | V |
| Networks | p67 | vCard p27 |
| O | Vibrate p54 | |
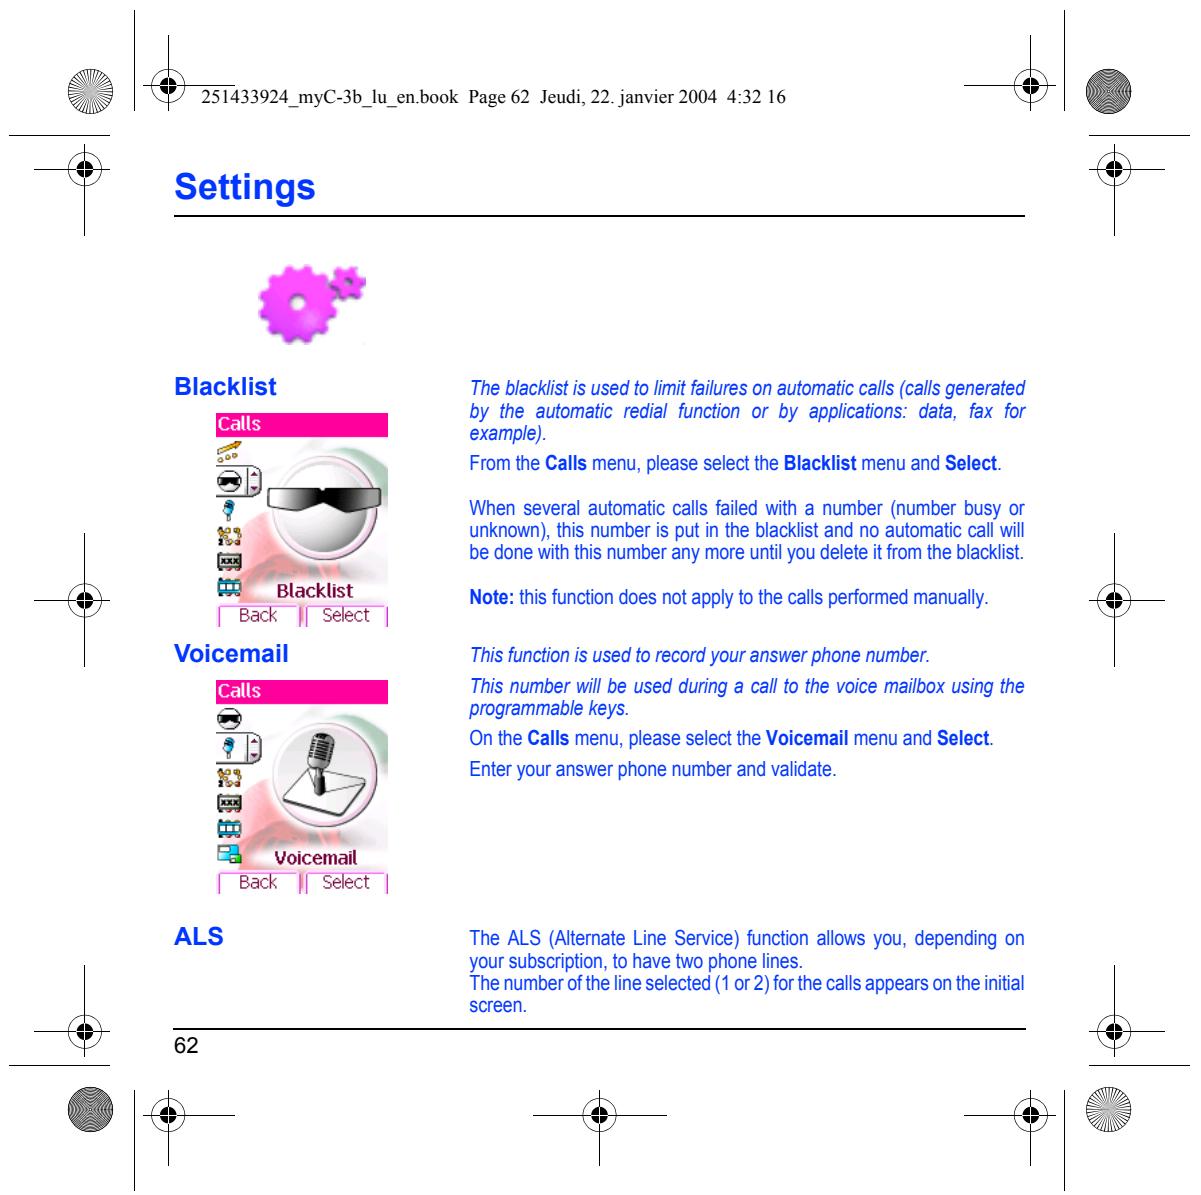
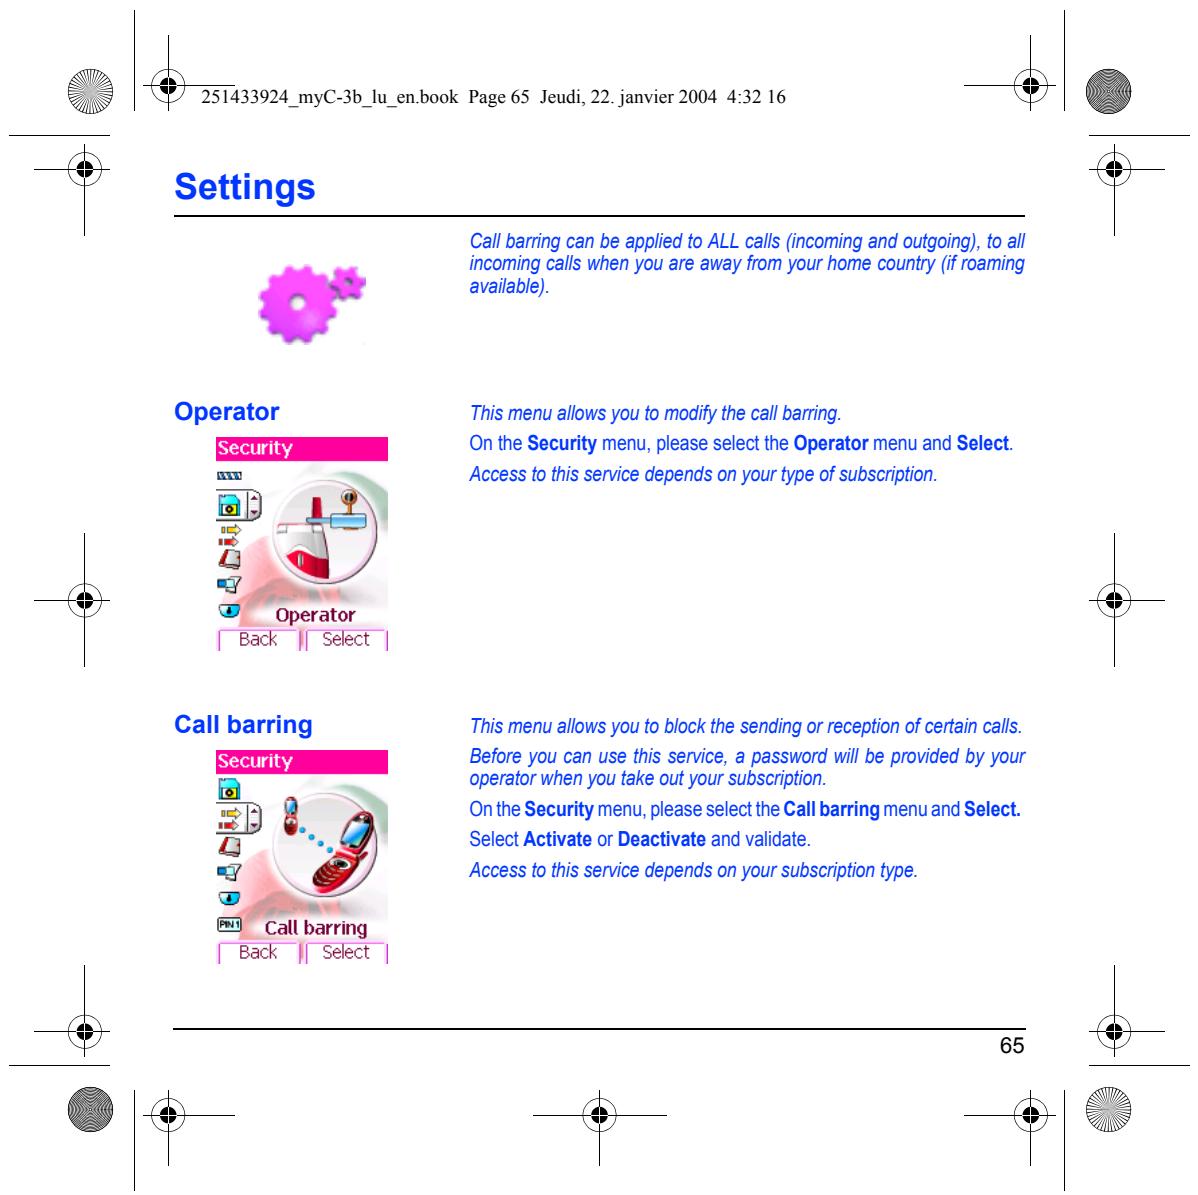
| Operator | p65 | Voicemail p62 |
| P | Volume p54 | |
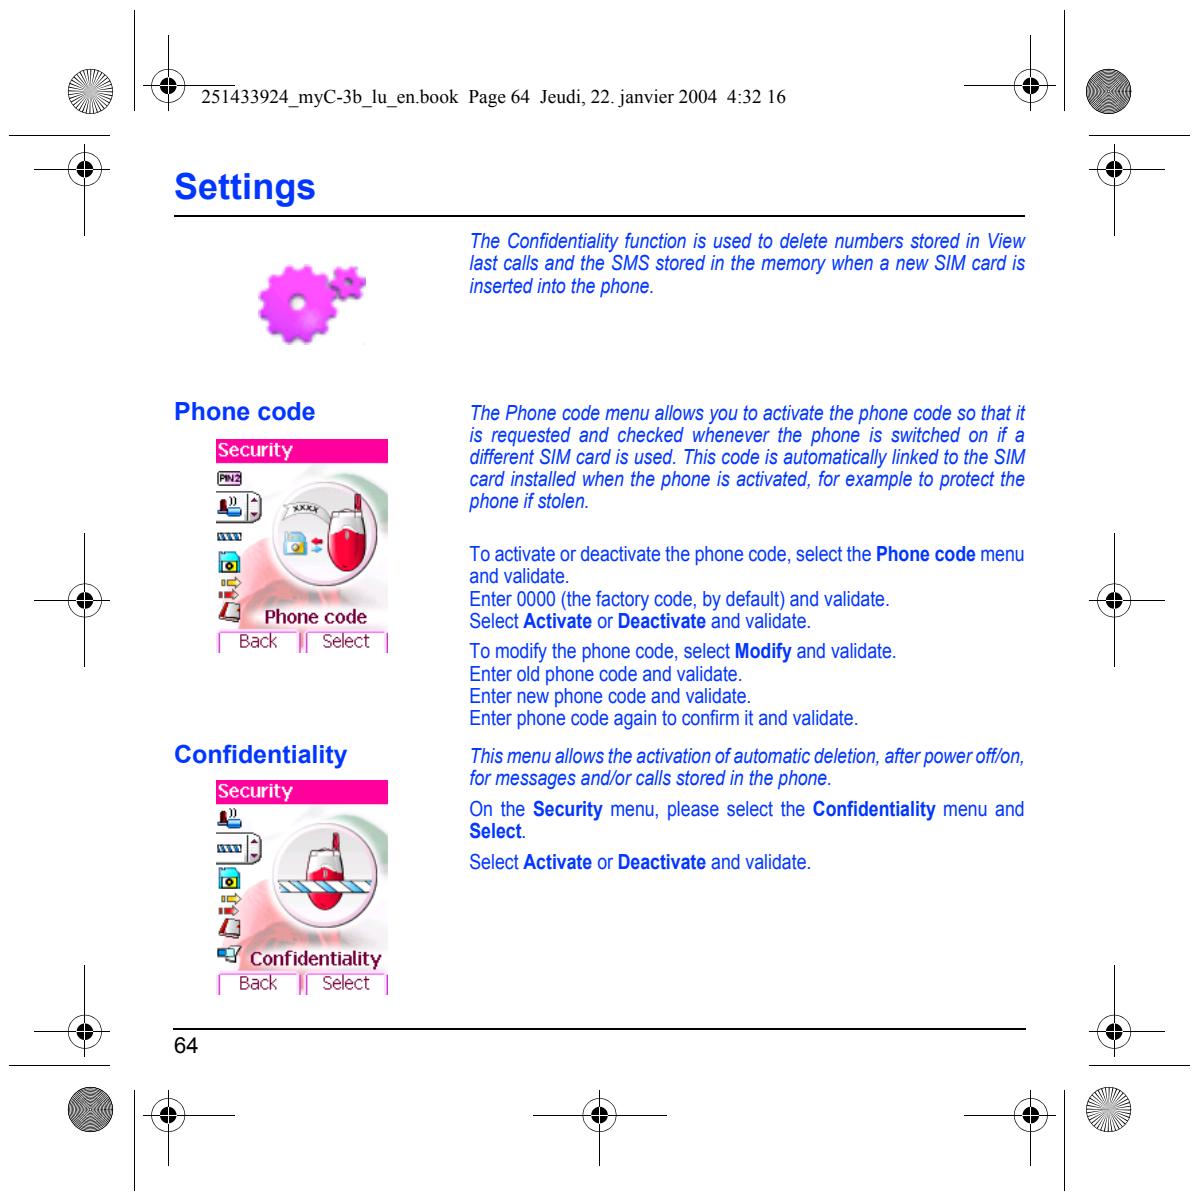
| Phone code | p64 | W |
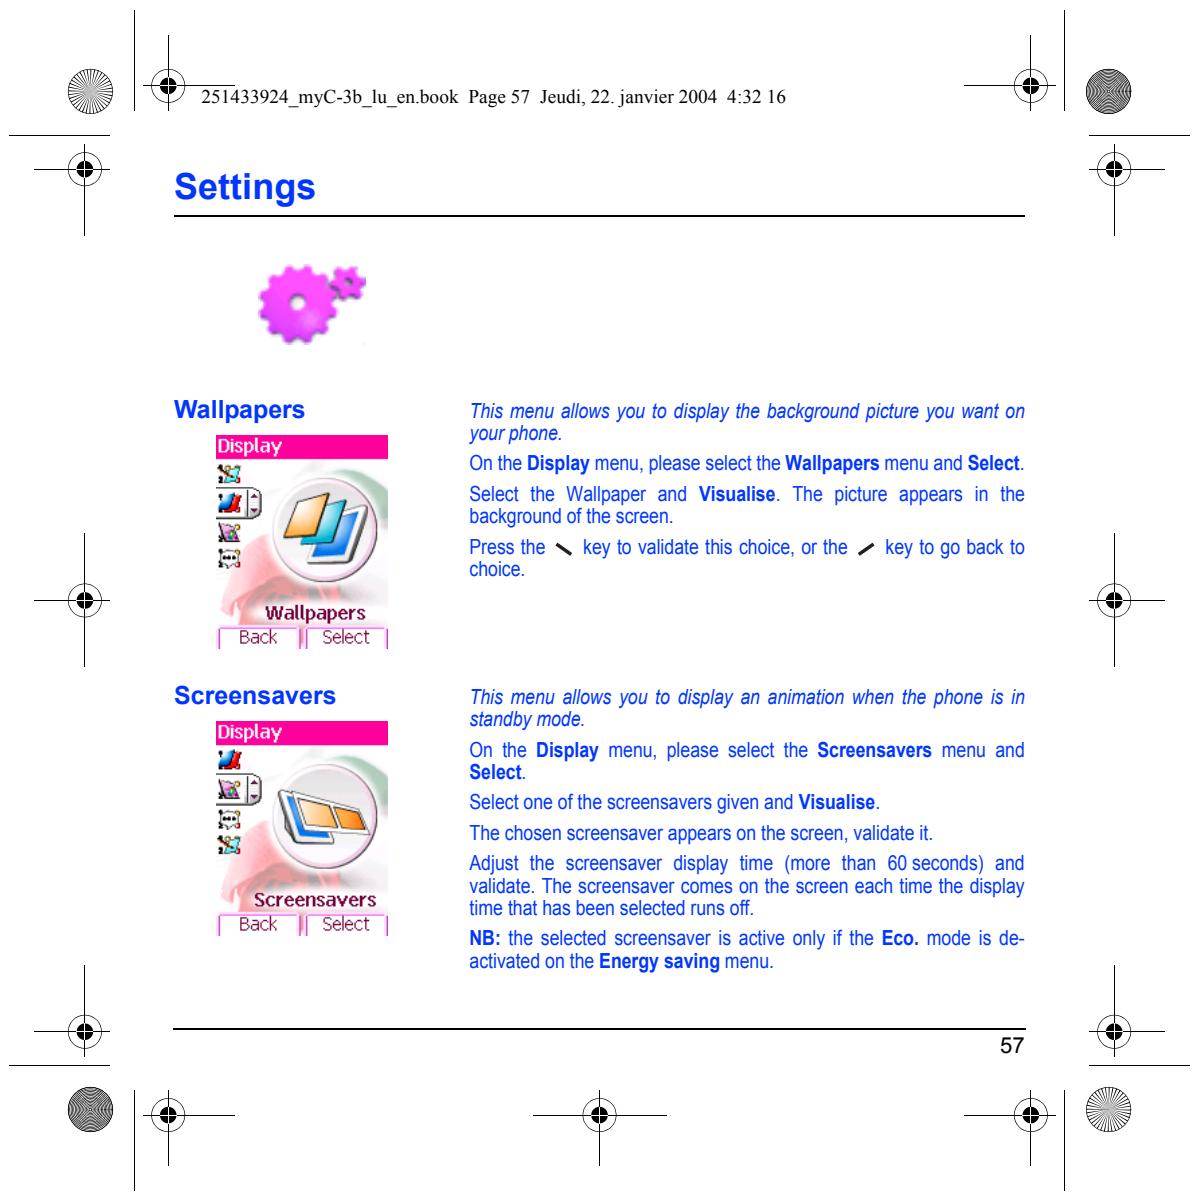
| Phonebook | p22 | Wallpapers p57 |
| Contacts menu | p21 | WAP p40, p41, p42, p43, p44 |
| Using the phonebook | p63 | Configuring WAP parameters p41, p42 |
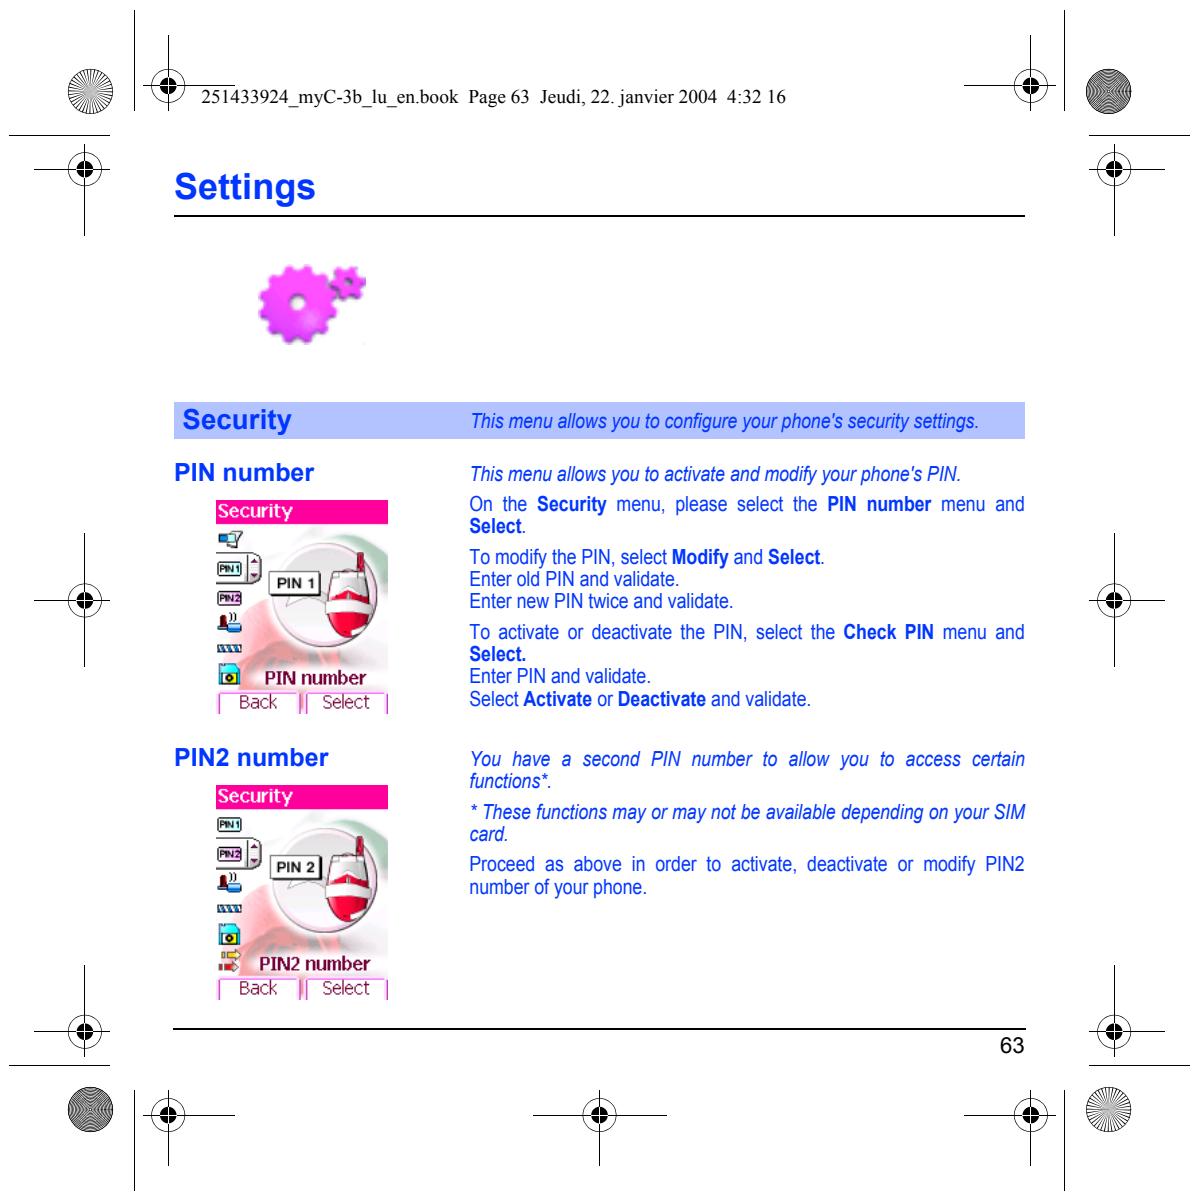
| PIN number | p63 | Downloading sounds and images p43 |
| PIN2 number | p63 | Services menu p40 |
| Programmable keys | p9 | WAP logging off p43 |
| R | WAP logging on p43 | |
| Ring tones | p54 | Warranties p77 |
| S | Y | |
| Safety information | p75 | |
| Screensavers | p57 | |
| Security | p63, p64, p65, p66 | |
| Sending options | p36 | |
| Services | p74 | |
| Short cut keys | p70 | |
| Shortcut keys | p9 | |
| Silent mode | p55 | |
| SIM card | p12, p13 | |
| Skins | p56 | |
| SMS | p28 | |
| Sounds | p54, p55 |

Manual assistant
Powered by Anthropic
Waiting for your message
Product information
Brand : SAGEM
Model : MYC3B
Category : Mobile Phone