
MYX-6 - Mobile Phone SAGEM - Free user manual and instructions
Find the device manual for free MYX-6 SAGEM in PDF.
Pick your language and provide your email: we'll send you a specifically translated version.
| Product type | Mobile phone |
| Brand | SAGEM |
| Model | MYX-6 |
| Dimensions | 105 x 44 x 18 mm |
| Weight | 80 g |
| Display | Monochrome, 2 lines + 1 icon line |
| Power supply | Lithium-Ion battery 3.7 V, 650 mAh |
| Standby time | Up to 200 hours |
| Talk time | Up to 3 hours |
| Network | GSM 900/1800 |
| Main features | Calls, SMS, phonebook, vibrator, calculator, games |
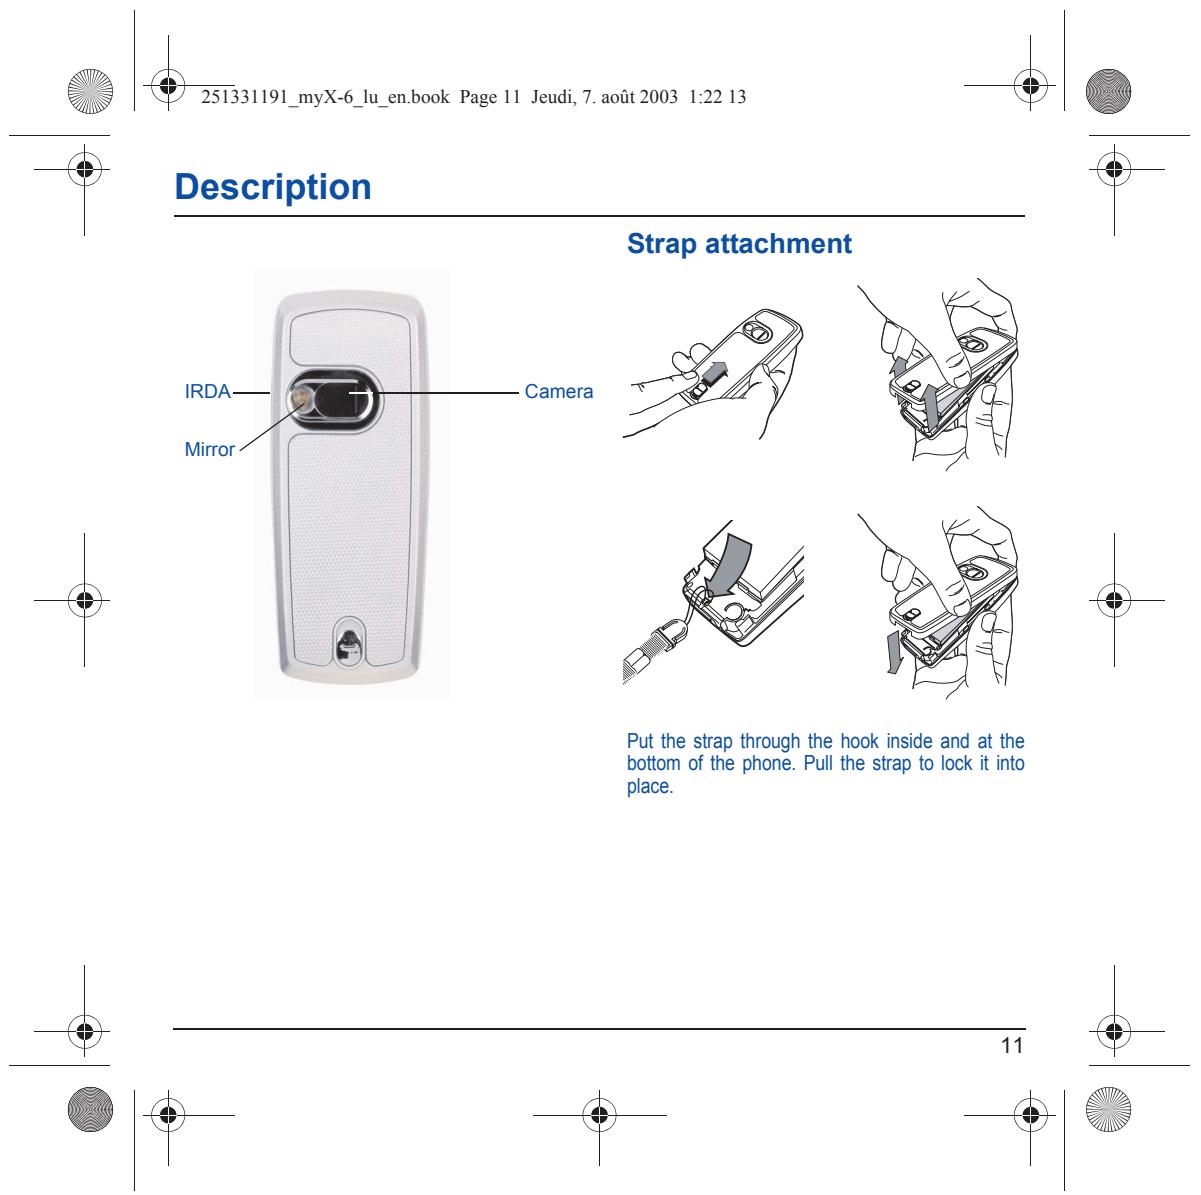
| Connectivity | Infrared (IrDA) |
| Maintenance and cleaning | Use a soft, dry cloth. Do not expose to moisture or extreme temperatures. |
| Safety | Turn off the device in areas where mobile phones are prohibited (airplanes, hospitals). |
| Spare parts and repairability | Battery, charger, headset kit. Repair by SAGEM authorized center. |
| General information | User manual available for download. SAGEM technical support. |
Frequently Asked Questions - MYX-6 SAGEM
How to turn on and off the SAGEM MYX-6?
Press and hold the hang up key (red) for 2 seconds to turn the device on or off.
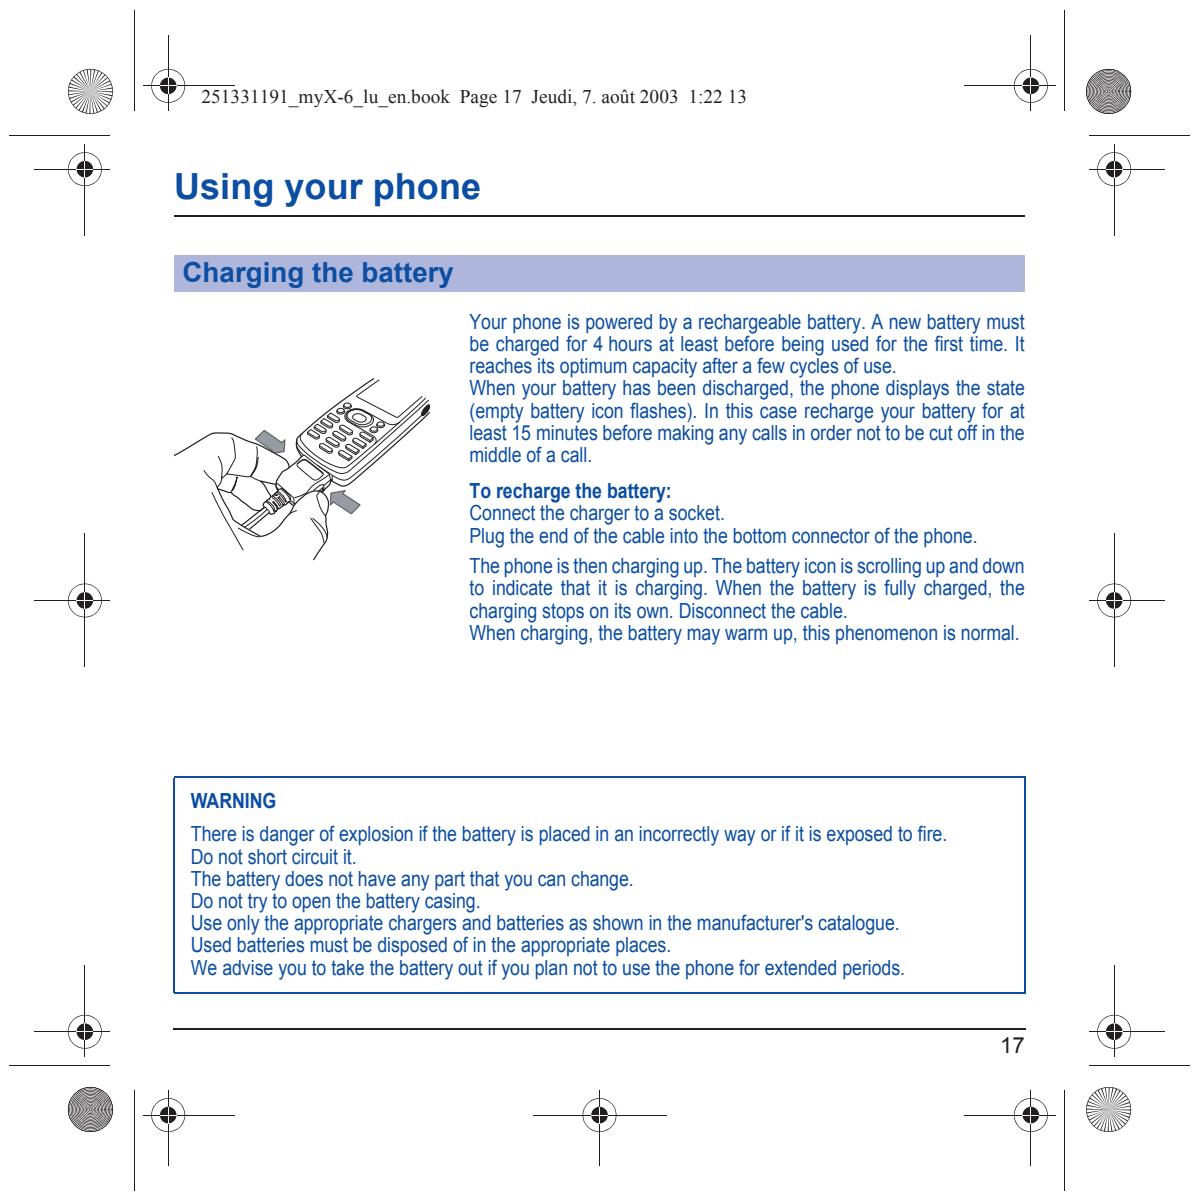
How to charge the battery of the MYX-6?
Plug the supplied charger into the connector at the bottom of the phone, then connect it to a power outlet. The battery icon indicates charging.
How to make a call?
Dial the number using the keypad, then press the pick up key (green). To hang up, press the red key.
How to write an SMS?
Go to the Messages menu, select Write, enter your text using the keypad, then send to the desired number.
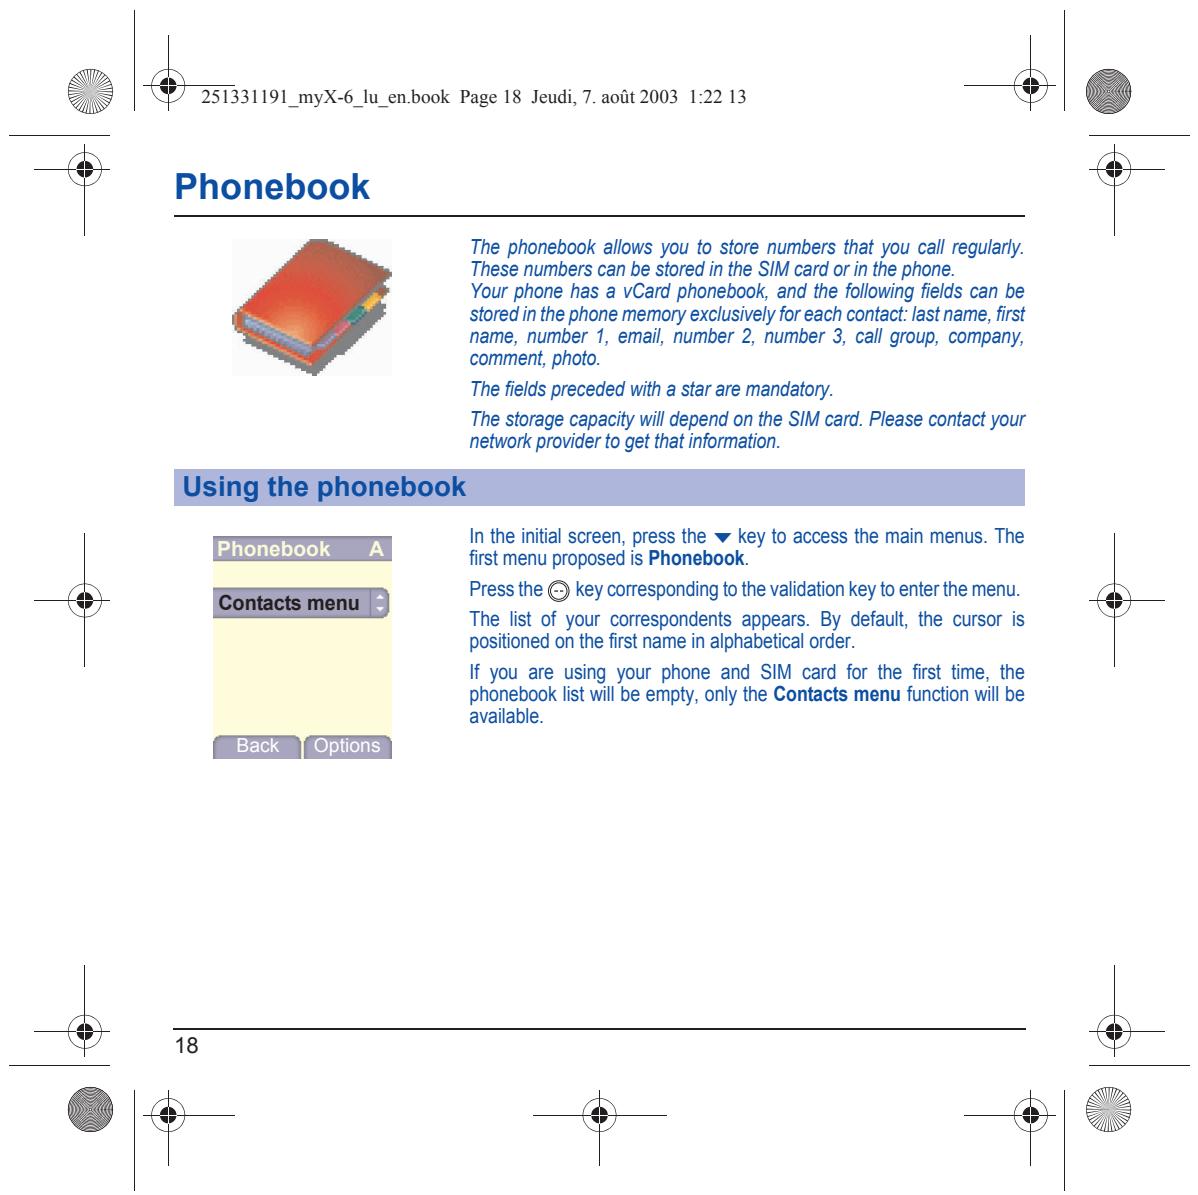
How to add a contact to the phonebook?
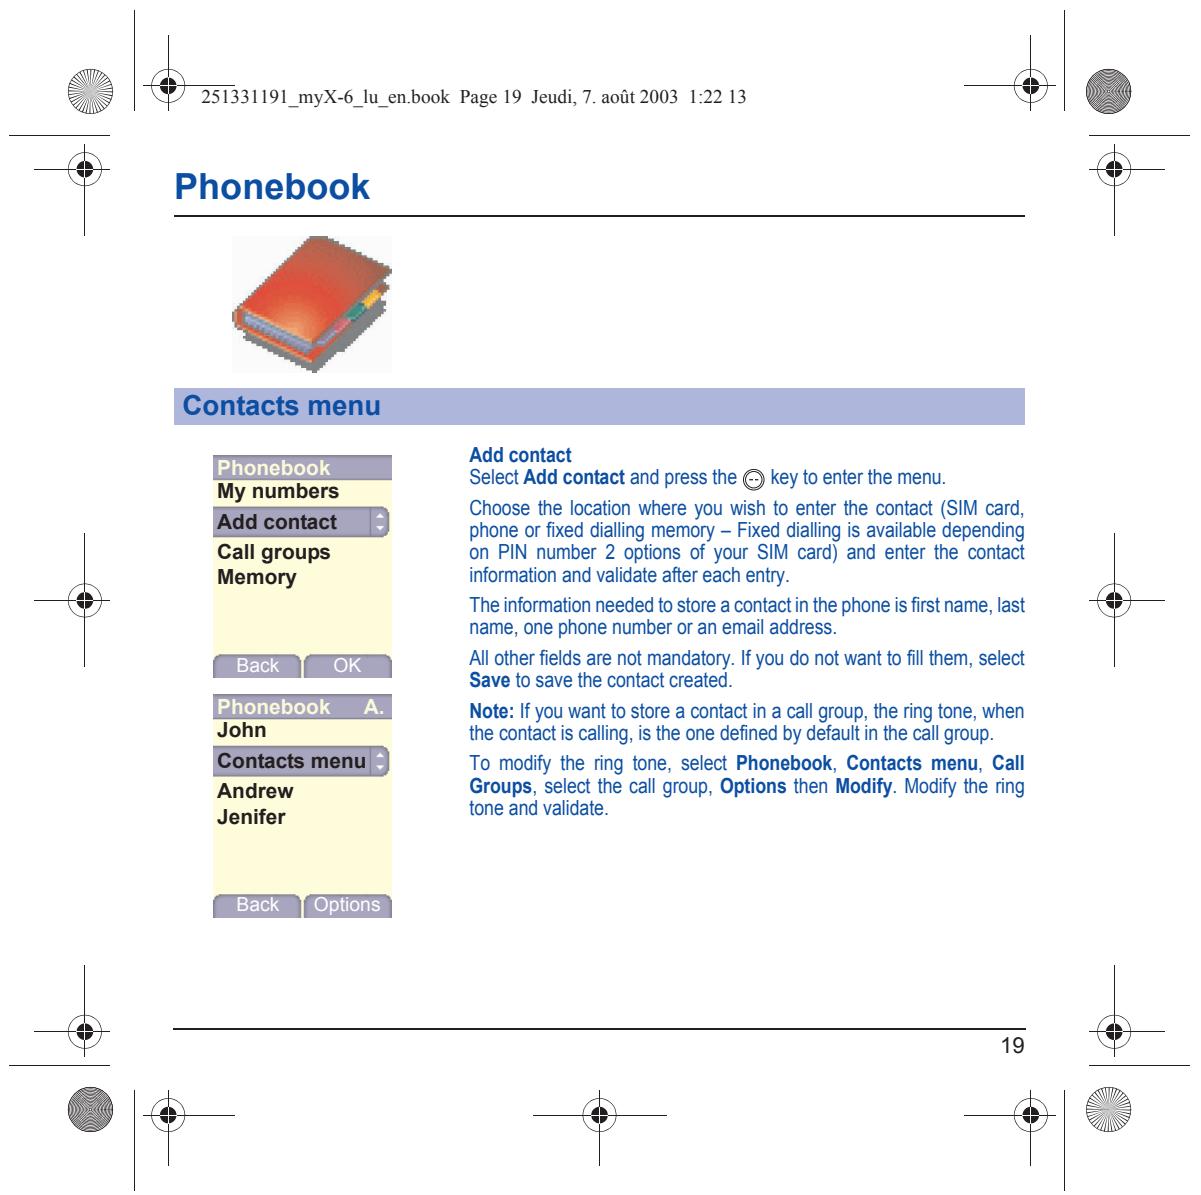
From the Phonebook menu, choose New contact, enter the name and number, then confirm.
How to use the vibrator?
Go to Profile or Ringtone and activate the Vibrator mode for incoming calls.
How to adjust the ringtone volume?
Press the side volume keys during a ring or via the menu Sound > Ring volume.
What to do if the screen shows nothing?
Check that the battery is charged and properly installed. If the problem persists, contact SAGEM technical support.
How to clean the device?
Use a soft, dry cloth. Do not use chemical or abrasive products. Avoid moisture.
Where to find spare parts?
Contact a SAGEM authorized service center or refer to the manual for compatible part references.
User questions about MYX-6 SAGEM
0 question about this device. Answer the ones you know or ask your own.
Ask a new question about this device
No questions yet. Be the first to ask one.
Download the instructions for your Mobile Phone in PDF format for free! Find your manual MYX-6 - SAGEM and take your electronic device back in hand. On this page are published all the documents necessary for the use of your device. MYX-6 by SAGEM.
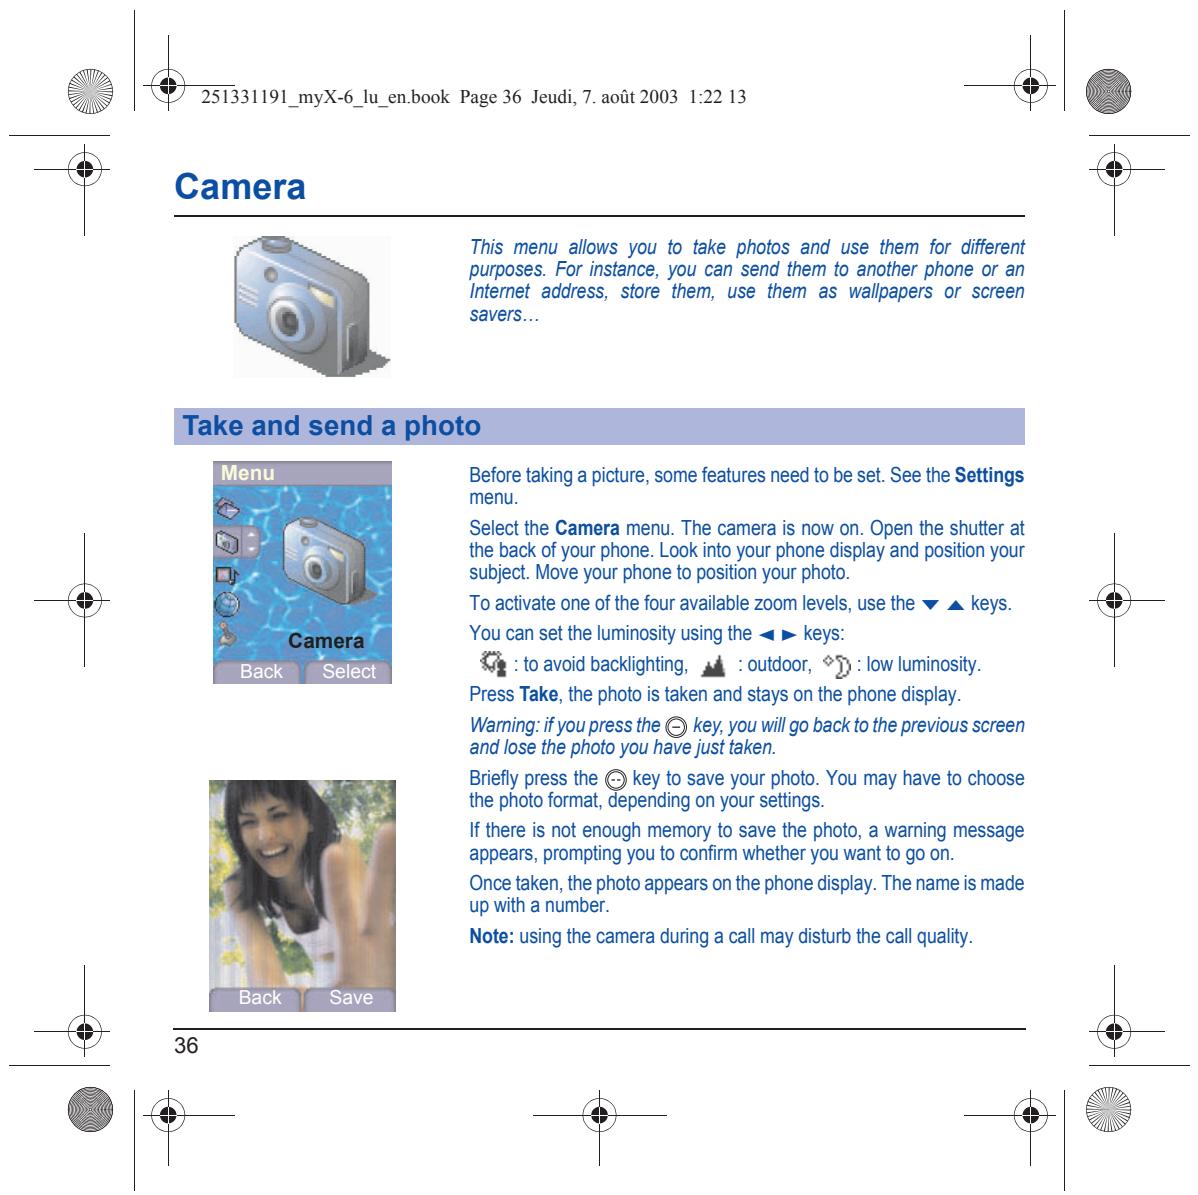
USER MANUAL MYX-6 SAGEM
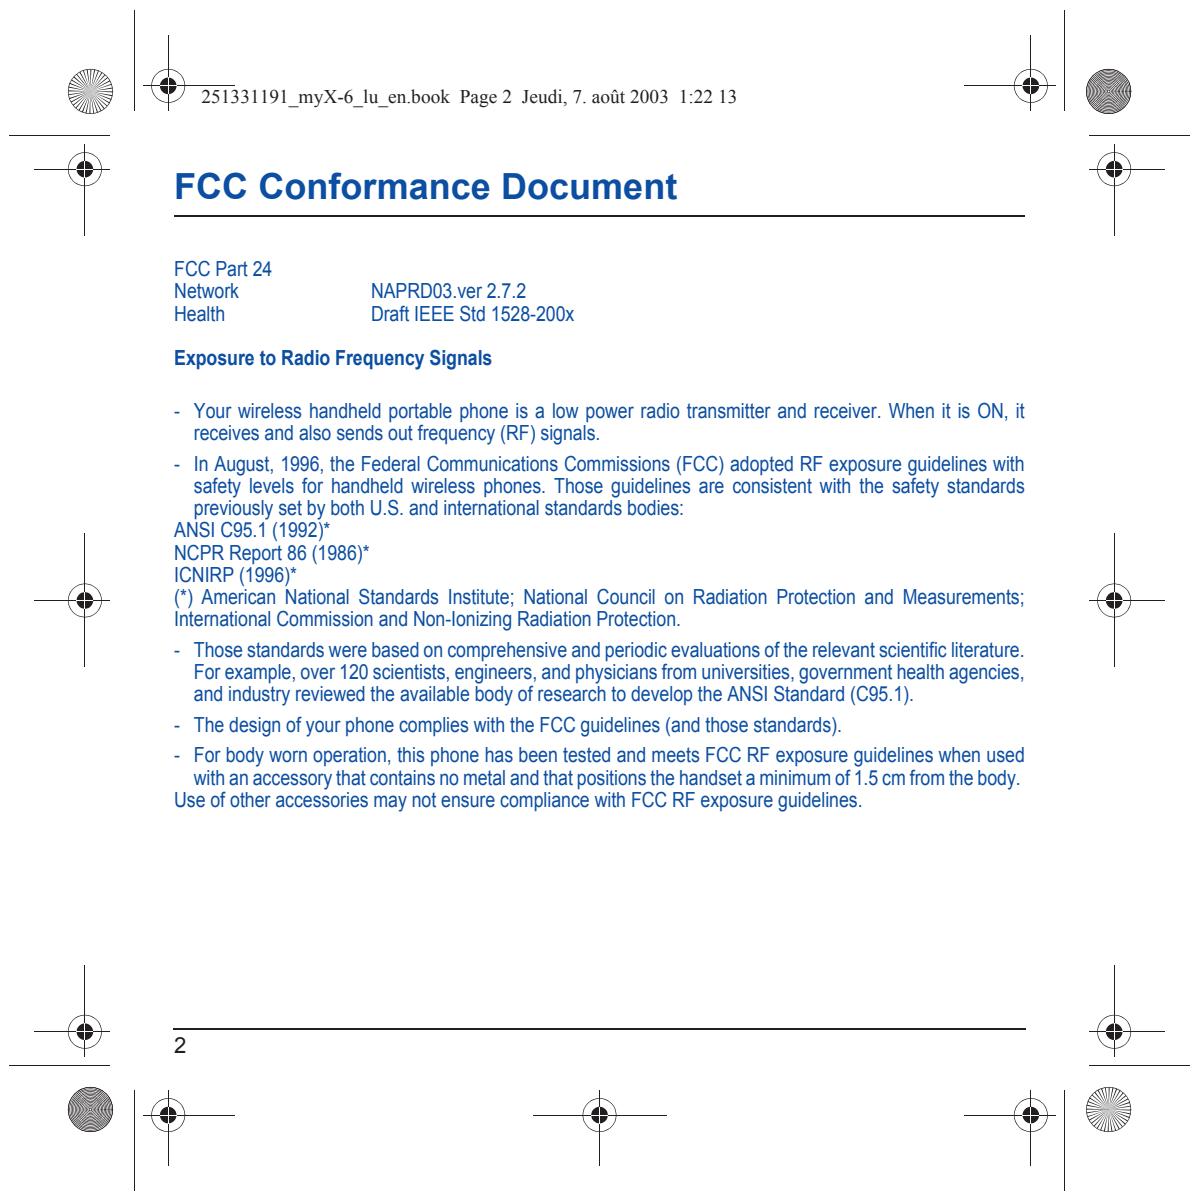
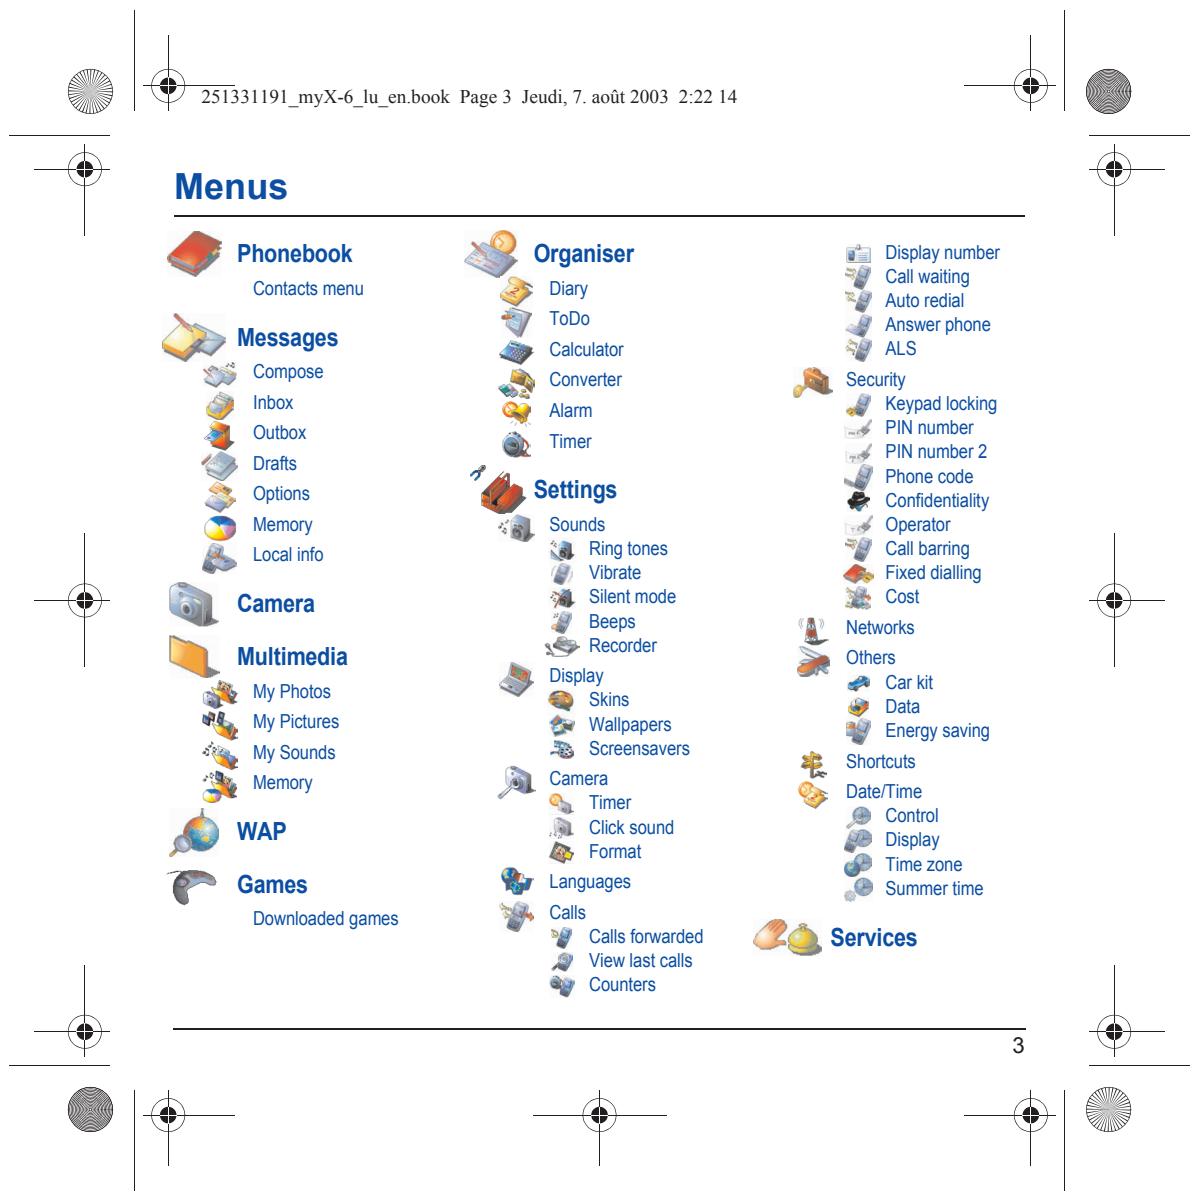
| You have just purchased a SAGEM phone, we congratulate you; it is recommended that you read this handbook carefully in order to use your phone efficiently and in the best conditions. Your phone can be used internationally in the various networks (GSM 900 MHz and DCS 1800 MHz or PCS 1900 MHz, depending on model) depending on the roaming arrangements with your operator. We remind you that this phone is approved to meet European standards. WARNING Depending on the model, network configuration and associated subscription cards, certain functions may not be available. Ensure that your SIM card is a 3 V SIM type that is compatible with your phone. Inserting an incompatible card will be indicated by a message when your phone is switched on. Contact your operator. Your phone is identified by its IMEI number. Write this number down, and do not keep it with your phone, because you may be asked for it in the event of your phone being stolen, in order to prevent it from being used, even with a different SIM card. In order to display the IMEI on your phone's screen, type: *#06#. SAGEM is a trademark of SAGEM SA. AT is a registered trademark of Hayes Microcomputer Products Inc. Hates is a registered trademark of Hayes Microcomputer Products Inc. T9 is protected by one or more of the following US patents: 5,818,437, 5,953,541, 5,187,480, 5,945,928, 6,011,554 and other patents are being applied for worldwide. |


| PROBLEM - SITUATION | ACTIONS |
| It is impossible to switch the phone on | Put it on charge for at least 15 minutes before switching it back on again. Check if the battery icon is scrolling up and down. If so, the phone is charging. If not, please take the charger out and put it back on again. Please check that the charging icon is scrolling up and down. If you still cannot switch the phone on, please disconnect the charger, put it back on again and please repeat that manipulation several times. If the charging icon is still not scrolling up and down, please contact your after-sales services. When the charging icon has stopped scrolling up and down, the battery is charged. |
| Battery status unknown | The phone does not recognize the battery. Please check the position of the battery. |
| LOW BATTERY | This message is displayed when the battery becomes too weak. The phone switches itself off automatically. Put the phone on charge. |
| SIM not present | Check if the SIM card is present and properly positioned / inserted. Check the condition of the SIM card. If damaged, please go back to the operator's shop for advice. Contact your after-sales service if the message persists. |
| Incorrect PIN code | An incorrect PIN code has been entered. Be careful! Three incorrect PIN codes will block the SIM Card. |
| SIM BLOCKED | You have entered three incorrect PIN codes. Enter your PUK code to unblock your SIM Card. You must enter: **05*PUK*PIN*PIN# You must enter the PUK code (Personal Unblocking Key) given by your network provider. 10 errors will permanently block your SIM Card. You must then contact your network provider to get a new one. |
| Troubleshooting | |
| PROBLEM - SITUATION | ACTIONS |
| SIM LOCKED | On network providers' request, the handset can only be used with some types of SIM cards. This message means that the SIM card you are using does not fit with the phone. Take the SIM card out, and switch it back on. If the message SIM not present appears on the screen, you will need to check its compatibility next to the place where you bought it. If not, please contact your after-sales service. |
| No call connection | Check that the number you have dialled is correct. If the letter R is displayed on the top right corner of the screen, without any network name displayed, only emergency services can be called. Check the status of your credit. Check that the SIM Card you are using offers the service you are requesting ; check if its validity has not expired. Check and deactivate the outgoing calls restriction when necessary. The network could be saturated. Try later. If the problem persists, please contact your Technical Helpdesk. |
| No receiving calls | Try to make a call in order to check that the phone and the networks are operational. Check and deactivate the permanent call forwarding (permanent call forwarding icon displayed on the screen). Check and deactivate the incoming calls restriction when necessary. If the problem persists, please contact your Technical Helpdesk. |
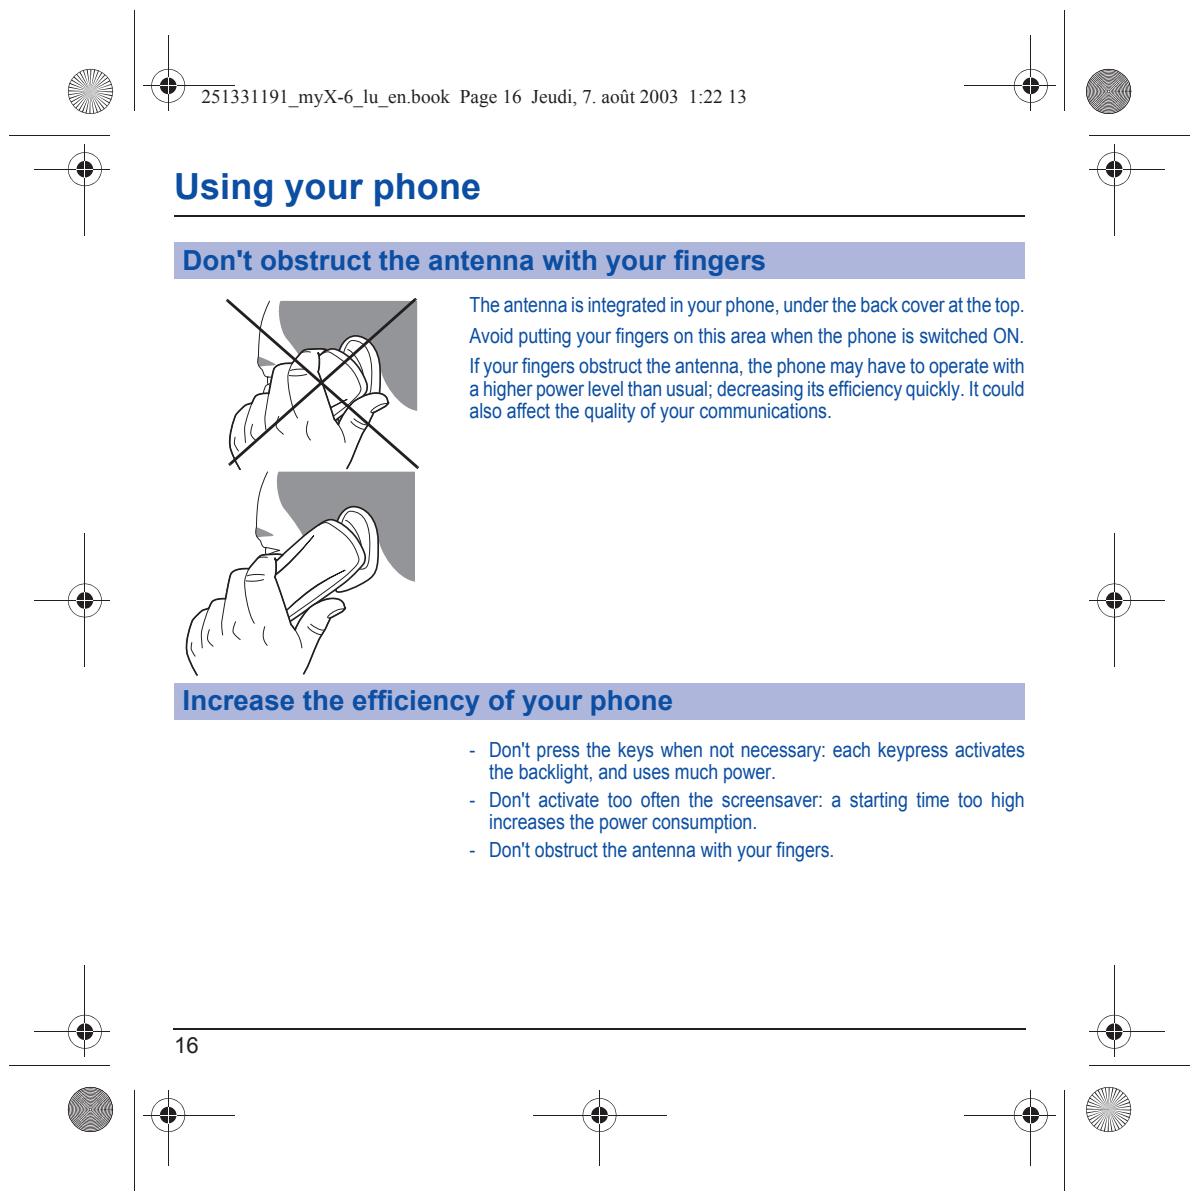
| Quality reception when calling | Avoid placing your fingers on the top of the phone, where the aerial is integrated: the phone will have to use full strength to establish a quality transmission. |
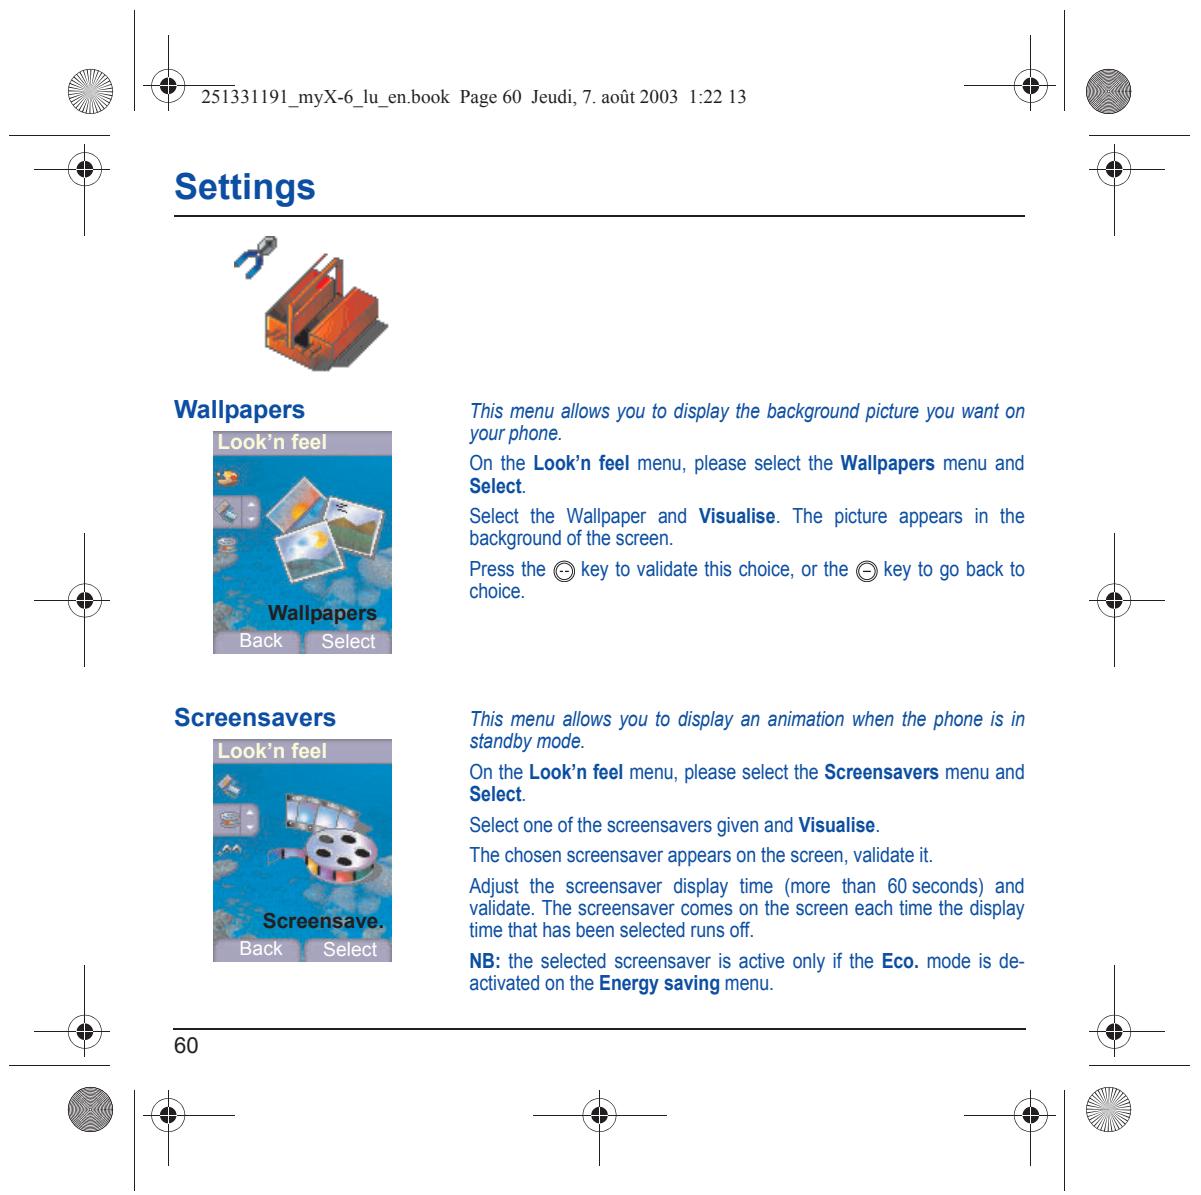
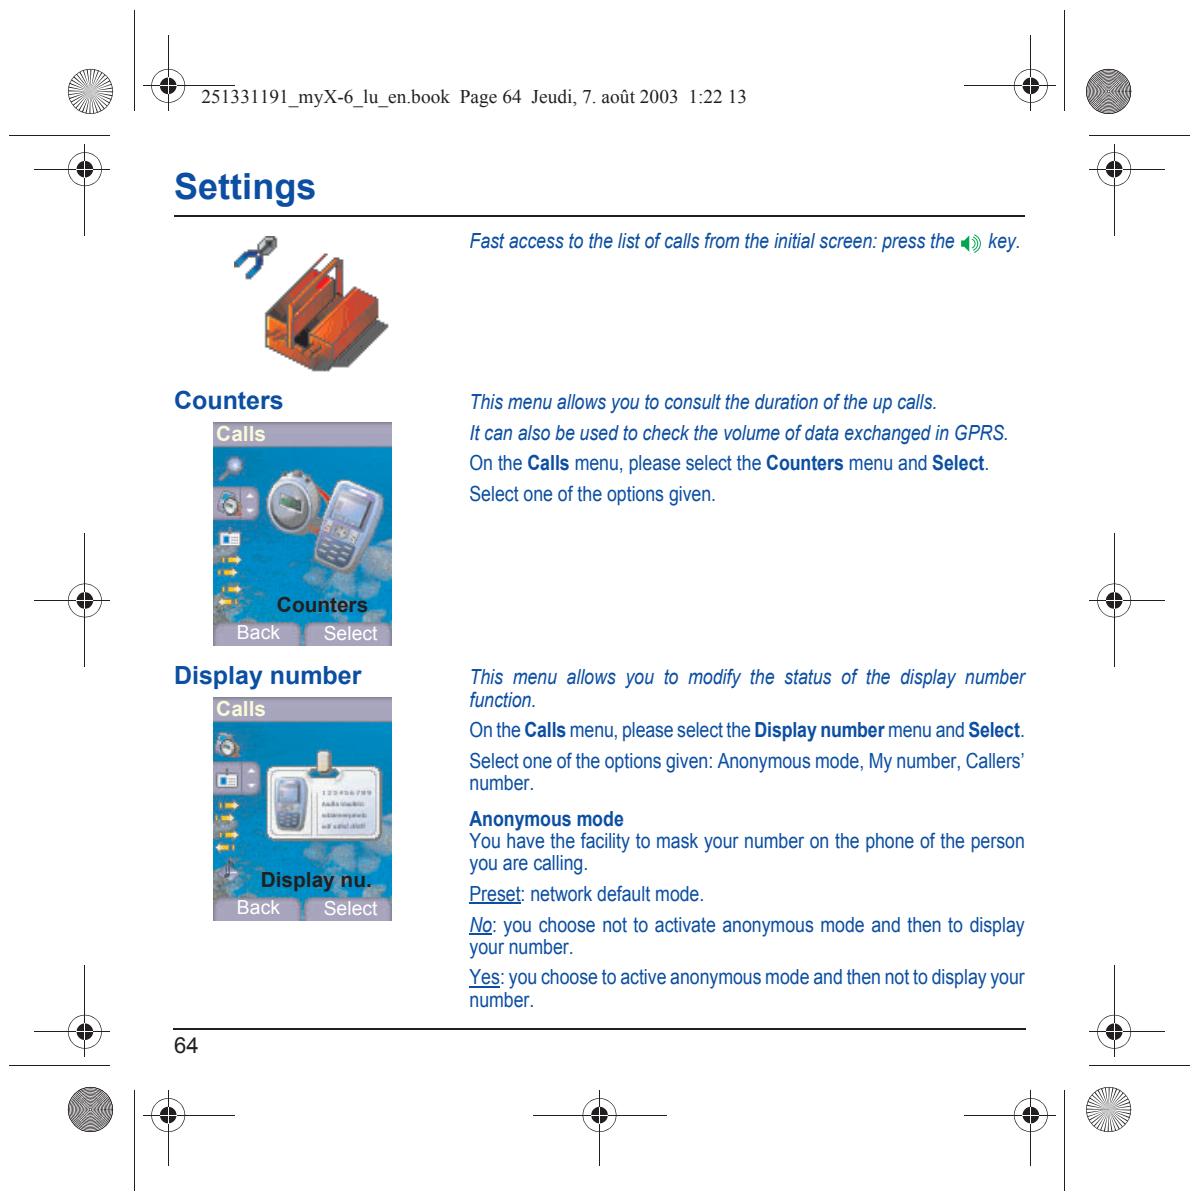
| Impossible to send message | Check that the message centre number is correctly entered. To do so, please select the menu Settings, select Calls, select Answer phone number and check the number entered. Please contact your network provider to get this number. |
| PROBLEM - SITUATION | ACTIONS |
| No answer phonebox | Check that the SIM card does offer this service. Program the call to be forwarded to answer phoneusing the information provided by the operator. Check that the SIM card used offers this service. Try to make a call to check that phone and network are operational. Check if the answer phone number is properly configured. To do so, go to the Calls menu, select Answer phone number and check the number. Otherwise, enter your operator's answer phone centre number. |
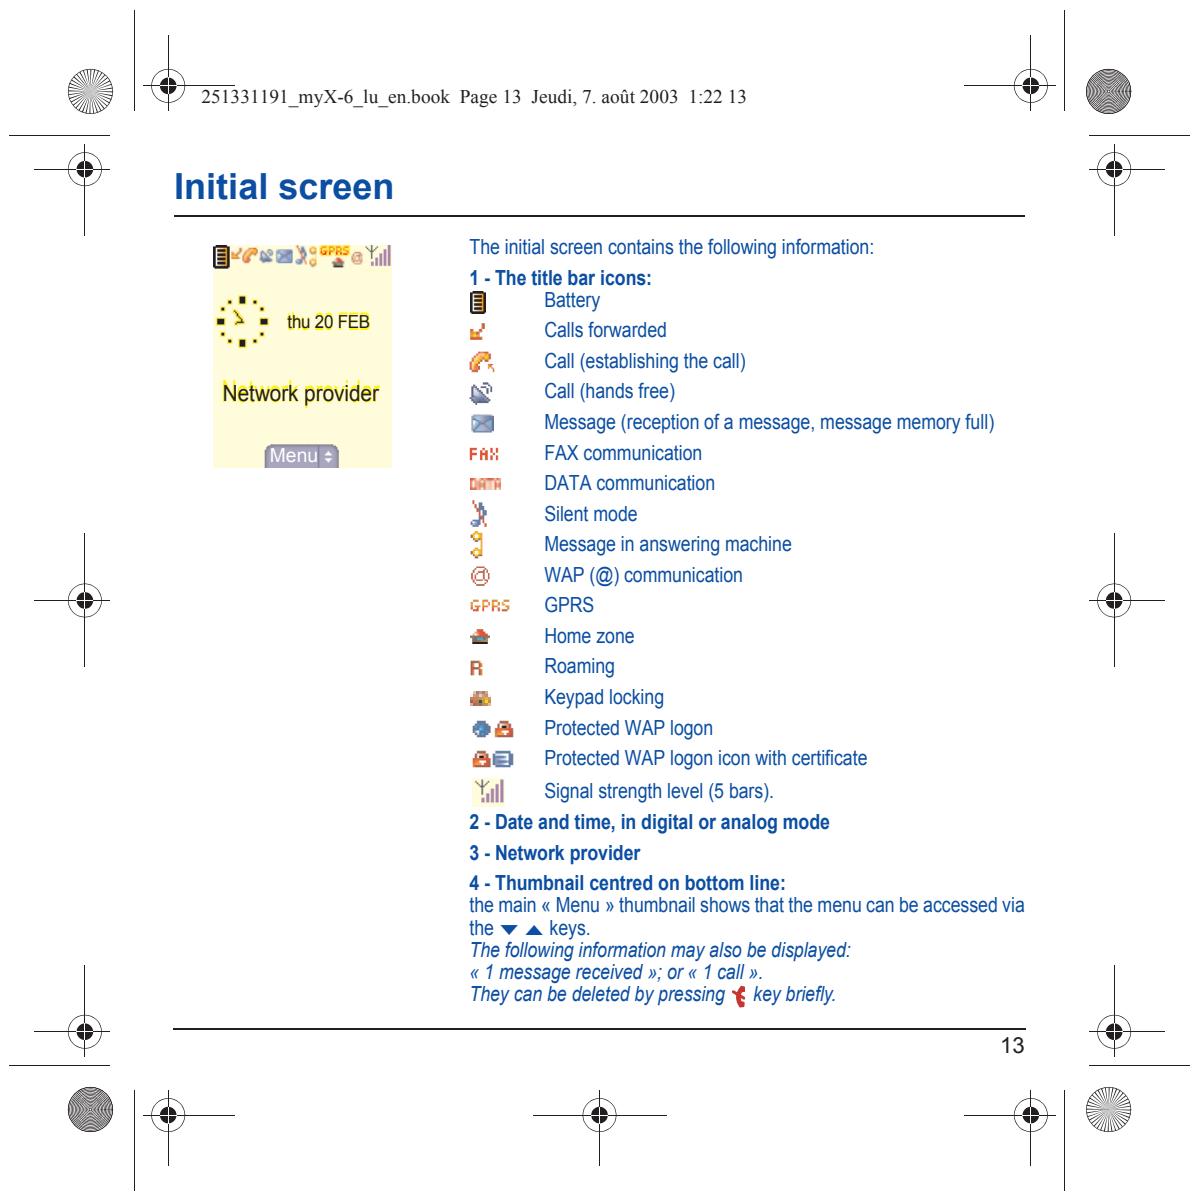
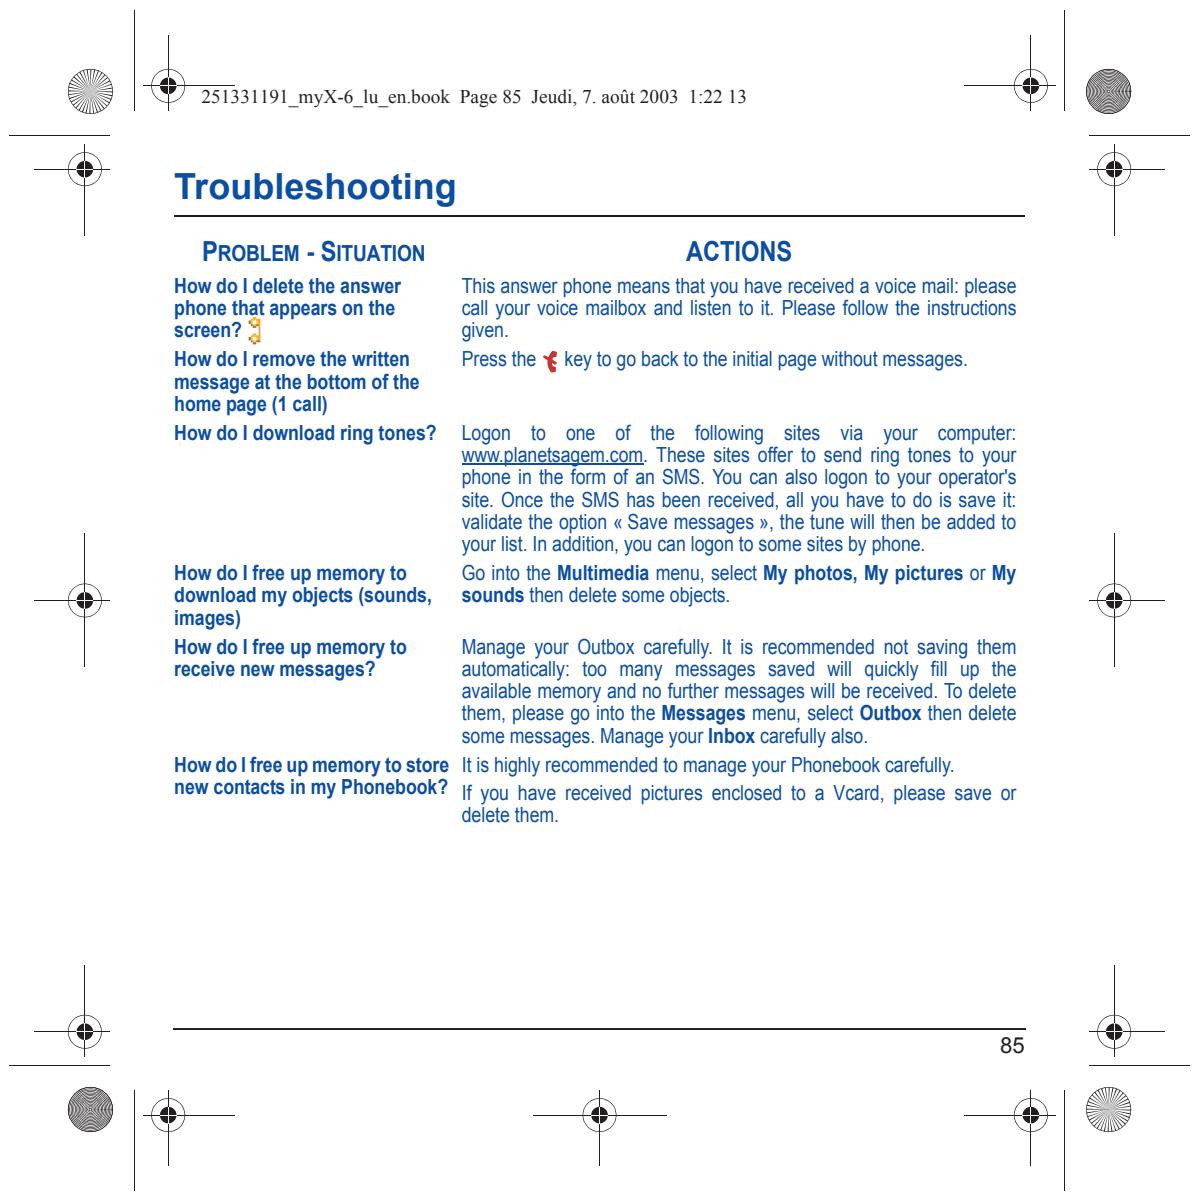
| If answer phone icon flashing | Call the answer phone to make it disappear. |
| Wrong ring tone is played on call reception | Check the call group of the contact who has called: check the ring tone selected for this group. |
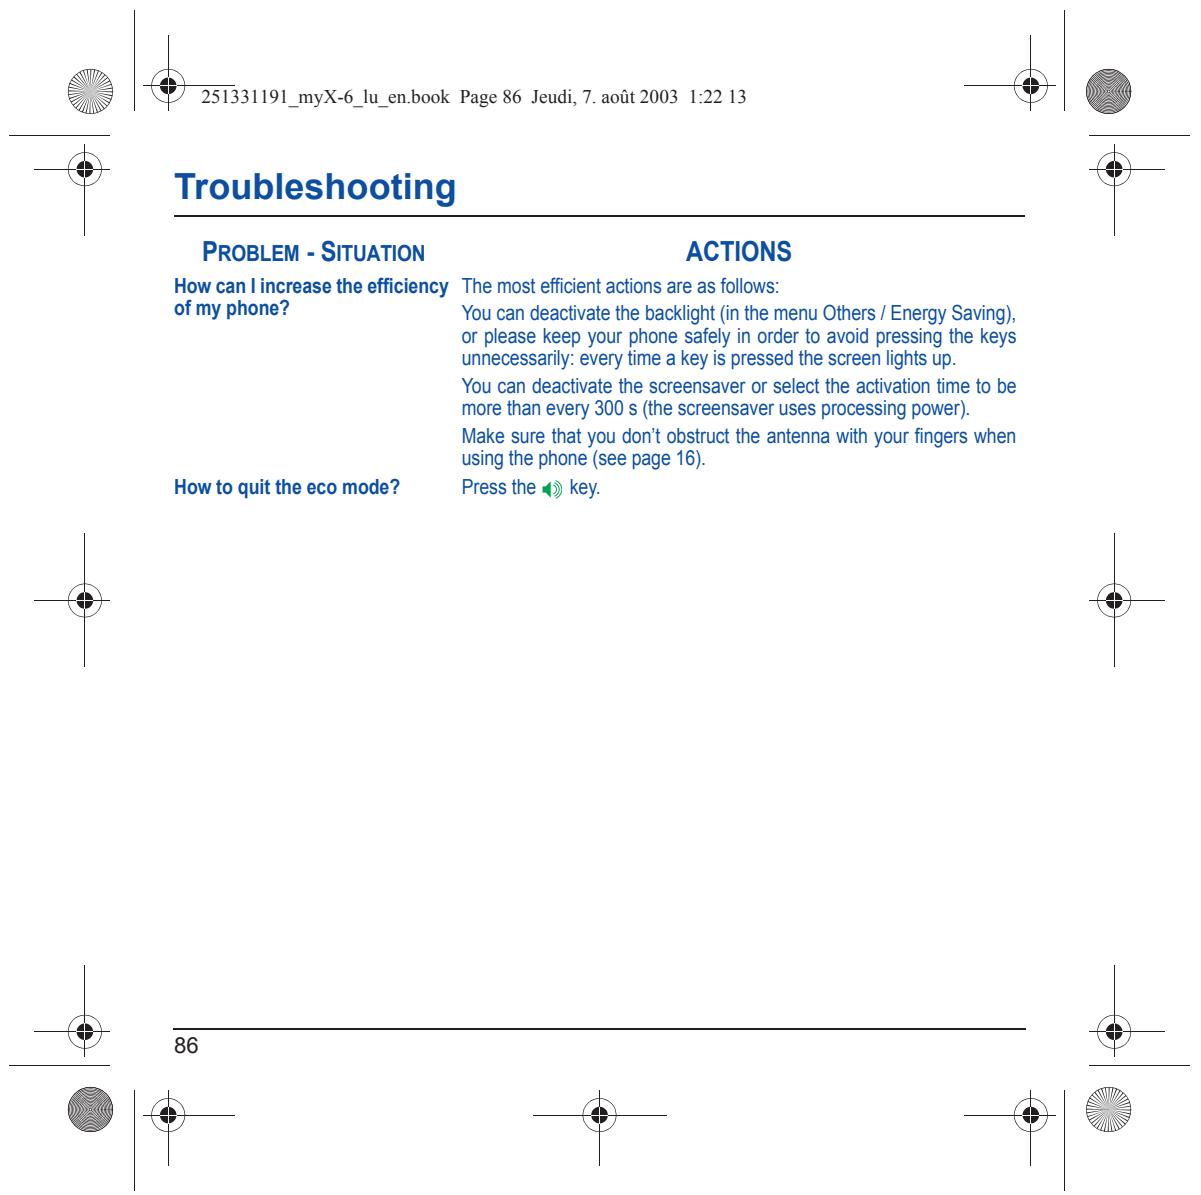
| Backlight does not work | Go into the Settings / Others menu, select the Energy saving menu and activate backlight. |
| In WAP context: SERVER NOT ANSWERING message | Switch off and then switch phone back on. |
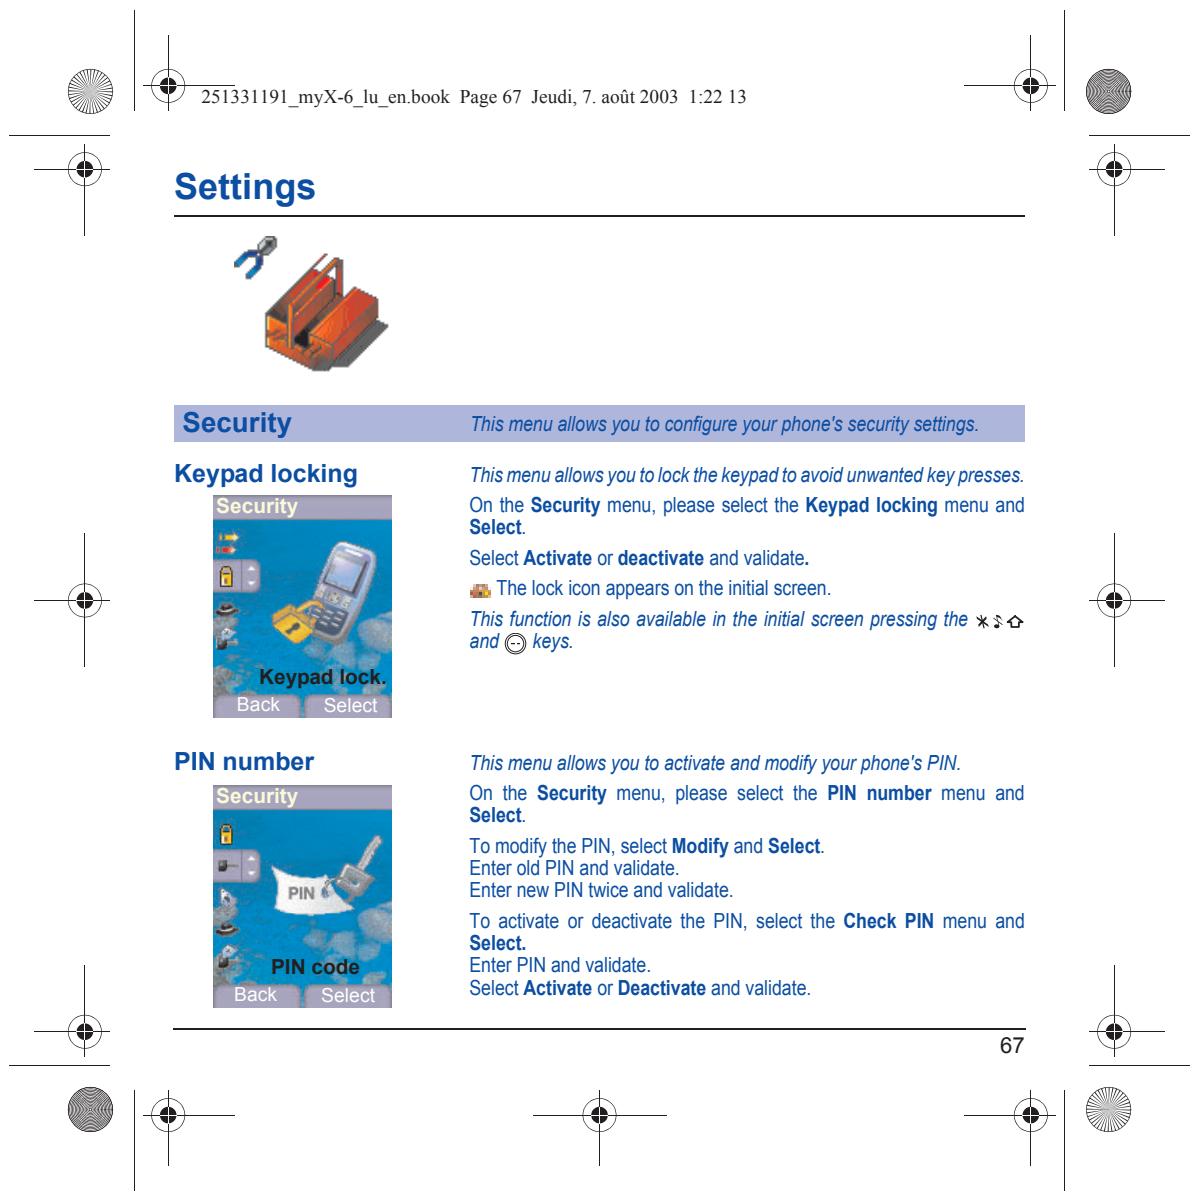
| Logon to home page impossible | In the WAP menu, Clear the cache. |
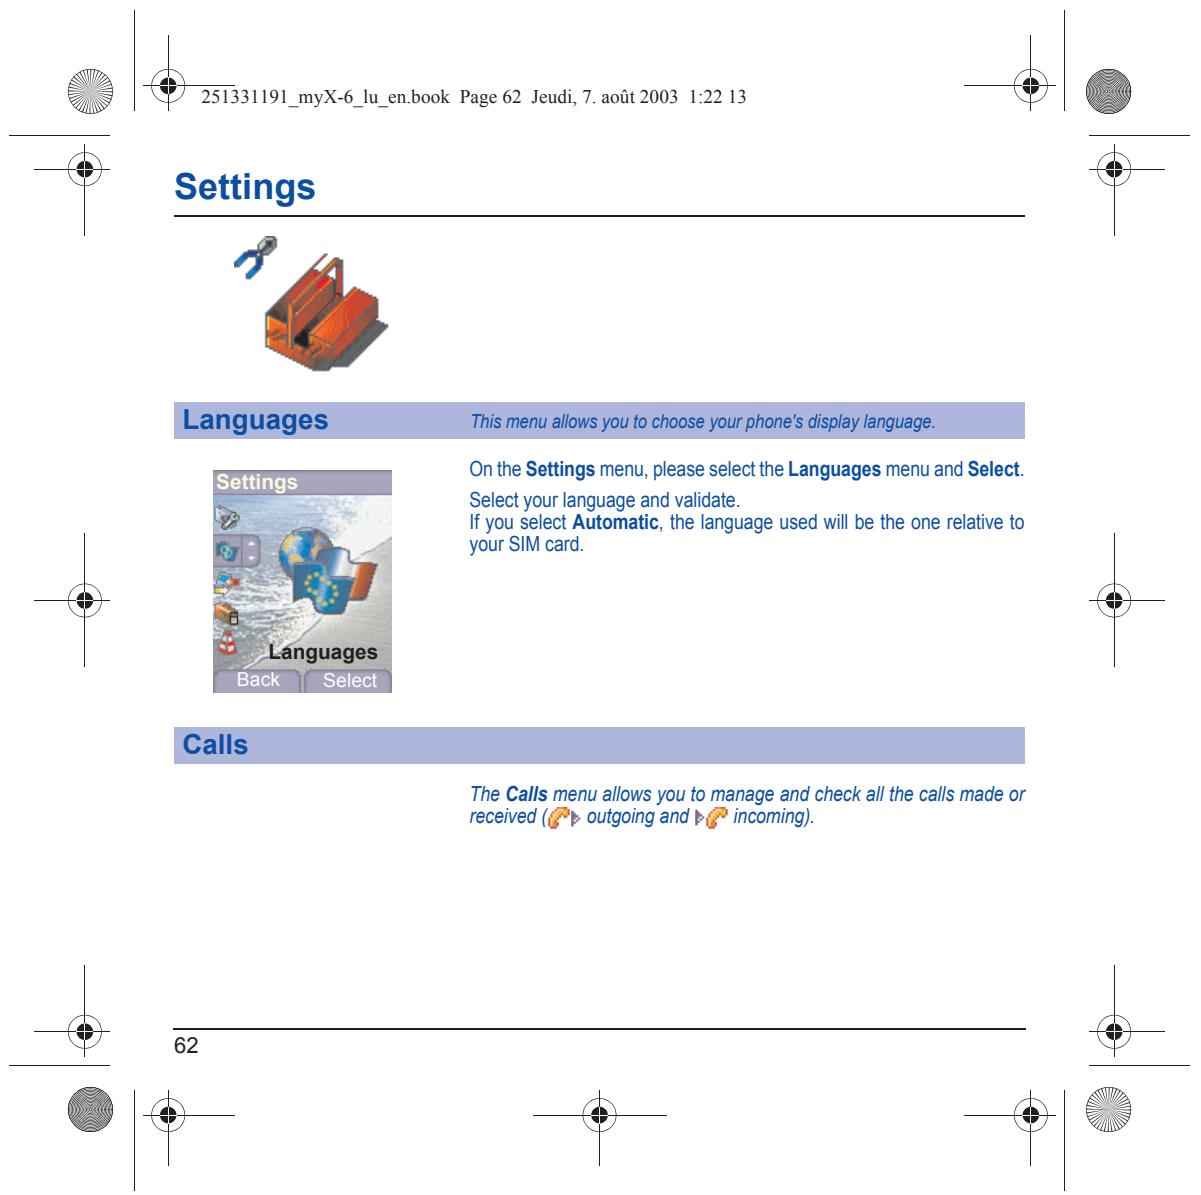
| Operator name does not appear on screen | Go into the Settings menu, select Networks, then Selection. Wait until the operator appears, select it and validate. |
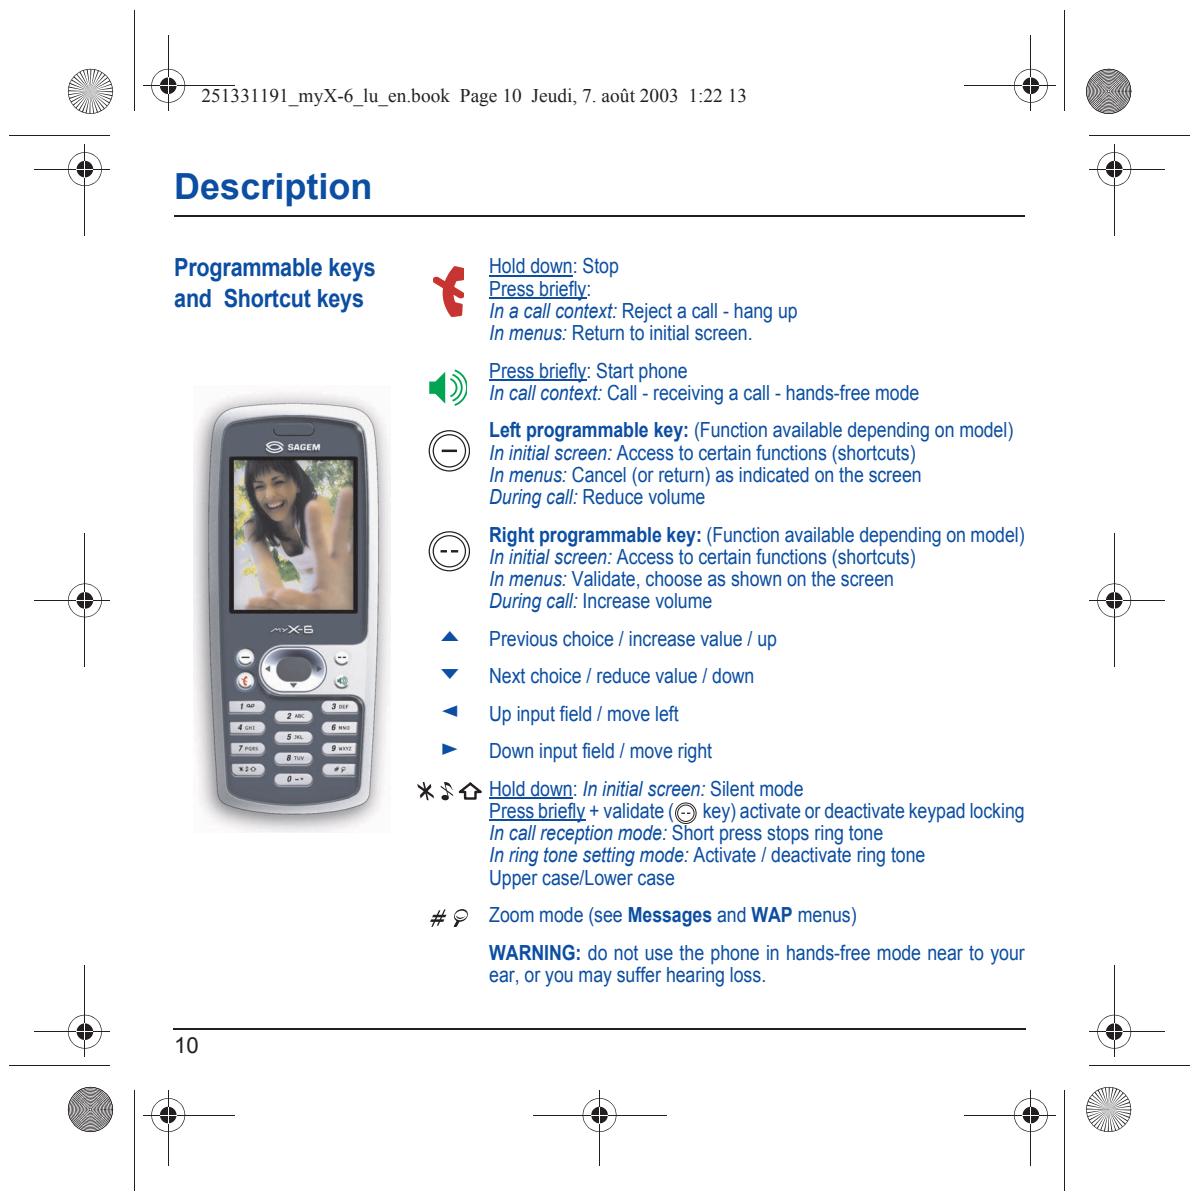
| How do I (un)lock the keypad? | Press the * key, then the key (validate). |
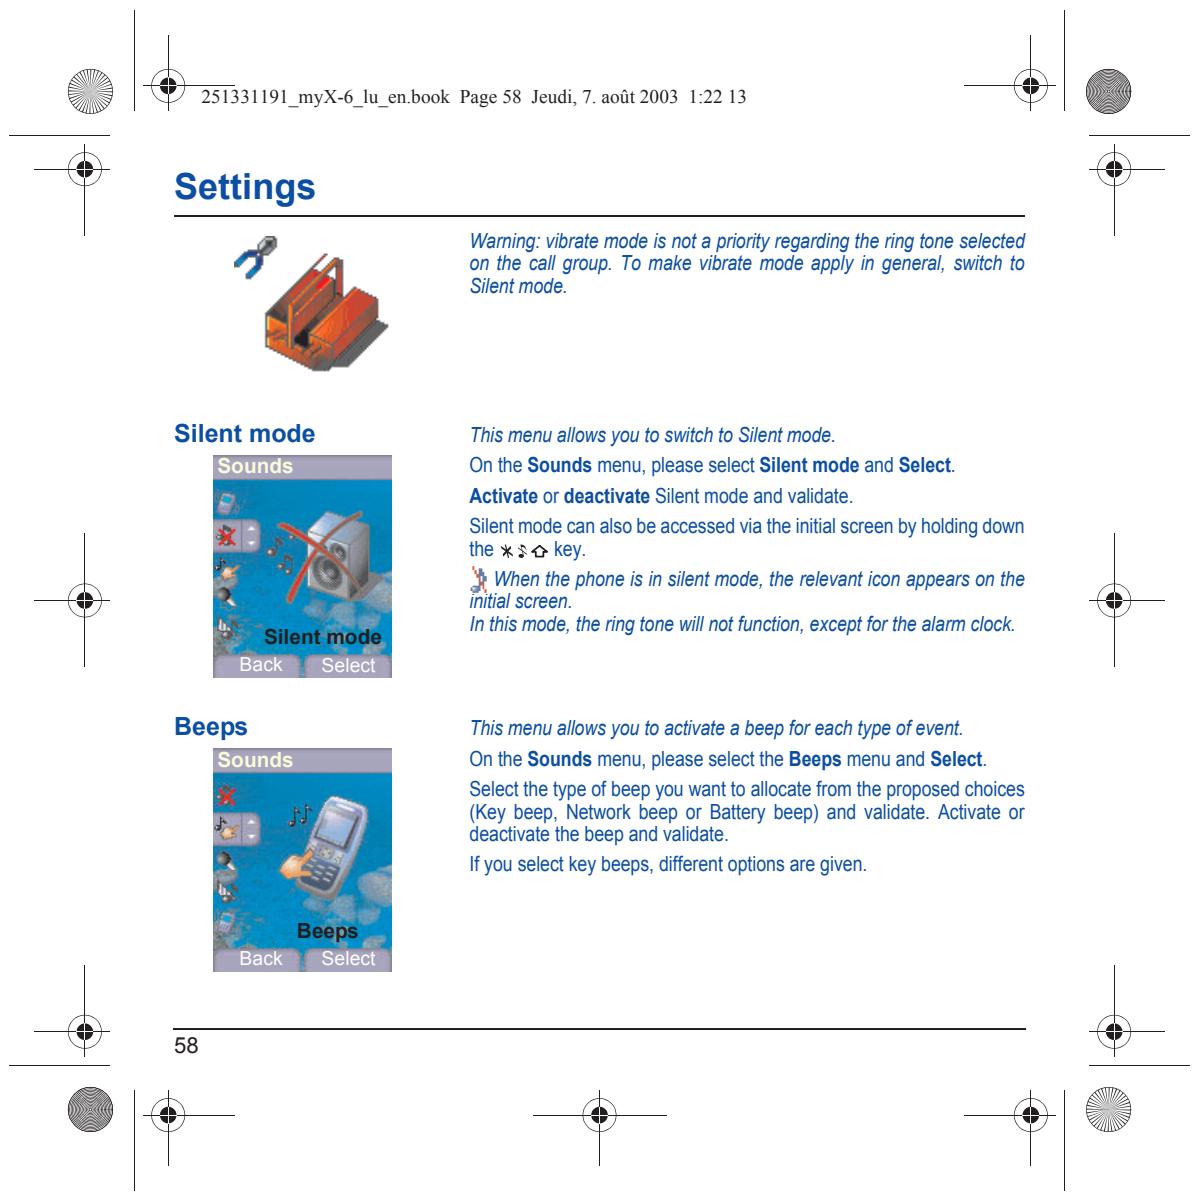
| How do I switch to silent mode? | Hold the * key down unless ring tone sounds, when a short touch is enough. |
| How do I activate zoom? | Can be activated only in SMS and WAP screens; hold down the # key. |
| How do I delete the envelop that appears on the screen? | If you have received a voice mail, please call your voice mailbox and follow the instructions given. |
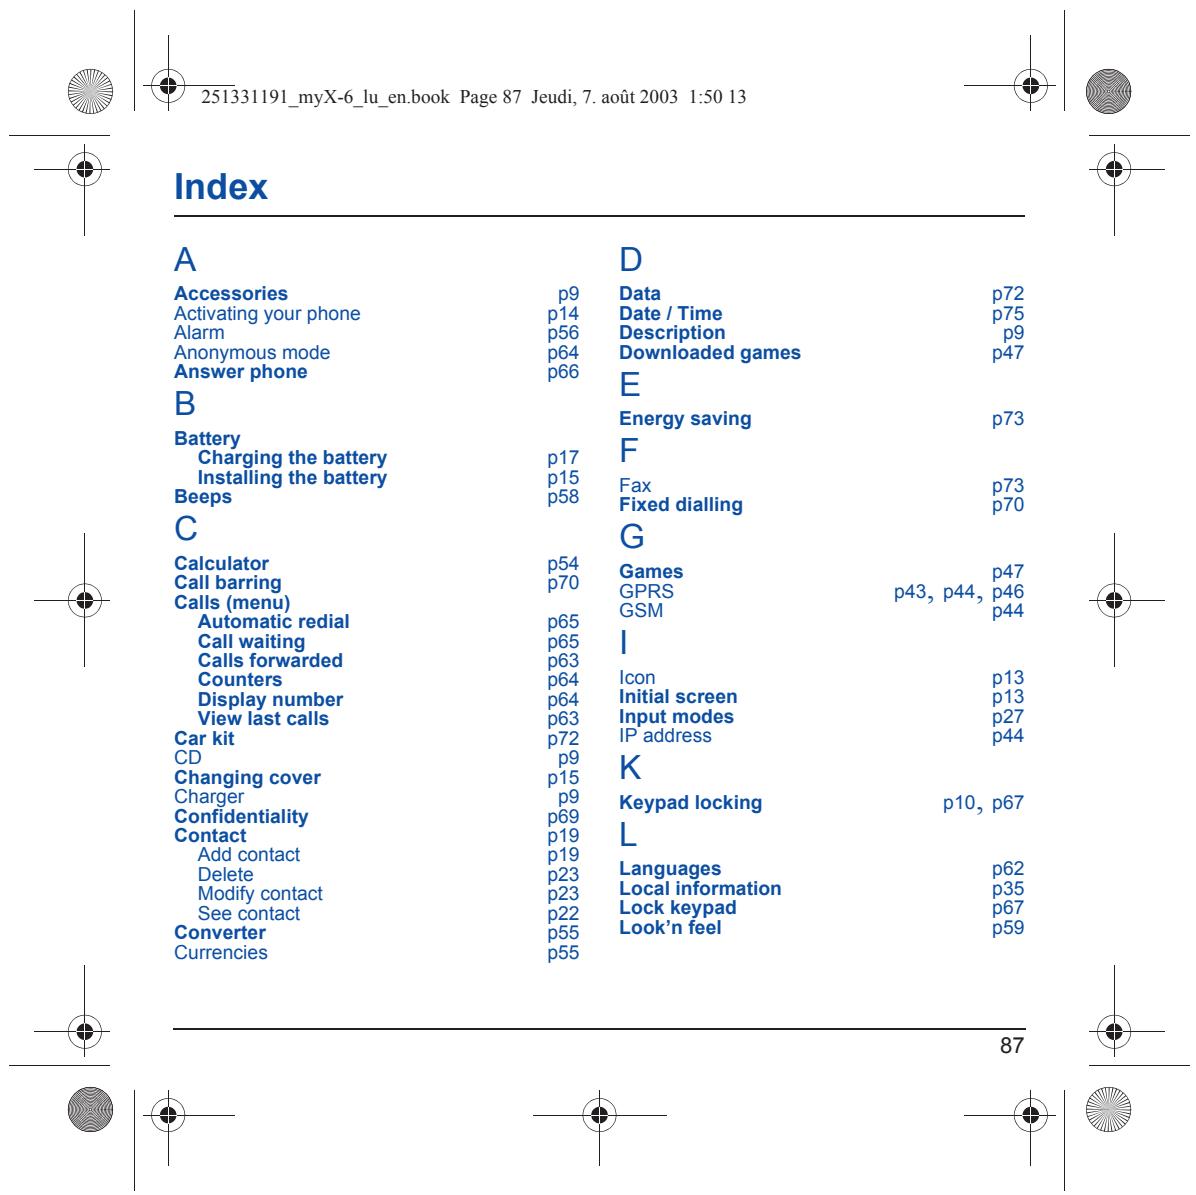
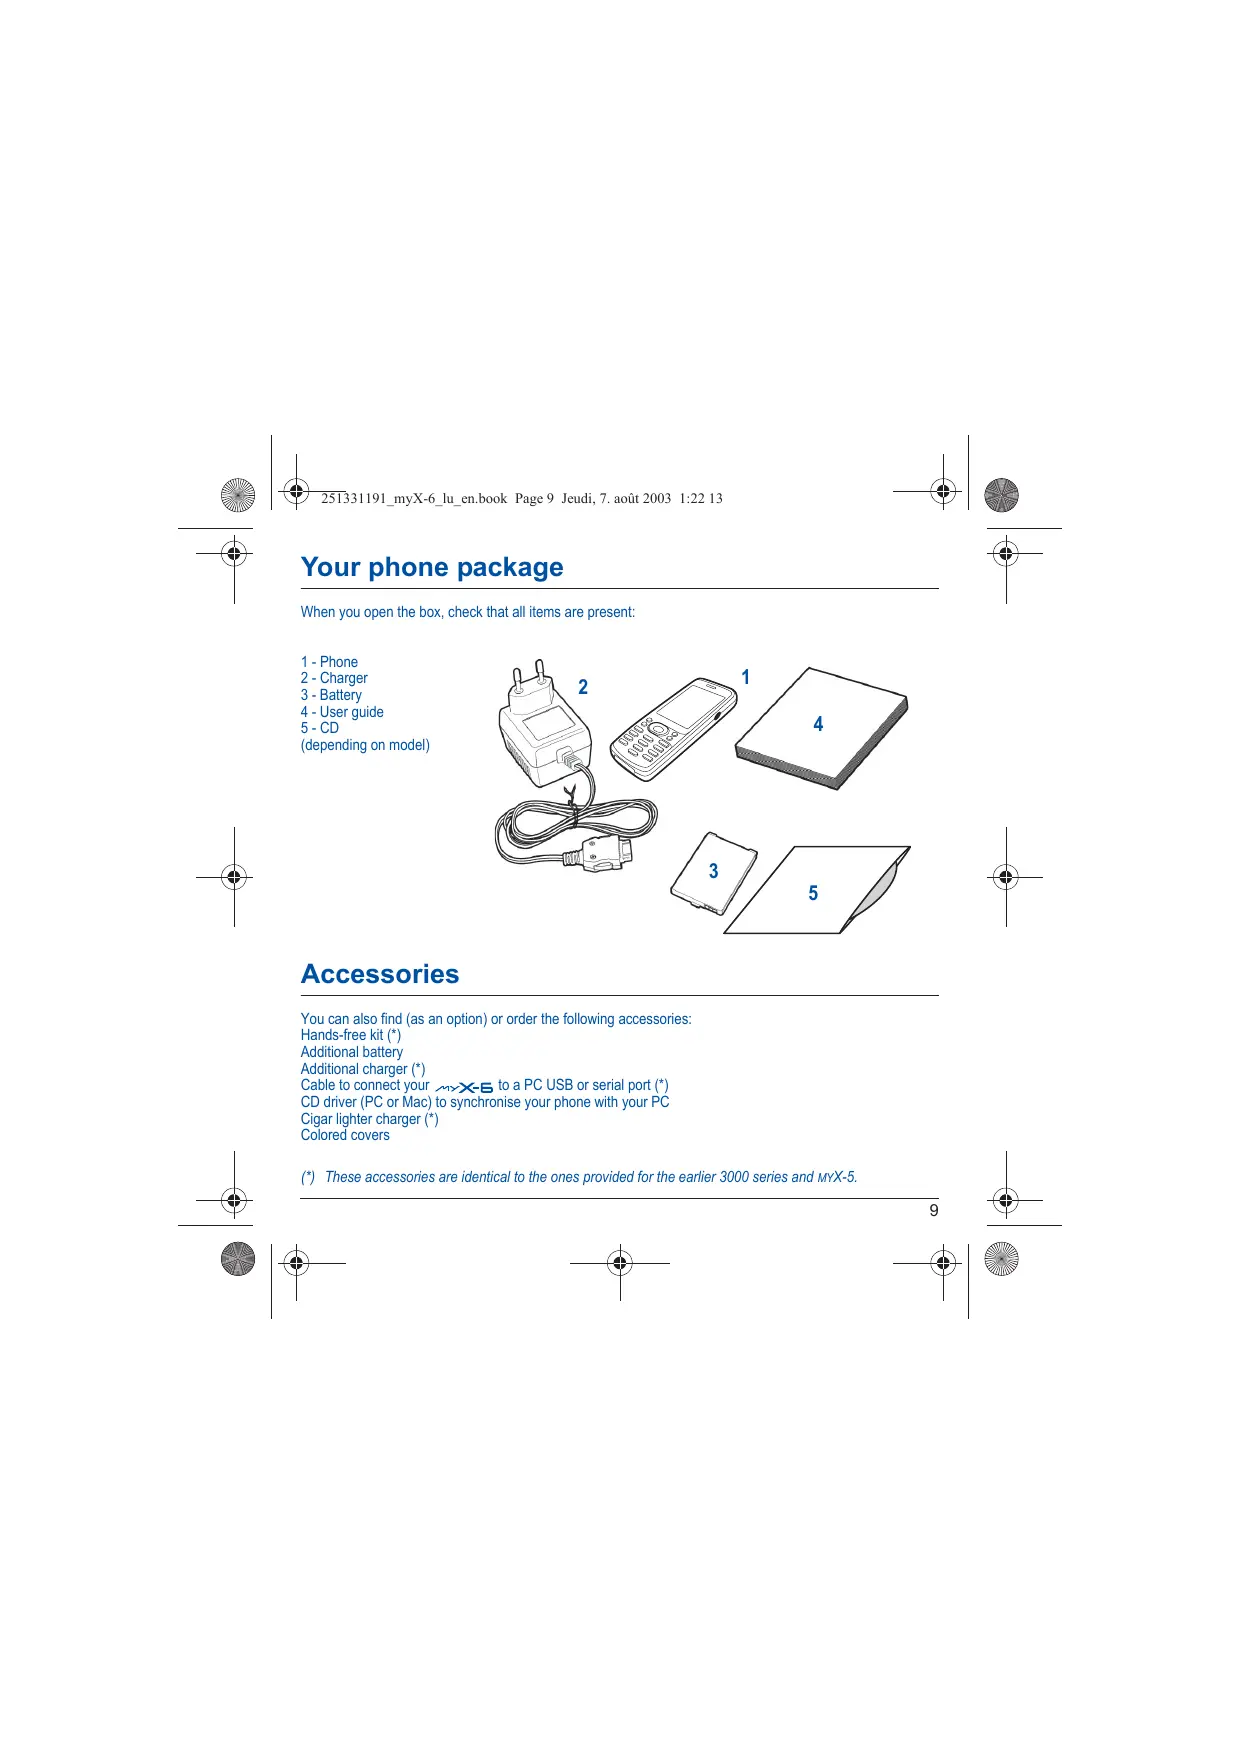
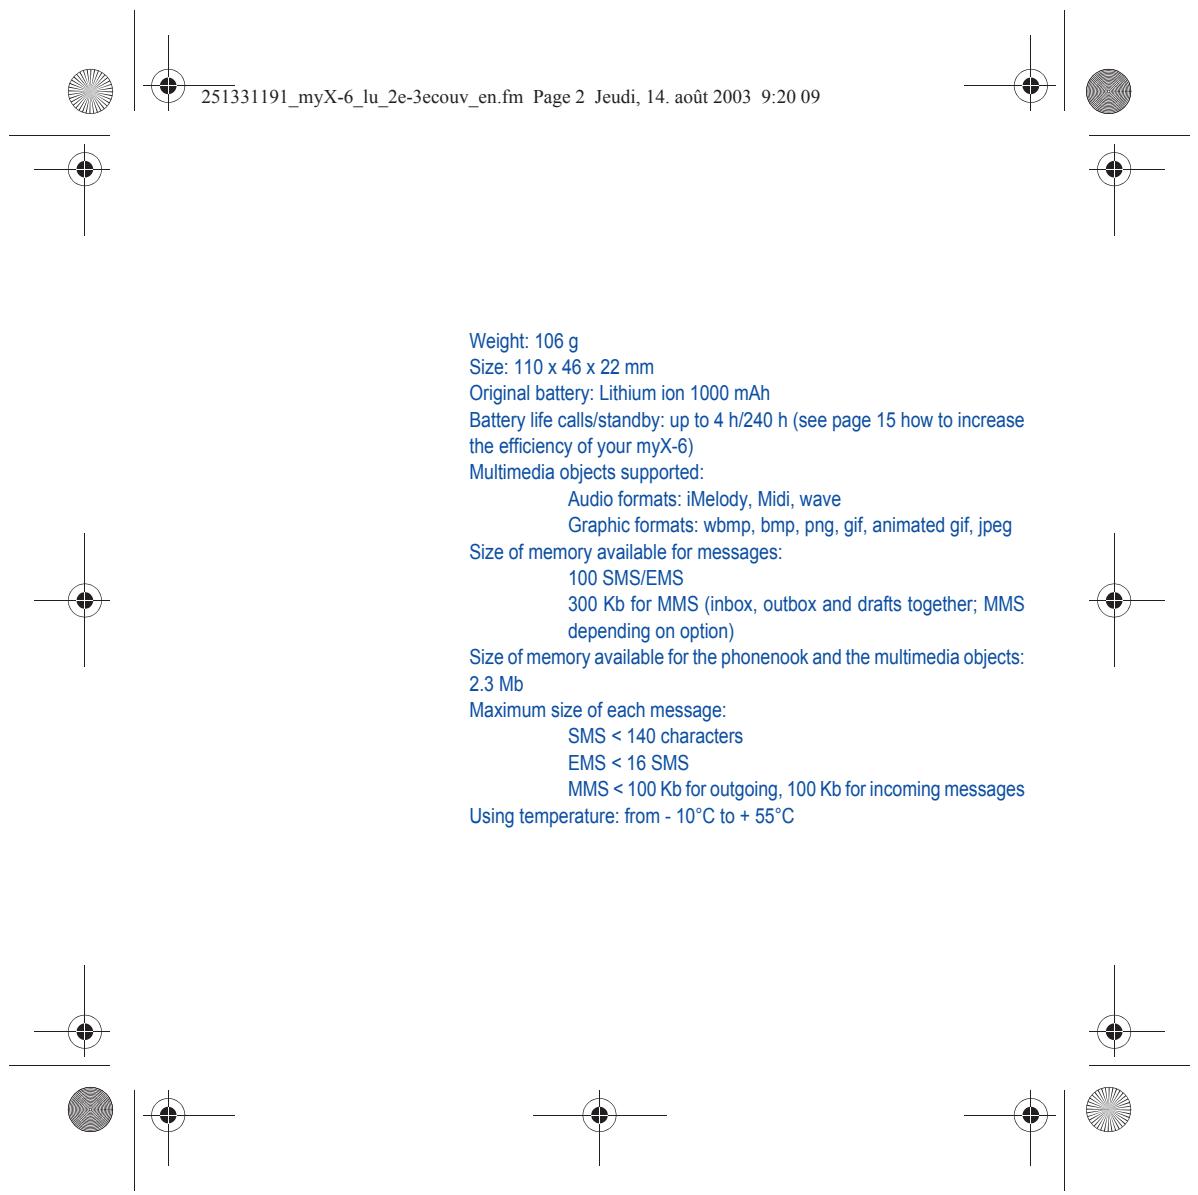
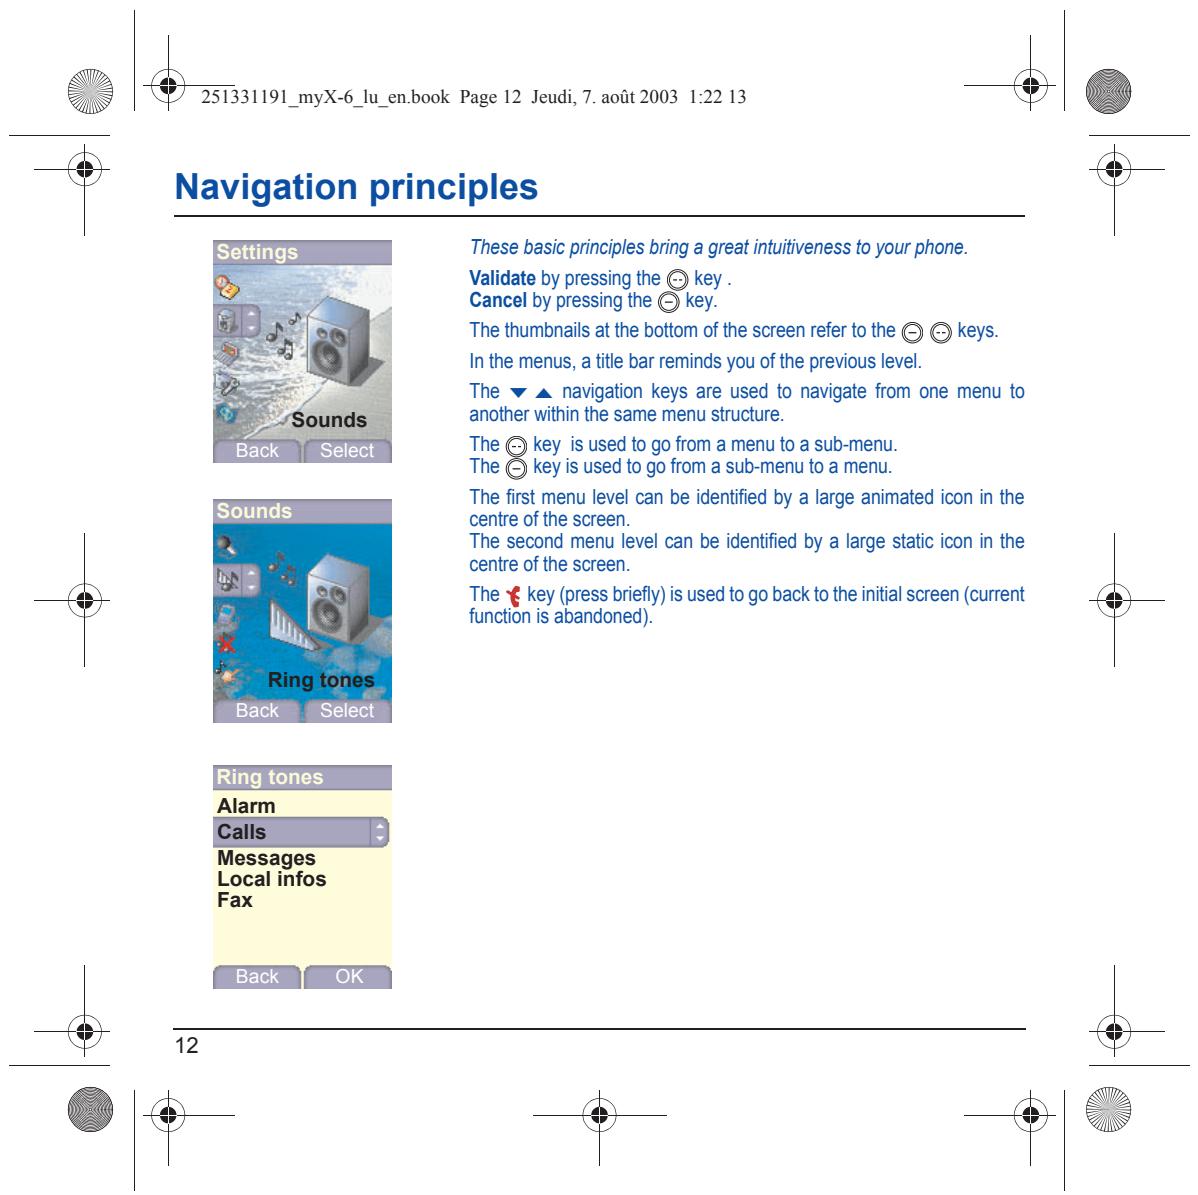
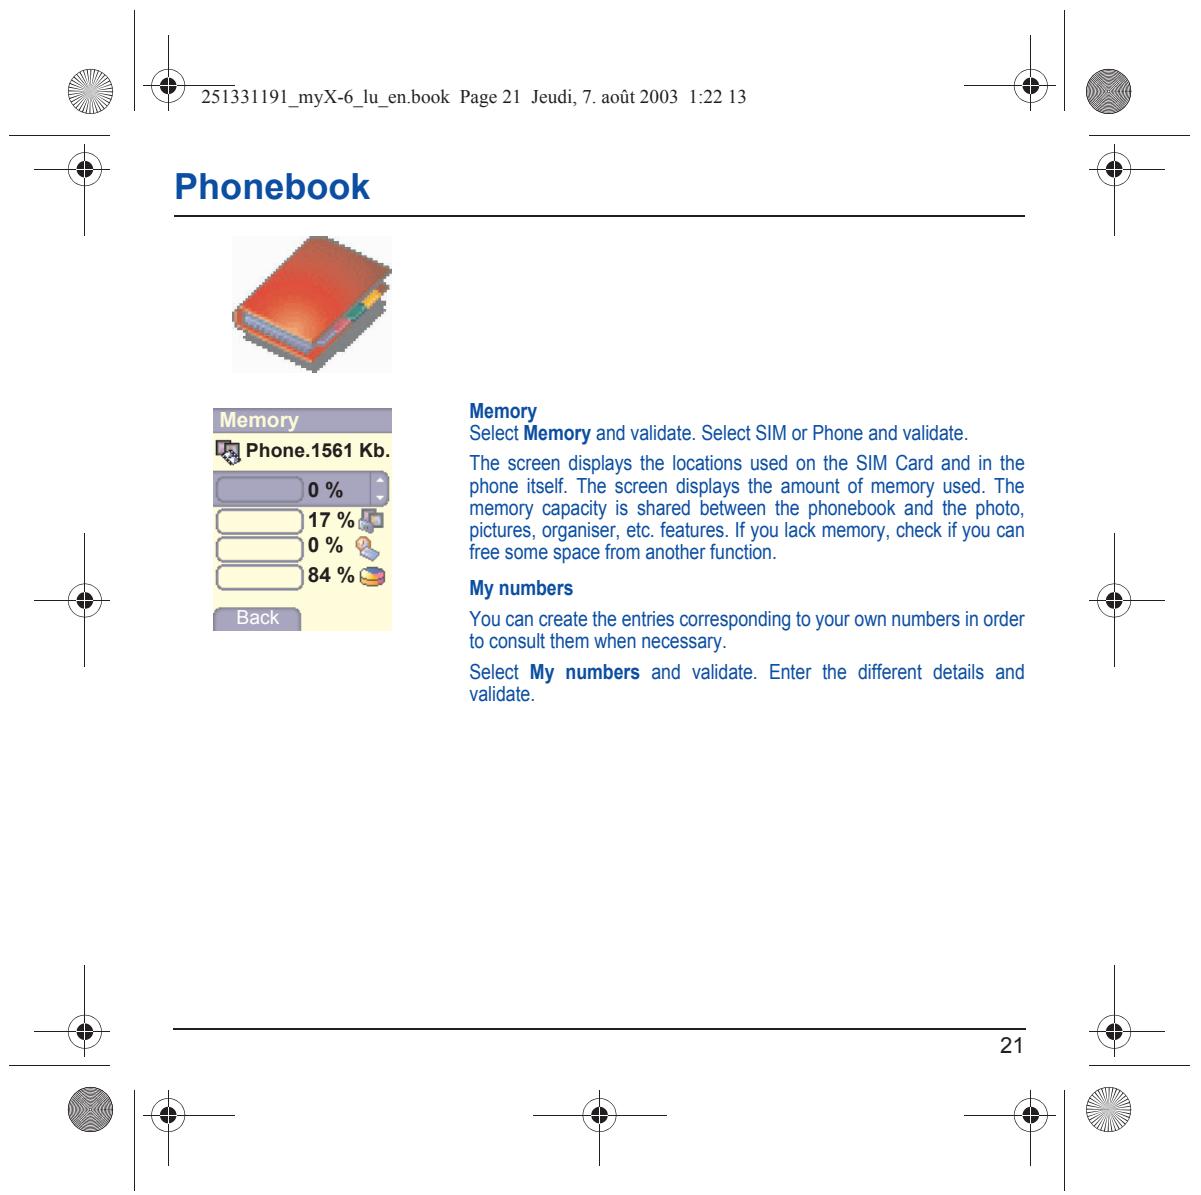
| M Memory p23, p34 Menus p3 Messages Receiving messages p30 Sending options p32 Messages Compose p25 Drafts p32 Inbox p31 MMS p29 N Navigation principles p12 Networks p71 O Operator p69 P Phone code p68 Phonebook p68 Phonebook menu p19 Using the phonebook p18 PIN number p67 PIN number 2 p68 Programmable keys p10 R Ring tones p57 S Screensavers p60 Security p67, p68, p69, p70, p71 Sending options p32 Services p77 Shortcut keys p10, p74 | Silent mode p58 SIM card p14, p15 Skins p59 SMS p25 Sounds p57, p58 T9 p26 Technical features p78 Text p28, p29, p30 Timer p56 Troubleshooting p82, p83, p84, p85 V vCard p24 Vibrate p57 Voice mail p66 Volume p57 W Wallbreaker p47 Wallpapers p60 WAP p42, p43, p44, p45, p46 Configuring WAP parameters p43, p44 Downloading sounds and images p45 Services menu p42, p43 WAP logging off p45 WAP logging on p45 Warranties p79 Y Your phone package p9 |
Manual assistant
Powered by Anthropic
Waiting for your message
Product information
Brand : SAGEM
Model : MYX-6
Category : Mobile Phone