
SMP1003 - Mp3 player SYLVANIA - Free user manual and instructions
Find the device manual for free SMP1003 SYLVANIA in PDF.


| Product Type | MP3 Player |
| Brand | Sylvania |
| Model | SMP1003 |
| Memory Capacity | Up to 1 GB (128 MB / 256 MB / 512 MB / 1 GB variants) |
| Display | LCD with 7-color backlight |
| Supported Audio Formats | MP3, WMA |
| Bit Rate | 8 – 320 kbps (MP3), 5 – 384 kbps (WMA) |
| Signal-to-Noise Ratio | < 100 dB |
| Dynamic Range | > 80 dB (1 kHz) |
| Total Harmonic Distortion | < 0.05% |
| USB Interface | USB 2.0 Full Speed |
| Dimensions (W x H x D) | 70 x 31 x 17 mm |
| Weight | 25 g |
| Battery Life | Up to 8 hours (playback) |
| Auto Power Off | 2, 10, 30 minutes or off |
| Output Power | 5 mW per channel |
| Voice Recording | 8 / 16 / 32 / 48 kHz sampling rate |
| Equalizer Modes | Normal, Rock, Jazz, Classical, Pop, Bass, Treble, Woof |
| Playback Modes | Normal, Repeat One, Repeat All, Shuffle, Random Repeat All |
| Language Support | English, French (additional languages selectable via menu) |
| Operating Temperature | -10°C to 40°C |
| Storage Humidity | < 90% RH |
| Package Contents | MP3 player, USB cable, earphones, driver CD |
| System Requirements | Windows 98/2000/Me/XP, Pentium 200 MHz, USB port, 120 MB free HDD |
Frequently Asked Questions - SMP1003 SYLVANIA
User questions about SMP1003 SYLVANIA
0 question about this device. Answer the ones you know or ask your own.
Ask a new question about this device
Download the instructions for your Mp3 player in PDF format for free! Find your manual SMP1003 - SYLVANIA and take your electronic device back in hand. On this page are published all the documents necessary for the use of your device. SMP1003 by SYLVANIA.
USER MANUAL SMP1003 SYLVANIA
Reminder : Thank you for choosing the MP3 player! Please read the following user manual carefully to ensure easy to operation of the player.
Contents
Attention
System request
- Installation instruction
1.1 Installation of the driver CD -
Connect to PC and download
2.1 Connect to PC
2.2 Download MP3 files
2.3 Disconnect USB port setting -
Basic operation
3.1 Button and function
3.2 Operation of ON/OFF
3.3 Menu setting
3.4 Tools setting
- How to use your MP3 player
4.1 Play MP3 file
4.2 Play voice files
4.3 Function Setting
4.3.1 Setting EQ Mode
4.3.2 Setting Playing Mode
4.3.3 Setting Contrast
4.3.4 Setting Backlight
4.3.5 Setting Backlight Color
4.3.6 Setting Power
4.3.7 Setting Recording
4.3.8 Setting Language
4.3.9 Exit
4.4 Music Preview
4.5 Recording function
4.6 Delete Single File
4.7 View Memory
4.8 Exit
- A-B Play Mode
6.Folder function -
Lock function
-
USB Mode
-
Reset function
Lyric sync
Troubleshooting
Technical specifications
Attention
1). Please do not use the player with earphone while driving an vehicle or riding a bicycle, It is not only dangerous, but also against the law. And please keep your volume down when crossing streets.
2). Please insert earphone into earphone jack before opening the player, in order to avoid spoiling the earphone, By this way, player can be taken good care.
3). Please do not expose to direct sunlight, heat sources or dusty areas and please keep away from water. Please use soft wet-cloth to clean the dirty surface.
4). Please do not cleaning the player with chemicals such as alcohol or thinner.
5). To prevent static, avoid the extreme dry surroundings.
6). Do not disconnect the player with PC while you are doing "format" or "download" file.
7). When you use this player as a USB stick, please always follow the correct operation method. Any misuse may cause file lost.
System request
System requirements of MP3 player
Microsoft Windows98/2000/Me/XP
Pentium 200MHZ or greater
USB port supported
120MB of available hard disk space
Mouse installed
CD-ROM driver
1. Installation instruction
1.1 Install the driver for Windows operating system 98se (For windows operating system ME/2000/XP or greater, you need not install the driver.)
a. Click installation driver then computer will installation automatic.
2. Connecting and downloading
2.1 Connecting PC
Before operation, please verify the player is turned off, and one end of the USB cable came with the system is inserted into PC with another end into the MP3 player.
2.2 Download MP3 songs
MP3 player connects to the USB interface to download MP3 music to the player. The indicator light is twinkling When the player is transferring data.
Transferring Data
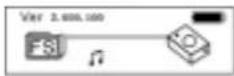
Reminder: the player can only hold no more than 500 pieces songs.
2.3 Removing USB device
a. Double click the Safely Remove Hardware icon in taskbar:
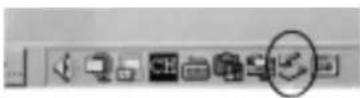
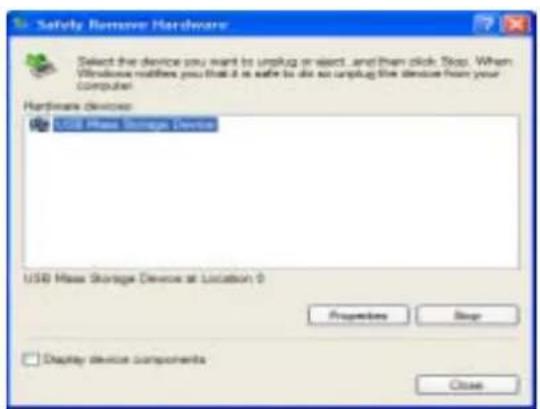
b. From Safely Remove Hardware screen, highlight "USB Mass Storage Device" item, then click "Stop" button. "Stop to hardware device" appears as shown below.
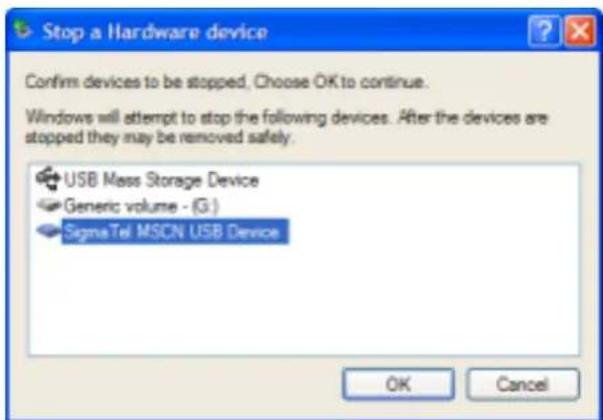
c. Click "OK" button. After the "Safe to Remove Hardware" window appears, the player can be disconnected from PC safely.
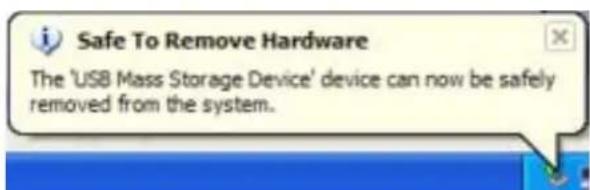
Warning: An error might occur if remove the connection of the USB cable when transferring data. After data transferred and "Safe to remove hardware" window appeared the player can be removed from PC safely! While the USB cable is operating, other keys on the player are unavailable.
3. Basic operation
3.1 Button and function
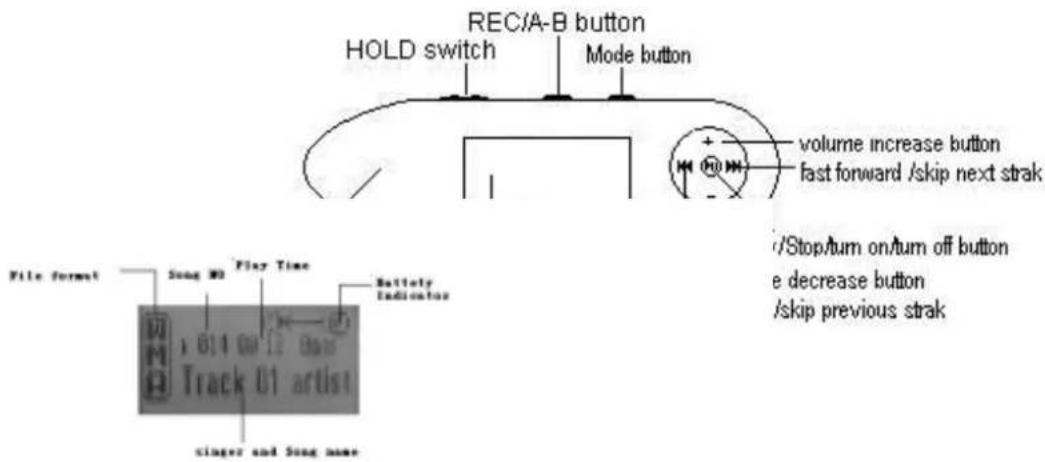
LCD window
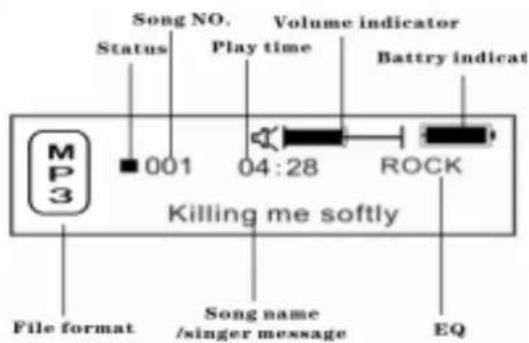
3.2 Power on/ off operation
From power off mode, the player will power on, Press the ▶ II button 3 seconds, the player will save the data and enter the power off mode. The relative indicator light will turnoff after your operation.
MP3 Standby Mode
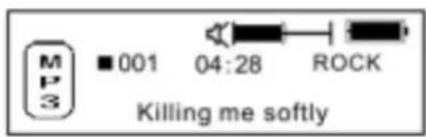
Warning: All the data will not be saved, when the MP3 is powered off directly or it is on stand-by Menu.
3.3 Setting MENU function
From standby or play mode, you can press the MENU button 2 seconds to enter the main menu setting,
Push ◀ or ▶ to select the Menu, there are Music Menu, FM Menu, Voice Menu, Settting Menu, Music Preview Menu, Recording Menu, View Memory, Exit. press the Menu bottom to select. the required set up.
3.4 Tools setting
From standby or play mode, you can press the MENU button 2 seconds to enter the main menu setting, Push ◀ or ▶ to select the Menu, there are EQ set, Play mode, Contrast set, Backlight set, Auto power off, Recording set, Language set, Exit. press the Menu bottom to select. the required set up.
4. How to use your MP3 player
4.1 Play MP3 file
a. On the MP3 stand-by Menu, press ▶ II bottom to play MP3 music, while all the indicator lights turn off. re-press will be pause Menu, press again to resume the playback.
Playing
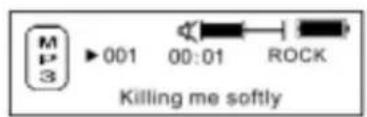
Pause
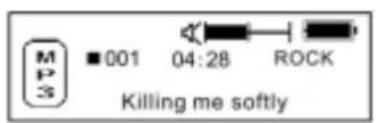
b. From play or pause mode, you can press the ▶ II button 2 second to return to MP3 standby mode, and press ▶ II button again to repeat step "a)".
c. On the play Menu or pause Menu, keep pressing ◀ or ▶ to select the latest song or the next song.
d. On the play Menu, keep pressing the ◀ or ▶ to fast forward or fast backward.
e. On the playing Menu.press the ◀ or ▶ to tune the sounds.10 is the highest 00 is the lowest.
f. On the stand-by Menu, play Menu or pause Menu, pressing ▶ II for 3 seconds, MP3 will save the data and powered off.
4.2 Setting Voice Mode
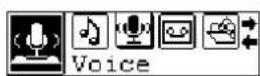
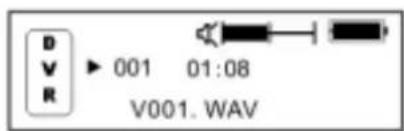
a. From MP3 mode or voice standby mode, you can press the MENU button 2 seconds to enter the main menu setting, and push the ◀or▶ button to select voice mode, and then press the MENU button to enter the voice playing mode to start recording, during which you can press ▶ II button to pause and resume, and the ◀MENU▶ button 2 seconds to finish recording and save, and then press the ▶ II button to play voice as well as pause and resume playing. The relative indicator light will turnoff after your operation.
Playing voice file menu
Playing voice file
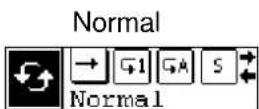
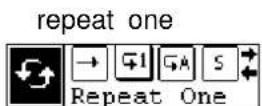
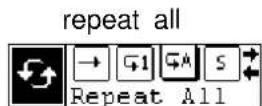
b. Voice play mode including: Normal, repeat one, repeat all and shuffle, shuffle repeat.
shuffle
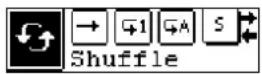
shuffle repeat
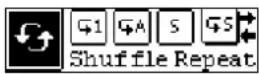
c. From voice standby or play mode, you can press the ◀ or ▶ button to select last or next voice file.
d. From the STOP status, you can press the ◀ or ▶ button to effectively find and play your desired music.
e. From Play mode, push and hold ◀ or ▶ button to fast backward or forward this music.
f. From voice standby mode, you can press the ▶ II button 2 seconds to enter standby mode.
g. On the Voice play or pause mode, press the MENU button to select the bit rate of recording. The recording frequency includes: 8000HZ, 16000HZ, 32000HZ and 48000HZ. You can press the MENU button to save the selected recording bit rate and press the MENU button to return the current mode.
The relative indicator light will turnoff after your operation.
4.3 Function Setting
4.3.1 Setting EQ mode
From MP3 mode or voice standby mode, you can press the MENU button 2 seconds to enter the main menu, and press the ◀or▶ button to select the setting menu. Press the MENU button to enter the setting menu.
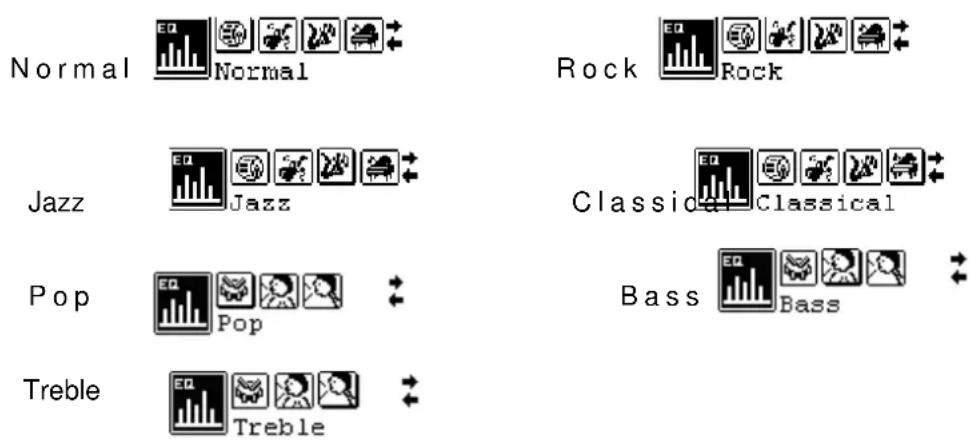
Press the MENU button to enter the EQ mode setting, and press the ◀ or ▶ button to select EQ mode:
Normal, Rock, Jazz, Classical, Pop, Woof, Bass and Treble, and press the MENU button to save the selected EQ mode, and then press the ▶ II button to return to the current mode. The relative indicator light will turnoff after your operation.
4.3.2 Setting Playing Mode
From MP3 playing mode, you can press the MENU button 2 seconds to enter the main menu.
Press the ◀ or ▶ button to select the setting menu, and press MENU to enter.
Press the ◀ or ▶ button to select the play mode, and then press the MENU button to enter the play mode
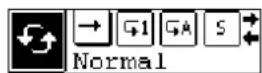
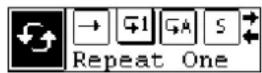
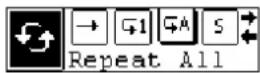
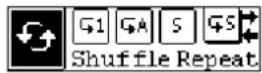
selection. which includes the following options: Normal, Repeat one, Repeat all, Shuffle repeat and Random repeat all. Press the MENU button to save the selected play mode and press ▶ II button to return to the current mode. The relative indicator light will turnoff after your operation.
Normal
Repeat one
Repeat all
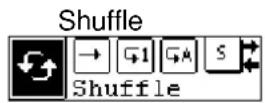
Shuffle repeat
4.3.3 Setting Contrast
From MP3 mode or voice standby mode, you can press MENU button 2 seconds to enter the main menu, and press the ◀or▶ button to select the setting menu, and press MENU to enter, then you can press the ◀or▶ button to select contrast setting mode, and press MENU to enter, and then press the ◀or▶ button to adjust the contrast of LCD, after which you can press the MENU button to save the selected setting and press ▶ II button to return to the current mode. The relative indicator light will turnoff after your operation.

4.3.4 Setting Backlight
From MP3 mode or voice standby mode, you can press the MENU button 2 seconds to enter the main menu, and then press the ◀or▶ button to select the setting menu, and press MENU to enter, then you can press the ◀or▶ button to select the backlight setting mode, and press MENU to enter, and then push the ◀or▶ button to select the backlight setting. Backlight setting includes: 10s off, 30s off, 60s off, on. You can press the MENU button to save the selected setting and press the ▶ II button to return to the current mode. The relative indicator light will turnoff after your operation.

flowchart
graph LR
    A["Backlight"] --> B["On"]
    B --> C["Always On"]
    C --> D["5 Sec"]

4.3.5 Setting Backlight Color
From MP3 mode or voice standby mode, you can press the MENU button 2 seconds to enter the main menu,
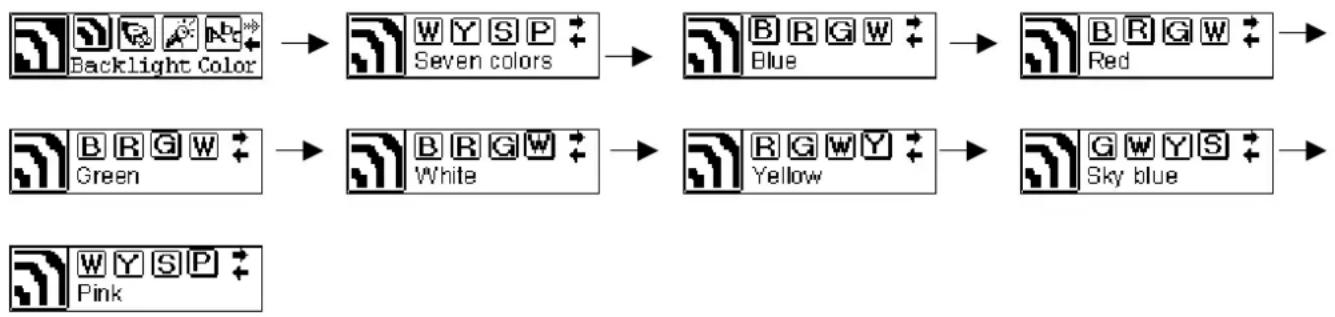
and then press the ◀ or ▶ button to select the setting menu, and press MENU to enter, then you can press the ◀ or ▶ button to select the backlight Color setting mode, and press MENU to enter, and then push the ◀ or ▶ button to select the backlight Color setting. Backlight Color setting includes seven colors: Blue, Red, Green, White, Yellow, Sky blue, Pink, You can press the MENU button to save the selected setting and press the ▶ II button to return to the current mode. The relative indicator light will turn off after your operation.
flowchart
graph LR
    A["Backlight Color"] --> B["Seven colors"]
    C["Green"] --> D["White"]
    E["Pink"] --> F["Yellow"]
    B --> G["Blue"]
    D --> H["Red"]
    F --> I["Sky blue"]
4.3.6 Setting Power
From MP3 mode or voice standby mode, you can press MENU button 2 seconds to enter the main menu, and press the ◀or▶ button to select the setting menu, and press MENU to enter, then you can press the ◀or▶ button to select automatic power off mode, and press MENU to enter, and then press the ◀or▶ button to select the automatic power off time, which includes the following options: 2m, 10m, 30m, off. You can press the MENU button to save the selected shutdown time and press the ▶ II button to return to the current mode. The relative indicator light will turnoff after your operation.

4.3.7 Setting Recording
From MP3 mode or voice standby mode, you can press the MENU button 2 seconds to enter the main menu, and then press the ◀ or ▶ button to select the setting menu, and press MENU to enter, then you can press the ◀ or ▶ button to select the recording frequency setting and press the MENU button to select the bit rate of recording. The recording frequency includes: 8000HZ, 16000HZ, 32000HZ and 48000HZ. You can press the MENU button to save the selected recording bit rate and press the ▶ II button to return the current mode. The relative indicator light will turnoff after your operation.

flowchart
graph LR
    A["Recordset"] --> B["8000 Hz"]
    A --> C["16000 Hz"]
    B --> D["32000 Hz"]
    C --> E["48000 Hz"]
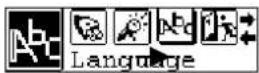
4.3.8 Setting language
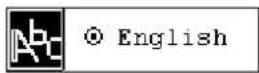
From MP3 mode or voice standby mode, you can press MENU button 2 seconds to enter the main menu, and push the ◀ or ▶ button to select setting menu, and then press the MENU button to enter the setting menu, then you can press the ◀ or ▶ button to select language setting, and press MENU to enter.
The languages include: English, Chinese Simplified, Chinese Traditional, French, Spanish, Danish, German, Italian and Dutch. You can press the MENU button to save the selected language and press the ▶ II button to return to the current mode. The relative indicator light will turnoff after your operation.
4.3.9 Exit
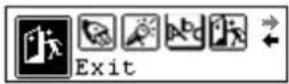
From MP3 mode or voice standby mode, after selecting the exit setting, it will return to the upper menu.
From setting ,press ▶ II to return to the last menu directly The relative indicator light will turnoff after your operation.
4.4 Music Preview
From MP3 mode or voice standby mode, you can press the MENU button 2 seconds to enter the main menu, and press the ◀ or ▶ button to select browsing mode, then you can press the MENU button to save the select and begin browsing, after which you can press the MENU button 2 seconds to exit music browsing and press the ▶ II button to return the current mode. The relative indicator light will turnoff after your operation.

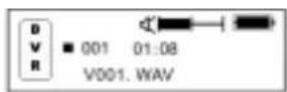
4.5 Recording function
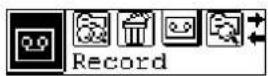
From MP3 mode or voice standby mode, you can press the MENU button 2 seconds to enter the main menu setting, and push the ◀or▶ button to select voice mode, and then press the MENU button to enter the voice playing mode to start recording, during which you can press ▶ II button to pause and resume, and the ◀MENU▶ button 2 seconds to finish recording and save, and then press the ▶ II button to play voice as well as pause and resume playing. The relative indicator light will turnoff after your operation.
Recording menu
recording voice
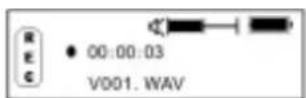
recording voice pause
4.6 Delete single file
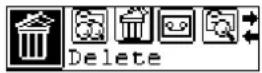
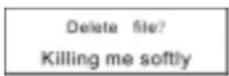
From MP3 mode or voice standby mode, you can press the MENU button 2 seconds to enter the main
menu, and press the ◀ or ▶ button to select Delete single file, then you can press the MENU button to enter, you can press the ◀ or ▶ button to select the file you want to delete, and press the MENU button to ensure delete. and press the ▶ II button to return the current mode. The relative indicatorht will turnoff after you lig r operation.
Delete menu
delete ask
Delete done
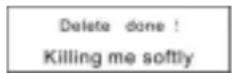
Remind: You can not erase the music file which is "read only"
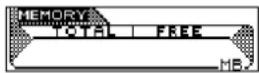
4.7 View Memory
From MP3 mode or voice standby mode, you can press the MENU button 2 seconds to enter the main menu, and then press the «or» button to select the Memory view, and press MENU to enter, then you can Check the total memory of the unit and available memory capacity, and press the MENU button to select.
4.8 Exit
Return to MP3 Menu.
On any Menu press ▶ II to return to the last menu directly. The relative indicator light will turnoff after your operation.
5. A-B Repeat Mode
On MP3 playback or voice recording Menu:
1) Press A-B/REC key to start A-B repeat as A point(start point)
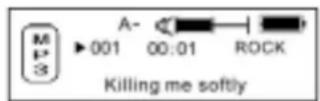
2) Press A-B/REC key to start A-B repeat as B point(finish point).
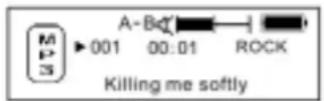
The player will repeat the music from A point to B point.
3) During A-B repeat Menu, press A-B/REC key to cancel A-B/REC repeat function. The player will be back to MP3 playback or Voice recording. The relative indicator light will turnoff after your operation.
6. Folder function
From MP3 mode or voice standby mode, you can press the MENU button 2 seconds to enter the main
menu setting, and then press the MENU button again to enter the folder function setting. The music and folder under the root directory appears on the screen. You can press the MENU button to find the desired music and folder. The relative indicator light will turnoff after your operation.
a) Select to play the music under root directory:
You can press the ◀ or ▶ button to search for your desired music.
Press the MENU button to confirm play and press ▶ II to return to MP3 playing screen.
b) Folder option and play:
- You can press the ◀ or ▶ button to find the relative folder and press MENU to enter the folder. Then operate upon step a) to select music.
- To select the subdirectory in the folder, please repeat step 1.
- To back to the upper directory, please press ▶ II button.
7. Lock function
On any playback Menu ,push Hold key per arrow head direction to lock the player. On the hold Menu, all of the function except power ON/OFF is can be used. Then you can see the lock icon on the LCD display, you must push Hold key to opposite direction and then other button can be used available.
8. USB mode
Plug the Player into the USB interface of PC, relative icons appears on the LCD screen. The LCD screen may display relative icon during data transmitting. For software upgrading and formatting the removable disk, please refer to the website.
9. Restoration
If the player can't use normally as some reasons (It seldom like this at normal operation). Please use the small plastic stick or dielectric to reset the player.
Lyric sync
This player supports lyric sync function.
Notice:
The lyric name shall be the same as music with extension of *. LRC and saved in the same directory, and only the lyrics with time indication can be displayed properly.
Troubleshooting
| Symptom | Causes | Solution |
| No display after pressing the power button | The battery is out of power. Please charge in time. | |
| No sound during playing. 1. | Volume is too low, or without music in the player, or battery low.2. The MP3 or WMA file is broken. | Adjust the volume, or charge during downloading.Download the documents again. |
| Unable to download files after connection. | The HOLD button is on, the disk is write protectedThe USB is not connected to PC properly.Wrong storage directory. | Push the HOLD switch to the opposite directionConnect to the USB interface again and verify PC identified the removable disk.Maximum 256 folders or files can be saved under root folder (if the file name over 8 characters, the folder or file number will also decrease accordingly); if exceeded, please create another subdirectory under root directory and then copy. |
| The individually compressed MP3 files can not be played | The MP3 files currently are compressed with different compress rate and format, while this Player supports the standard compressed MP3 only, please do not adopts layer one or two compression. | Download the standard MP3 files again. |
| MP3 player can not be recognized by PC. | Improper operation or the driver is not installed. | 1. Install the driver properly.2. Format the removable disk. |
| No response after pressing button. | HOLD switch is on, button s are locked | Push the HOLD switch to the opposite direction |
| Can not open the disk or prompt I/O error after connecting PC | Caused by some improper operation. | Press the PLAY button, and then connect USB cable and click relative upgrading problem, release after the upgrading box appears after scanning, then press START to format and upgrade will solve the problem. |
Technical specifications
| Bit rate: | 8~320Kbps (Mp3) 5~384Kbps (WMA) |
| SNR: | < 100db |
| Dynamic range: | >80(1KHZ) |
| Distortion: | <0.05% |
| USB interface: | USB2.0 full speed |
| Memory: | 128MB/256MB/512MB/1GB |
| Size: | 70*31*17mm |
| Working condition: | Humidity <85%, -10~40°C |
| Auto Shutdown: | 2min, 10min, 30min, off |
| Condition of storage: | Humidity<90%, normal temperature |
| Output: | 5mW*2 |
| Battery life: | 8h |
| Weight: | 25g |
| Voice recording: | 8 KHz /16 KHz /32 KHz /48KHz |
| LCD Contrast: | 0-10 levels |
| Lyric sync, ID3 information display. | |
| Language: | English, French |
SDK35FD DRM9 DEMO INTRODUCE
15.1 Demo songs
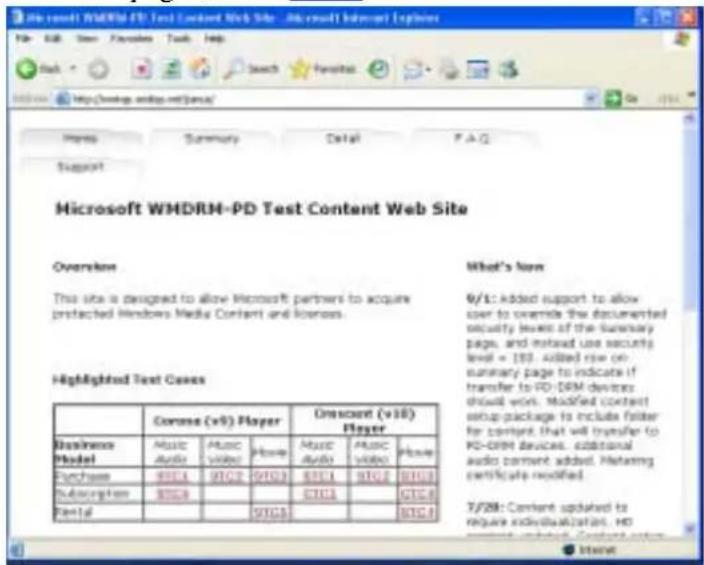
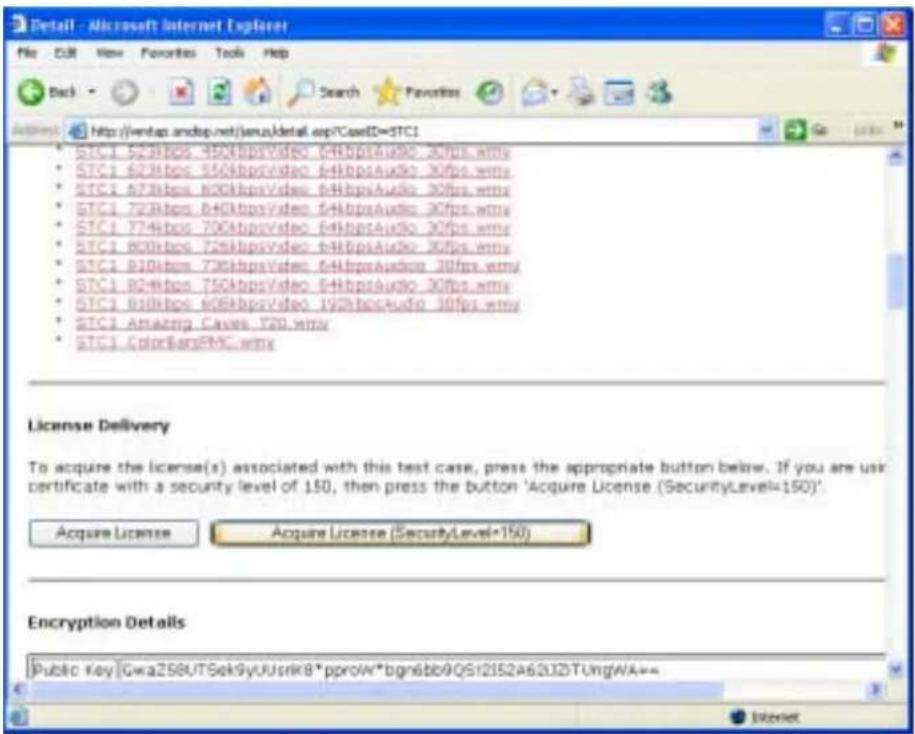
Download the DRM ( Digital Rights Management ) format song from PC to player, actually the PC has the DRM songs before. That songs has been encrypt, need license to decode , This Demo use Microsoft to sample songs be empolder by Drm, songs can free download from http://wmtap.smdisp.net/janus/ website , the license and song save the local PC.°
At the homepage, click STC1:
save songs,
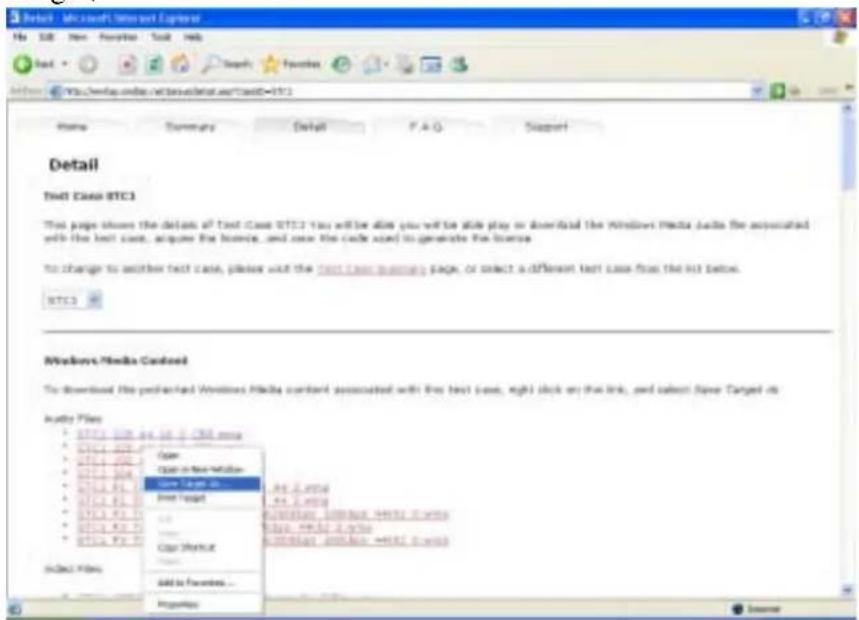
after download Audio Files, push down web-page, click "Acquired License(Security Level=150)" button to download the license of songs.
15.2 Download songs
- 2.1 PC condition : Windows XP + SP1operating system 'Windows Media Player 9 above °
15.2.2 The ways of Download songs :
Download WMP9 : WMP 9 is used to download music with copyright protection. USB devices not supporting the MTP protocol cannot be used to acquire the license although the music can be downloaded. MPT is only available in Windows XP, there is now no DRM capability forWindows98,Windows2000,etc U-disk copy song directly : be equal WMP9 download songs with MTP Device.
Demo player connecting to PC
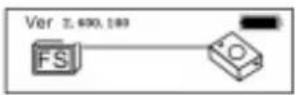
Communion data Demo player and PC
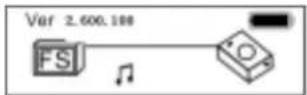
PC scanning MTP Device for about 10s °To select "OK" or "Cancel":
Run the “Window Media player” program, found the Media Device Play the Music as follower interface:
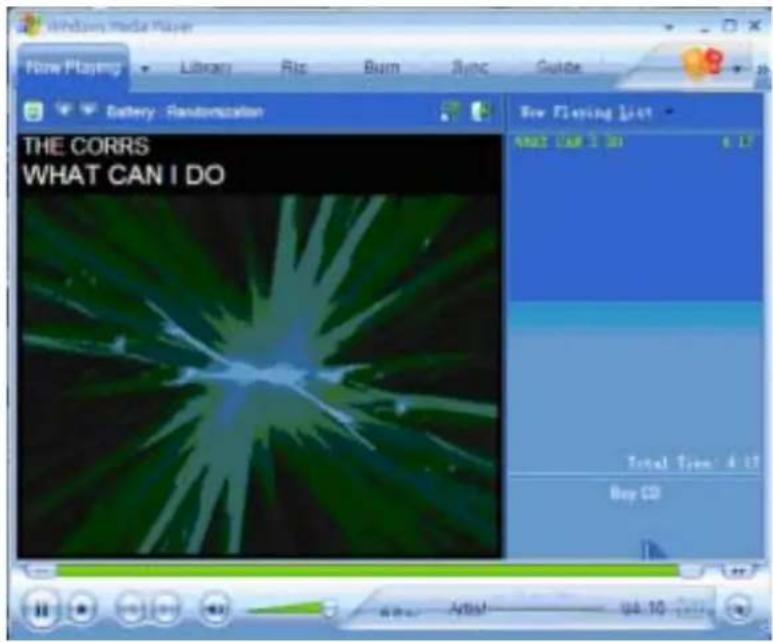
Click "Library", display as follows interface:
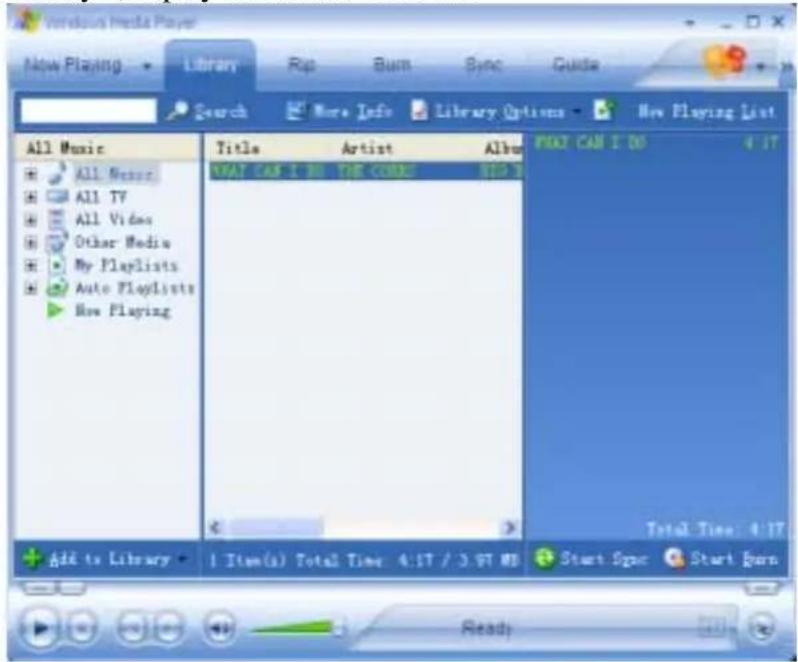
And then select the playing music, click mouse left key, display as follower interface, and select "add to Sync List".
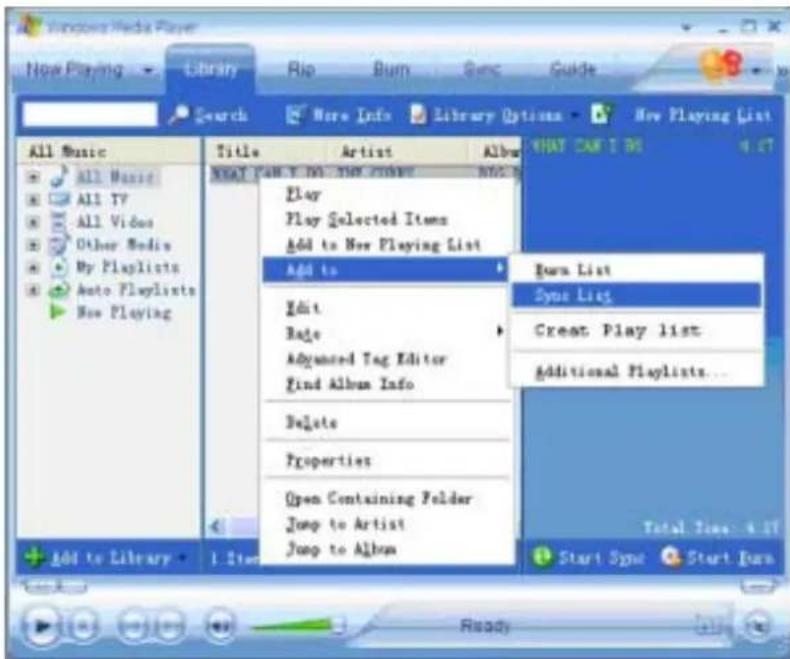
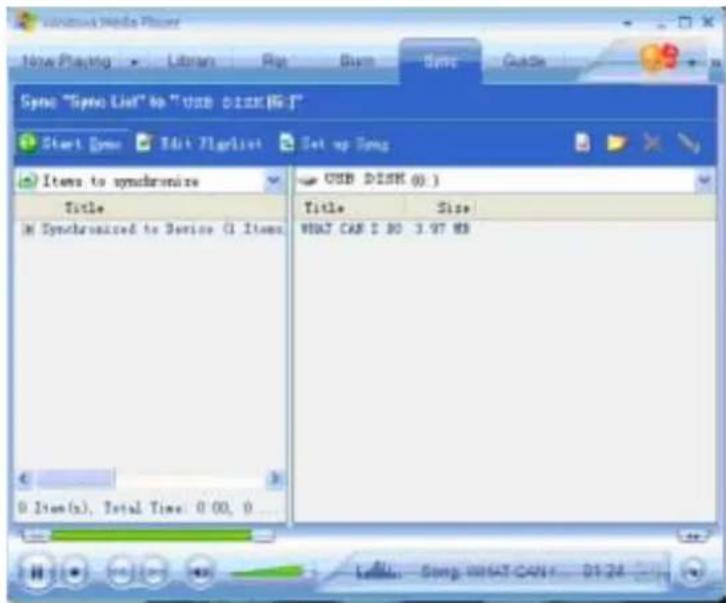
And then click the "Sync" window enter as follower interface:
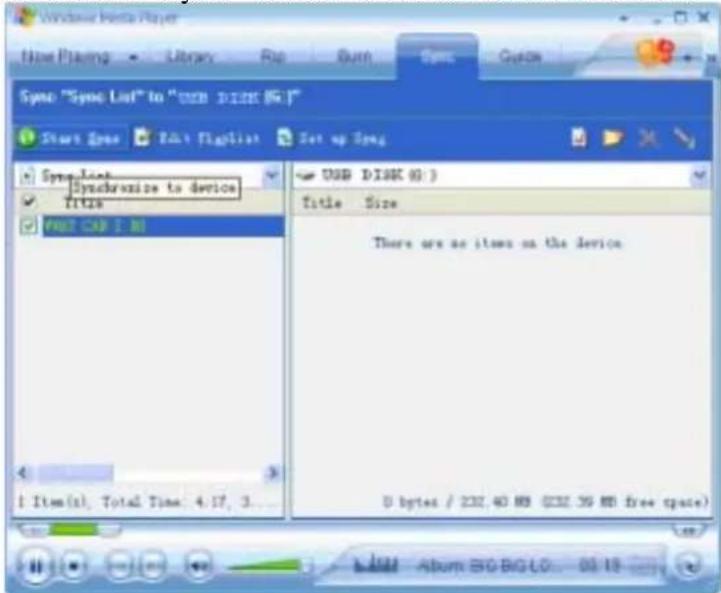
Click "Star Sync" window, display as follower interface:
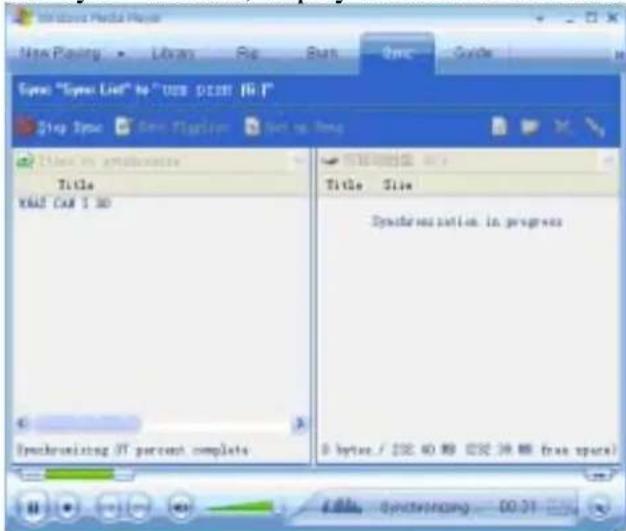
Interface display" Synchronization in progress", after about 10 seconds, display as follower interface:
After the music have been transferred to the player, Unplug the USB connector, player enter to select the music mode :
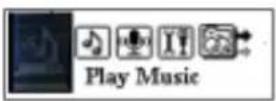
Enter music mode
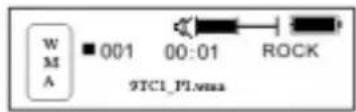
And press PLAY button to start play music of DRM songs
- Contents
- Attention
- System request
- Installation instruction
- Connecting and downloading
- Connecting PC
- Download MP3 songs
- Removing USB device
- Basic operation
- Button and function
- Power on/ off operation
- Setting MENU function
- Tools setting
- How to use your MP3 player
- Play MP3 file
- Setting Voice Mode
- Function Setting
- Setting EQ mode
- Setting Playing Mode
- Setting Contrast
- Setting Backlight
- Setting Backlight Color
- Setting Power
- Setting Recording
- Setting language
- Exit
- Music Preview
- Recording function
- Delete single file
- View Memory
- Exit
- A-B Repeat Mode
- Folder function
- Lock function
- USB mode
- Restoration
- Lyric sync
- Notice:
- SDK35FD DRM9 DEMO INTRODUCE
- Demo songs
- Download songs
- The ways of Download songs :
Brand : SYLVANIA
Model : SMP1003
Category : Mp3 player