XB418 - Uncategorized Intellitec - Free user manual and instructions
Find the device manual for free XB418 Intellitec in PDF.

| Brand | Intellitec |
| Model | XB418 |
| Product Type | RV Electrical Control Module |
| Primary Function | Battery disconnect and load management |
| Operating Voltage | 12 VDC |
| Continuous Current Rating | 200 A |
| Dimensions (H x W x D) | 4.5 x 3.2 x 1.8 inches |
| Weight | 0.5 lbs |
| Housing Material | Powder-coated steel |
| Mounting Type | Surface mount with screws |
| Terminal Size | 5/16 inch studs |
| Compliance | SAE J1455, RoHS |
| Operating Temperature Range | -40°F to 185°F |
| Protection Features | Reverse polarity protection, thermal overload |
| Control Interface | Toggle switch or remote momentary switch |
| LED Indicator | Green (on), red (fault) |
| Warranty | 2 years limited |
| Manual Language | English, Spanish, French |
| Included Accessories | Mounting screws, wire labels |
Frequently Asked Questions - XB418 Intellitec
User questions about XB418 Intellitec
0 question about this device. Answer the ones you know or ask your own.
Ask a new question about this device
Download the instructions for your Uncategorized in PDF format for free! Find your manual XB418 - Intellitec and take your electronic device back in hand. On this page are published all the documents necessary for the use of your device. XB418 by Intellitec.
USER MANUAL XB418 Intellitec
natural_image
Exterior view of a yellow and black Honda 400 electric vehicle (no signage or text on the vehicle itself)
natural_image
Exterior view of a black and red Honda 100km electric vehicle with visible tires and front wheels (no text or symbols)ST418

natural_image
Black and white toy car with red and black painted design, no visible text or symbolsMT418

natural_image
Yellow and red heavy-duty toy car with visible tracks and wheels (no text or symbols)BT418

Svensk manual
English instruction
Specifikationer XB418 ST418 MT418 BT418
| Längd 250mm 250mm | 260mm 260mm | |||
| Bredd 190mm 190mm | 195mm 195mm | |||
| Höjd 96mm 97mm 97mm | 105mm | |||
| Hjulbas 168mm 168mm | 168mm 168mm | |||
| Drivning 4WD 4WD 4WD 4WD | ||||
| Diameter på hjul 60mm | 64mm 64mm 64mm | |||
| Hjulbredd 32mm 38mm | 38mm 38mm | |||
Borstad version XB418 ST418 MT418 BT418
| Motor | 370 | 370 | 370 | 370 |
| ESC/Servo/RX | 3-in-1 combo | 3-in-1 combo | 3-in-1 combo | 3-in-1 combo |
| Batteri | 7,2V 600mAh NiMH | 7,2V 600mAh NiMH | 7,2V 600mAh NiMH | 7,2V 600mAh NiMH |
| Utväxling | 7.95:1 7.95:1 | 7.95:1 7.95:1 |
Borstlös version XB418 ST418 MT418 BT418
| Motor | 4200kV | 4200kV | 4200kV | 4200kV |
| Servo | 1,8kg | 1,8kg | 1,8kg | 1,8kg |
| Batteri | 7,2V 600mAh NiMH | 7,2V 600mAh NiMH | 7,2V 600mAh NiMH | 7,2V 600mAh NiMH |
| Utväxling | 9.3:1 | 9.3:1 | 9.3:1 | 9.3:1 |
| ESC | 25A | 25A | 25A | 25A |
Utrustning
natural_image
Close-up of a black mechanical component with a labeled arrow pointing to a feature (no text or symbols present)Gas- / Bromsspak
natural_image
Close-up of a mechanical or electronic component with three ports and a handle (no visible text or symbols)natural_image
Close-up of a mechanical component with three ports and mounting holes (no visible text or symbols)Trimreglage Styrning
natural_image
3D rendered image of a handheld device with labeled ports (G, F) and no visible text or symbolsnatural_image
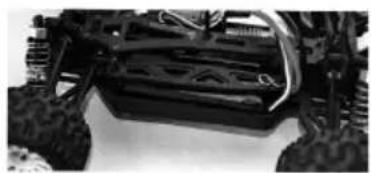
Top-down view of a black and white toy vehicle chassis with visible tires, springs, and a battery pack (no text or symbols)Montera batterier i modellen under batterihållaren.
natural_image
Close-up of a black and white toy vehicle chassis showing front wheel, rear wheels, and internal structural components (no visible text or symbols)| Length 250mm 250mm | 260mm 260mm | |||
| Width 190mm 190mm | 195mm 195mm | |||
| Height 96mm 97mm 97mm | 105mm | |||
| Wheel base 168mm 168mm | 168mm 168mm 168mm | |||
| Drive 4WD 4WD 4WD 4WD | ||||
| Wheel diameter 60mm | 64mm 64mm 64mm | |||
| Wheel width 32mm 38mm | 38mm 38mm 38mm |
Brushed version XB418 ST418 MT418
BT418
| Motor 370 | 370 | 370 | 370 | |
| ESC/Servo/RX | 3-in-1 combo | 3-in-1 combo | 3-in-1 combo | 3-in-1 combo |
| Battery | 7,2V 600mAh NiMH | 7,2V 600mAh NiMH | 7,2V 600mAh NiMH | 7,2V 600mAh NiMH |
| Gear ratio | 7.95:1 | 7.95:1 | 7.95:1 | 7.95:1 |
Brushless version
XB418 ST418 MT418
BT418
| Motor 4200kV | 4200kV | 4200kV | 4200kV | |
| Servo | 1,8kg | 1,8kg | 1,8kg | 1,8kg |
| Battery | 7,2V 600mAh NiMH | 7,2V 600mAh NiMH | 7,2V 600mAh NiMH | 7,2V 600mAh NiMH |
| Gear ratio | 9.3:1 | 9.3:1 | 9.3:1 | 9.3:1 |
| ESC | 25A | 25A | 25A | 25A |
Features
· 2,4GHz radio
- Front CVD
· Metal diff
· Oil-filled shocks
· High traction tyres
· 4WD with drive shaft
· NiMH battery and charger
- Option and upgrade KIT available
Recommended tools
These tools are not included with the product but are recommended for use while working on the model: scissors, mini screwdrivers, hexagonal screwdrivers 1.5mm, 2.0mm, 2.5mm, 3.0mm, 4-way cross wrench (small), 4-way cross wrench (large), side cutters, needle nose pliers.
Driving a radio controlled car - important information
To get the maximum fun of your radio controlled model, there are a few things that are important to remember. The model you bought is not a toy but an advanced model with high performance. Always start by going through the manuals supplied with the model and familiarize yourself with the model's various parts. If you are unsure about any moment, please contact the store where you purchased the model.
Charging the batteries
Batteries that are charging may not be left unattended. If the batteries gets warm during charging, the process must be aborted.
Before driving
Find a suitable area where you can use your model. The area should be free of fixed objects and obstacles that could damage the model. Check that the batteries for the transmitter is new / charged and that the batteries in the model are fixed and can not come loose. Never drive towards any bystanders or animals. If it is wet check that your model can handle moisture / water. Makes a range test before you start using your model.
After driving
Clean the model and check for any loose screws. It may be enough that one screw comes loose on your model to cause an accident. It is important that you charge the battery after driving. This is especially important when using LiPo batteries. Storing a battery completely discharged may damage it. Always disconnect the battery from the model after driving.
2,4GHz radio for Brushed version
Intellitec 1/18 models with brushed motor and 3-in-1 ESC/Servo/RX unit comes with this radio. The radio is easy to use and setup and has several functions to adjust the model to your driving style.
Prepare the radio
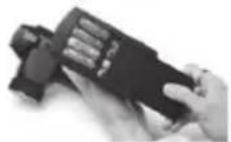
Turn the radio and open battery tray
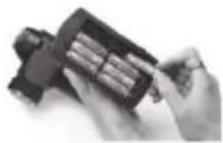
Insert 8pcs AA batteries into marked spaces. Please note direction of the batteries. Incorrect battery insertion could lead to damage.
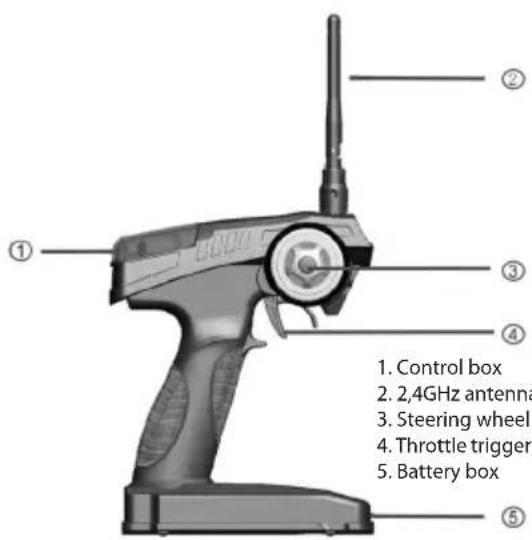
Functions on the radio

- Power switch
- Throttle trim
- Steering trim
- Power indicator
- Battery tray
- Steering reverse
- Bind Key
This 2,4GHz radio has a built in antenna that does not need to be extended.
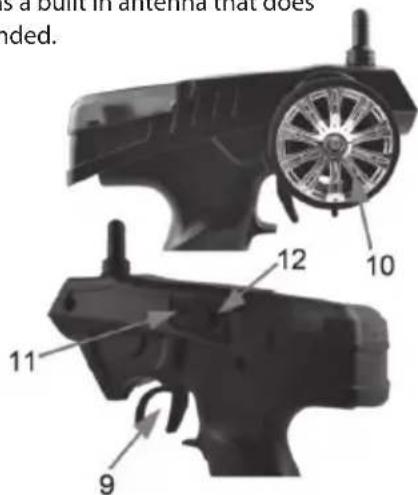
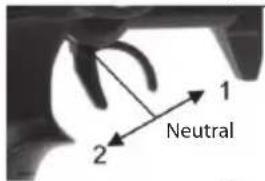
Throttle trigger
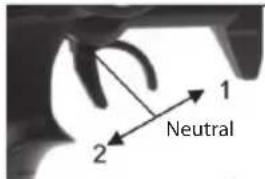
- Push the trigger forward to reverse.
- Pull the trigger backwards to go forwards
Dual rates
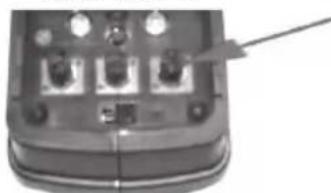
natural_image
Close-up of a device's front panel showing three ports with an arrow pointing to one (no visible text or symbols)Dual rate settings allow you to adjust the maximum degree of movement on the servo.
natural_image
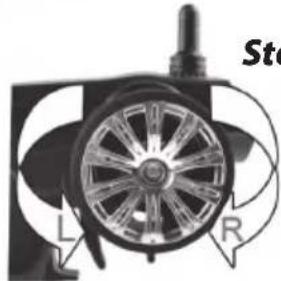
Close-up of a mechanical fan or propeller component with labeled parts L and R, no readable text or symbols beyond labelsSteering Wheel
Turn the steering wheel to the left or right to make the model go in that direction when to model is moving away from you.
natural_image
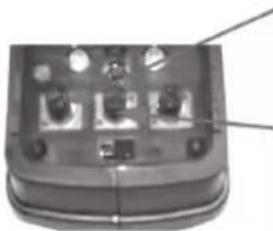
Close-up of a mechanical component with three ports and a base, no visible text or symbolsSteering trim
Turn this to adjust so that the model goes straight when the steering wheel is in neutral position.
Throttle trim
Adjust so that the model is still in neutral position.
Note: If trim is adjusted anti-clockwise the model can begin to reverse!
Binding transmitter and receiver
This step is already done from the factory and does not need to be done before driving.
Should you ever need to bind transmitter and receiver, follow these steps:
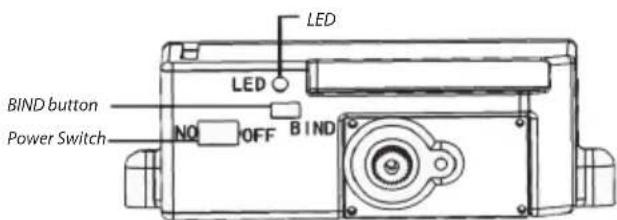
A) Power on the receiver.
B) Press the button labeled "BIND" on receiver.
Receiver LED starts to flash.
C) Press and hold "BIND" on transmitter then turn on power.
D) When LED on receiver is ON the process is done.
2,4GHz radio for Brushless version
Intellitec 1/18 models comes with this radio. The radio is easy to handle and has several functions to trim the model to suite your driving style.
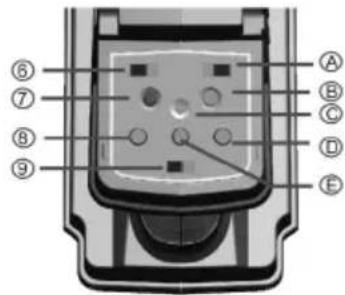
- Steering reverse
- Power LED
- Steering trim
- Power switch
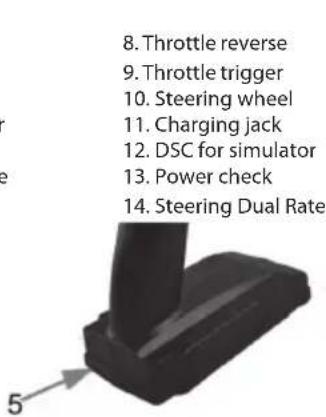
A. Throttle reverse
B. Power check
C. Bind
D. Dual Rate
E. Throttle trim
F. Charging input
G. DSC for simulator
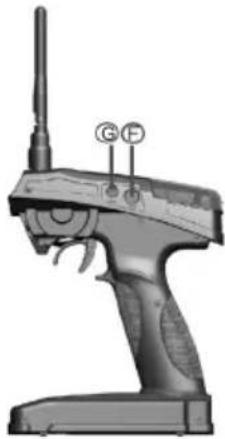
natural_image
3D rendered image of a handheld device with labeled ports (G, F) and no visible text or symbolsBind radio with receiver
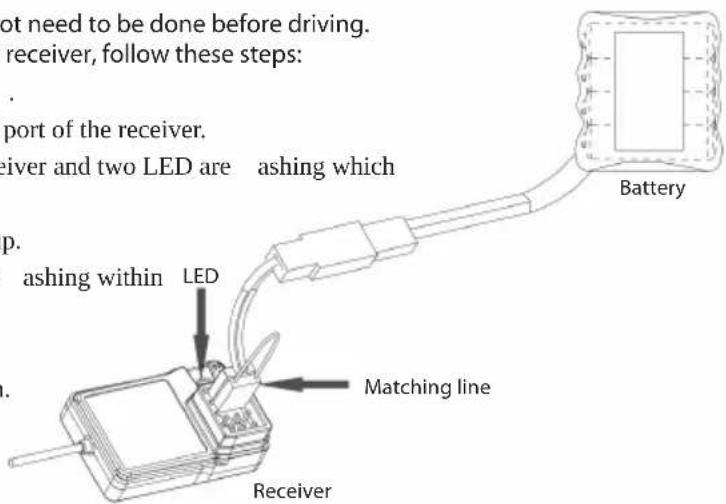
This step is already done from the factory and does not need to be done before driving. If you for some reason need to re-bind the radio with receiver, follow these steps:
A) Mount batteries in the radio and have it powered o .
B) Insert the matching lines to the channel BIND/CH3 port of the receiver.
C) Connect the receiver battery to VCC port of the receiver and two LED are ashing which means the receiver is put in binding mode.
D) Press the binding button on the radio and power it up.
E) Note the LED on receiver. If the LED have stopped ashing within LED
5 seconds the binding was successful.
F) Remove the matching line from receiver.
G) Connect a servo to the receiver and test the function.
H) If process fails - repeat step A-F.
Matching line
Install the battery
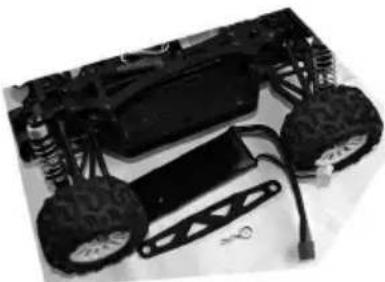
natural_image
Top-down view of a black and white toy vehicle chassis with visible tires, springs, and a battery pack (no text or symbols)Mount the battery under the battery strap.

natural_image
Close-up of a heavy-duty off-road vehicle chassis showing suspension tracks and motors (no visible text or symbols)Use the clips to secure the battery strap.
Starting up
A) Turn on the power to transmitter first
B) Connect battery and ESC
C) Power up ESC
D) Check steering, forward and reverse
E) You are now ready to go!
After driving
A) Turn off power to ESC
B) Disconnect battery and ESC
C) Turn off transmitter
D) Inspect the model and if needed tighten screws and do cleaning.
ZTW 25A ESC for brushless models
Features:
- Enhanced throttle response, excellent acceleration, strong brakes and throttle linearity.
- Possible to program ESC using LED card (option).
- Built in protection: Low-voltage protection (LiPo), over heating protection and throttle signal loss protection.
Specifikation
- Suitable for 1/18 buggy or truck
- 2cells LiPo / 6cells NiMH
3.25A continuous current - BEC 5,6V/2A
- Size 30x28x12mm
- Weight 38g
LED
When the ESC is connected to a battery it automatically determines which type of motor is connected (sensor/sensorless and communicates this with LED.
| Function LED LED status | ||
| Low voltage in battery Red LED Flashes | ||
| Over heating protection activated (+95°C) Orange LED Flashes | ||
| Sensor based motor Red and Orange LED ON | ||
| Sensorless motor Orange LED ON | ||
Throttle range calibration
This step is already done from the factory and does not need to be done before driving. But when changing radio or receiver, a new calibration needs to be done. If the radio has a end-point-adjustment on the throttle, it has to be set at 100%.
- Turn the ESC of and turn on the radio.
- Press and hold the "Set" button on the ESC and then turn on the power. Hold the button approx. 4 seconds until the orange LED shines with a steady light.
- Input full throttle and the red LED will begin to flash. Hold until there is a "beep" sound.
- Input full brake and the orange LED will begin to flash. Hold until there is two "beep" sounds.
- Let go of throttle input and place in neutral and the red LED will begin to flash. Wait until there is three "beep" sounds.
- The LED will stop to shine. Turn off the power and restart the ESC to check that throttle and reverse was calibrated correctly. If not - repeat the steps above.
Using the ZTW program card
The ZTW Program card with LED display is easy to use and convenient to carry. All of the programmable functions are shown on the program card.
- Turn on the ESC. Remove the Signal wire and plug it into the top-socket on the Program card, wait for 2 seconds until the LED is ON. The first programmable function will be shown, if an error occurs, please re-connect.
- If ESC is not connected with the batteries, the Program card should be connected with another power supply, the range of power supply is within 5.0-6.3V.
- Press the button "Menu" on the Program card and select each programmable function. At that time the number of the programmable function will be displayed on the left of the LED, the current value will be displayed on the right side. Then press the button Value to change the value and press the button OK to confirm. At the same time the Red indicating LEDs of both program card and the ESC blink. Turn off the ESC, the modified settings will be saved in the ESC's memory.
- Press the button Reset to restore the default settings.
Programming options
ZTW ESC can be adjusted with a program card (option) to your driving style. Factory defaults are marked in gray boxes.
- Low-voltage protection: Set the voltage of cells when ESC will cut off the power to protect the batteries (LiPo).
When using NiMH this does not need to be activated. Note: As factory default the protection is turned off.
It must be activated with a program card (option) before using LiPo batteries.
-
Running mode: 1. Forward without reverse. 2. Forward with pause, then reverse - ESC needs throttle to be in neutral for 2 seconds before reverse can be activated. This is to protect the transmission in the model.
-
Forward with reverse - in this mode the model can go forward and reverse, but has no brake.
-
Motor timing: Adjust the motor performance and driving time. Low timing = lower performance = longer driving time. High timing = high performance = less driving time. Value 5 should be used with caution!!
-
Initial acceleration: Adjust the initial power to motor when starting from a complete stop.
Low value gives slow acceleration and longer driving time. High value gives high acceleration and less driving time. A very high acceleration can be very tough on the batteries as the amperage draw can be very high. If your vehicle cuts out, hesitates or loses radio control, you should consider setting this at a lower value. Use with caution!
-
Throttle percent reverse: A lower value gives slower speed when going in reverse.
-
Throttle limit: A lower value gives slower speed when going forward.
-
Percent brake: The effect on the brakes
-
Drag brake: The drag brake function provides the driver a set percentage of brake when you have the transmitter in neutral.
-
Motor rotation: Normal or reverse.
-
Neutral range: This setting adjusts the amount of "Dead band" off neutral on the throttle trigger.
The smaller the value the less "Dead band" or movement is required off-center for the ESC to begin throttle functions. Using a higher value for this setting will provide a wider Dead band.
| ITEM | VALUE | ||||||||
| 1 2 3 4 5 | 6 7 8 9 | ||||||||
| 1. Low-voltage protection 2.6V/Cell 2.8V/Cell | 3.0V/Cell | 3.2V/Cell 3.4V/Cell Not activated | |||||||
| 2. Running mode | Forward with brake and no reverse | Forward with brake / paus and reverse | Forward with reverse. No brake! | ||||||
| 3. Motor timing | Very low | Low | Normal | High | Very high | ||||
| 4. Initial acceleration | Low | Medium | High | Very high | |||||
| 5. Throttle percent reverse | 20% | 30% | 40% | 50% | 60% | 70% | 80% | 90% | 100% |
| 6. Throttle limit | 0% | 20% | 30% | 40% | 50% | 60% | 70% | 80% | 90% |
| 7. Percent brake | 10% | 20% | 30% | 40% | 50% | 60% | 70% | 80% | 90% |
| 8. Dragbrake | 0% | 4% | 8% | 12% | 15% | 20% | 25% | 30% | |
| 9. Motor rotation | Normal | Reverse | |||||||
| 10. Neutral range | 2% | 3% | 4% | 5% | 6% | 10% | |||
Grey areas indicate factory settings.
Trouble shooting
Please read this section if you are having trouble with your model.
| Problem Cause Solution | ||
| The model does not move. Radio is turned off. Turn on both radio and receiver. | ||
| Battery is not plugged in. Check batteries. | ||
| Battery is not charged. Charge the battery. | ||
| The model does not follow your driving input. | Radio is turned off. Turn on both radio and receiver. | |
| Reverse switches are set incorrectly. Check the reverse switches. | ||
| The radio end-point-adjustment is set incorrectly. Check the Dual Rate switches. | ||
| Weak batteries in model or radio. Replace batteries and charge main battery. | ||
| The front and rear wheels rotate in opposing directions. | The differential are placed incorrect. Place the differential the correct way. | |
Egna anteckningar
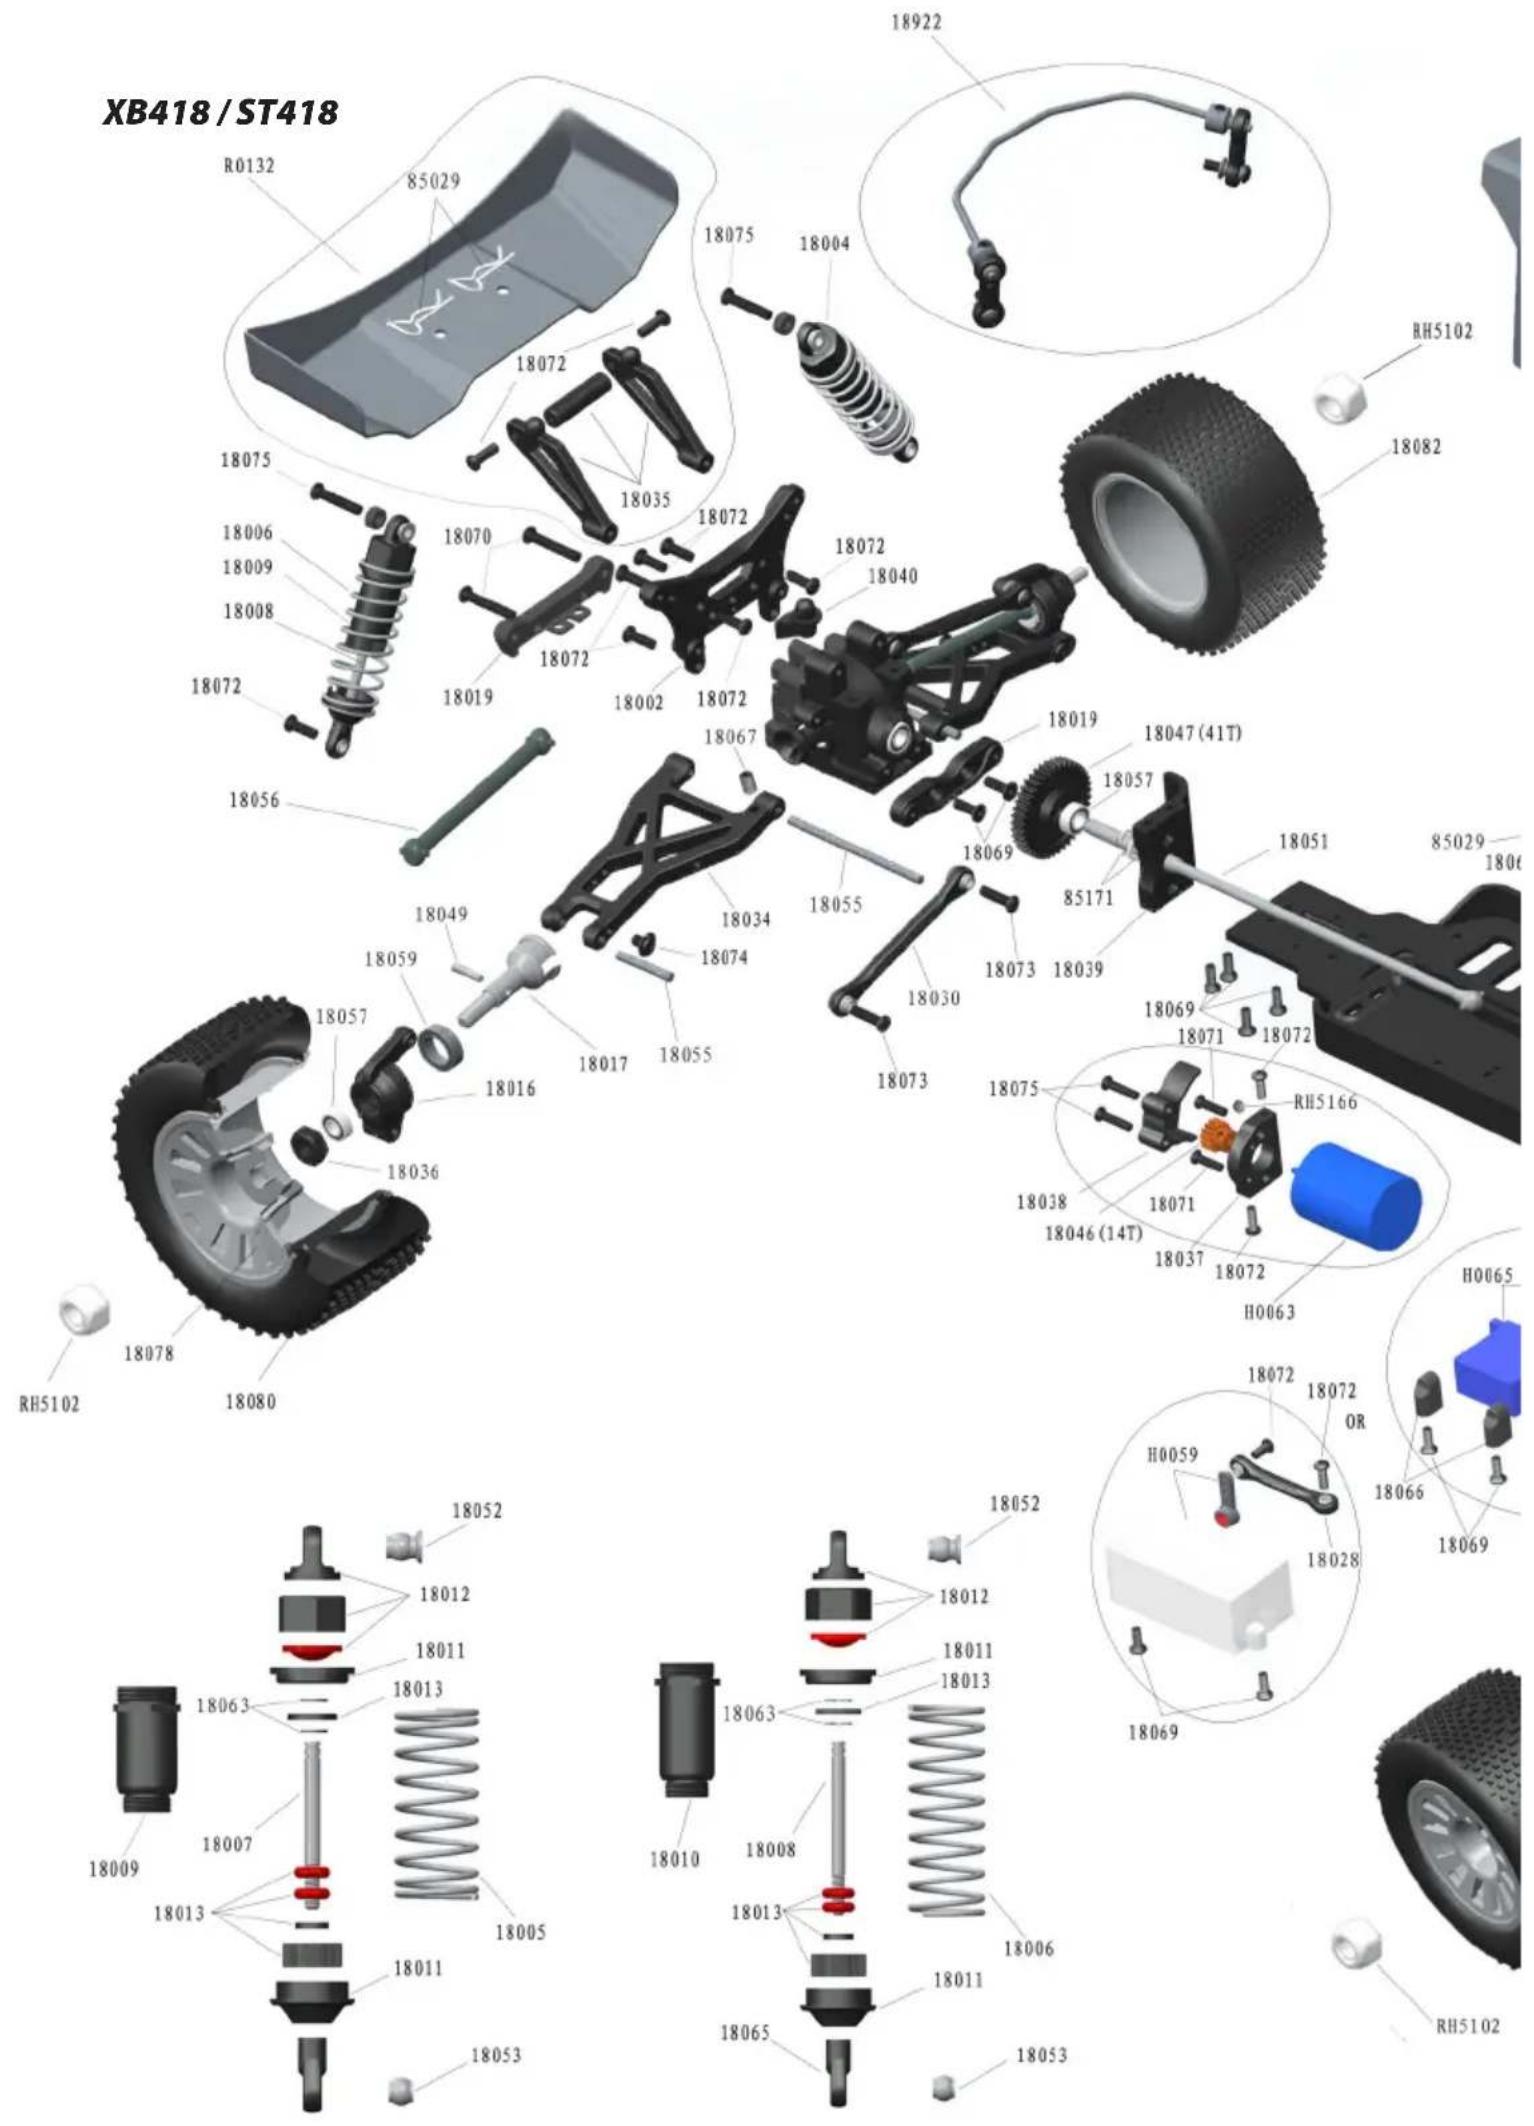
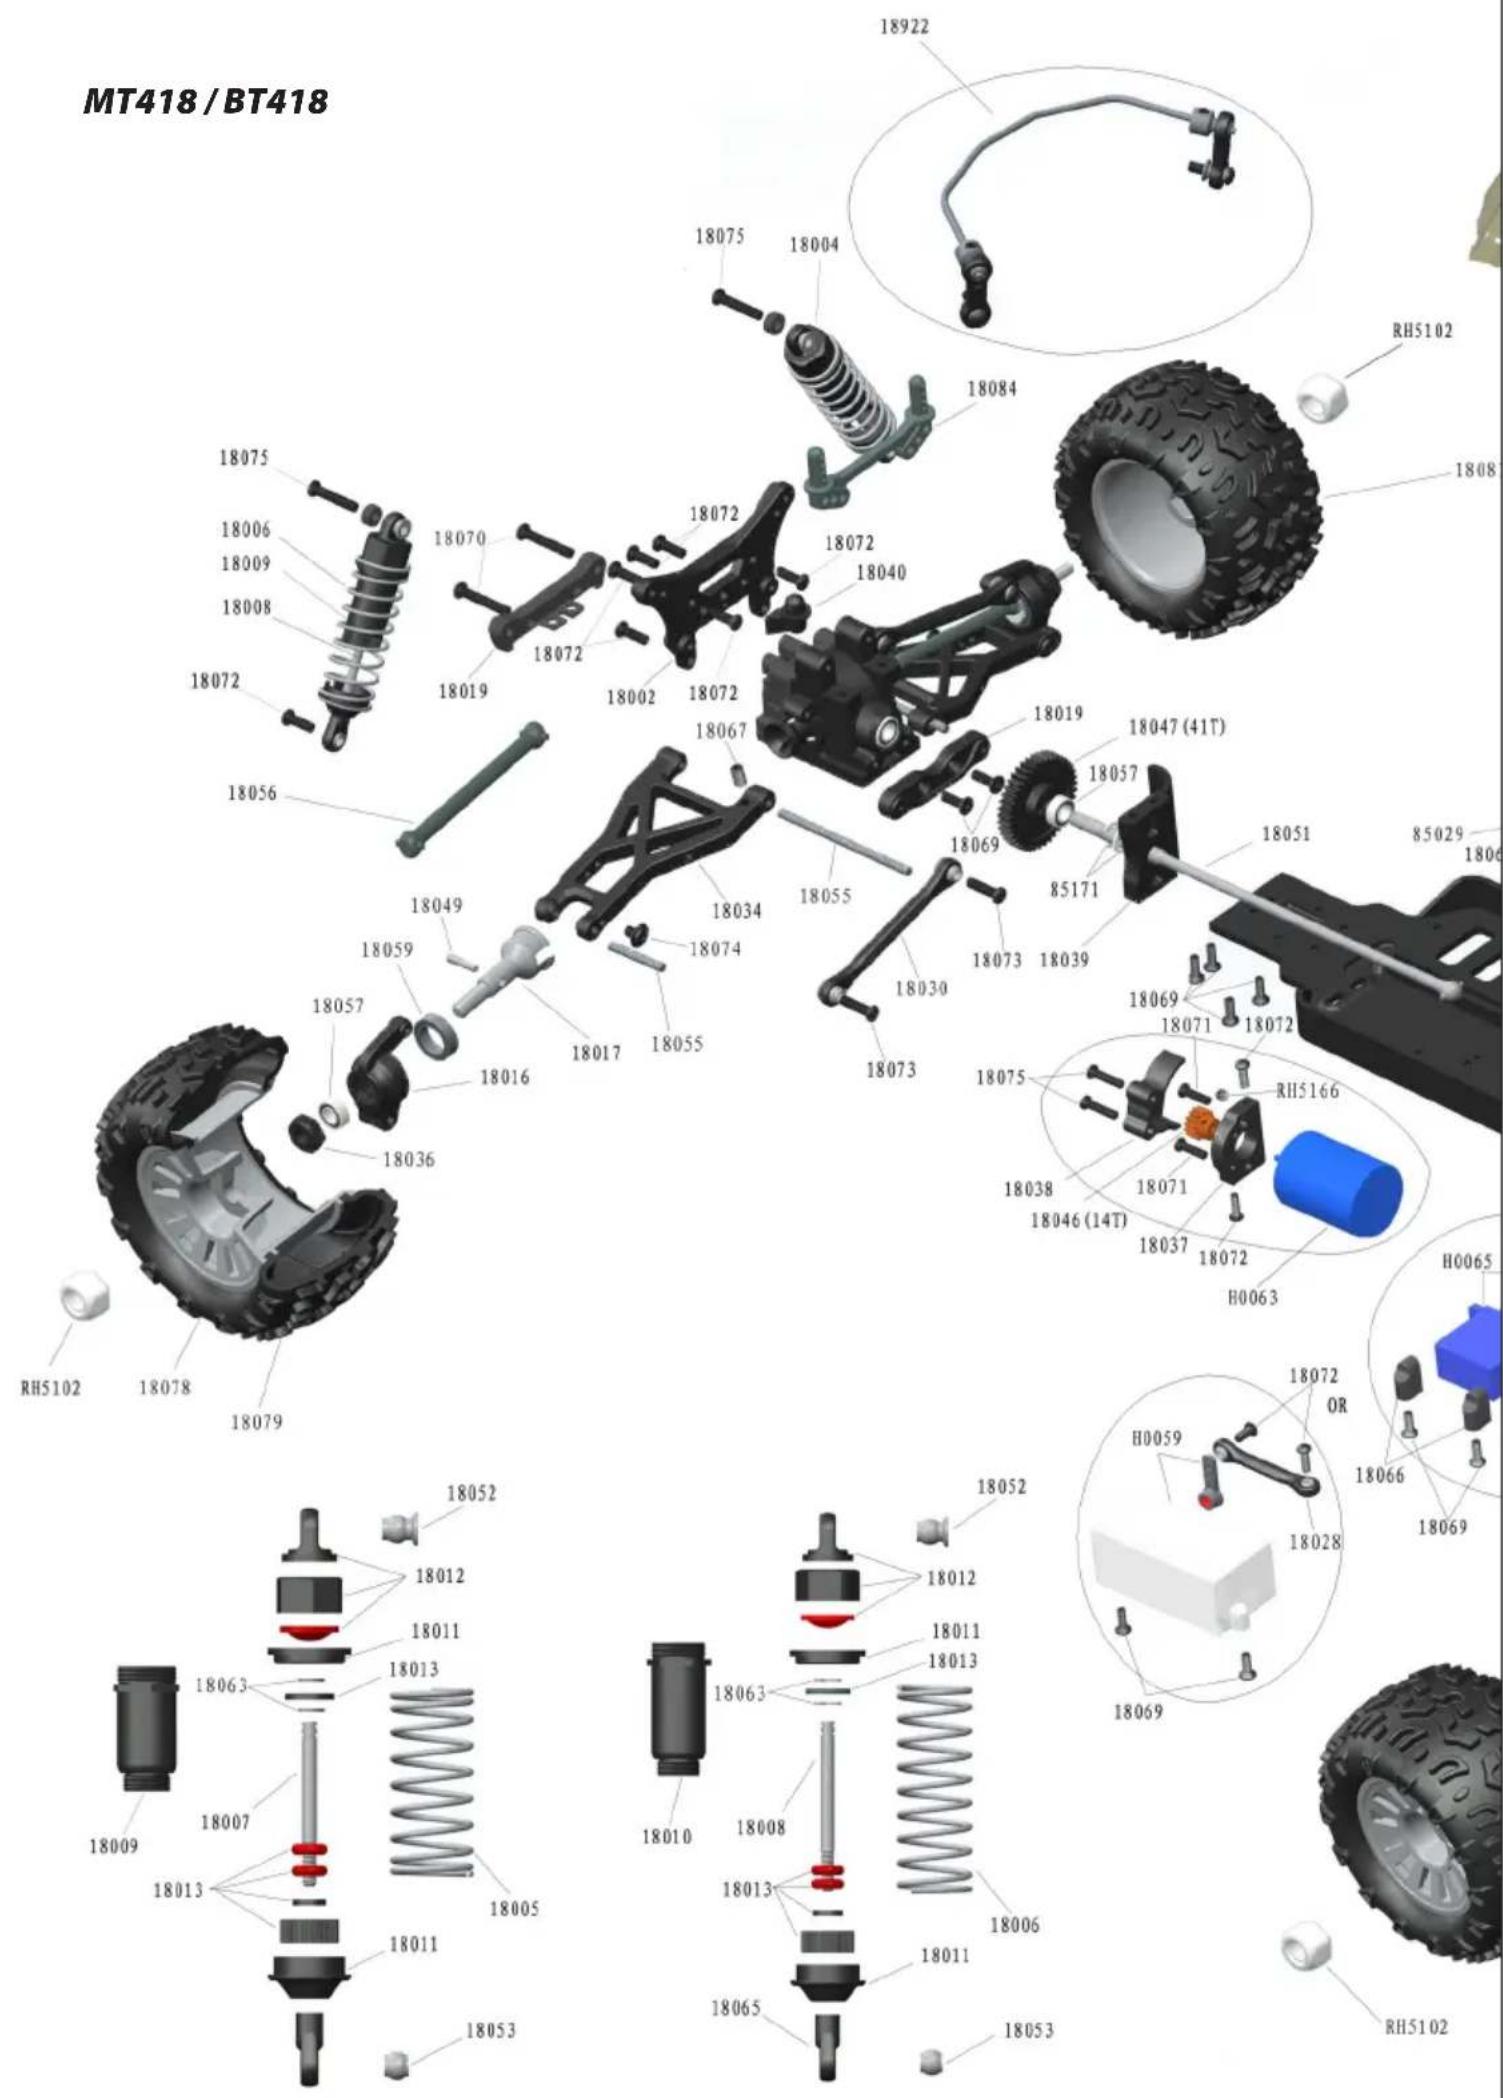
Reservdelar / Spare parts
18001-Front Shock Tower 1pc | 18002-Rear Shock Tower 1pc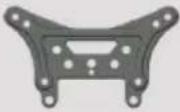 | 18003-Front Shocks 2pc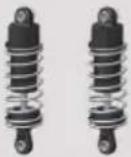 | 18004-Rear Shock 2pc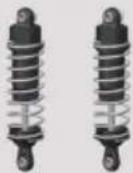 |
18005-Front Shock Spring 2pc | 18006-Rear Shock Spring 2pc | 18007-Front Shock Shaft & Piston Set 2sets | 18008-Rear Shock Shaft & Piston Set 2sets |
18009-Front Shock Body 2pc | 18010-Rear Shock body 2pc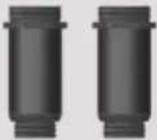 | 18011-Shock Lower holder & Adjust Ring 2sets | 18012-Shock Upper Caps 1set |
18013-Shock Lower Caps 1set | 18014-Steering Knuckle Arm 1set | 18015-Uprights 2pc | 18016-Rear Hub Carrier 2pc |
18017-Rear Drive Shaft 2pc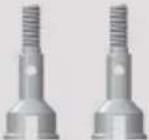 | 18018-Front Susp. Holders 2pc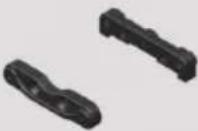 | 18019-Rear Susp. Holders 2pc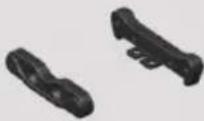 | 18020-Gearbox Housing Set 1set |
18021-Front CVD 2pc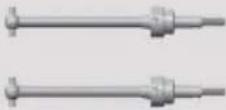 | 18022-Upper Susp.Arm 2pc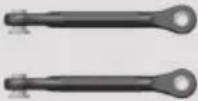 | 18023-Front Lower Susp.Arm 2pc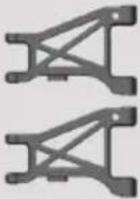 | 18024-Bumper 1pc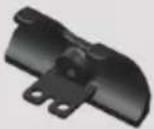 |
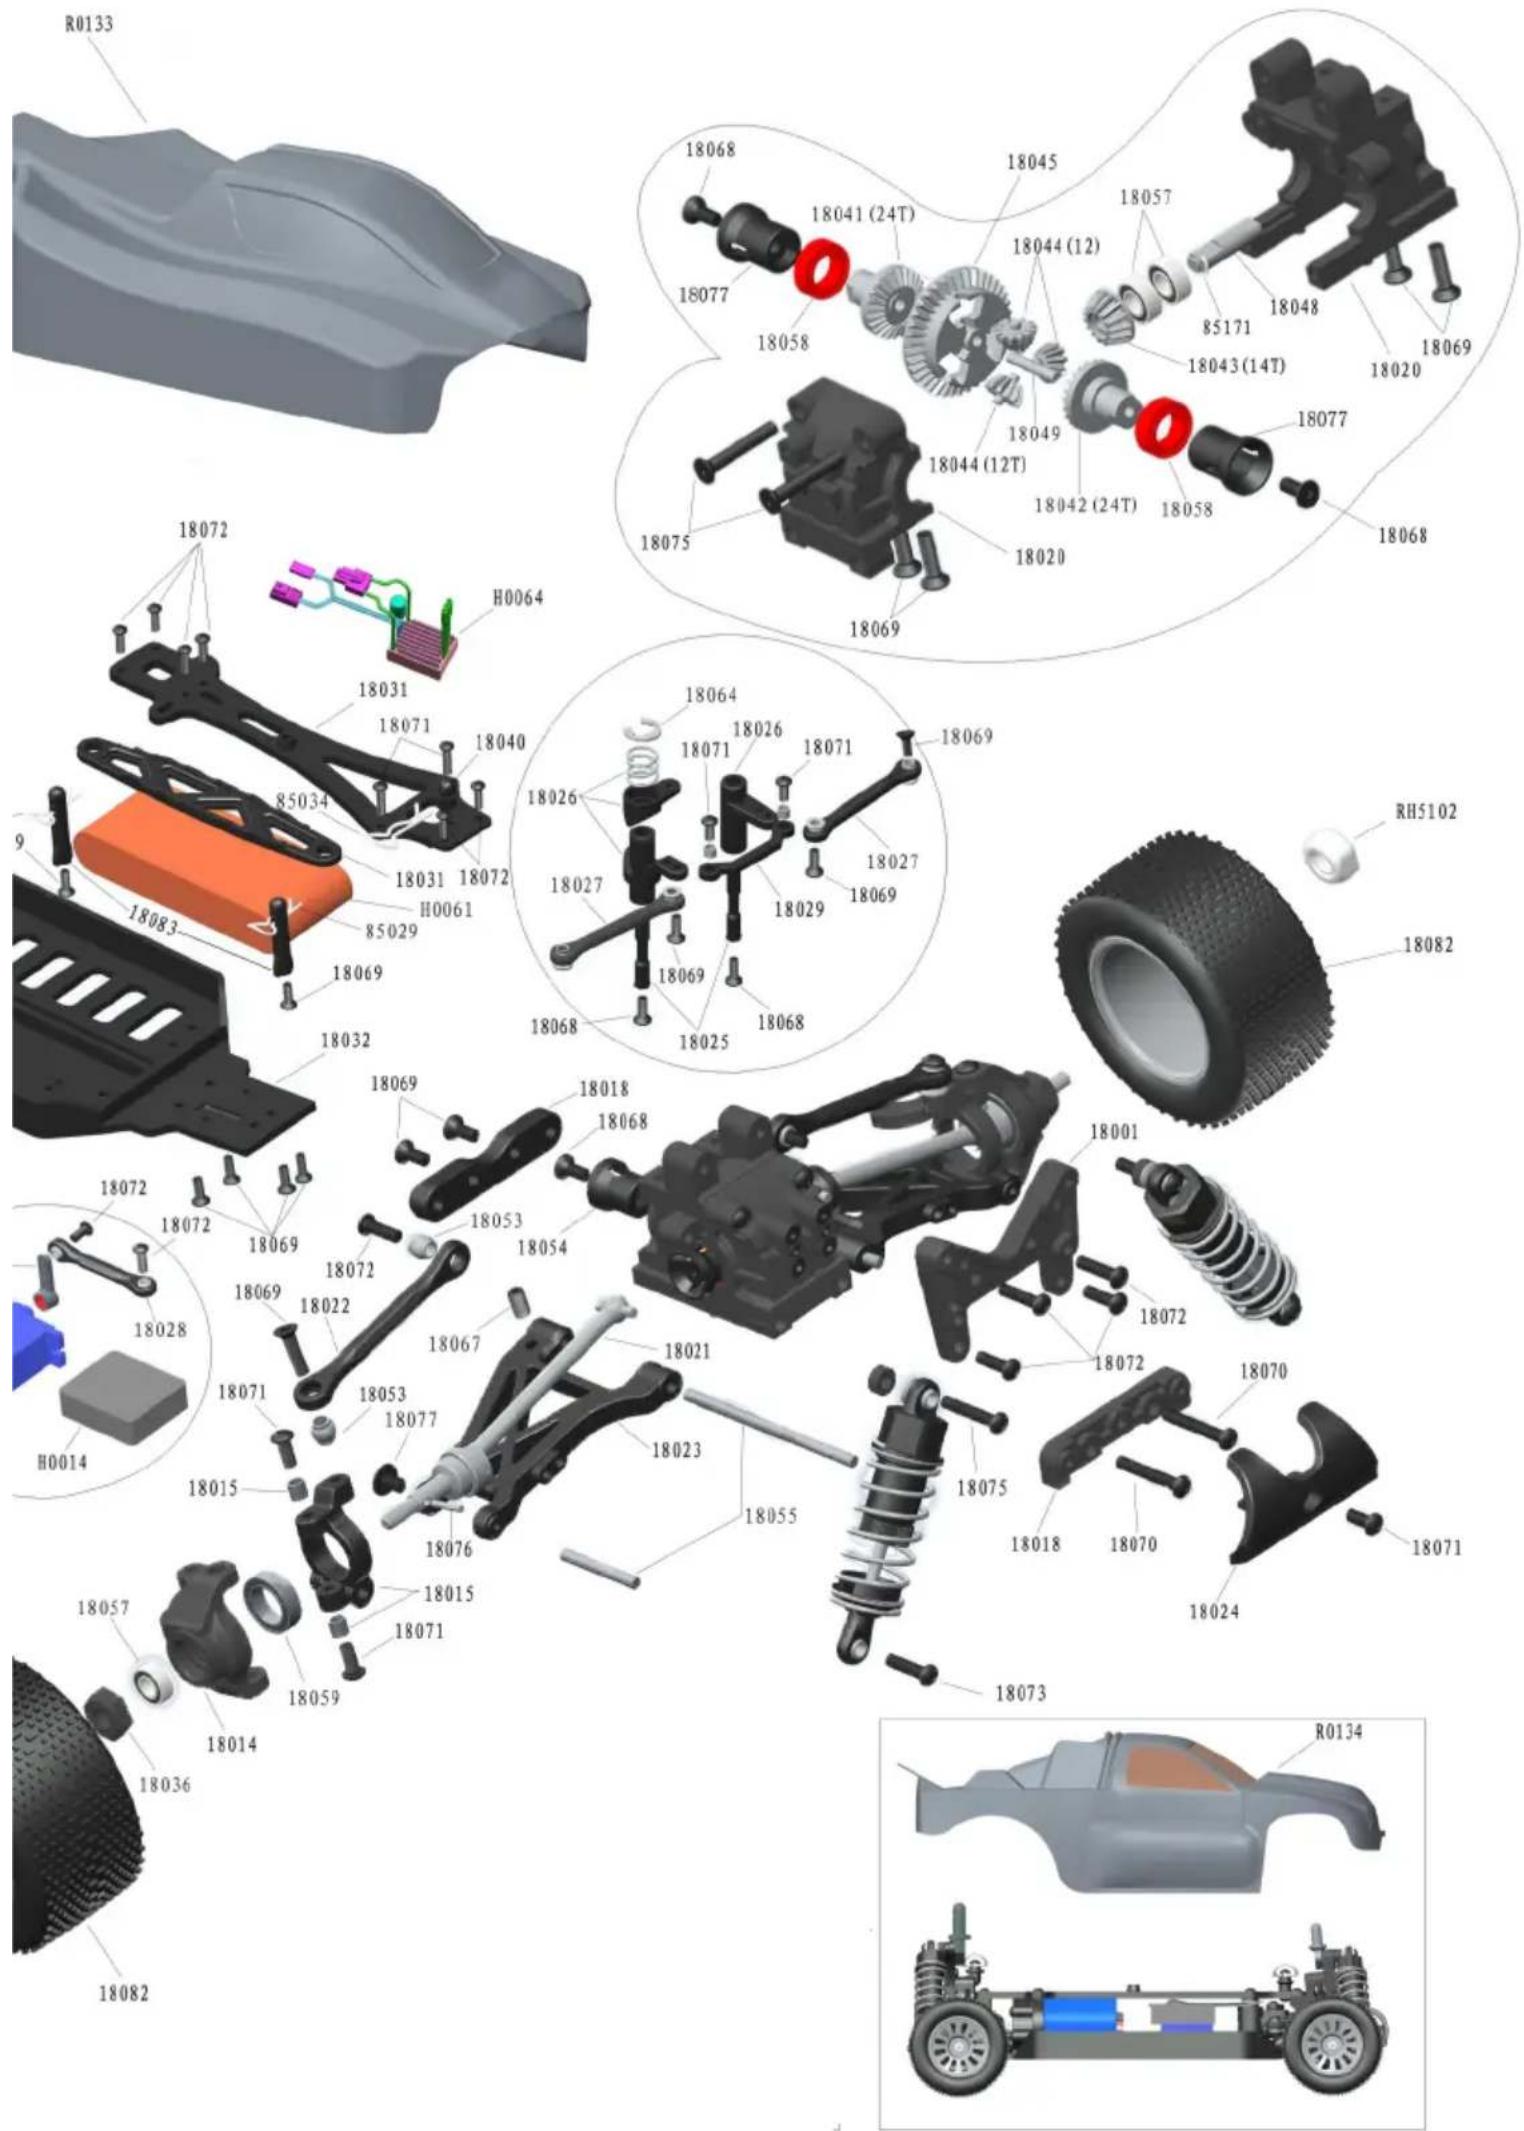
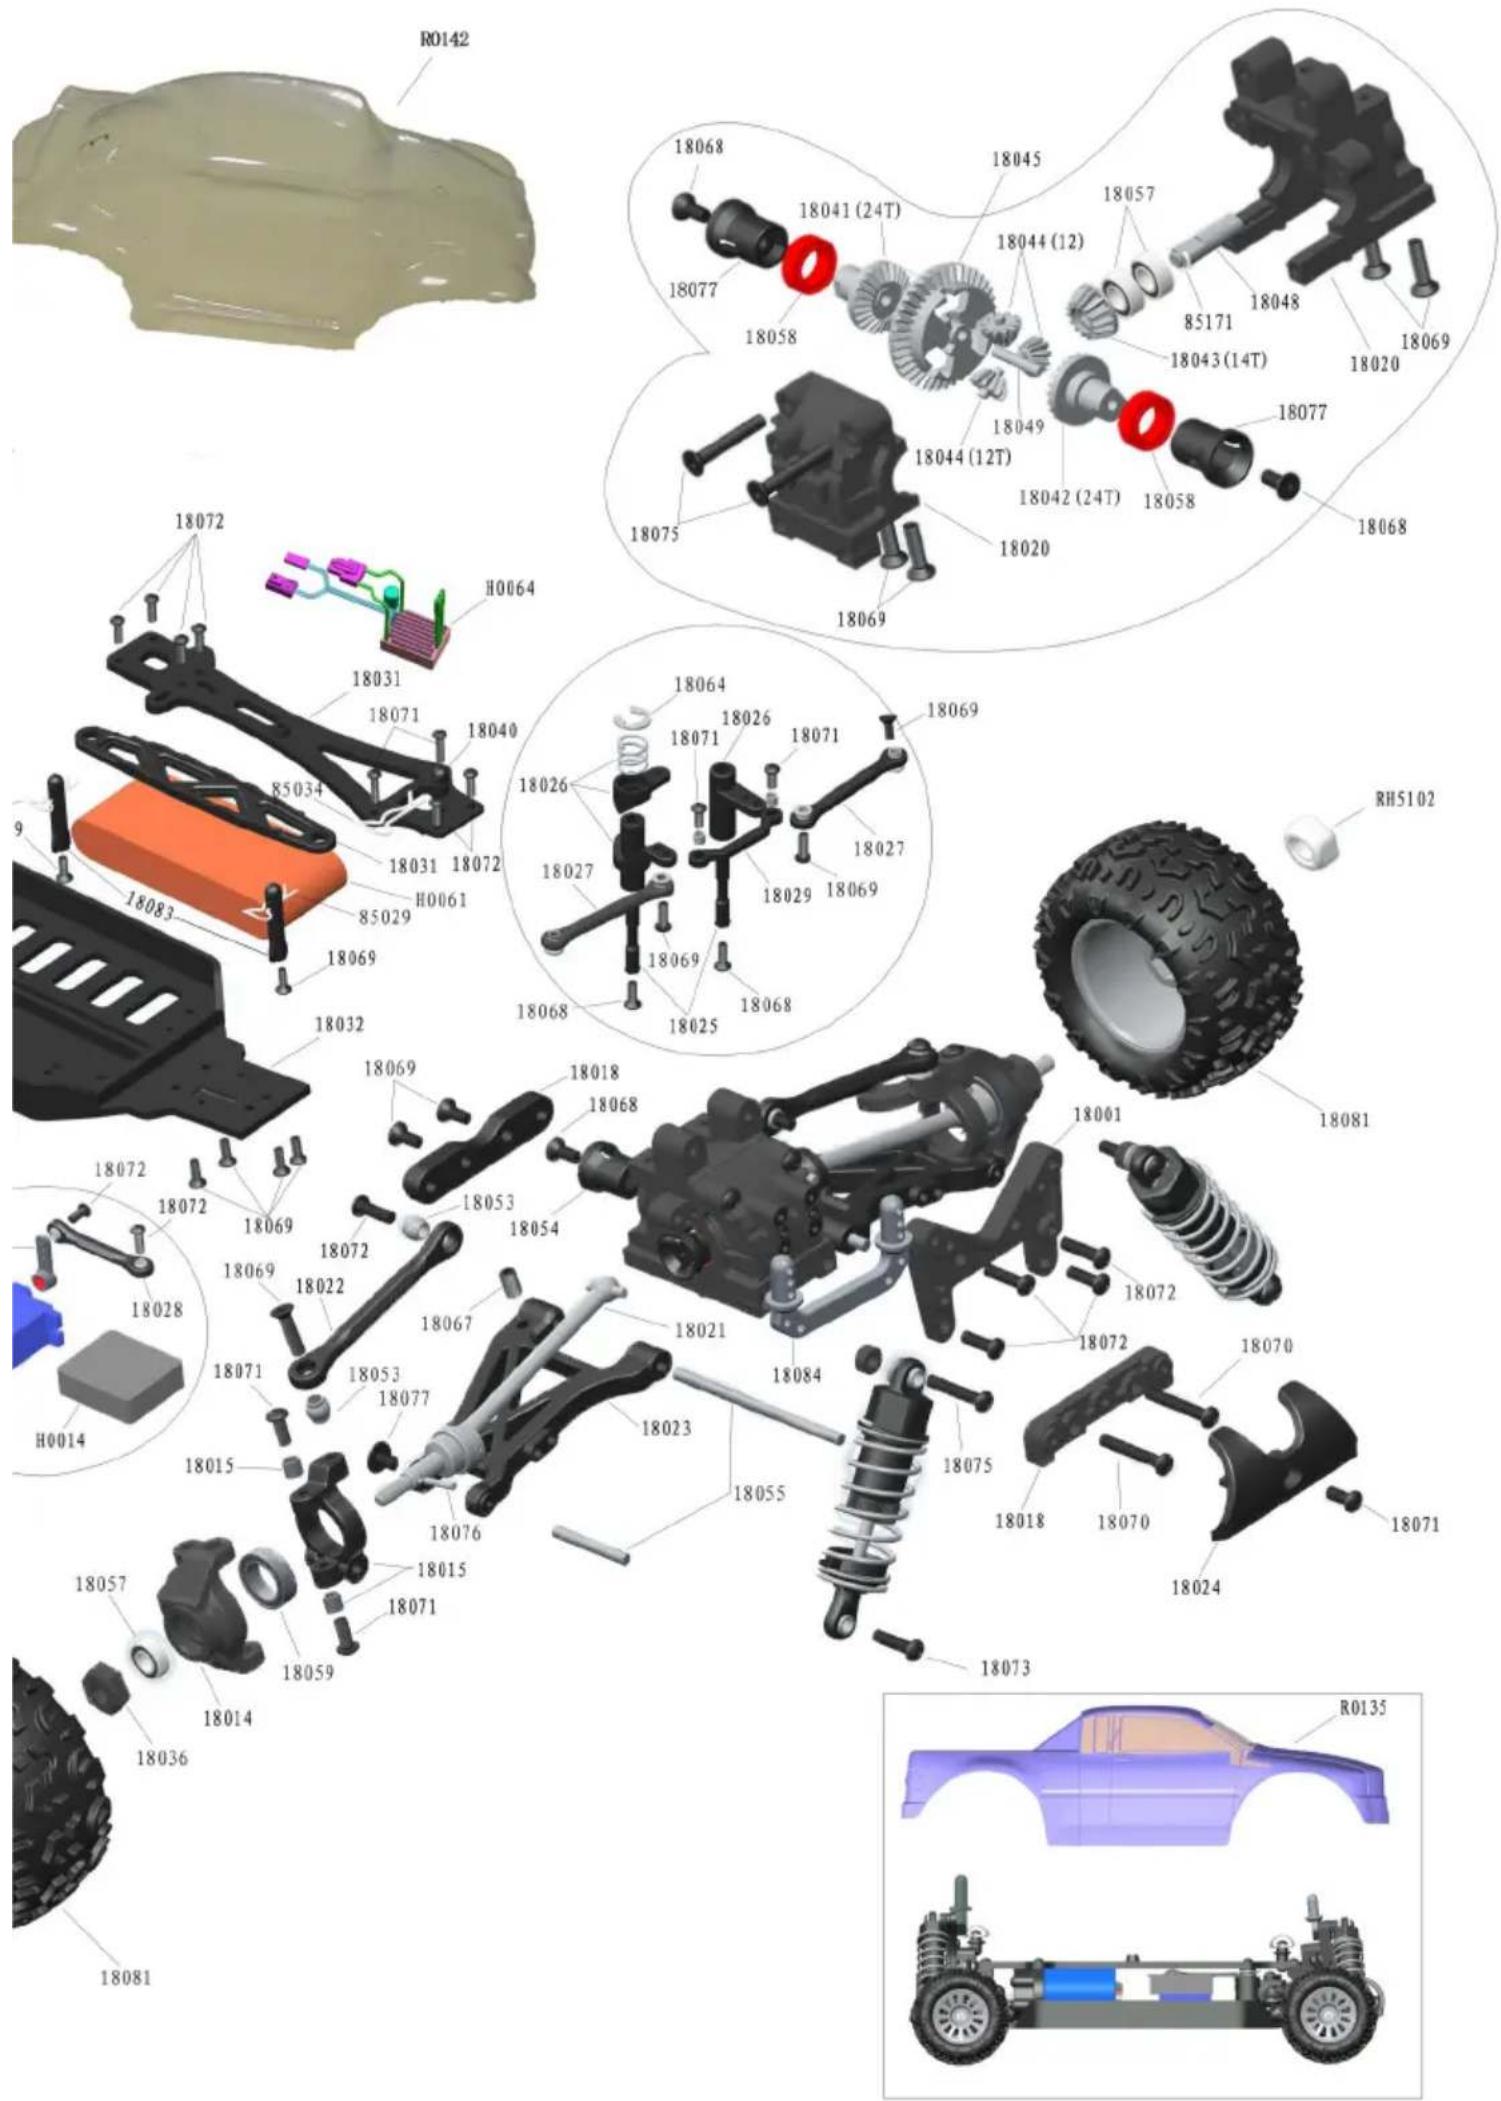
Reservdelar / Spare parts
18025- Servo Saver Post 2pc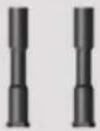 | 18026-Servo Saver 1set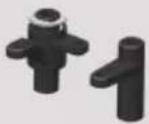 | 18027-Steering Arm 2pcs | 18028- Servo Linkage 1pc |
18029-Steering Ackerman 1set | 18030-Rear Upper Susp Arm 2sets | 18031-Upper plate 1pc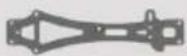 | 18032-Chassiss plate 1pc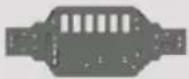 |
18033-Battery Cover 1pc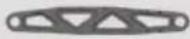 | 18034-Rear Lower Susp.Arm 2pc | 18035-Wing Bracket 1set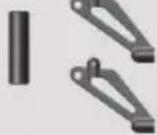 | 18036-Wheel Hub 4pc |
18037-Motor Mount 1pc | 18038-Gear Cover 1pc | 18039-Spur gear bracket 1pc | 18040-Buggy Body Mount 1set |
18041-Diff Bevel Gear B-1 2pc24T | 18042-Diff Bevel Gear B-2 2pc24T | 18043-Diff Drive Gear 2pc14T | 18044-Diff Bevel Gear S. 3pc 1 1 |
18045-Diff Drive Spur Gear 2pc38T | 18046-Pinion Gear 1pc 14T18090-Pinion Gear 1pc 12T | 18047-41T Spur Gear 1pc | 18048-Diff.Drive Gear Pin 1pc |
Reservdelar / Spare parts
18049-Pin 1.5*8 6pc | 18050-Diff Pin 2pc | 18051-Center Drive Shaft 1pc | 18052-Ball A 6pc |
18053-Ball B 6pc | 18054-Center Coupler 2pc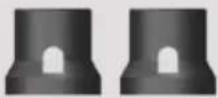 | 18055-Hinge Pins(long & short) 1set | 18056-Rear Dongbone 2pcs |
18057-Ball Bearing 8*4*3 6pc | 18058-Ball Bearing 10*6*3 6pc | 18059-Ball Bearing 12*8*3.5 6pc | 18060-Metal Bushing 8*4*3 6pc |
18061-Metal Bushing 10*6*3 6pc | 18062-Metal Bushing 12*8*3.5 6pc | 18063-E clip-2mm 6pc | 18064-E clip-6mm 4pc |
18065-Shock Ball End 6pc | 85029-Body Clip(Small Size) 6pc | 85034-Body Clip(Medium Size)6pc | RH5102-Nylon Lock Nut M3 6pc |
18066-Servo post 2pc | 18067-Screw M3*6 6pc | 18068-Flat Head Hex M2.5*6 6pc | 18069-Flat Head Hex M2.5*8 6pc |
Reservdelar / Spare parts
18070-Button Head Hex ScrewM2.5*16 6pc | 18071-Button Head Hex ScrewM2.5*6 6pc | 18072-Button Head Hex ScrewM2.5*8 6pc | 18073-Button Head Hex ScrewM2.5*10 6pc |
18074-Ring Self Tapping Screw2.5*4 4pc | 18075-Button Head Hex ScrewM2.5*14 6pc | RH5166-Set Screw M3*3 6pc | RH5664-Button Head Hex ScrewM3*6 6pc |
85171-E clip-3mm 6pc | 18076-Pin 1.5*10 6pc | 18077-Diff Drive Cup 2pc | 18078-Rim 2pc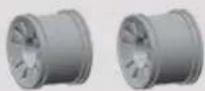 |
18079-Truck tyre 2pc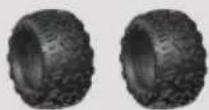 | 18080-Buggy tyre 2pc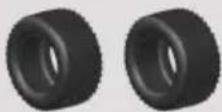 | 18081-Truck tyre set 2sets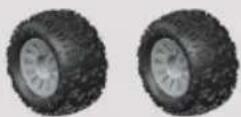 | 18082-Buggy tyre set 2sets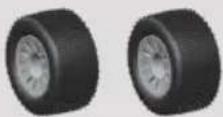 |
18083-Battery Tray Mount 2pc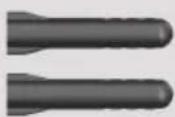 | 18084-Boody post 2pc | Buggy Tail Wing 3pc[CYD] | Buggy Printed Body 3pc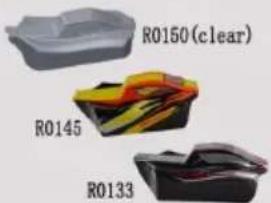 |
Truggy Printed Body 3pc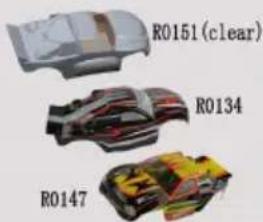 | Truck Printed Body 3pc | Printed Body 3pc | 18086-Pin 20*8 6pc |
Reservdelar / Spare parts
H0068 FS-GT2 2.4GHz transmitter and RX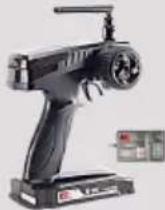 | H0059-2.4GHz Transmitter 3-IN-1 Combo 1pc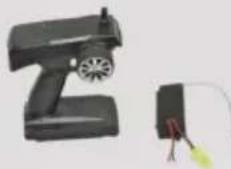 | H0061-Ni-MH 7.2V 600mAh 1pc | |
H0062-370 Brushed Motor 1pc | H0063-4500KV Brushless Motor 1pc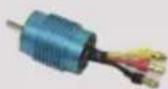 | H0064-25A Brushless ESC 1pc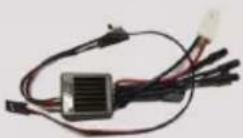 | H0065-1.8kg Servo 1pc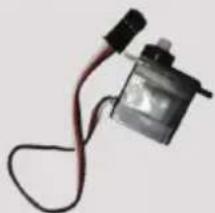 |
18253 Charger CE 1pc | RH18088-Diff.set(Metal bushing)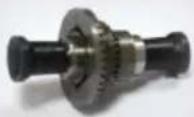 | RH18089-Diff.set(Ball bearings)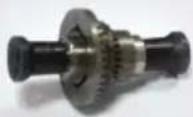 | H0059RX 3-in-1 unit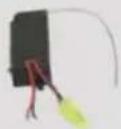 |
H0054 Program Card BL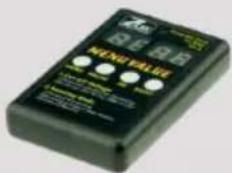 | 18925 Servo gear set 3-in-1 unit | ||
Option delar / Option parts
18901-Front Shock Tower(Carbon) 1pc | 18902-Rear Shock Tower(Carbon) 1pc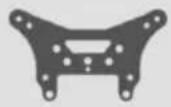 | 18903-Battery Cover(Carbon) 1pc | 18904-Upper plate(Carbon) 1pc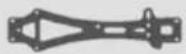 |
18905-Chassiss plate(Carbon) 1pc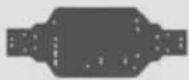 | 18906-Steering Ackerman(AL) 1set | 18907-Diff Drive Cup (FE) 2pcs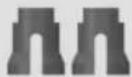 | 18908-Rear Hub Carrier(AL) 2pc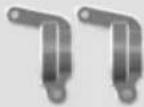 |
18909-Steering Knuckle(AL) 1set | 18910-Uprings(AL) 2pc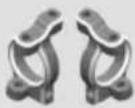 | 18911-Spur Gear Bracket(AL) 2pc | 18912-Motor Mount(AL) 1pc |
18913-Rear Lower Susp.Arm(AL) 2pc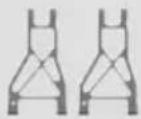 | 18914-Front Lower Susp.Arm(AL) 2pc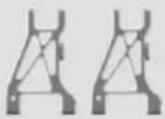 | 18915-Front Susp.Holder(AL) 2pc | 18916-Rear Susp.Holder(AL) 2pc |
18917-Front Shocks(AL) 2pc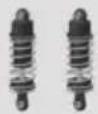 | 18918-Rear Shocks(AL) 2pc | 18919-Rear Dogbone(AL) 2pc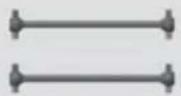 | 18920-Front CVD(AL) 2pc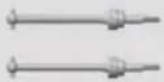 |
18921-Wheel Hub(AL) 4pc | 18922-Sway Bar(AL) 1set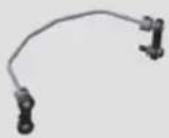 | 18923-Center Coupler(FE) 2pc |
For updated information regarding spare parts, option parts and performance upgrades - visit our web site www.carrocar.se

Imported and distributed by
Carrocar AB · Box 1211 · 581 12 Linköping · Sverige
+46 13-12 22 23 · info@carrocar.se · www.carrocar.se